Tutorial: How to Make Fabric Buttons
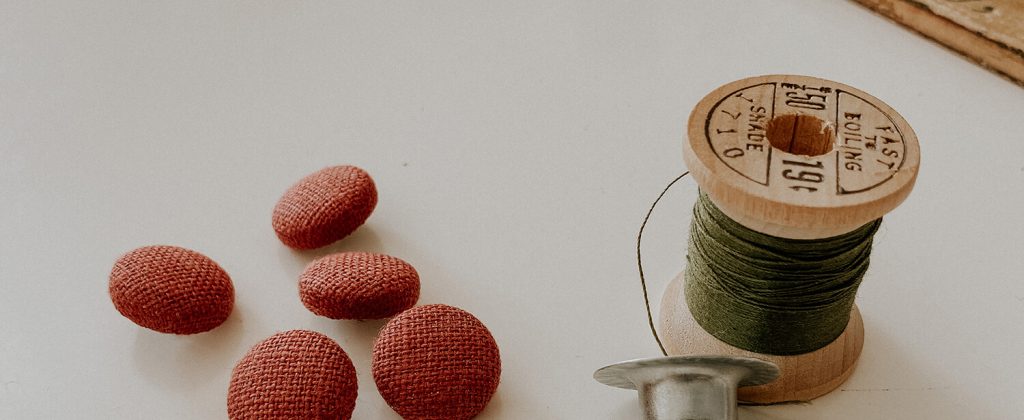
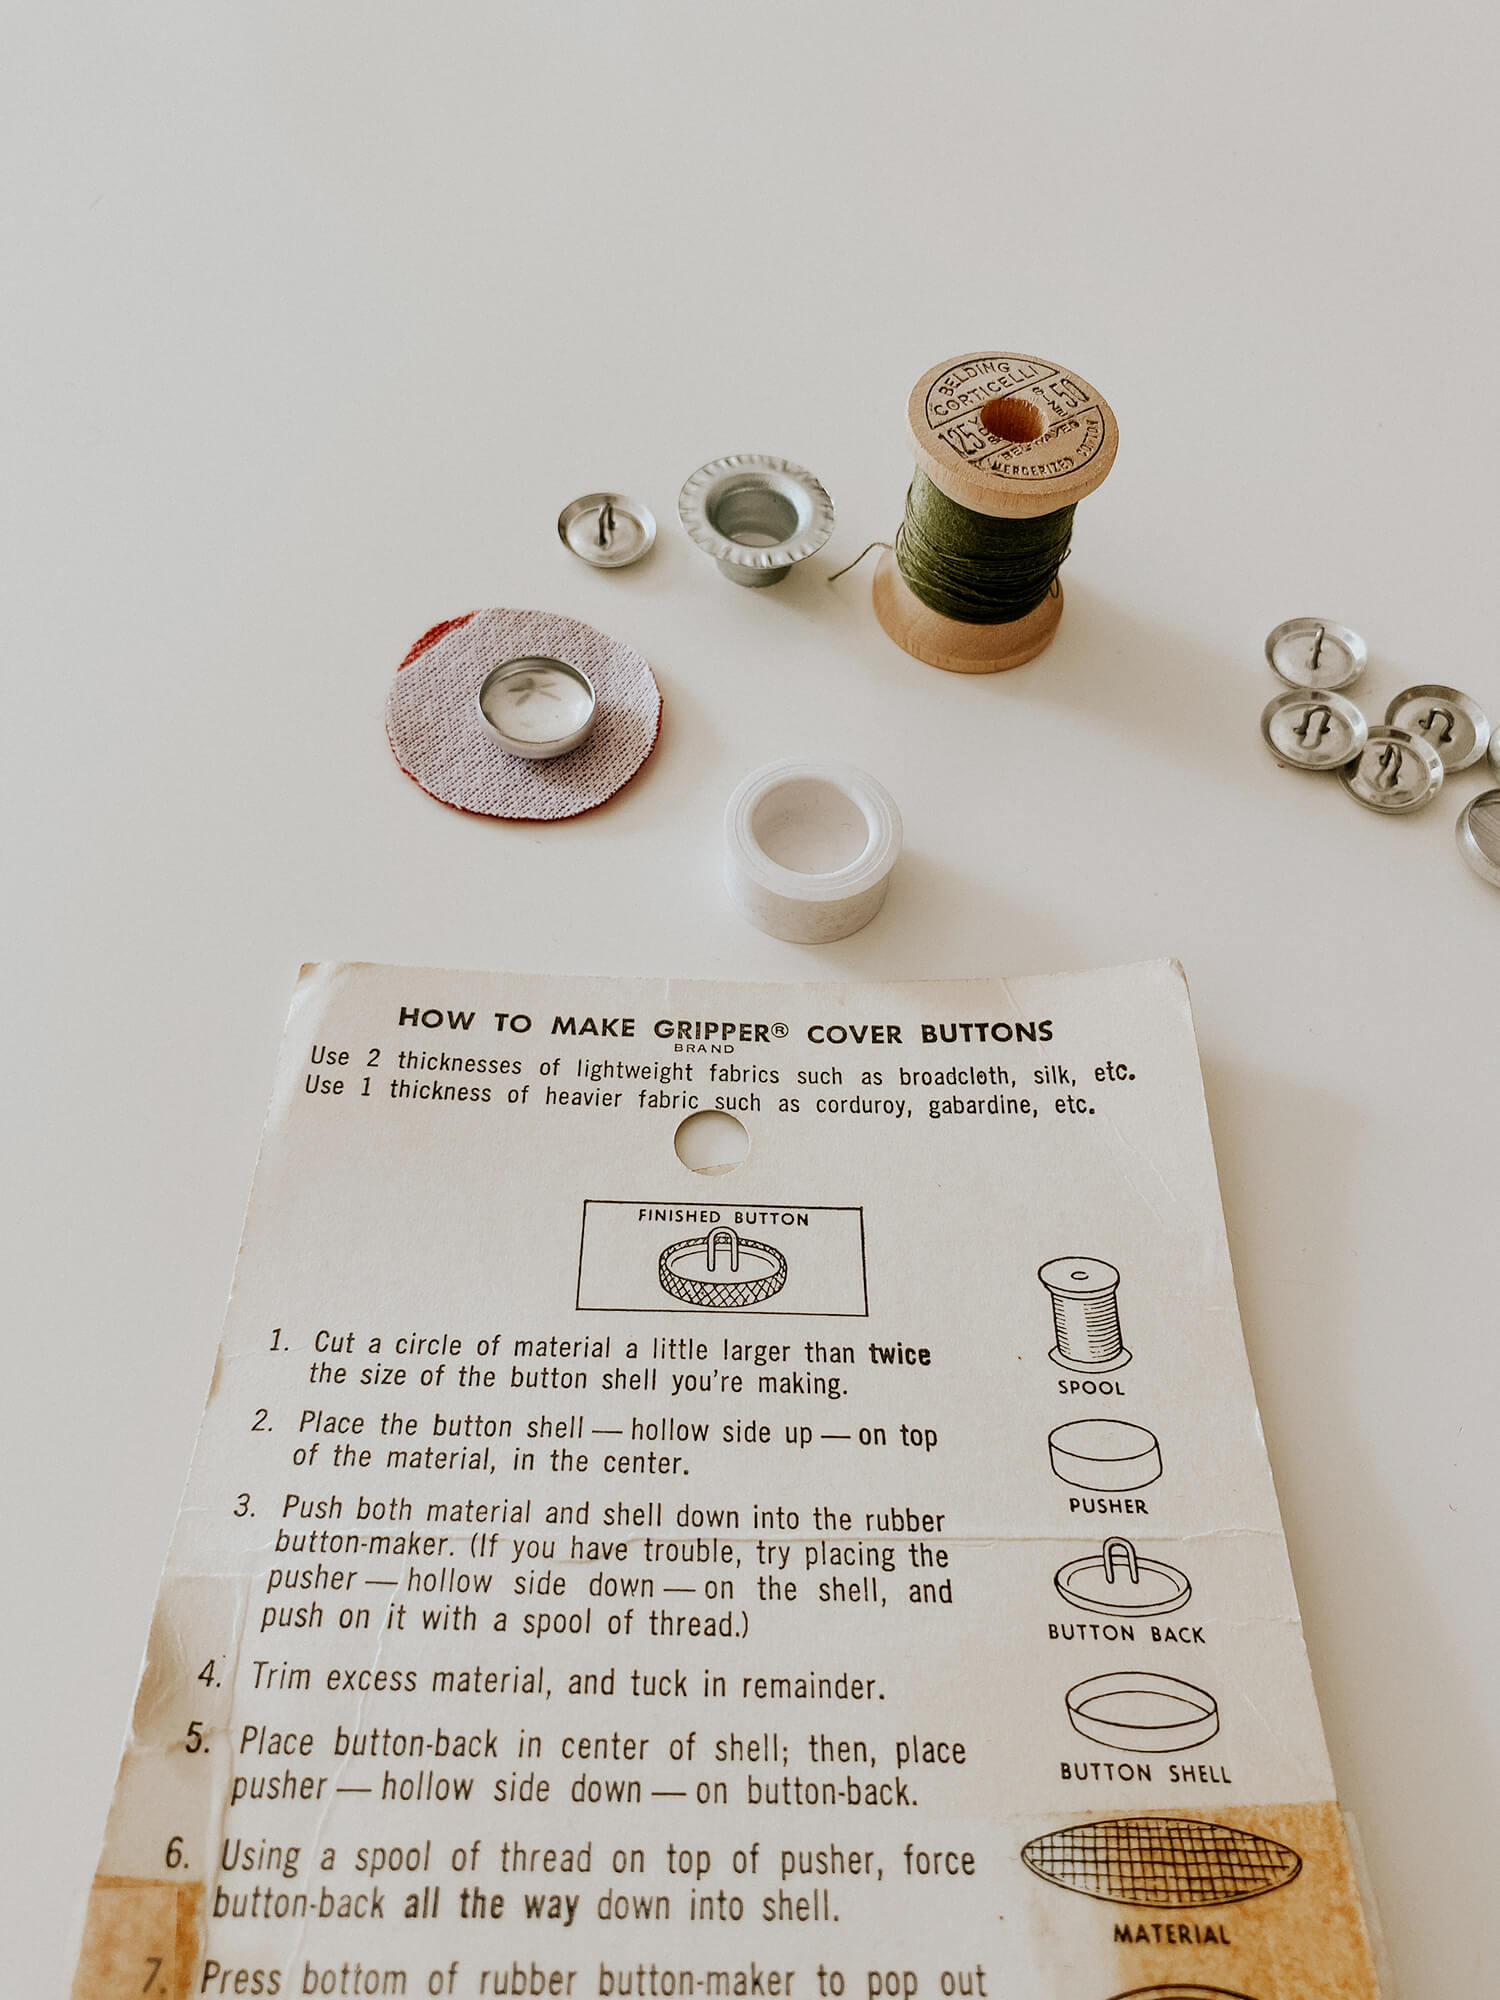
If you’ve ever considered trying fabric covered buttons, this is one of my favorite projects and I am delighted to encourage you to try them. I hadn’t made the buttons with linen before so I was so excited about this project. When I first made fabric covered buttons years ago, I chose cottons with tiny patterns because I loved how you are able to position the fabric and capture one or two tiny images on the button head. For this project you will be able to appreciate the beautiful texture and weave of linen and the perfect color match for your garment. 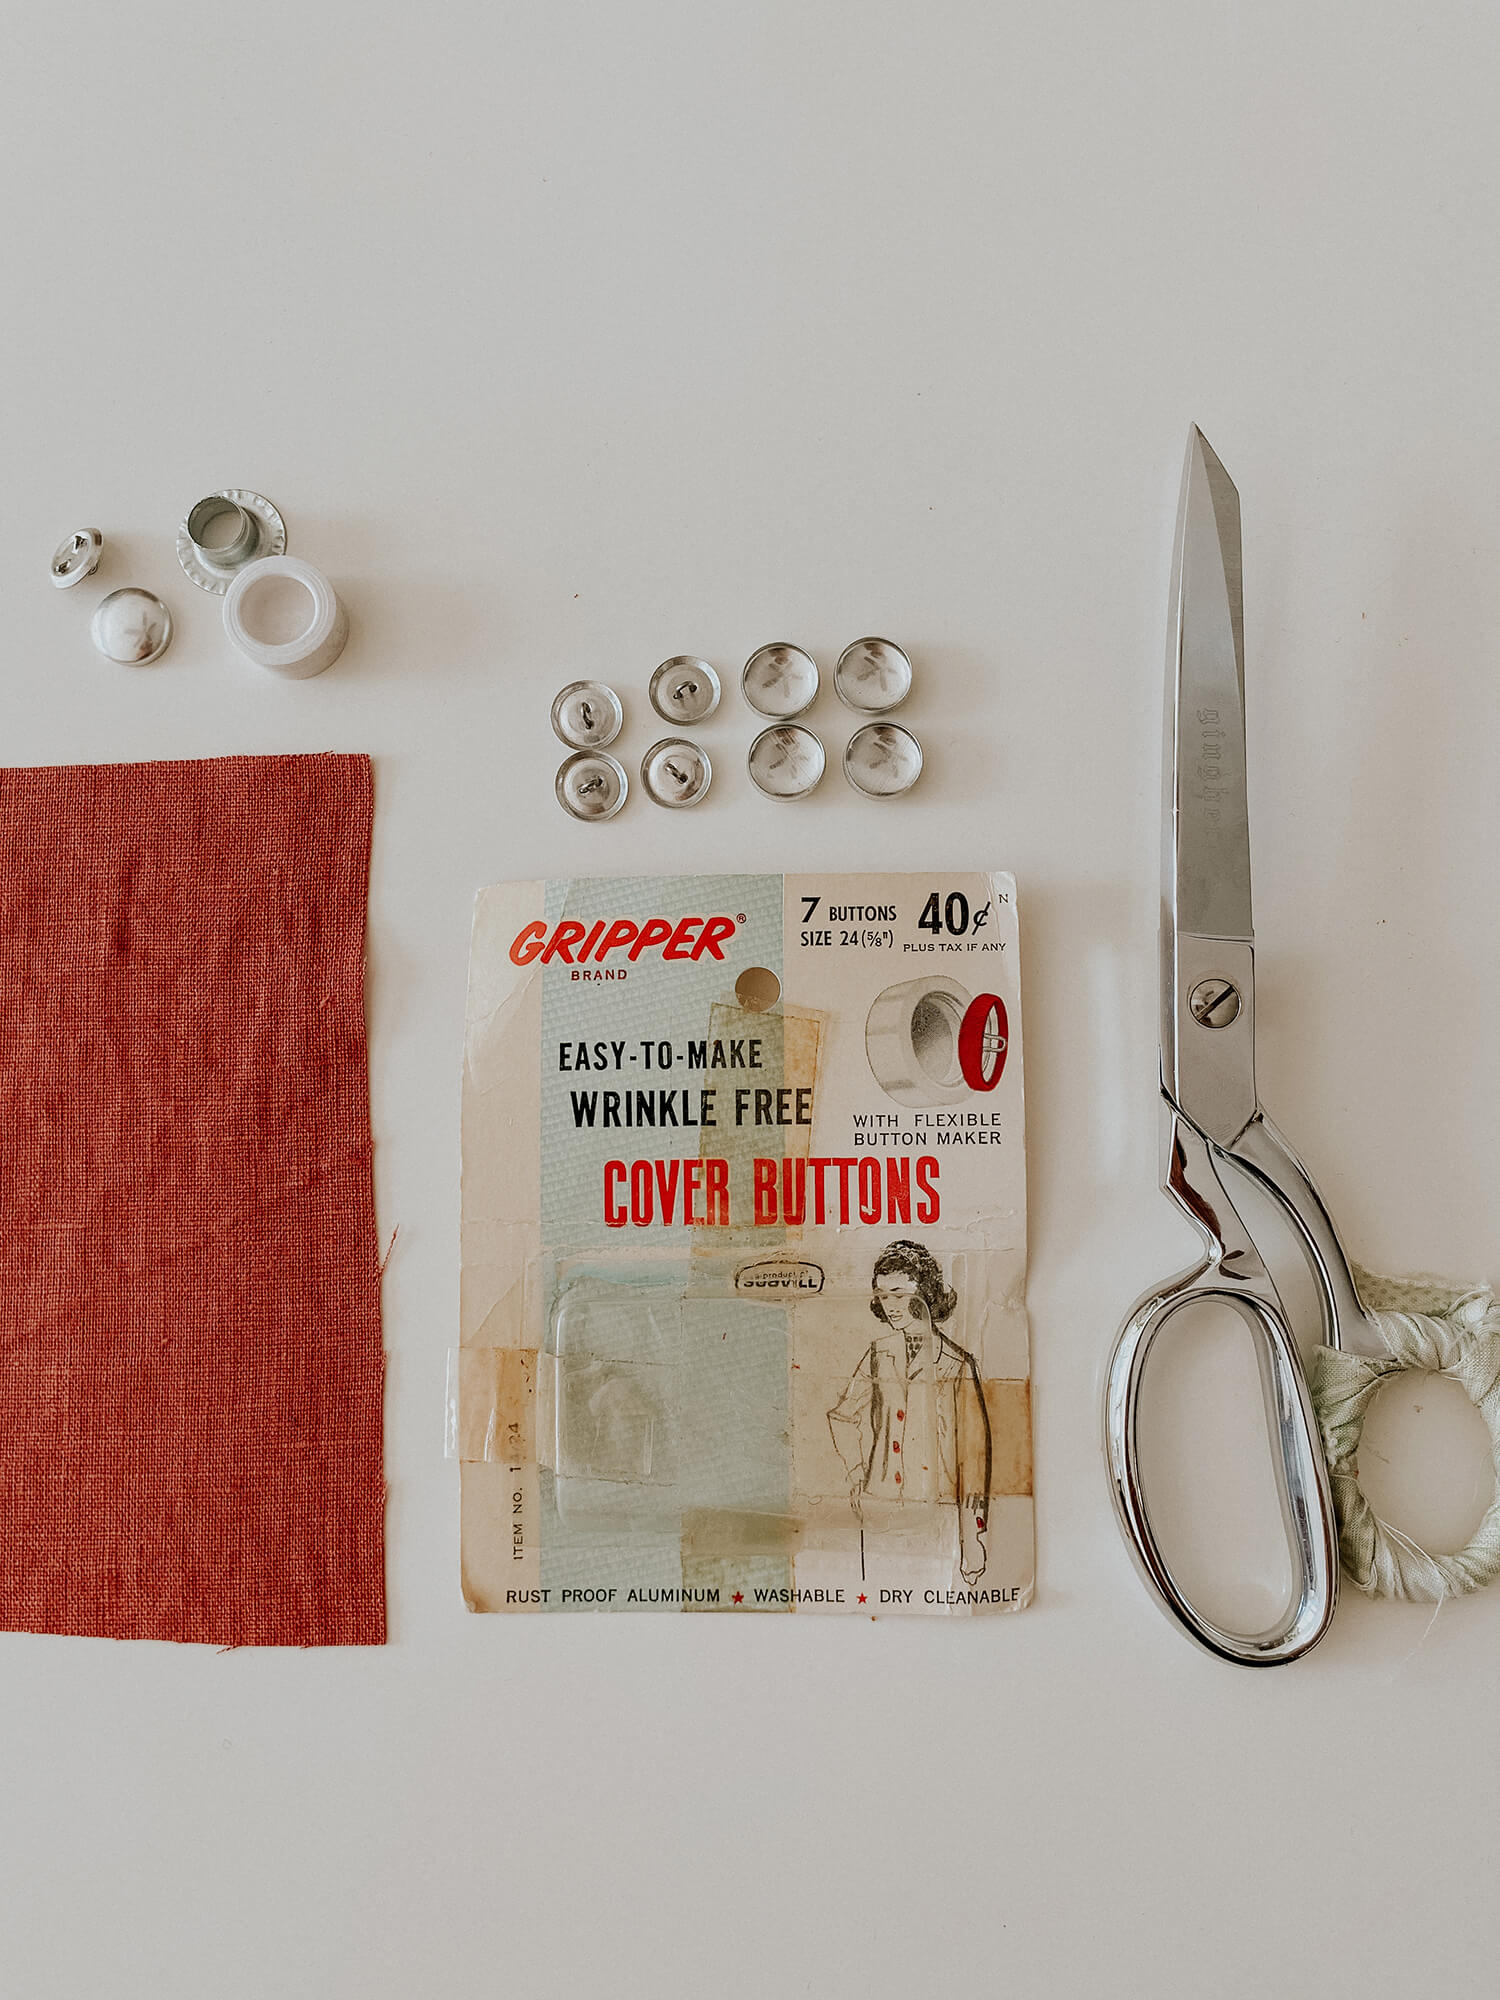 I was ready to leave the house to go buy the button kit from the local fabric and notion store when I remembered that I had this treasure from my mother in law’s old stash. The button kits are almost exactly the same today but sadly, they aren’t 40 cents anymore! What fun to have this vintage package for this project.
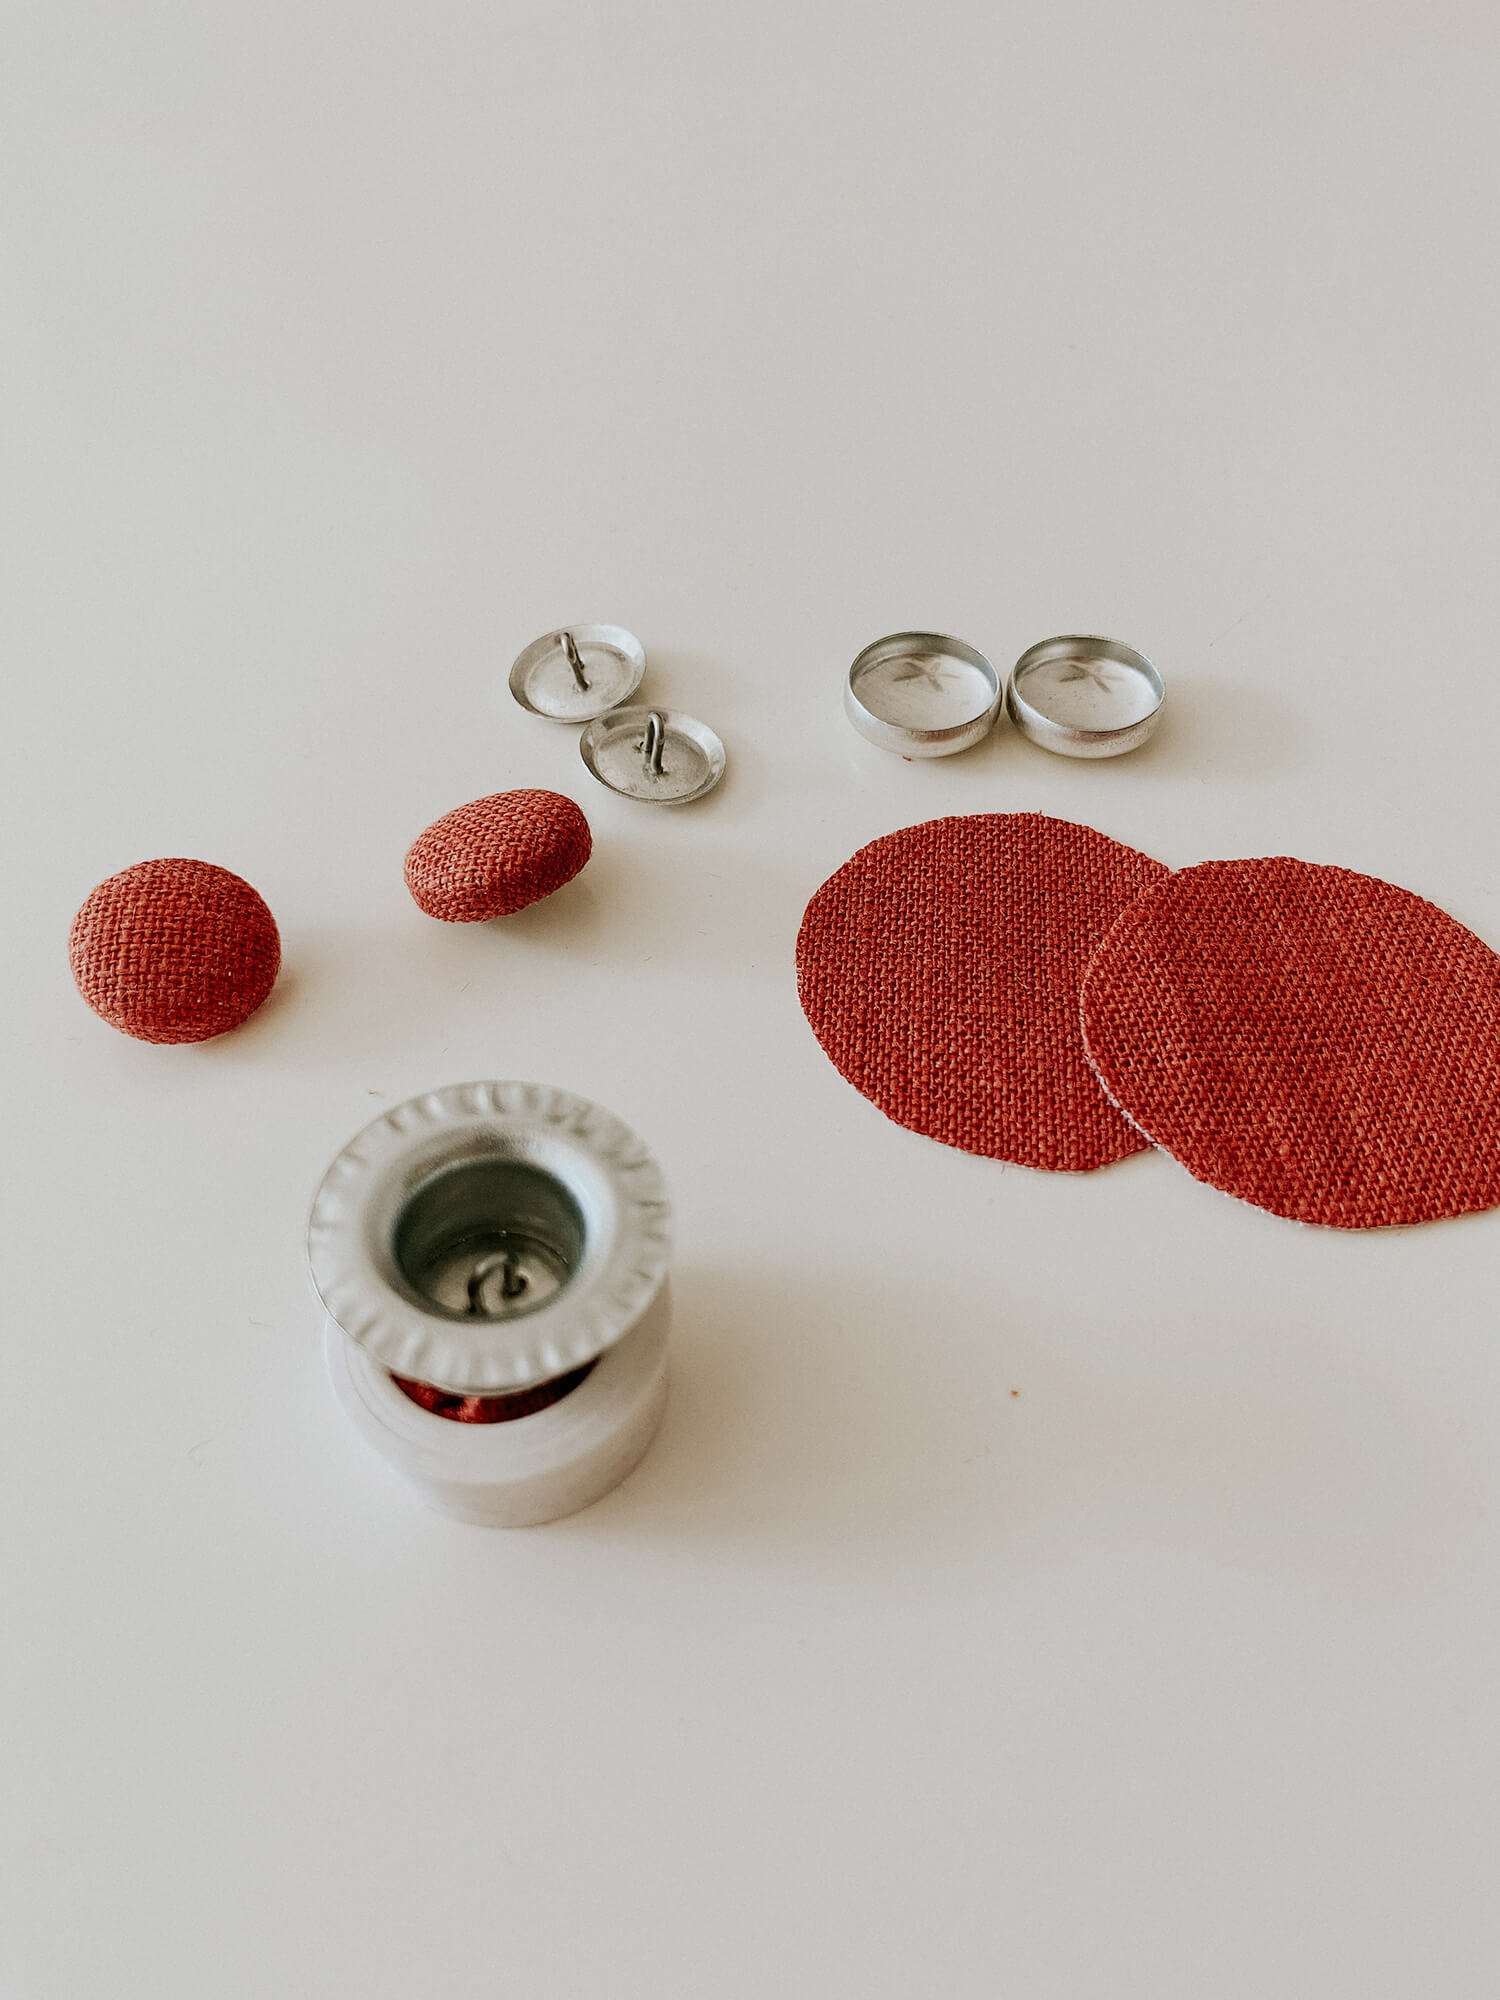
To start with, I wanted to be sure that the linen did not tear or fray so I ironed my thinnest interfacing to the back of a small rectangle of linen. When covering these buttons, you estimate what twice the size of your button would be or use a template if provided.
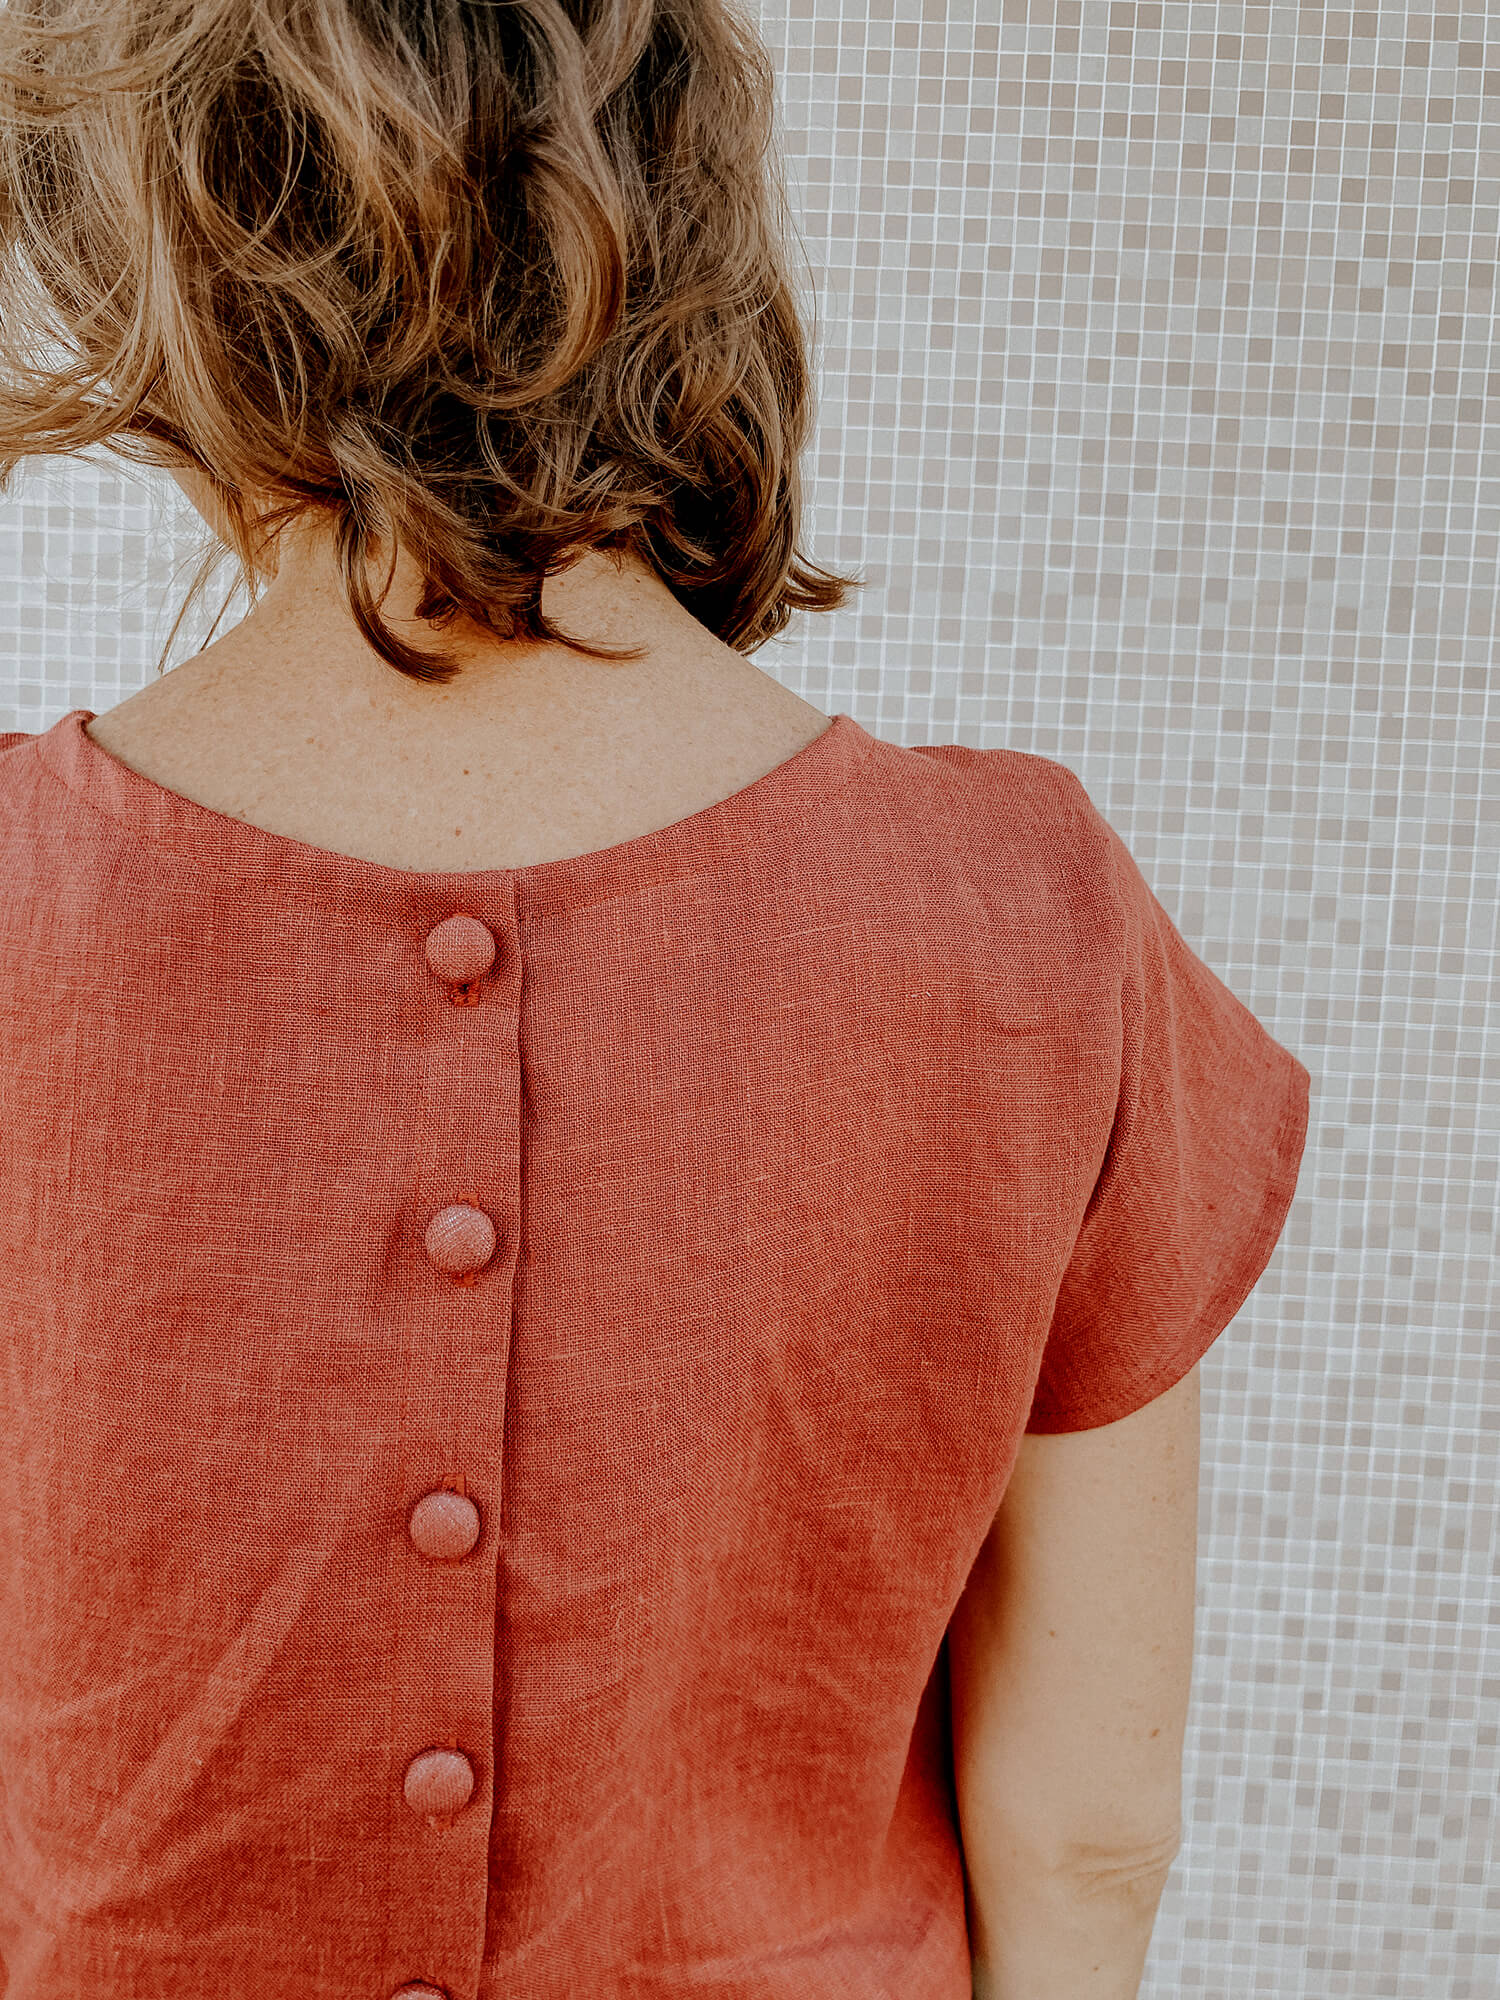
Cut out the proper number of circles. Press the fabric and button shell into the rubber button maker folding the fabric in toward the center and then press the button back over the raw edges of fabric with the pusher popping it into place. I used an old wooden thread spool to press the final piece together in keeping with this vintage packaging. That’s it. You’ve made a fabric covered button. You can also add a tiny amount of fiber fill to make your buttons have a pillow-y softness. 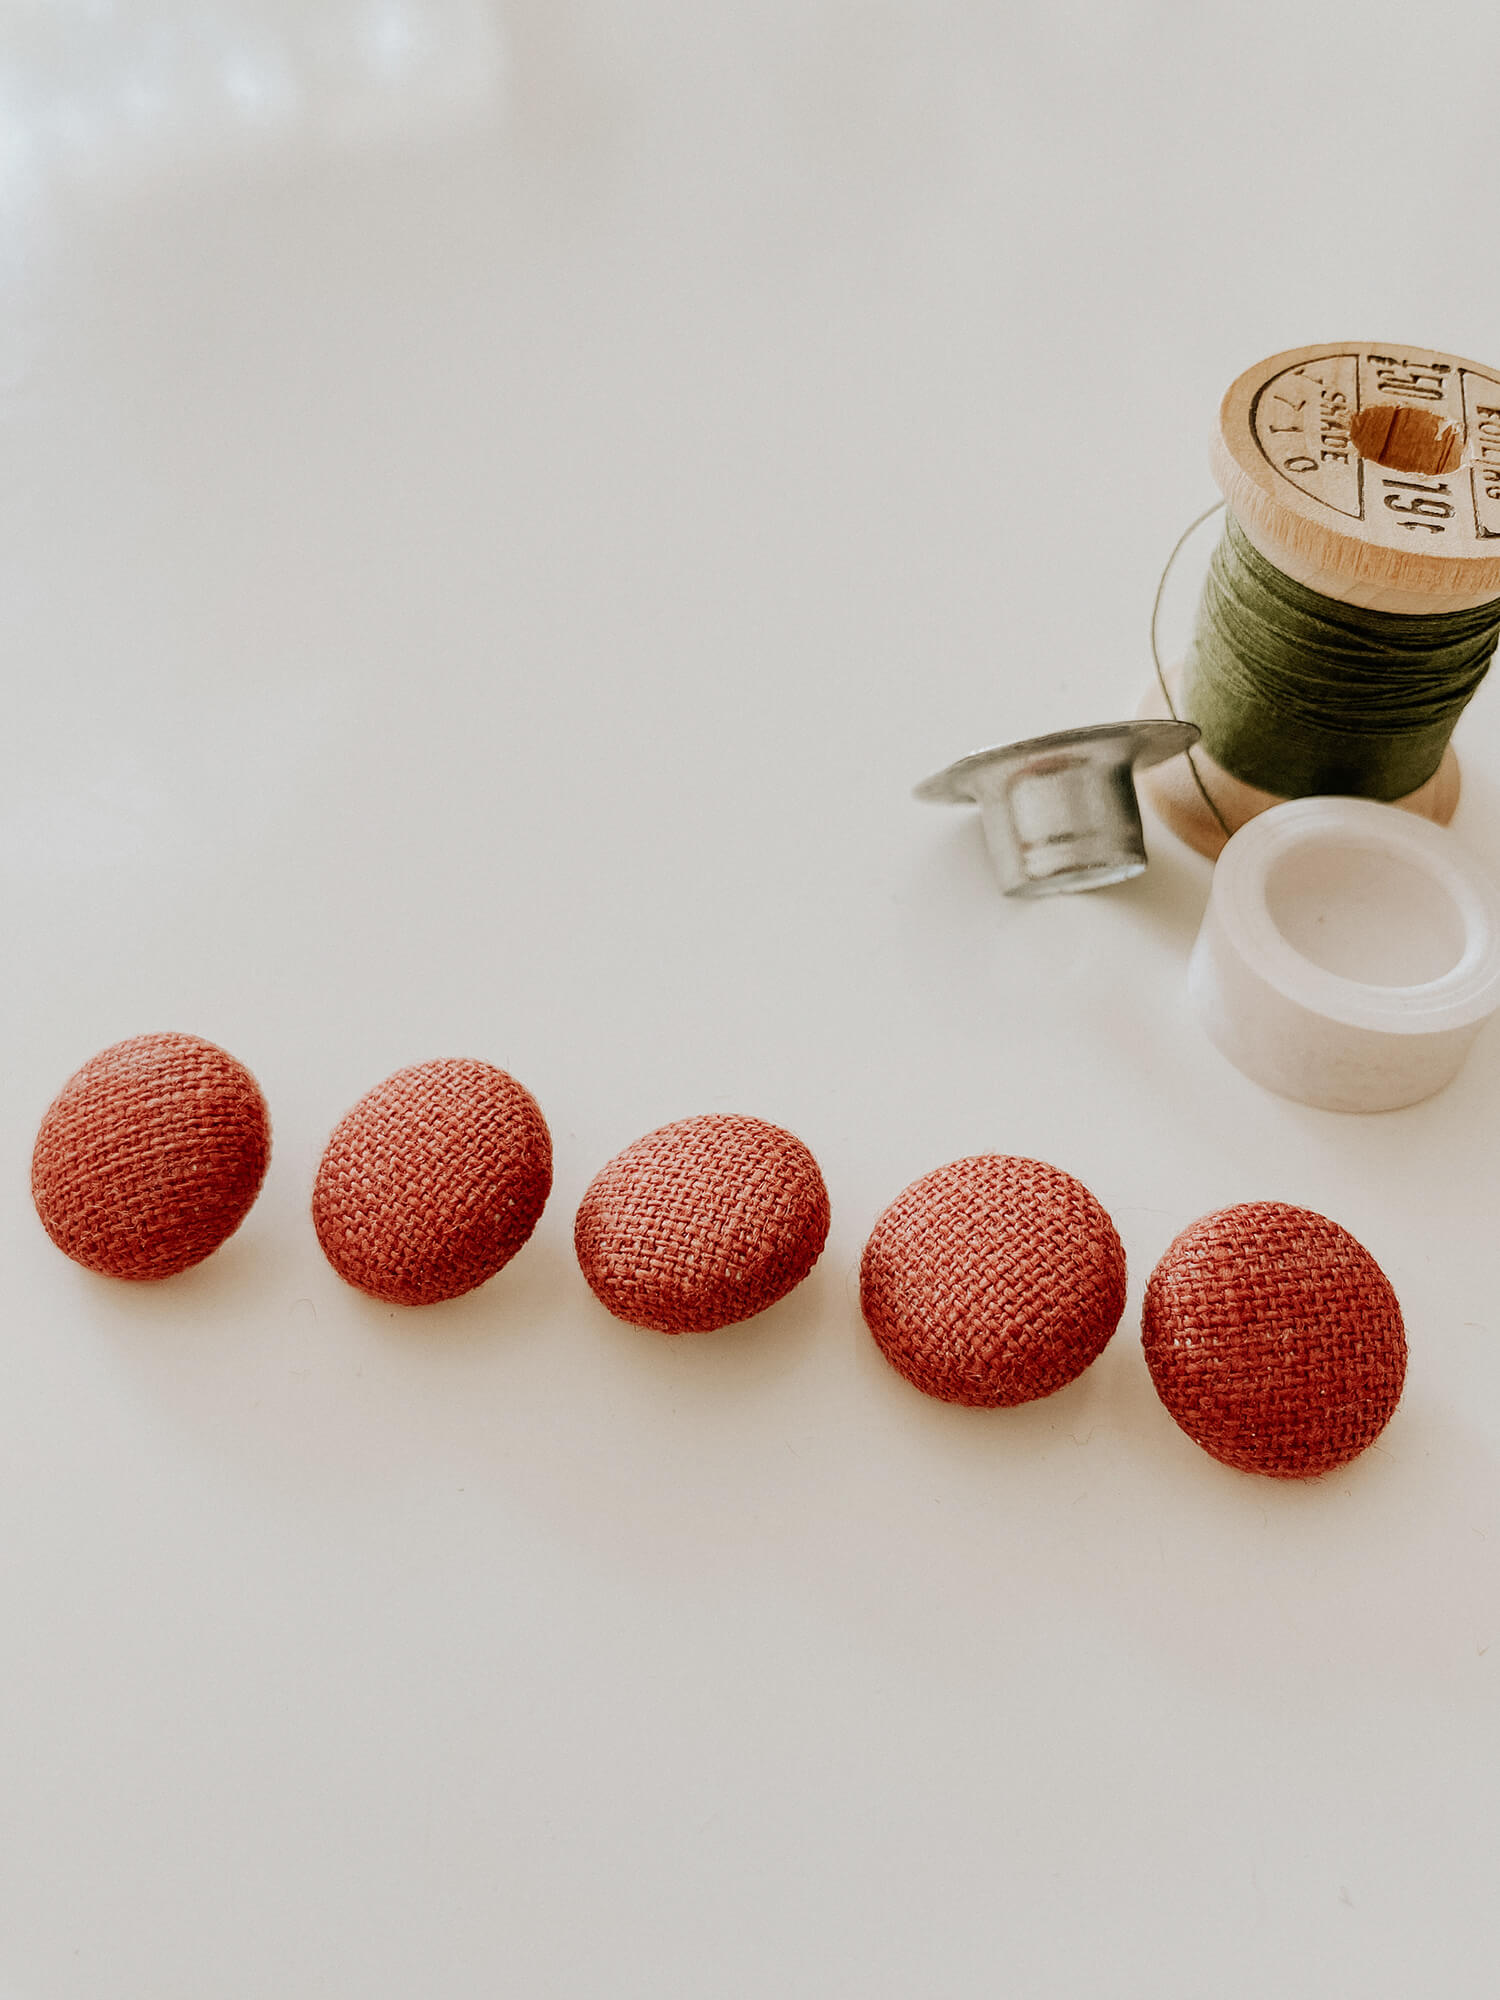 As for the color of the Marsala Linen, it’s such a lovely soft brick tone. If you did a quick search for the color Marsala, the images might bring more of a dark pink but this linen has such a pleasing brick tone with maybe a kiss of pink. I picked the 5.3oz medium weight linen for this project and the weight and texture is just as I hoped they would be for this linen top.
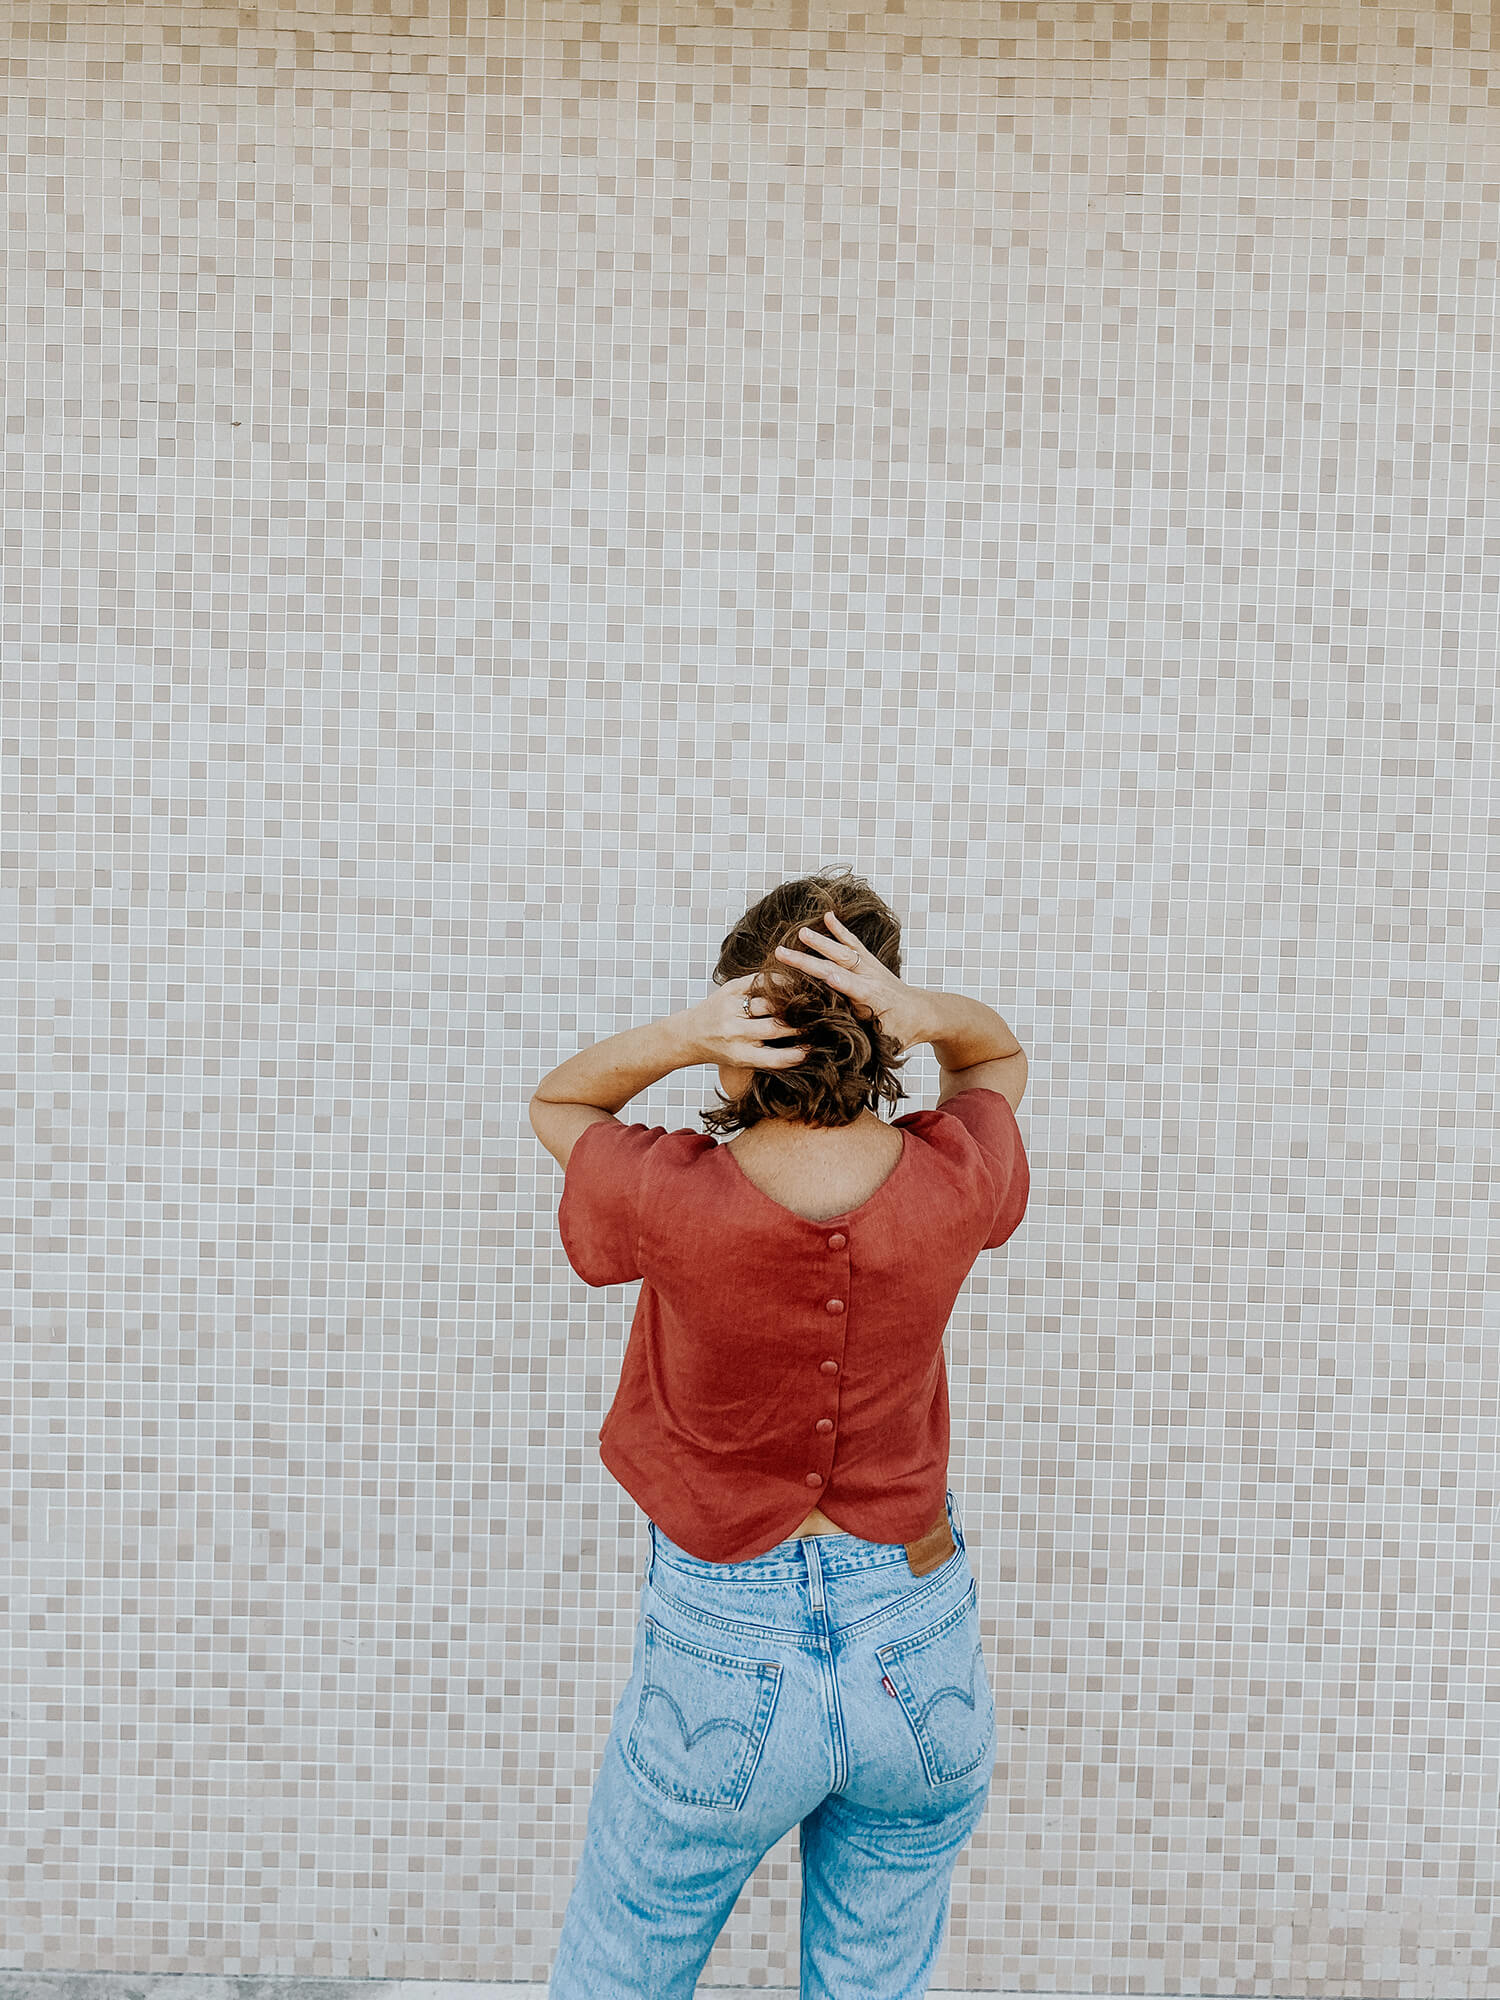
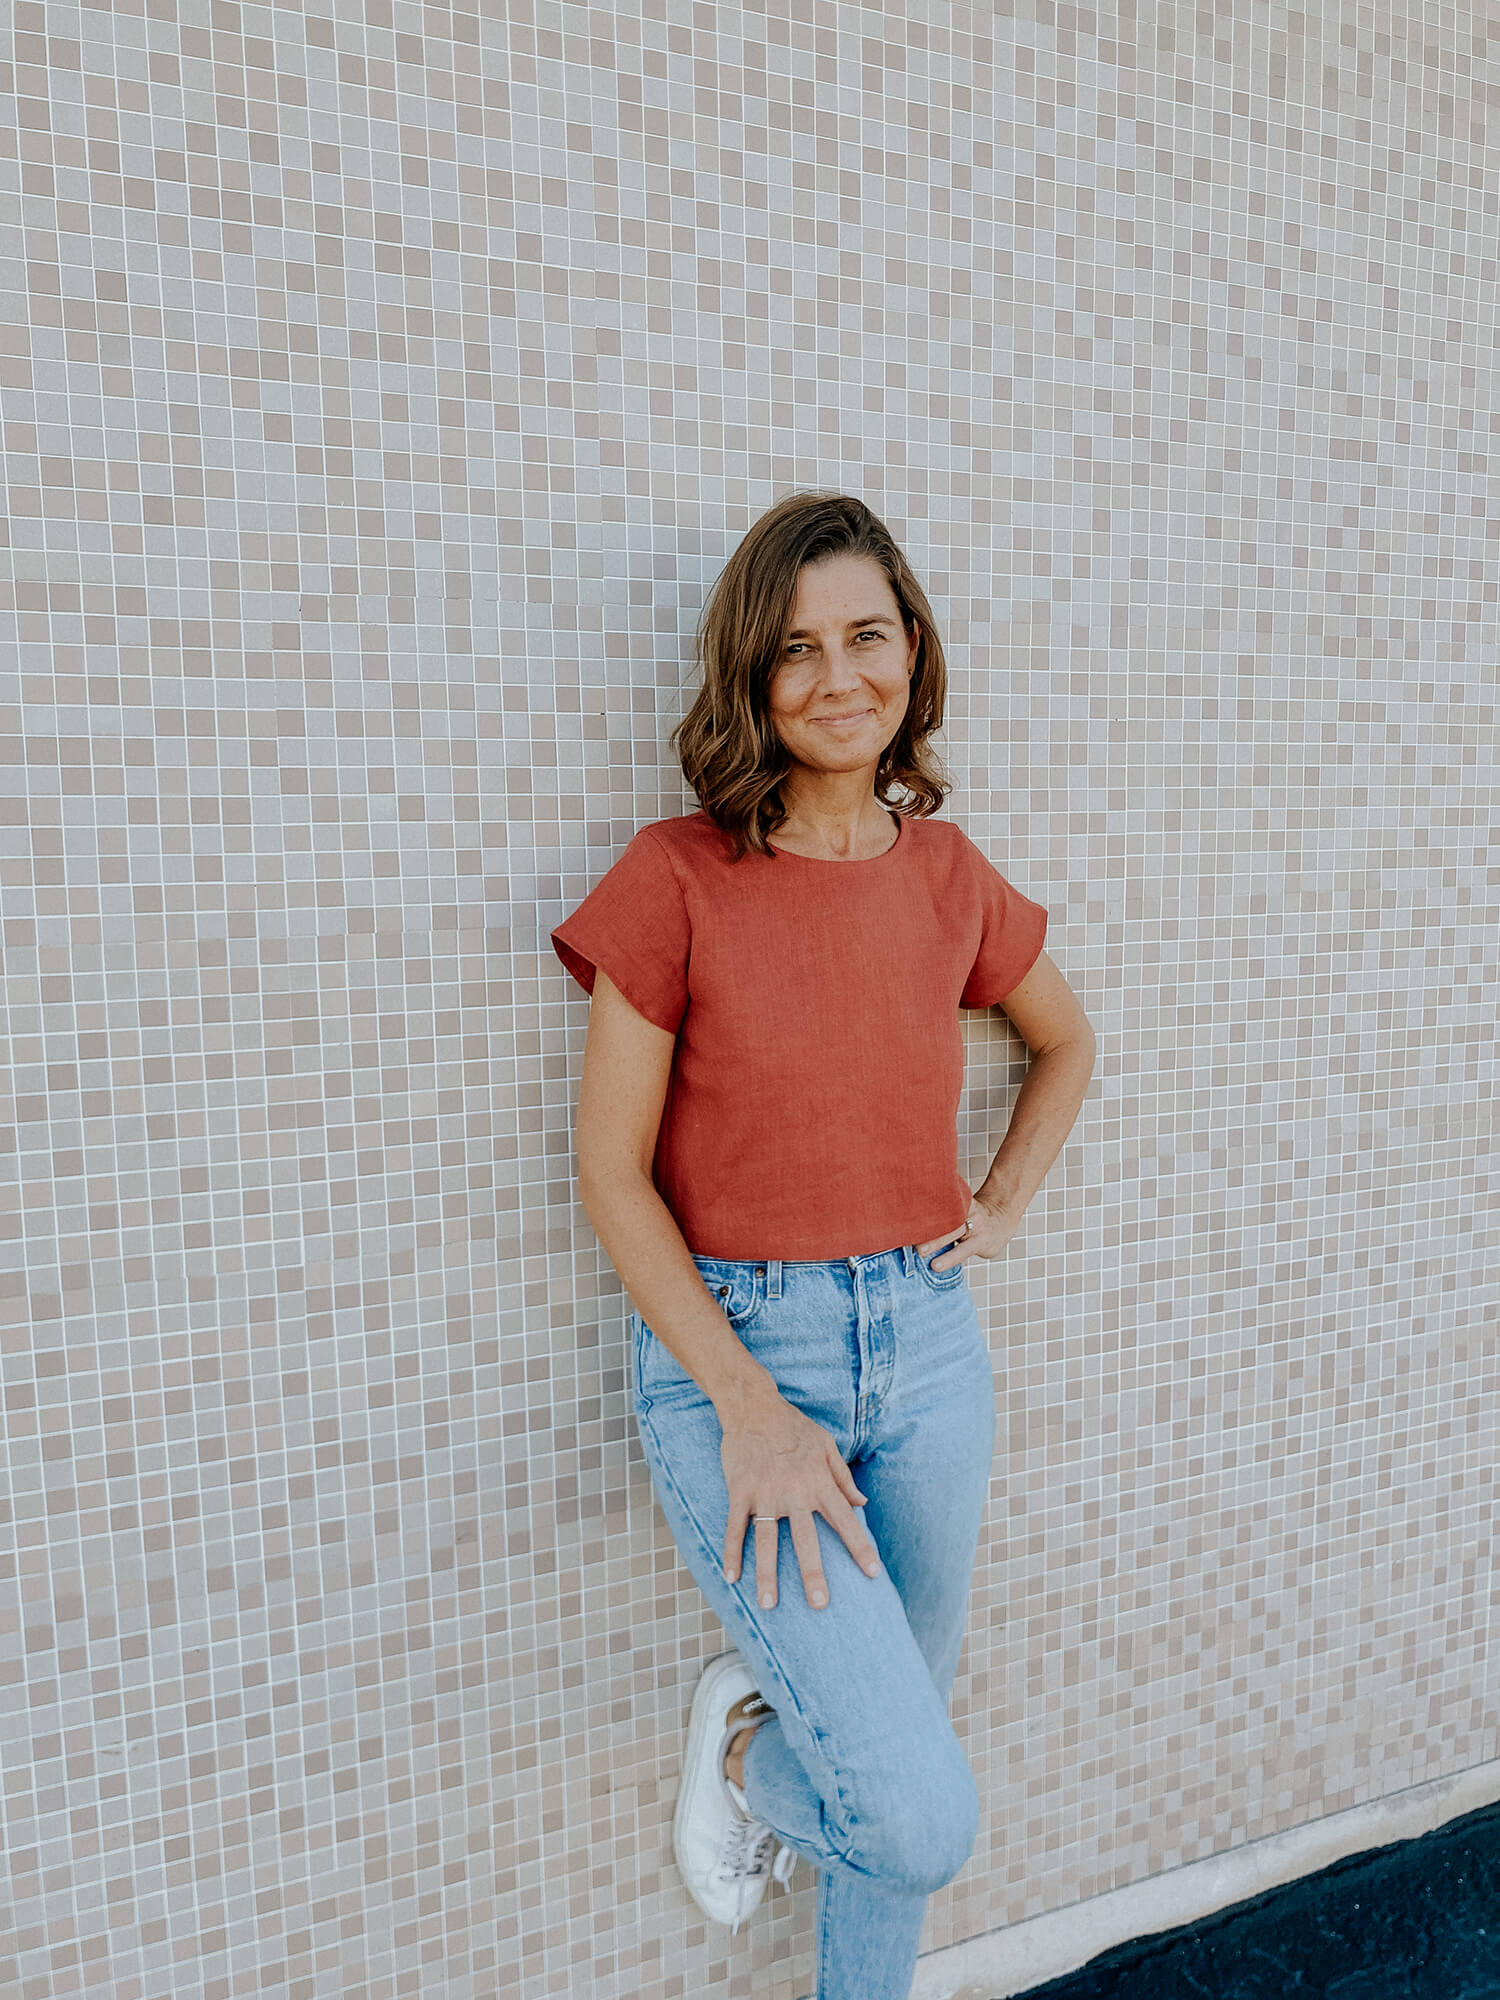 For this make, I used my simple shell top pattern with a short cap-like sleeve. I made adjustments to the back of the pattern so that there would be an overlap for me to add the buttons and button holes. I also curved the bottom of the top to give it a little extra fun and finished the edges with a single fold bias tape made from the same fabric. If you’ve never made bias tape with your project fabric, I have a highlight on my Instagram account to help you learn how. I am very pleased with how the project turned out and excited to wear my linen button Marsala top.










10 Comments
Anita Busch
I made a lot of these covered buttons growing up, so this was very nostalgic. I also remember sometimes running a basting thread around the perimeter of the fabric circle in order to gather the fullness evenly around the metal button, and also trimming the excess fabric so that the shank portion will snap in cleanly. I think your directions were fine, but a few more photos of the step-by-step process would help those who don’t have a kit in front of them. You did show the directions on the back of tne package, which is what we had to go by. I was fortunate to have a mother who was a Home Ec teacher, so she knew all the tips and tricks.
Monica Goh
Beautiful blouse with nice details of the covered buttons. I would love to make it with the Kenya Linen which I ordered a few days ago. Do you happen to have it as a free pattern for download?
Darylee Foertsch
I’m sorry. A good tutorial, but a truly cloth covered button is not made with this metal part kit.
All that is needed is your material, thread and something to form the button inside. a disk of wood or plastic, an old button of the right size etc.
Cut a circle of cloth wider than your button. Put a running stitch around the outside and pull tight around your form.
Run the thread though the material where you want the button attached. Pass the thread through the material and alternating sides of the button till it is fairly well balanced.
Bring the end of the thread though between the button and the material and wrap the thread around the stitches 12 times then pass back though the material to tie off.
Done. that’s all there is to it.
Remember to safety pin a couple of pieces of the button cloth inside a pocket in in the lining for future replacements. They rarely get lost unlike these cheap press together metal ones, but it happens. Thanks to my grandmother ‘Gigi’ teaching me. She was born 1904.
Alisha Cooke
This is amazing. I should have said *this is ONE way to make a fabric covered button. I am so happy you’ve shared another option for people who choose not to buy a kit and would love to have the fabric button look. Happy button making. 🙂
M. A. Buckner
I think your directions and the back of the kit directions taken with the pictures were very clear. (I only thought it was “funny” that the illustrations on the card seemed to indicate the the rubber button-maker was the pusher instead of the metal piece, which did not appear in their “drawings) 🙂
Thank you for taking the time to do this!
Alisha Cooke
Thank you, It was a fun article to write and super cute that I had my mother in law’s vintage packaging.
Linda Kriss
Thank you for this reminder. I have a similar vintage kit in my sewing basket, which I haven’t used in decades. For such a small detail, fabric buttons have a big effect. I have also used a different fabric on my buttons to contrast against a blouse, but I love how you used the same linen on your buttons, which compliments the design of the blouse.. Very cute!
Alisha Cooke
Thank you Linda. I liked using the same fabric for the button as the top as well but I can see that the options for accent/contrast are limitless! 🙂
Henya Rachmiel
The actual button making directions were not clear.
Alisha Cooke
Hello Henya, I’m sorry if the demonstration was unclear. Is there a specific place I lost you? Maybe I can help elaborate the instructions some more. x Alisha