FS CAMERON Top Pattern Sewalong Part 1: Sew The Back Yoke
Do you need some additional help putting together our CAMERON pattern? This sewalong will take you through the pattern construction with step-by-step photographs and in-depth instructions. You will find lots of helpful tips and extra detail beyond the instructions provided in the booklet. We hope that with this little extra guidance the sewing process will be a breeze from start to finish!
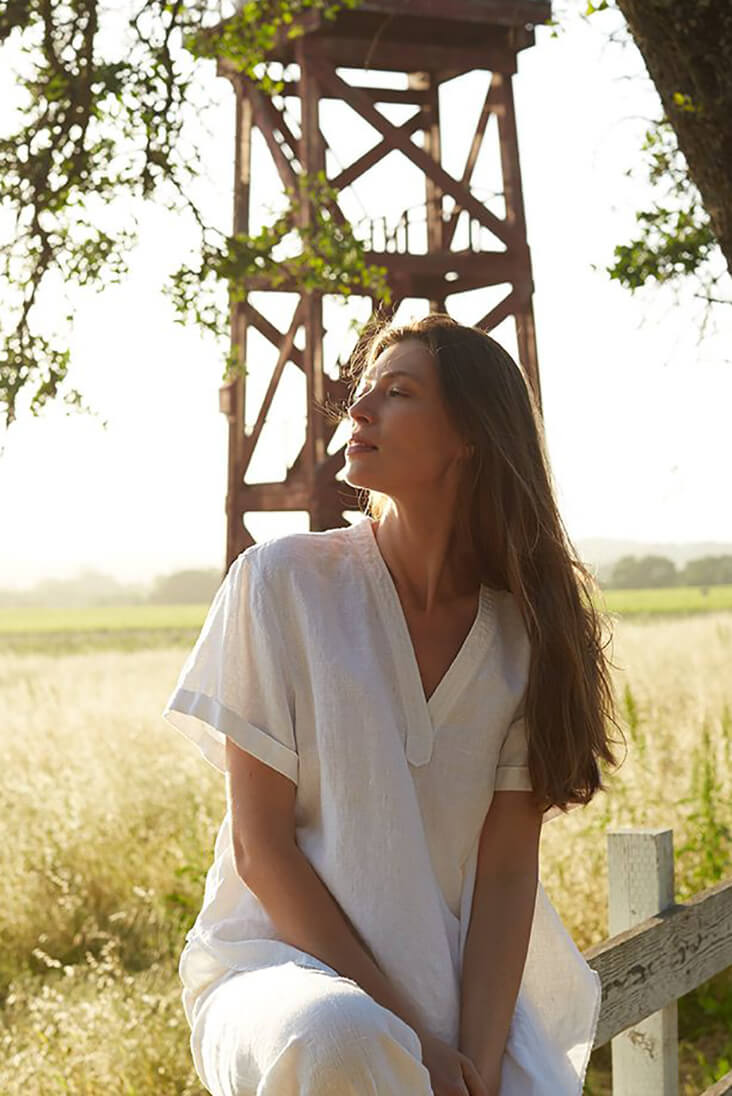
Cameron is a classic and versatile pattern collection that offers four great-looking variations: a 3/4 sleeves blouse, a short sleeves blouse, a top and a pullover dress. Styled with a tabbed-neck placket, curved hem, cuffed sleeves and a slit gusset detail.
For this sewalong we chose to make the top version with short sleeves. It has a shorter length than the blouse and measures approximately 30” from shoulder to hem. The sewalong is divided into 4 sections: how to attach the yoke, how to sew the neck placket, how to sew the gusset and finish the hem, how to attach the sleeves. In this first post of the series, we will be showing you how to attach the back yoke using the “burrito method”. This technique gives an incredibly clean finish requiring no hand sewing and enclosing all the raw seams.
We’re so glad to have you join us for this sewalong! Follow our step-by-step instructions and learn how to attach the yoke of your Cameron top.
Materials
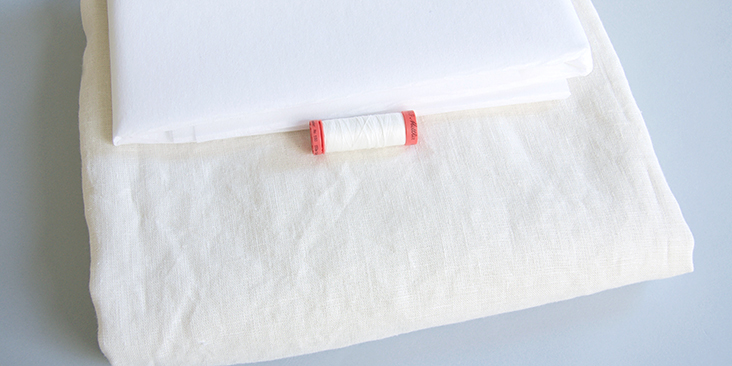
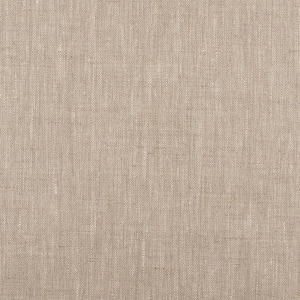
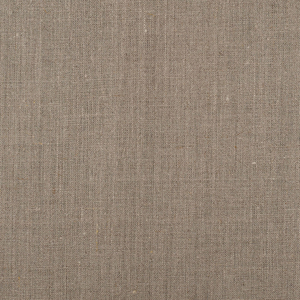
Medium-weight woven linen of your choice, at least 55” wide. For this project, we chose to work with our medium weight IL019 TADELAKT Softened 100% Linen.
Browse our selection of linen fabrics and find the color that inspires you for this project! Please refer to the yardage table in the instructional booklet to determine the required amount of fabric.
Matching all-purpose thread, fusible interfacing for placket (approximately ½ yard by 36/55” width for all sizes). If you opted for dress or blouse versions with cuffed sleeves, you’ll also need two 3/8”-5/8” buttons.
Tools
Scissors, pins, ruler, chalk, measuring tape, fabric marker, buttonhole foot (for cuffed sleeve versions only), seam ripper, needle, sewing machine
Difficulty
Intermediate
Sewing Time
1 hour
Pattern
If you don’t have your copy of the CAMERON pattern yet, you can order it from our shop.
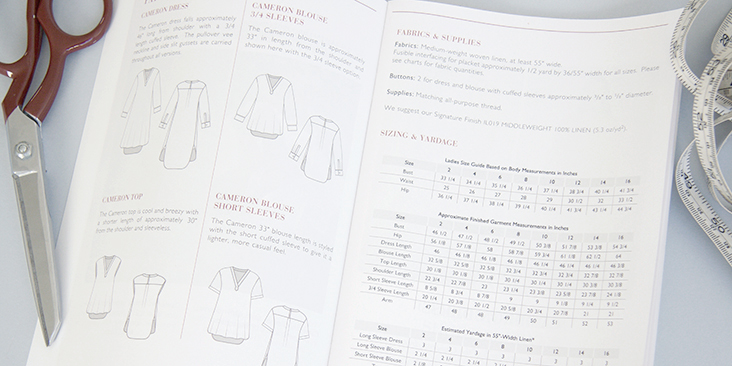
Cameron comes printed on crease-free, professional quality rolled plotting paper with only the sizes you requested printed in vibrant colors. Which means less clutter for easier cutting. Accompanied by an illustrated instructional booklet with easy to follow diagrams and all necessary information about yardage, sizing and supplies. You will also receive a complimentary pattern storage tube and a pattern hook.
Cameron is available in sizes 2 -24. The size chart is provided in the instructional booklet. Cameron top/blouse/dress pattern is designed with ample ease and is relatively easy to fit. We recommend going with your bust measurement as a base for picking up the right size for you. However, if you are large busted, you should choose your size based on your high bust and not your full bust, and then do the full bust adjustment as explained in this detailed tutorial. Otherwise, you might end up with a garment that fits your bust but is too large everywhere else.
All seam allowances are already included and are ½” unless otherwise noted in the pattern instructions. Refer to the cutting layouts for your size and view and remember to transfer all the notches and marks to your fabric.
Steps
Note: Prewash and dry your linen fabric in the same manner you would your finished garment. This will soften your fabric and eliminate further shrinkage.
In this tutorial, we will show you how to sew the back yoke. For this step, you’ll need to gather the following pieces: Front (A), Back (B), Yoke (C) and Yoke Loop (K).
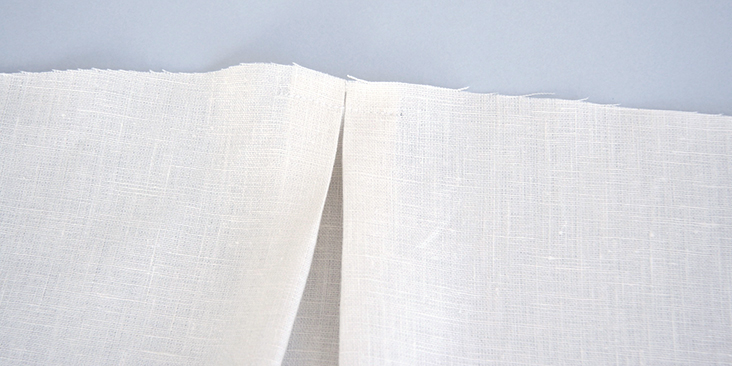
1. Sew the back pleat. Place back bodice (B) wrong side facing up. Match and pin the notches at the top edge to create the pleats that will form a box pleat. Follow the directions of the arrows and fold your pleats towards the center back. We have a great tutorial about sewing box pleats HERE.
Stitch across the pleats at a scant ½” to secure it in place. The width of the finished pleat should be 1 ½”.
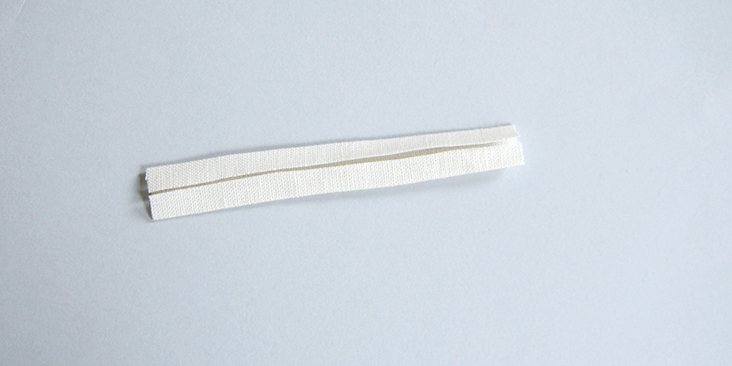
2. Sew the yoke loop piece K: With right sides together, fold the loop in half and press. Unfold, then fold each of the two sides in half again and press as shown.
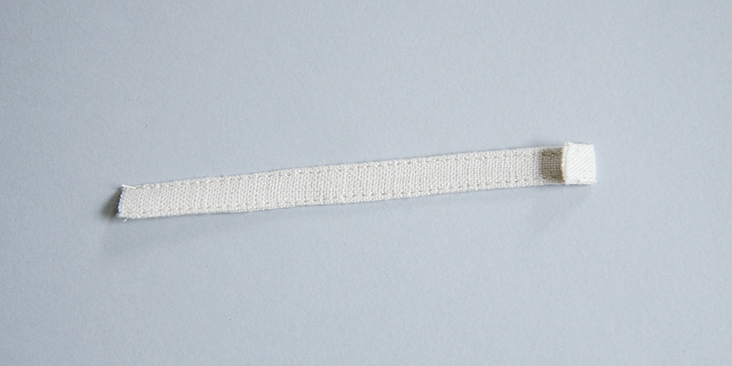
3. Edgestitch the loop along each side of the length. Press under one end of the loop 3?8″ to the wrong side.
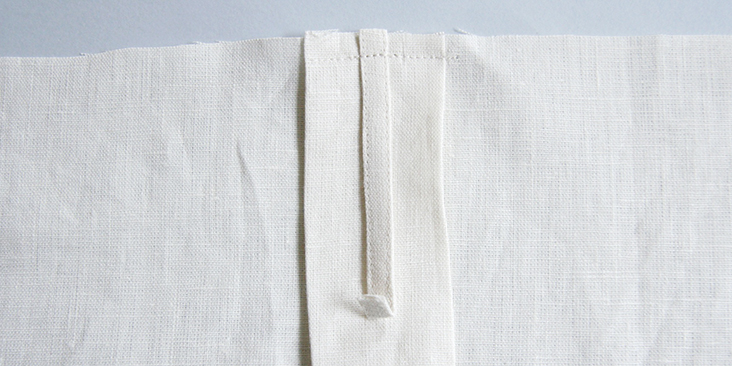
4. Working from the right side of your back piece, place the raw edge of the loop at the center of your box pleat with the seamed side facing up. Tack the loop to the top of the pleat with a few back-and-forth stitches 3/8” from the edge.
What we want to do now is to insert this pleated back inside the two yokes.
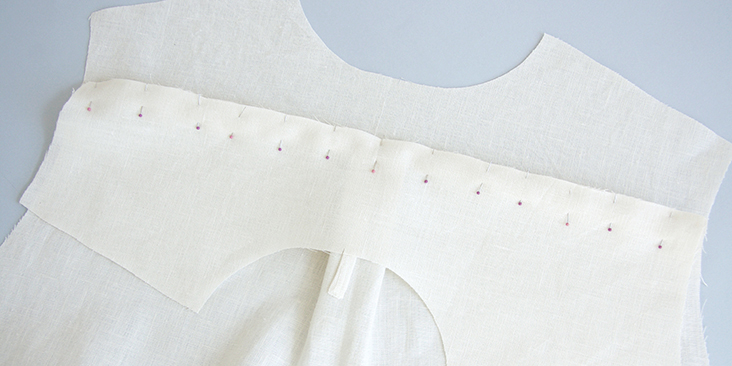
5. Place one of the yoke pieces (C) right side facing up. Place the back bodice right side up over the yoke. Place the other yoke piece wrong side facing up on top of the back bodice. Align all the straight edges and pin all three layers together.
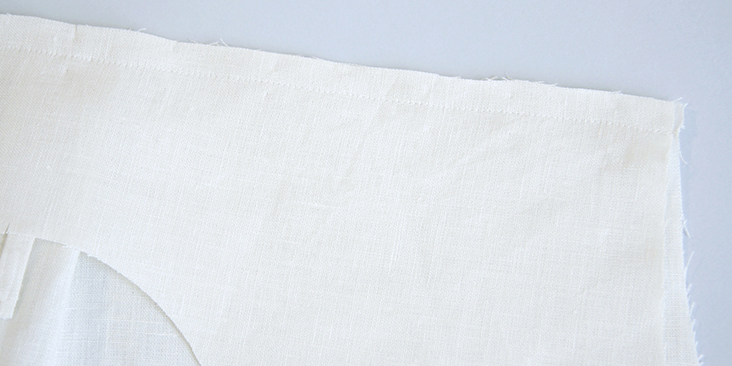
6. Sew a ½” seam.
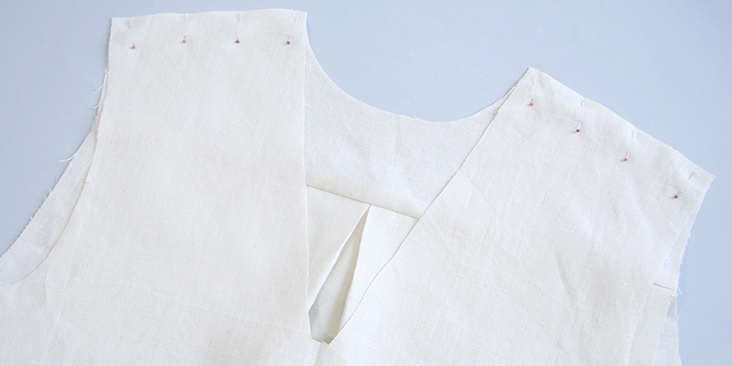
7. Place the back bodice piece wrong side facing up. Fold the inside yoke facing upward. The outer yoke will still be folded down. Pin the wrong side of the front bodice piece (A) to the right side of the inside yoke at the shoulders. Sew a scant ½” seam.
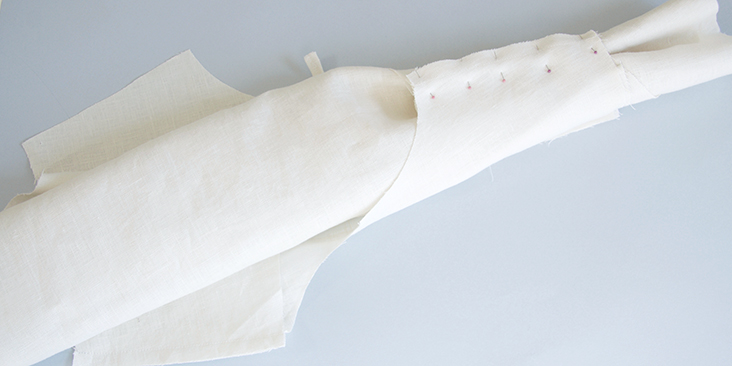
What follows next is a technique commonly known as the burrito method since everything gets rolled up inside the yokes like a burrito. It provides a clean finish on the inside as well as the outside of a garment.
8. Tightly roll up the front and back bodices and fit them in between the yoke layers, like a burrito. With right sides together, align the yoke shoulder edges and pin as needed.
9. Sew a ½” seam across the shoulders.
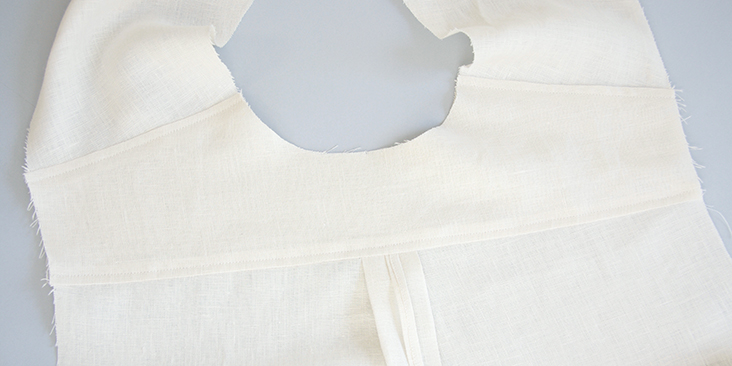
10. Turn everything right side out and neatly press. Run a line of topstitching across the front shoulder seam and lower back of the yoke ¼” from the seam.
Congratulations! Your back yoke is now done! In our next tutorial, we will be showing you how to sew the neck placket.
















One Comment
Candace Strong
Do you think your middle weight lined is opaque enough for a dress without lining?