Luana Apron Dress Tutorial and Pattern
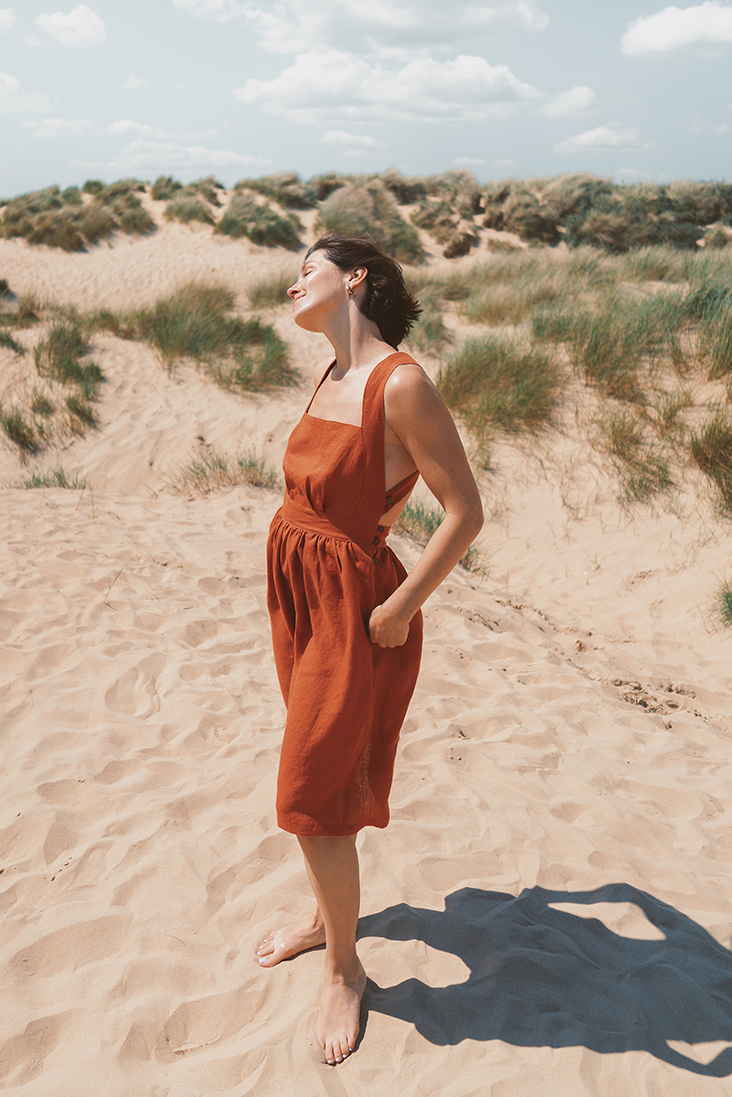
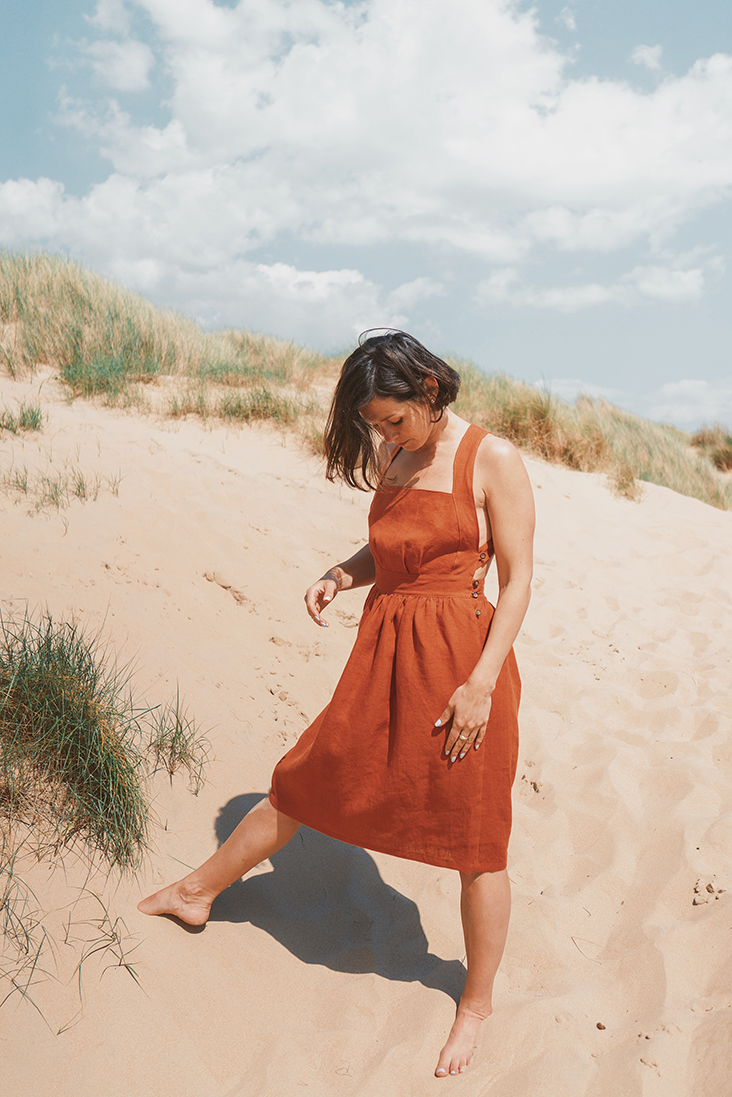
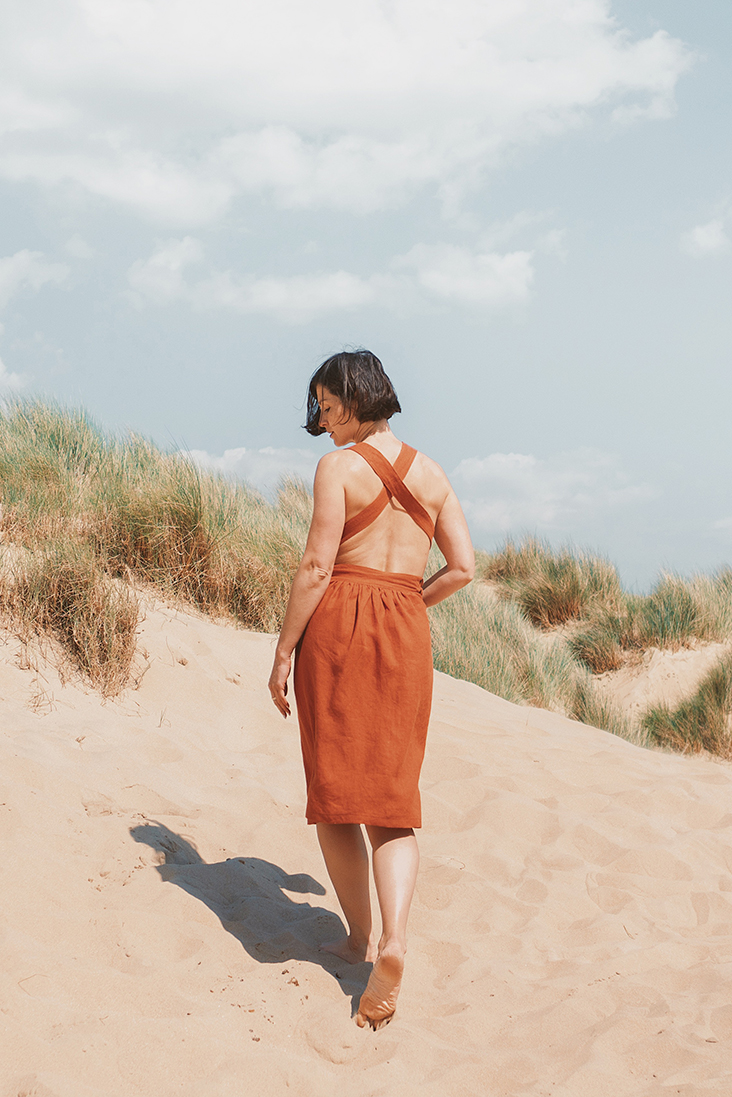
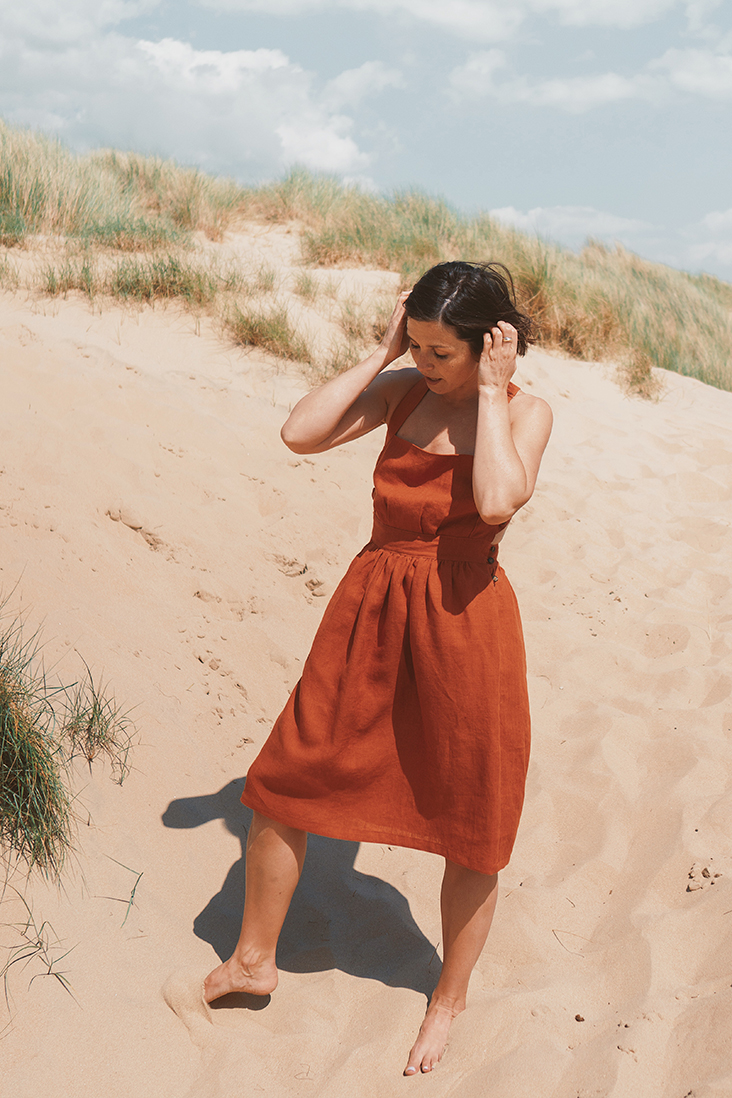
Luana is a vintage-inspired apron dress that screams summer! Reminiscent of country living, picnics and sea. With its bare back, soft pleats and gathers, it is both relaxed and feminine, showing just the right amount of skin. For this project, we chose our bestselling medium weight linen in this gorgeous clay color. Named after the red rocks of Sedona, it is true to its name!
Luana features adjustable straps that cross at the back, lined bib bodice, two large inseam pockets and softly gathered midi skirt. This pattern falls into the “intermediate level” category due to its complicated pocket construction. But this should not scare beginner sewists as we really go through every step with detailed explanations and lots of pictures.
Materials
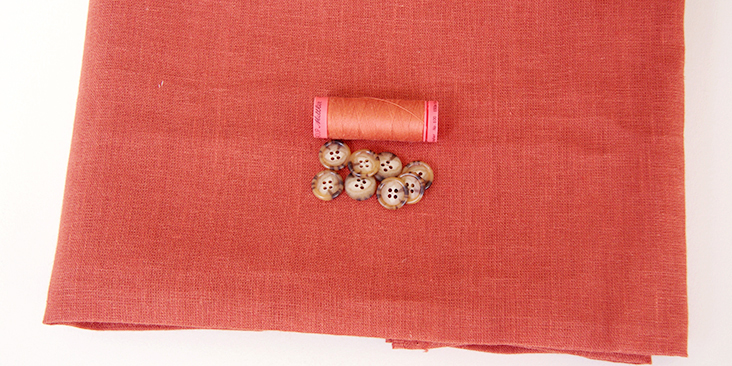
For our sample US size 6 pictured in this tutorial we used 2 yards of IL019 SEDONA Softened Medium Weight Linen. For other sizes, please refer to the yardage table in the PDF pattern to determine the required amount of fabric.
Matching sewing thread, eight 1/2”-wide buttons
Tools
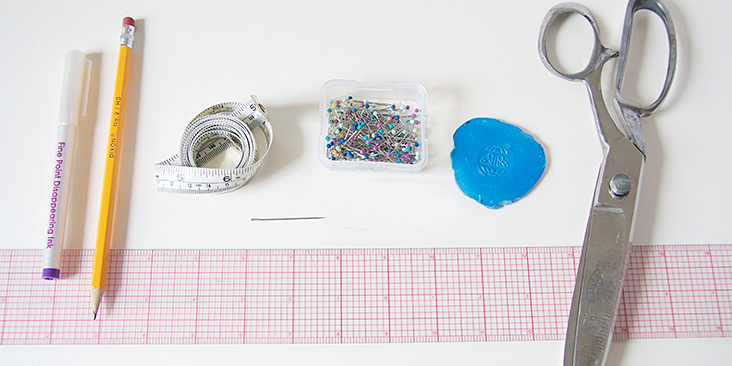
Scissors, pins, ruler, chalk, measuring tape, fabric marker, seam ripper, needle, sewing machine
Difficulty
Intermediate
Sewing Time
6-7 hours
Pattern
You can access the multi-sized printable PDF pattern by following this link HERE. All seam allowances are included and are 3/8” (1 cm) unless otherwise specified. The model is wearing US size 6.
Remember to transfer all the notches onto your fabric.
Steps
Note: Prewash your fabric and tumble dry it until it is still slightly moist, dry at room temperature. Iron the fabric so it is easier to work with.
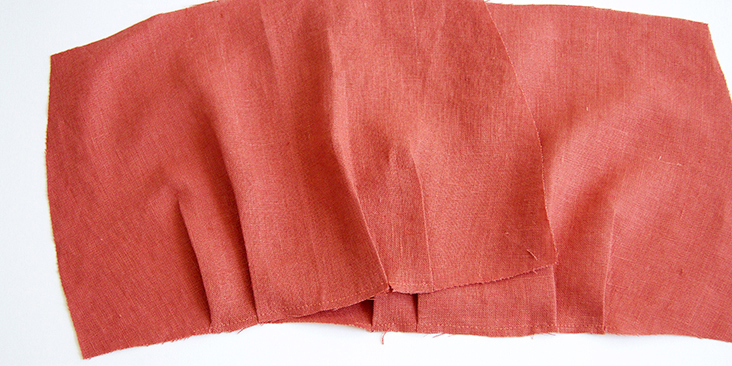
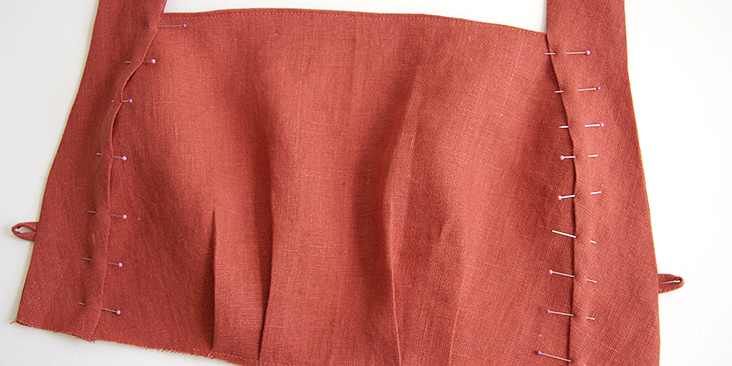
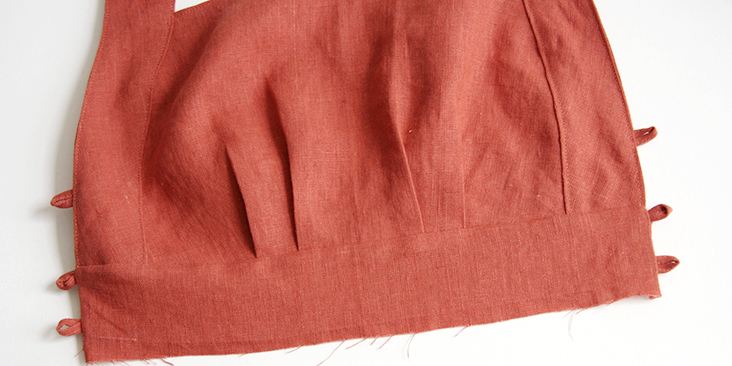
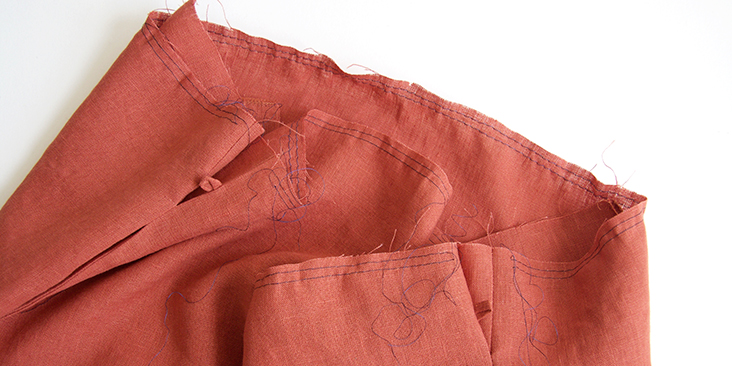
1. Start by forming the pleats on the outer and inner bib pieces. Create four ½”-wide pleats following the directional arrows indicated on the pattern. Press and baste in place ¼” from the waist.
2. Pin the two bibs right sides together at the top edge and stitch at a 3/8” (1 cm) seam allowance.
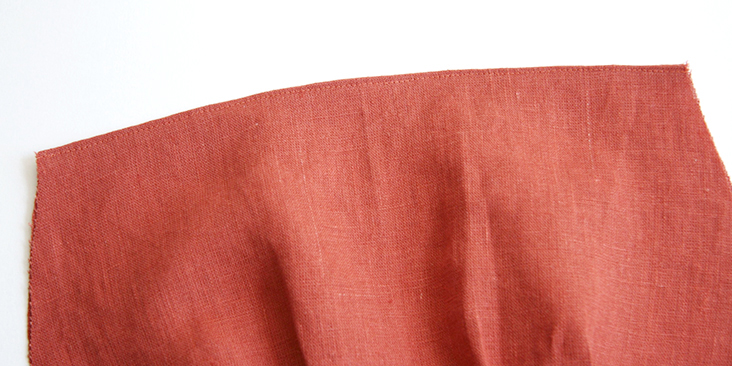
3. Turn right side out and press. Topstitch 1/8” from the seam.
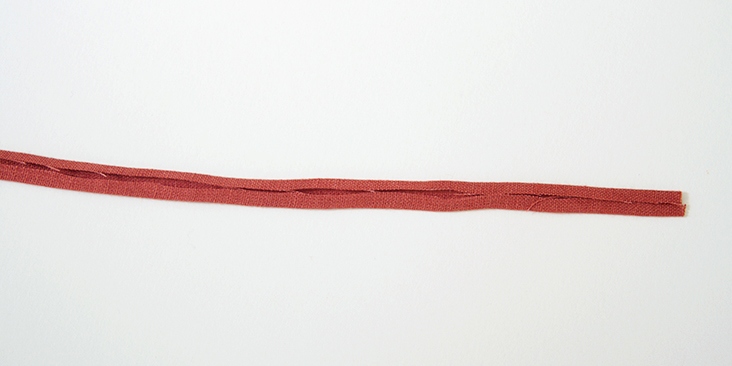
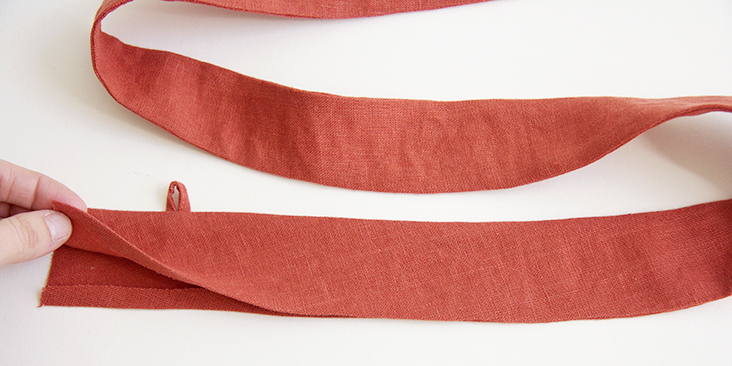
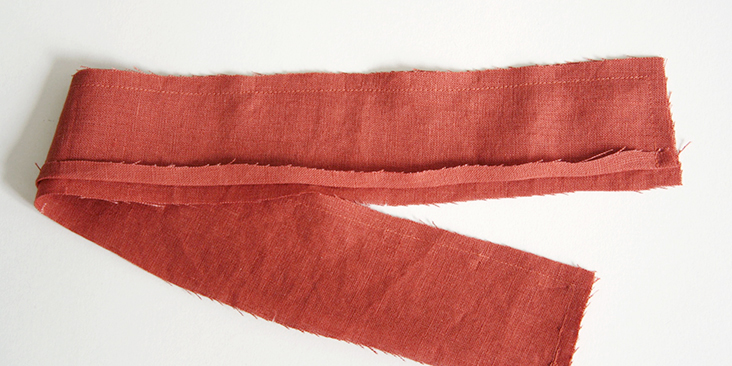
4. Prepare the button loops. Fold your rectangle in half lengthwise wrong sides touching. Press to mark the crease in the center. Then press each long edge into the center fold line.
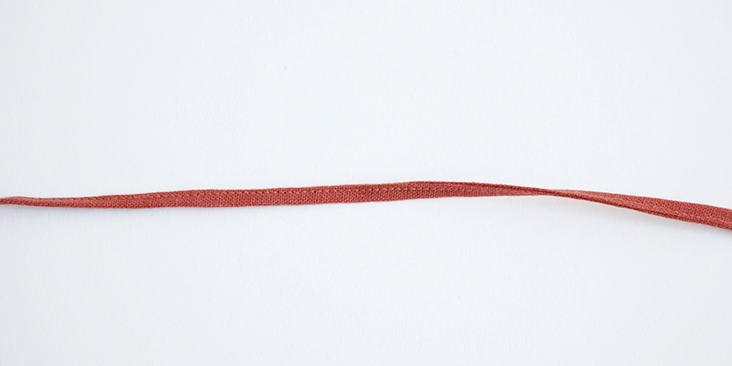
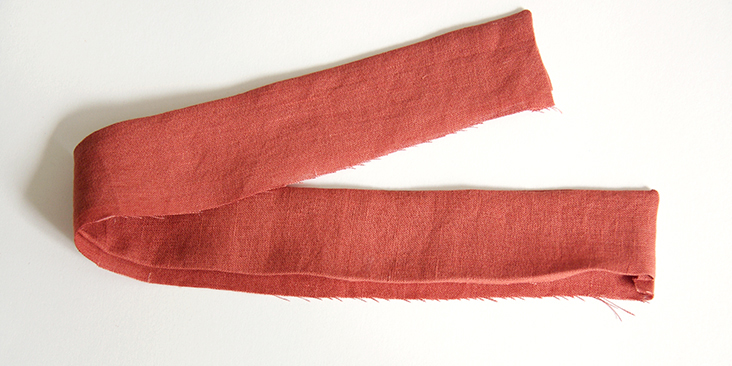
5. Fold in half again lengthwise, pin and edgestitch along the long edge of the strip.
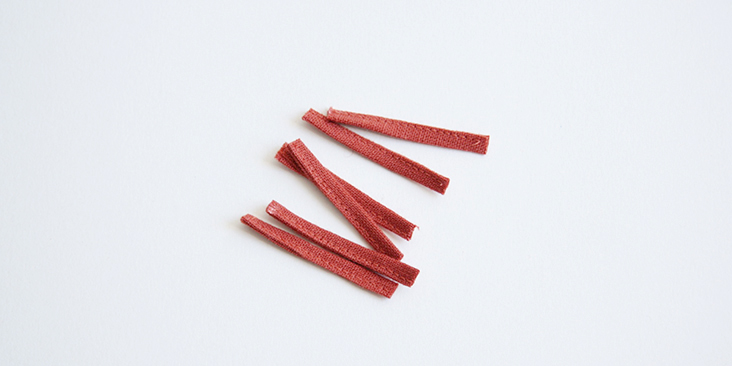
6. Cut your long strip of fabric into eight equal loops each measuring 2”.
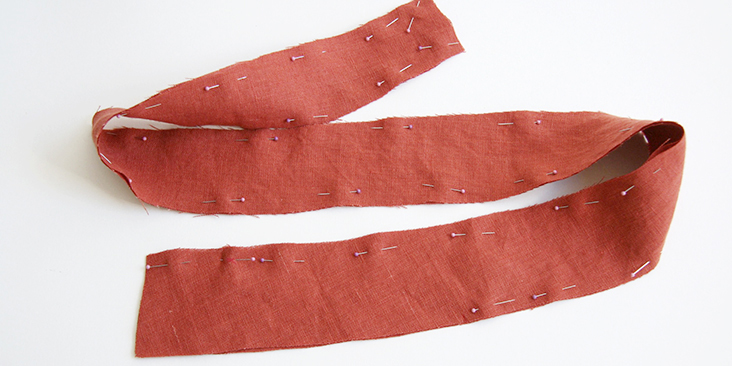
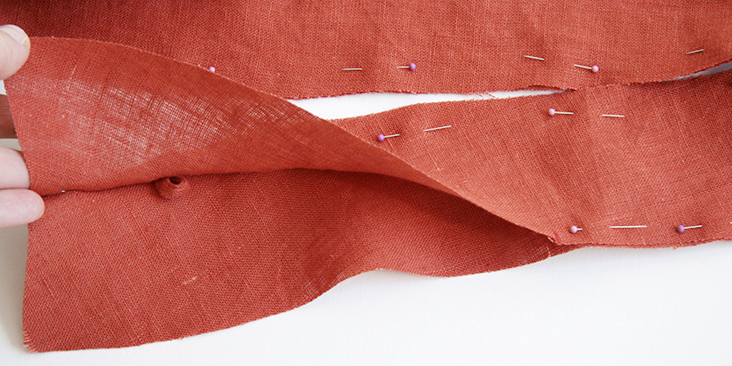
7. Align the two straps with right sides together and pin. Insert one button loop (aligning its raw ends with the raw edge of your fabric) at the placement mark along the bottom portion of the outer edge of the strap.
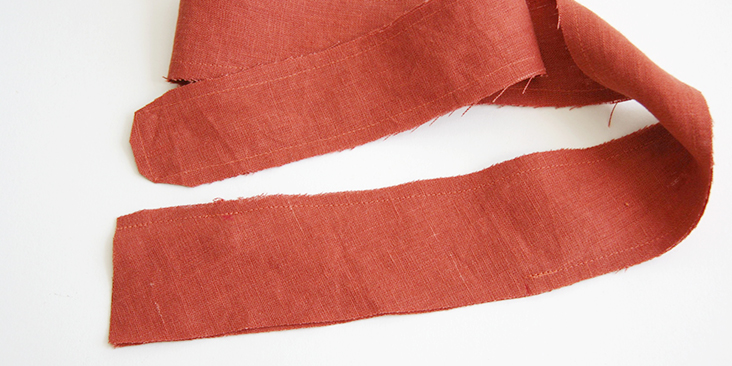
8. Stitch the two layers of the strap at a 3/8” seam allowance starting at the bottom of the outer edge, all around the strap end and stopping at the notch on the inner curve. Clip the corners and grade the seam allowance down to ¼”.
9. Turn the strap right side out and press rolling the seam line slightly to the inside. Press the unstitched raw edges to the inside.
10. Repeat steps 7-9 to sew the other strap. Remember that the two straps should be mirror images to each other.
11. Insert the bib into the openings of your straps (just 3/8” in) and pin.
12. Topstitch around all edges of the strap (except the bottom/waist edge) to attach the bib and to prevent the strap fabric from shifting in the future.
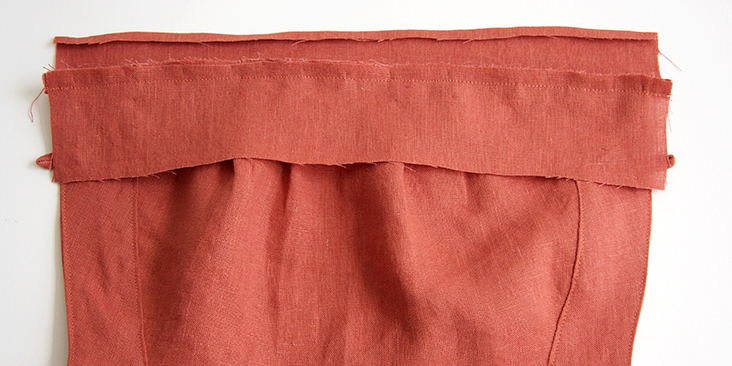
13. Take your two front waistband pieces and pin them to the waist of the bib aligning the raw edges and matching the center front notches. The right side of the outer waistband is placed on the right side of the bib, and the right side of the inner waistband is touching the wrong side of the bib. Make sure that the waistband side seam allowances are extended beyond the finished sides of the bib.
Stitch all layers together at a 3/8” seam allowance. Press the inner waistband seam allowance a tin smaller than 3/8” to the inside.
14. Insert two button loops into each short side of the front waistband. One at the top corner and one at the bottom, just before the pressed seam allowance of the inner waistband. Pin to secure.
15. Stitch the short ends at a 3/8” seam allowance and clip the corners to reduce bulk.
16. Turn the waistband right side out and press.
17. Take the back waistband pieces and pin them right sides together along the sides and the top edge. Press the inner waistband bottom seam allowance to the wrong side (a tin less than 3/8”). Stitch the two layers together along the pinned edges at a 3/8” seam allowance.
18. Grade the seam down to ¼”, clip the corners to reduce bulk, then turn right side out and press rolling the seam slightly to the inside.
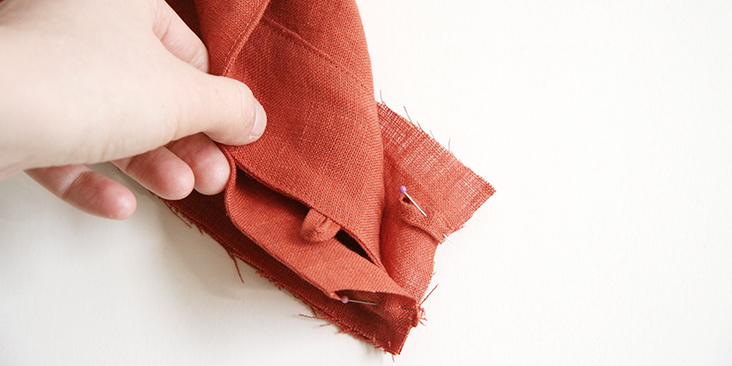
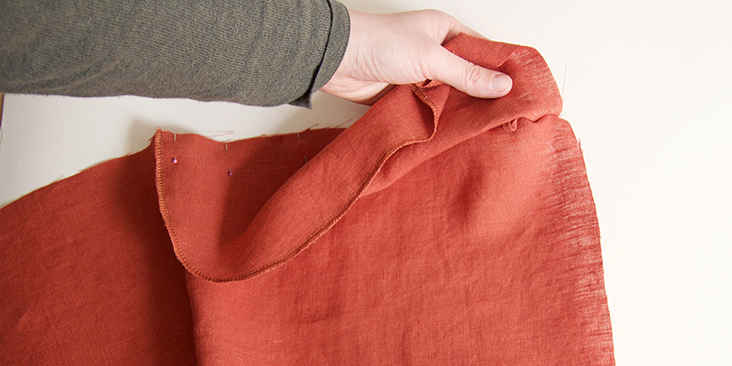
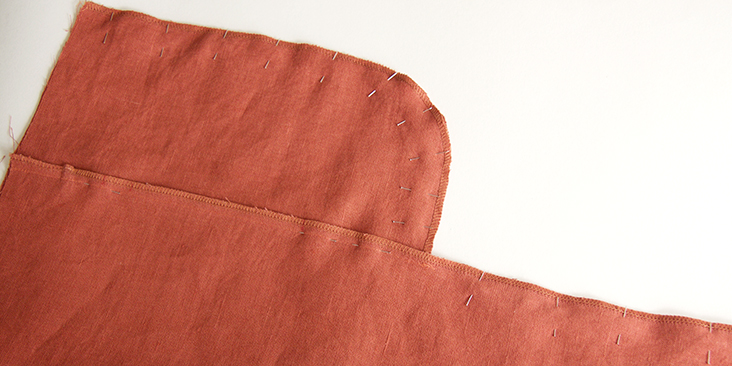
The most complicated part of the construction of this dress is the pockets. Just like with the inseam pockets, the pocket bags are sandwiched between the front and back skirts, but part of the upper side edge is left unstitched and the top edge is inserted into the waistbands.
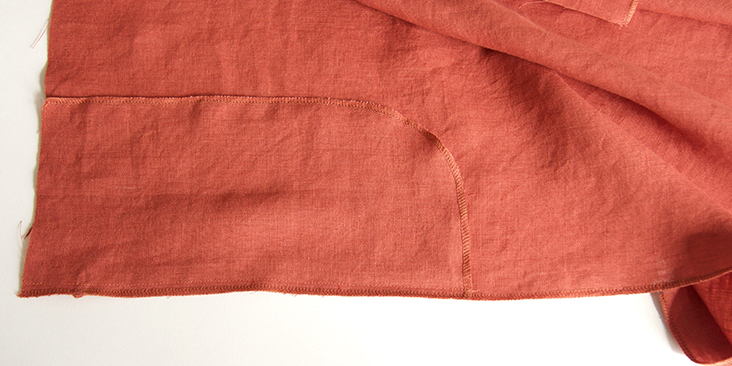
19. To start, serge or zigzag along the curved edge of all of your pocket pieces.
20. Pin pocket bags to the side seams of your front skirt right sides together and aligning the top/waist edges. Insert one button loop between the pocket and the skirt at the mark indicated in the pattern.
Stitch pocket to skirt at a 3/8” seam allowance, then finish the entire side seam edge with your preferred method.
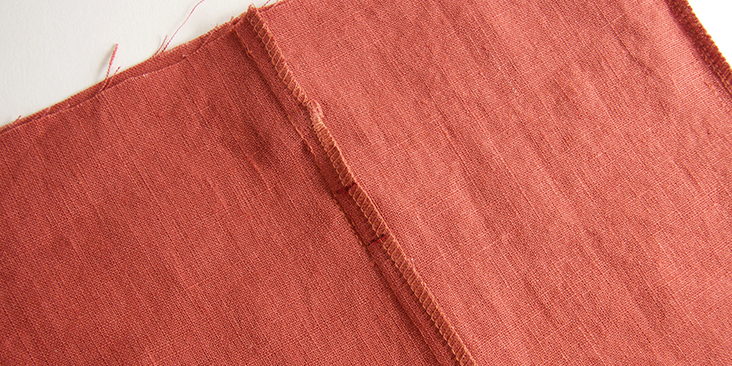
21. Press the pockets and seam allowances away from the skirt.
22. Attach pocket bags to the back skirt, finish the raw edges.
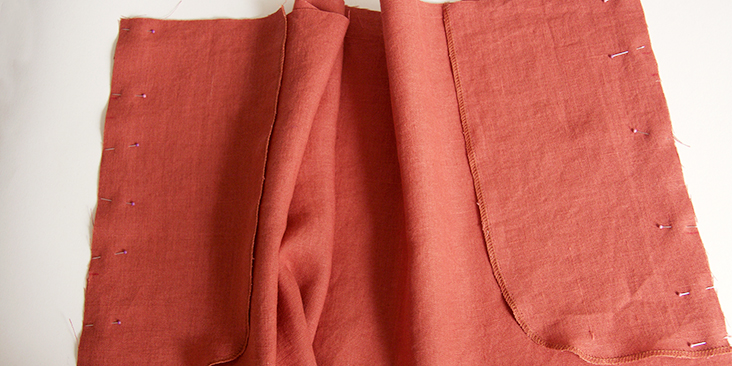
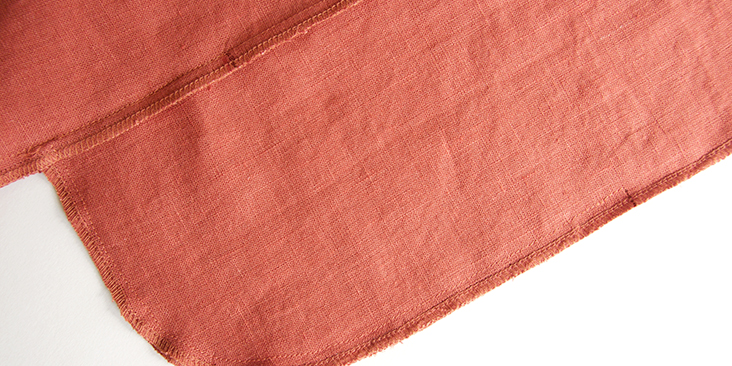
23. Pin front and back skirts right sides together at the side seams. Pin pocket bags together.
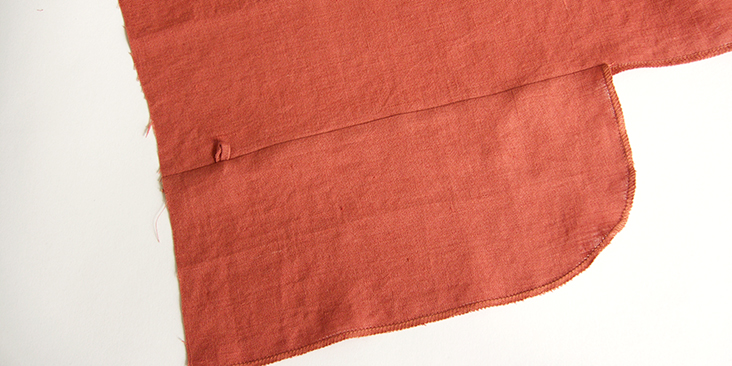
24. Make sure your pocket seams match. Stitch 1” in between the two notches. Then stitch from lower notch all way to the hem. Stitch the pockets bags from notch to the side seam along the curve.
Repeat with the other pocket.
25. Press your seams folding the pocket and the seam allowances towards the front skirt.
26. Run two lines of basting stitches along the waist edge of your skirt (back and two fronts separately). Use contrasting color thread and leave long tails. Make sure you run basting stitches on skirt fabric only, not the pockets.
Please check our detailed tutorial if you don’t know how to gather fabric.
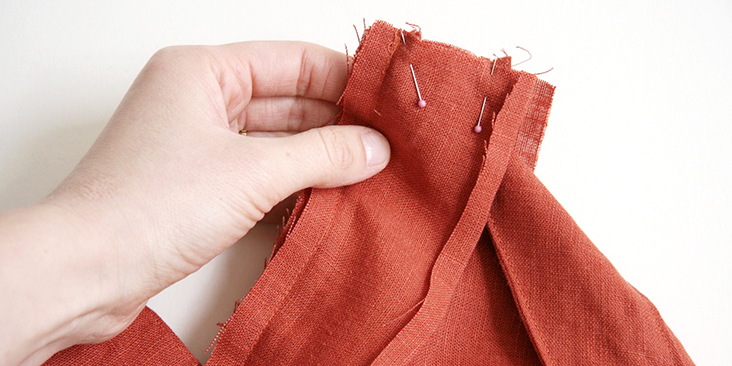
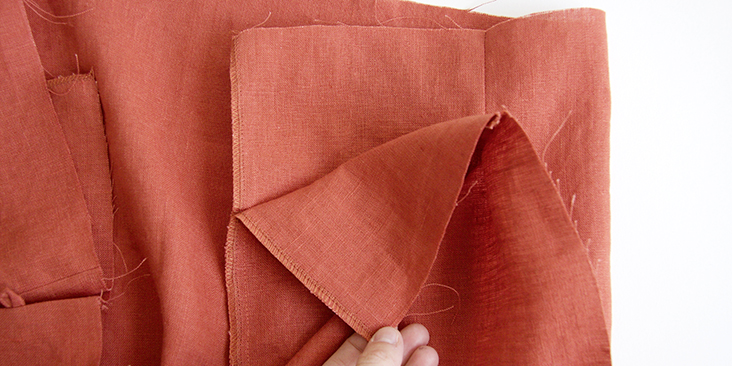
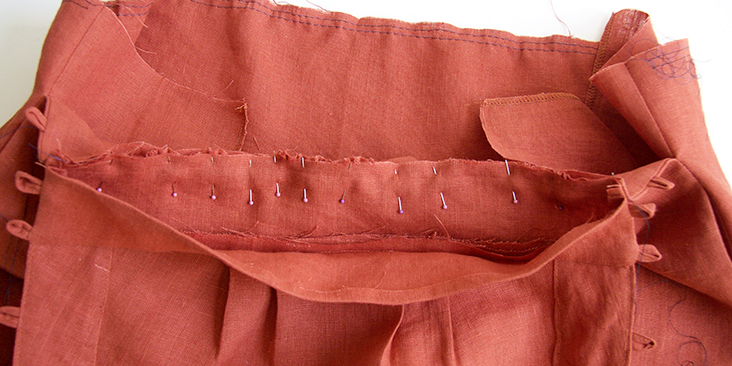
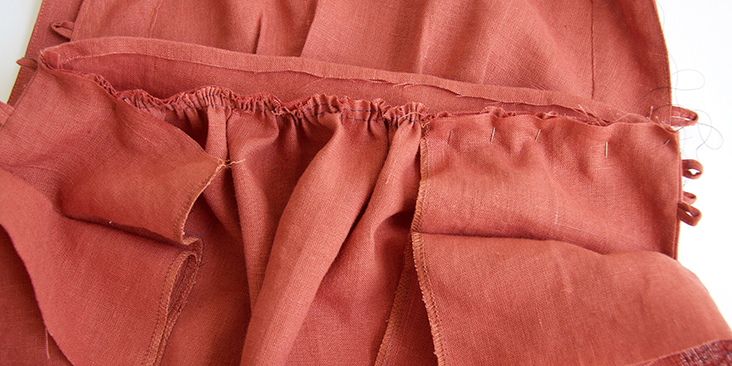
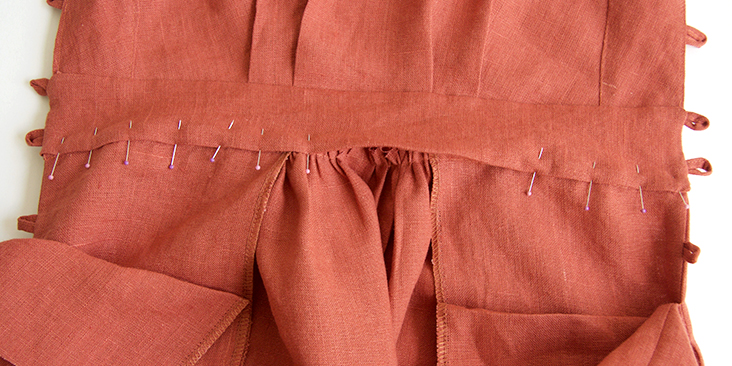
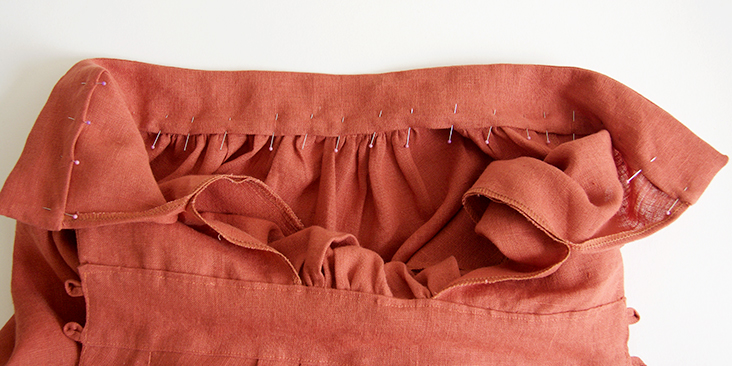
27. Take your bib and pin the outer waistband to the front skirt right sides together matching the center notches and the sides. Gather your skirt fabric evenly between these pins and pin. Pin the front pocket bags to the wrong side of your front skirt sandwiching the skirt in between. As you can see in the picture, the back pockets are left loose, they will later be attached to the back waistband.
28. Stitch all layers together at a 3/8” seam allowance. Remove basting threads. Press waistband and seam allowances away from the skirt.
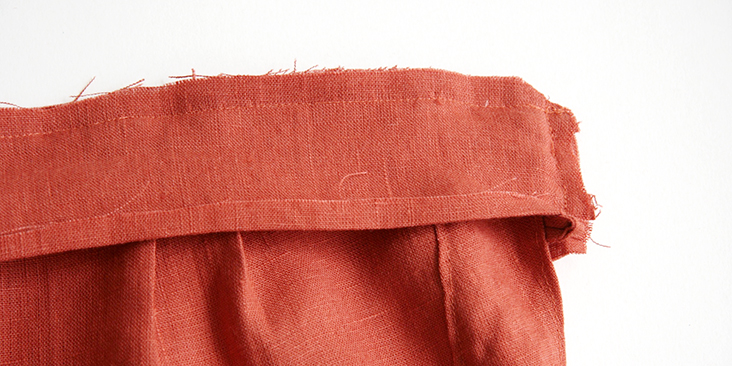
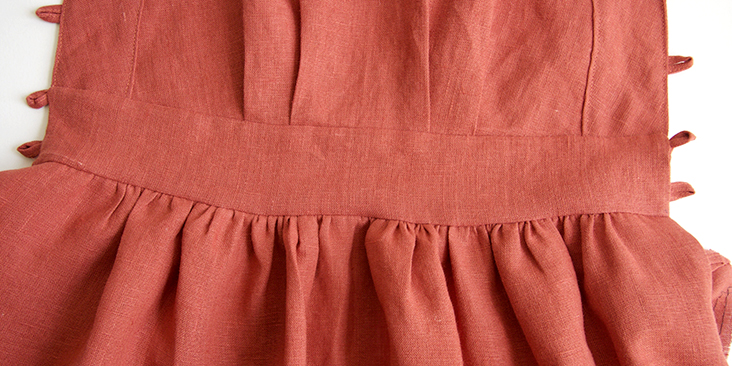
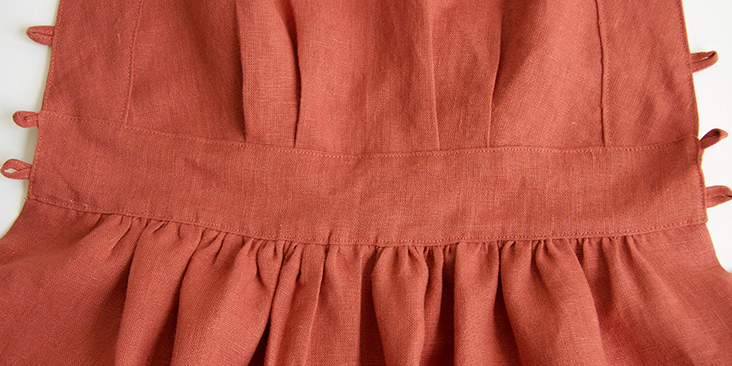
29. Pin the inner front waistband to the wrong side of the skirt covering the stitch line by 1mm .
30. Working from the right side of the garment, topstitch along all edges of the waistband securing the inner waistband in place and creative decorative topstitching.
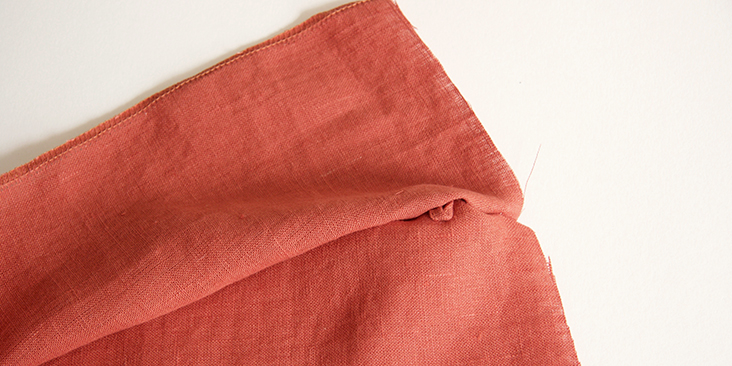
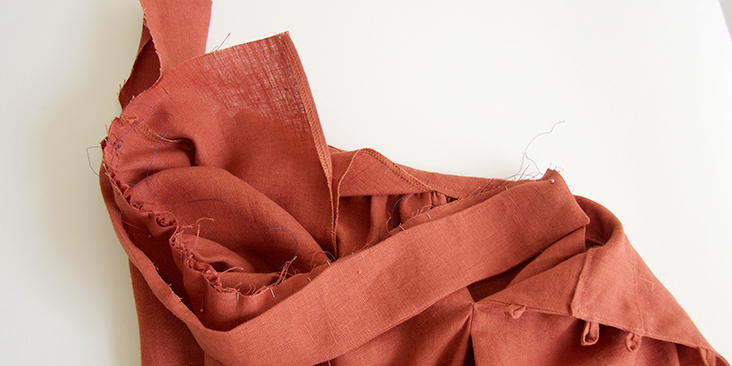
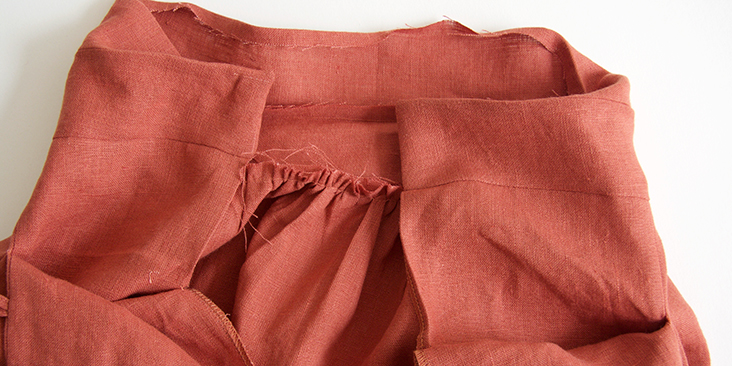
31. Repeat the same steps to attach the back waistband. Pin the outer back waistband to the gathered back skirt and back pocket bags right sides together. Fold your pocket seam allowance 3/8” to the outside.
32. Stitch at a 3/8” seam allowance, press away from the skirt.
33. Pin the inner waistband to the wrong side of the skirt and pocket bags, topstitch the entire back waistband from the right side of the dress.
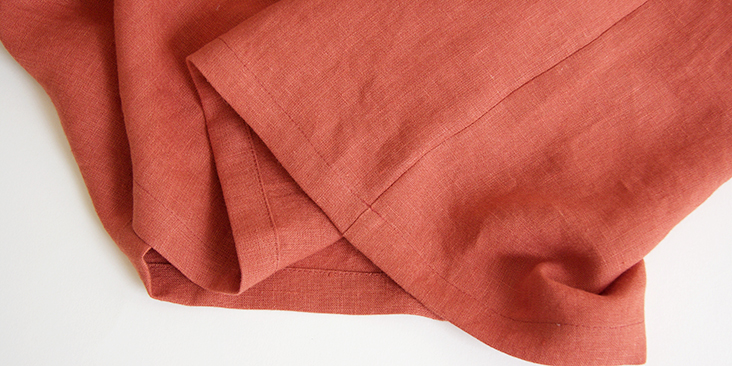
34. Finish the hem of the skirt by folding the fabric twice to the wrong side (first 3/8”, then another 1”), press and pin in place. Edgestitch.
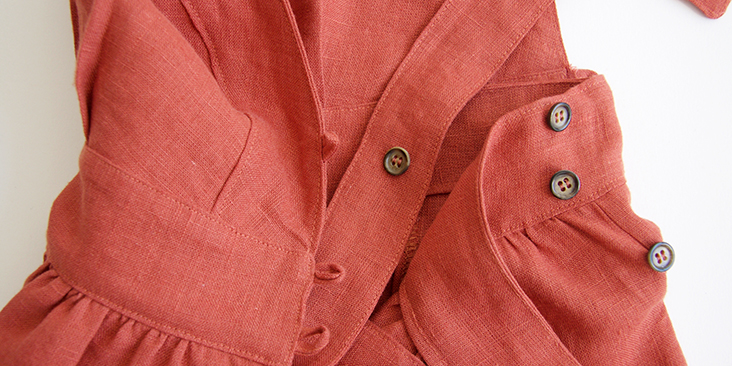
35. Lastly, attach the buttons at the side seams onto the back waistband extension, then try the dress on, cross the ties over the back and decide where to place a button on each strap.
Et voila! Now you have a beautiful open back apron dress for the hot summer days ahead!
We love seeing what you make! Don’t forget to share your pictures and tag your creations with #FabricsStoreLuanaPattern hashtag.























32 Comments
Faridah Daniels
Thank you for this free pattern. It was fun learning to make this.
I’m a basic sewer, so followed the instructions step by step and took 6 hours, including constructing the free pdf patterns etc. I think these few tweaks may be helpful to others.
* Pockets. The pattern for pockets is small. I prefer deep/large pockets, so I’d add 1-2 inches to the width & 2-3 inches to the length of the pocket pattern. This also made getting into the dress possible!
* Back skirt. If you prefer more gathering on back skirt, add another inches to the skirt waist width (skirt only). No need to add width to waist band.
* Skirt. I did two basting stitches to gather the skirt as instructed, but one is enough.
Thanks again fabric store. Loved this tutorial.
Bethany Muir
Does anyone know if you can pick a smaller sized bodice/shoulder straps (say 4/6) and a large size waist/skirt (say 8/10)????
Tran Nguyen
I’m about 80% of the way through this construction and as an experienced, professional sewer this is not good pattern design and construction design. Considering the pattern is free I guess I can’t complain too much and expect a perfect design. I just wanted to confirm other comments about the pocket/waistband construction. If completed according to directions you end up with the tiniest opening to get in/out of the dress. I would also prefer the back skirt to have more fullness. Compared to the front it seems unbalanced.
Patty Lin
After reading these comments, I decided to make this dress without pockets. I don’t miss them. The dress came out cute, but it’s true that the instructions were a bit hard to follow, even without pockets. A demo video would be nice. I messed up the first pair of button loops — if you haven’t made those before, I suggest doing a test run on scraps first.
Kim Jansen van Rensburg
Hi there ? i just downloaded the pdf and opened in adobe reader, but when i go to the section to download pattern HERE, there is no clickable link. Can you please help?
Lauren Linen
Hello Kim, The pattern is an attachment which you can open in Adobe. Here is a link to our tutorials which will step you through how to find them:
https://support.fabrics-store.com/hc/en-us/sections/360000039523-PDF-Patterns
Kim Jansen van Rensburg
Oh, hey Lauren ? so I followed the steps and not too sure, but there is not any attachment ?
So sorry if I am a little slow with this
Lauren Linen
Hello Kim, Sometimes if the download is interrupted, the pattern files can go missing. Try downloading the pattern file again, and if you’re still having trouble, please send us an email using the ‘Contact Us’ for on our website:
https://support.fabrics-store.com/hc/en-us/requests/new
Kim Jansen van Rensburg
Hi Lauren. I tried it again and still no attachment ???? Will email you now..
Shara Cooper
I’ve downloaded this pattern, but it’s only five pages long and there is no actual pattern. Where can I find the pieces to cut and the layout?
Lauren Linen
Hello Shara, the pattern is located as an attachment to this 5 page document. You will need to open your document in a .pdf reader like Adobe.
We have instructions for how to do this here:
https://support.fabrics-store.com/hc/en-us/articles/360057105032-Downloading-and-Opening-Free-pdf-Patterns-on-a-Computer-PC-and-Mac-
Phyllis Ho
For those who are struggling with the pockets, it’s this line of the instructions that’s confusing:
“Repeat the same steps to attach the back waistband.”
You do not do it the same! ie. you do not sandwich the skirt between the waistband and the pocket.
Each end of the waistband attaches to each pocket ONLY.
The gathered skirt fits into the remaining middle length on the waistband.
When it’s all done, the waistband/pocket bit is loose, and fits in behind the front waistband, which you then button up.
I hope that made sense!!
I’ve only been sewing for just over 2 weeks and the actual sewing of this dress is not complicated once you figure out the instructions. 🙂
Meaghan Hogan
You’re a genius! This is the answer to the pocket conundrum. Read this a few times while looking at the photos if you’re struggling to get the back waistband/pockets done.
Tracie Griffith
I got to step 33 and cannot figure out how a human is supposed to get into the dress. the pockets between the front and the back panels do not allow enough room to get hip or shoulders through. a design flaw?
Pam Fisher
Check Step #26. Run two lines of basting stitches along the waist edge of your skirt (back and two fronts separately). Use contrasting color thread and leave long tails…
>> Make sure you run basting stitches on skirt fabric only, not the pockets.
Is that the issue?
Maris Hare
Hah I just had the same problem. I checked the directions ten times afterwards… I’m just going to take the pockets out ????
Catherine Fullarton
I have the same trouble. I’ll either remove the pockets, like Maris, or sew all of the pocket tops into the front waistband.
Michal Okál
It really seems to be a mistake in tutorial. I think both front and back sides of pockets have to be stitched to the front waistband. Soin my opinion in point 27 back sides of pockets should not be left loose but rather stitched between front sides of pockets and inner side of the front waistband
Sarah Tomko
If you put the pocket in like a normal pocket it’s werid.
– You have to leave the inside of the pocket seam unstitched.
– Then you insert the front pocket only into the front of the dress.
– The back pocket gets attached to the back waistband, but instead of folded into it like you would think, it’s folded out. So that the waistband goes around your waist enough to the front that the pockets work.
– ie.. the back waist band goes around your back and to the front so that the pockets line up.
This method seems odd at best. But it does work. The instructions are just not written well and the pictures are hard to tell whats going on.
Cheryl Houston
Where can I find the fabric layout diagram for 58 inch fabric?
Katherine Wolf
I’m so excited to make this pattern! My linen has pretty frayed edges though and I don’t want things to unravel. Do all the raw edges end up covered? Otherwise, how would you recommend finishing them- French seams, or would that be too bulky?
Lauryn Smith
Love the pattern! I have a few questions: are there specific measurements associated with the sizes your site uses? I’m not sure what size I would be! Also, for the patterns that ask you to make your own bias tape, I’m assuming the yardage requirement given at the beginning does not include what you would need to make the bias tape. How much extra fabric to you recommend buying for the making of matching bias tape for a project like this?
Rima Khusainova
Hi Lauryn! The specific measurements we use for each size are provided in the Size Guide table provided in the PDF pattern itself. Just compare your measurements to the ones in the table and pick your size. As for the bias tape, you don’t need to purchase extra fabric, you’ll need just a short strip of bias cut fabric for the button loops and it is included in the Estimated Yardage table.
Diana Peterson
Page 5 does NOT download to print please correct this.
Anno Varma
For me page 5 is right where it should be. Strange!
Diana Peterson
Does it print though?
Anno Varma
Yes it prints. Page 5 of the pattern with the end of the strap is actually page 6 of the document and it printed fine for me (all the pages did)… I don’t know how to help. Are you using Adobe Reader? You could submit a request on their Contact Us page. I hope you mange to solve this.
Courtney Harmon
This is the second pattern I’ve tried and have had trouble with the pattern. This time, page 5 (the end of the straps) is missing! Am I doing something wrong?
Megan Williams
Confirming – Page 5 is nowhere to be found! Frustrating. I sent a msg to FS as well.
sophia rosales
I cannot wait to make this!!! I’ve been looking for a pattern like this!
Sonja Mccart
This is absolutely adorable!
Rima Khusainova
Thank you so much Sonja!