Luciana Dolman Sleeve Faux-Wrap Dress Tutorial and Pattern
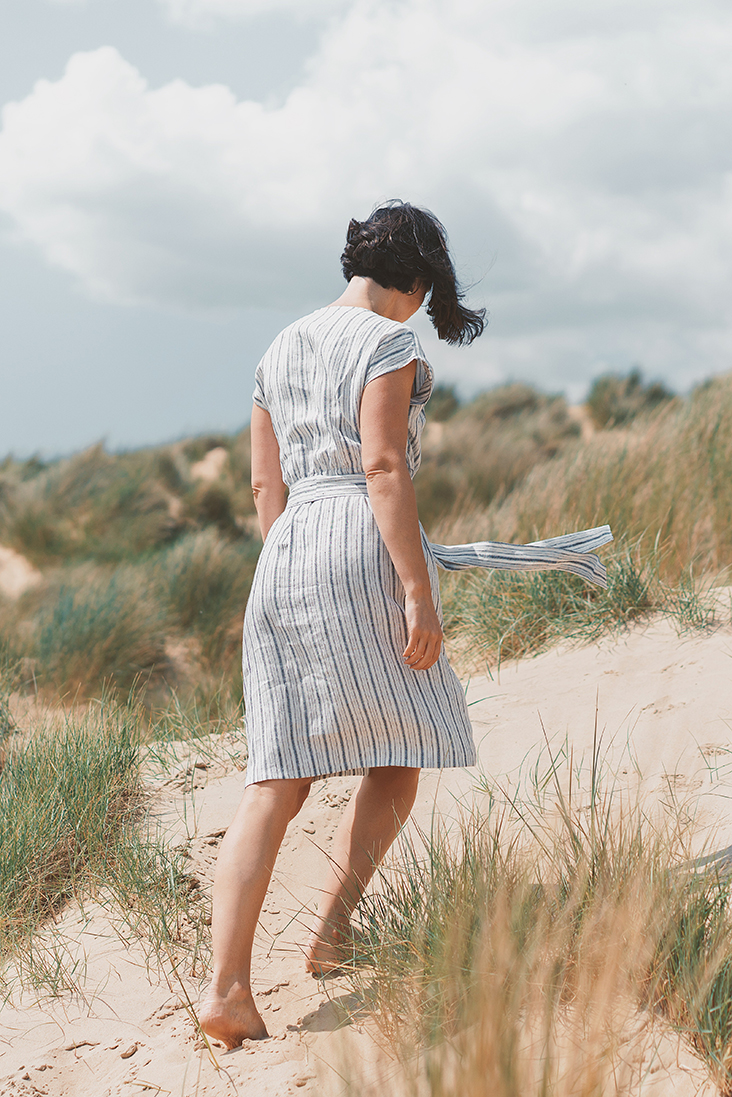
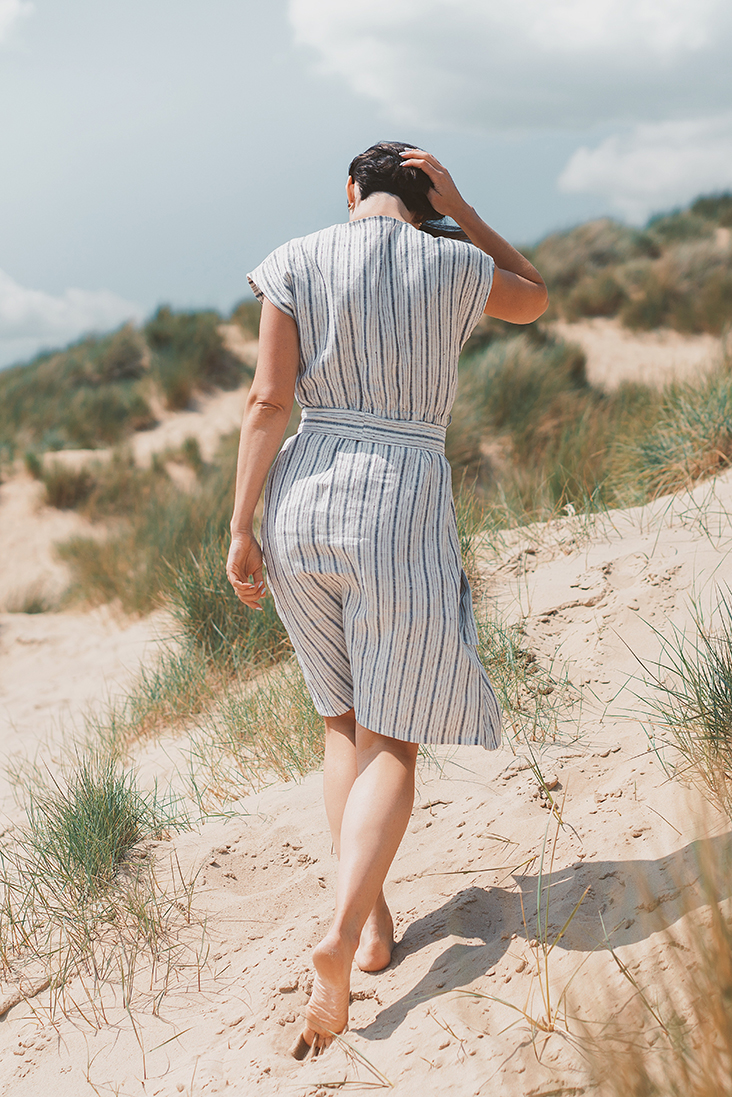
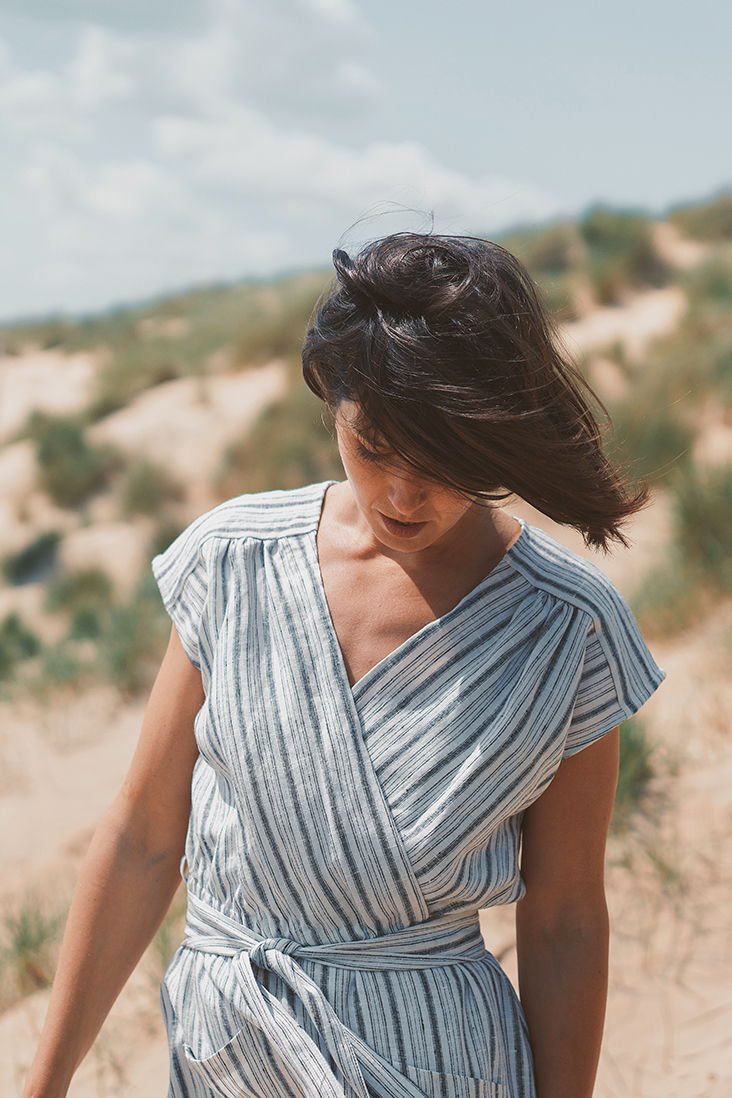
Feminine and vintage-inspired, the Luciana Faux-Wrap Dress is an effortless instant outfit that is sure to flatter any figure. It has all the benefits of a classic wrap dress (think sensual deep V-neck) and features an elasticated waist for more comfort, dolman sleeves and two convenient front patch pockets. It also includes a detachable belt to accentuate your waist and enhance the style. Shoulder yokes allow you to play with color and print blocking.
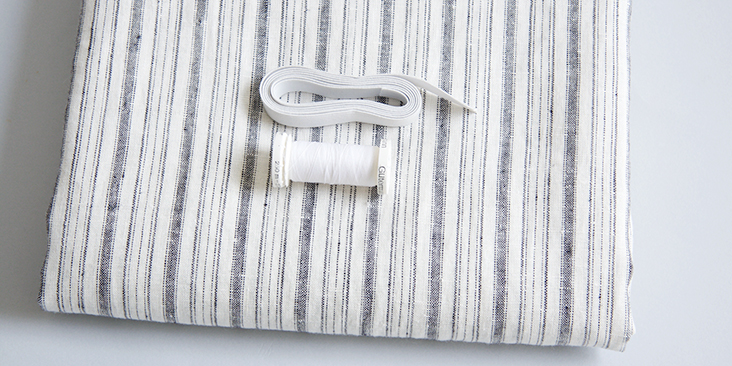
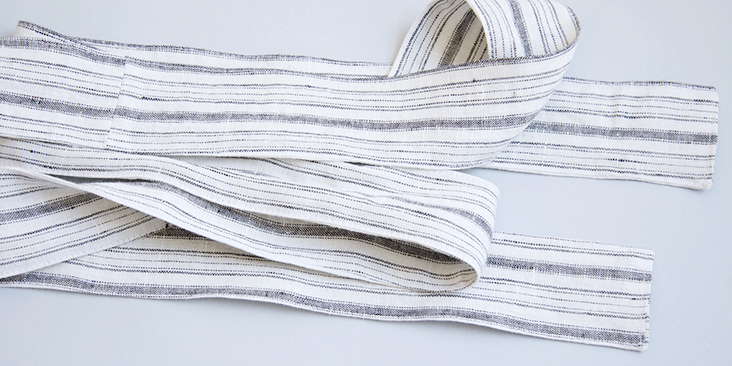
For this dress, we chose our beautiful yarn died medium weight linen with black and white stripes that reminded us of country living in Provence, lavender fields and hot days by the sea. Stripes are so summery and never go out of style. Plus, they offer so many possibilities for playing with fabric and the direction of the stripes to create visual interest.
Luciana is easy to make and wear, just slip it on and you are ready to go!
Materials
For our sample US size 6 pictured in this tutorial we used 2 yards of IL042 FS Premier Finish Medium Weight Linen
For other sizes, please refer to the yardage table in the PDF pattern to determine the required amount of fabric.
Matching sewing thread, ½”-wide elastic
Tools
Scissors, pins, ruler, chalk, measuring tape, fabric marker, safety pin, seam ripper, sewing machine
Difficulty
Beginner
Sewing Time
5-6 hours
Pattern
You can access the multi-sized printable PDF pattern by following this link HERE. All seam allowances are included. The model is wearing US size 6.
Remember to transfer all the notches onto your fabric.
Steps
Note: Prewash your fabric and tumble dry it until it is still slightly moist, dry at room temperature. Iron the fabric so it is easier to work with.
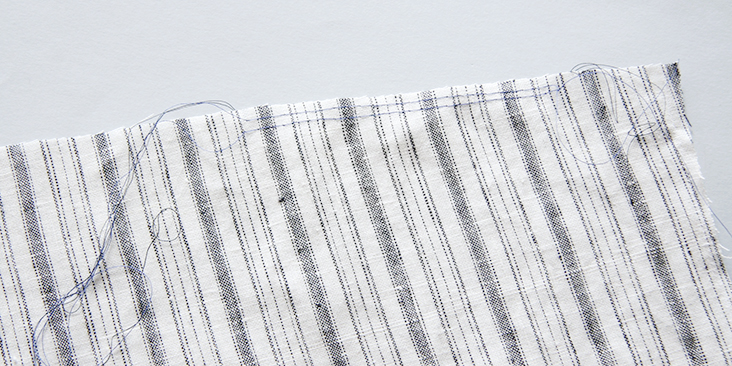
1. To start, staystitch the front neckline/wrap edges ¼” away from the edge. This will prevent the fabric from stretching since it’s cut on the bias.
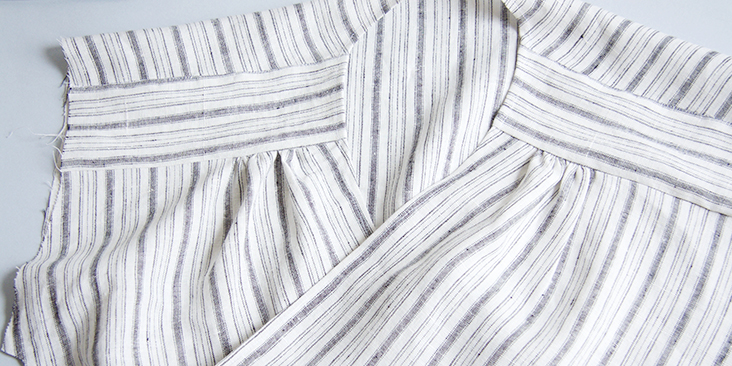
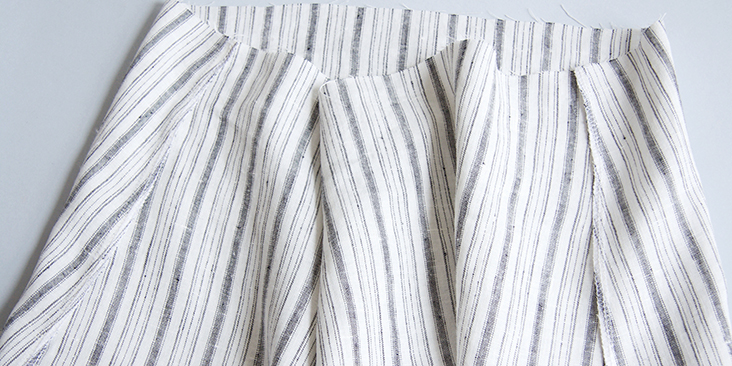
2. Gather front shoulder edge between the two notches. If you don’t know how to gather fabric, you’ll find all the answers in this step-by-step tutorial. Use contrasting color thread for basting stitches.
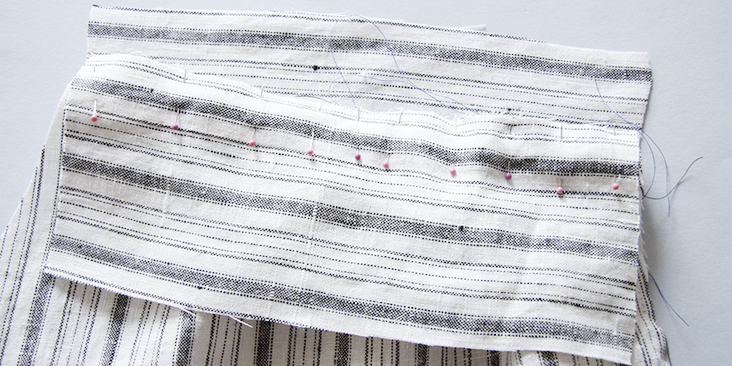
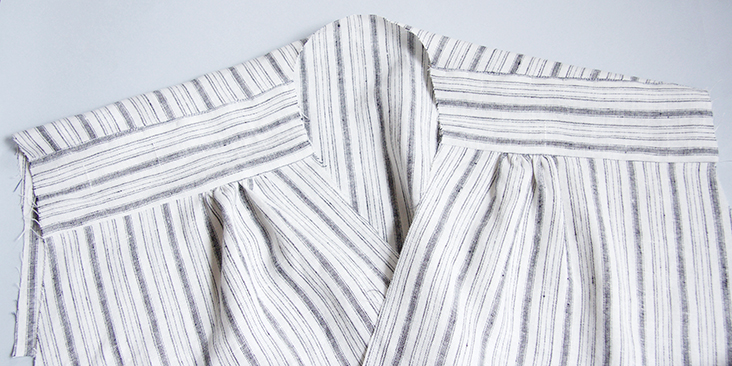
3. With right sides together, pin front to outer yoke at the shoulder seam and matching the notches. Your gathered area should fit perfectly between the yoke notches. Then take the inner yoke and pin its right side to the front’s wrong side sandwiching the bodice between the two yokes. Make sure not to confuse yoke’s neckline and armhole edges. The neckline is slightly curvy while the armhole is straight.
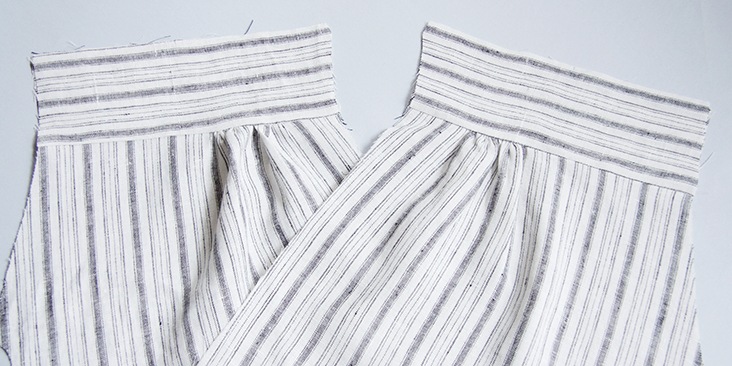
4. Stitch all three layers together at a 3/8” seam allowance. Then press the yokes and seam allowances up and away from bodice.
Repeat for the other front.
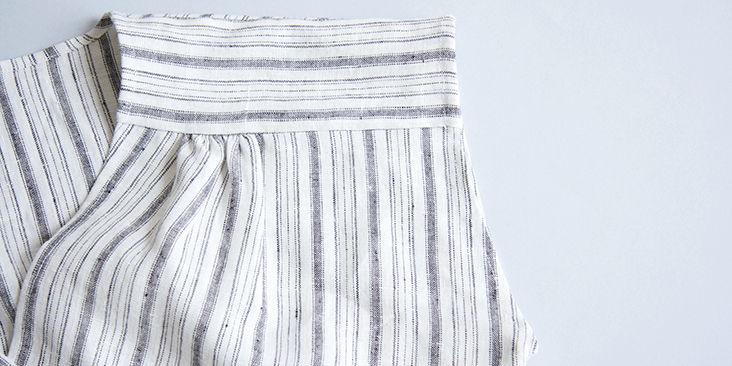
5. Now pin the other edge of the outer yoke to your back bodice right sides together. Stitch the two at a 3/8” seam allowance and press the yoke and the seam allowances away from the back.
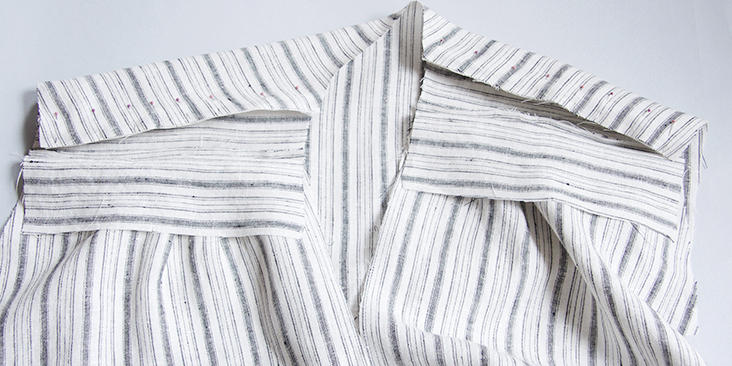
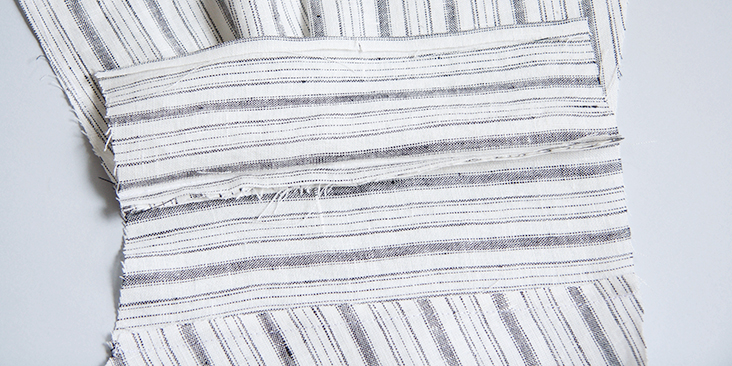
6. Press the seam allowance of your inside yoke ¼” to the wrong side and pin it to the inside of your shirt back. Make sure that the folded edge overlaps the seam line by a couple of millimeters so that when you stitch from the front it catches all layers neatly. Make sure to smooth out any wrinkles before you pin.
7. Working from the right side of your shirt, topstitch along the yoke seam in the crease of your outer yoke making sure to catch the edge of the inner yoke.
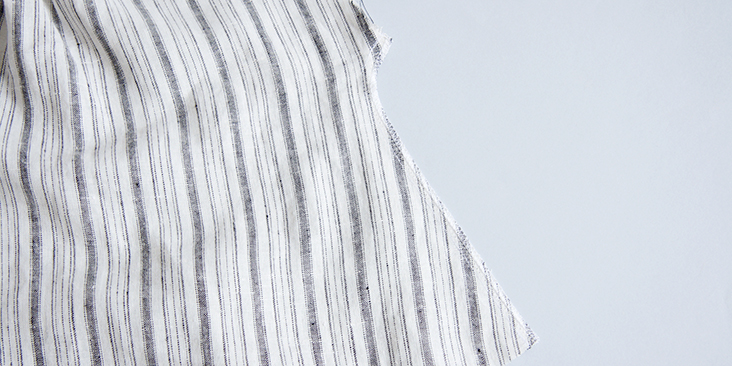
8. Finish the entire neckline/front wrap edge with a narrow rolled hem. Press your fabric twice to the wrong side (1/4” to ¼”), pin and edgestitch.
9. Sew the side seams right sides together and finish the raw edges with your preferred method (serge or zigzag the seam allowances together) to prevent the fabric from fraying. Press seams toward the back.
10. Finish the armholes with a ¼”-wide rolled hem (just like you did for the neckline).
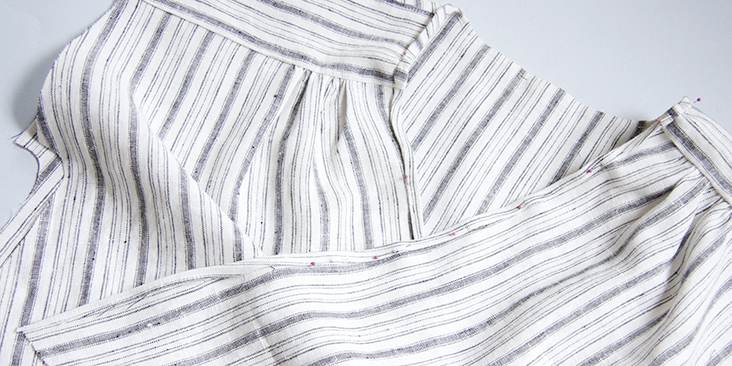
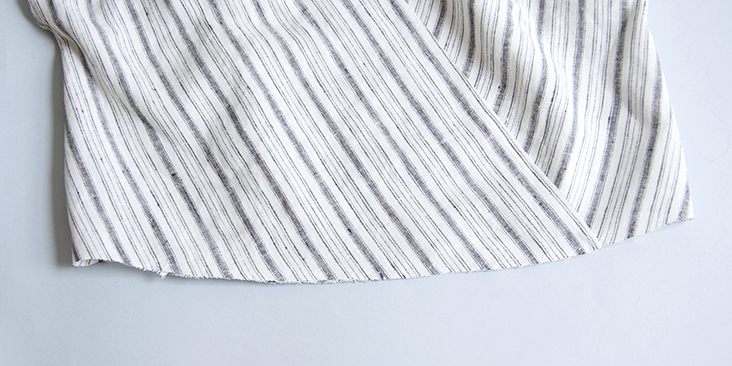
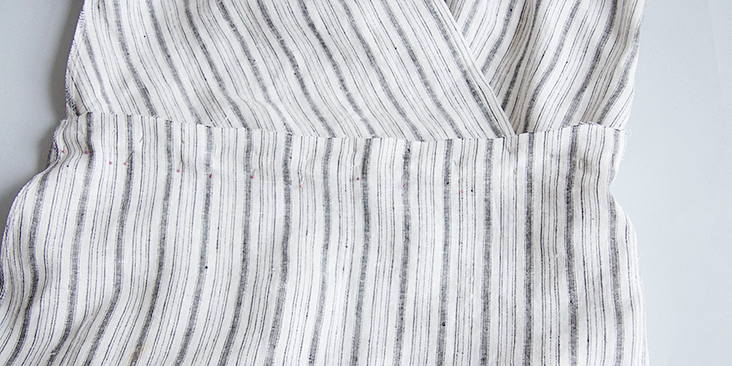
11. Lap right front overlap matching the center front notches and aligning the waistline edges. Baste the two in place ¼” from the edge.
Your bodice is now ready, time to sew the skirt and attach the pockets.
12. Fold the top edges of your patch pockets twice to the wrong side and edgestitch. Serge/zigzag the remaining raw edges.
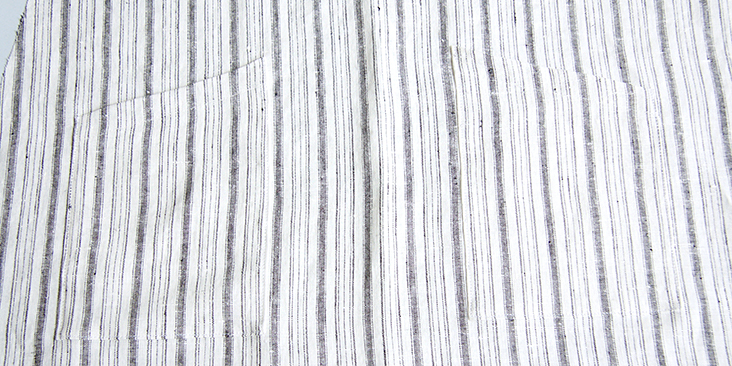
13. Attach the pockets to the skirt following the instructions in this detailed tutorial (the first method). For the exact placement of your pockets refer to the markings in the pattern.
14. Pin and stitch front and back skirts right sides together at the side seams. Finish the seams with your preferred method (serge or zigzag the raw edges together) to prevent fabric from fraying. Press towards the back.
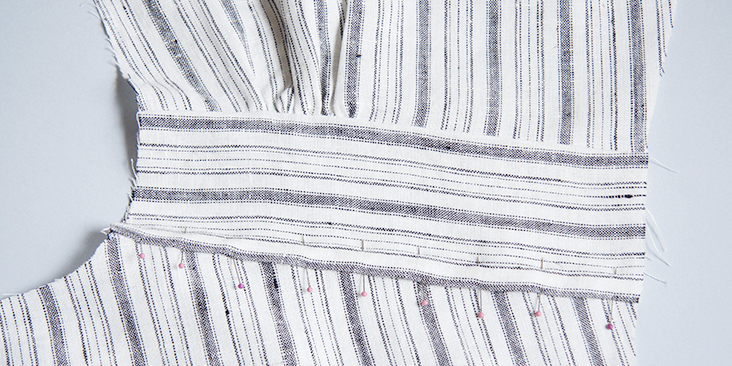
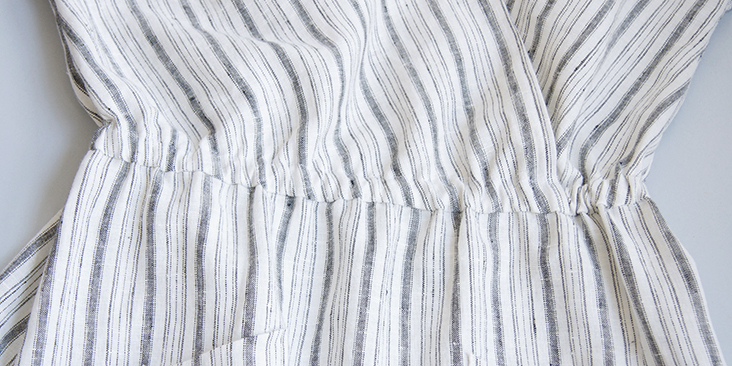
15. Pin the skirt to the bodice right sides together matching the side seams. Stitch at a 1” seam allowance. Press the seam allowances up towards the bodice.
16. To create the casing for the elastic, you need to trim the bodice’s seam allowance down to 3/8” and press the skirt’s raw edge 1/4” to the wrong side.
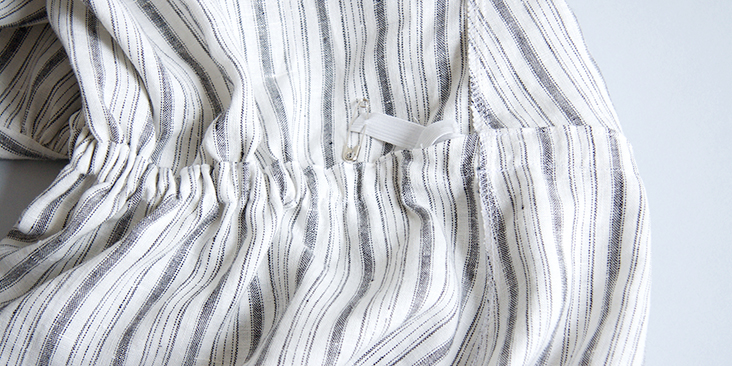
17. On the wrong side of the dress, pin your casing to the bodice and stitch along the folded edge beginning and ending at the side seam and leave a small 1”-1.5”-wide gap to insert the elastic.
18. Attach a safety pin to one end of the elastic and pull it through the casing.
19. Lap one elastic end over the over and anchor the edges with several lines of stitching through all layers. Pull gently on the waistband fabric so that the joined elastic ends slip inside the casing. Distribute the gathers evenly. Then sew the opening closed with the same seam allowance used before. Make sure not to sew into the elastic itself!
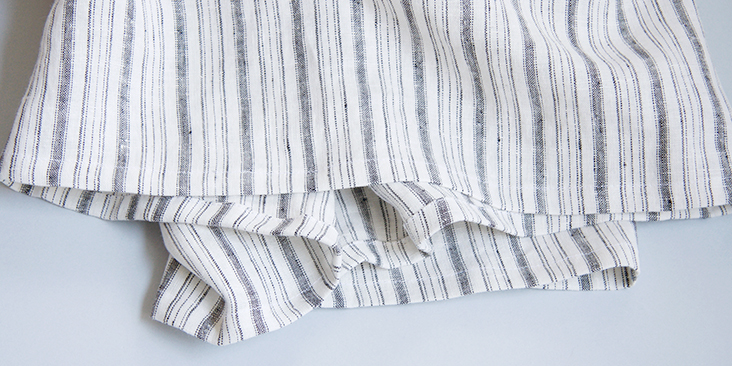
20. Hem the skirt by folding your fabric twice to the wrongs side, first 3/8” then another 1/2″. Press, pin and edgestitch.
The body of your dress is now complete, the last thing to do is to sew the belt and attach two belt loops at the side seams.
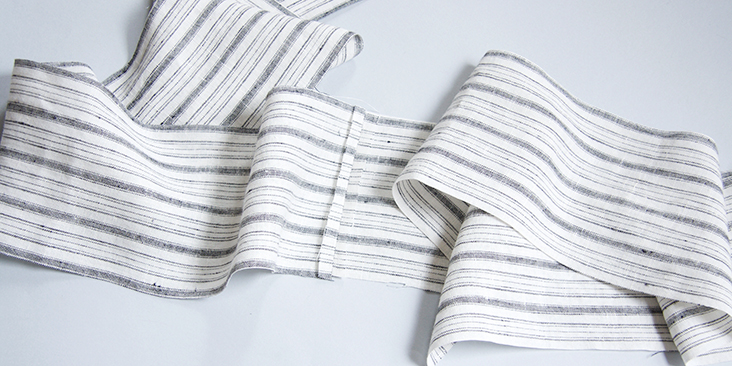
21. To sew the belt, join the two short ends of your rectangles right sides together. Press the seam open.
22. Then fold your fabric in half lengthwise with right sides touching. Leaving one end open, stitch along the long edge (1/4” away from the raw edge) and then pivot at the end corner and finish the end. Backstitch at the start and finish of the seam. Clip the corner.
23. Turn the belt right side out, use a sharp tool or a chopstick to turn the corners and press. Tuck in the raw edges into the opening, then stitch along the perimeter of your belt 1/8” from the edge to close the opening and prevent the belt from twisting in the future.
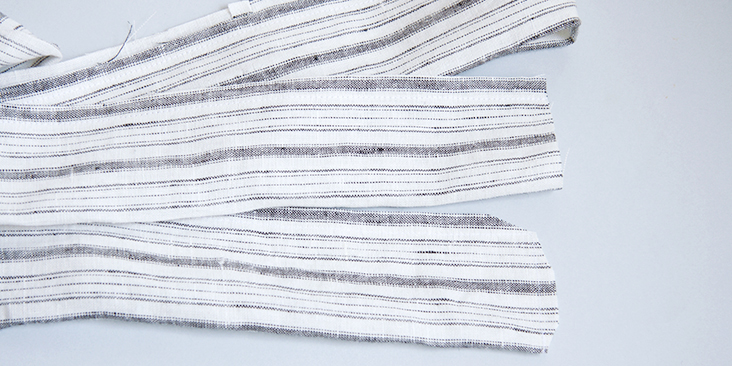
24. Lastly, sew and attach belt loops at the side seams.
Give your dress a good last press and you are all done!
We love seeing what you make! Don’t forget to share your pictures and tag your creations with #FabricsStoreLucianaPattern hashtag.










36 Comments
Lonny Fennis
I really love this dress, have traced the pattern, bought great linnen but.. I ‘m a tall woman and I need to lengthen the body with 7-10 cm That would mean the sides on the front are wider than they are now and may easily fall open. How do I go about it so it doesn’t do that? Do I hold on to the original width and make a more steeper front maybe?
Thanks for answering me!
Andrea Long
I was looking for a dress to make for Easter, I thought this would be a very nice dress to fit my shape. The link to the download for the various sizes of the pattern no longer works. Will that be fixed or should I move on to another possibility? Just curious. I love linen dresses!
Monica Amaya
hola!!! hay un video de este patron de vestido, soy principiante, y algunas fotografias las he mirado varias veces para entender , se facilitaria si hubiera un video, gracias
Allyson Smith
Wondering if there is a way to construct the shoulders without the yoke? Would I need to add inches to make up for the lack of the yoke or would it mess with the sleeve/arm hole construction?
Lauren Linen
The Yoke is integral to the design of this dress, so you wouldn’t be able to remove it unless you did add its length to the bodice front, and added the gathers into the shoulder line. This would drastically change the fit of the dress through the shoulders, neckline, and bust.
Karen Craig
Hello, Is there a cutting layout for this pattern?
Lauren Linen
Hello,
In order to offer so many patterns for free we’ve kept them very simple. So there isn’t a cutting layout included. To lay out your pattern pieces start by folding your fabric in half with selvedges together and laying any pieces which need to go on the fold first, then add your larger pieces, finally slot in any smaller pieces around them. Don’t forget to lay all pattern pieces according to their grain lines.
Jane Niccum
Does anyone know how much ease is needed to achieve a similar fit to the example?
Lauren Linen
Hello,
In order to wear the garment with the same ease as our model, please select your size based on your body measurements. The pattern has this ease built into the pattern and is listed in the finished garment measurements.
Shif Shakeel
Hi! How to make the sleeves elbow length or little longer. How can I add more length for the sleeves?
Lauren Linen
hello, this pattern is in fact, sleeveless. The way the bodice is cut, it gives the illusion of short sleeves. To add a long sleeve you will need to draft one which can be tricky.
We have a wrap top pattern called “Julia’ which comes with different sleeve length options. You could pair it with the Skirt included in the pattern collection, or attach a simple gathered skirt to make it into a dress.
Natalie Gonzalez
Am I missing where the length of elastic per size is listed? I have looked over everything several times and I don’t see it. Thank you!
Lauren Linen
Hello Natalie, The width is 1/2″ and the length will depend on your body size, simply wrap the elastic around your waist where the dress will sit, making sure it is firm but not tight.
Maria Marques
Hi!
I’m new to sewing 😛
Is it possible to make the bodice in size 12/14 and skirt in size 16/18?
Thanks!
Lauren Linen
Hello Maria,
You wouldn’t be able to cut two different sizes for the bodice and the skirt as they won’t match up when you sew them together (unless if you gather the skirt, but that could result in extra bulk when you create the elastic casing!)
What I would do it either blend out your bodice to the 16/18 from bust to waist, so your waist is the larger size, or Blend the skirt from a 12/14 waist to a 16/18 hip. The method you choose will depend on where you’d like the extra room to start ,the waist, or the hips.
I hope this helps 🙂
Lynette Harvey
I’m looking for the size and yardage charts for this pattern. I don’t see them in the pattern pdf. Am I missing something?
Lauren Gates
Hello Lynette, the size and yardage charts are located on page 4 of the main .pdf booklet. This pattern was updated to include this information in October of 2021, so please make sure you have the most up to date copy 🙂
Bridgette Slade
Hello, the tutorial link doesn’t seem to be working. Thank you for the amazing tutorials ?
Lauren Gates
Hello Bridgette, I’ve just checked all of the links in this tutorial and they all appear to be working from our end. If you’re still having trouble accessing any of the links, please email us and we can send you a copy of them.
email: ask@fabrics-store.com
Mayhem Fine
Hi! I’d like to access this PDF, but the link appears to be broken? I’ve downloaded Acrobat and tried just about everything I can think of to get the PDF, but no dice! I’d really love to give this dress a try; is it available anywhere else?
Lauren Gates
Hello here is the link to the pattern:
https://fabrics-store.com/sewing-patterns/luciana-luciana-dolman-sleeve-faux-wrap-dress-pattern
Renault Aurélie
Hello
I didn ‘t found the longer of the elastic for 4/6 size. Can you help me, please ? Thanks a lot !
Lauren Gates
I’ve sent you an email 🙂
Karen Ralcewicz
Did anyone find they needed to lengthen the bodice? Asking because I’m a bit long waisted.
Andrea Williams
I finished my dress and wish the bodice was longer as well…..
Charlene Hesselink
Not able to download instructions…. can you send me the link?
Lauren Gates
Hello, I have sent you an email with the instructions. I have checked the link to download the instructions (“download .pdf” link at the bottom of the page) and it seems to be working now 🙂
Elena Millon
Making this dress, I found that the back bodice is wider than the top of the skirt, and if I garther the back bodice to fit the top of the skirt then the casing for the elastic is a mess. Am I doing something wrong? Maybe I have skipped a step, but I cannot find a solution. Can someone help me? Thank you very much.
Elena Millon
Ufff, rookie mistake. Mixed Leonor and Luciana pattern pieces. Sorry
Penny Sullivan
I made this as my summer dress this year and it’s lovely. Generally a great pattern that goes together nicely. I would agree with Tracy above though, cut it so the center front edge of the front bodice pieces is on the straight of grain rather than the bias. I cut it as per the instructions and the front is stretching out horribly.
Brenda King
Just made this beautiful dress. I love it so much. Thanks for the pattern.
Rachel Dillon
Can you explain what to do with the strangely shaped pocket? The tutorial link refers only to rectangular pockets.
Rachel Dillon
Using a contrasting thread, though maybe not ideal in the finished product, would make it easier for the beginner (me!) to see what’s happening in the photos. Also, a fabric with an obvious right side and wrong side – this fabric though lovely, looks the same from both sides. I’m halfway through, I’ll let you know how I go!
Peggy Larson
This is in reference to neckline: 1/4” rolled hem should use 1/2” total or folding the 1/4 “ in half?
Tracy Grondin
Hi,
The instructions and grain line indicate that the bodice front is cut so that the CF edge is on the bias. However, your sample garment has the grainline shifted, so that the CF edge is on the straight, along a stripe (which would stabilize the front edge and keep it from stretching out when clean finished.) It’s confusing to have the instructions one way, and the sample the other. For the record, I’d make it as your sample, I think it makes more sense.
Thanks!
Kim Markey
Lovely dress and great tutorial < Thanks.