Celine Pull On Jumpsuit Tutorial and Pattern
Some fashion trends come and go, very few have staying power. However, the jumpsuit has adapted and evolved over the years and has now become a wardrobe staple. Jumpsuits have that effortless cool factor to them and are the absolute easiest and quickest way to get dressed!
Our linen jumpsuit features a faux-wrap front, elasticated waist and relaxed cropped pants. Cut from our gorgeous yarn-dyed linen, it has a great texture and the softest feel that will keep you cool and cozy all year long. An easy, complete put together look and a great beginner sewing project!
Materials
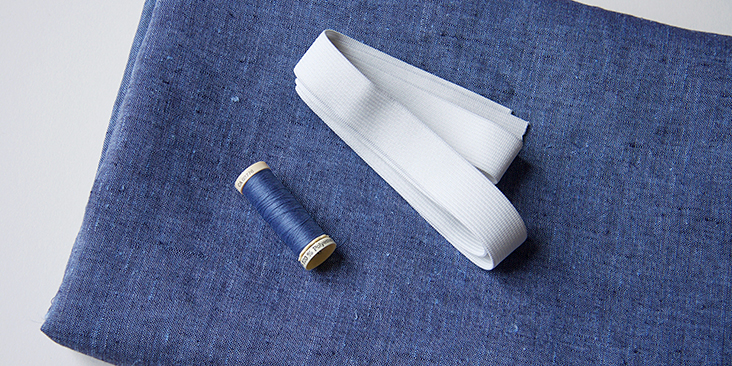
For US size 6 pictured in this tutorial: 2.5 yards of IL042 908 FS Premier Finish Medium Weight Linen. For larger sizes, please refer to the yardage table in the PDF pattern.
Matching sewing thread, 1 yard of 1”-wide elastic, one small snap button (optional)
Tools
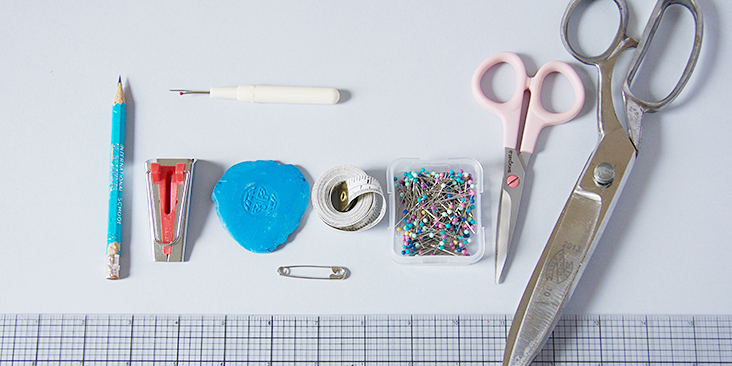
Pattern paper, scissors, pins, ruler, chalk, safety pin, measuring tape, fabric marker, 18 mm bias tape maker, sewing machine
Difficulty
Beginner
Time
5 hours
Pattern
You can access the multi-sized printable PDF pattern by following this link HERE. All seam allowances are included. The model is wearing size US size 6.
Steps
Note: Prewash your fabric and tumble dry it until it is still slightly moist, dry at room temperature. Iron the fabric so it is easier to work with.
Let’s start with the pants.
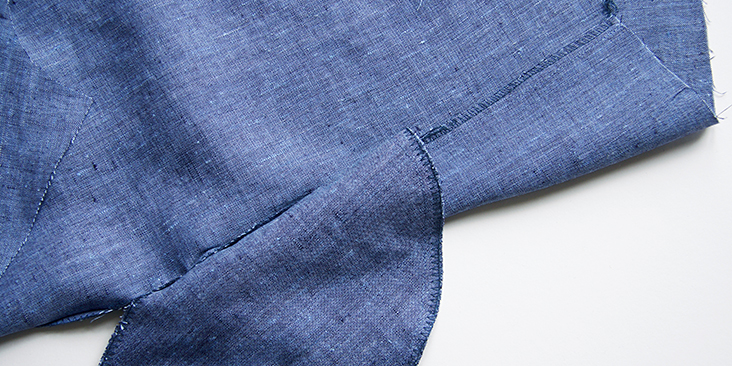
1. The first step is to attach the inseam pockets and sew the side seams. Refer to the notches on your pattern pieces and pin your pockets in place right sides together. Sandwich them between the right sides of the pants corresponding front and back. For detailed instructions on how to sew the inseam pockets, please check this step-by-step tutorial.
Don’t forget to finish the raw edges and press the side seams as explained in the tutorial.
2. With right sides together, pin each pant front to the pant back at the inseam.
3. Stitch the pinned edges together at a 3/8” (1 cm) seam allowance. Serge or zigzag the raw edges together to prevent the fabric from fraying. Press the seams flat folding the serged/zigzagged edges towards the back of the pant.
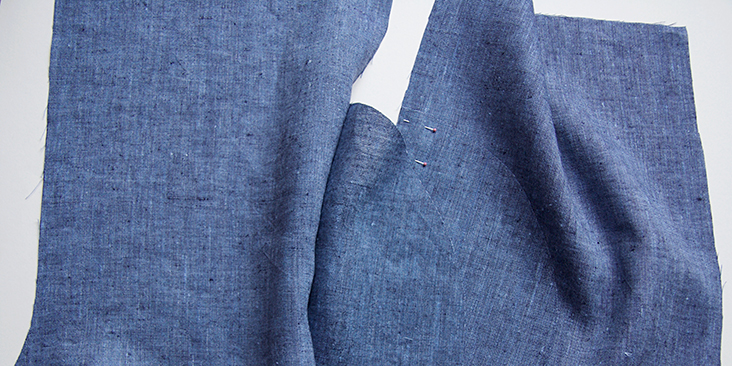
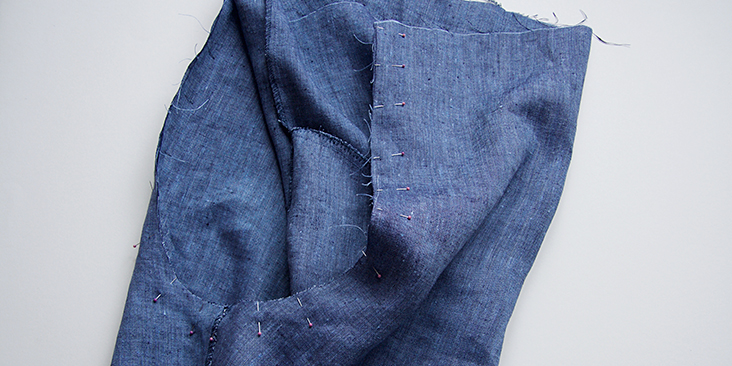
4. Turn the right pant leg right side out and slip it into the left pant leg. Pin the crotch seams together matching the side seams and inseams.
5. Sew all along the crotch seam at a 3/8” (1 cm) seam allowance. Serge or zigzag the raw edges together and press the seam to one side.
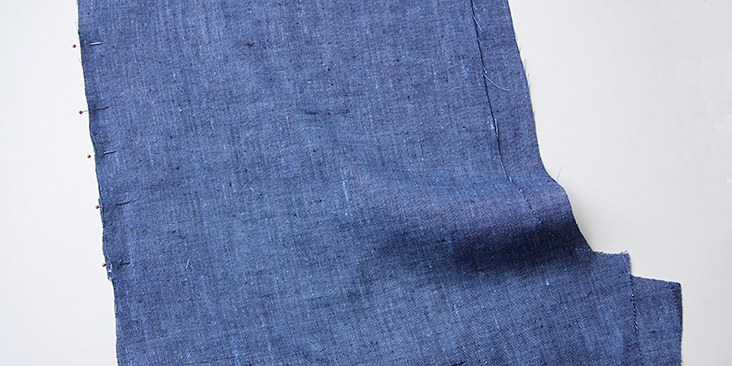
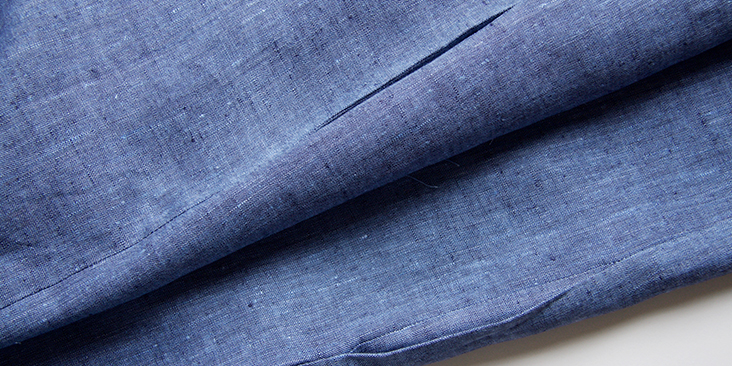
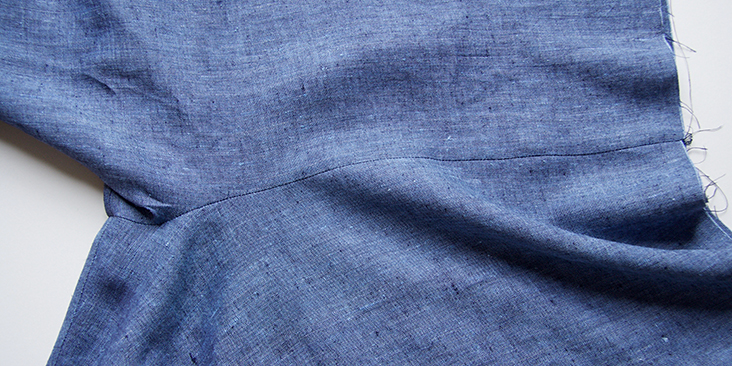
Here’s what your pants look like from the right side at this point:
Now that you have assembled the legs together, you can put your pants aside and assemble the bodice.
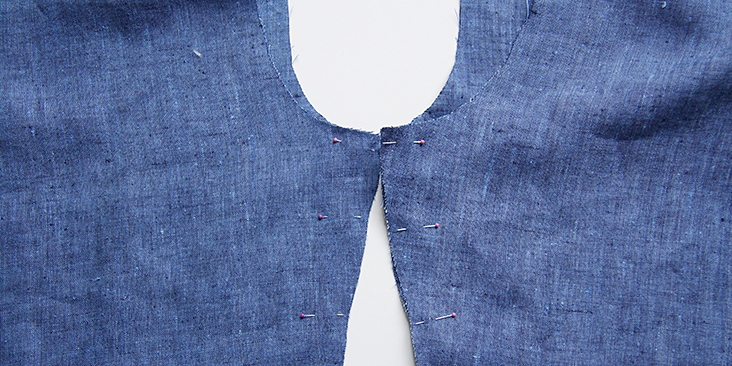
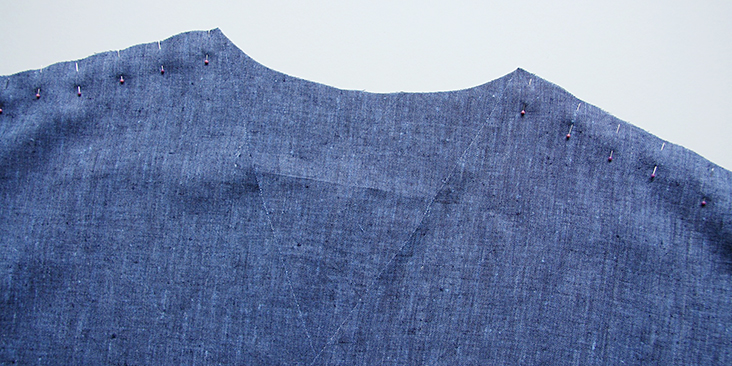
6. Pin the bodice front and back sections right sides together at shoulder seams.
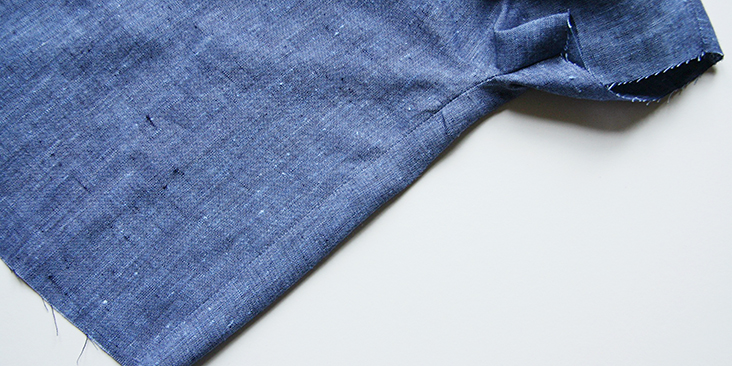
7. Sew the shoulder seams right sides together at 3/8” (1 cm) seam allowance, remember to backstitch. Trim the seam allowance down to 1/4? (6 mm) and serge or zigzag the raw edges together to prevent the fabric from fraying. Press the seams flat folding the serged/zigzagged edges towards the back.
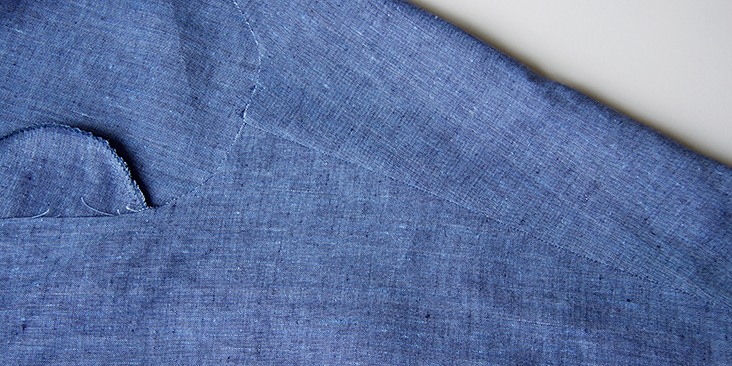
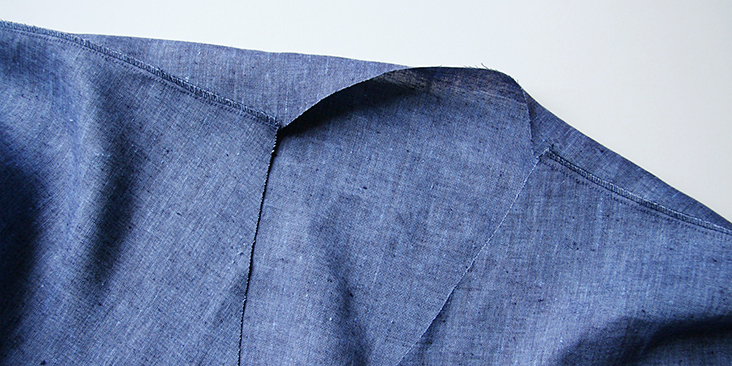
8. Pin the front and the back bodices right sides together at side seams.
9. Sew the pinned edges at a 3/8” (1 cm) seam allowance, trim and finish the raw edges with a serger or a zigzag stitch. Press the seams flat folding the serged/zigzagged edges towards the back.
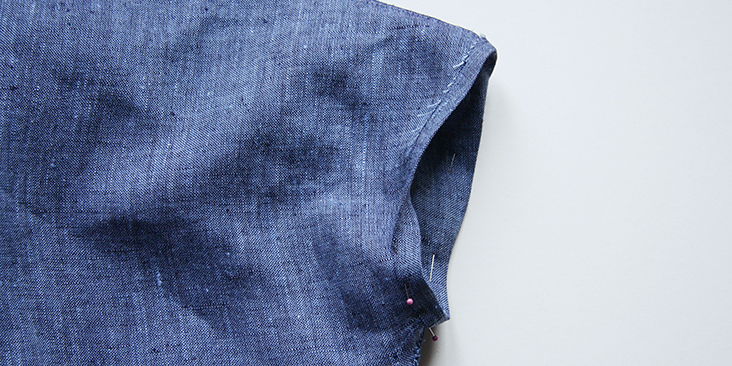
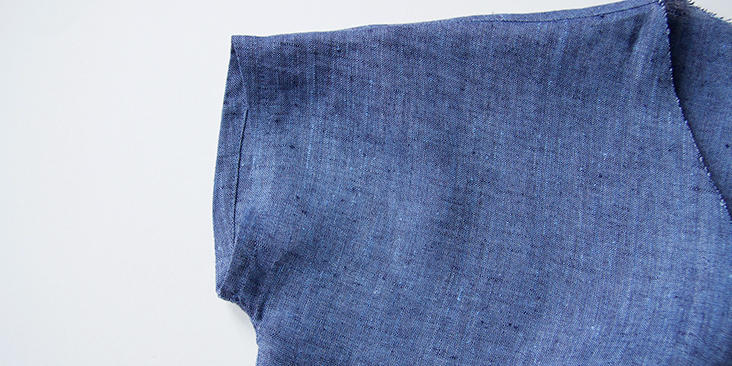
10. Finish the sleeve openings with a rolled hem. Fold your fabric twice to the wrong side (1/4” to 3/8”), press and pin.
11. Edgestitch the pinned edges and backstitch at both ends.
Now that your bodice pieces are attached together, you can bind the neckline and the front opening.
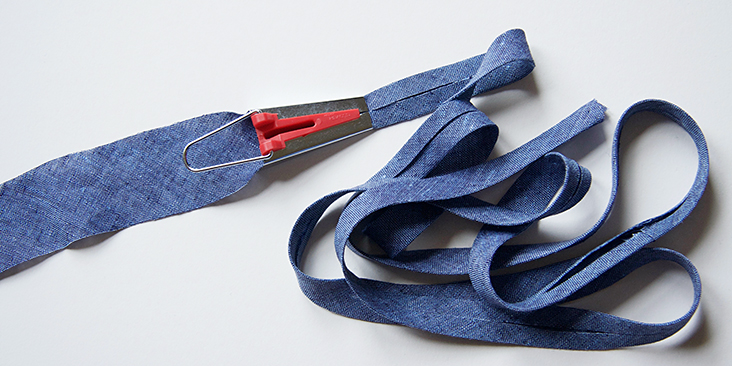
12. Start by making your bias tape long enough to bind the entire front and neck edges. To determine the length of the tape needed, measure the entire neck/front opening and add a couple of inches. For instructions on how to make your own bias tape, please follow this tutorial.
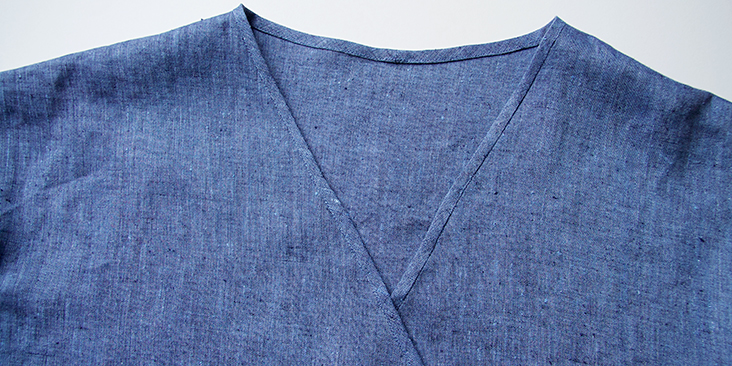
13. Following this tutorial, attach the bias tape all around your front opening.
Pin bias tape to neck and front edges, starting at the center back and placing outer crease along seamline, ends even with raw edges. Stitch along crease, trim the seam allowance down to 1/4″ and press the tape away from the bodice.
14. Turn bias tape to the wrong side and pin the other edge of the bias tape to the bodice. Topstitch the tape in place (from the right side) in the crease or as close to the bottom edge as you feel comfortable.
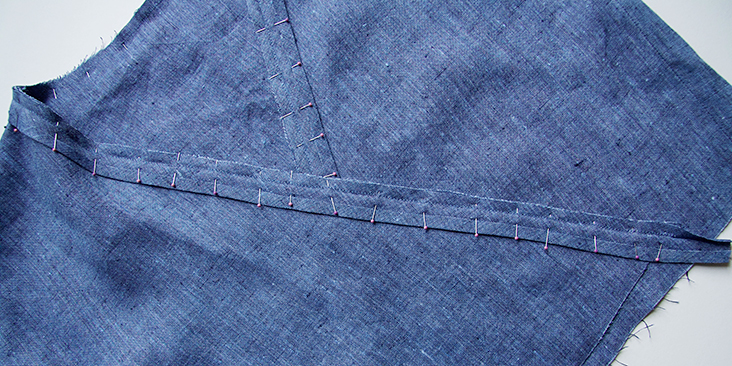
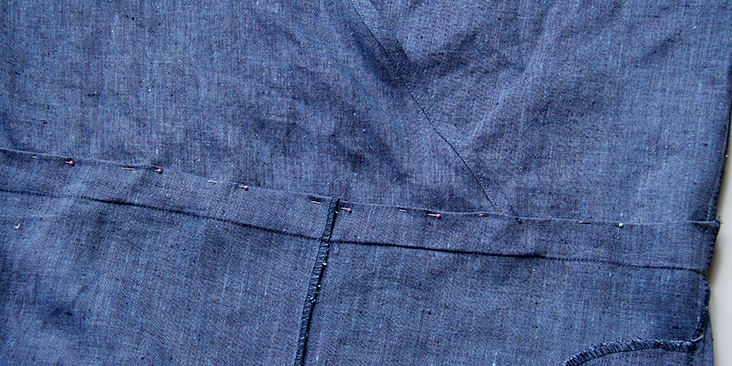
15. Lap right front over left, matching centers. To determine the exact amount of the overlap, measure your pants front waist edge and lap the two fronts until the waist edge of your bodice matches this measurement. Baste the two edges together 3/8″ from the raw edge to keep the overlap in place.
Your bodice is now complete. Time to attach it to the pants.
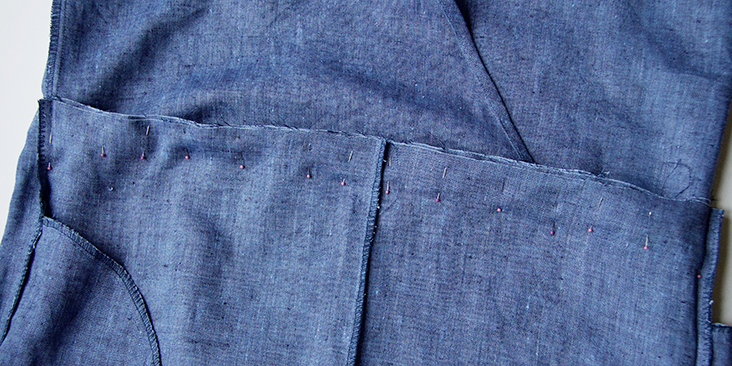
16. Pin bodice to pants right sides together and matching side seams.
17. Stitch together at 1,5” seam allowance. Trim the bodice seam allowance down to 3/8” (1 cm) and press the pants’ seam allowance 3/8” to the wrong side.
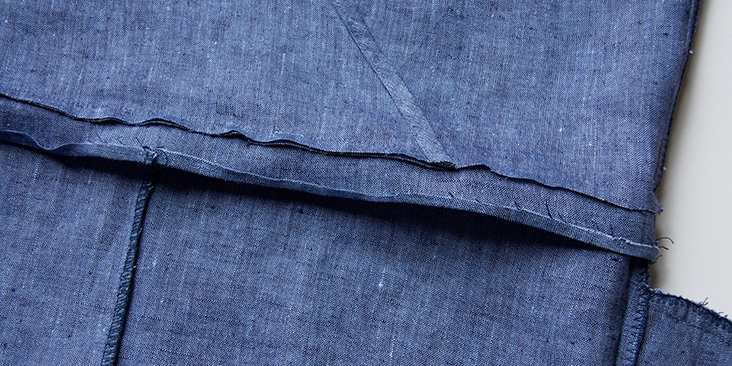
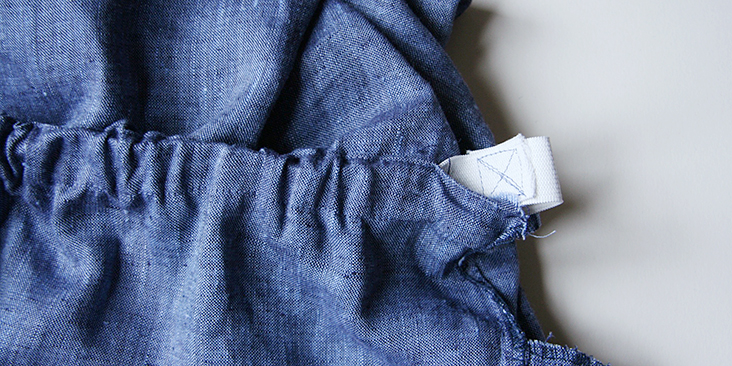
18. To form the casing for the elastic, press both seam allowances up, towards the bodice, and pin in place.
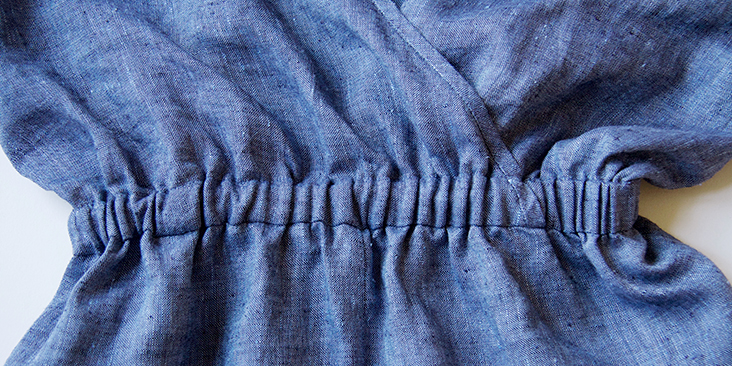
19. Stitch through all layers at once, leaving an opening to insert elastic. Cut elastic to a comfortable waist measurement plus 1” (2,5 cm). Using a safety pin, insert elastic through opening, then lap the ends and stitch them in place securely.
20. Stitch the opening, stretching elastic while stitching.
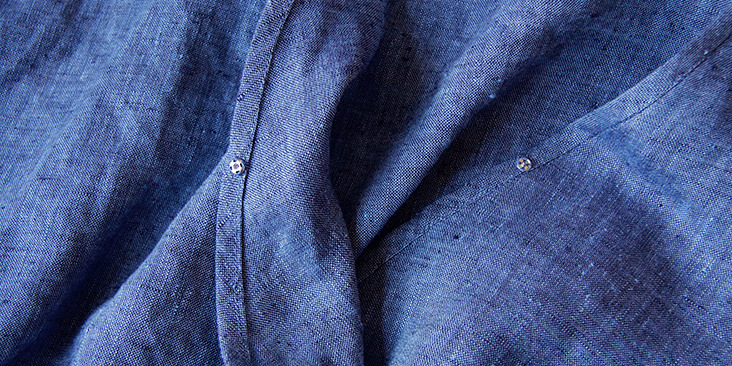
21. Optional: if you wish to secure the overlap, you can sew on a little snap button on the inside of your neckline binding. For instructions on how to sew snaps please check this tutorial.
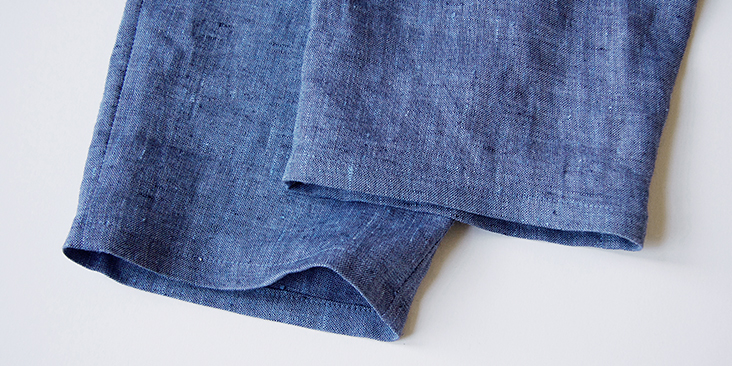
22. The final steps will be to hem your pants. Fold the bottom edge under first 3/8” (1 cm) then another 1/2? (1.25 cm) and press. Pin the fold.
23. Topstitch as close to the inner fold as possible. Remember to backstitch and press.
Give your finished jumpsuit a good last press and you are all done!
We love seeing what you make! Don’t forget to share your pictures and tag your creations with #FabricsStoreCelinePattern hashtag.









6 Comments
Aeither Wright
Excited to try out this pattern however I would personally prefer to have the v at the back and the high neck at the front. Are there any adjustments I should make to allow for a bust on the ‘back’ or would it work to make it as patterned and just wear it the way I prefer? Thank you for any suggestions!
Hunter White
Hi,
In printing out the pattern through Adobe- do you print to fit the page or actual size? I notice with actual size parts are cut off….
ed ed
Thank you for this great pattern. As a beginner, i also loved the explanations 🙂
Amber Ivie
Hi There, twice i have printed and attempted to put together this pattern and encountered issues of scale with the top of the front bodice. Pages 17,18 and 19 match up nicely, however they don’t match up with 26 and 27.
Is there a fix for this?
Thank You!
Cheryl
I love jumpsuits. For years I haven’t been able to make or wear them. After scads and oodles of surgeries for bladder cancer, I’m totally incontinent and must wear diapers. Is it possible for me to add a strip of snaps to the stride (crotch) for faster, easier access to my diaper? I’m very sorry about giving you way too much information, but it was the only way to explain why I want to do this. I’m now 70 years old and I’m going to figure this out. I just wondered if you might have any knowledge you could impart to help me on my “adventure”? I can definitely use as much direction as you might care to share.
Sincerely, Cheryl Masters
Rima Khusainova
Dear Cheryl, so sorry to hear about your health issues. However, in this particular jumpsuit, I’m not quite sure if you could add snaps to the crotch as it is really a pull on style, with overlapping bodice and the elastic holding everything together. But please, don’t be upset, we are currently working on a new design for a jumpsuit, that will have buttons along the center front. It should be posted on the blog in a couple of months so stay tuned!