Ash Pintuck Camisole Tutorial and Pattern
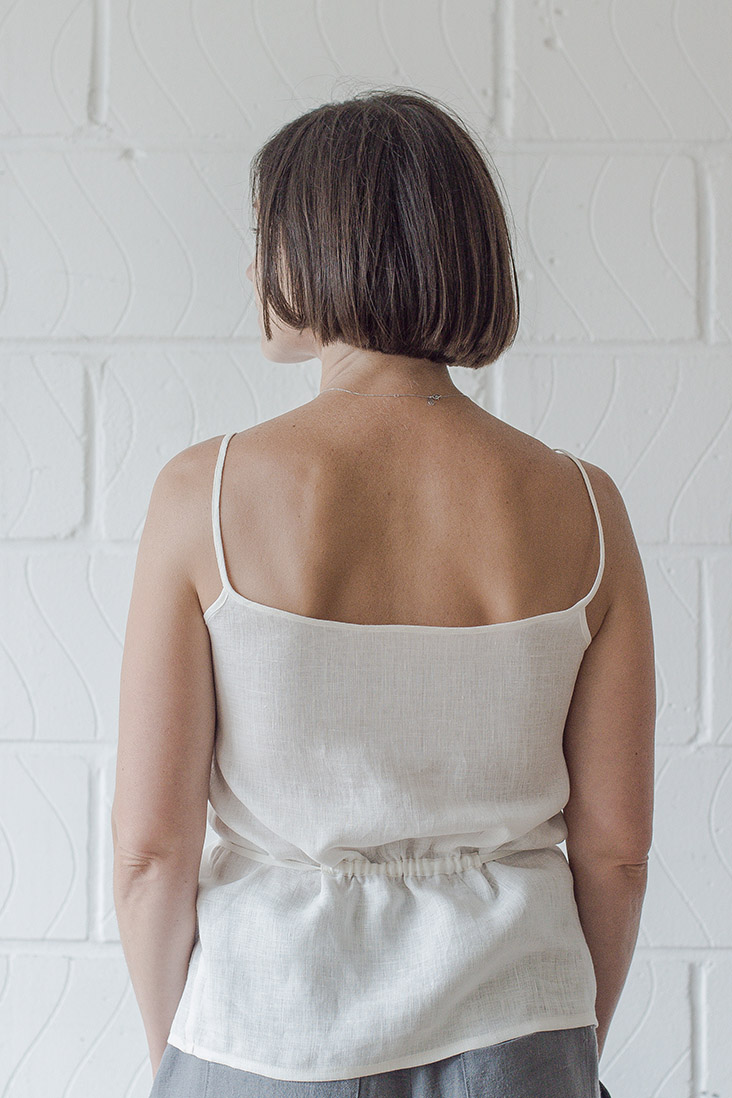
Easy summer living calls for easy summer wear, like this cute little camisole tank. For this design, we took a classic camisole shape and added a few embellishments like pintucks and a button placket to make it more special. Plus a detachable belt that ties at the waist for a flattering look.
Carefully tailored from super fine lightweight linen, this feminine camisole tank will make a delightful addition to your wardrobe!
Materials
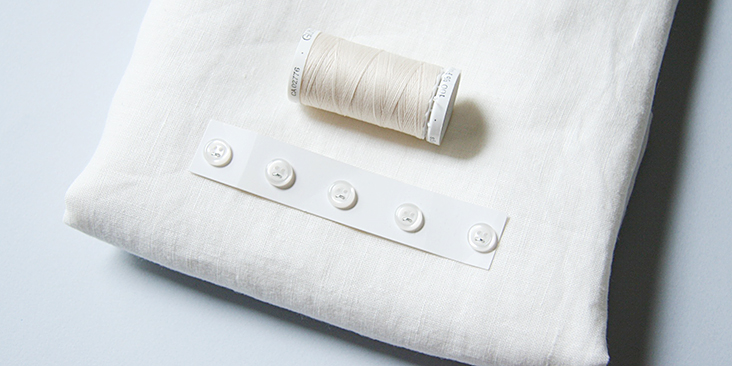
For US size 6 pictured here: 1 yard of IL020 BLEACHED Softened Lightweight Linen. For a different size, refer to the fabric yardage chart in the PDF pattern.
Matching sewing thread, 4 small buttons, lightweight fusible interfacing for button placket (optional)
Tools
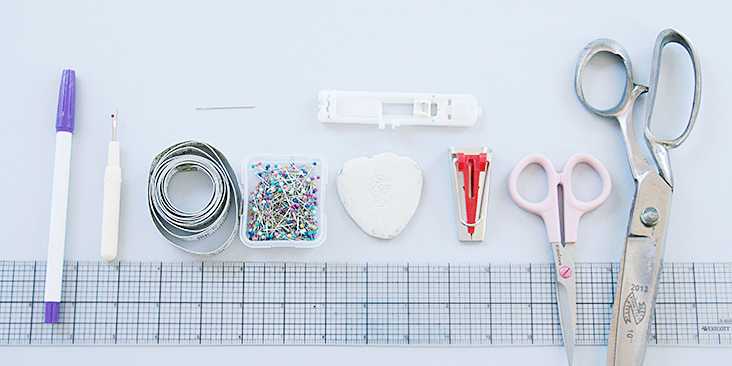
Scissors, pins, ruler, chalk, fabric marker, needle, buttonhole foot, 12mm bias tape maker, sewing machine
Difficulty
Advanced Beginner
Time
4 hours
Pattern
You can access the multi sized printable PDF pattern by following this link HERE. All seam allowances are included. The model is wearing US size 6. Remember to transfer all the notches to your fabric.
Steps
Note: Prewash your fabric and tumble dry it until it is still slightly moist, dry in room temperature. Iron the fabric so it is easier to work with.
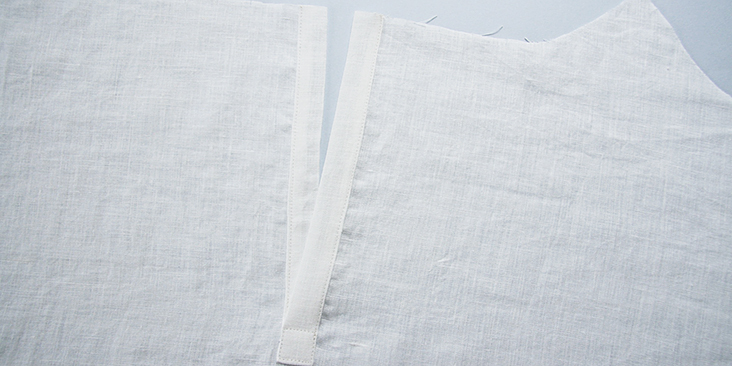
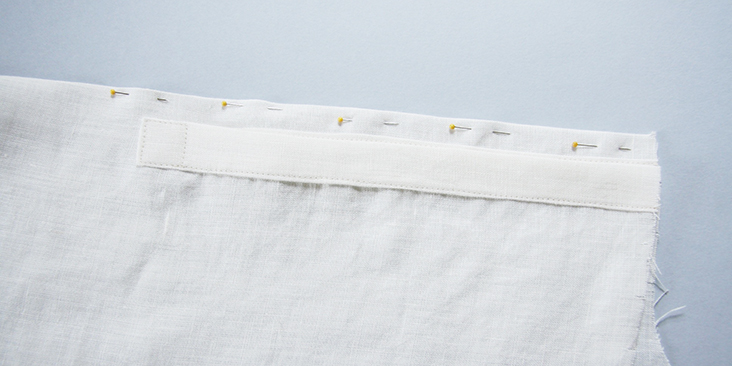
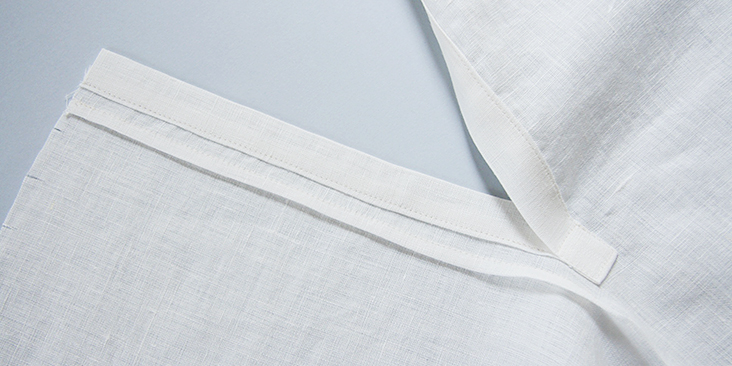
1. Sew the partial placket onto the front of your tank by following this step-by-step tutorial. Adjust the measurements for a ¾”-wide placket (instead of 1”).
Do not sew the buttonholes and attach the buttons, as you’ll need to bind the neckline first.
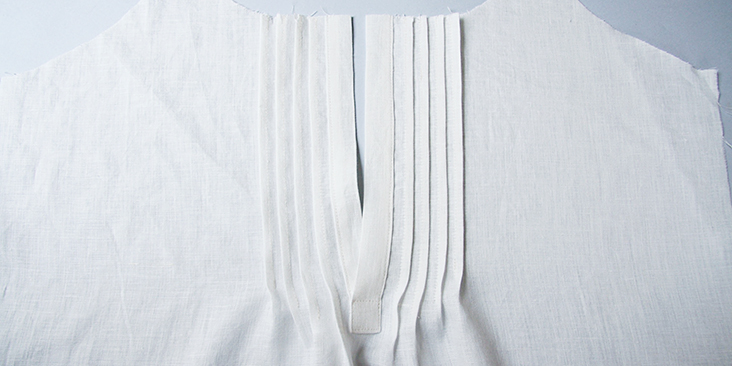
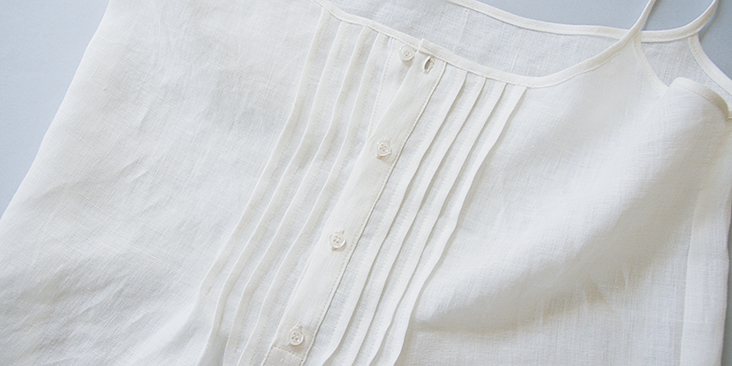
2. Time to sew the pintucks. We have a great tutorial on how to sew pintucks that will guide you through the steps.
Starting from the center front, fold you fabric on the foldline at the notch and pin in place.
3. Stitch 1/4″ from the edge. Backstitch at both ends. Press towards side seams.
4. Repeat with the rest of your pintucks but be mindful that each following pintuck is ½” shorter then the one before (refer to your pattern for exact measurements). You should have 8 pintucks in total: 4 on the right side and 4 on the left side.
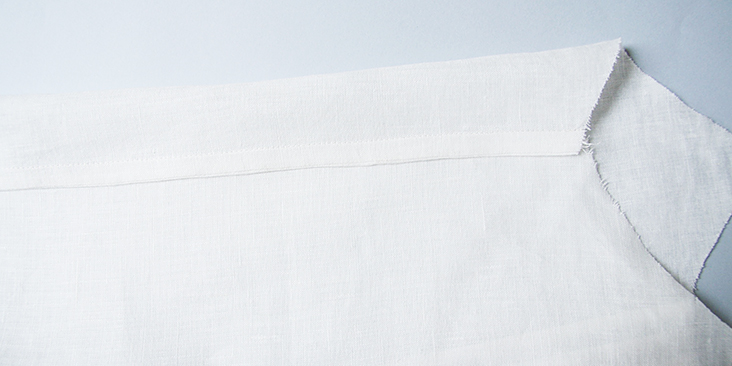
5. Pin the side seams wrong sides together and assemble front and back bodices using French seams. See this tutorial for step-by-step instructions on how to sew a French seam.
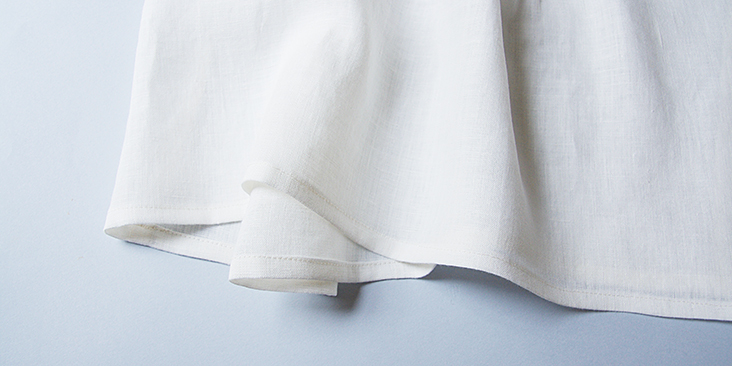
6. Finish the bottom edge with a narrow 1/4″ rolled hem.
7. Make long strips of continuous bias tape for straps and armhole binding. For more instructions on how to cut your fabric on the bias please follow this tutorial.
8. Fold your tape in half lengthwise to create double fold bias tape.
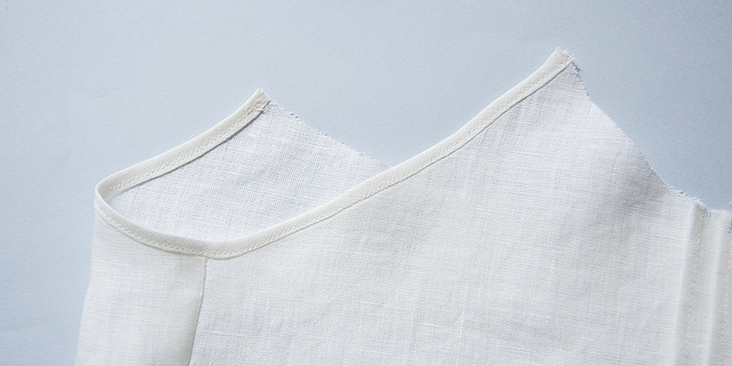
9. As explained in this tutorial (scroll down to the double fold method), attach the bias tape to the armholes only.
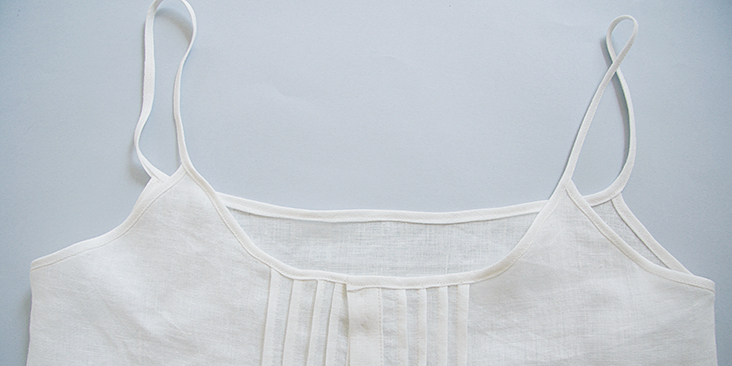
10. Take your long strip of double folded bias tape and attach it to the neckline edges, binding the neckline and creating two straps. Start pinning at the placket edge (tuck in the seam allowance under), then along one side of the neckline and all the way to the back. Try on the camisole to determine the desired length of each strap. Finish at the other side of the placket.
11. Now is a good time to sew the buttonholes and attach the buttons. Sew the buttonholes on the top layer of the placket and the buttons – on the bottom. For the buttonholes, you can follow our detailed tutorial HERE. As for the buttons, check our tutorial HERE for instructions. Overlap the placket bands and place a pin into the center of each buttonhole. This is where you’ll need to attach the button.
The number and the spacing are really up to you. If you want your buttons closer, just leave smaller gaps between them. We decided to space our buttons 2” apart.
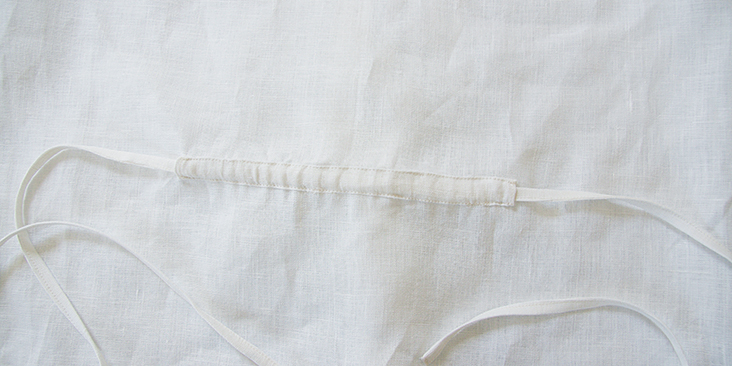
Lastly, sew the belt at the belt casing.
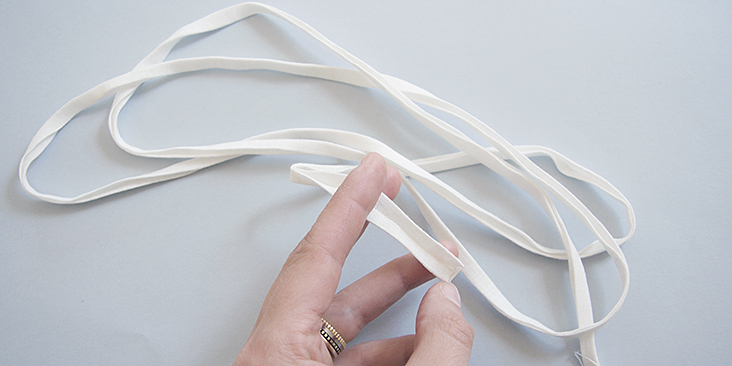
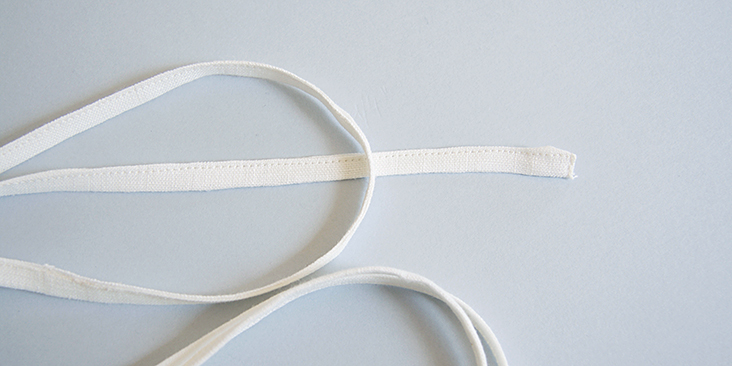
12. To start, feed your belt fabric through the bias tape maker to create a sort of bias tape that is cut on the crossgrain.
Fold your tape in half lengthwise and edgestitch to close the open edge. Tuck in the short ends.
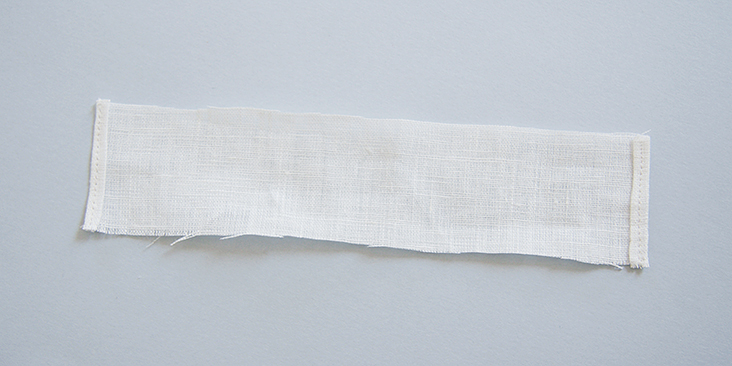
13. To create the belt casing, roll up the short ends towards the wrong side twice to create a very narrow rolled hem. Edgestitch.
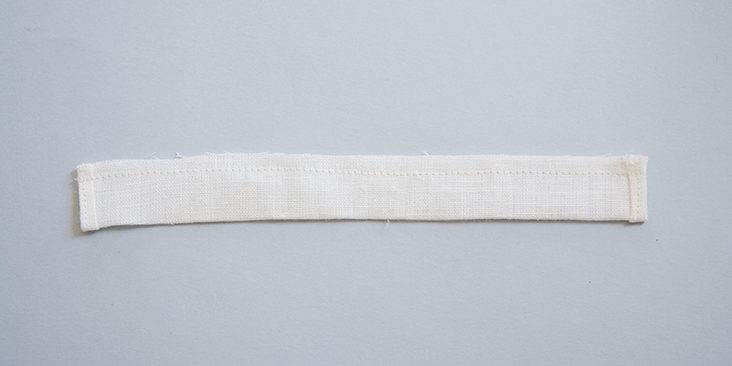
14. Fold in half lengthwise right sides together and stitch 1/4” from the raw edge.
15. Turn the fabric right side out, center the seam line and press.
16. Now pin your belt casing to the back of your tank, aligning the center to the center back. To determine the best height, try on your camisole and find your natural waist. This is where you need to pin your casing.
17. Topstitch the casing along the long edges only as close to the edge as possible. Insert your belt and you are all done!
Wear your camisole on its own or as a perfect layering piece under a denim jacket or a cardigan.
We love seeing what you make! Don’t forget to share your pictures and tag your creations with #FabricsStoreAshPattern hashtag.








3 Comments
Pingback:
30 Gorgeous Free Sewing Patterns for Tops (Women)Simran Sekhri
Hey!
I tried out this particular patten in linen. Followed all the instructions for size 14. I expected the pattern to have a good fit, thus I didnt test it. The pattern needs shaping at the back neck as well as at mid armhole dart area. The whole fit of the garment seems really problematic. Don’t know what went wrong.
Mandy Carlick
Hi, I had the same problem. You can also see that the front armhole is gaping in the photos. It was an easy fix though. I ran two rows of gathering from the underarm seam to the top of the front. This enabled me to ease up the fullness before applying the binding, just as you would when fitting a sleeve into an armscye. I managed to reduce the fullness by 2 ½ inches. I hope this helps.