Sewing Glossary: How To Draft And Sew Button Bands The Shirtmaking Way
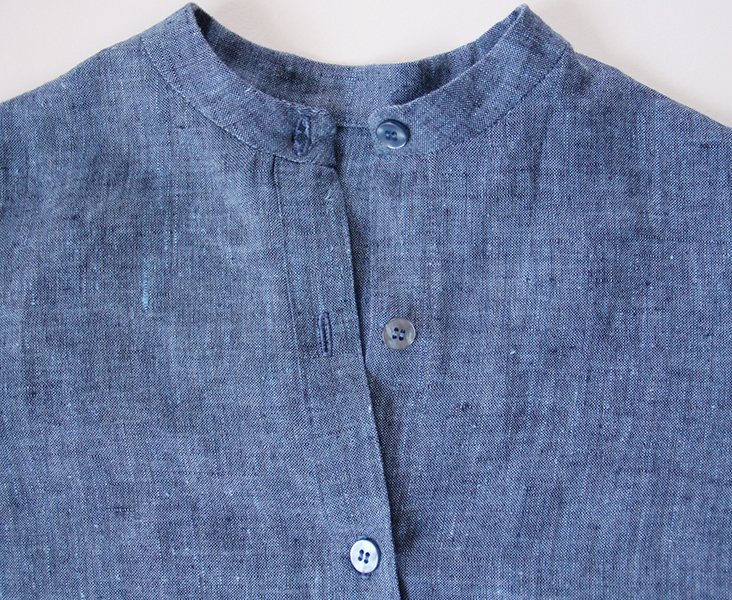
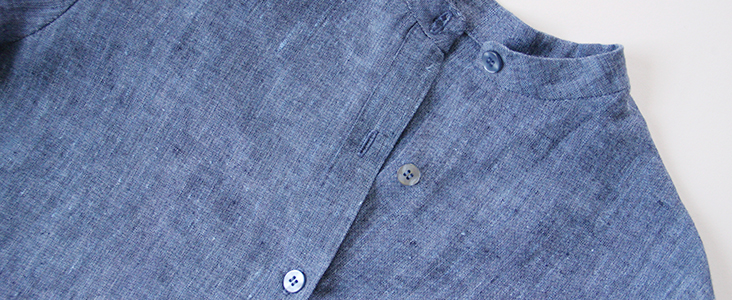
If you are looking to take your sewing skills to a new level, you’ll appreciate this tutorial on how to sew the button bands the shirtmaking way – when one front side is simply folded twice and stitched in place, while the other has a separate, sew-on front band where the buttonholes go.
Even though most of our patterns here use the simply fold-up-twice technique for sewing button bands, we believe that a traditionally tailored button front can make any shirt or dress look more elegant and sophisticated. After all, it’s small details like this that make your projects look more professional and accomplished.
Materials
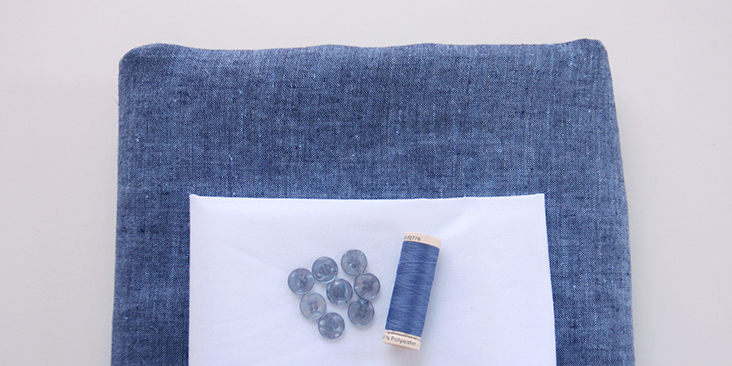
Fabric of your choice (we are using our medium weight IL042 908 FS Premier Finish Linen)
Matching sewing thread, buttons
Tools
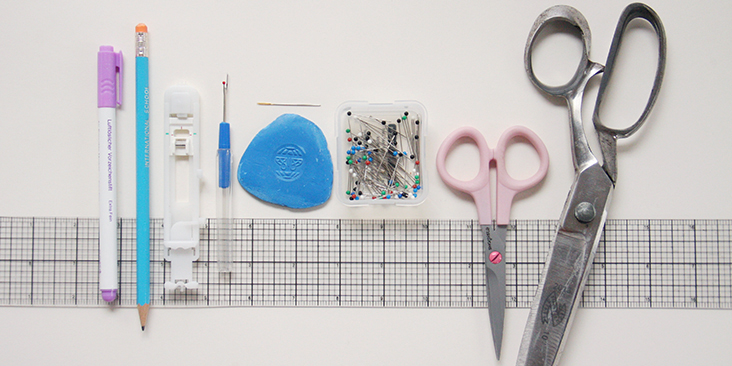
Pattern paper, scissors, ruler, pins, chalk, fabric marker, pen, buttonhole foot, needle, seam ripper, sewing machine
Difficulty
Beginner
Time
1 hour
Drafting the Pattern
If you are working with an existing pattern featuring front button bands, it’ll give you all the necessary measurements and cutting instructions.
But what if you want to add a button band to a pattern that doesn’t call for it? It’s easy to modify front styles by adding a button overlap to your favorite patterns. The button overlap is an extension added to each side of the opening allowing the edges to cross over each other and to be buttoned up.
Before you get started drafting, you need to decide on the length and the width of the button band you’ll be making. For the length, measure the distance from the neckline to the bottom hem and note what seam allowances you’ll be adding (3/8″ for the neckline and 1″ for the rolled bottom hem, for example). Or refer to your existing pattern and see what seam allowances are required for these edges. You’ll add them later to your diagram. As for the width, the bands on store-bought clothing are usually 1 inch (2,5 cm) wide but you can always make them smaller or larger to go with your design and your buttons. The rule is that the button bands should be wide enough to support your buttons.
Another important point to consider is the position of the buttons/buttonholes. Tradition puts men’s buttons on the right band and buttonholes on the left. With women’s clothing, it is the opposite: buttons left, buttonholes right. It is always a good idea to refer to some store-bought shirts from your closet to for guidance and examples of what the standard is.
If you do examine some of your shirts, you’ll notice that the button band area is typically stiffer than some other parts of the shirt. This is due to the interfacing used to stabilize the area and keep it from stretching.
Ok, back to pattern drafting! Let’s say you want to transform a simple top into a button-up top with 1″-wide button bands. What you need to do is to add some width to the center front (usually it’s the line that is cut on fold).
Since in women’s clothing the buttons are on the left and the buttonholes are on the right (sewn-on) side, you’ll add 1,5″ to the left center front side and 1/2″ to the right center front side + plus a separate band of fabric that will be 1 inch wide and as long as your center line. Add seam allowances around all edges.
See the diagram below:
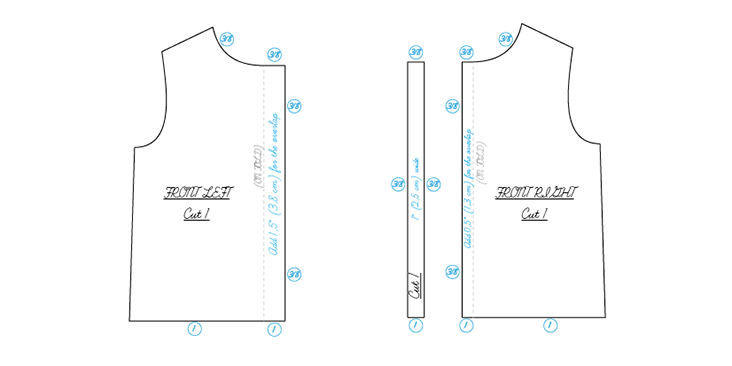
Now that you have your pattern, you can cut your fabric and fusible interfacing (two 1″ (2,5 cm)-wide bands to the length of your front opening minus the bottom and top edge seam allowances).
Steps
Note: Prewash your fabric and tumble dry it until it is still slightly moist, dry at room temperature. Iron the fabric so it is easier to work with.
Please note that we’ll be making a women’s shirt so if you are making a men’s shirt, inverse the left/right instructions.
1.’ Cut two 1″ (2,5 cm)-wide bands from the fusible interfacing to the length of your front opening minus the bottom and top edge seam allowances. Apply the fusible interfacing to the wrong sides of your button bands, 3/8″ (1 cm) from the outer edges.
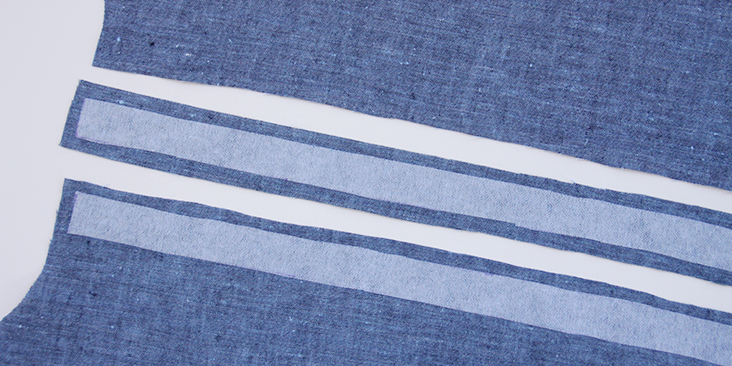
We recommend double-checking the left and right sides by placing it on your body to avoid any confusion.
2. We’ll start with the left front button band and fold it twice to the wrong side using your fusible interfacing band as a guide, 3/8″ (1 cm) to 1″ (2,5 cm). Press and pin.
Tip: If you want to create accurate button bands each time you sew, we recommend to make a simple cardboard template to the width of your finished bands. You will be amazed how helpful it is when folding and pressing your bands.
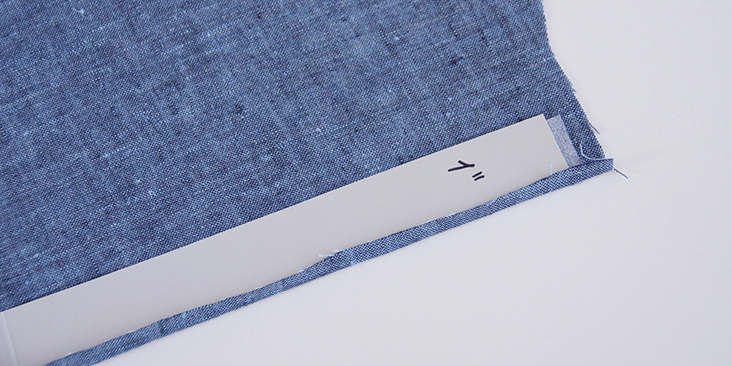
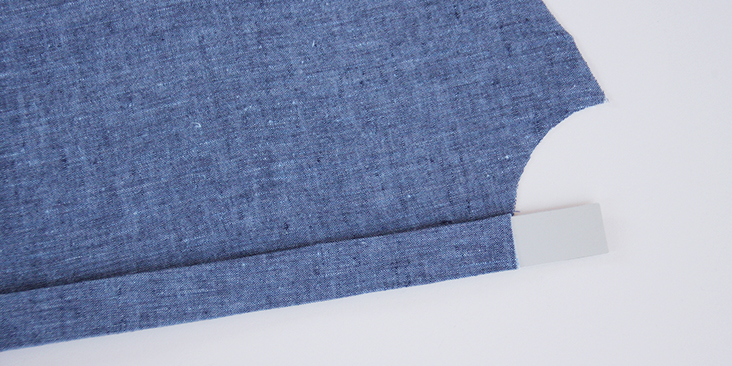
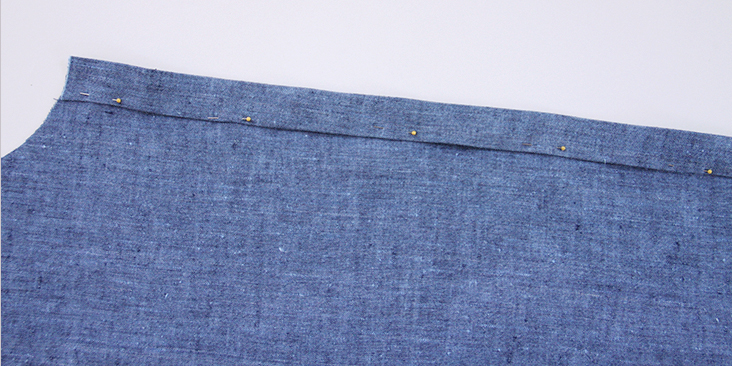
3. Stitch as closely to the edge of the inside fold as possible.
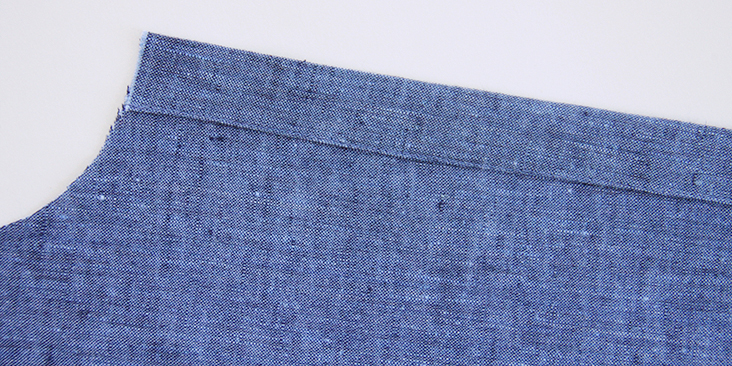
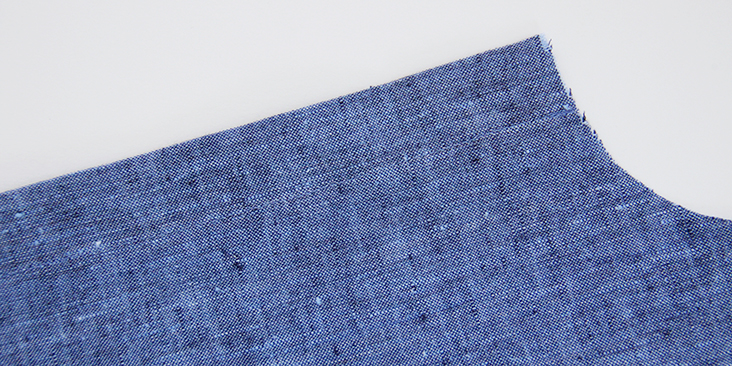
Give your left front piece a good press and set it aside for now.
4. Take the interfaced button band that will be later attached to the right front of your shirt and with the wrong side facing you, fold up and press its right raw edge 3/8″ (1 cm) to the wrong side.
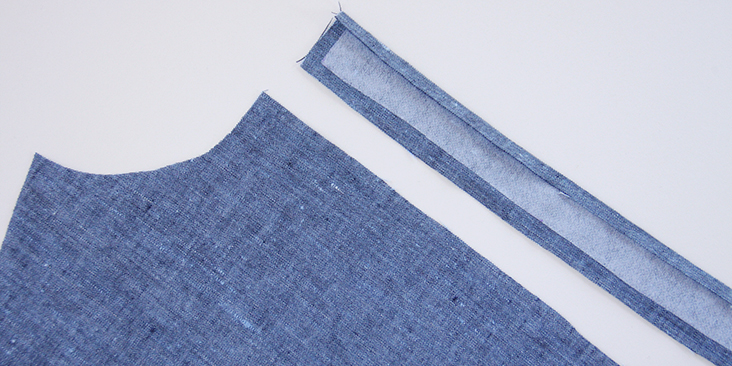
5. Pin the right side of the non-folded button band edge to the wrong side of your shirt front piece.
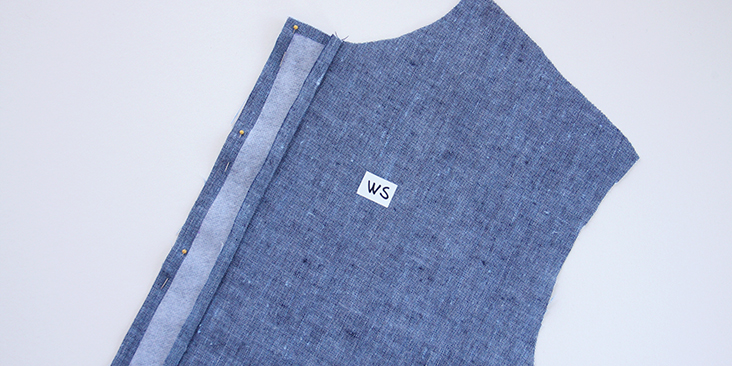
6. Stitch in place along the 3/8″ (1 cm) seam allowance.
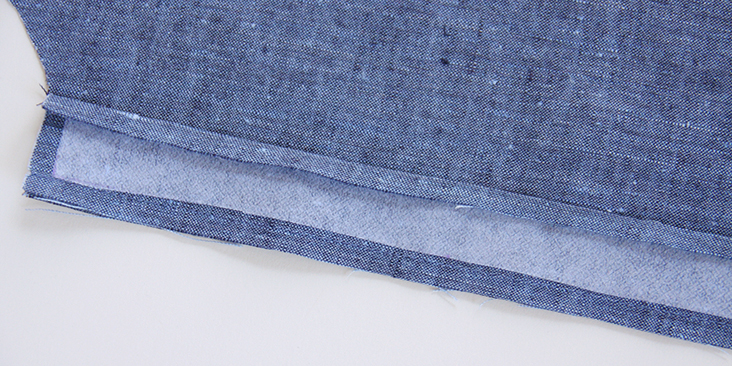
7. Trim the seam allowance down to 1/4″ (6 mm) to reduce the bulk and to allow the extension to sit more smoothly.
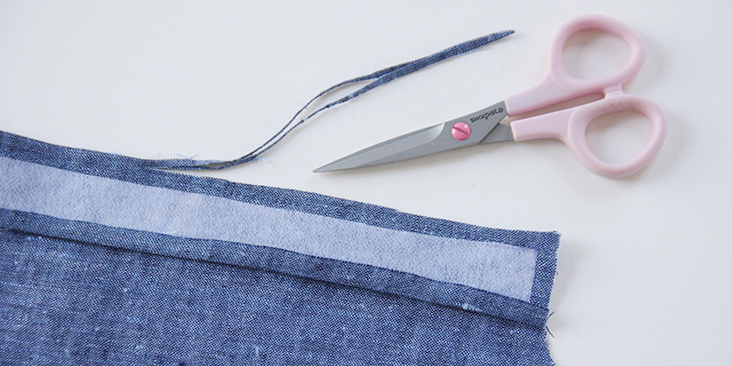
8. Working from the right side, press the button band away from the shirt, so that on the wrong side the trimmed seam allowance is folded towards the band piece.
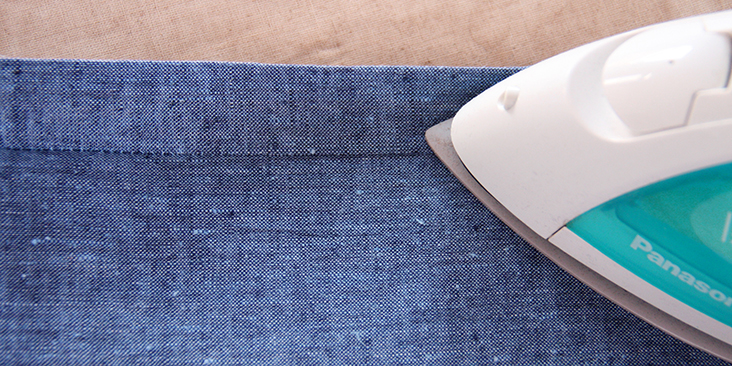
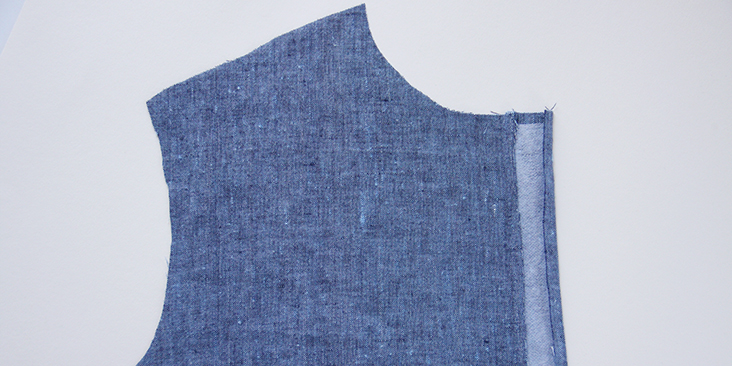
9. Fold the button band over and pin it to the shirt, making sure that the first fold of the fabric either meets or slightly covers the stitching line from attaching the button band. Press and pin.
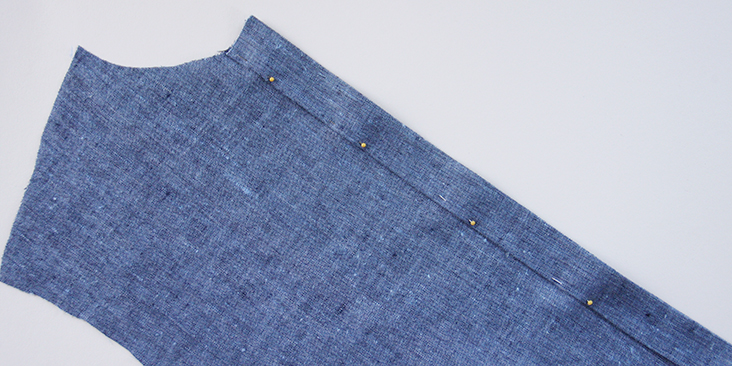
10. Working from the right side, topstitch the pinned edge in place as close to the inside fold as possible.
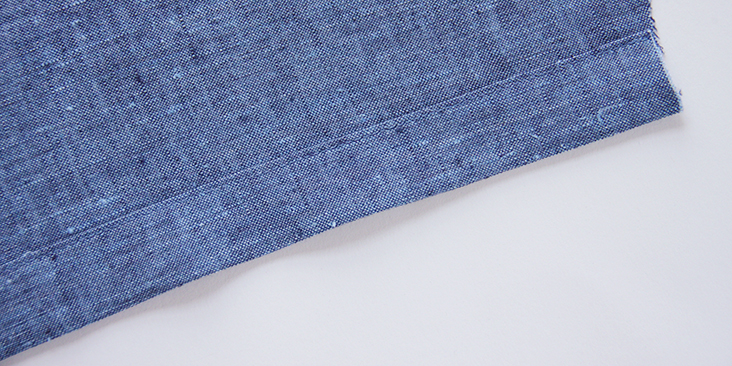
11. For a nice final touch, stitch down the other front edge of the button band to match the one that you’ve just made.
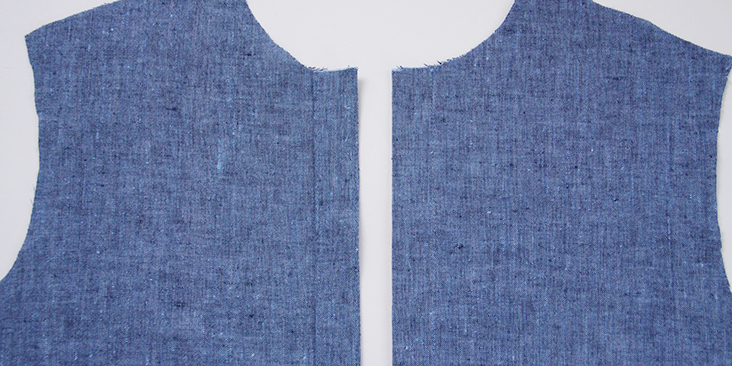
12. Lastly, follow your pattern’s instructions to assemble the shirt and sew the buttonholes and attach the buttons. Remember that if you are sewing a women’s shirt, your buttonholes should be sewn on the right button band (with a sewn-on button band) and the buttons – on the left button band (the one that was just folded twice).
For the buttonholes, you can follow our detailed tutorial HERE.
As for the buttons, check our tutorial HERE for instructions.
The number and the spacing are really up to you. If you want your buttons closer, just leave smaller gaps between them. Overlap the shirt and place a pin into the center of each buttonhole. This is where you’ll need to attach the button.
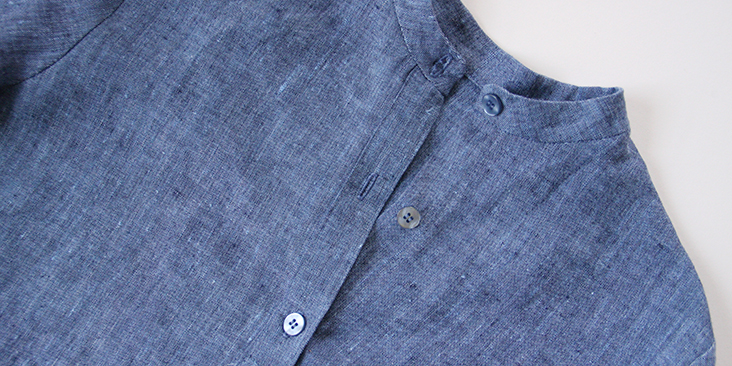
We hope you’ll give this technique a try to design a classic shirt with traditional tailored button bands.













25 Comments
Dawn Olson
Hello, First, thank you for the free tutorial. It’s much appreciated. I am confused about applying the button band extension to the right shirt front. it’s step 9 that stumps me –> “9. Fold the button band over and pin it to the shirt, making sure that the first fold of the fabric either meets or slightly covers the stitching line from attaching the button band. Press and pin.” When I do this I end up with a slightly bigger than 1/2″ button band. If I flip the whole button band toward the front, I get a good 1″ button band but then the front edge of the shirt seems wrong – the wrong side of the fabric is almost exposed. at the front edge….and also, I haven’t then followed your instructions. Perplexed.
Lauren Linen
Hi Dawn,
Please sent us an email with photos to Ask@fabrics-store.com and we will be happy to see whats going on here.
Nancy Malchow
Is there a pattern layout for cutting the fabric? I wish there were clearer instructions, even though the separate tutorials were helpful. I have resorted to going back to some of my old pattern instructions. Do I need to add button band allowance for the right side of the Noa shirt? That comment about adding more width was very confusing, even considering that I am not a novice at sewing blouses.
Kathleen Kunysz
i would like to make the Noa shirt with a plaid. I’m looking at the detail for the separate button band. I’ve looked at my husband’s plaid shirts. If they are using a separate band they are making the plaid match exactly–all horizontal lines match. Additionally, the spacing on the vertical pattern is maintained exactly. Do you have advice for cutting out the pieces so that all folds and seams are accounted for and the plaid pattern matches exactly in all directions?? Yikes.
thank you,
Kathy Kunysz
Lauren Gates
Hello Kathleen, thanks for your comment, I’ve sent you an email with some guidance for matching plaids 🙂
Kathryn Clark
I am having difficulty visualizing this. Do you by any chance have a video tutorial? I am using the Skye pattern. Thank you!
Lauren Gates
Hello Katheryn, We don’t have video tutorials. I will send you an email and see if I can help out.
Nancy Groth
Do you have a method (or, preferably, a video) on how to topstitch the button bands and neckbands so that the stitching does not go off the band on the inside? I can never get it to look professional enough. Either the stitching is too far into the back band or falls off the edge. ANY help is greatly appreciated.
Rima Khusainova
Dear Nancy, I totally hear you! Topstitching can be tricky sometimes but it gets better with practice. Unfortunately we don’t have any tutorials about that but I’d recommend practicing on scraps a few times and using your presser foot edge as your guide. Maybe you should place your topstitching a little farther from the edge, 1/8″ instead of 1/16″?
Heidi Warner
I’ve been sewing for 50+ years and have always used my zipper foot for topstitching. I use it for a lot of things that need the stitching to be “just so”.
Fay
great tutorial i am definitely feeling confident to try it but can i ask when sewing a shirt collar with band when do you start placing the buttons on the button stand and how far apart should you place the buttons.
Rima Khusainova
Dear Fay, thank you very much for your comment. To answer your question -the spacing is really up to you 🙂 You may place your first button 3/8″-1/2″ from the top edge of the button band or decide on the right spacing for you and place your first button according to this spacing (so if you decide to put your button 2″ apart, for example, you’ll place your first band button 2″ away from the collar button). As for the spacing – you can choose whatever works best for your design. Some people like to have more buttons but generally the spacing for shirts is somewhere between 2″ – 2.5″. The only thing I’d recommend is to make sure that you have a button at the bust line to avoid any gaping. Hope this helps!
Fay
Thank you very much for replying I am going to start on the shirts and will let you know how it comes out. Please continue with the tutorials. Perhaps next time you could do a princess line dress or blouse.
Rima Khusainova
Dear Fay, yes! Please do share with us pics from your finished shirts! And thank you very much for the great idea. I love princess seams so will try to think of a nice and easy dress featuring this technique! Happy sewing to you and keep us posted!
Ramona Ortega
Hi there/ great tutorial but the button hole on the collar is supposed to be side ways!!!
Rima Khusainova
Hi Ramona! Thanks for your comment. Yes, traditionally the collar buttonhole is horizontal but you can always improvise! 🙂
Alice Elliot
Next how about an in depth tutorial on how to sew on that band collar without getting the bump where it meets the button band. That would make my rear!!
Alice Elliot
My year!!!OMG!
Diane
(:D)
Mflowers
This is a good tutorial. It reinforced what I was thinking of how to add a button band. Clear and easy to understand.
Rima Khusainova
Thank you very much for your comment! Happy to hear you found the tutorial easy to follow.
Audrey
Thank you very much! Very informative and clear.
Rima Khusainova
Thanks so much Audrey!
Martha
So how wide is the unfinished buttonhole band? Is it 1 3/4 inches wide? That is, 1″ finished plus two 3/8″ SAs.
Rima Khusainova
Hey Martha! You mean the sew-on separate band? Yes, the unfinished width with the seam allowances should be 1 3/4″.