Sewing Glossary: How To Draft And Sew Patch Pockets Tutorial

There are two styles of pockets that are most commonly used in clothing construction: inseam pockets and patch pockets. We have previously showed you how to sew inseam pockets, so this week we are going to talk about patch pockets.
Patch pockets are shaped pieces of fabric that are finished on all sides and then attached on the right side of the garment. These handy little compartments can be easily added to a garment that you are creating or to an existing garment for a decorative and practical touch.
They are very easy to sew and are a great way to use up fabric scraps. This tutorial shows two slightly different ways of attaching rectangular patch pockets. Choose your favorite method and use it for sewing angled or rounded patch pockets.
Materials
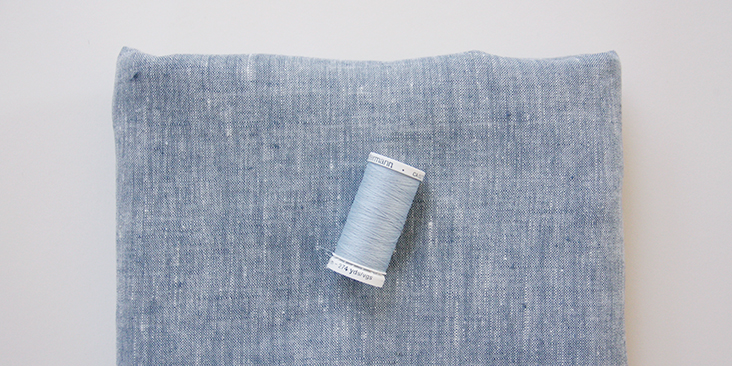
Fabric of your choice (we are using our beautiful yarn-dyed medium weight linen in IL042 907 Premier Finish color).
Matching sewing thread
Tools
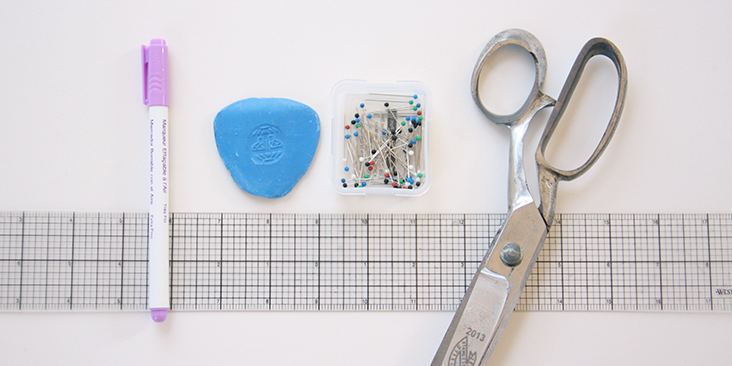
Scissors, ruler, pins, chalk, fabric marker, sewing machine
Difficulty
Beginner
Time
1/2 hour
Pattern
If you work with an existing pattern, it will normally give you all the necessary measurements. But you can easily create your own pockets or change the shape/size of your existing pockets by drafting your own pattern.
Decide what size you’d like your finished pocket to be and draft it on the paper. Add 1/4″ seam allowances (for the first method) or 1/2″ (for the second method) to the bottom and sides, and 1″ (or more, if you want a larger top fold) on the top of the pocket.
Cut out your pocket fabric using the drafted pattern piece. When cutting a printed fabric, keep print placement in mind. If you are using stripes or checks – be sure to match them!
Steps
Note: Prewash your fabric and tumble dry it until it is still slightly moist, dry in room temperature. Iron the fabric so it is easier to work with.
The First Method:
1. Serge or zigzag the bottom and side raw edges to prevent the fabric from fraying. Leave the top edge raw.
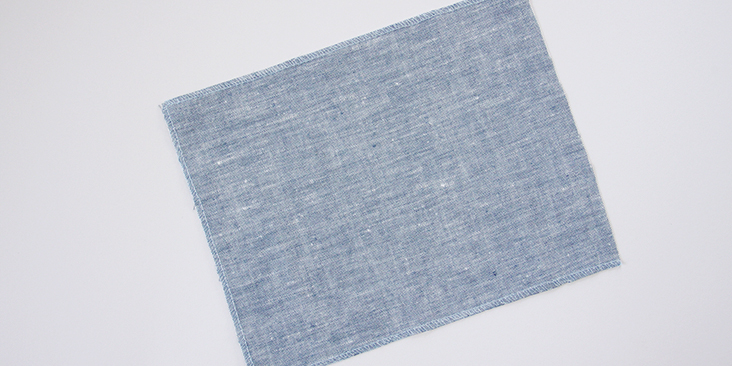
2. Fold the serged/zigzagged edges up 1/4″ towards the wrong side and press. Be careful to press the bottom corners so they do not stick out beyond the sides of the pocket.
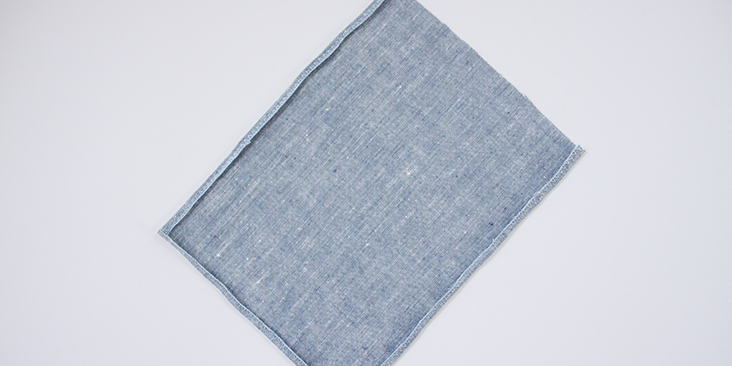
3. To create the top fold, simply fold your fabric twice to the wrong side depending on your chosen seam allowance. We decided to add a 1,5″ seam allowance for a 1″ wide finished fold, so we’ll be folding our fabric first 3/8″ to the wrong side and then another 1″. Press.
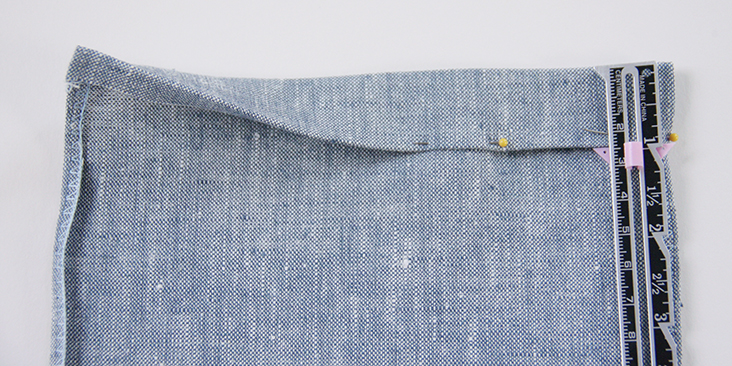
4. Stitch the top fold in place by sewing close to the lower edge. Your stitch line should be parallel to the top of the pocket so use it as a guide when you stitch in place. Press.
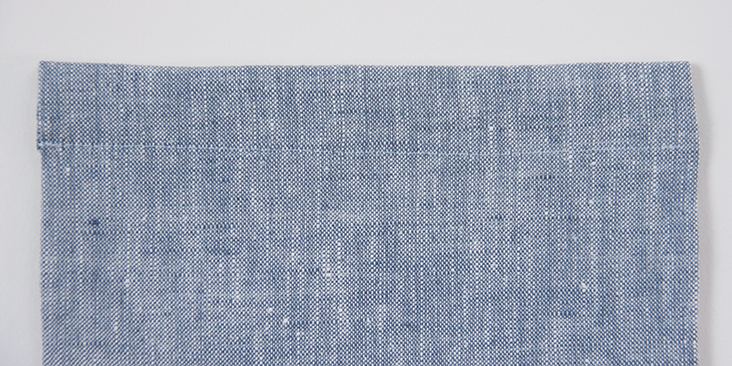
5. Pin your pocket to the right side of your garment. If you are using a garment that calls for patch pockets, there will be markings on the pattern piece as to where to place them. But if you are adding them to a garment that doesn’t have those markings, it’s up to you to figure out where they should go.
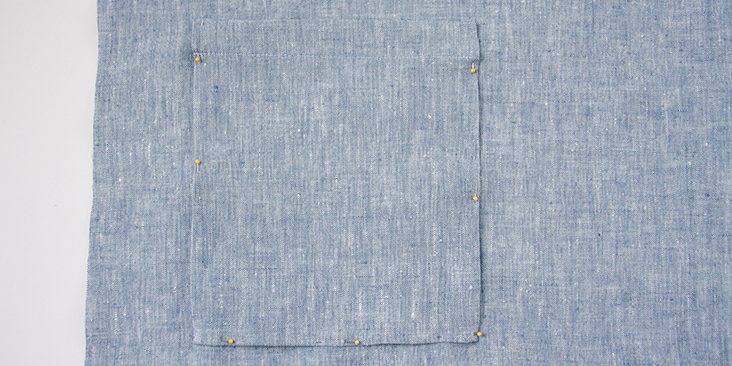
6. Starting at the right top fold corner, topstitch the pocket in place 1/8″ from the fabric’s edge. Remember to backstitch and press when you’re finished.
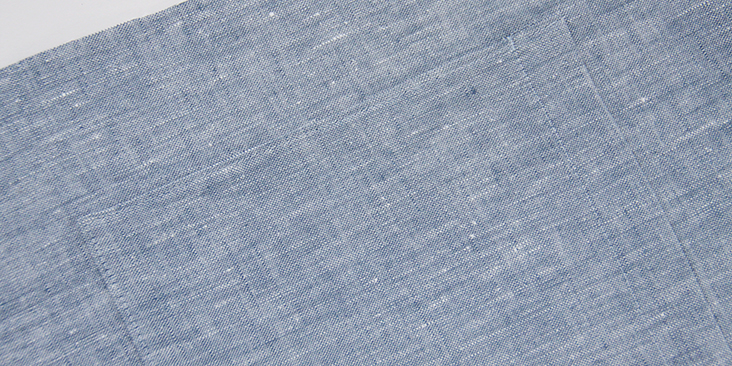
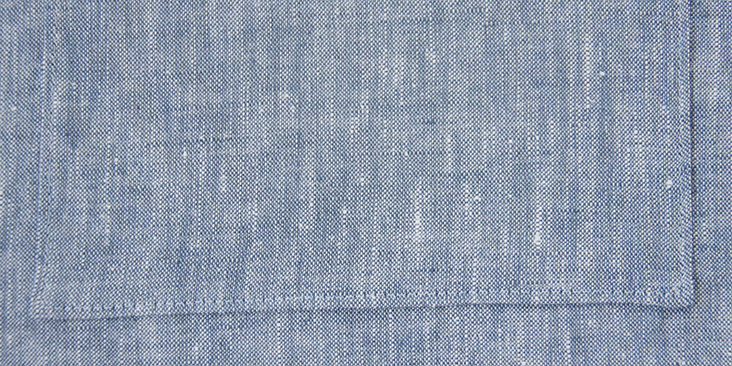
And that’s it! Give your pocket a good press, and repeat with the second pocket if you desire a pair.
The Second Method:
This method is very similar to the first one, the only difference is that instead of folding the side and bottom seam allowances once, you fold them twice to get a perfectly neat and clean finish on the inside enclosing all the raw edges.
The steps are pretty much the same, but since all the raw edges will be enclosed within the folds, no need to serge or zigzag the fabric here. Repeat the same steps as in the first method, but start by folding the bottom and side raw edges twice to the wrong side (1/4″ to 1/4″). Now you see why this method requires a larger seam allowance.
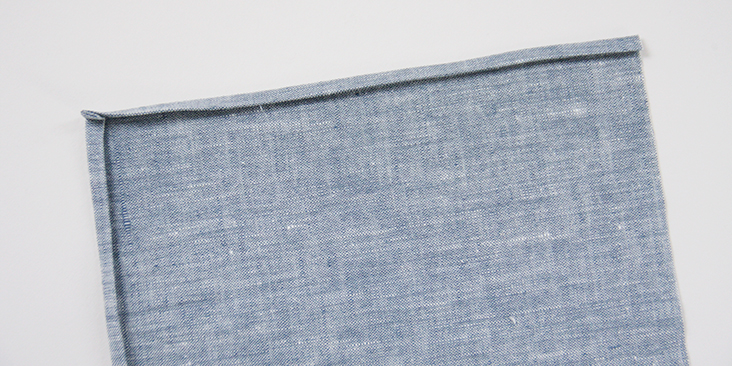
Follow steps #3 through #6 to complete attaching your pockets.









19 Comments
barb emerson
On the Capucine Robe Pattern on page 25 of instructions, I can’t make sense of a couple of things:
1. Why are we folding and pressing the top to the Wrong Side first, then to the Right Side? Pressing to the wrong side seems useless. . . ?
2. Next step: I have folded 2″ to the Right Side and pressed. Folded up 1″ in every possible way — directions say Right Sides together?? I don’t get this — and tacked the sides. No matter how I fold, press, tack, there’s always an exposed raw edge at the top of the pocket. Is this a typo?
3. We do this all over again on the hem page 31. Just can’t make this work and the drawings are not clear.
Please help. THANK YOU!
Gloria Oakland
Great instructions. If possible it would be helpful to use contrasting thread so the stitching could be seen a little easier. Would have helped with the button bands.
JAB
I don’t know the name of this neat variation on a patch pocket:
Finish the top and sides, but leave the bottom raw. Draw a line one seam allowance above the place where the bottom of the pocket should be. Match the raw edge of the pocket to this line, with right sides together and the pocket hanging down. You might want to scroonch the width slightly to make sure the ends are covered when the pocket is folded up.
Sew a quarter inch (or the width of the presser-foot toe) from the raw edge, then zig-zag over the raw edge to keep it flat and prevent ravels.
Turn the pocket up so that the top corners are where they should be, then sew the sides.
Since everything I make of linen is flat-felled, I stitch narrow ovals to look like a flat-felled seam. This also allows me to let a raw edge fall between the rows of stitching instead of lumping up the pocket with a serged edge.
A fold at the bottom doesn’t bulge as unattractively as a seam when stuff is put into the pocket. If large or heavy stuff is to be put into the pocket, use a wider seam allowance, so that up to an inch of fold is free at the bottom. When leaving a fold free, I sometimes make a second row of stitching a quarter inch below the first. If the fabric is thin, I’ll turn under a quarter inch instead of zig-zagging, and make it look like a flat-felled seam.
Pearl W.
Love the look of the shirt with extra large patch pockets. Already have my linen prepped, can’t wait for the shirt pattern to be posted.
Masha Karpushina
Dear Pearl, thank you! The pattern for this shirt is indeed on its way, but next week we are posting another shirt pattern. The shirt with extra long pockets will be posted within the month. Thank you so much for sharing !
Christy Faulkner
You’ve got my vote for larger sized patterns. I’m not an instructor, just a larger size!
Masha Karpushina
Dear Christy, thank you for letting us know!
Kathleen
Please make sure your patterns go up to at least a size 18. I am a sewing instructor, and many of the women would love to have your patterns in their size. Thanks!
Masha Karpushina
Kathleen, thank you, at this point we will post a diagram of how to draft the pattern, but if there is enough interest, we will make a multi sized pattern which will have a wide range of sizes!
Kathy Day
I’d expand on that to up to a size 5x. Not all women fall into a missy, or even womens size. They may need an extended size. Many women wear extended sizes, and they still want to be stylish.
Masha Karpushina
Thank you Kathy, we don’t doubt it at all, so we always put out a diagram of how to draft any of our tutorials. We also have a tutorial on how to scale up or down. And when there’s enough demand for a particular tutorial, we hire a pattern maker to make us a multi sized pattern PDF. We are a super small team 🙂 Thank you for being patient with us!
Barbara
Can’t wait to get the blouse pattern and add pockets too!
Masha Karpushina
thank you!
Anna
What is pattern for shirt??
Masha Karpushina
Hi Anna, this tutorial is about how to attach patch pockets to a garment. Next week we will post about how to make this very grey linen shirt. )) So stay tuned!
Patty S.
Rima, love the big patch pockets on this shirt!! Can you tell me what shirt pattern this is? Very pretty and very well done.
Rima Khusainova
Hi Patty! Thank you so much for the compliments! This image is from an upcoming shirt pattern, it should be on the blog next month or so. But next week we’ll post instructions for a cute little top with patch pockets so come check the blog next week 🙂
Masha Karpushina
Actually, the shirt pattern will be up next week :))
Masha Karpushina
Ah! Dear Patty, my bad , next week we are indeed posting another great grey shirt pattern but alas, not for this shirt: this shirt is coming real soon! We just need to post one more mini tutorial on how to draft and attach cuffs and then we will post the shirt pattern. Thank you for being patient with us !