


Sewing Essentials: A Simple Method for Reversible Seams
There are so many ways to finish a seam, from good old overlocking to French seams and binding.
I recently stumbled across another method that’s pretty nifty, and honestly, I kind of wish I had known about it sooner. It is a bit like binding, but topstitched in place so it doesn’t move or flap about.
What I love about this technique is that it looks good on both the right and wrong side of the fabric, so it’s great for reversible garments. I already have a project in mind where I’ll definitely be using it.
The technique is fairly straightforward, neat, and even leaves room for a bit of personalisation, so I thought I’d break it down and share it with you step by step.
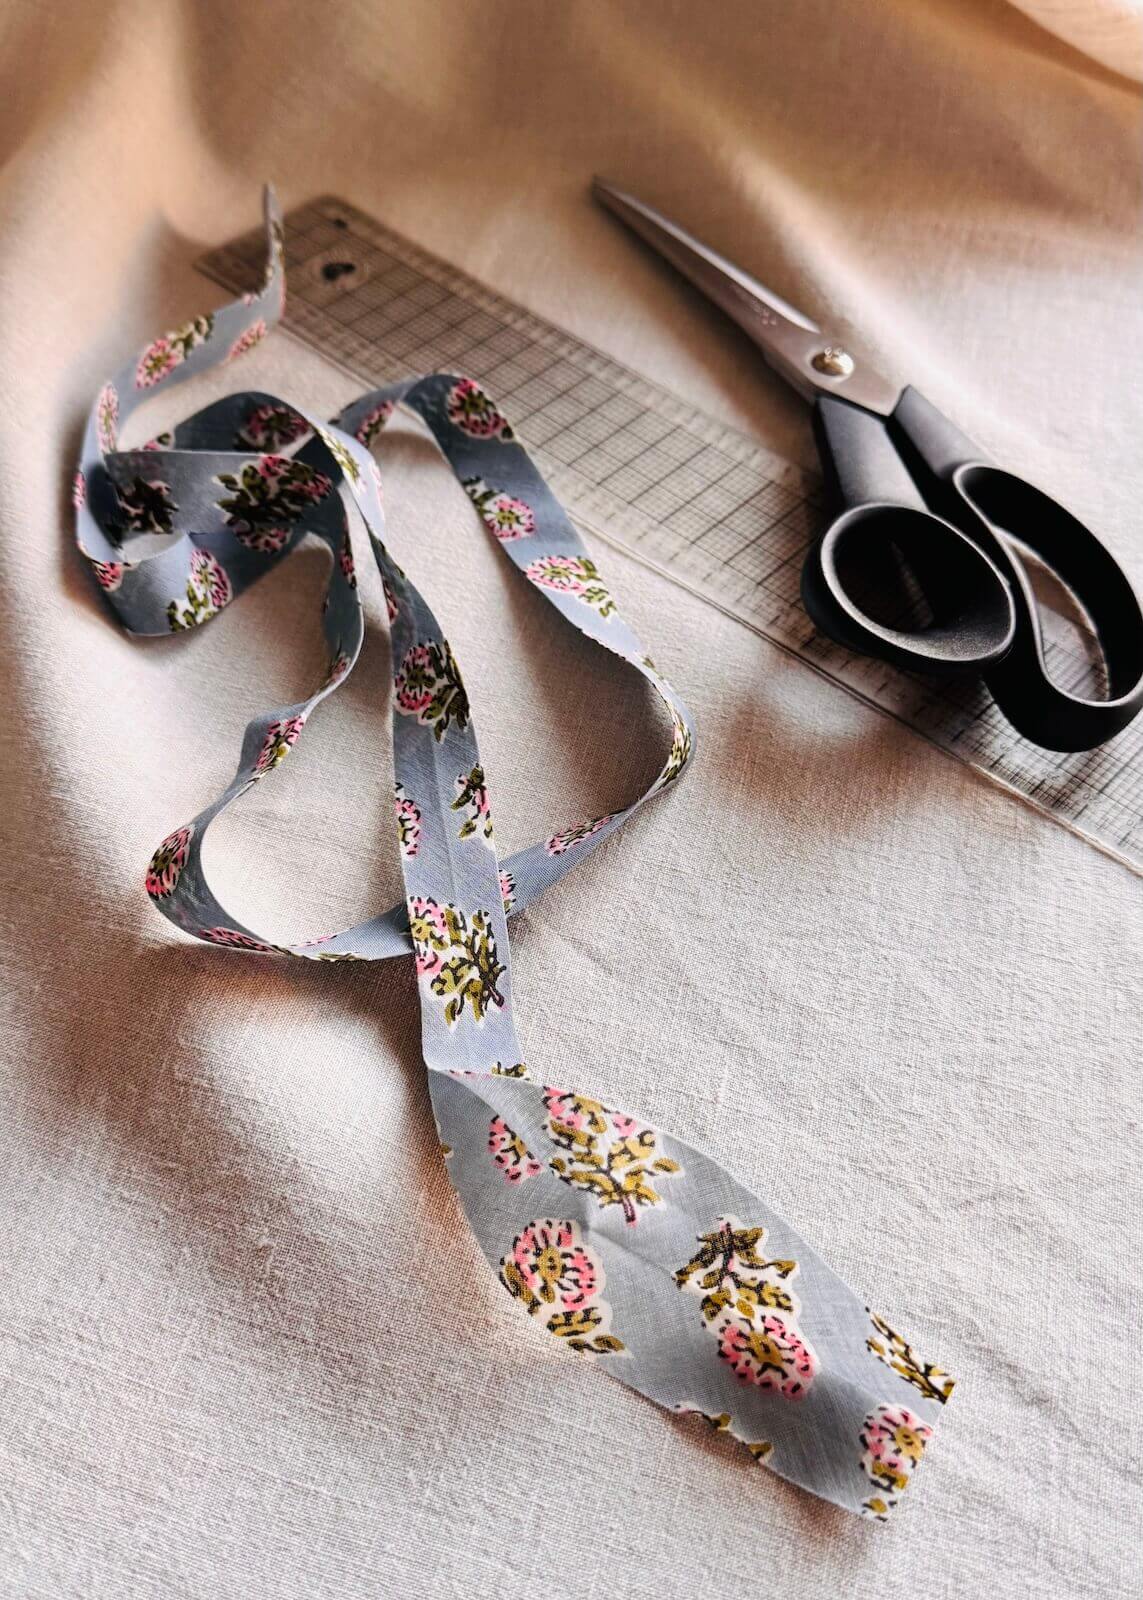
Step 1: Cut the binding strip
You can use the same fabric as the body of the garment or a contrasting one. If you choose a contrast fabric, just make sure it has a similar composition and weight to the main fabric. This will ensure it behaves the same way when sewing, pressing, and laundering.
Binding is typically cut on the bias, but for this method, it can depend on the fabric and the edge you’re finishing:
- When you don’t need the bias: For straight seams, cutting the binding along the grain (i.e. parallel to the selvedge) should work just fine.
- When the bias can be helpful: For curved seams, like a shaped hem, cutting the binding strip on the bias (i.e. at a 45° angle to the grainline) will provide a little more stretch and flexibility.
So how do you know what size binding to cut?
- Length: A few centimetres longer than your seam.
- Width: This can vary. The visible width of the binding will be roughly a quarter of the strip’s width and should be a few millimetres wider than your seam allowance. Don’t worry, this will make more sense as we go.
For this tutorial, I’m using a 32mm wide binding strip. After folding it in half, it becomes 16mm wide. When I sew it on using a 6mm seam allowance, I am left with a visible 10mm (1cm) of binding.
Step 2: Fold and press binding strip
Fold the binding strip in half lengthwise, with the wrong sides together, and press.
Step 3: Attach the binding
There are two ways to attach the binding, depending on the seam allowance and your personal preference.
Option 1: Sew the seam first, then add the binding
This method is ideal for wider seam allowances, such as 1–1.5cm.
1. Sew the seam, aligning right sides of the fabric together.
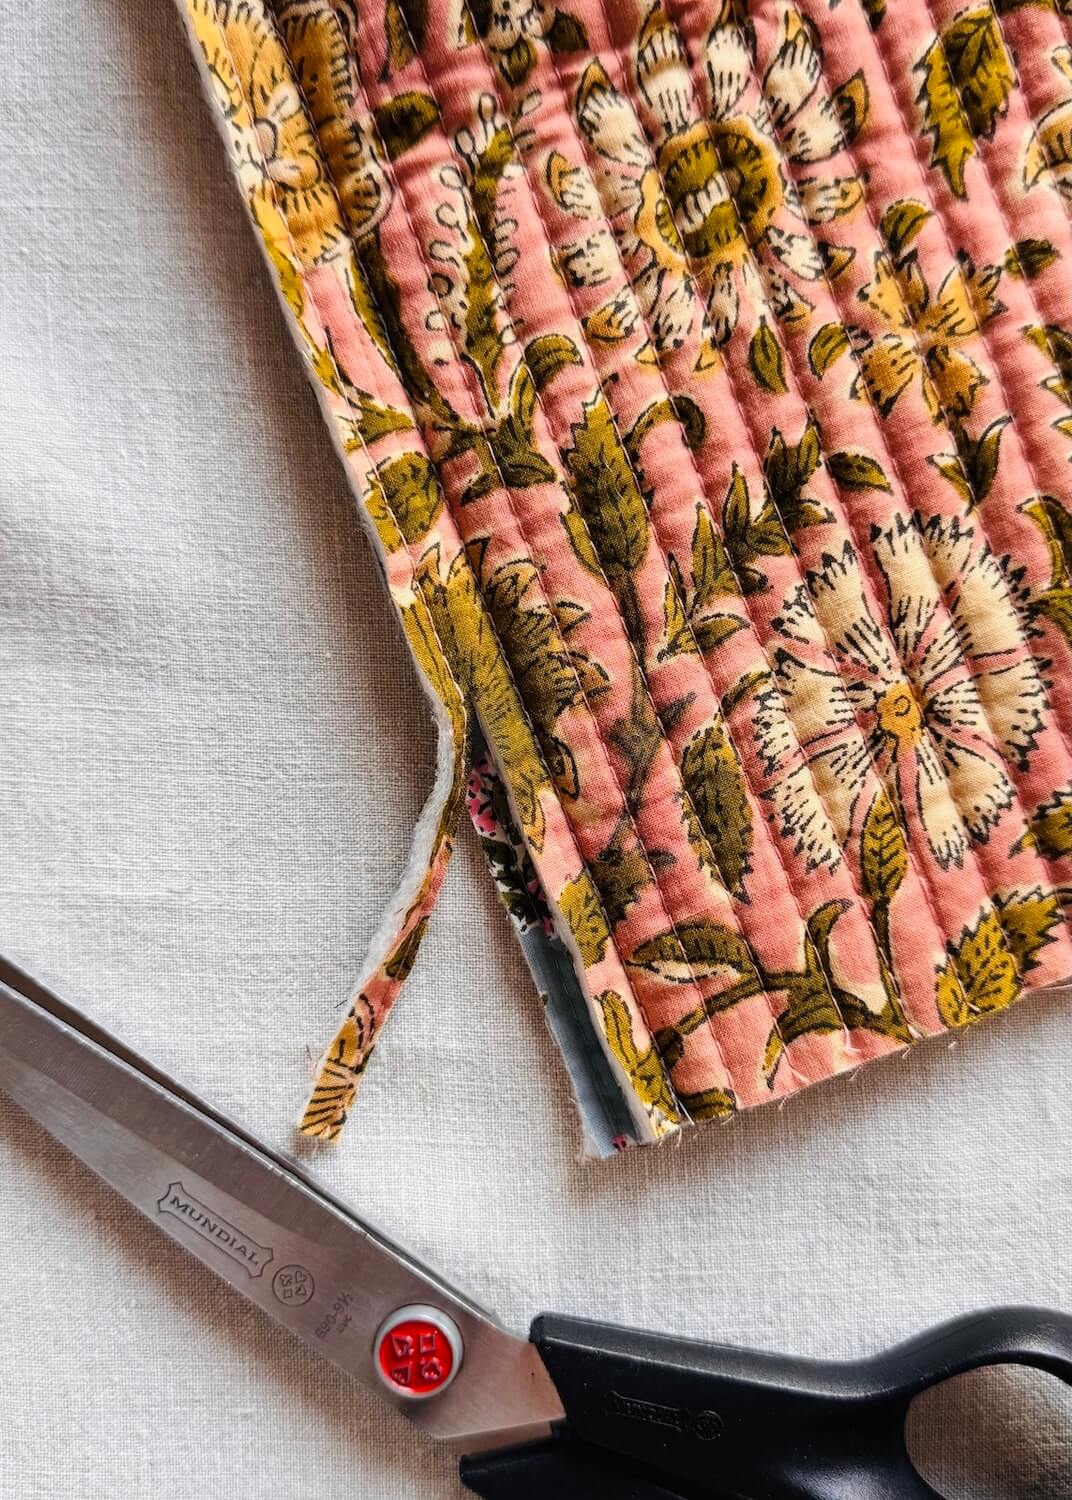
2. Trim the seam allowance.
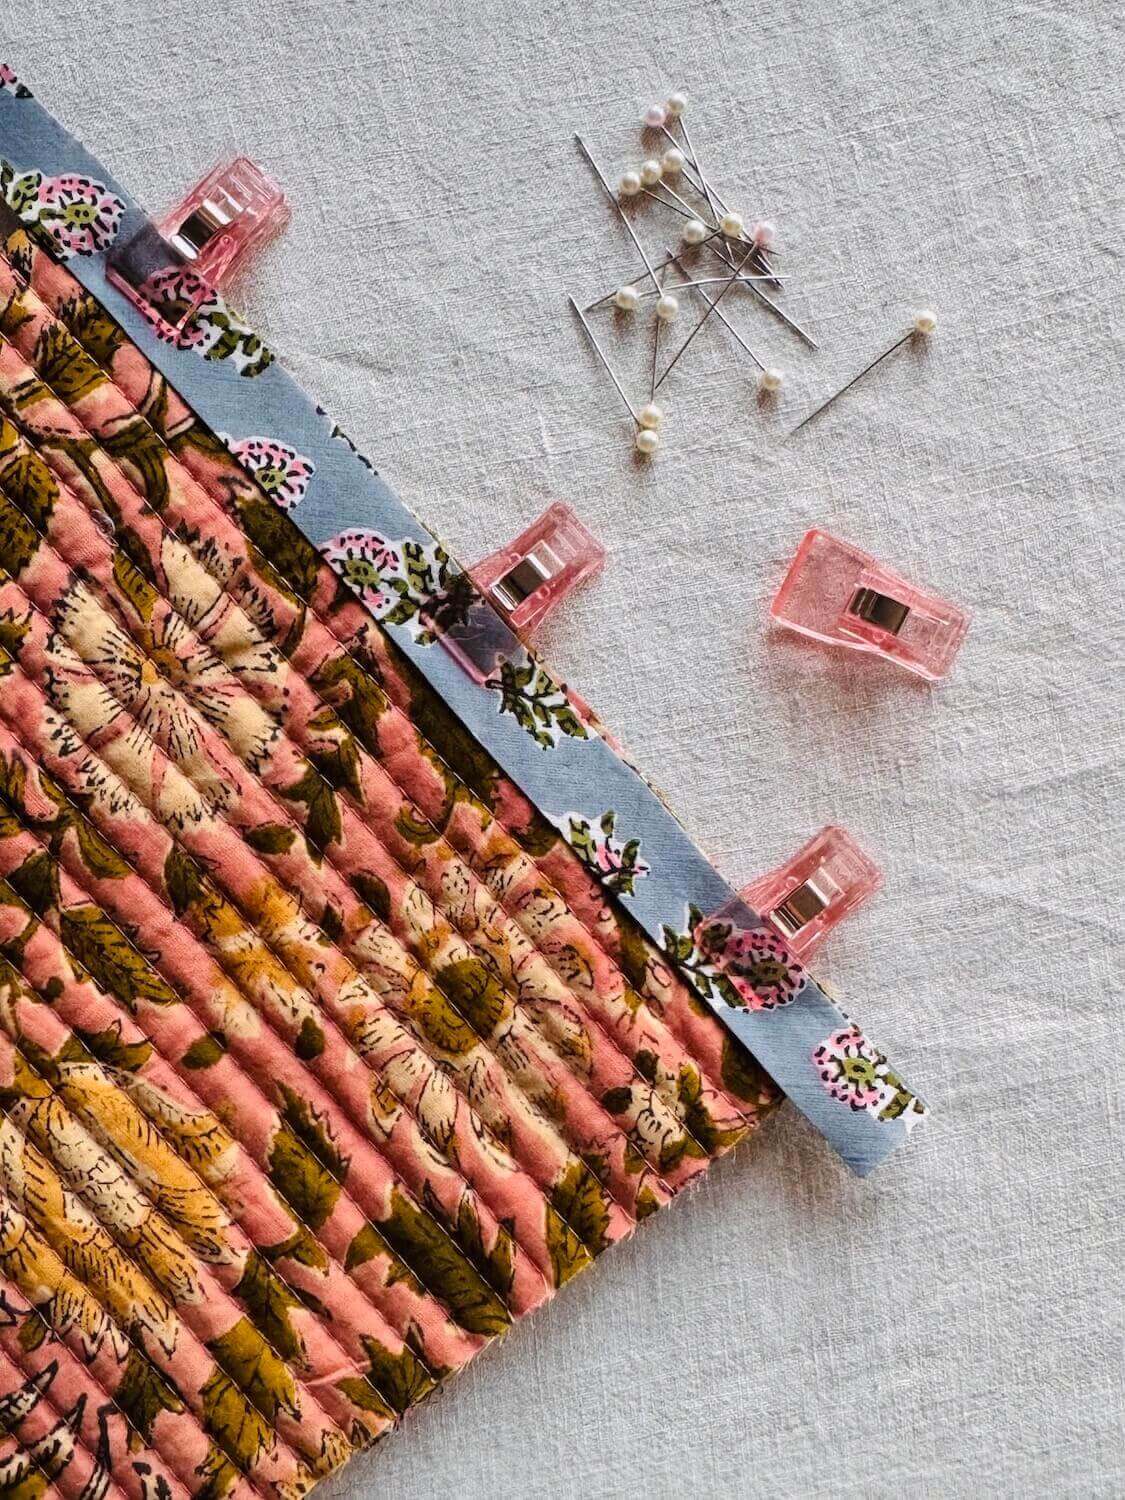
3. Pin or clip the binding to the main fabric, aligning the open edge of the binding with the cut edge of the fabric.
4. Sew over the original stitching line from Step 1.
Option 2: Sew the binding as you sew the seam
This method works best for narrow seam allowances, such as 6mm.
1. Pin or clip the binding to the main fabric, aligning the open edge of the binding with the cut edge of the fabric.
2. Sew the binding and fabric together.
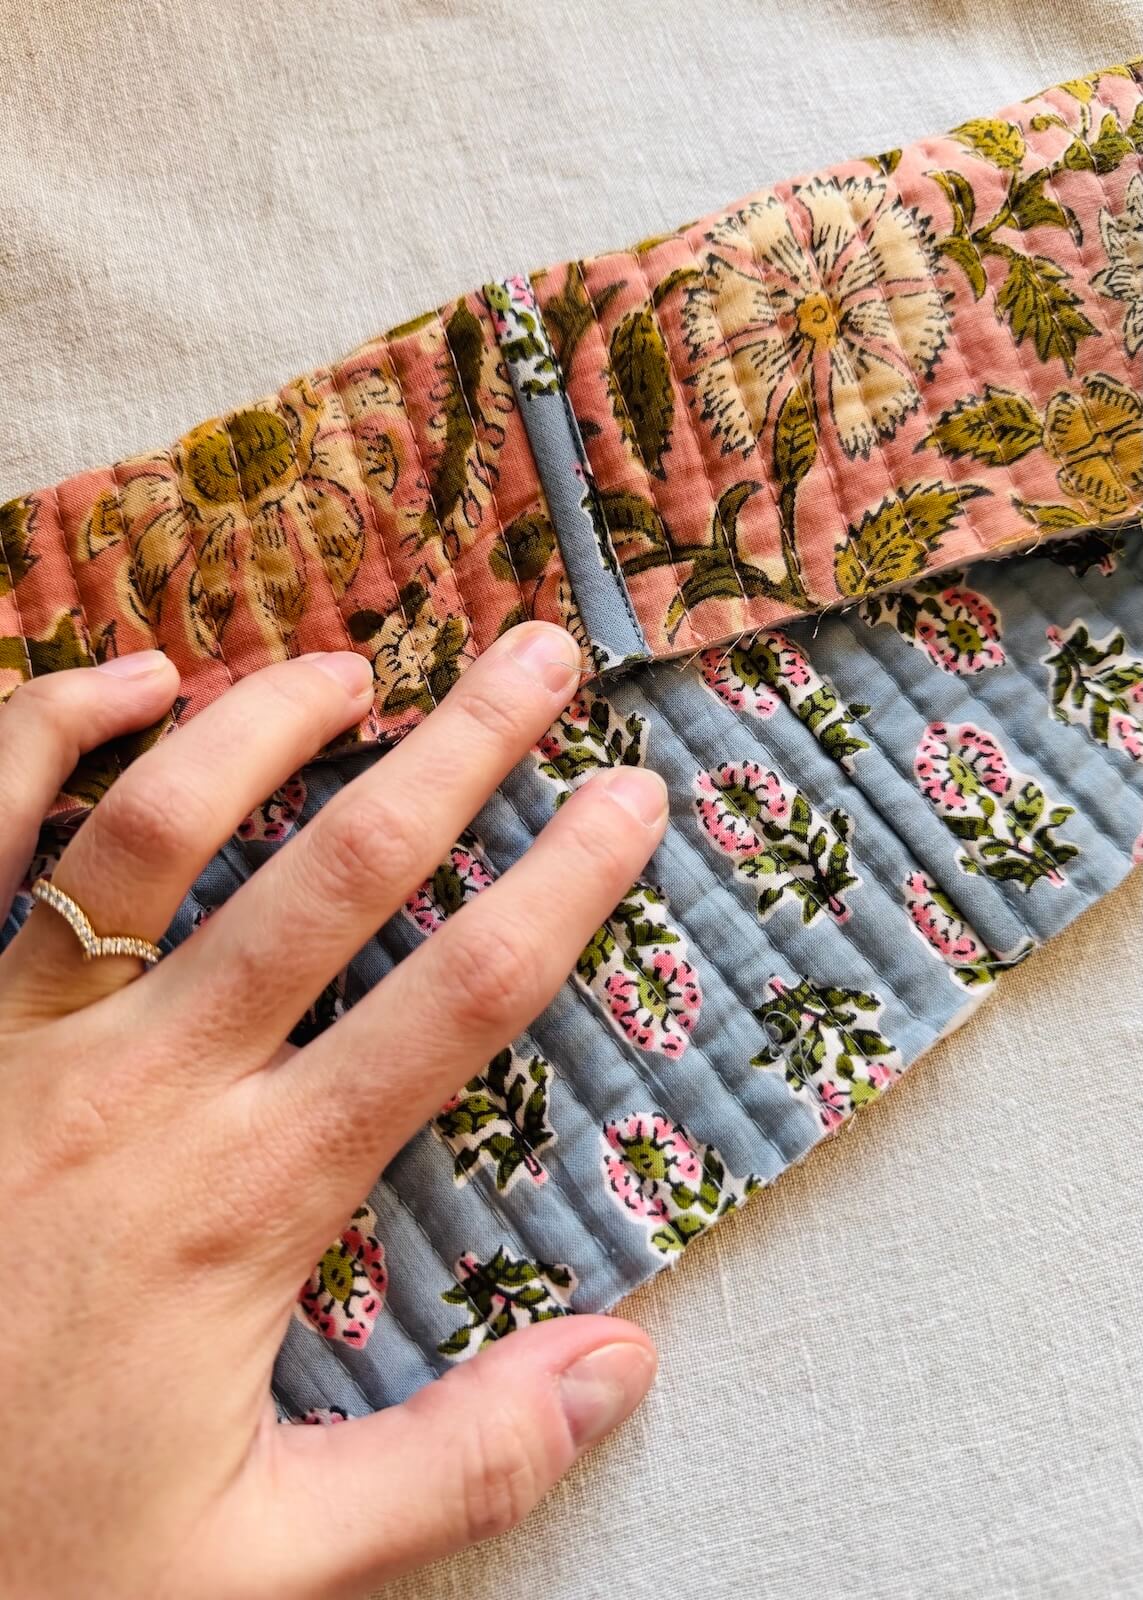
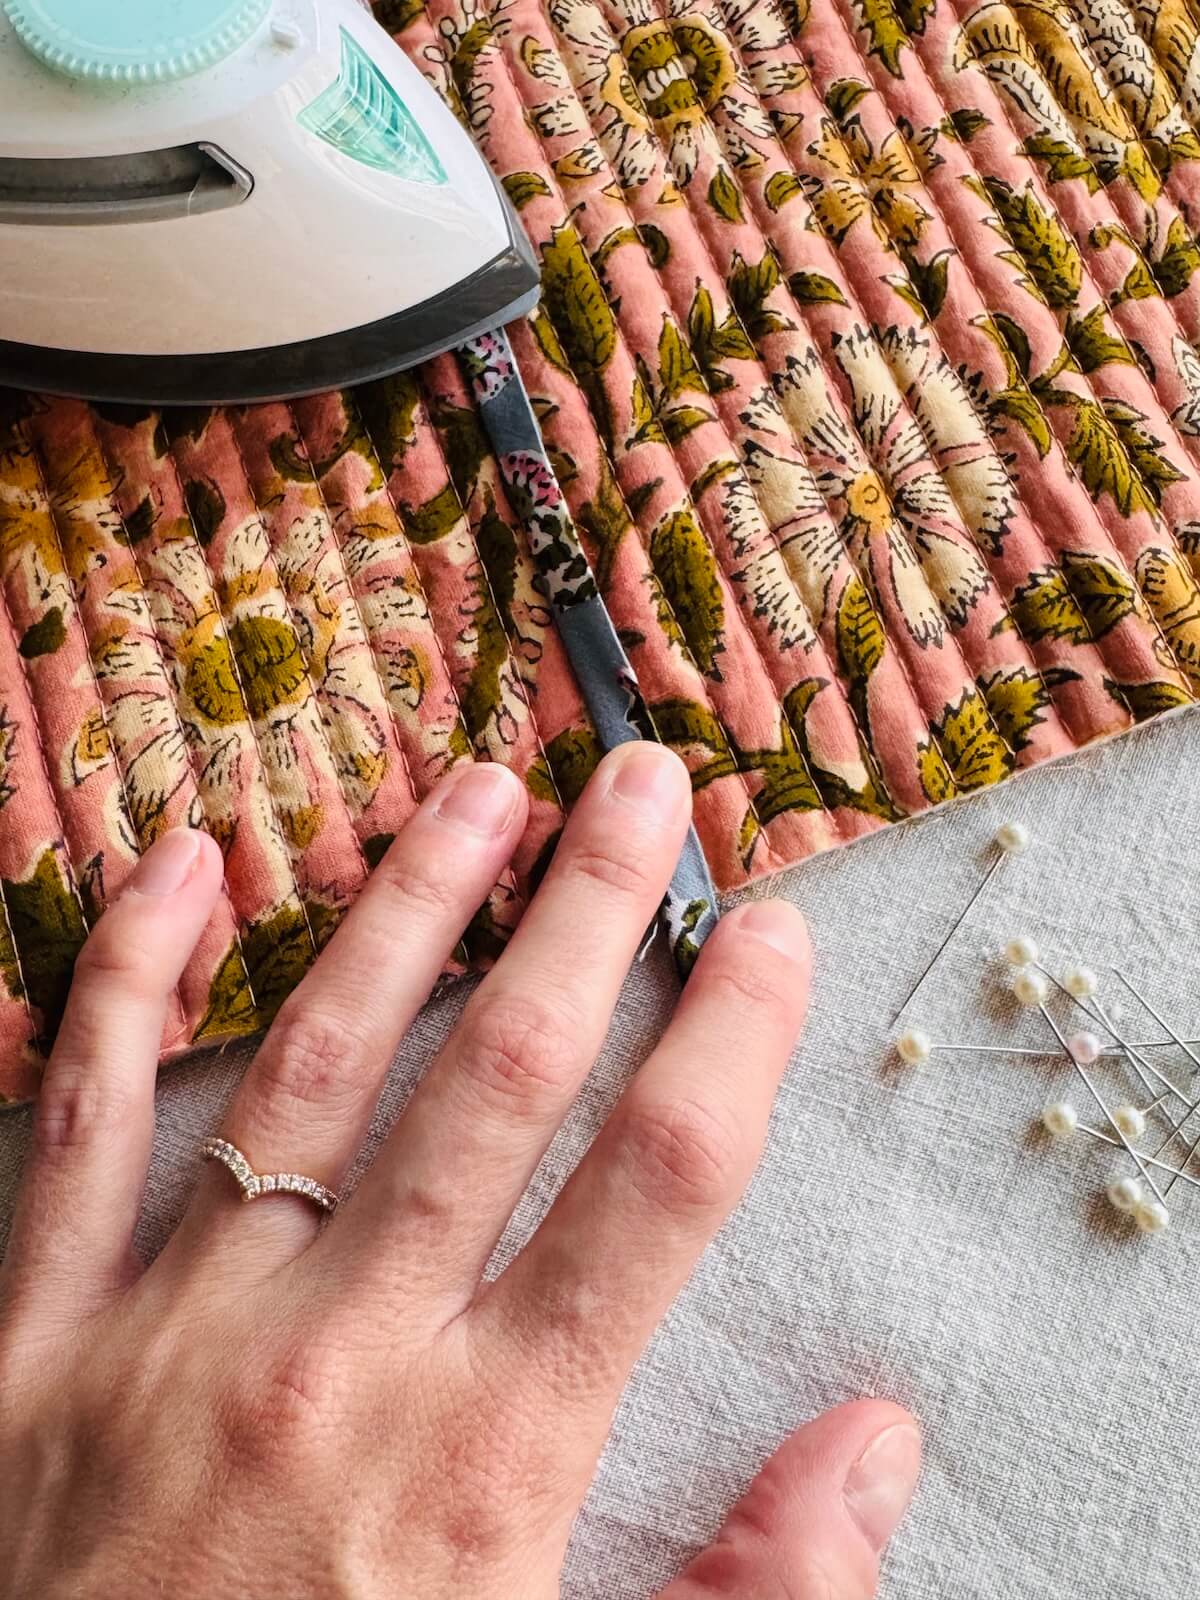
Step 4: Open and press the binding
Gently open the seam so it lies flat. Then fold the binding over the seam allowance and press it in place. The binding should completely cover the seam allowance and sit neatly against the fabric. Take care when pressing in this step, as it will make topstitching much easier in the next step.
Tip: If you want to keep things consistent, a good rule of thumb when it comes to the direction of pressing common seams is:
- Side seams and shoulder seams: Towards the back of the garment.
- Sleeve cap: Towards the sleeve.
- Horizontal darts: Downwards.
- Vertical darts: Towards the centre front or back of the garment.
- Necklines: Downwards, towards the body of the garment.
- Cuffs: Upwards, towards the sleeve.
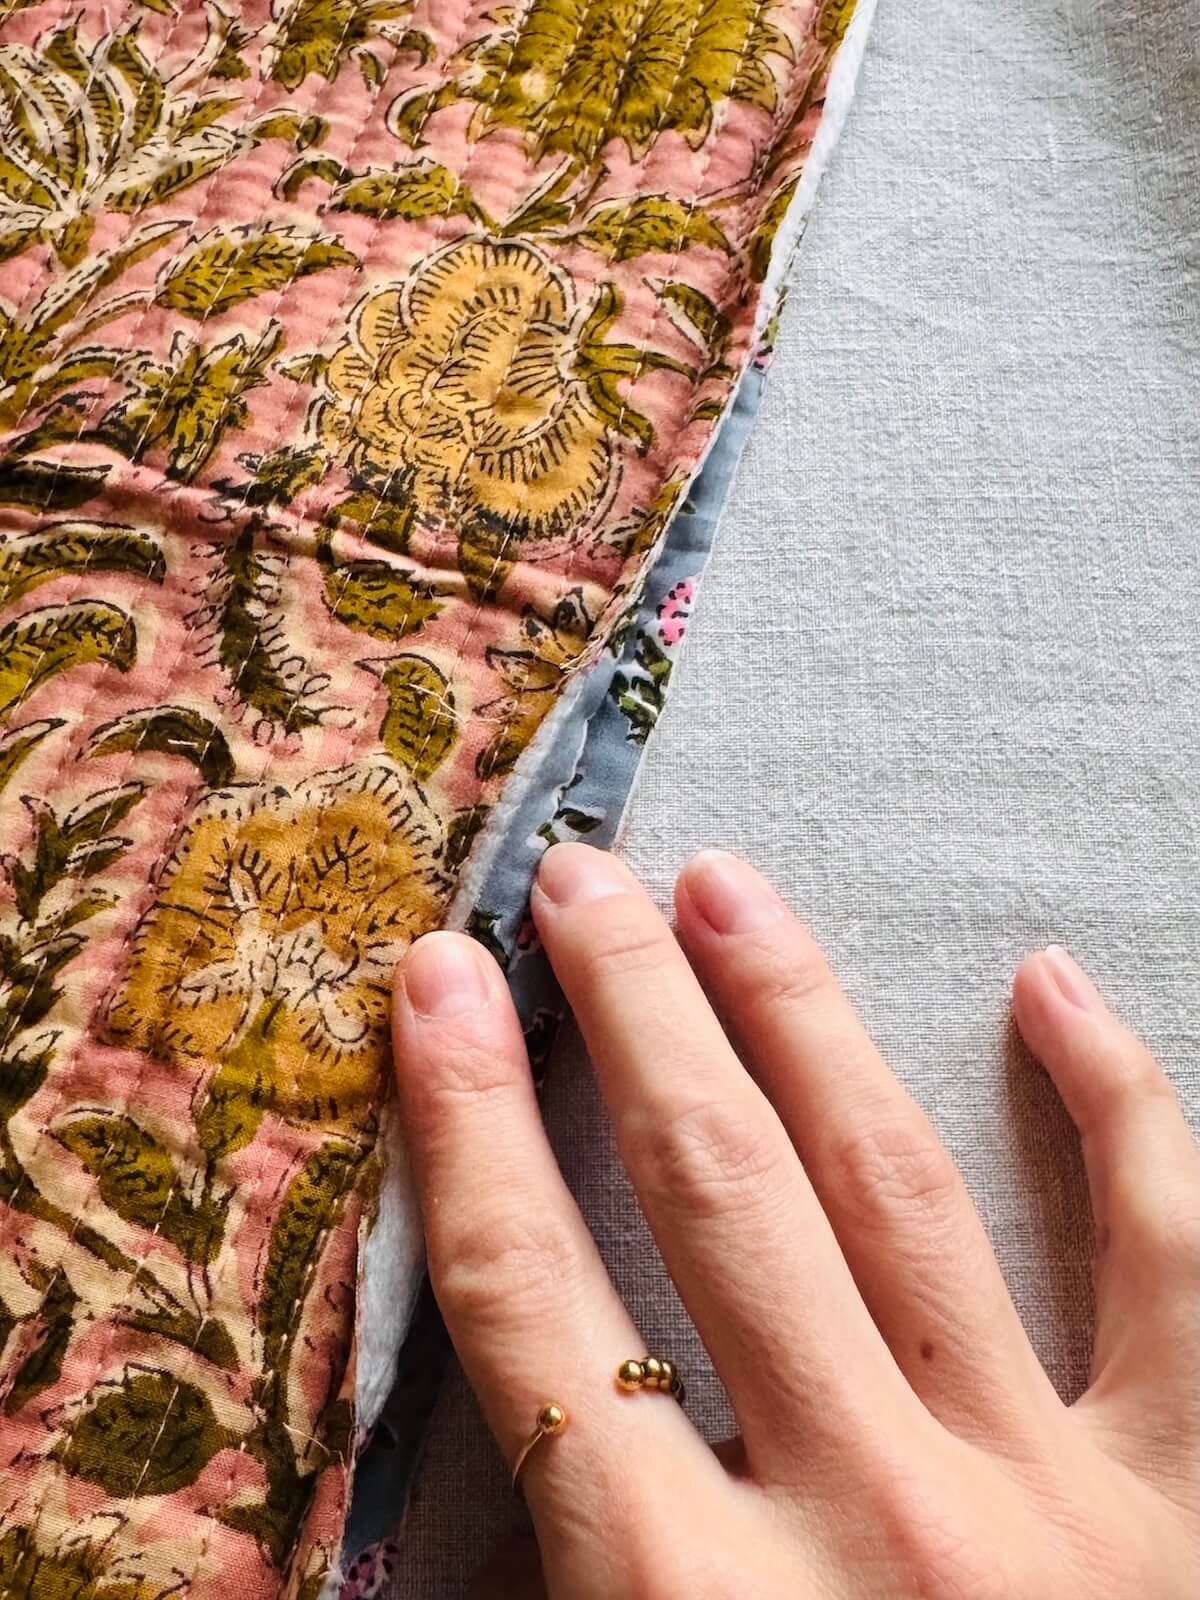
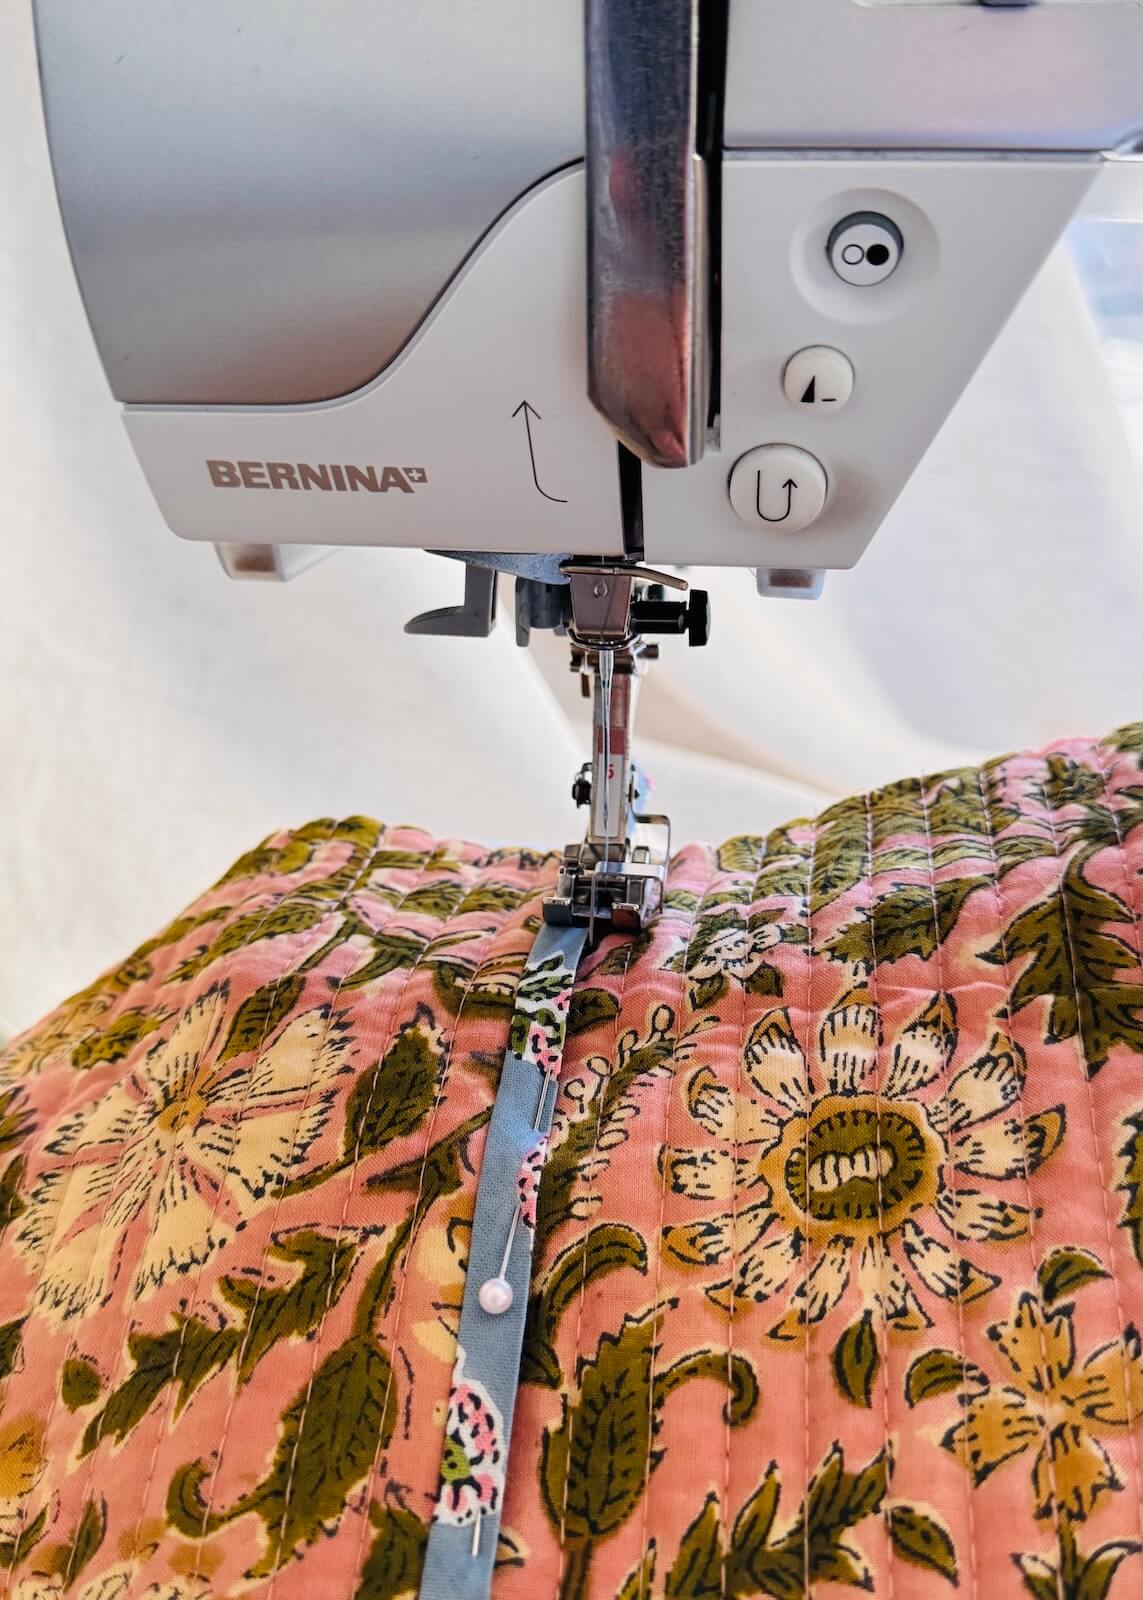
Step 5: Topstitch binding in place
To finish, topstitch the binding about 1–2mm from the folded edge. Take your time to keep your stitching even and straight, as this will give your seam a clean, professional finish and ensure both sides look neat.
Pinning the binding in place and using an edge-stitching foot can make this step easier, but it is not essential.
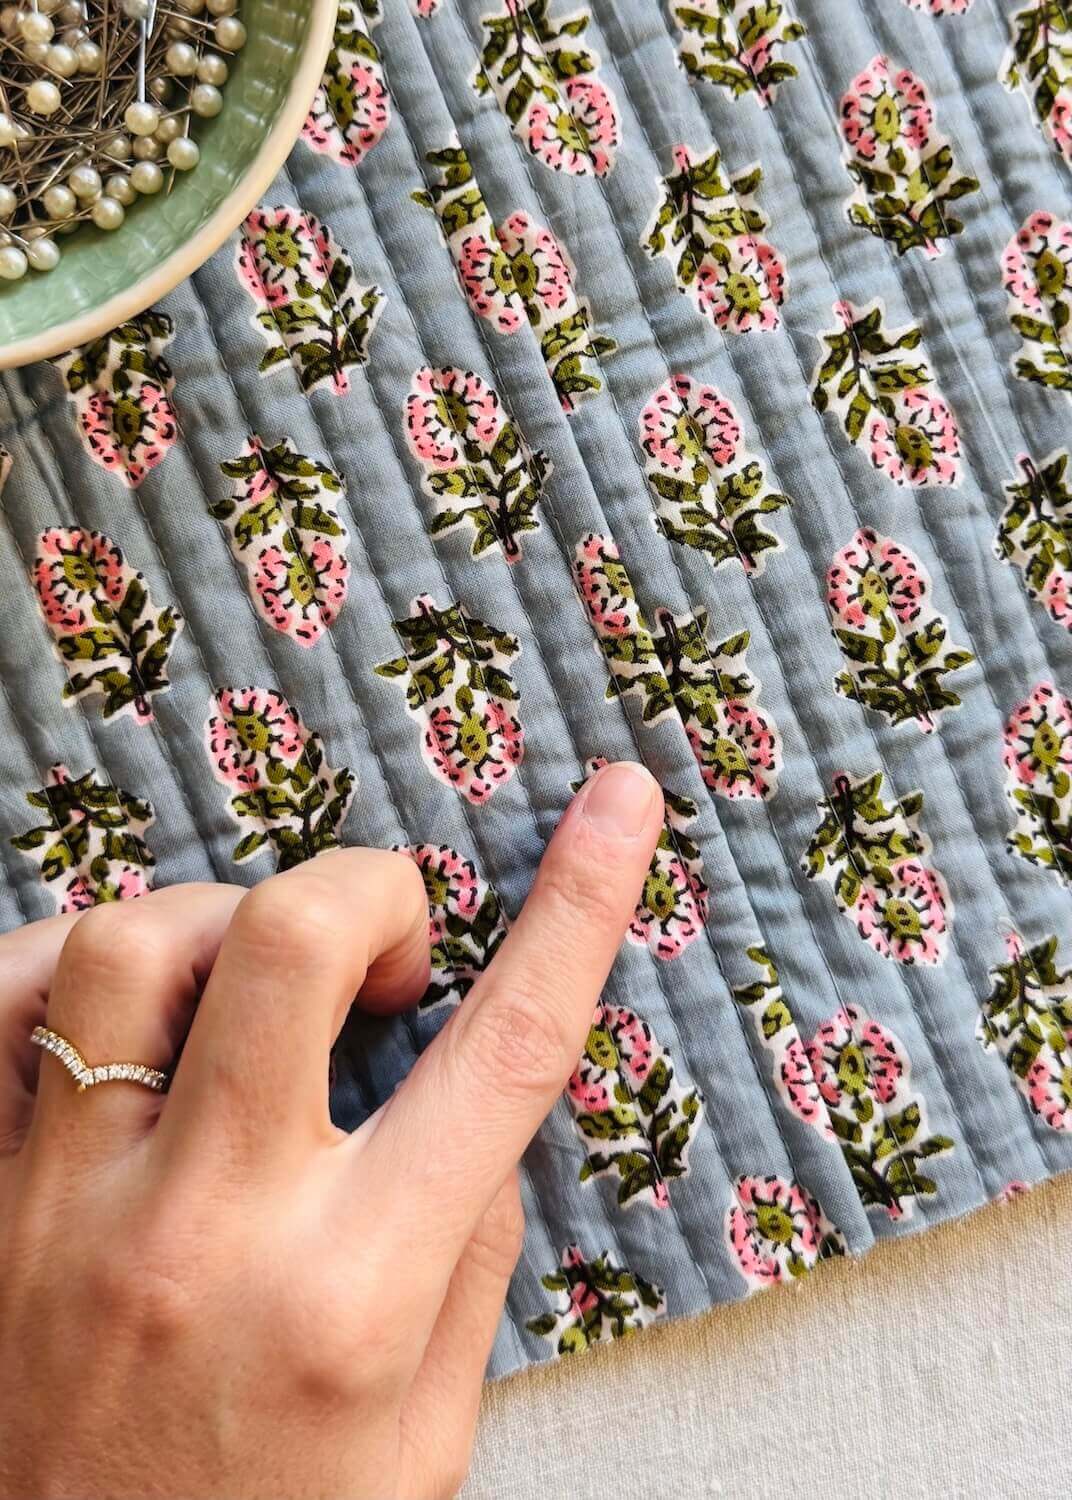
When you’re done, you should have a neat bound seam on one side and a simple row of stitching on the reverse.

Which side becomes the “right” side of the fabric is up to you, and either way, this method really does create a nice, polished finish.
That really is it! This is such a simple way to finish seams, and it looks neat on both sides of the fabric. I can definitely see myself using this technique on all sorts of projects. Happy sewing, and enjoy your perfectly finished (reversible) seams!
About Author
Emma Cartmel
Heya! I’m Emma, and I'm an Aussie living in beautiful Munich with my husband Ben, and our pug Harley. I am a designer, pattern maker, and sewist, and I share my expertise and experience through my ‘cartem.sewing’ page. You can follow me on Instagram @cartem.sewingLeave a Reply to Heather Barclay Davis Cancel reply
Related posts

Sewing Essentials: Stitch Width, Stitch Length & Needle Position
Thinking back to my high school textiles days, I remember having to test stitch settings on every fabric we planned to use for our projects. We would cut out little squares of fabric and experiment with different stitch lengths and widths, and edge-finishing techniques. At the time, it felt unnecessary, not to mention tedious….

Sewing Essentials: A Simple Guide to Notches
I love a notch, so much so that I’ve decided to dedicate this article to these small but important markings. Here, I’ll explain why they’re so helpful, when to use them, and how to add them to your own patterns or adapt them for existing ones. What exactly are notches? Notches are small markings found…

How to Select and Use Interfacing: A Simple Guide
Iron-on or sew-in, woven or non-woven, lightweight or heavyweight. With so many different types, weaves, and weights to choose from, how do you know which interfacing is best for your project? In this article, I will explain the two main types of interfacing before diving into the differences in weave and weight. Hopefully by the…

Sewing Essentials: Understanding Different Types of Sewing Elastic
Elastic is a really common notion used in sewing. You’ll find it on everything from waistbands to cuffs and necklines. It plays a crucial role in giving garments both support and shape. Have you ever had the waistband of your pants twist and never sit quite right? Or maybe you’ve noticed the leg opening of…
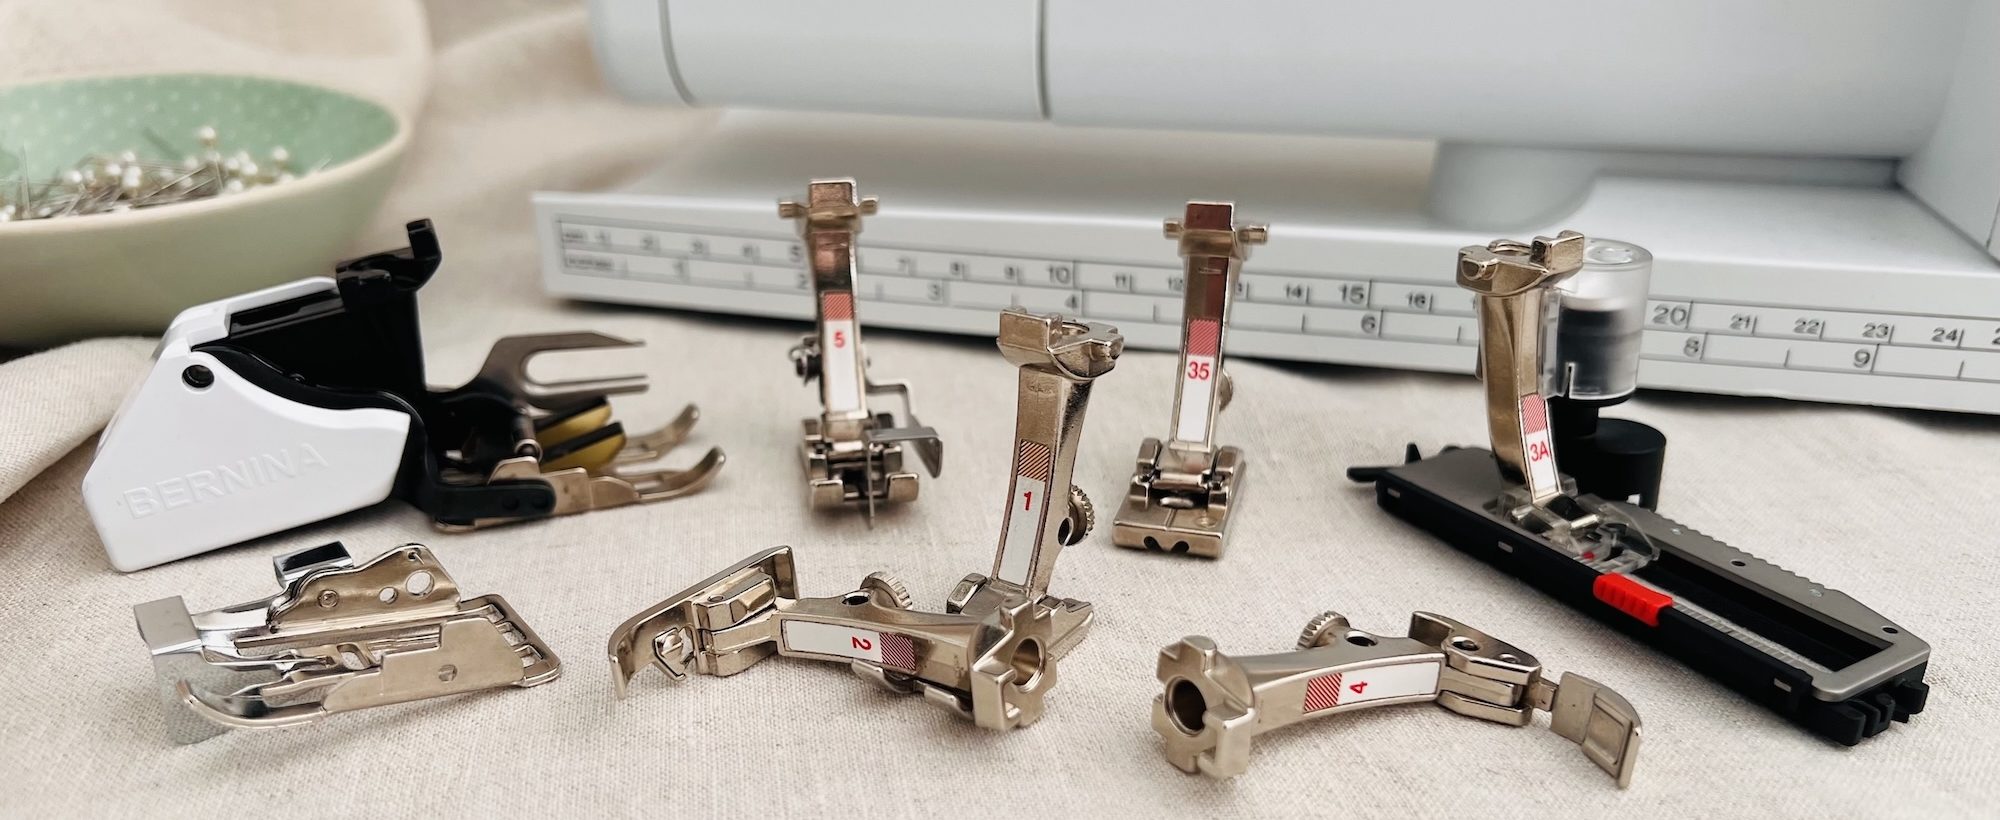
Sewing Essentials: A Simple Guide to Common Presser Feet
There are so many different presser feet available for sewing machines, each designed with a specific purpose, whether that be creating particular stitches or working with certain fabrics. Even after almost 20 years of sewing, I still haven’t used them all. In this article, my goal is to give you a helpful introduction to what…


SEW THIS LOOK


Latest Posts


6 Comments
Kate Renwick
I. See where you’re going with this but a run and fell seam would be less work and achieve the same result.
Heather Barclay Davis
I think I understand what you’re saying here but the steps for attaching the binding could use more pictures & it would be helpful to see in a fabric that doesn’t have pre quilted stitching to obscure what you’re doing
Heather Barclay Davis
I do like the looks of the final result and think it has potential!
Emma Cartmel
Hi Heather,
Thank you for the feedback. I can understand what you mean.
The reason I chose quilted fabric is because it’s very popular at the moment, and this seam finish would work particularly well for reversible quilted vests or jackets.
Emma Cartmel
Hi Kate,
I agree that a run and fell seam would definitely work. Although the nice thing about this method is that it gives you the option to use contrast fabric and personalise things a little.
Heather Barclay Davis
Also would work nicely on bulkier fabrics that would be difficult to flat fell. I can tell the possibilities are going to be marinating in my brain while I shovel all the snow ??