


How to Make Halloween Linen Butterfly Wings
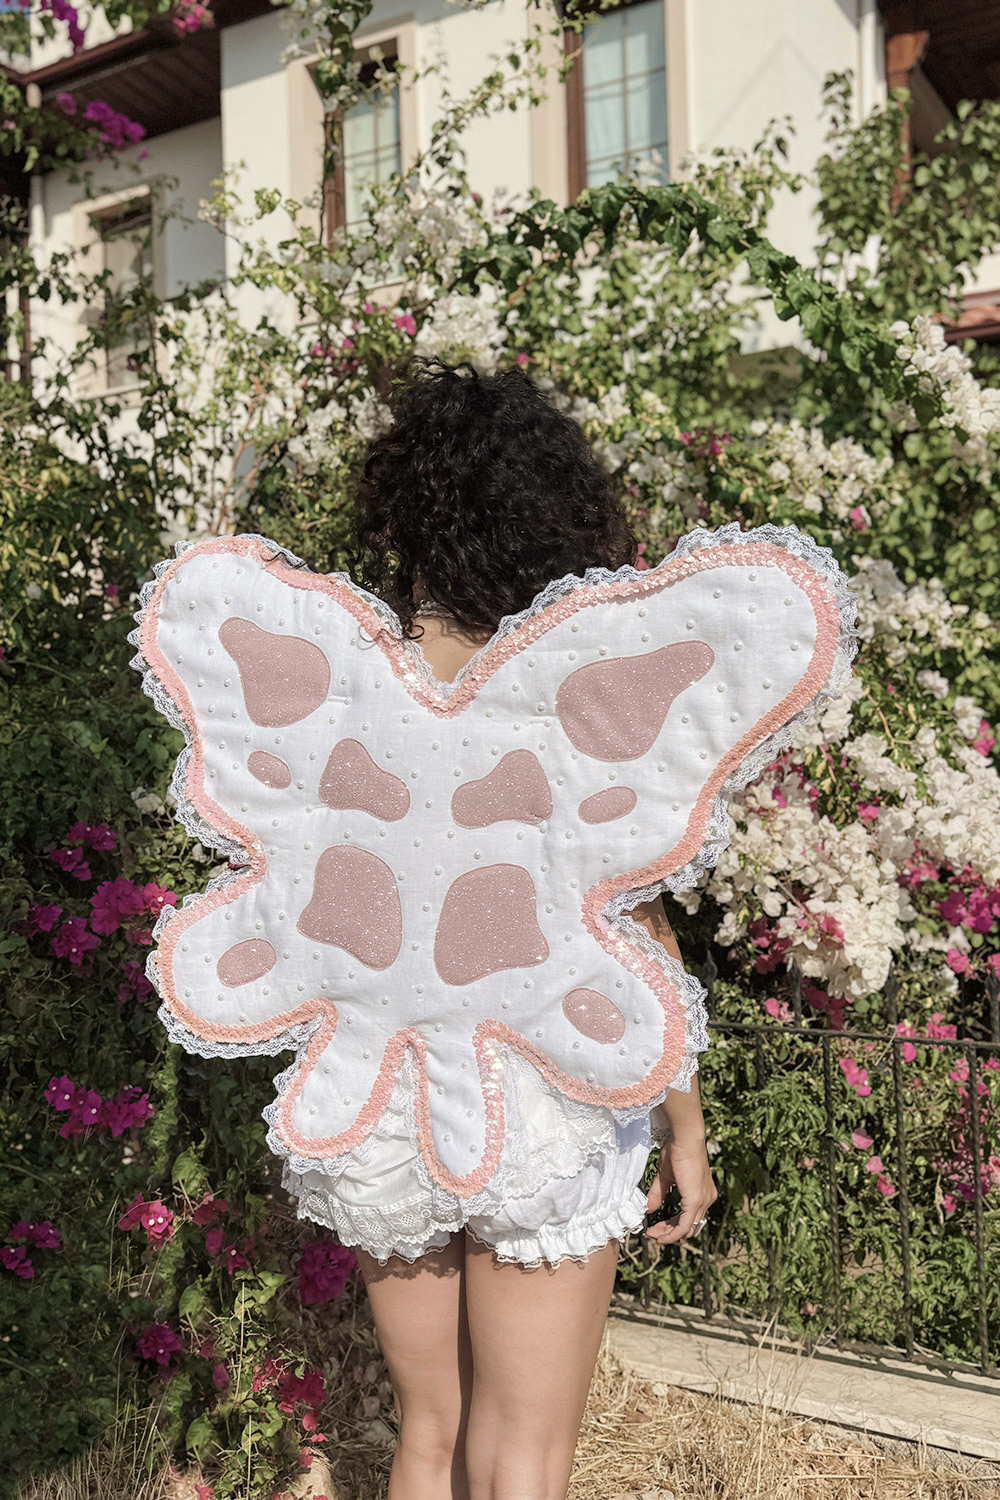 This project was an absolute blast! As a costume designer, I usually work with a lot of colorful materials. But this one was different. I wanted to showcase the beauty of a plain white fabric, which was a bit of a challenge. I rarely get to make a Halloween costume for myself, even though I always plan to. So, making these wings was really special to me. I love how it turned out, and I am super excited to fly around in these custom wings.
I am so excited to see all the different versions that come from this tutorial! Please feel free to tag my Instagram so I can share your creations.
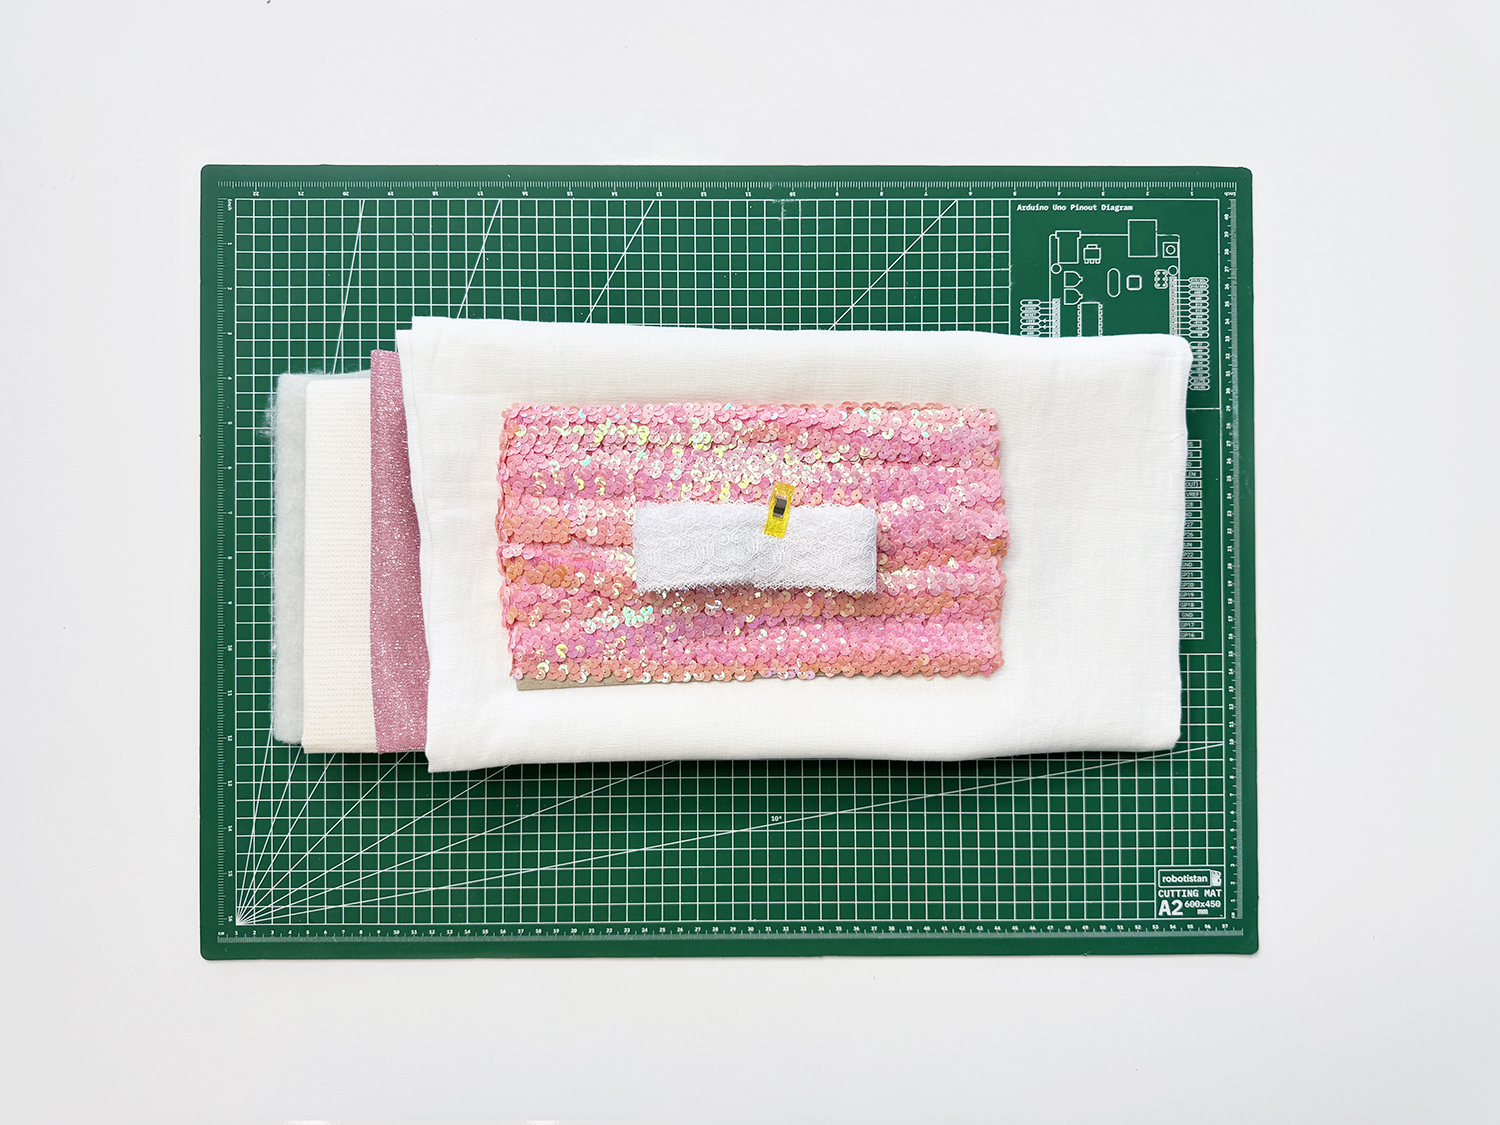 Materials
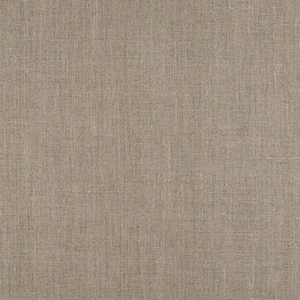
- Linen Fabric, I used IL019 Optic White in Signature Finish ( Quantity depends on the size of the wings)
- Stiff interfacing
- Batting
- Elastic
- Accent Fabric
- Trims
- Boning (optional)
- Wings pattern, which you can find it on my Etsy
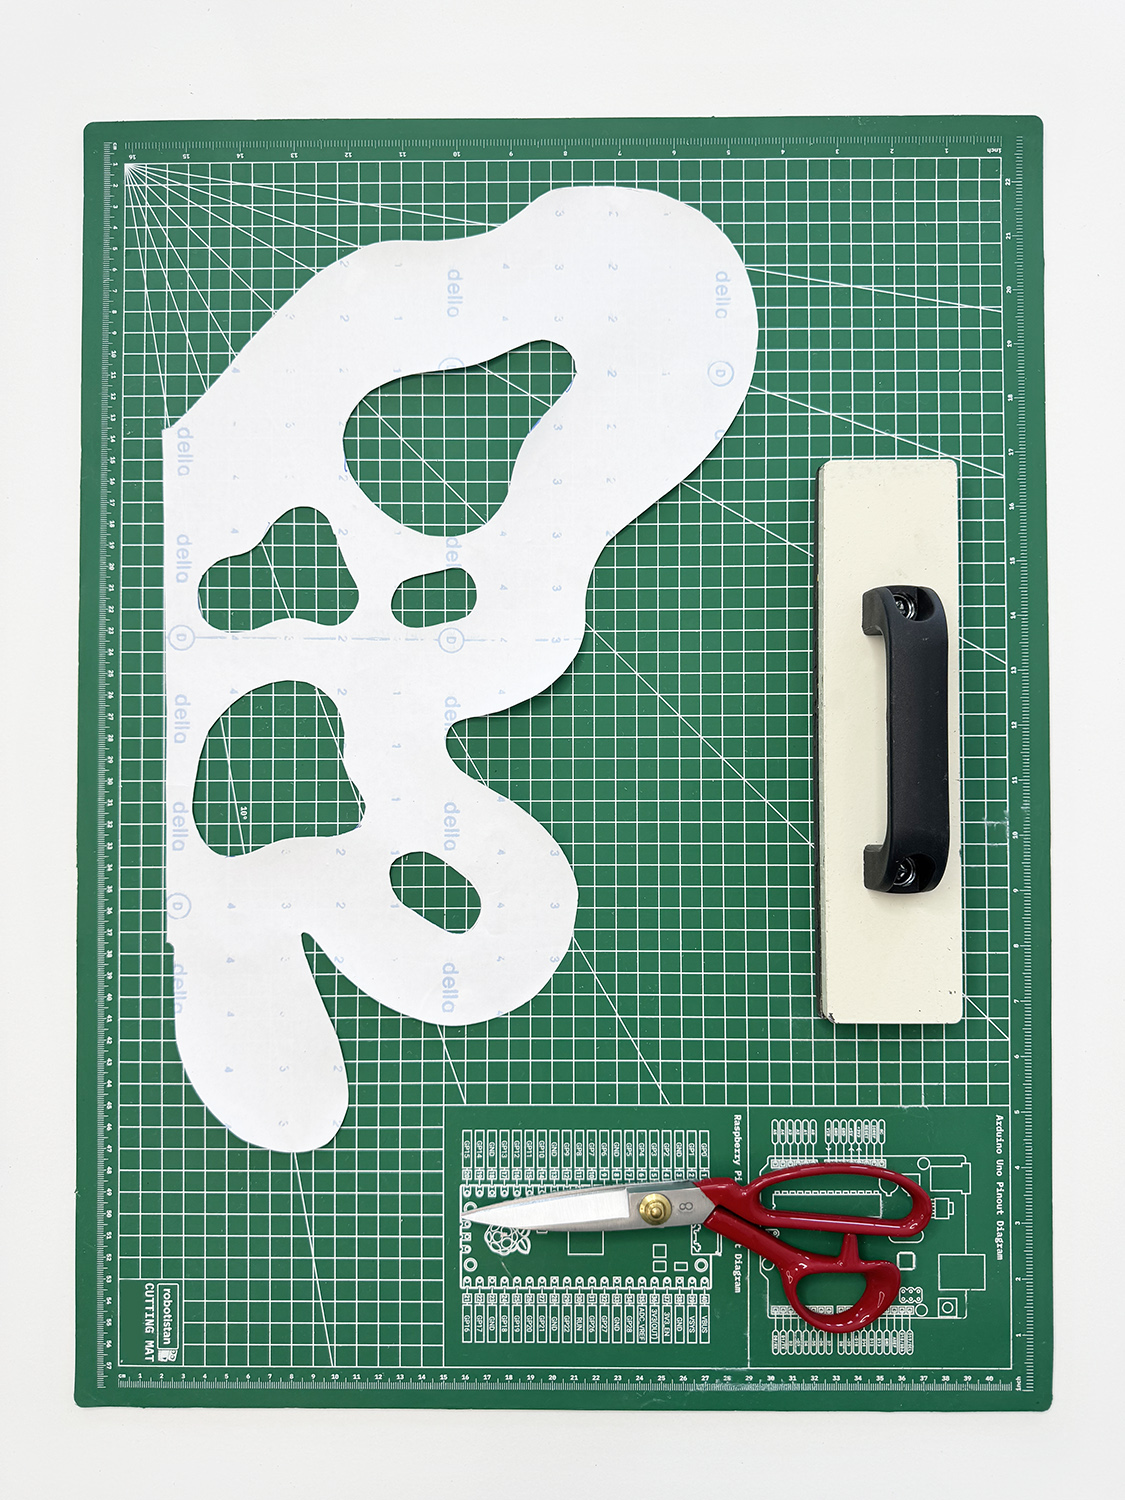
1. Let’s start by figuring out the shape and size of your wings! You can make them anything you want, but just make sure they’re not too big or they’ll weigh you down or sag. If you want this exact pattern, you can find it in our Etsy shop! Once you’ve chosen your pattern, cut it out with a seam allowance of 1.2 inches. Also, cut out the blob shapes in your pattern to make placement easier later! There will be two sections: a ‘FRONT WING’ and a ‘BACK WING’ Section. The ‘FRONT WING’ is the side that faces outwards, while the ‘BACK WING’ is the side that rests on your back.
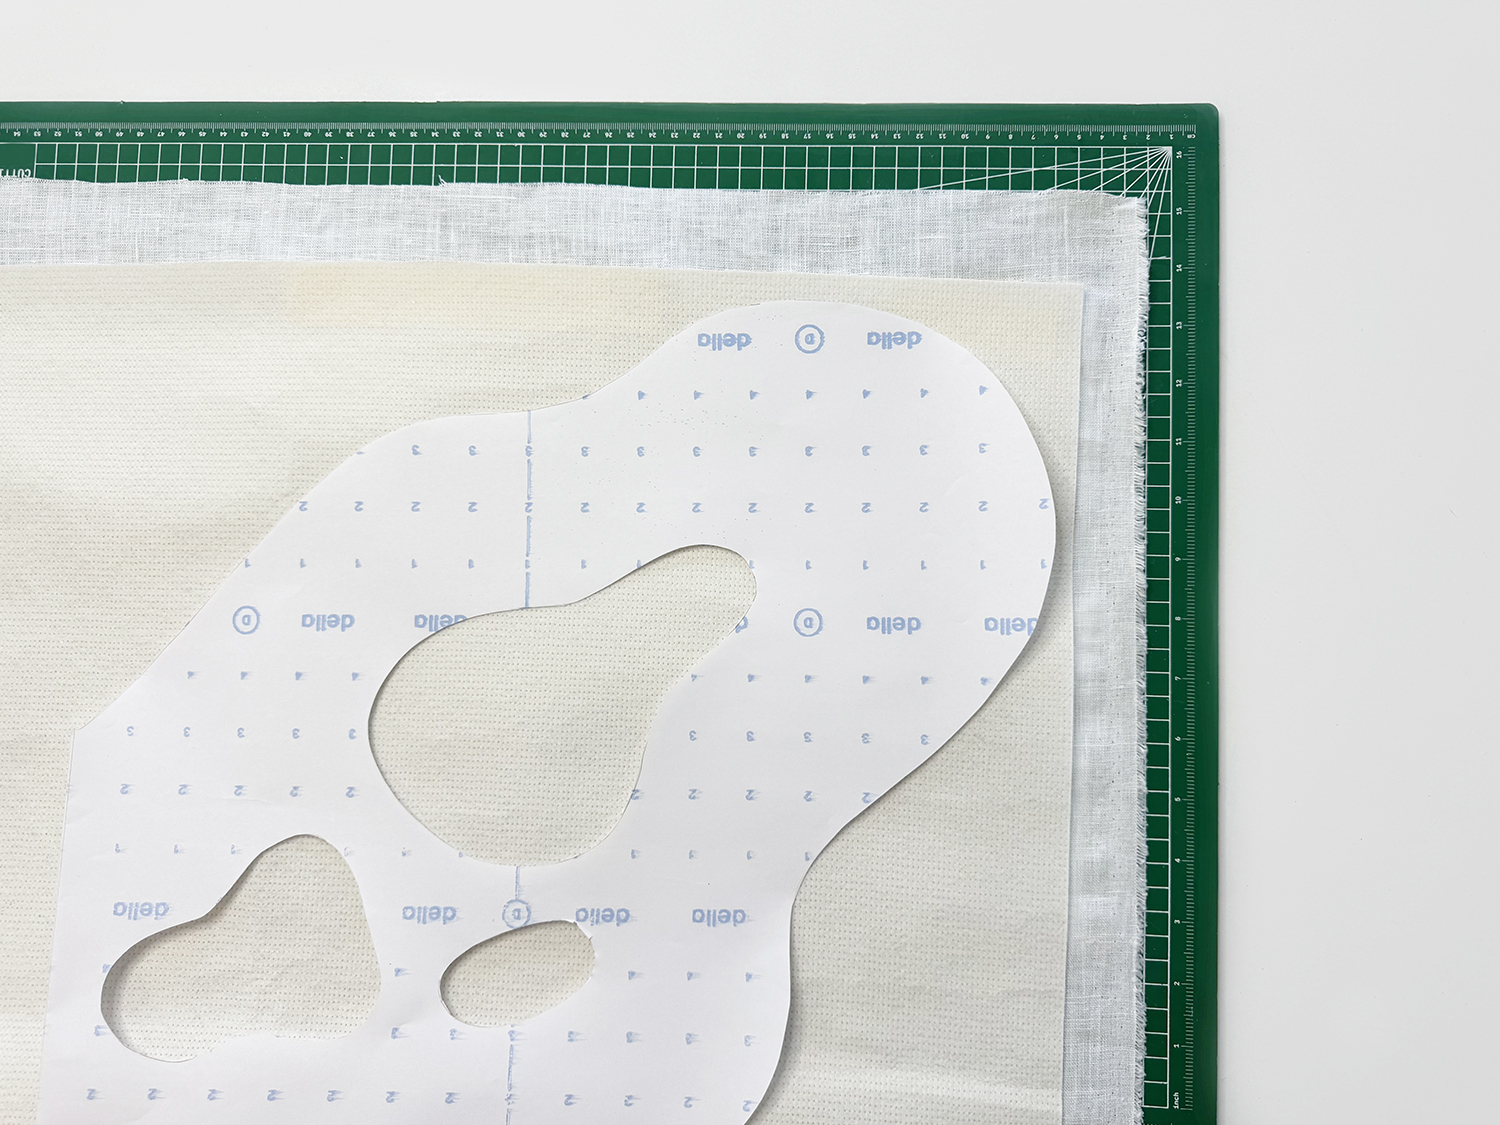
2. Let’s dive into the ‘BACK WINGS’ of our project. These are the wings that touch your back and form the main structure of the wings. To make them look their absolute best, use a stiff interfacing. Cut a large piece of linen that fits the entire pattern of the wings. Then, iron the stiff interfacing onto the linen. I like to prep the fabric with the interfacing first before cutting out the pattern. This helps prevent the fabric from stretching out, especially if it has a lot of curves. After you iron it all out, trace your pattern and cut it out!
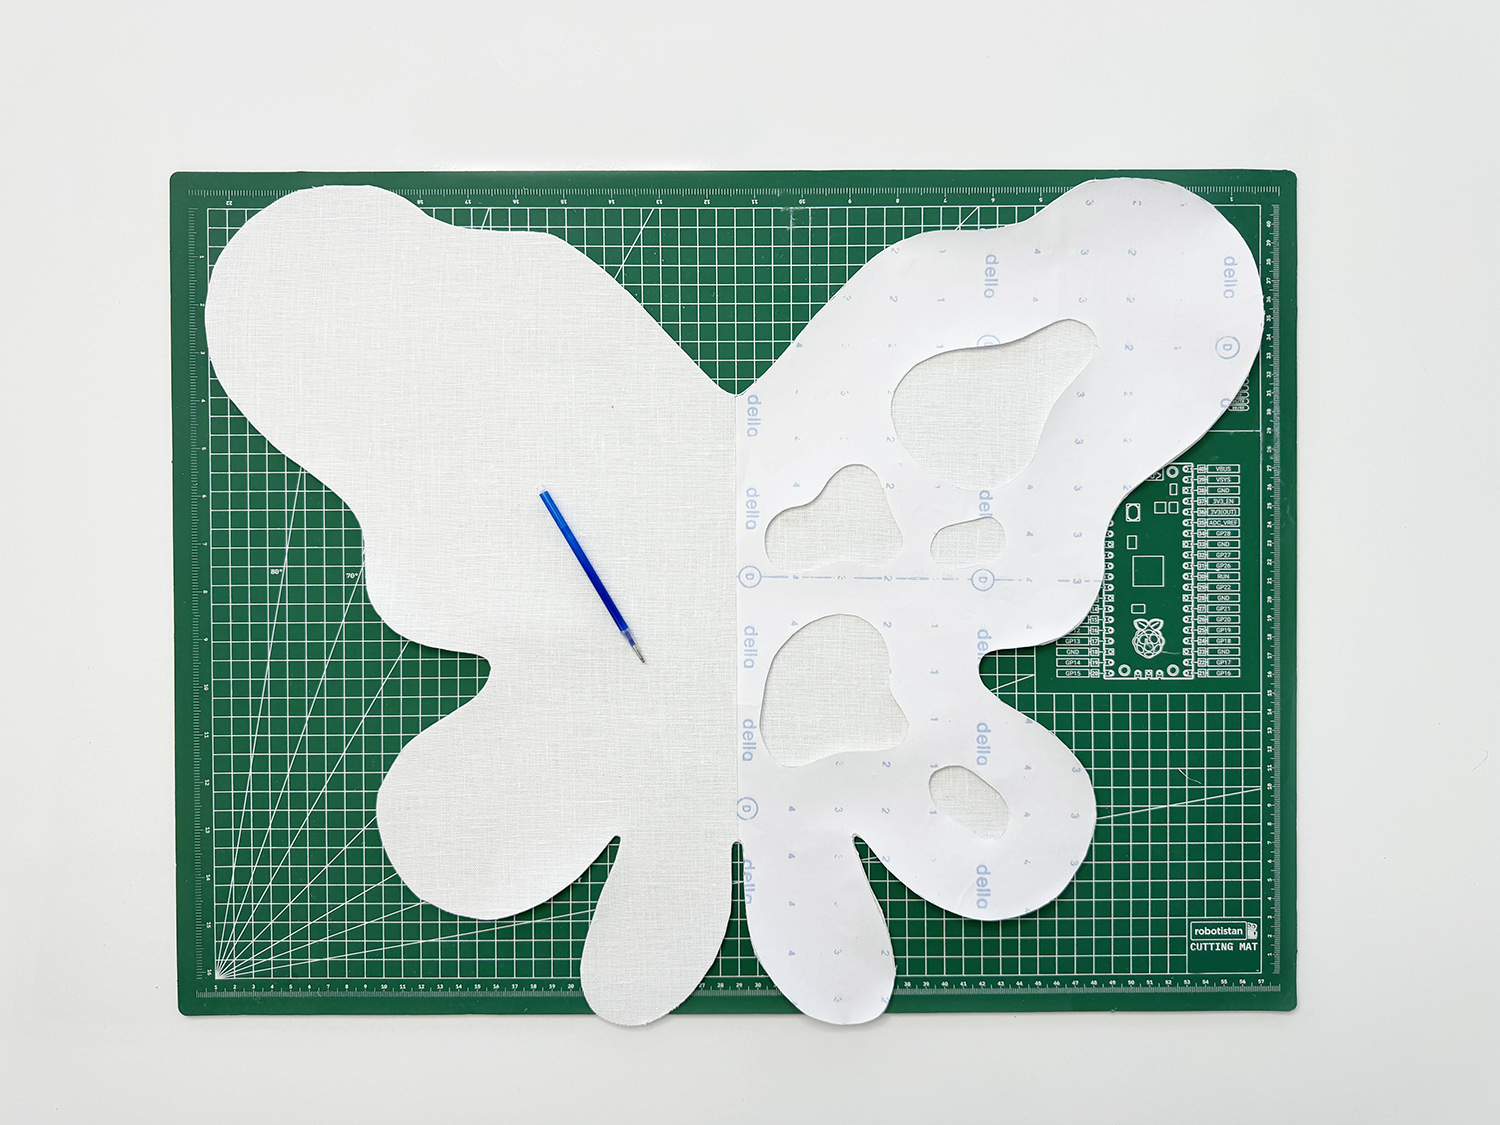
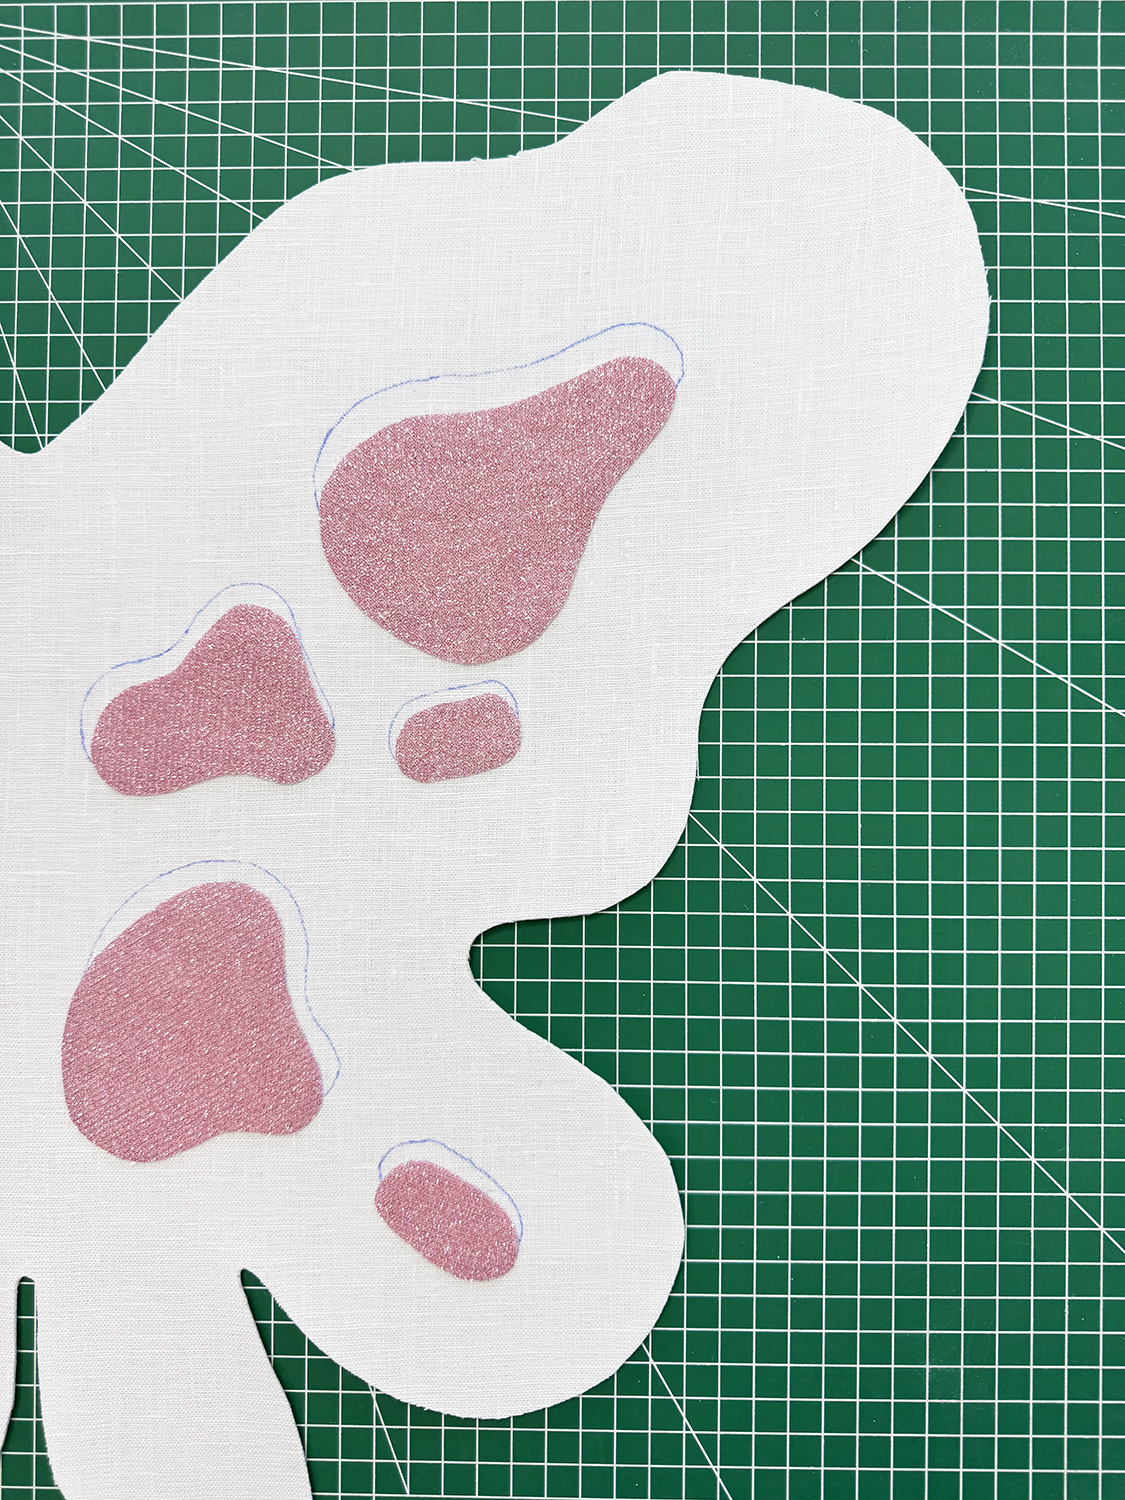
3. After your ‘BACK WING’ is all cut out with the interface ironed on, take the pattern and place it on the fabric. Then, use a fabric pen or marker to trace the blob details. I am using a pen that disappears with heat.
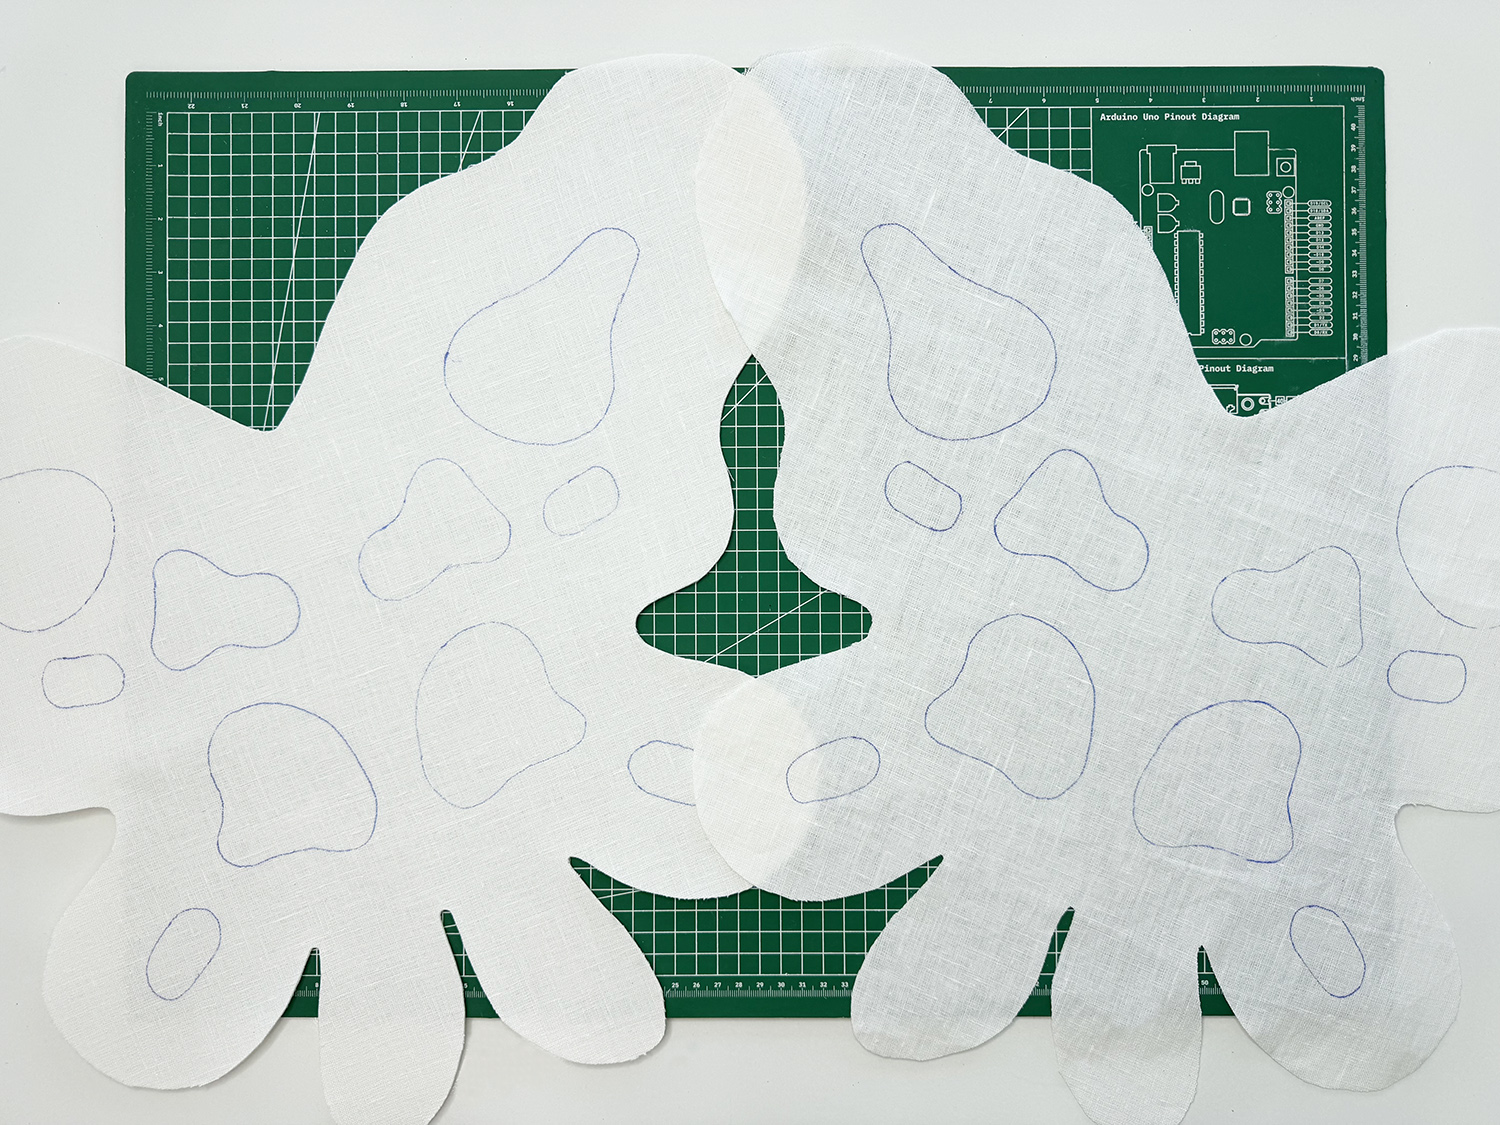
4. Next, cut out the ‘FRONT WING’ from the linen. You can also add a light interfacing on this side if you like. It’ll help keep the wings from stretching out when you move them around. Repeat Step 3, and trace the blob details onto the fabric.
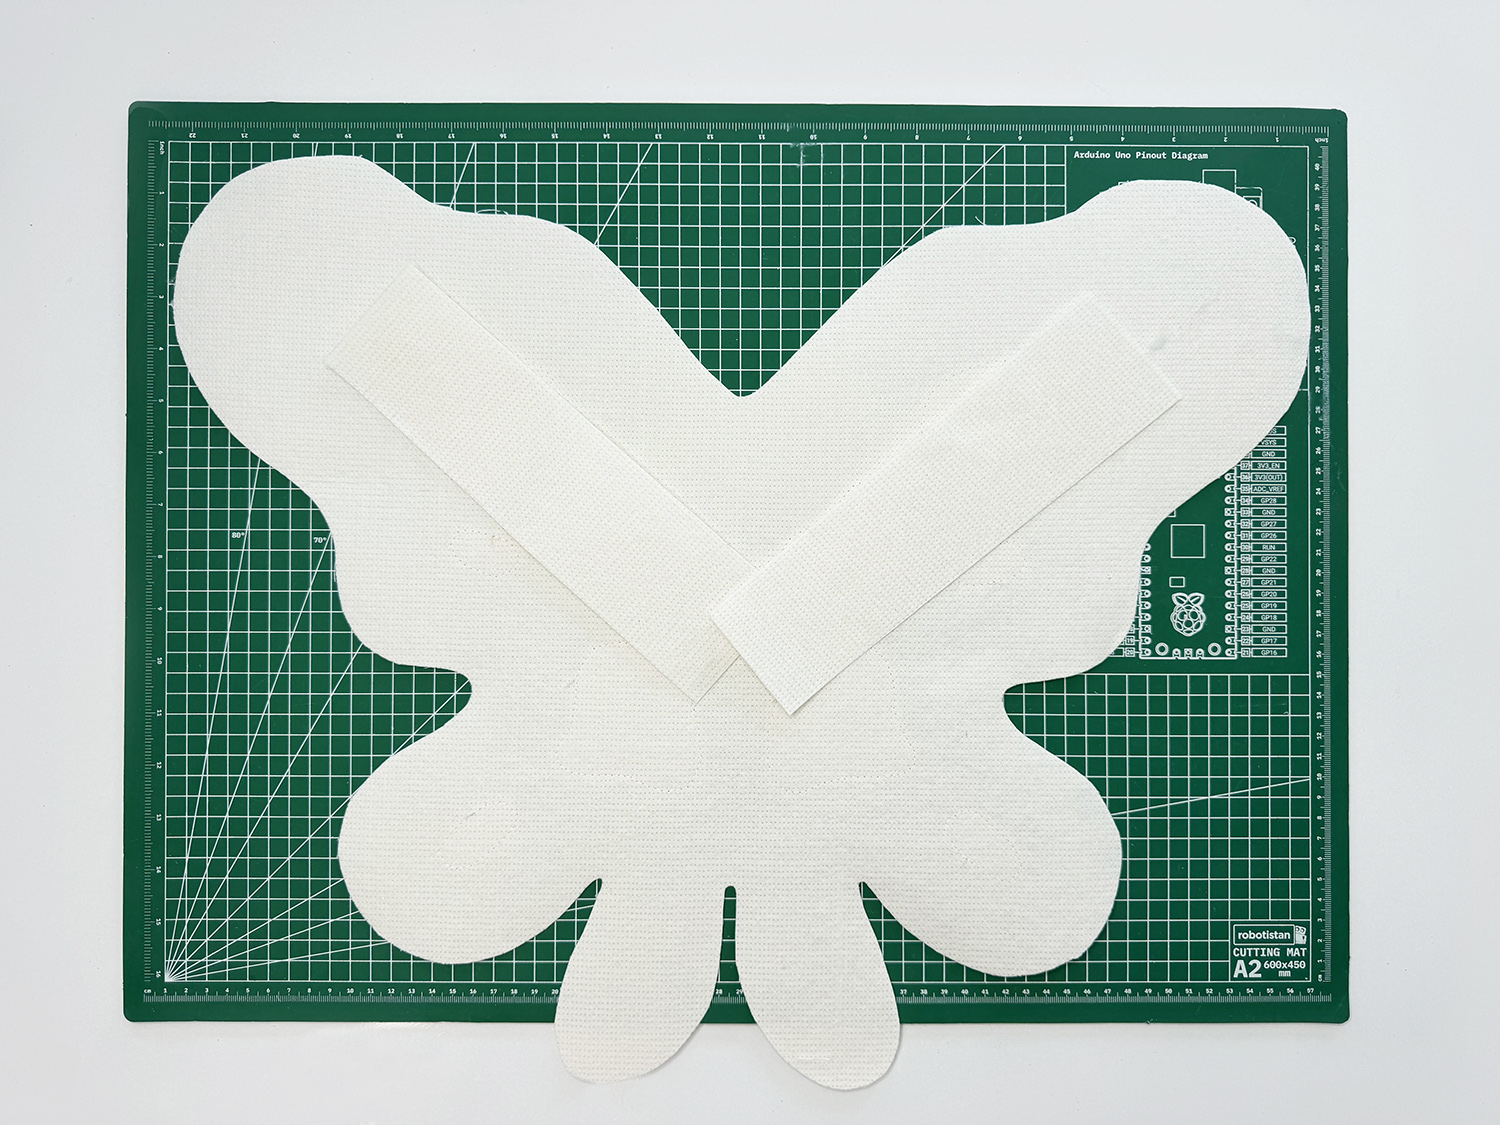
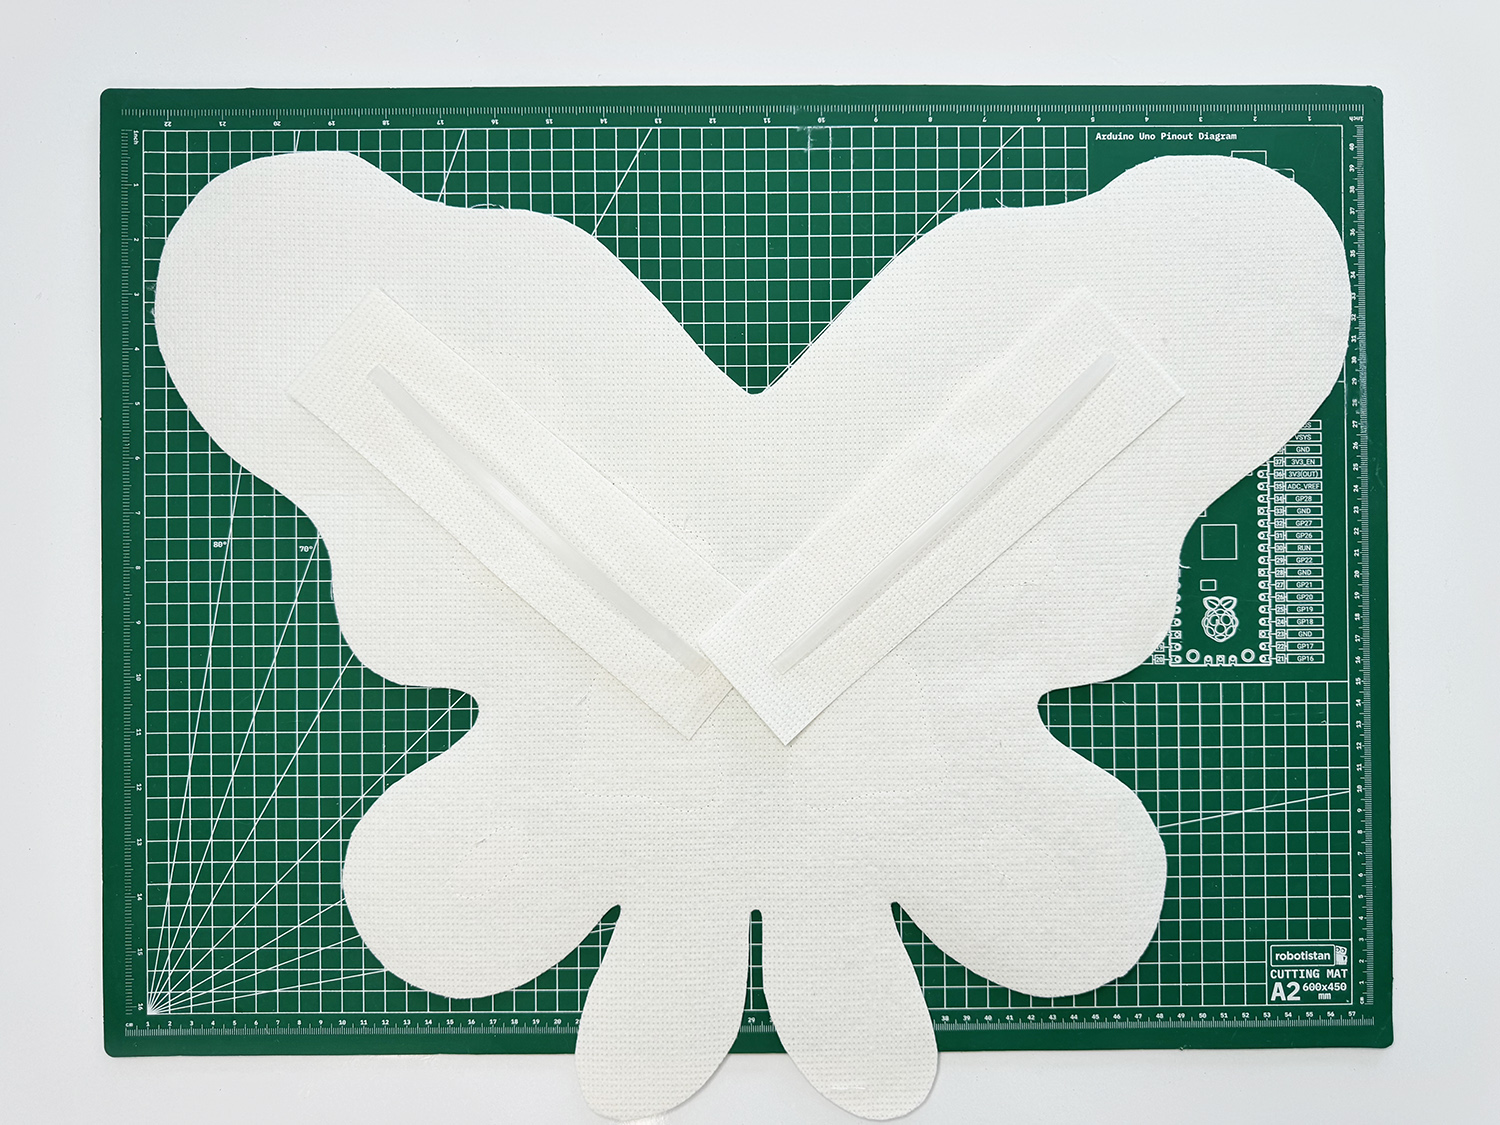
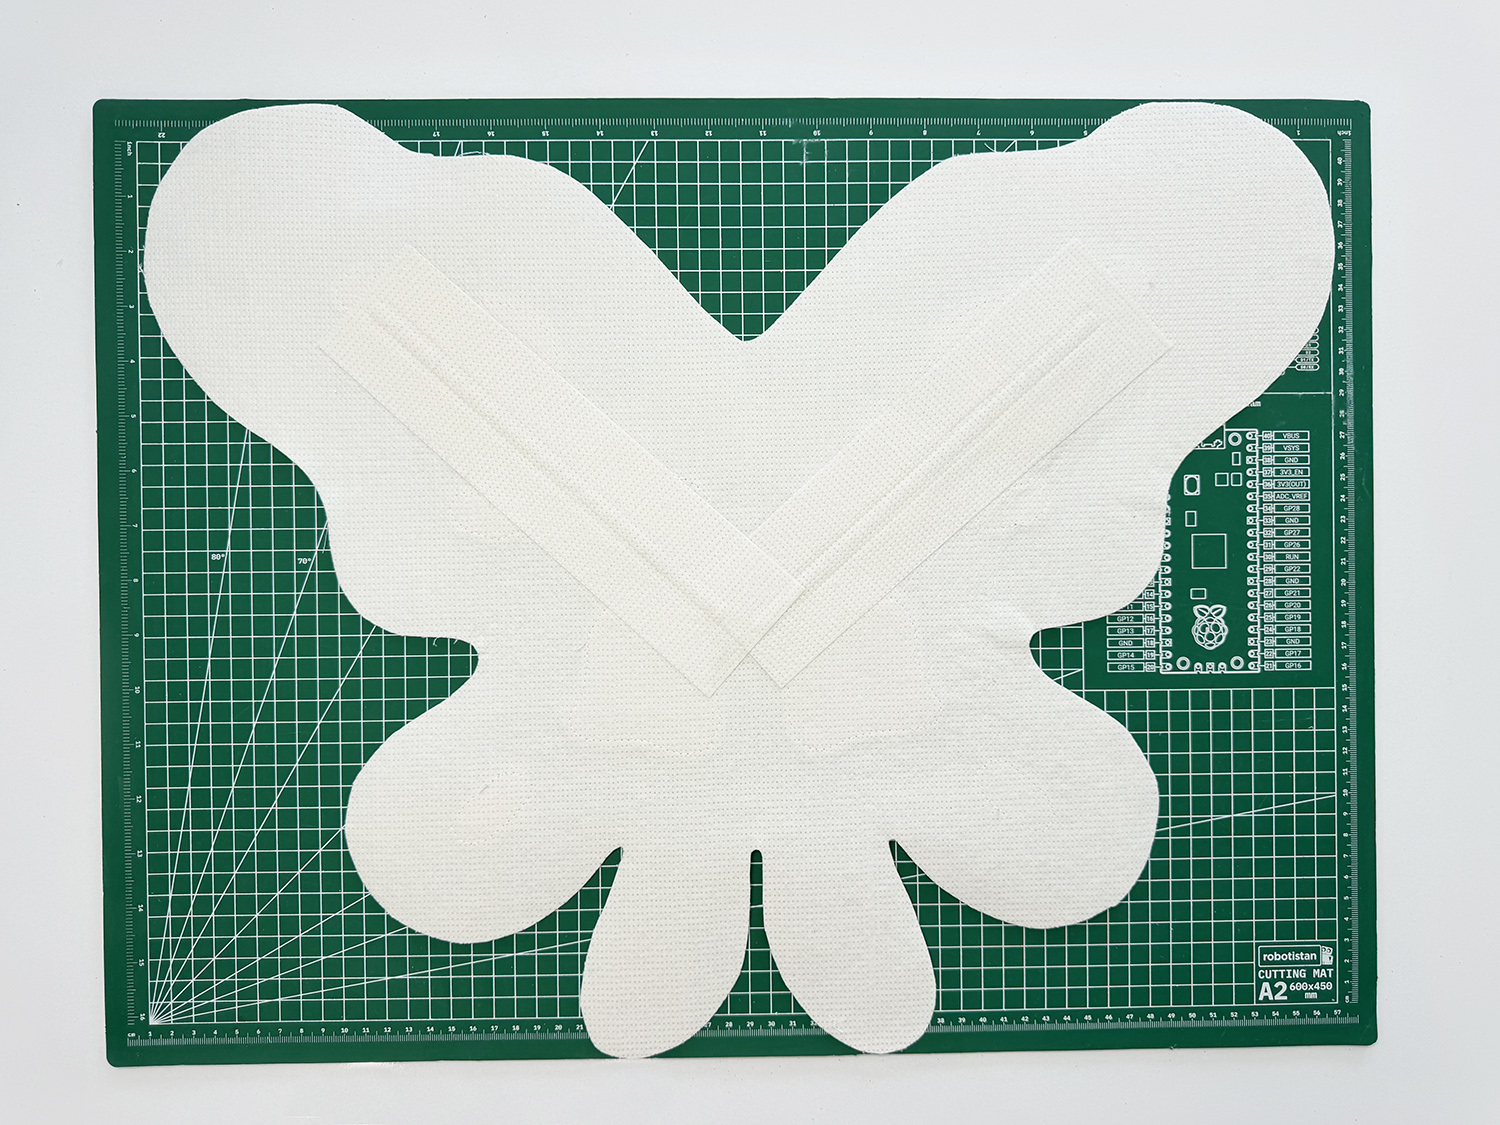
We have the ‘BACK WING’ on the left, and the ‘FRONT WING’ on the right.
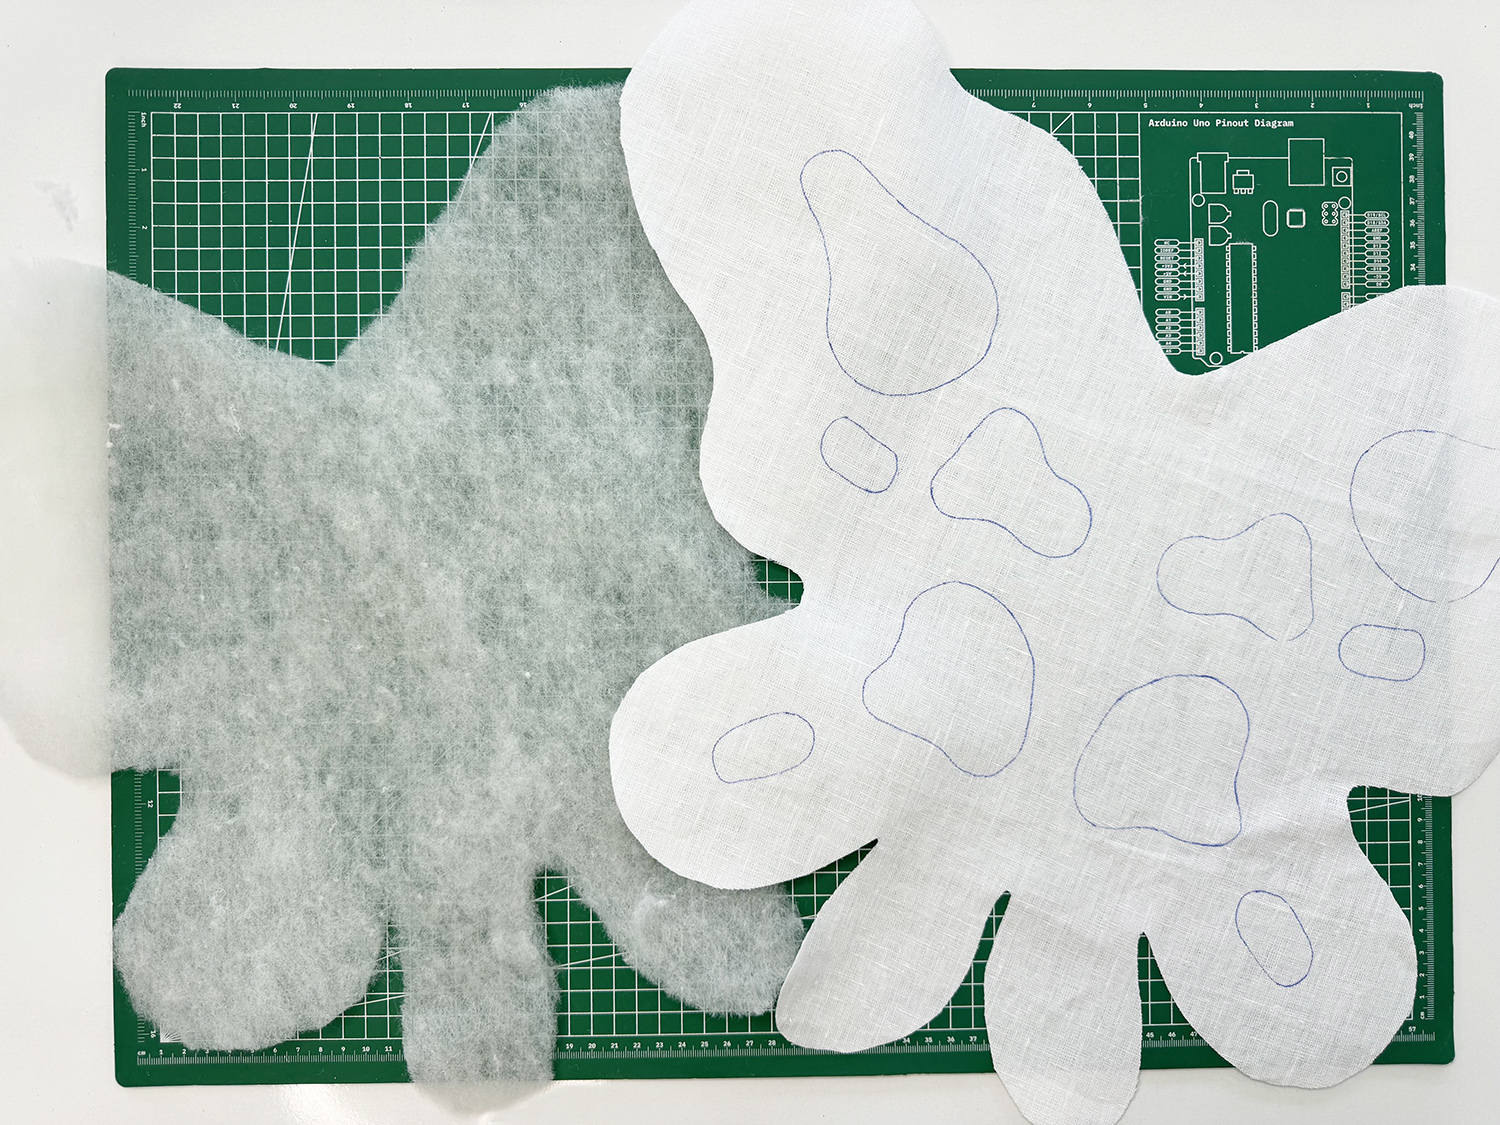
5. Cut out one batting from the pattern. I used a thick batting for extra support. Pin the ‘FRONT WING’ to the batting.
Now the ‘FRONT’ and ‘BACK’ wings are all set and ready to go for some BLOB details!
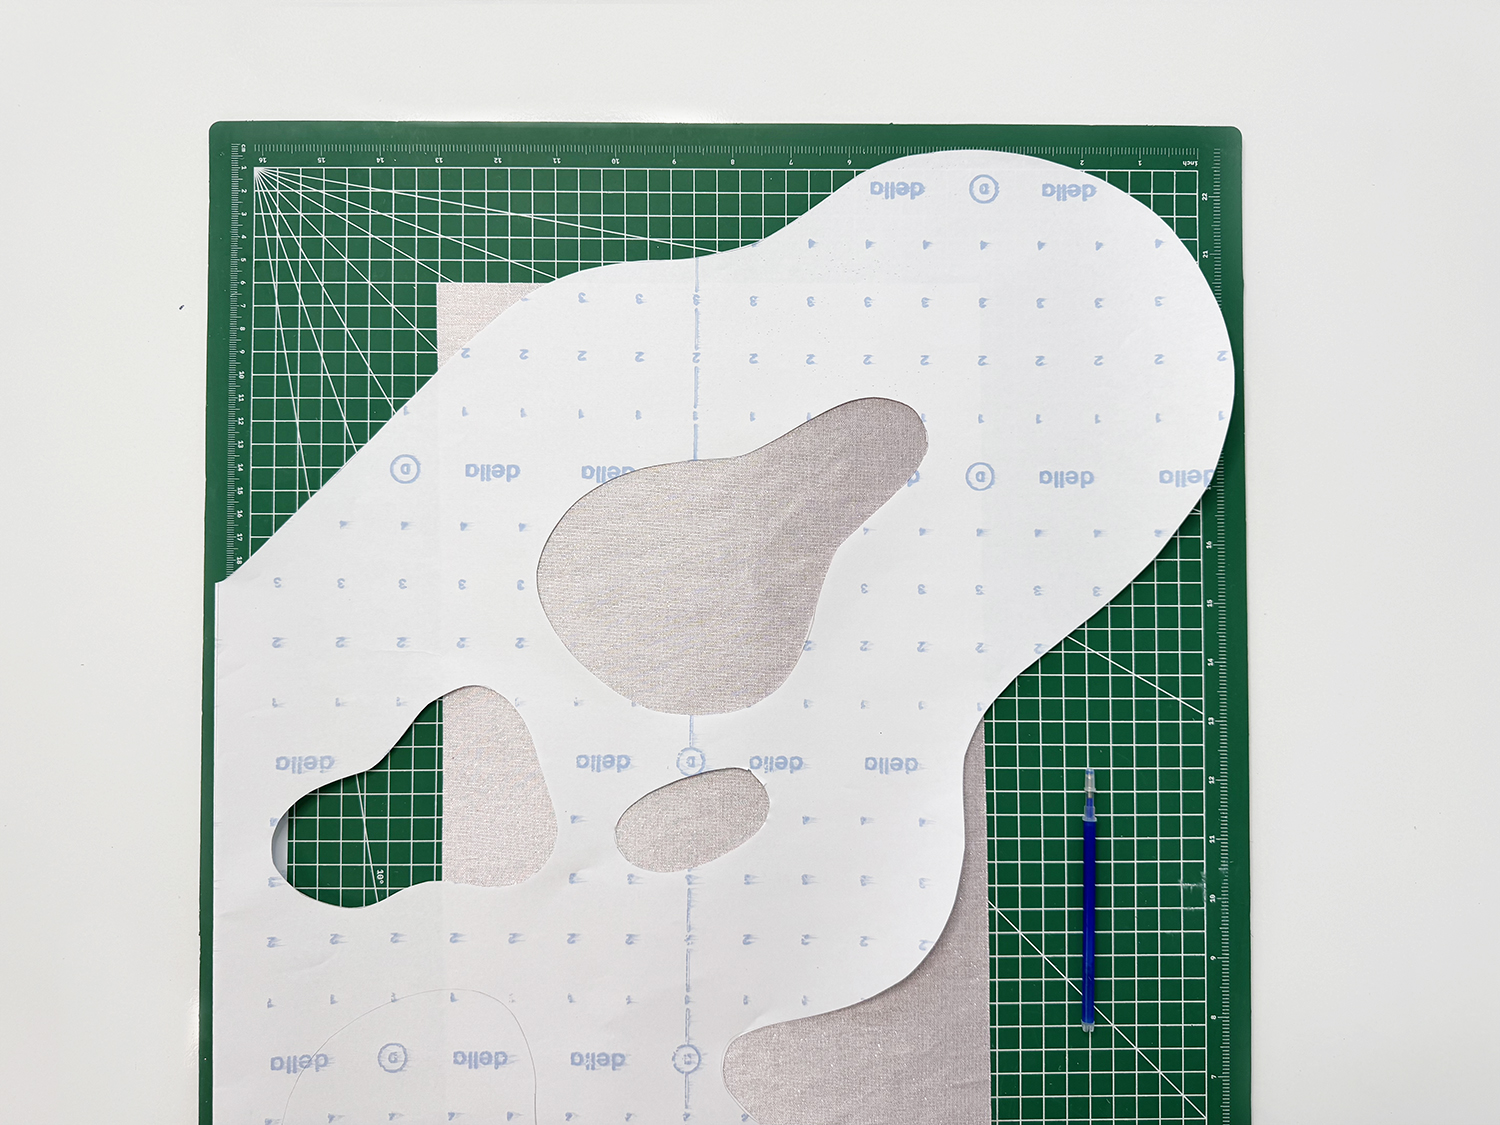
6. Next is to get started with your accent fabric. Lay the pattern on top and trace your blobs. You’ll need to cut out 4 of each shape. Just remember to flip the pattern for the second half so you can mirror your shapes on the wings. I didn’t add seam allowances to the blobs because we’ll just top-stitch straight onto the fabric. I used a fabric that doesn’t fray and was already interfaced. If you have a fabric that frays or stretches, I’d recommend using a light interface.
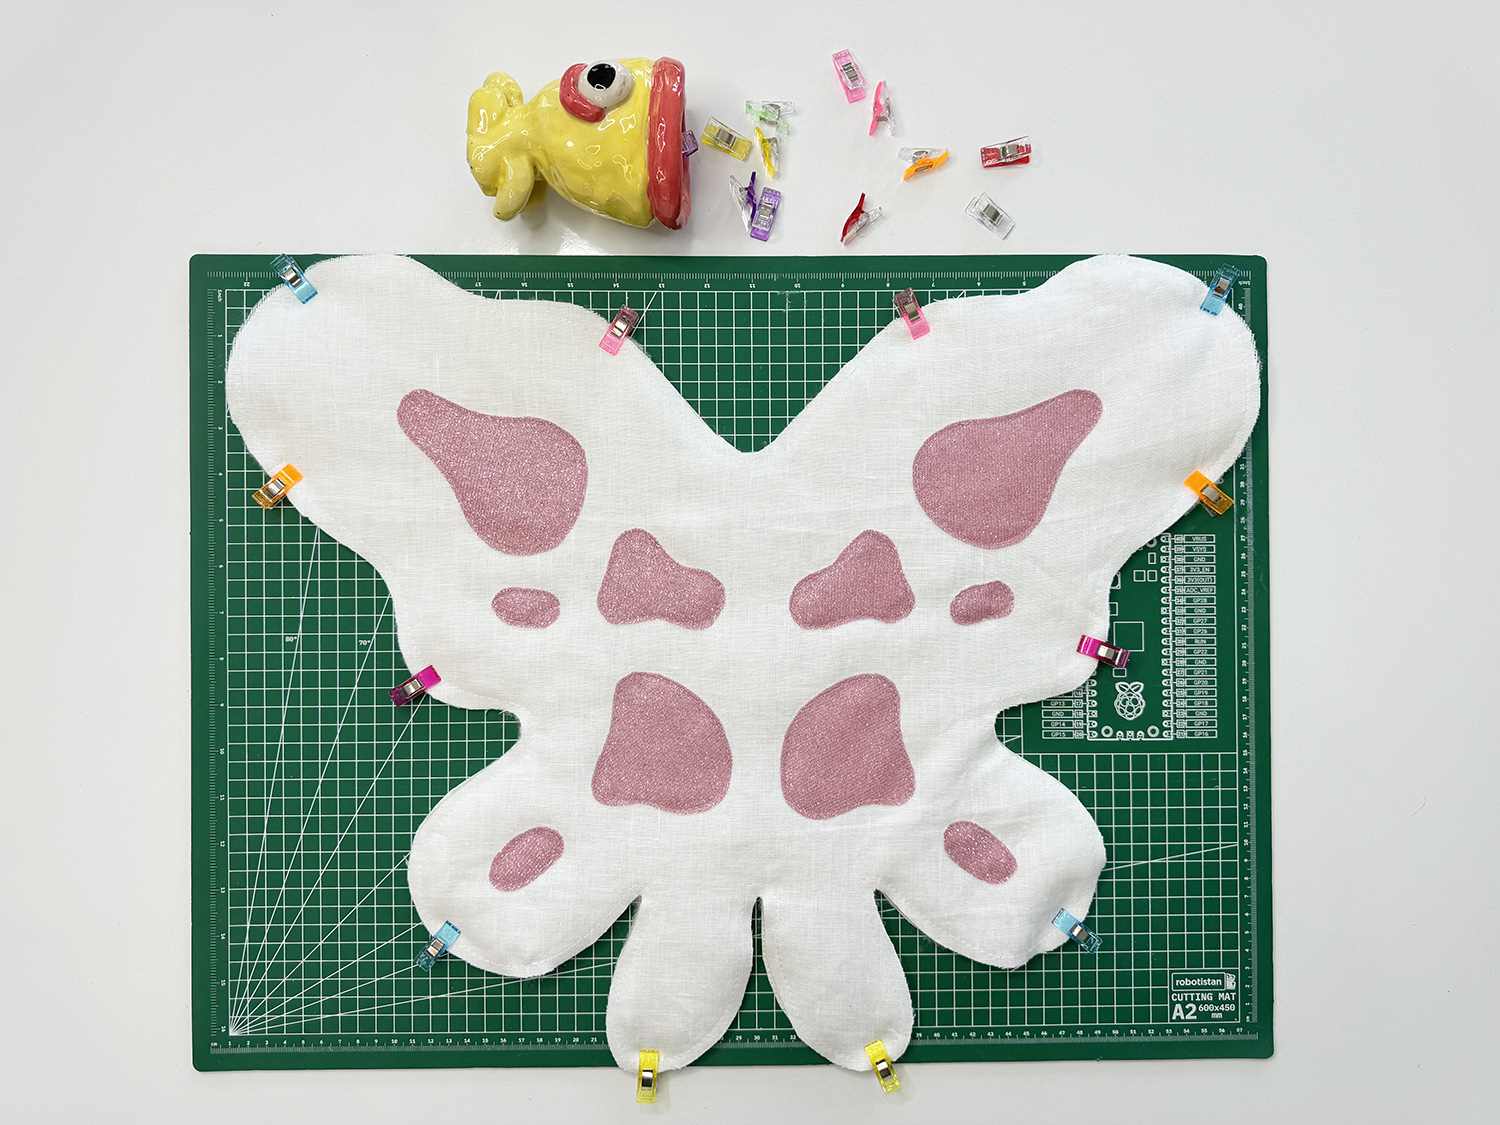
7. This was my favorite part of the process! It was like a fun little puzzle. After cutting out all the blobs, put them in the right places and pin them down. Do this for both the ‘FRONT’ and ‘BACK’ wings.
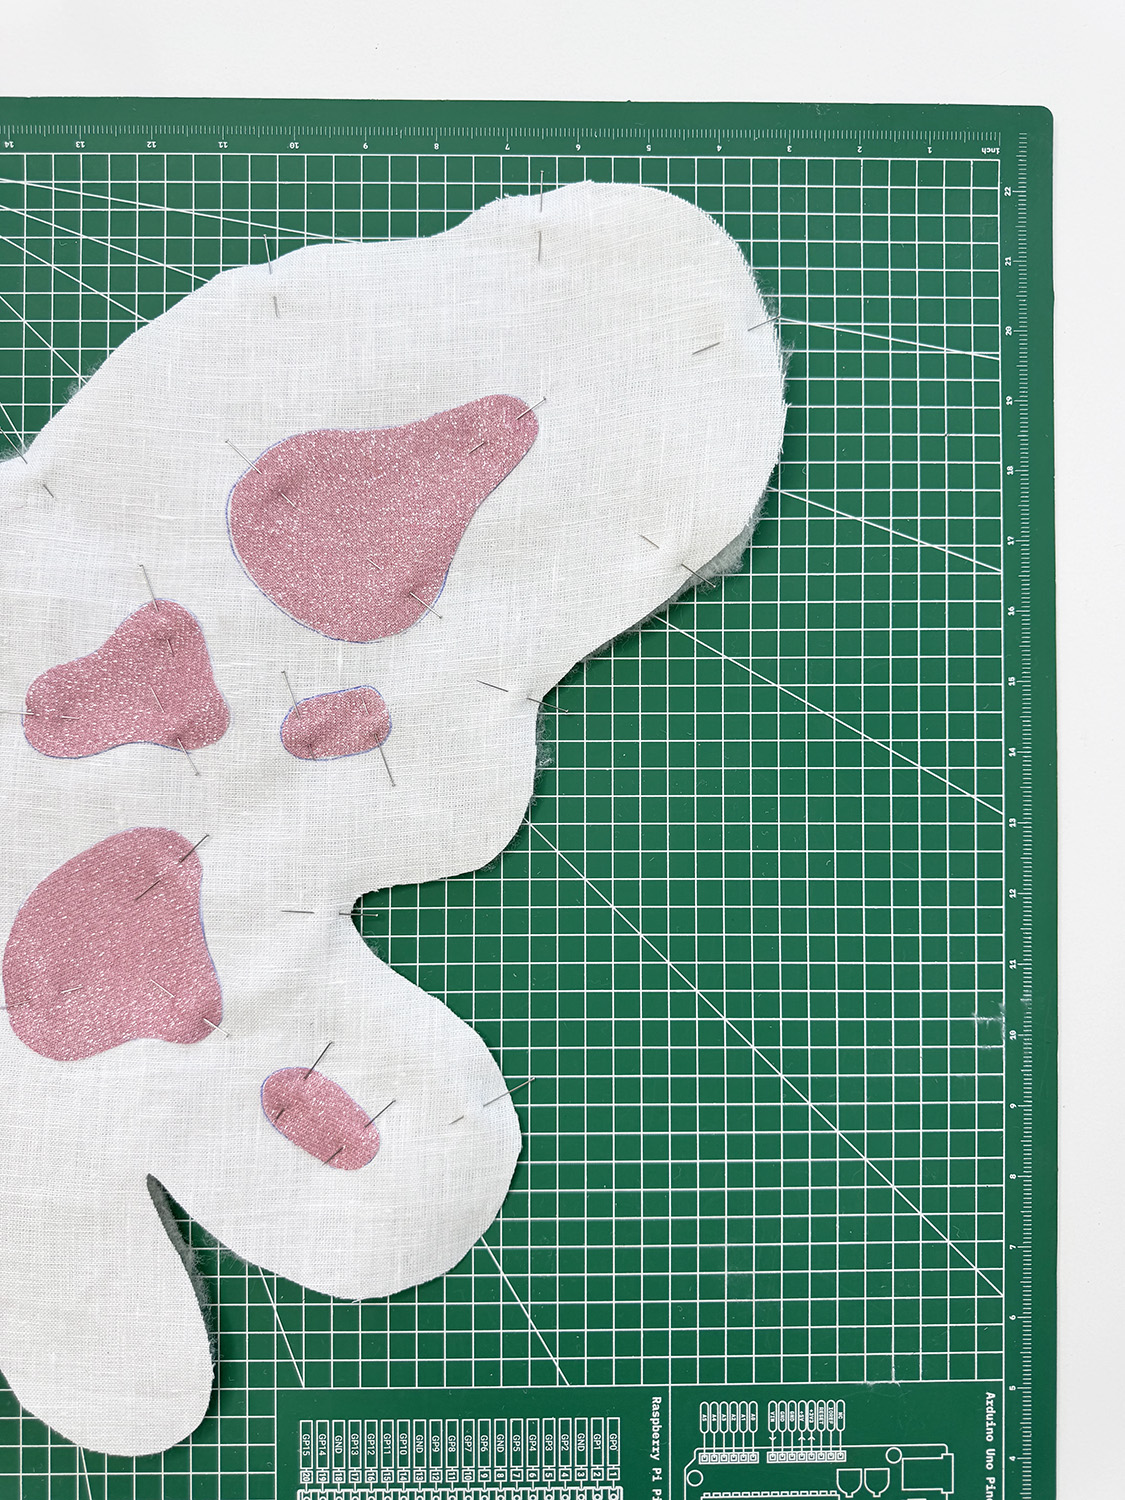
8. Pin all your blobs to the ‘FRONT’ and ‘BACK’ wing. Also you will have to pin the batting onto your ‘FRONT WING’.
9. Let’s get cozy on the sewing machine! Turn on your favorite music, show, or anything that gets you in the sewing zone. Get your threads ready to match your Blob fabric.
10. For the ‘FRONT’ and ‘BACK’ wings, start top stitching the blobs on. For ‘FRONT WING’, we are sewing the blobs on with the batting underneath so it has a more textured effect. For the ‘BACK WING’, we are sewing the blobs on as is.
Note: I sewed as close to the edge as I could. Since my fabric was interfaced, it was super sturdy and didn’t pull off at all!
Note 2: After all the blobs are done, based down the batting to the ‘FRONT WING’. I like to do this after the blobs are finished, just in case there is some bunching, it makes it easier to smooth out.
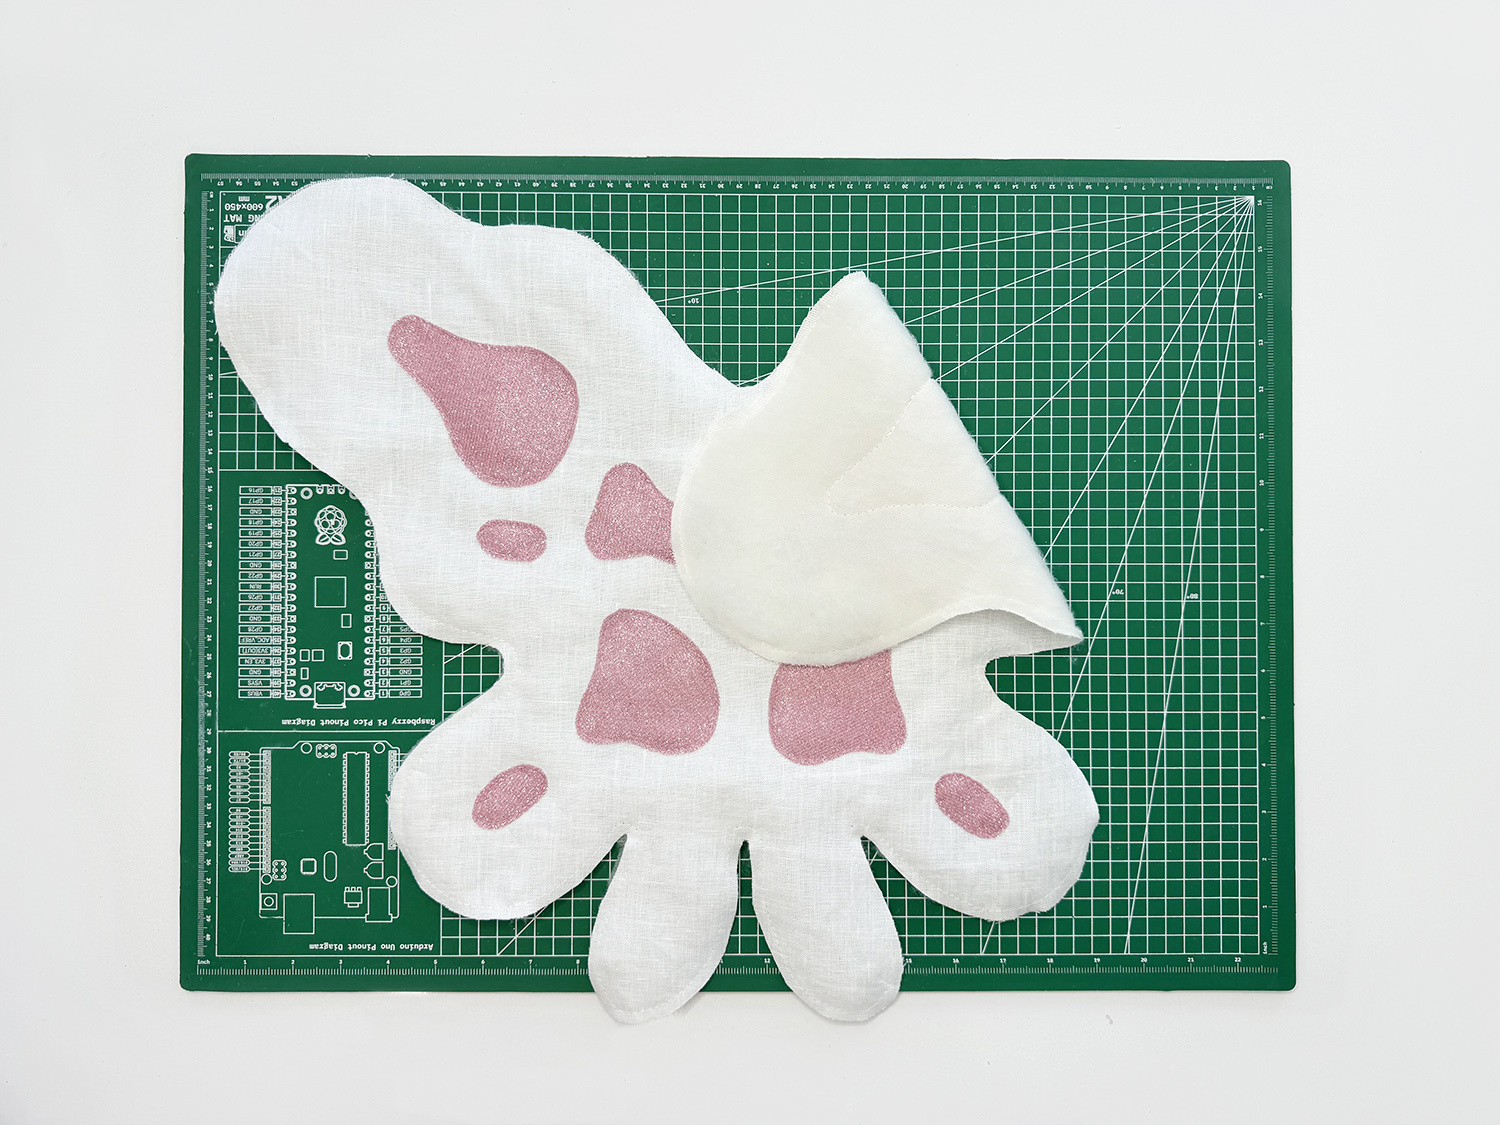
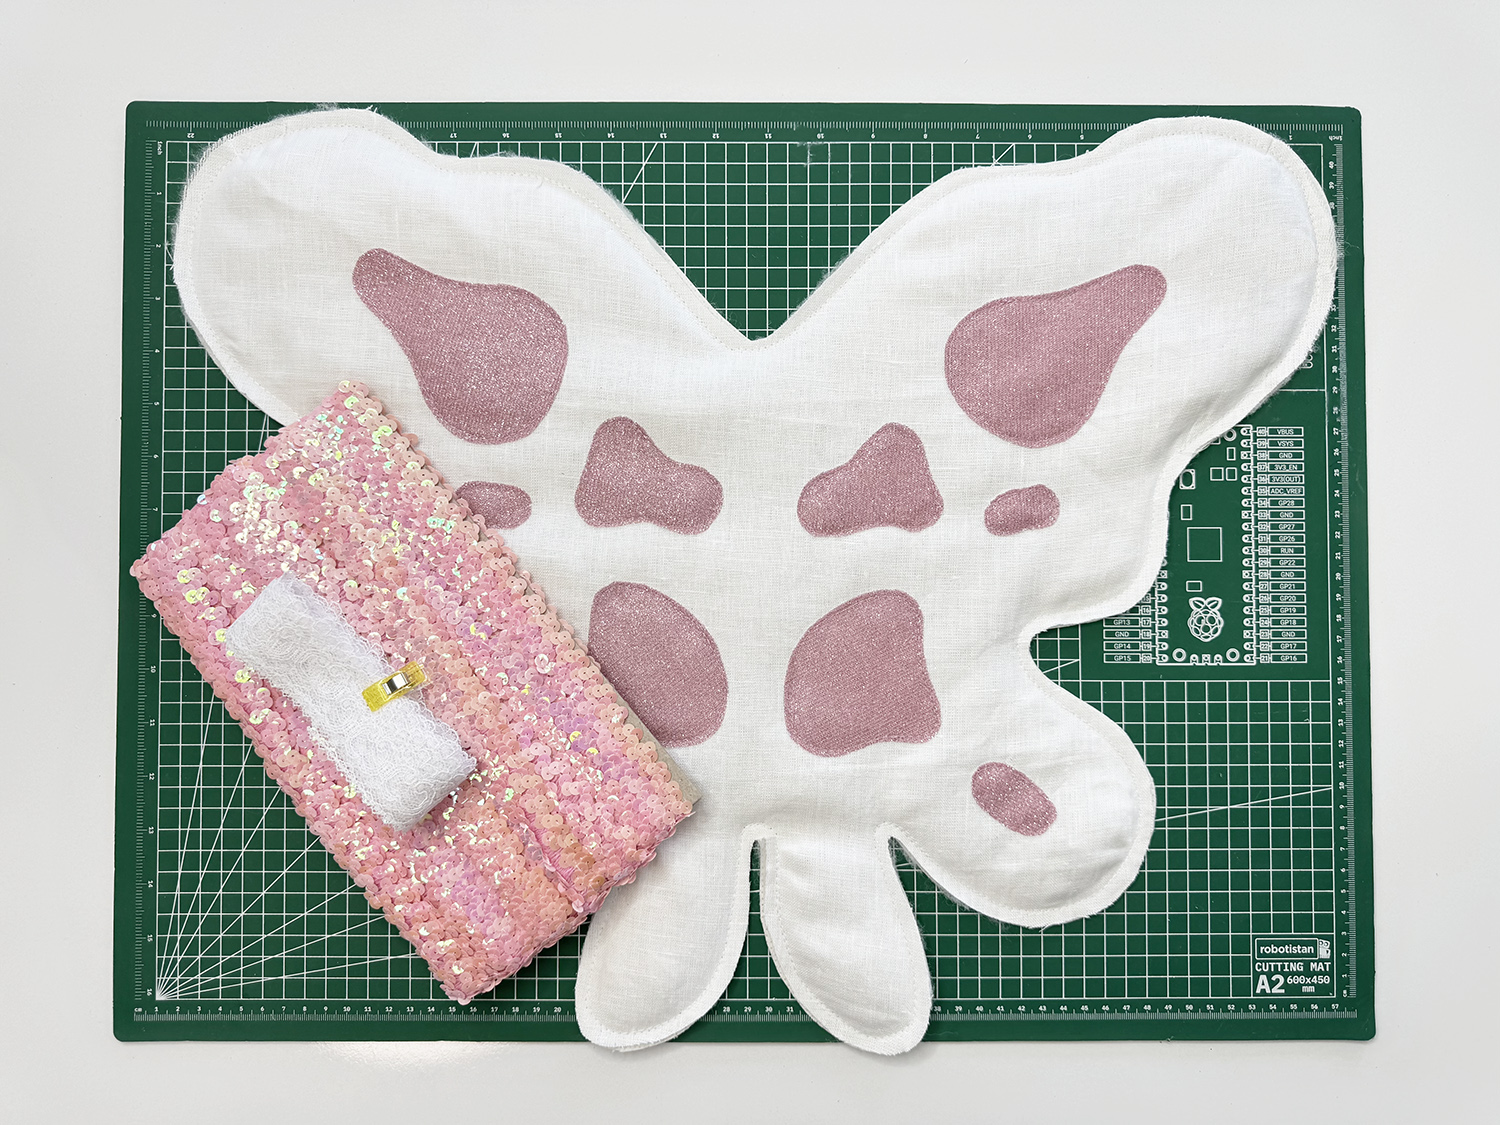
Here’s how it should look when it’s all done (the front wing is shown in the photo).
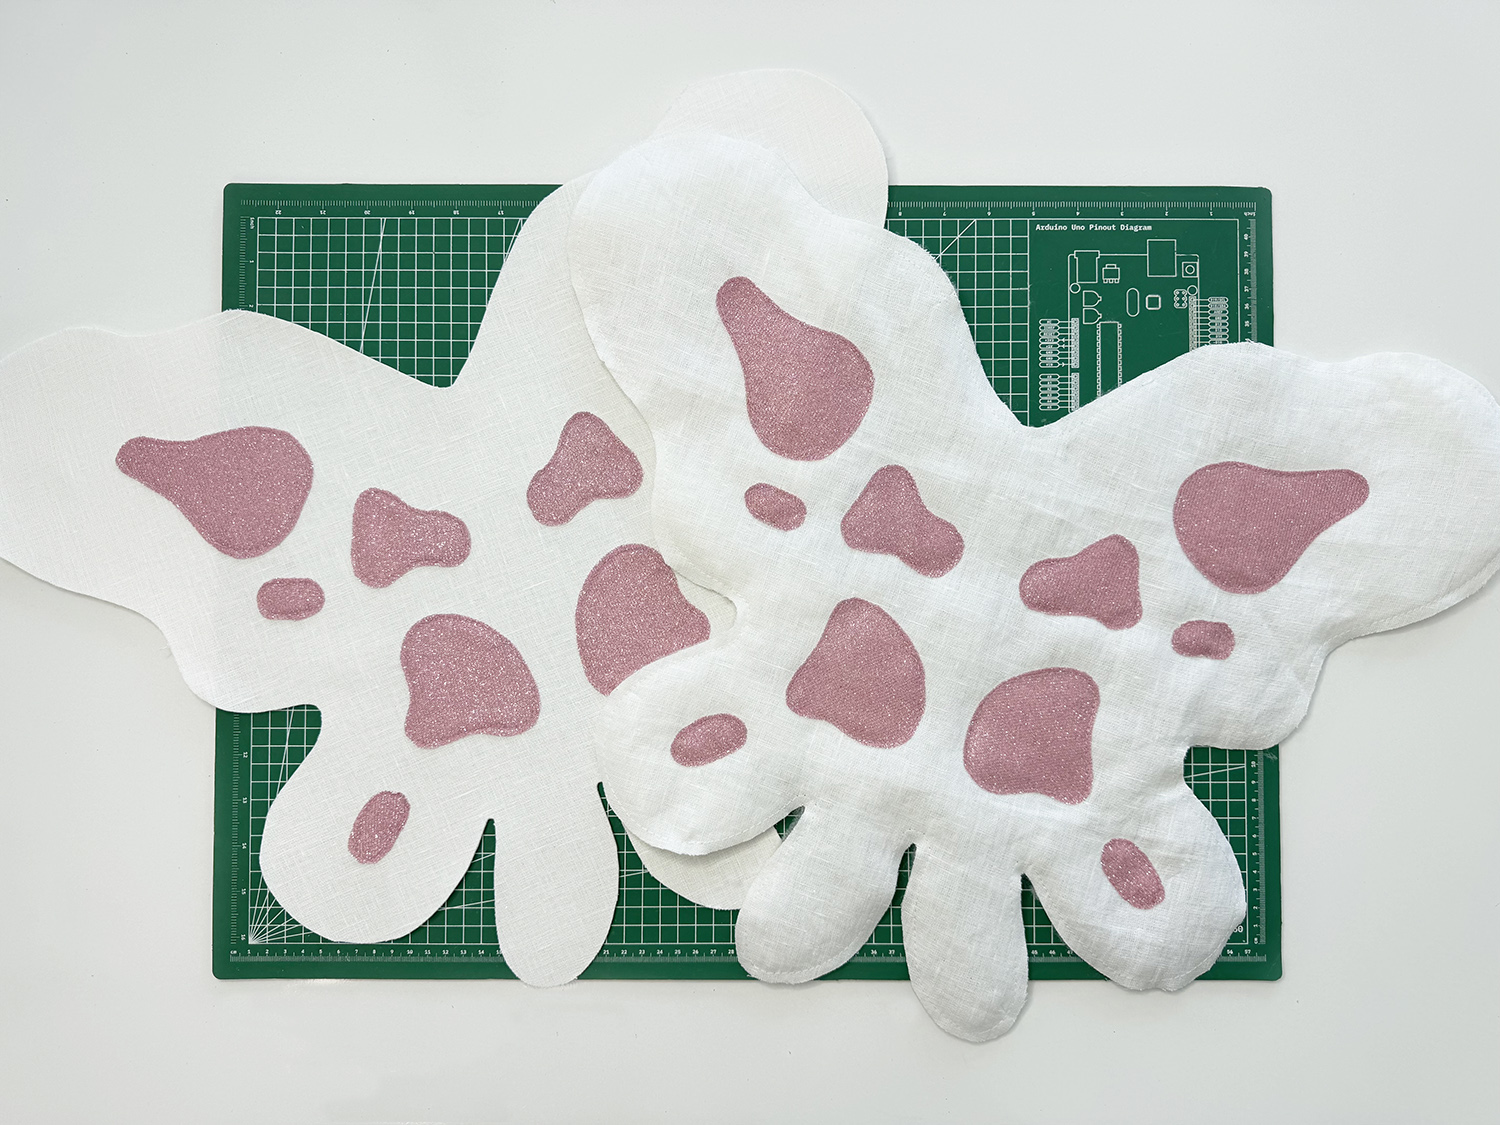
At this point, both ‘FRONT’ and ‘BACK’ should have their blob details sewn on.
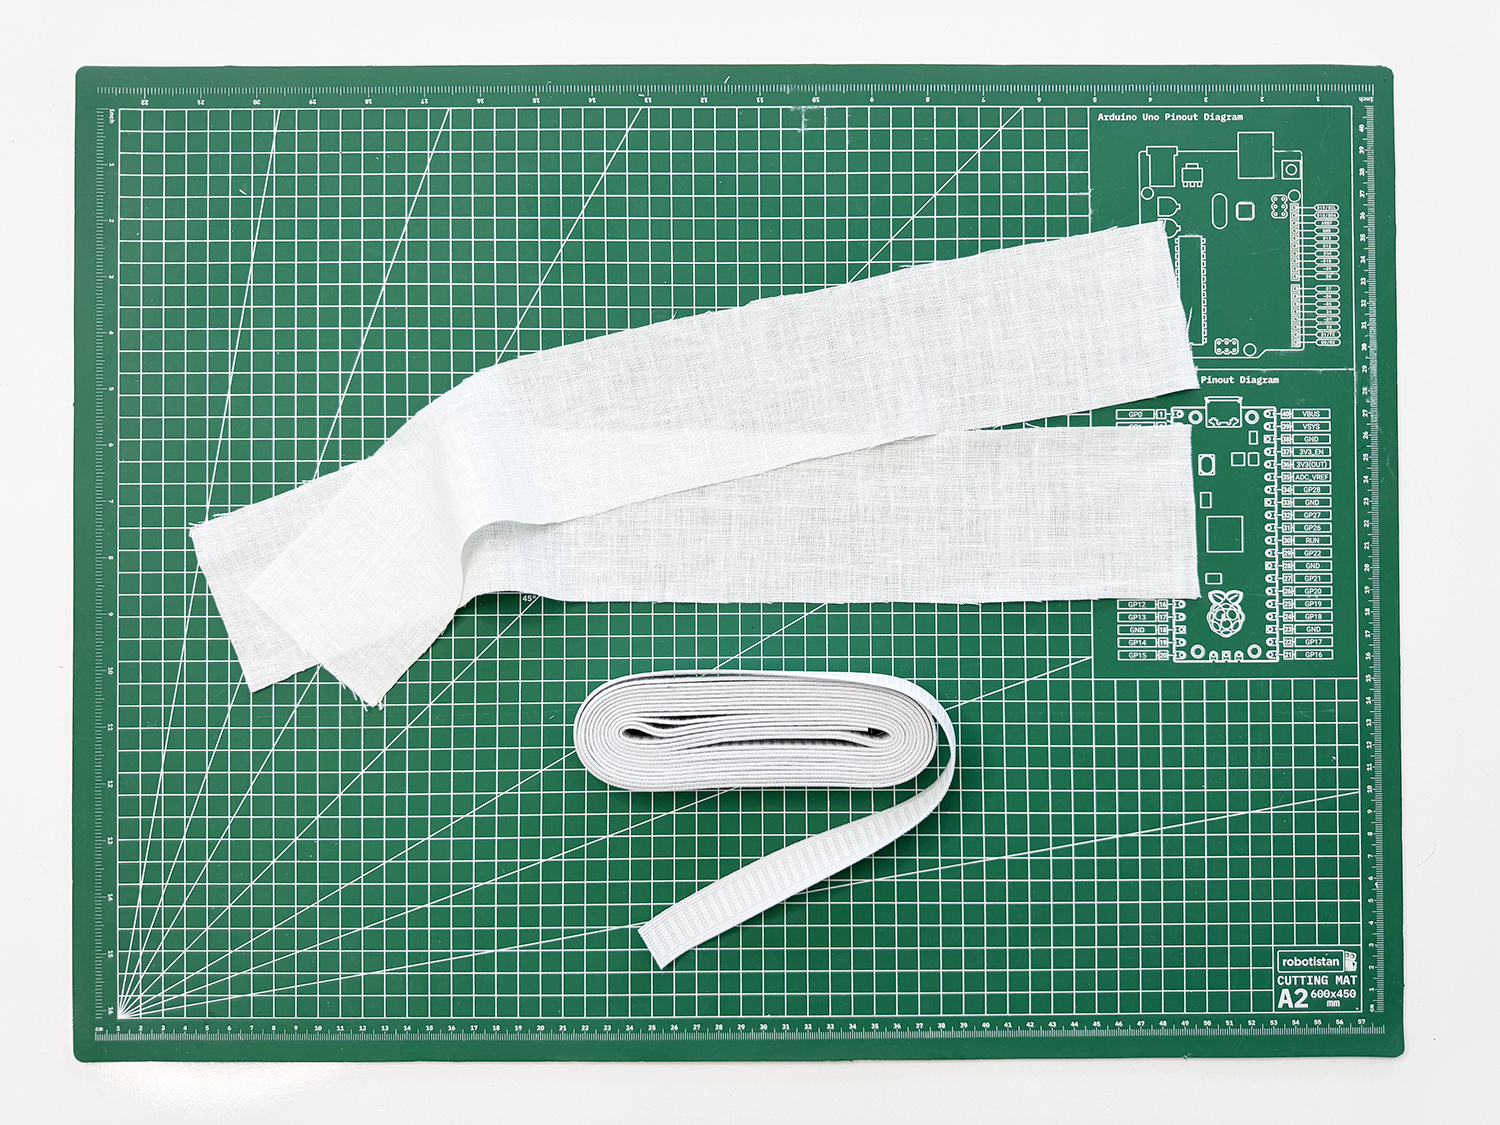
11. Time to make the straps! You can follow the suggested placement for the straps that are on the pattern I provide, or come up with your own. Simply by holding up the wings to your back and making marks above your shoulder and armpit. We want a somewhat tight fit so the wings so fly around. Sew the straps on directly to the ‘BACK WING’.
Note: I used a sturdy elastic to make it more comfortable and controlled. For my measurement (Size Small Adult), I cut out 2 elastics that measure 15 inches, and 24” X 3” strips of fabric.
12. This step is optional, but it is a good way to use leftover material and make your project more sturdy! You will probably have some of the stiff interfacing left after cutting out the butterfly. You can use the interfacing scraps to layer onto the top portion of the ‘BACK WING’ to make them stronger. You can also add as much as you like.
Note: Now, if you really want to get WILD, you can also slip in some boning underneath the interfacing. I was able to get out two long strips from my interface scraps to create the channels for the boning. If you’re not too worried about the structure of your wings, this is not needed, but I know I am going to RUN around in these wings, so I need them to be strong.
This is how it should generally look if you do put the boning in. Just make sure the interfacing is fully fused all around the boning to keep it from slipping out.
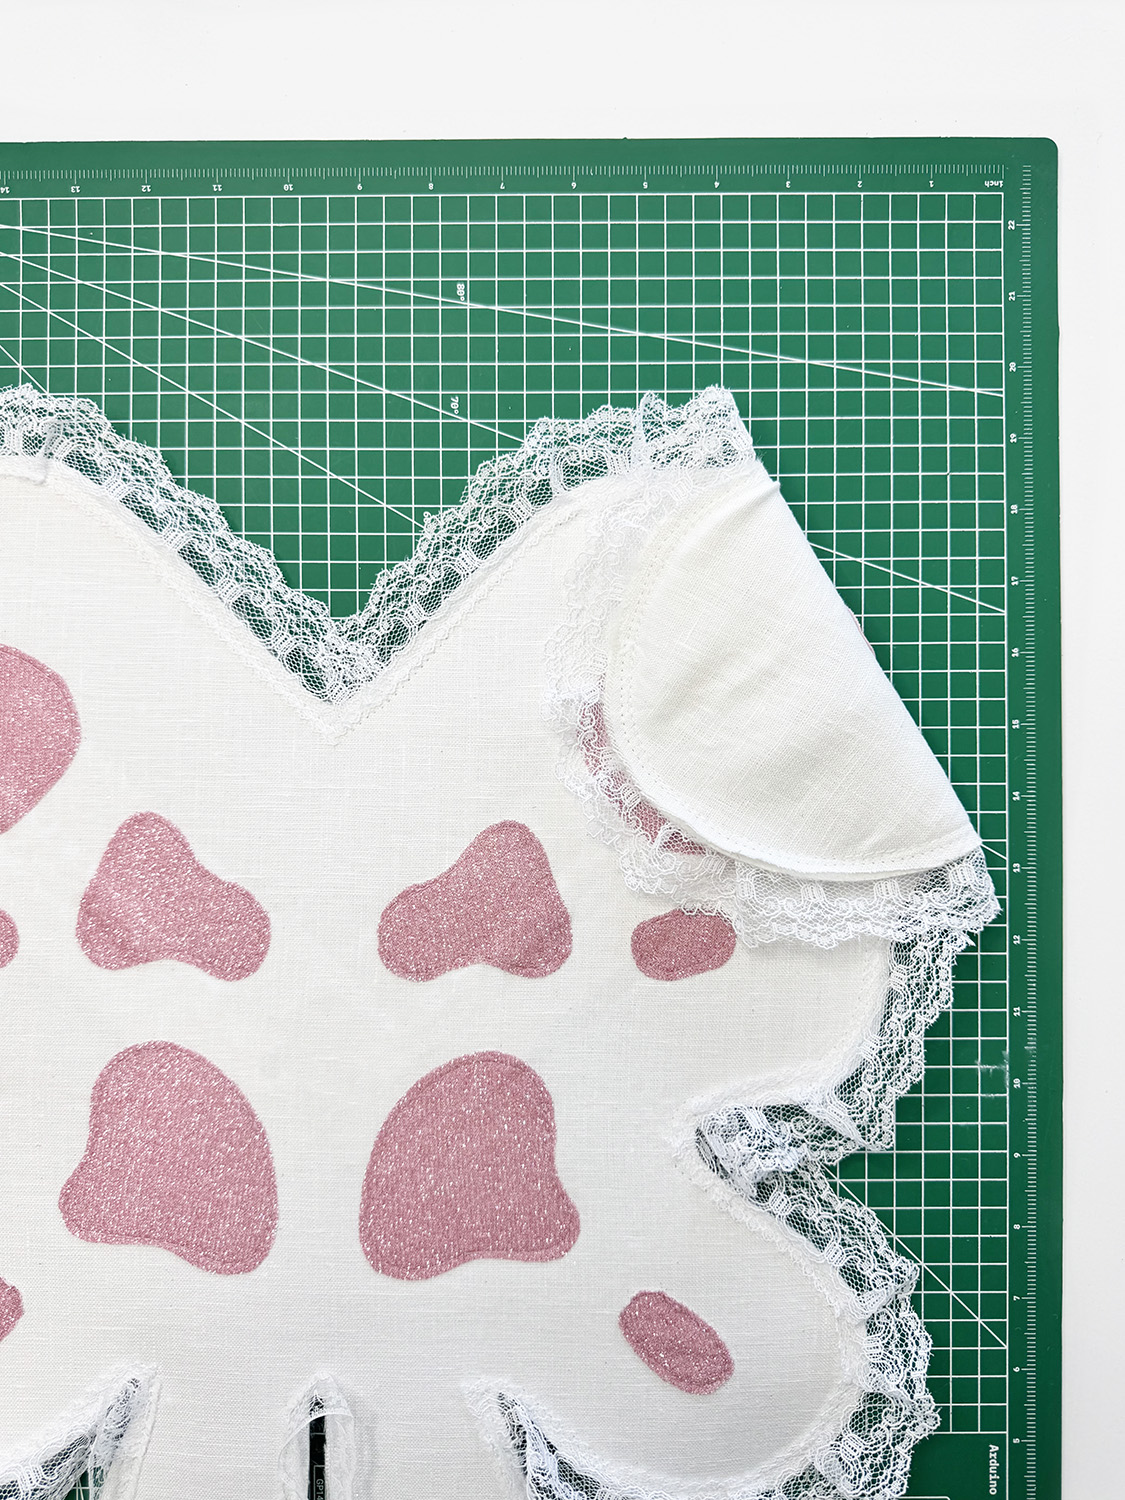
13. Clip or pin the front and back together. I did wrong side to wrong side because I won’t be flipping it inside out. Since there are a lot of curves, it will take extra time to do so. We will cover it in trims anyway, so there will be no raw edges showing.
Note: Take your time and sew as neatly as you can. This will make it easier to cover the raw edge. If you’re feeling fancy, you can also use bias tape to clean up the edges.
14. This was my favorite part! DECORATING! Pick out some fun trims to add to the edges of the wings!
First, sew the trim to the ‘BACK WING’. Make sure to cover up the original stitch for a cleaner finish.
This is how the back should look when done.
15. Next, add the trim of your choosing to the ‘FRONT WING’. This way, the raw edges are completely hidden.
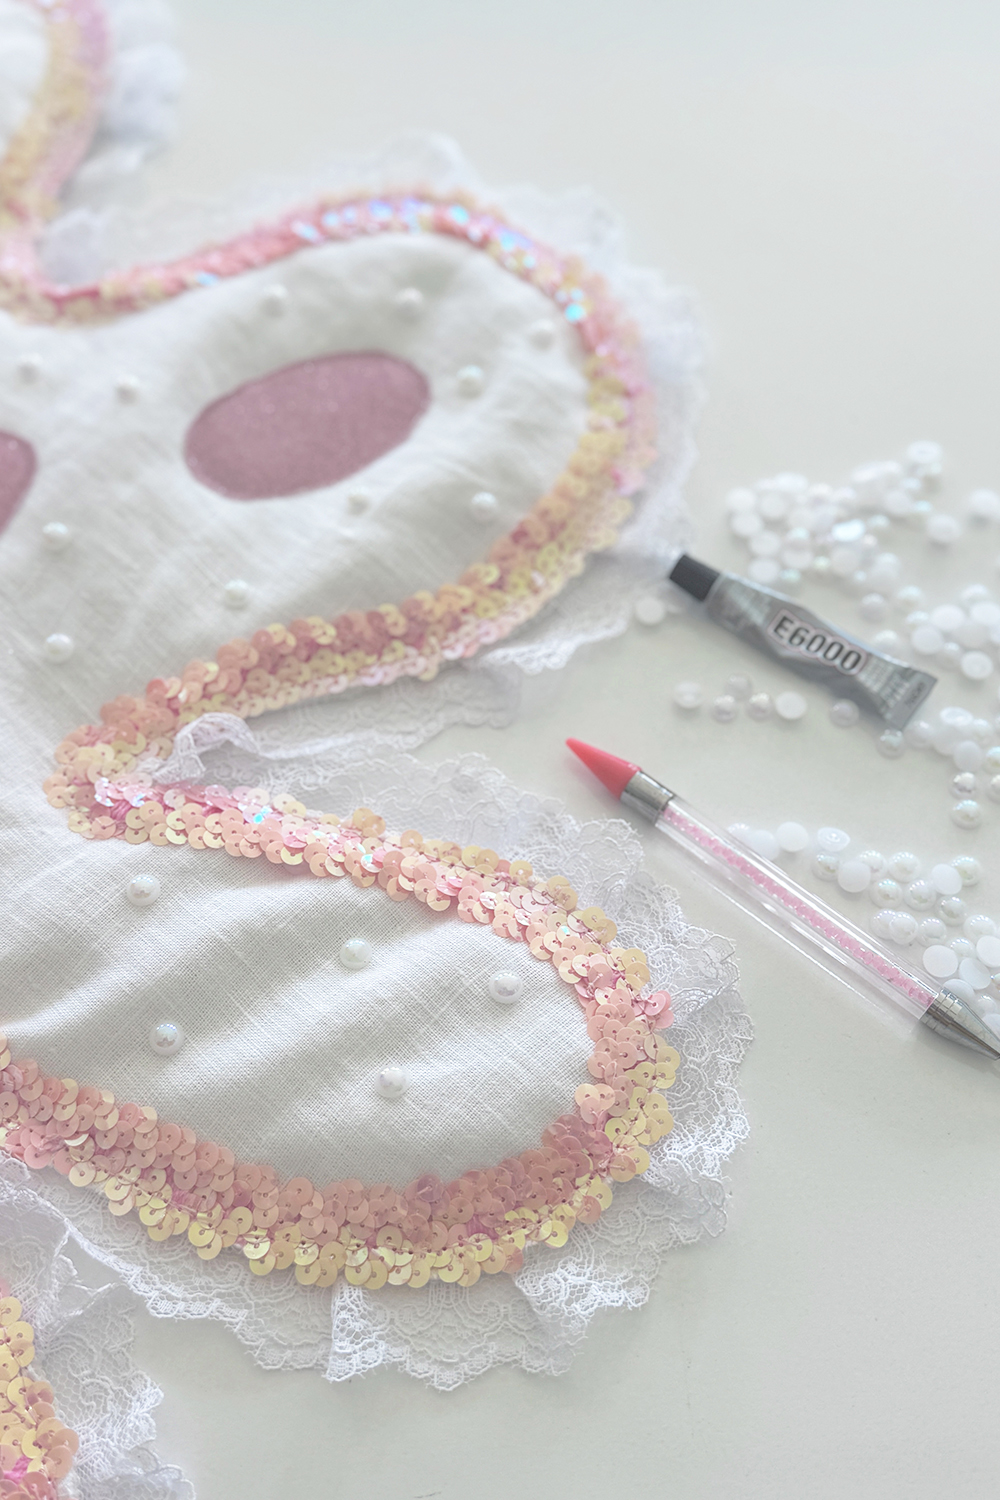
16. You can also add on more texture with some flat back beads. I used E6000 to glue them on. Just make sure you give it some time to set before moving it around. We don’t want all that hard work just to fall off! Also, E6000 is very strong, so try to have an open window while working with it. You can also use a hot glue gun, but it might come off after a while. If you’re only planning to wear it for one night, it should be fine.

Congratulations! You’re all set! Take a moment to enjoy and appreciate all the hard work you’ve put in. Now, spread your wings and fly Baby!
Now find or make the perfect outfit to match your new wings! I made myself bloomer shorts out of the same linen fabric. You can find this pattern in my Etsy shop!
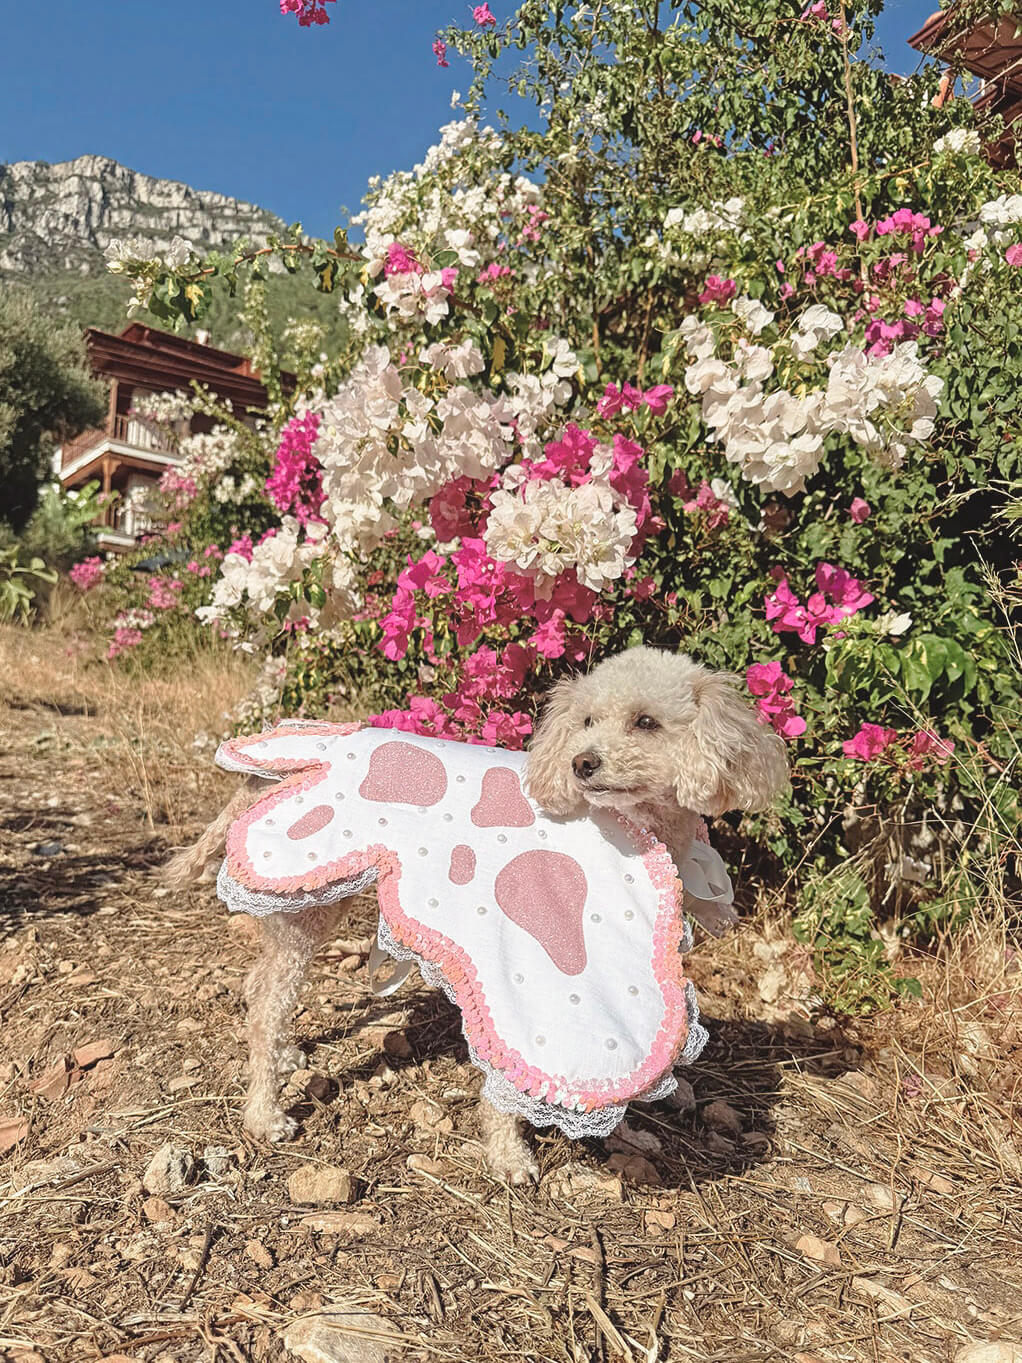
Also… I could not help myself, so I made a matching pair of wings for my fur child. Isn’t she like mini model? Both sizes will be in the Pattern Files on my Etsy.
Thanks for joining me in this tutorial! Remember to approach this activity with a chill vibe and take your time. This is a great chance to unwind and de-stress from the hustle and bustle of everyday life. Sewing can be a bit stressful sometimes, because we often set unrealistic expectations for ourselves and forget to enjoy the process. Have a spooktacular Halloween!
Related posts

Sewing Essentials: A Simple Method for Reversible Seams
There are so many ways to finish a seam, from good old overlocking to French seams and binding. I recently stumbled across another method that’s pretty nifty, and honestly, I kind of wish I had known about it sooner. It is a bit like binding, but topstitched in place so it doesn’t move or flap…

An Introduction to Common Crotch Adjustments
Recently, I drafted a pattern and made a toile of a pair of drop-crotch pants. When I tried them on, I straight away noticed (and felt) they weren’t quite right. The most obvious issue was that the back crotch felt tight and pulled uncomfortably, especially when bending over. Walking also felt a little restricted, with…

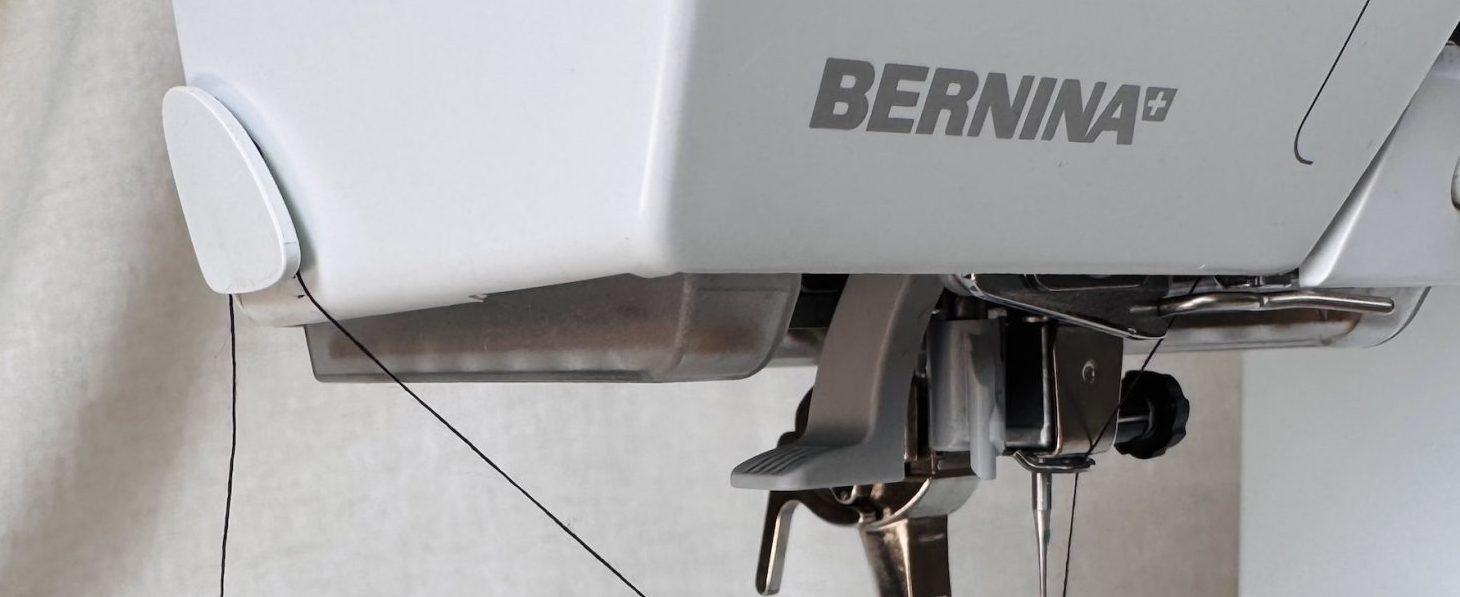
How to Thread a Sewing Machine: A Beginners Guide – Part 2
Now that we’ve covered the basics of threading a sewing machine in Part 1, let’s move on to some additional functions. In Part 2, I’ll show you how to change both the needle and the presser foot. I’ll also introduce the twin needle, and share some helpful troubleshooting tips for common issues that can happen when…
Made by Hand: Ellen Merchant’s Printed Textiles
One of Britain’s most exciting and adventurous textile and wallpaper designers working today, Ellen Merchant places traditional print processes and high-quality materials at the heart of her creative practice. Inspired by the Arts and Crafts emphasis on hand-made design over mass-produced goods, her work embraces traditional, hand-block printing techniques and features intricate, ornate, botanical designs…
How to Thread a Sewing Machine: A Beginners Guide – Part 1
Threading a sewing machine can feel a bit daunting at first, but it quickly becomes second nature after you’ve done it a couple of times. These days, I don’t even think about it—muscle memory just takes over. That said, writing this tutorial made me slow down and walk through each step more deliberately. It reminded…


SEW THIS LOOK


Latest Posts


Leave a comment