How to Press: A Simple Guide
Pressing is one of those often-overlooked steps in sewing, but trust me—it’s worth it. Sure, it might feel like an extra hassle at the time, but it’s the secret to achieving a perfectly finished garment.
So, what exactly is pressing, and why does it matter?
Unlike ironing, which involves gliding the iron back and forth over your fabric to remove wrinkles, pressing is a more deliberate technique that requires lifting and lowering the iron to apply pressure. This method sets seams, shapes fabric, and prevents puckering, giving your project that polished and professional look.
If you’ve been tempted to skip this step (I’m guilty!), read on to find out when and how to press at different stages of the sewing process.
Essential pressing tools
First things first—having the right tools makes pressing easier and more effective!
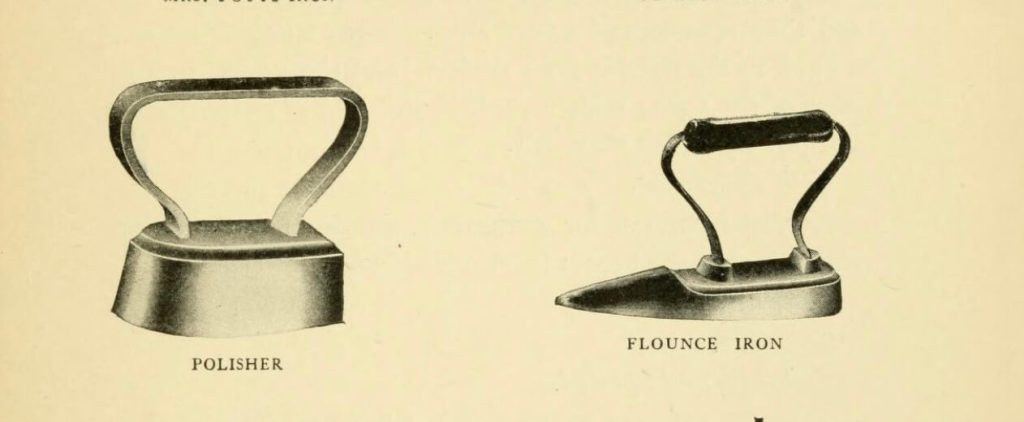
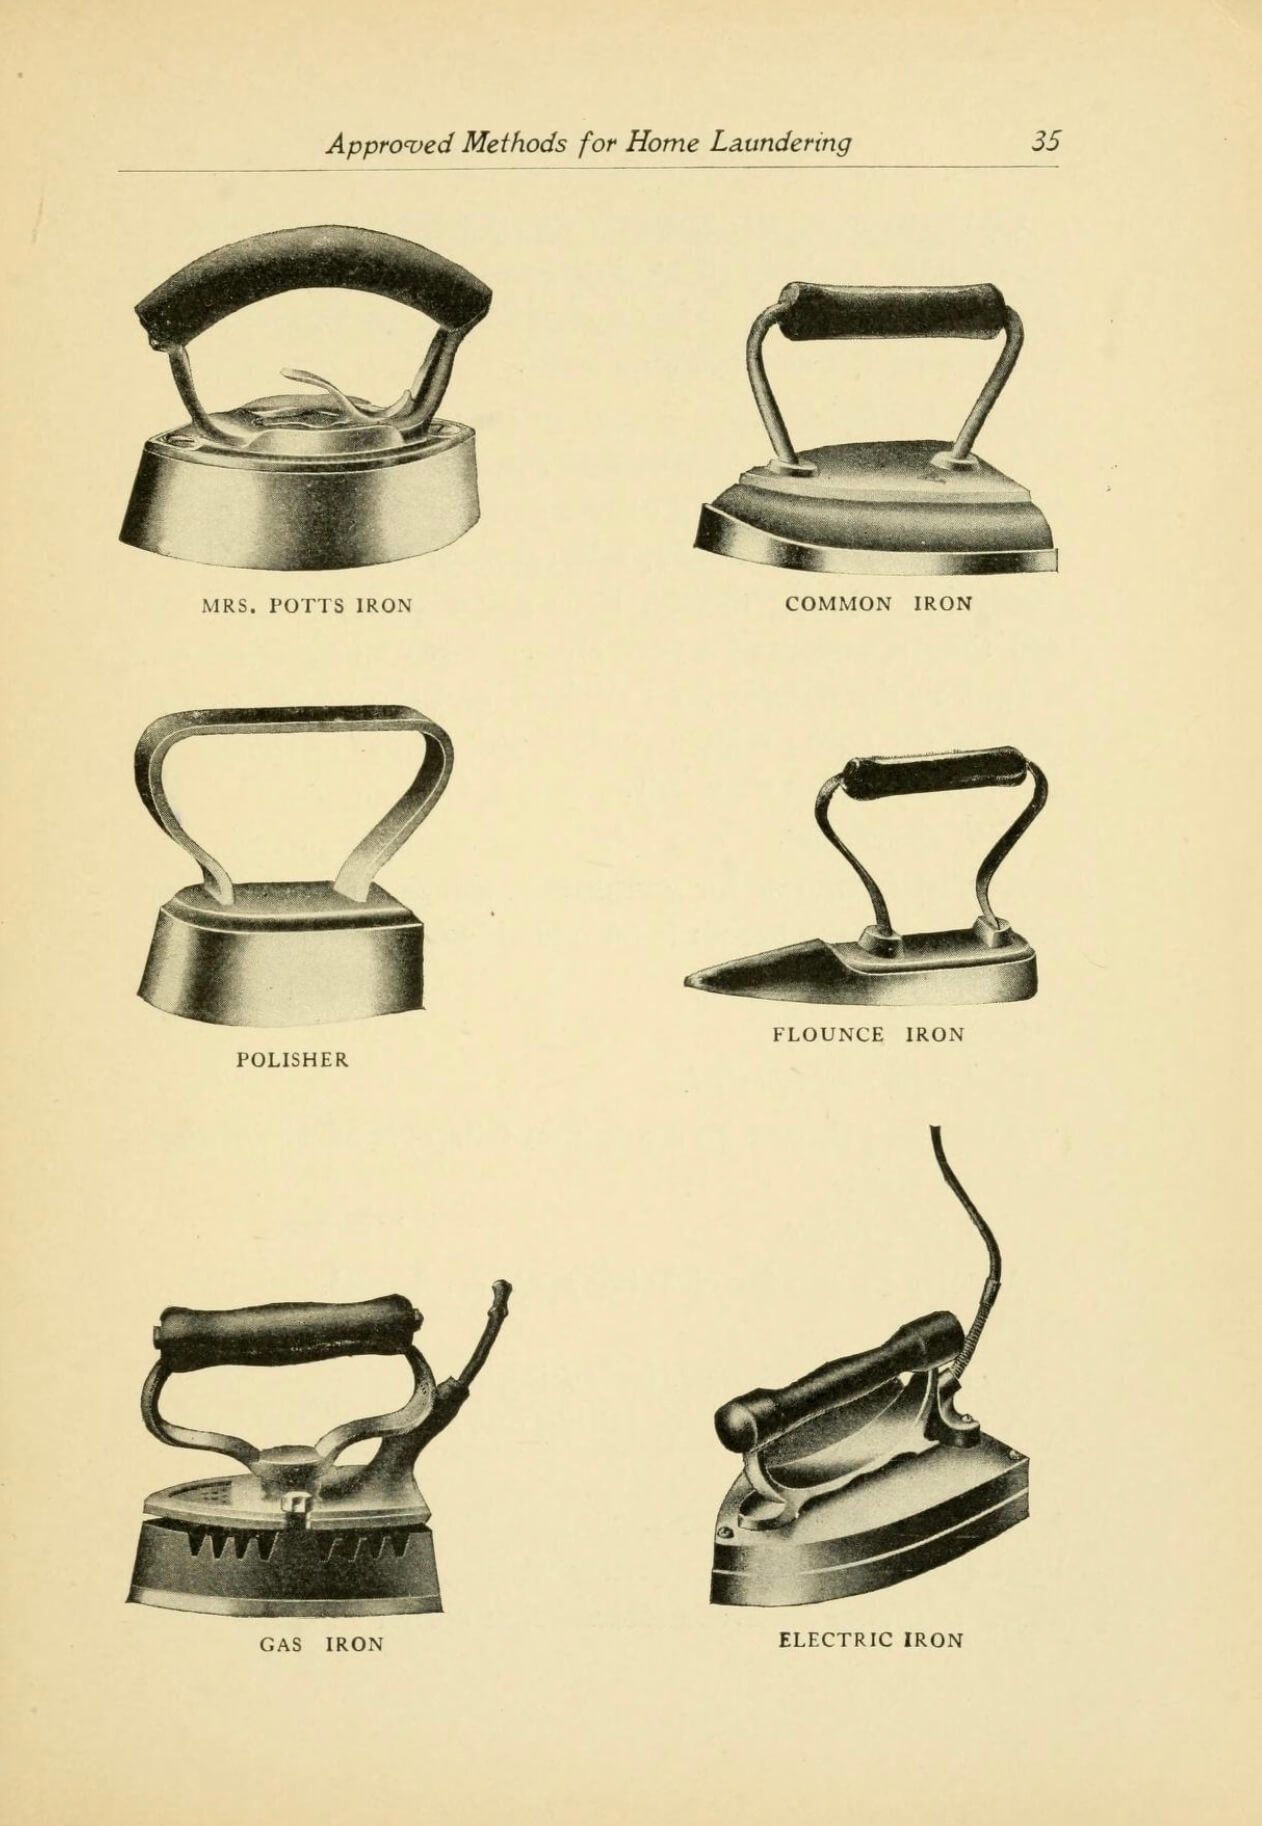
- Iron: A good quality iron with adjustable heat settings is essential. A steam function is especially useful for tackling stubborn wrinkles and shaping fabrics. If your iron doesn’t have a spray function, keep a spray bottle of water handy as a little moisture can help to relax fabric fibres.
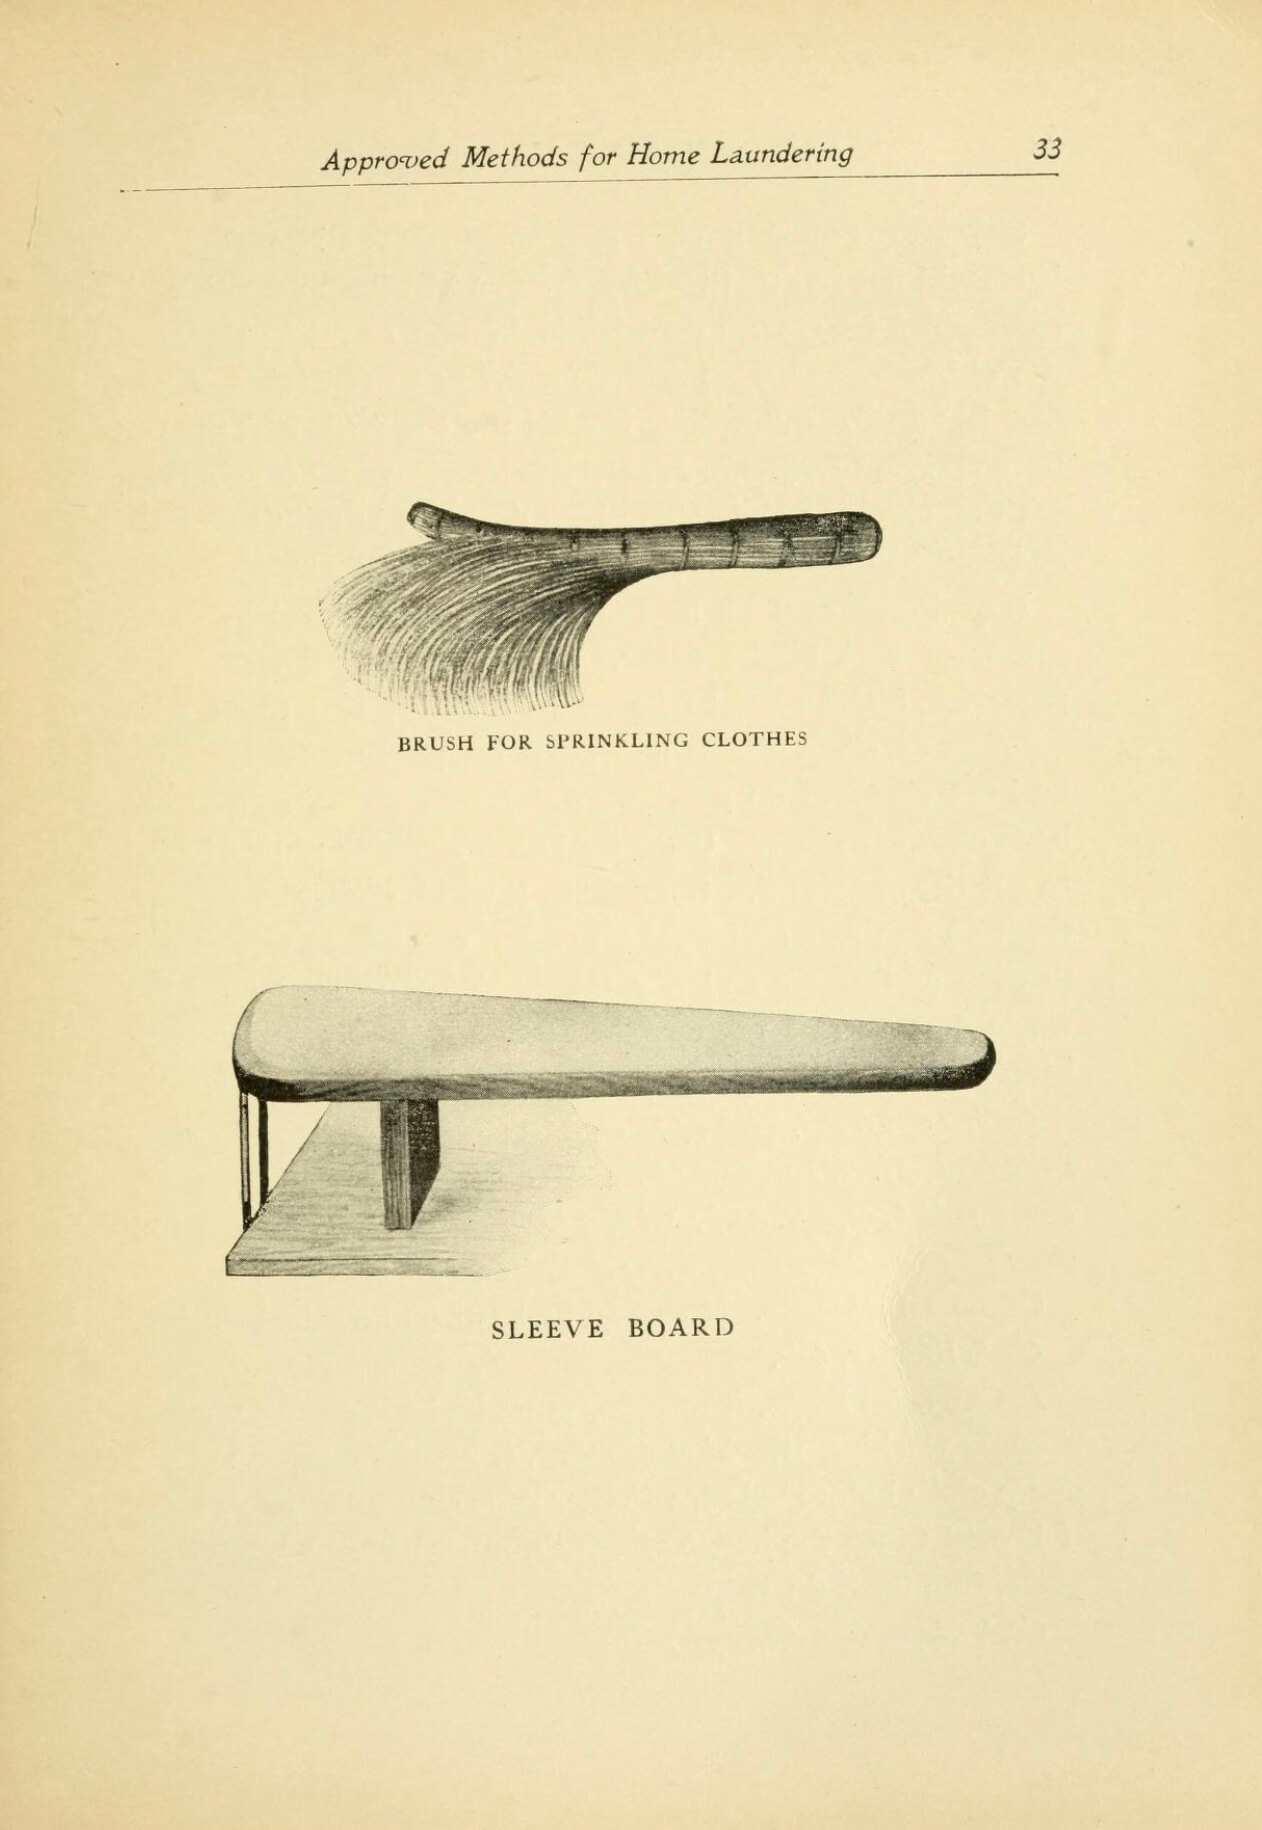
- Ironing board: A well-padded cover is essential to avoid marking your fabric. The tapered end is also especially useful for pressing curves and smaller areas.
- Pressing cloth: These can be placed between the iron and your fabric to prevent heat damage and avoid shine marks.
- Tailor’s ham & sleeve roll: These firm, shaped cushions are perfect for pressing curved or tapered seams without distorting the fabric. They’re also ideal for tubular pieces like pant legs or sleeves—just slide the fabric over the sleeve roll to press one layer at a time and avoid seam imprints.
Tip: A tea towel makes a great DIY alternative to a pressing cloth. Rolled up, it can even serve as a tailor’s ham or sleeve roll!
What and how to press
Pressing is essential at various points in your sewing project. Knowing what and how to press at each stage helps produce the best results.
Here’s a general overview of when and how to press these key areas:
Straight seams: Whether to press seams open or closed depends on your project. Patterns should specify, but here’s a quick guide:
- Open Seams: Reduce bulk and create a flat finish, being ideal for areas with multiple layers like waistbands or on lined garments. Open seams are also used where an opening is needed, such as to accommodate zippers or a keyhole. They typically have seam allowances of 1.5cm or more.
- Closed Seams: Pressed to one side for added strength, making them perfect for those higher stress areas like side seams, crotch and sleeves. These seams are typically pressed towards the back of the garment and generally have allowances between 1–1.3cm.
Start by pressing the seam flat as it was sewn—this sets the stitches, aligns the fabric, and smooths any puckering. Press seams open or to the side from the wrong side of the fabric, then finish with a press on the right side.
Tip: Save time by pressing in batches instead of after every seam. A good practice is to press seams flat before sewing an intersecting one. This creates a smooth base for the next seam, making it easier to align and sew accurately. It also helps the fabric lay flat and prevents shifting or bunching as you sew, resulting in a cleaner finish and reduced bulk. For instance, sew and press the side seams and inner leg seams of pants before stitching and pressing the crotch seam.
Hems: I highly recommend pre-pressing hems before sewing as it’s much easier to work with a flat piece of fabric than with a fully sewn garment. This will help to reduce shifting, and achieve a more even finished edge.
Start by marking the hem allowance with chalk, a fabric marker, or my preferred method—with pins (just be sure not to iron over them). Fold up the raw edge and press. For double-rolled hems, fold up the raw edge first and press, then fold again to the desired hemline, and press once more.
Tapered and curved seams: Flat ironing doesn’t always work well for tapered and curved seams (darts, princess seams, armholes, collars, etc). To ensure you maintain their shape and avoid flattening, experiment with tools like a tailor’s ham, the edge of your ironing board, or a rolled-up towel.
Start by positioning the fabric over your chosen tool in a way that maintains the curve, and press from the wrong side of the fabric. Turn the fabric over to the right side, reposition, and lightly press.
Note: The direction of pressing darts matters—press vertical darts toward the centre back or front, and horizontal darts (such as bust darts) downward.
Pressing gathering: To maintain the fullness of gathering, avoid pressing directly over them.
Start by pressing the seam allowance away from the gathers to reduce bulk. Then, using the tip of the iron for added control, press lightly from the wrong side of the fabric, and if the fabric allows, use a light steam to help set the gathers. Flip the fabric to the right side and gently press between gathers.
Tucks and pleats: For tucks or pleats, start by folding the fabric along the marked lines and either pin or baste into position. Press along each fold with the tip of the iron for added control, applying gentle but even pressure. Again, if the fabric allows, use light steam to help set the folds.
Tip: Place a heat-resistant layer (like paper, cardboard, or extra fabric) between seams and your project to prevent scorch marks or imprints, especially on fabrics like corduroy or twill.
Adjusting iron settings
Always adjust your iron based on the fabric type and composition, as different fabrics can tolerate varying levels of heat and steam.
General temperature and steam guide
While many irons have fabric-specific settings, it’s still a good idea to double-check the temperature and steam levels. Refer to the care instructions for guidance, or if you’re unsure, test on a scrap of fabric first.
Here is a general guide:
- Delicate and specialty fabrics (e.g., silk, rayon, velvet, corduroy, suede): These fabrics are heat sensitive and can scorch or develop a shiny finish. Be careful using steam on these fabrics as it can cause water spots or distortion. Therefore, always press from the wrong side of the fabric with a pressing cloth or tea towel to protect the fabric. Also, avoid over-ironing these fabrics, especially textured ones, to prevent flattening or an unwanted sheen.
- Wool and synthetic fabrics: Use a moderate heat setting, pressing on the wrong side and use a pressing cloth to prevent any shiny marks. A gentle steam may be beneficial for wool and felt, helping to smooth the fibres rather than flatten them.
- Cotton, linen, denim, or canvas: These fabrics can generally tolerate higher heat and steam. You can also lightly spray these fabrics with water to help smooth out more stubborn wrinkles.
Pressing may seem like an extra hassle, but it makes a big difference in how your garment turns out. With the right tools and techniques, you can achieve those professional results. So, next time you’re tempted to skip it, remember that a little patience ensures your garments are perfectly finished.








3 Comments
Nishat Jahan
nice
Margaret McCullough
Emma, thank yso much for this information! Although I’ve been sewing for many years, and pressing as I see, I learned some new things from your article. I really appreciate the thought you put into this blog post, and how clearly you explained your techniques.
Margaret
Emma Cartmel
Hi Margaret,
Thank you so much for your kind comment and thoughtful feedback! I’m really glad you learned something new from the article. Happy sewing!