Tutorial and Pattern: How to Make a Christmas Stocking
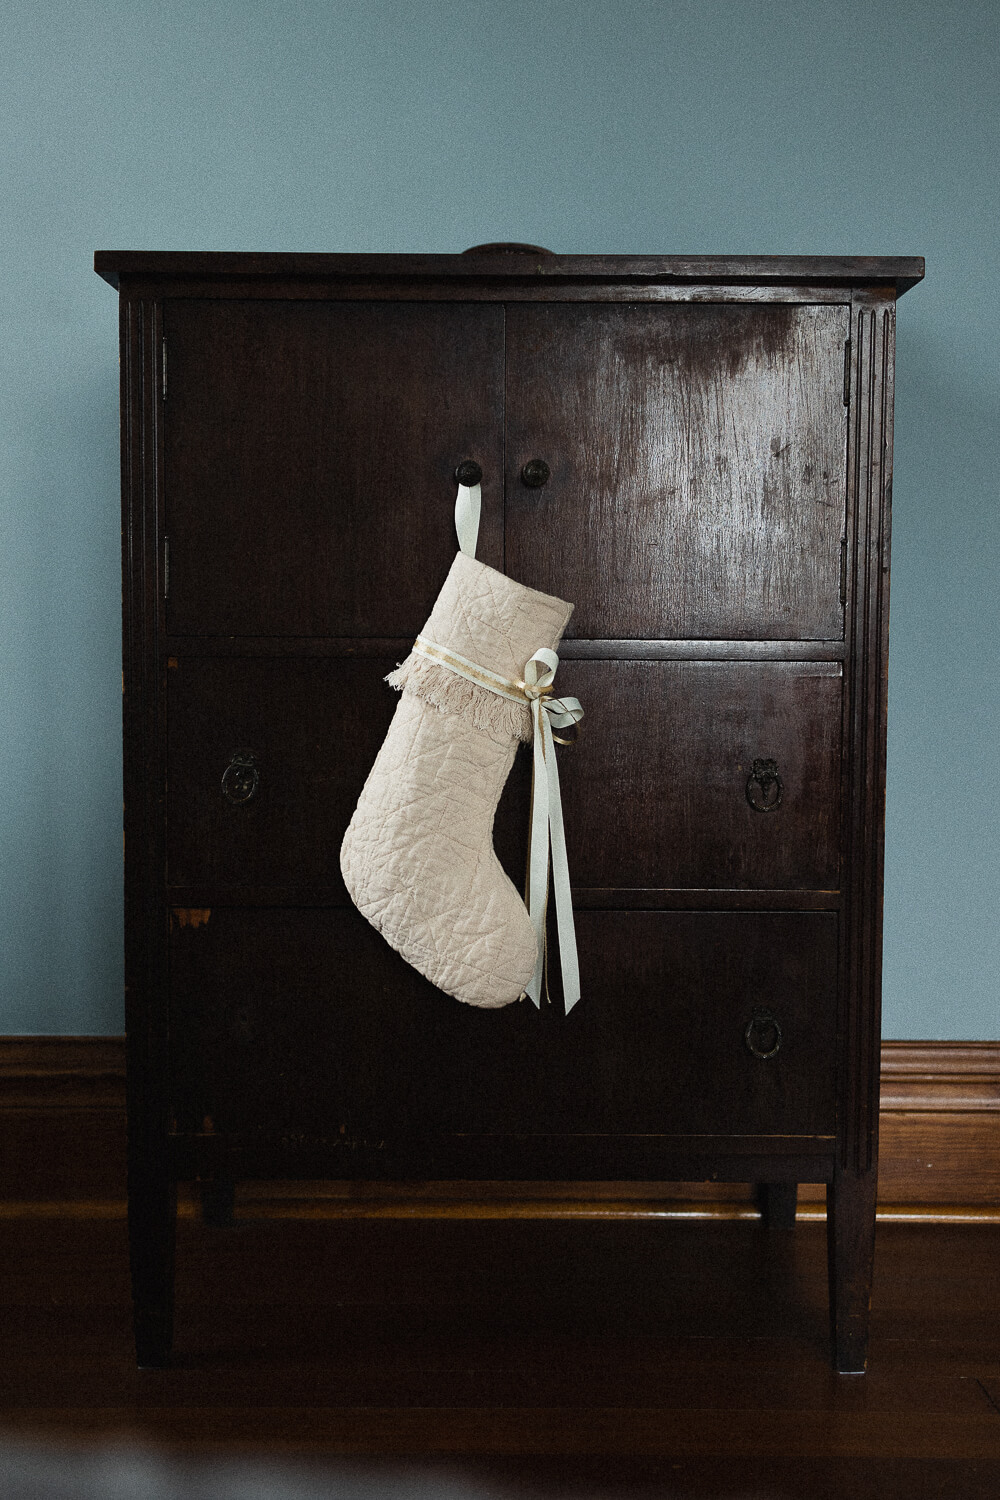 A few years ago, my brother flew home for his annual winter visit. Shortly after he arrived, we sat around the fire drinking Chamomile tea together. Maybe it was the hardship of the year, or maybe it was the reality of seeing parents and people getting older that made him say, “We should make Christmas extra special this year.” Whatever it was, we thought it sounded like a good idea.
So we all set to work. The nieces and nephews made an abundance of paper stars. My sister-in-law made garlands with evergreen boughs and dried citrus slices. She hung them all around. My brother chopped down a Christmas tree from the woods. Mom decorated the tree and hung lights throughout the house. Dad split wood and kept us all warm with the fire. And I was tasked with making everyone a Christmas stocking.
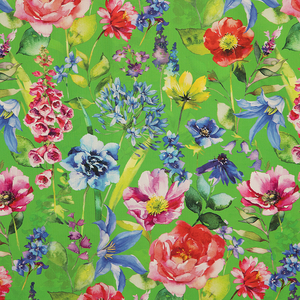
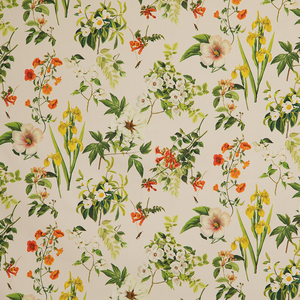
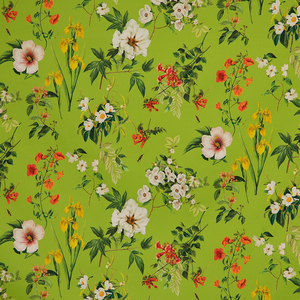
I looked through the fabric options and selected 21 vintage prints from Grandma’s stash. We only needed 18 stockings, but I was hopeful for new additions to the family in the coming years. A few extra would be a good investment.
When all 21 were done, great deliberation ensued over the stocking selection process. The sibling possessing the best cursive was tasked with writing everyone’s name on rectangles of cotton muslin. Once a stocking was chosen, the name was pinned in place and the stocking hung on the old ceiling rafters.
In the days leading up to Christmas, the rooms filled with citrus aroma, the walls danced with paper stars, and the stockings started to swell.
Whether you are making one or 21 stockings, here is a pattern to bring a sense of extra specialness to your Christmas this year.
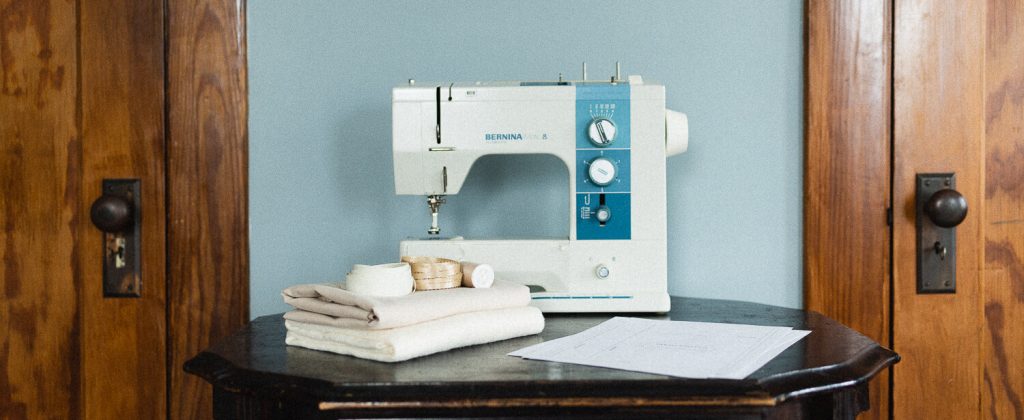
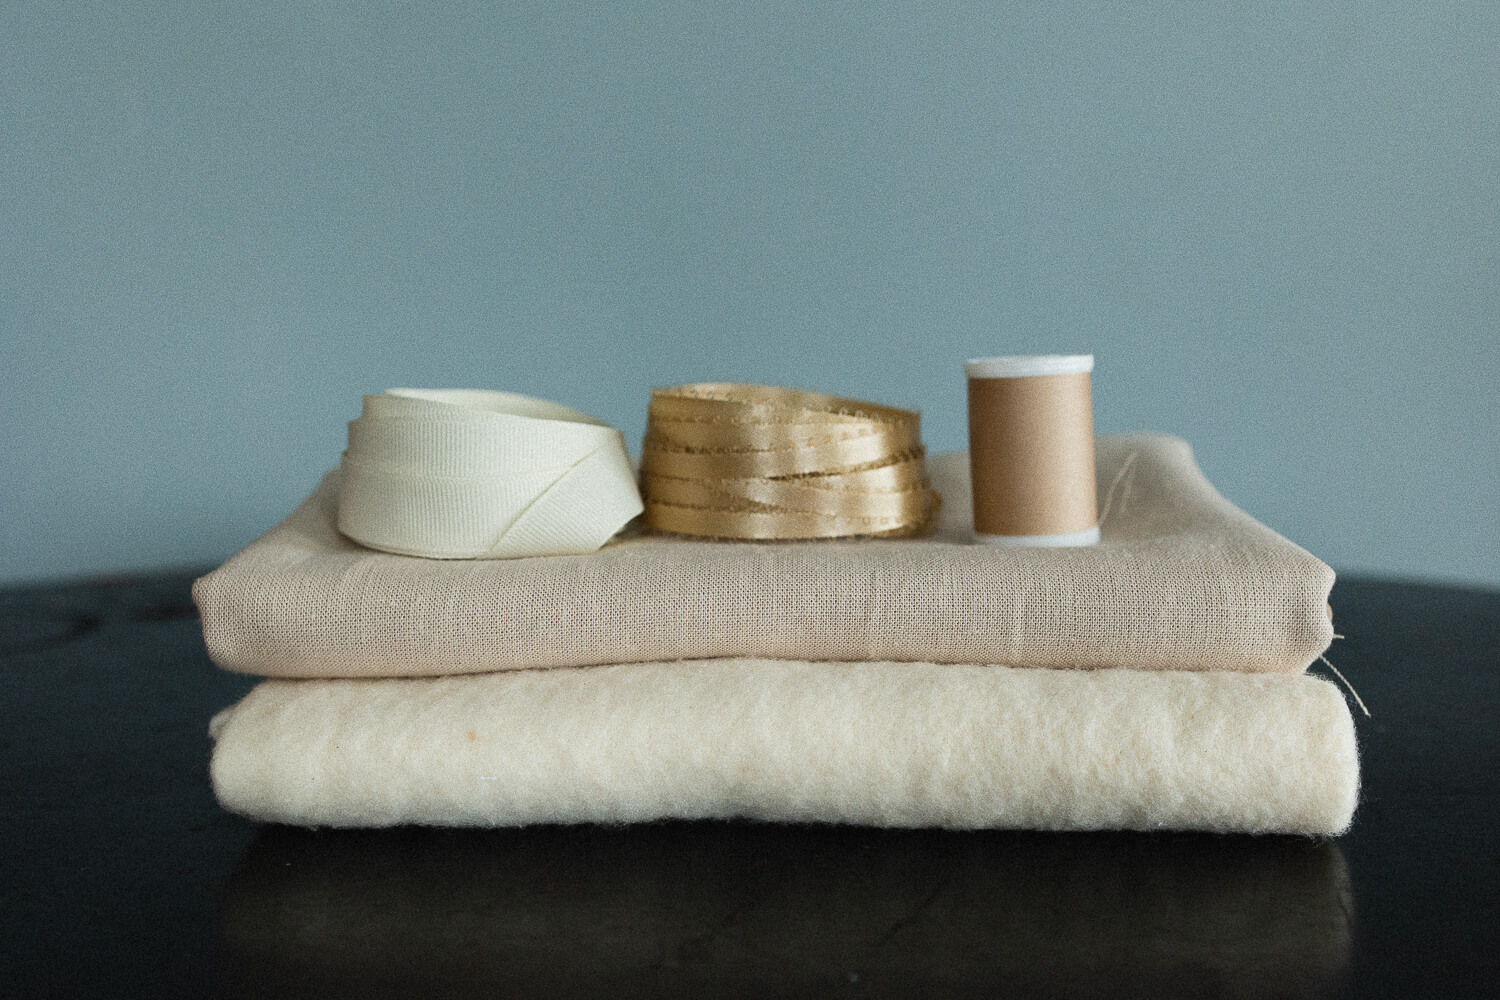
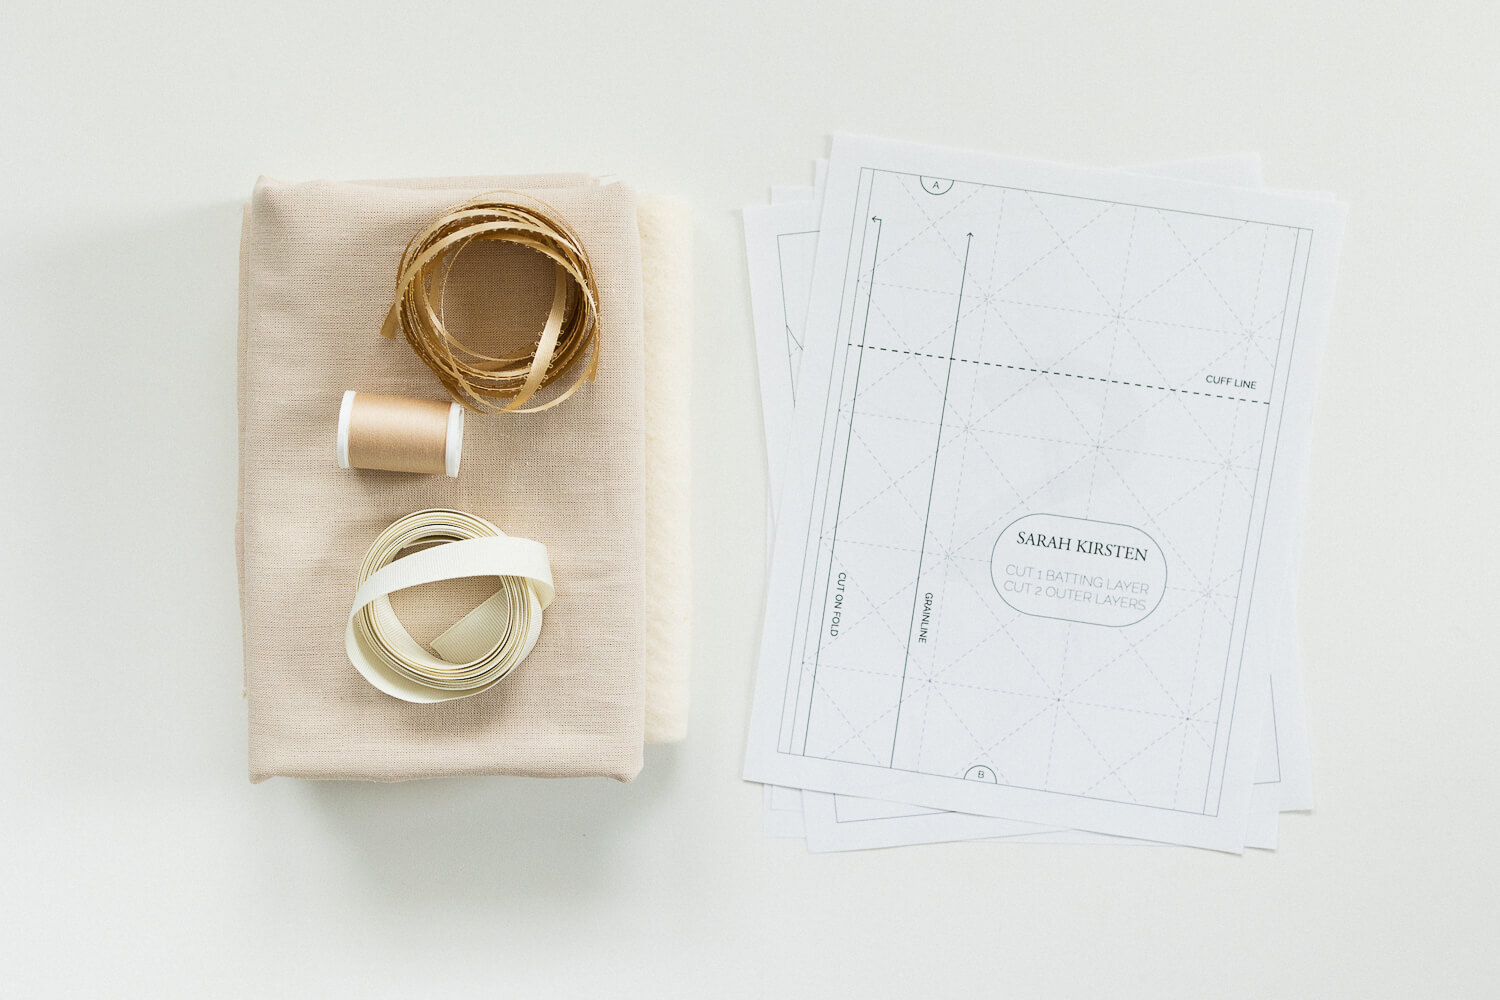
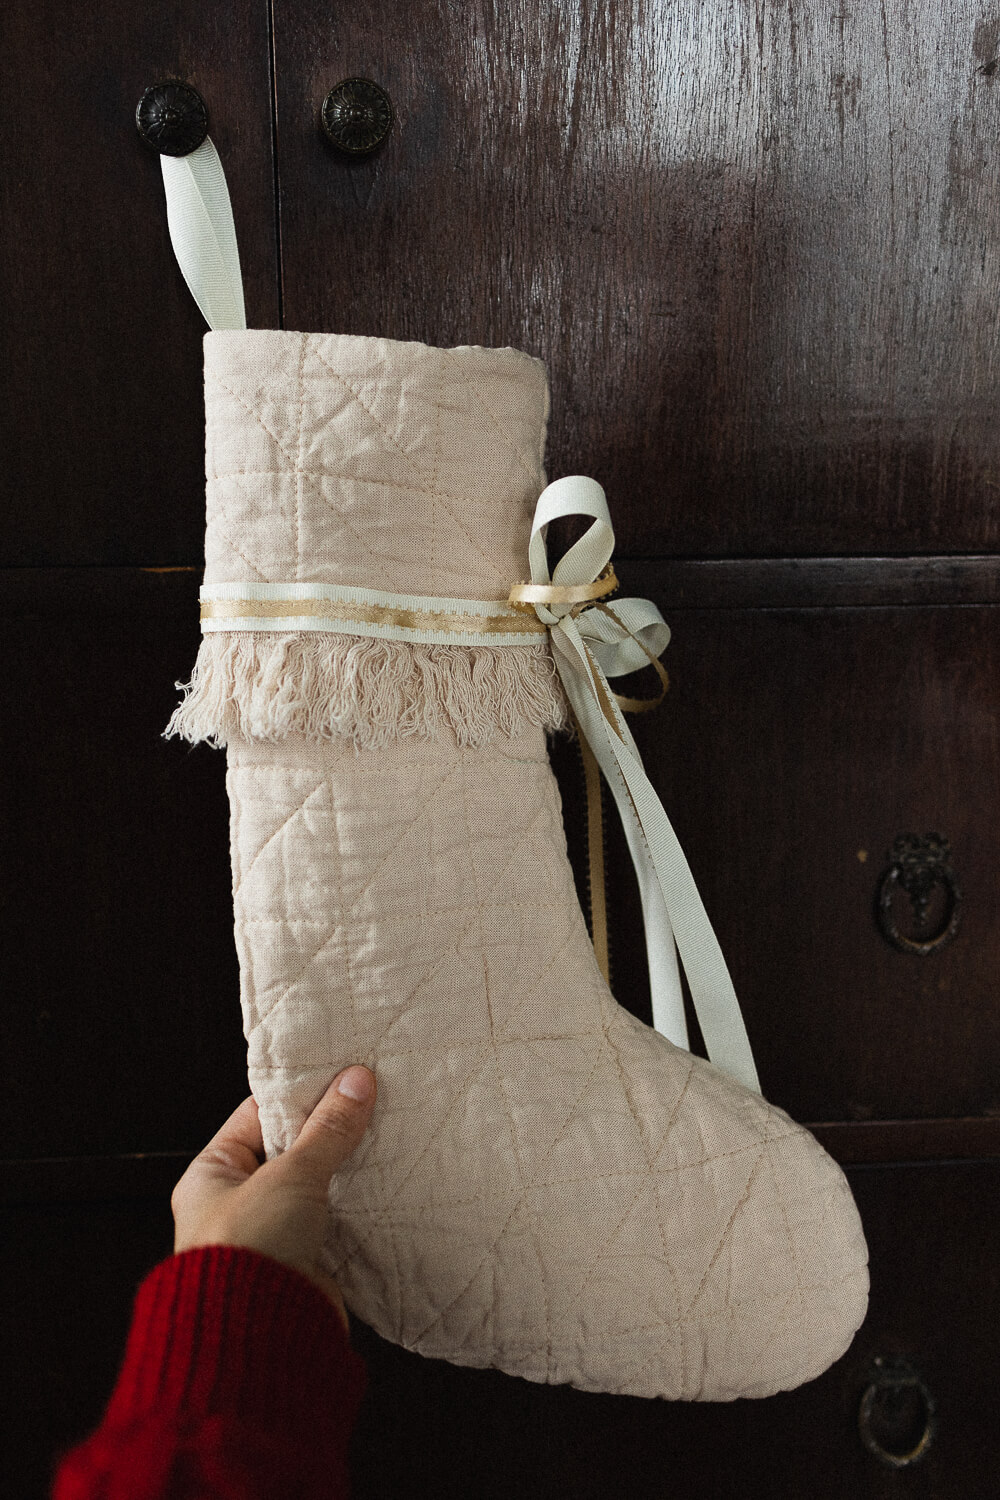
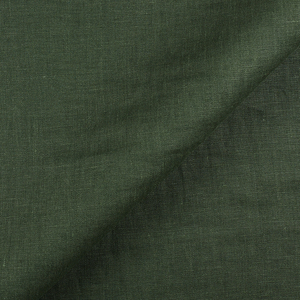
Step 1: Collect your favorite holiday season linen, festive ribbon, and cozy batting. Cut two layers of the linen and one layer of cotton batting using the Christmas Stocking pattern.
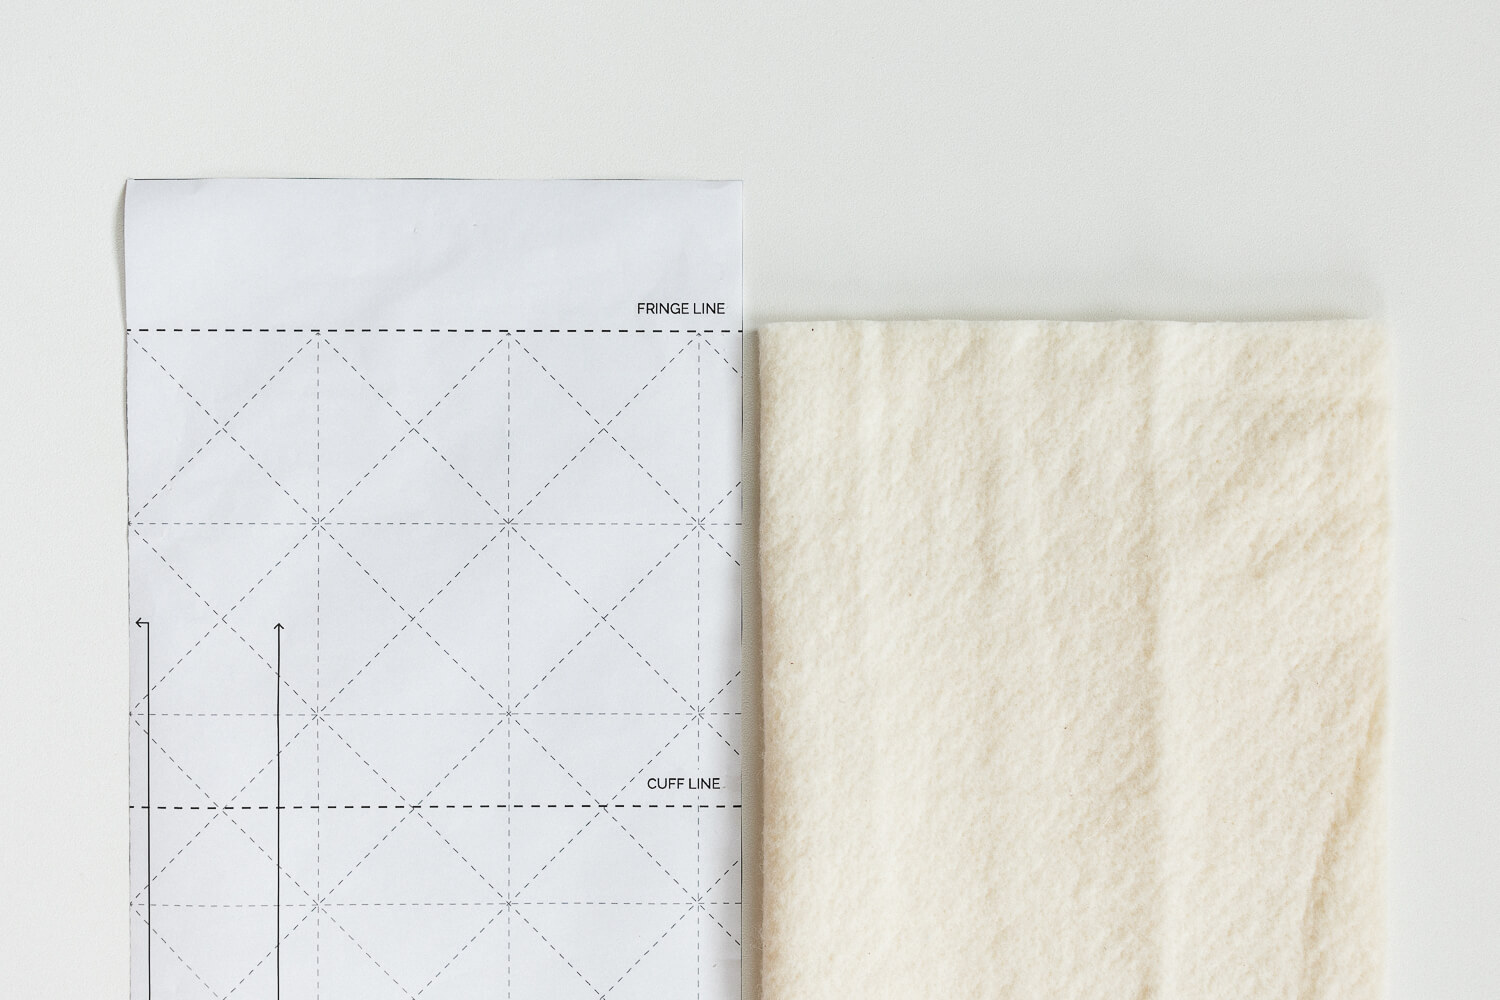
Step 2: Trim the top of the batting at the FRINGE LINE.
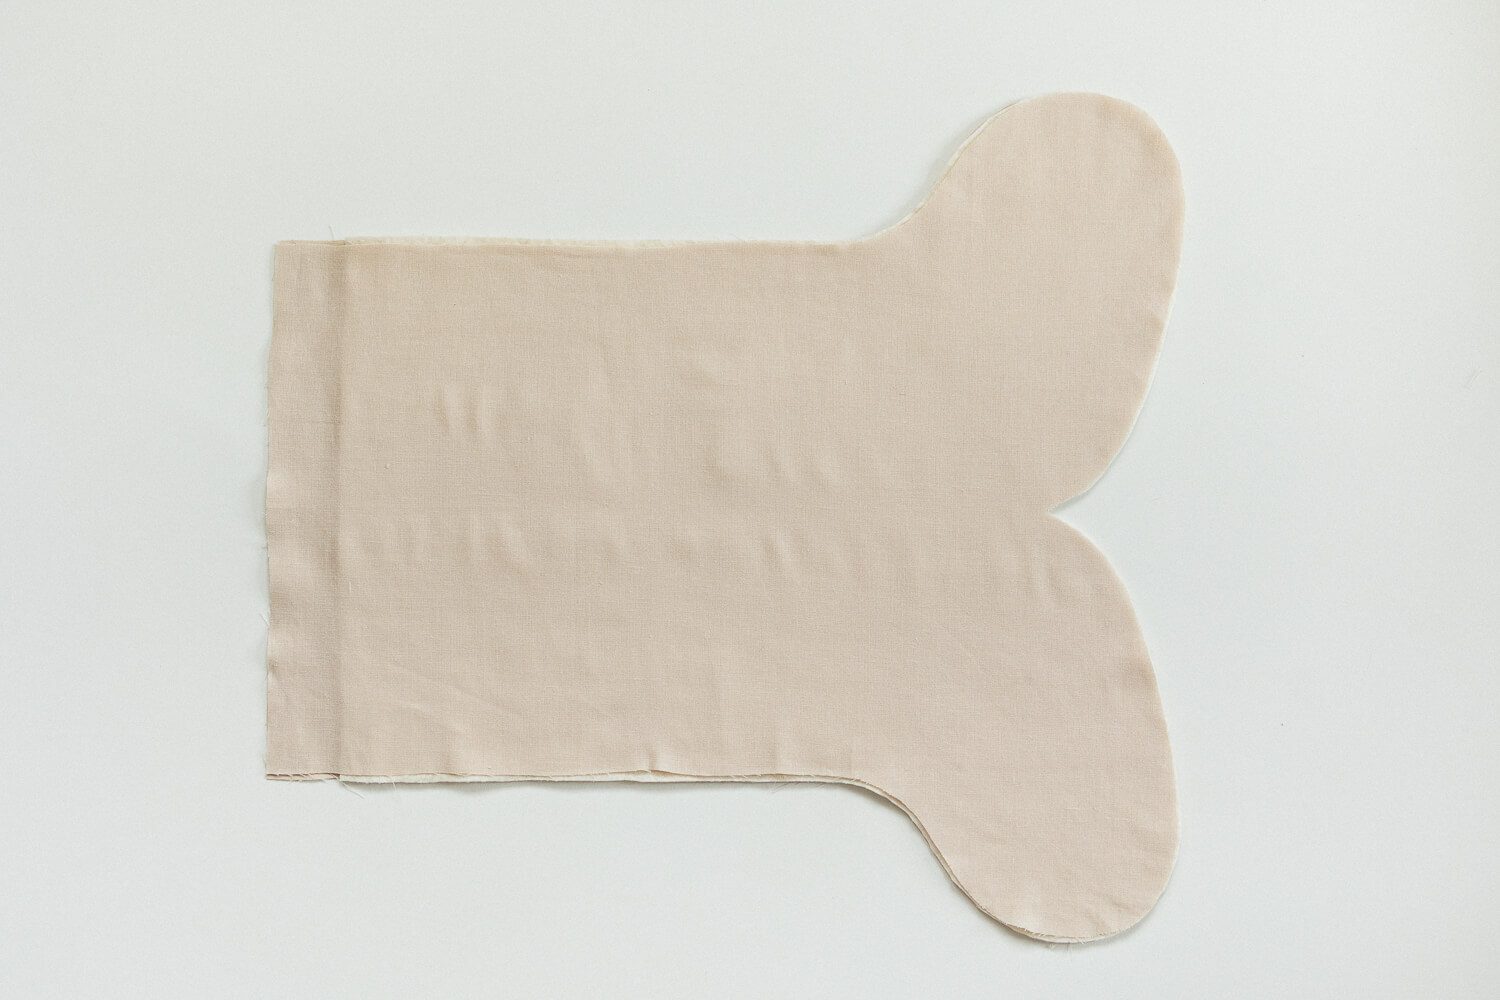
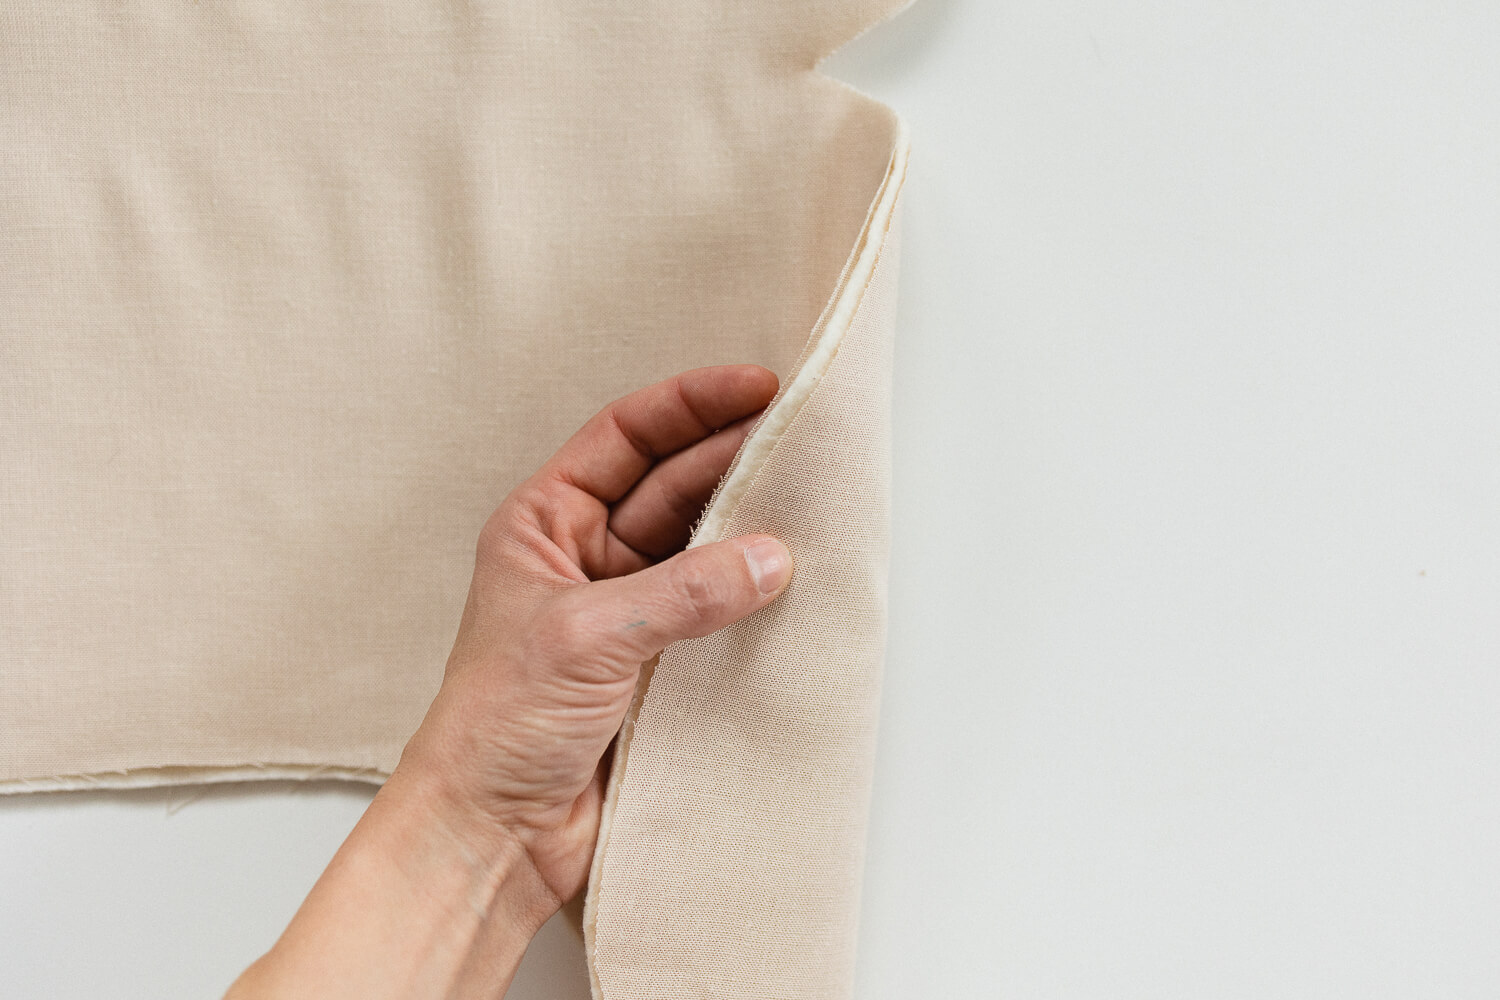
Step 3: Sandwich the batting between the two layers of linen.
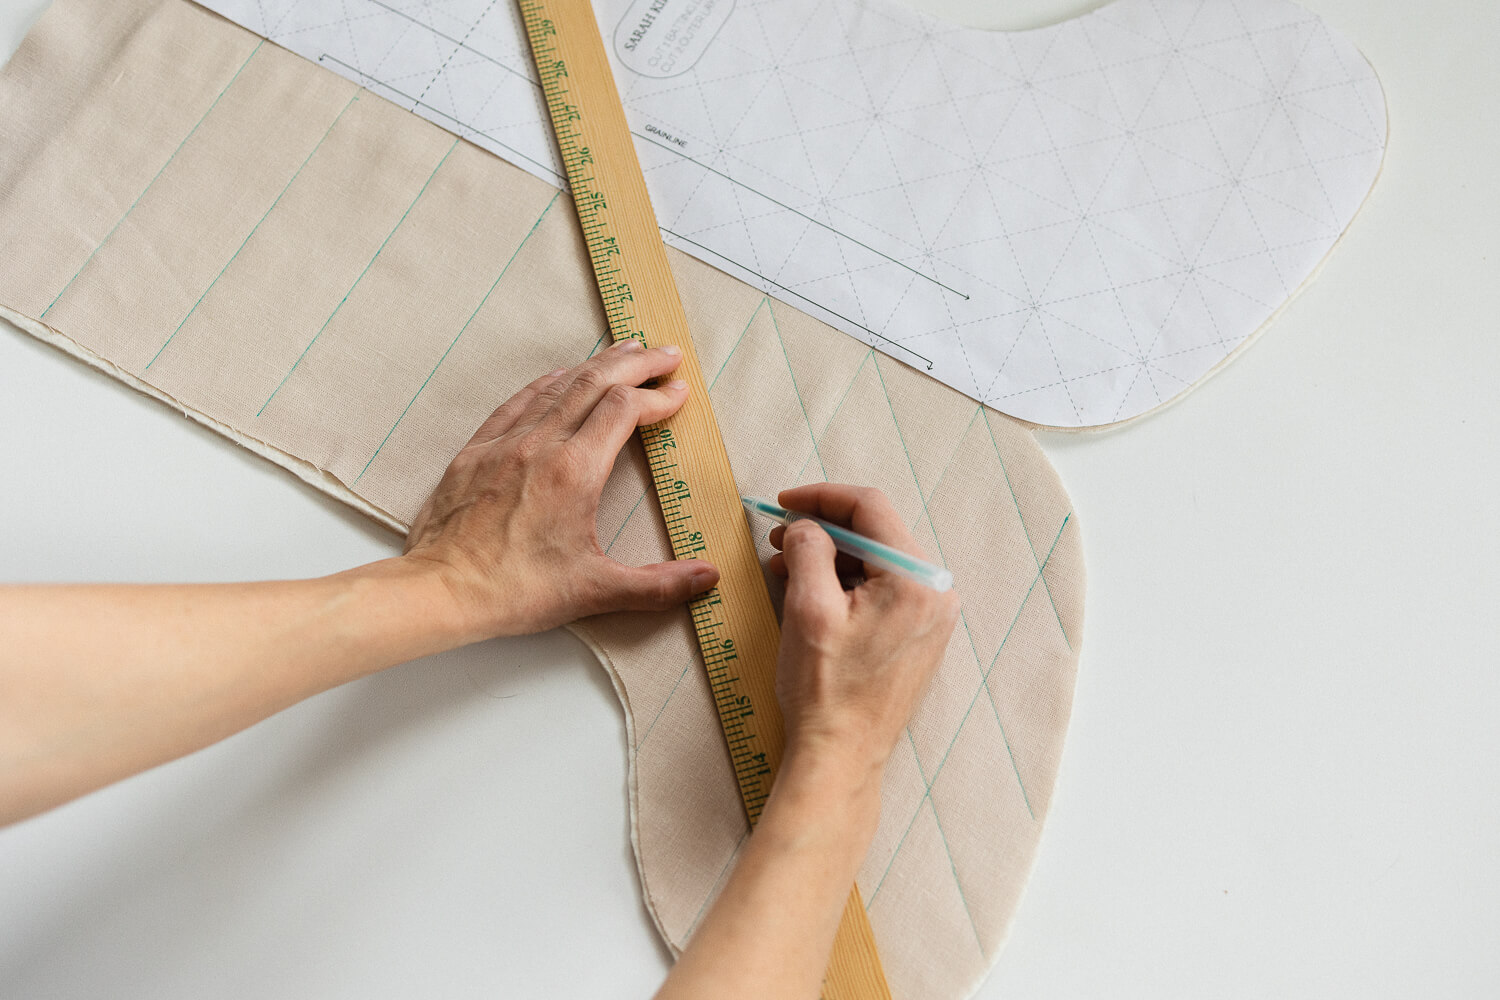
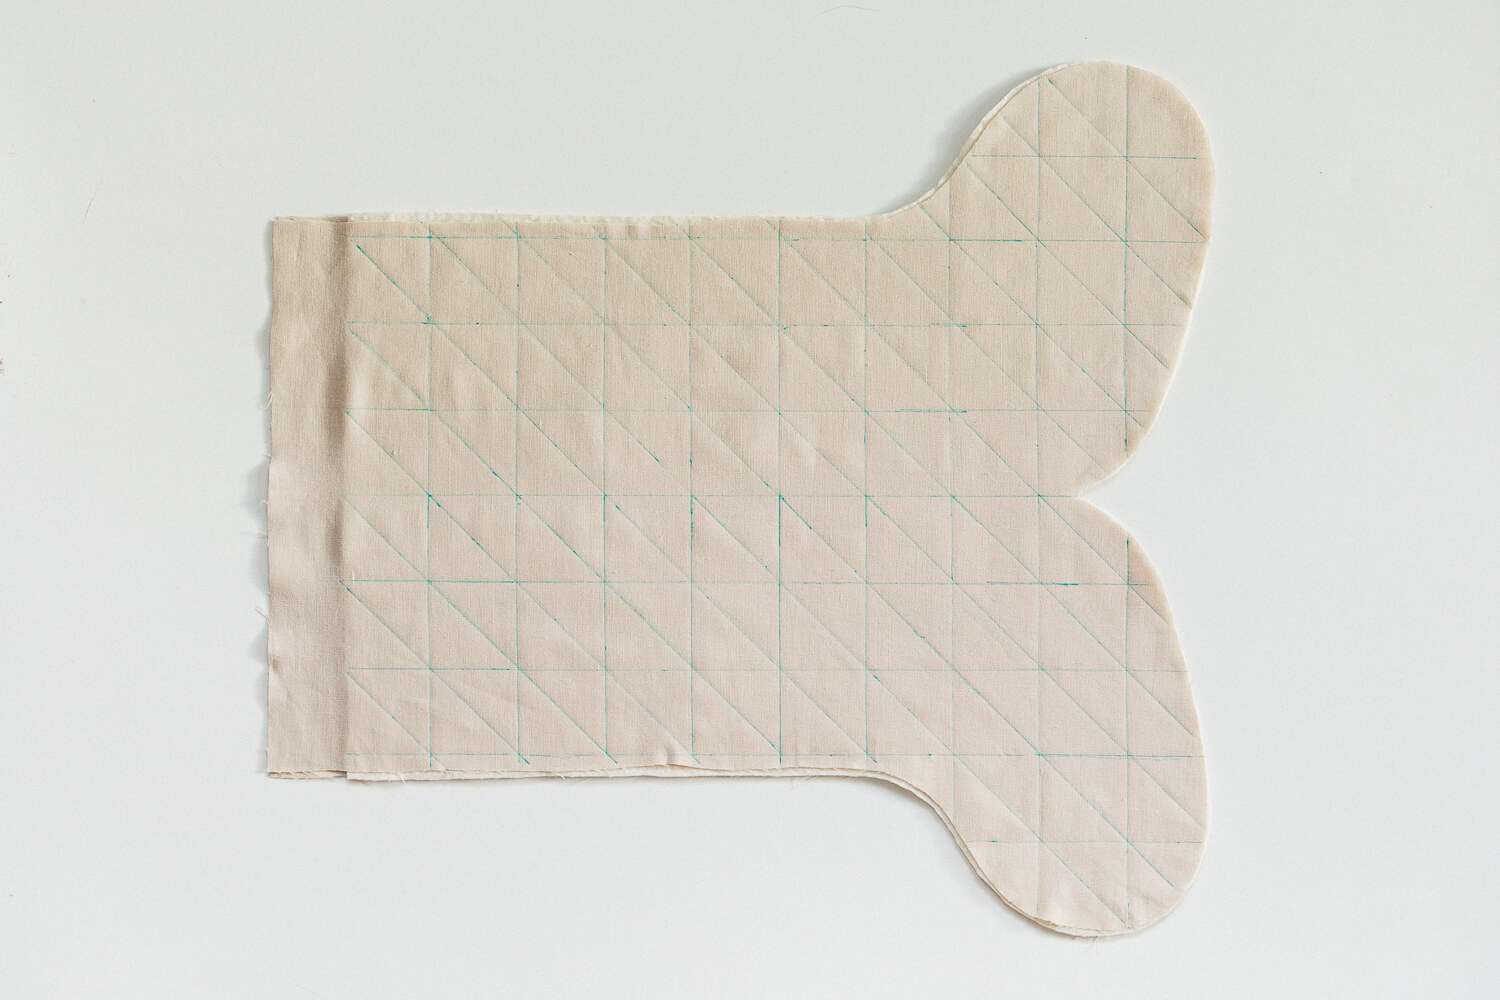
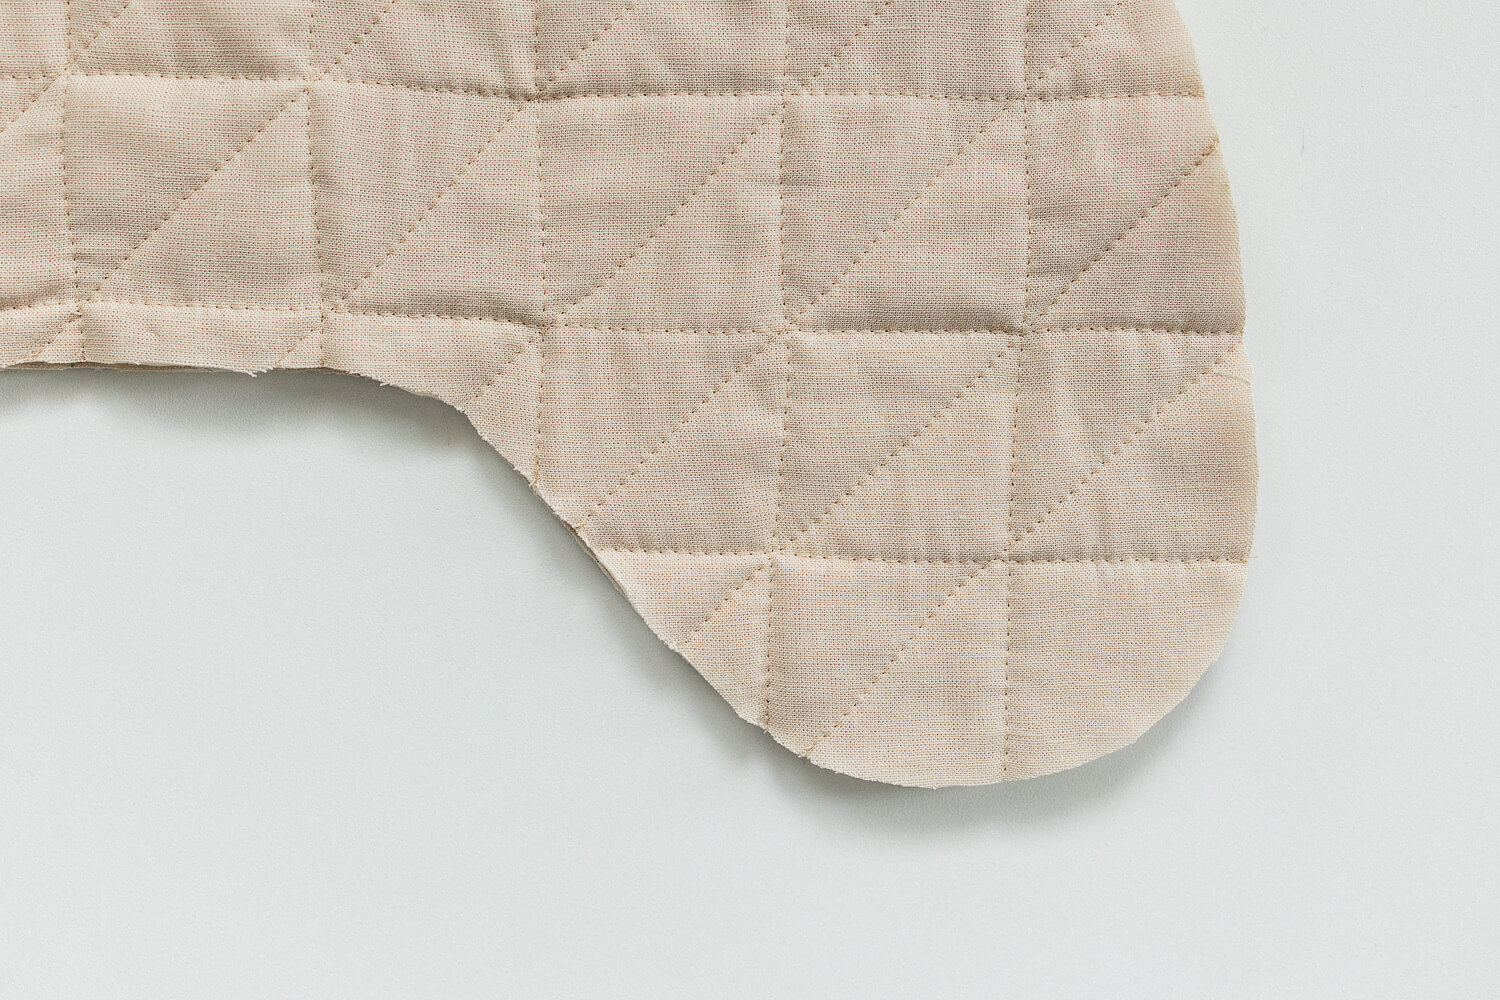
Step 4: Decide what stitch design you want to use (this is the hardest part of this project). Using the stitch guidelines and a ruler, mark the stitch design with a fabric pen.
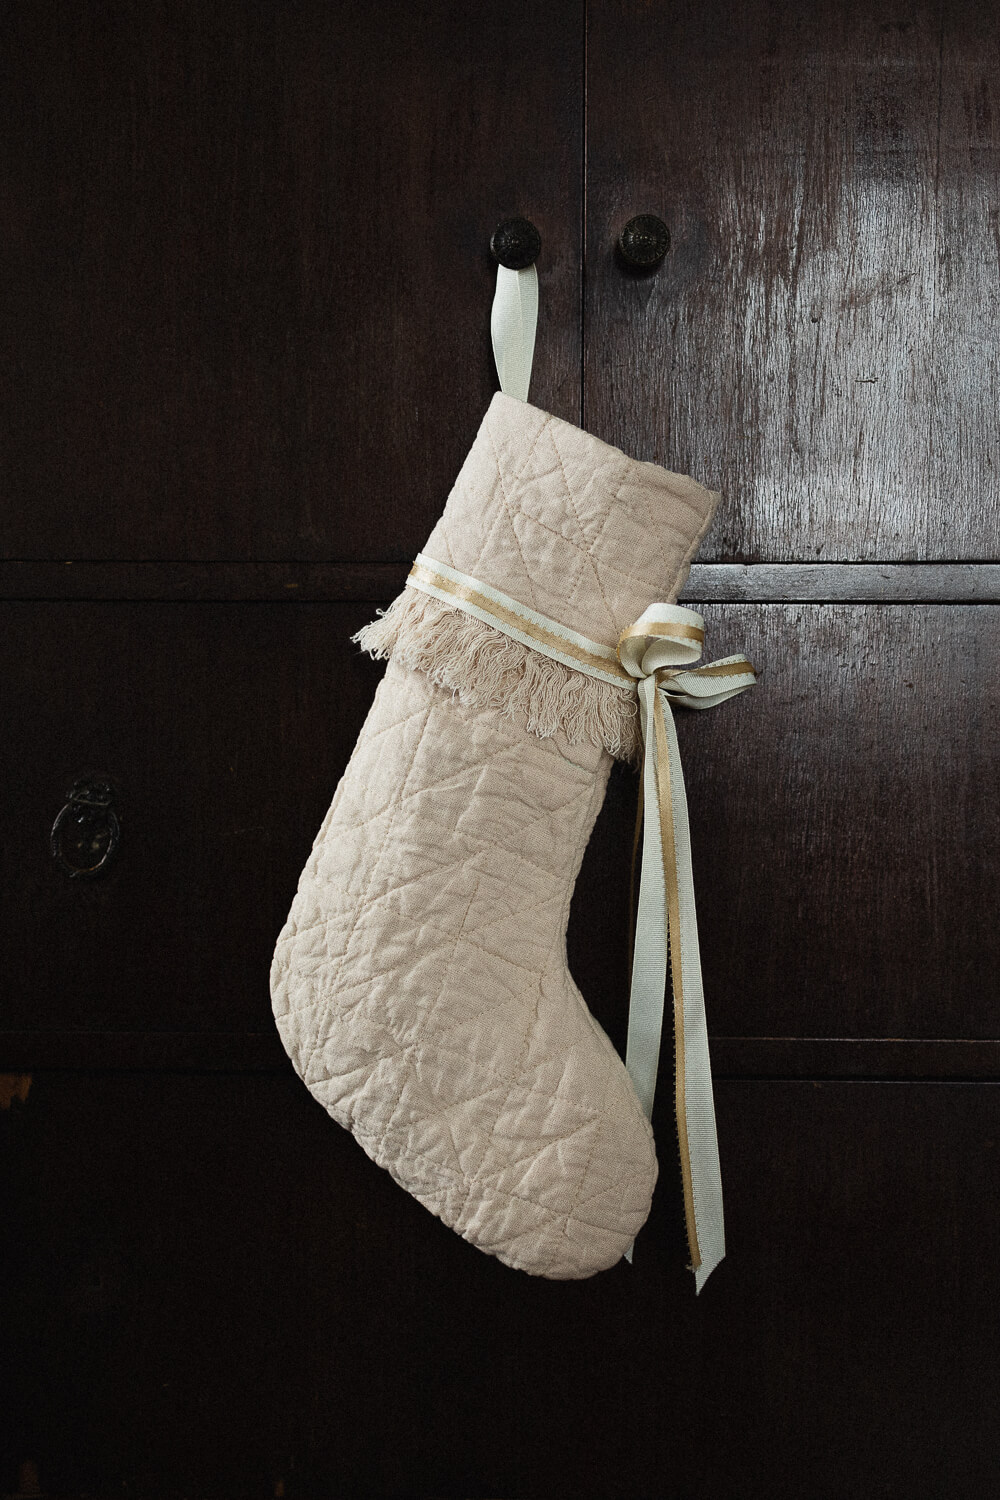
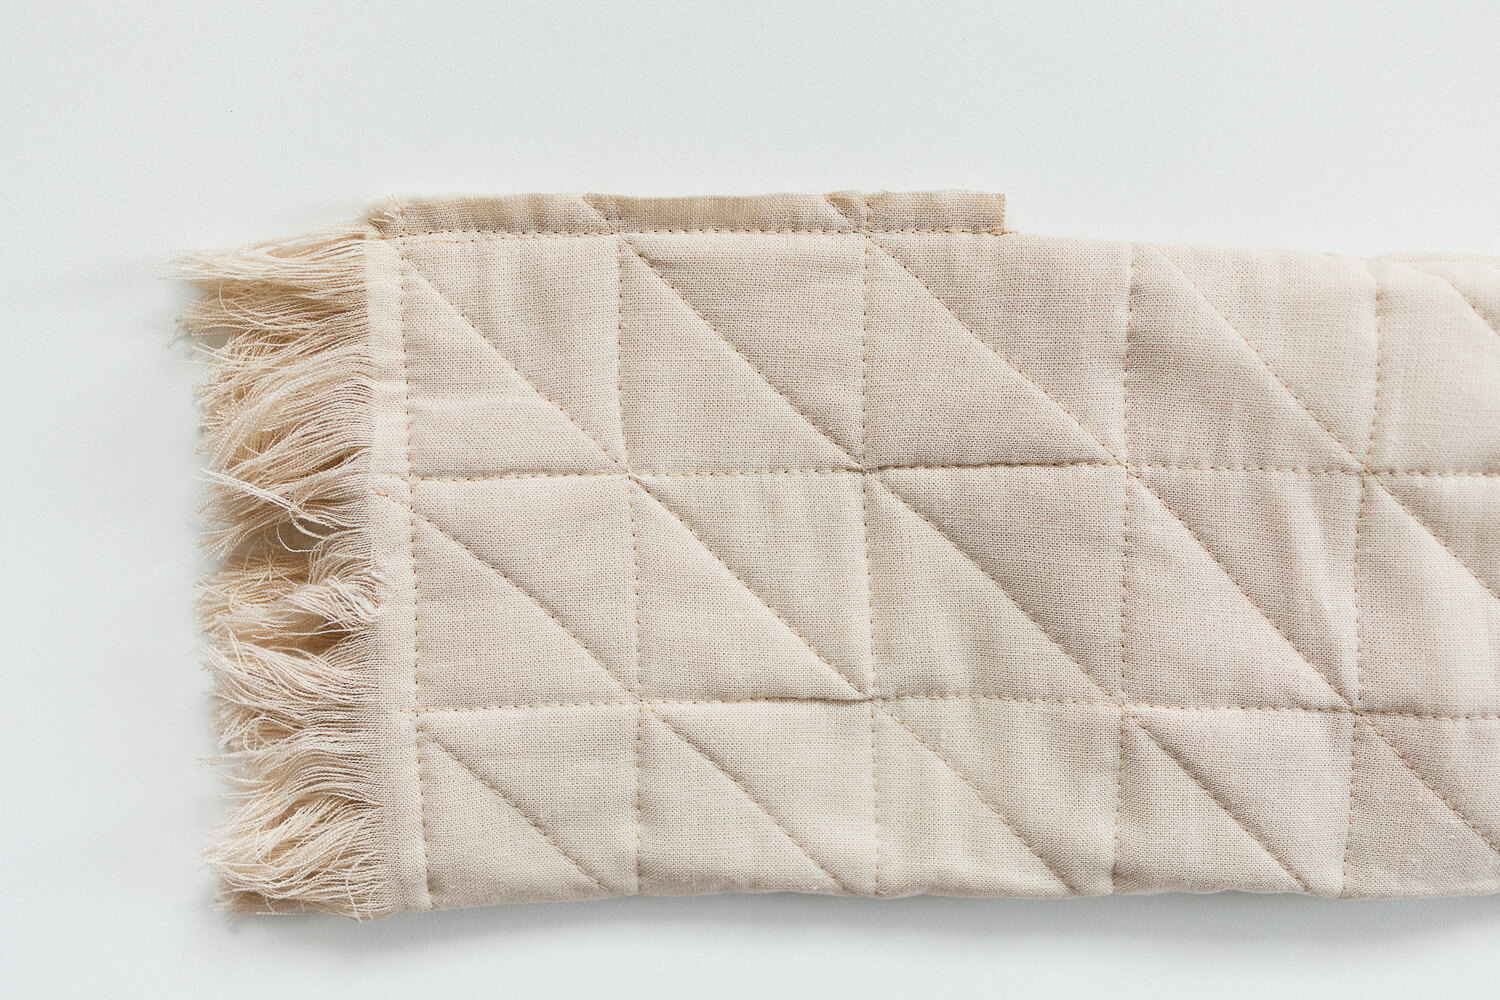
For this tutorial, I sewed a triangular pattern but using all the vertical lines, all the horizontal lines, and one direction of the diagonal lines.
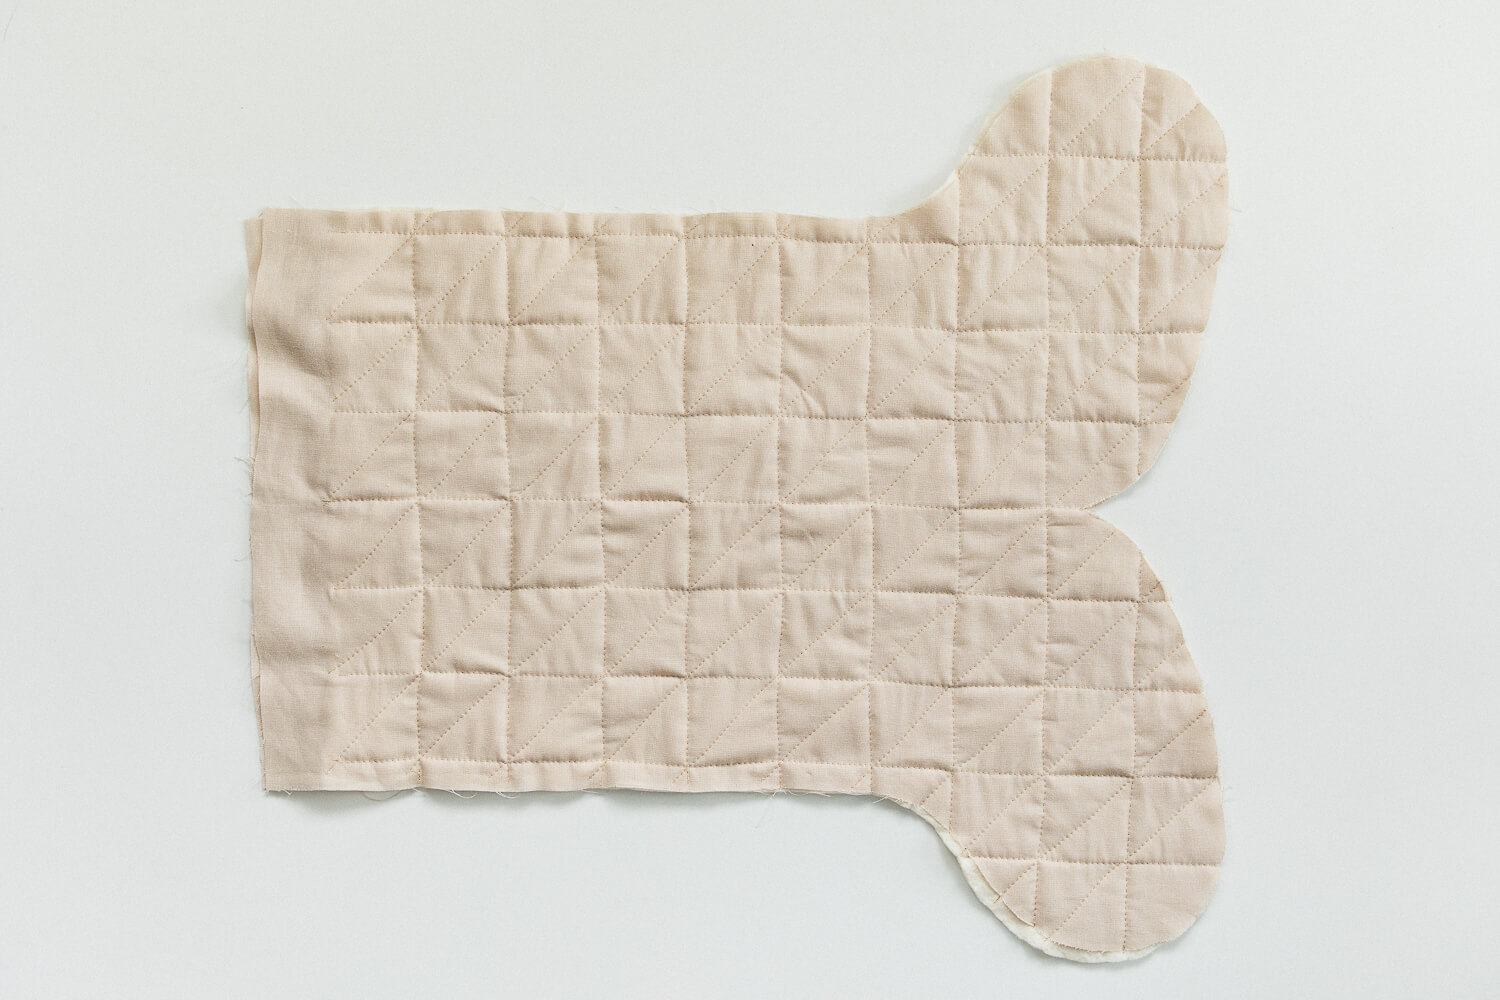
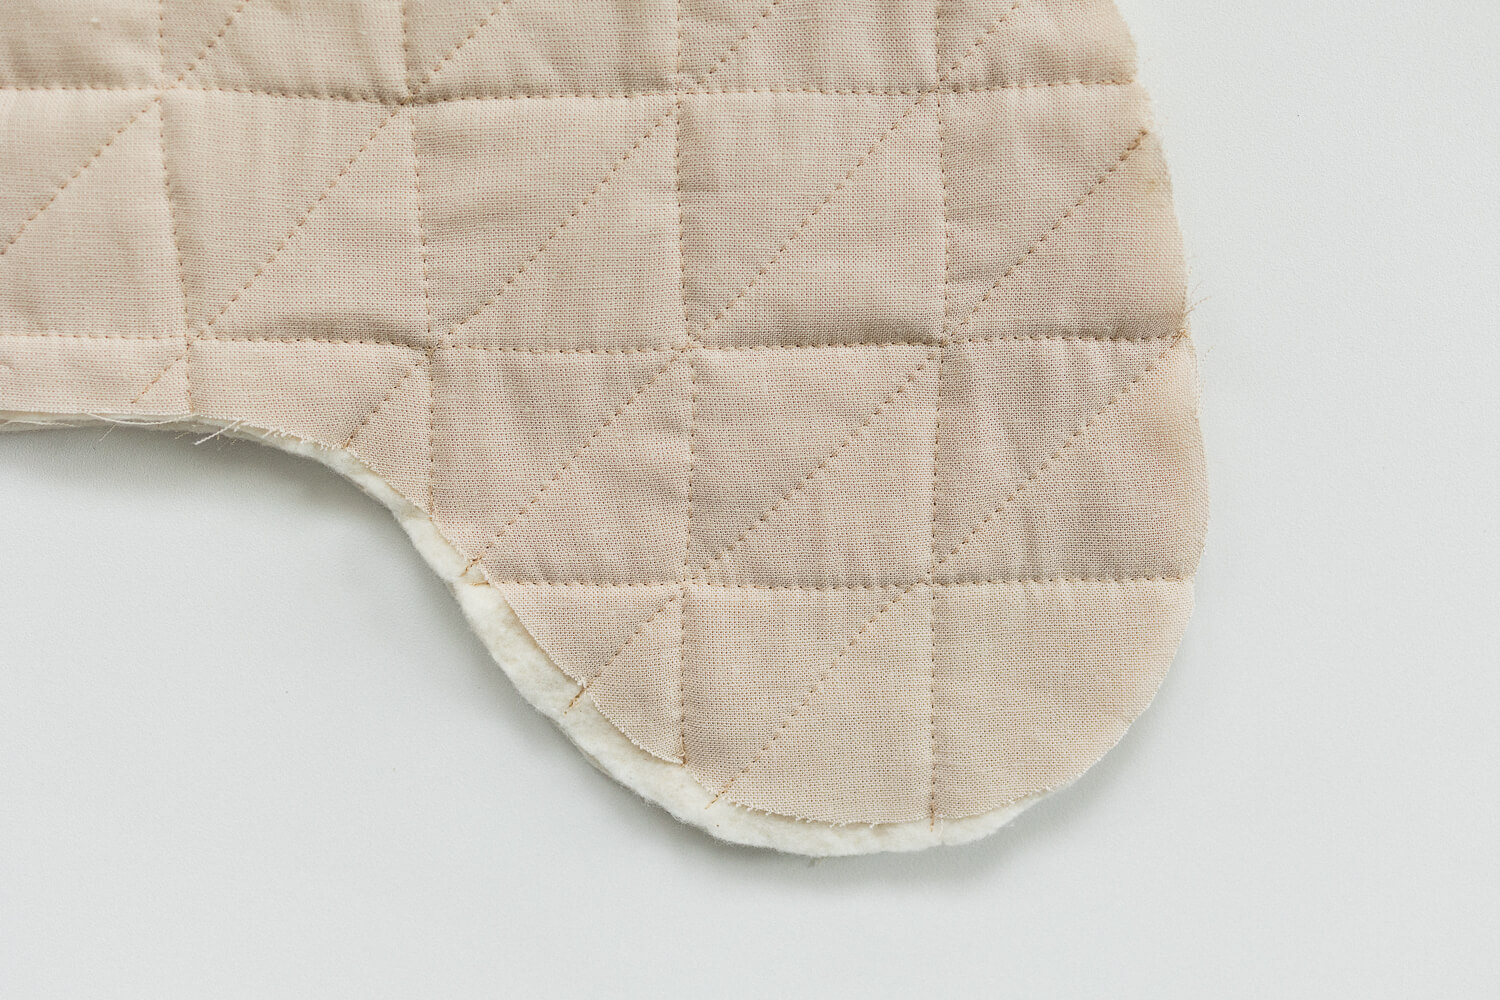
Step 5: The fun part – quilt, quilt, quilt. Fabric has the tendency to shift while sewing all these layers. To minimize shifting, start sewing from a center line and move outward.
Step 6: Cut around the edges to trim up any fabric shifting that occurred.
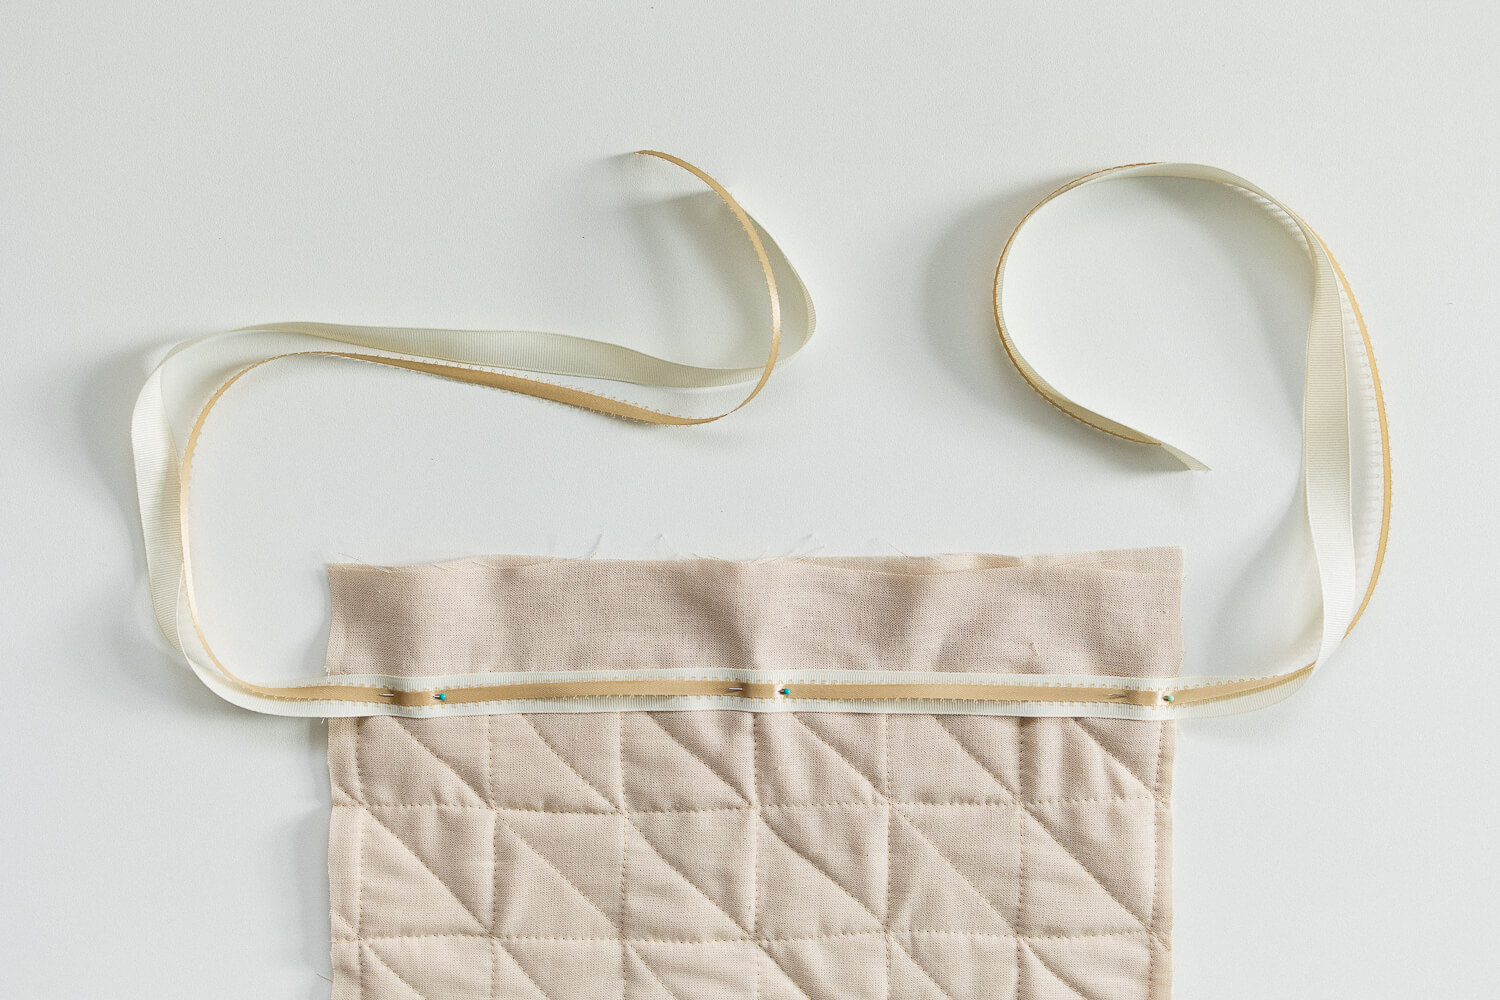
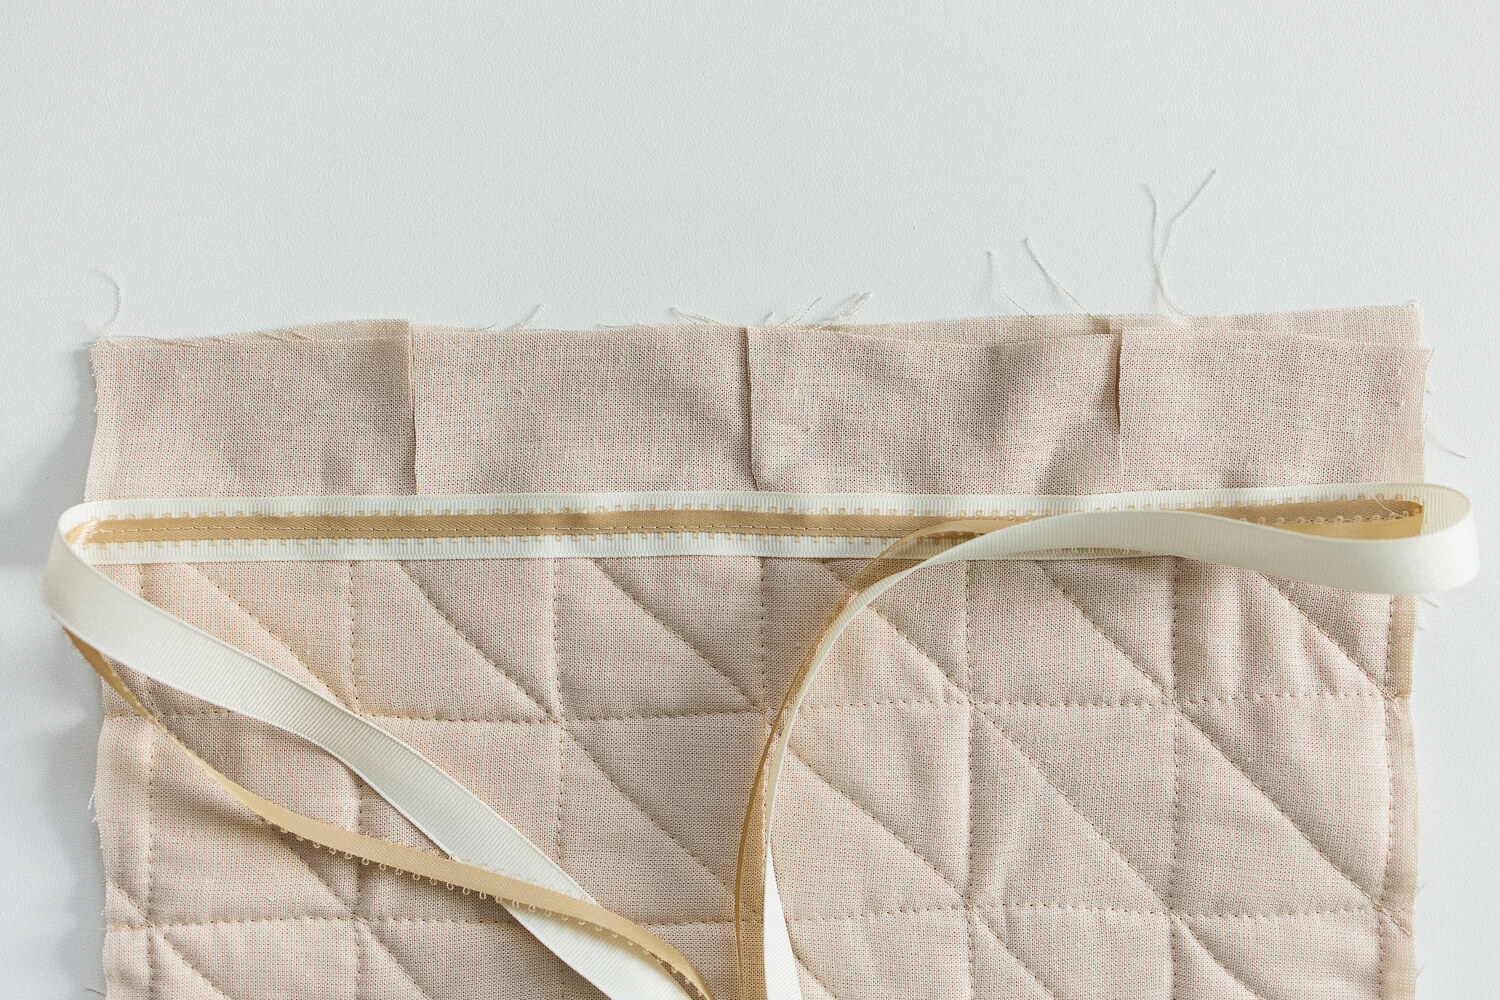
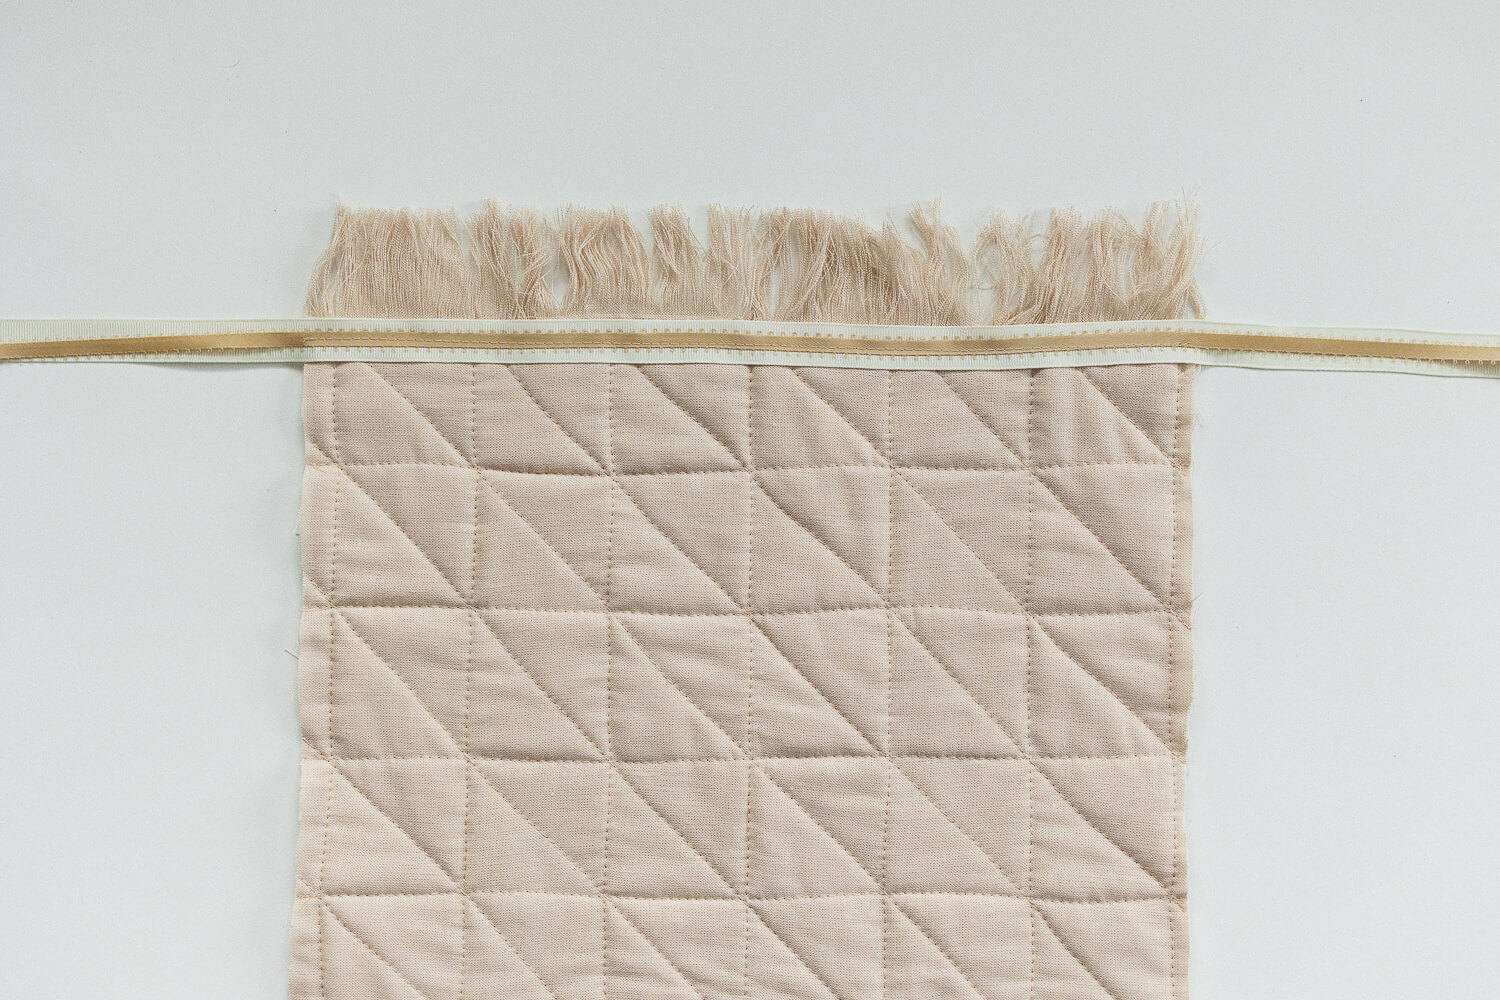
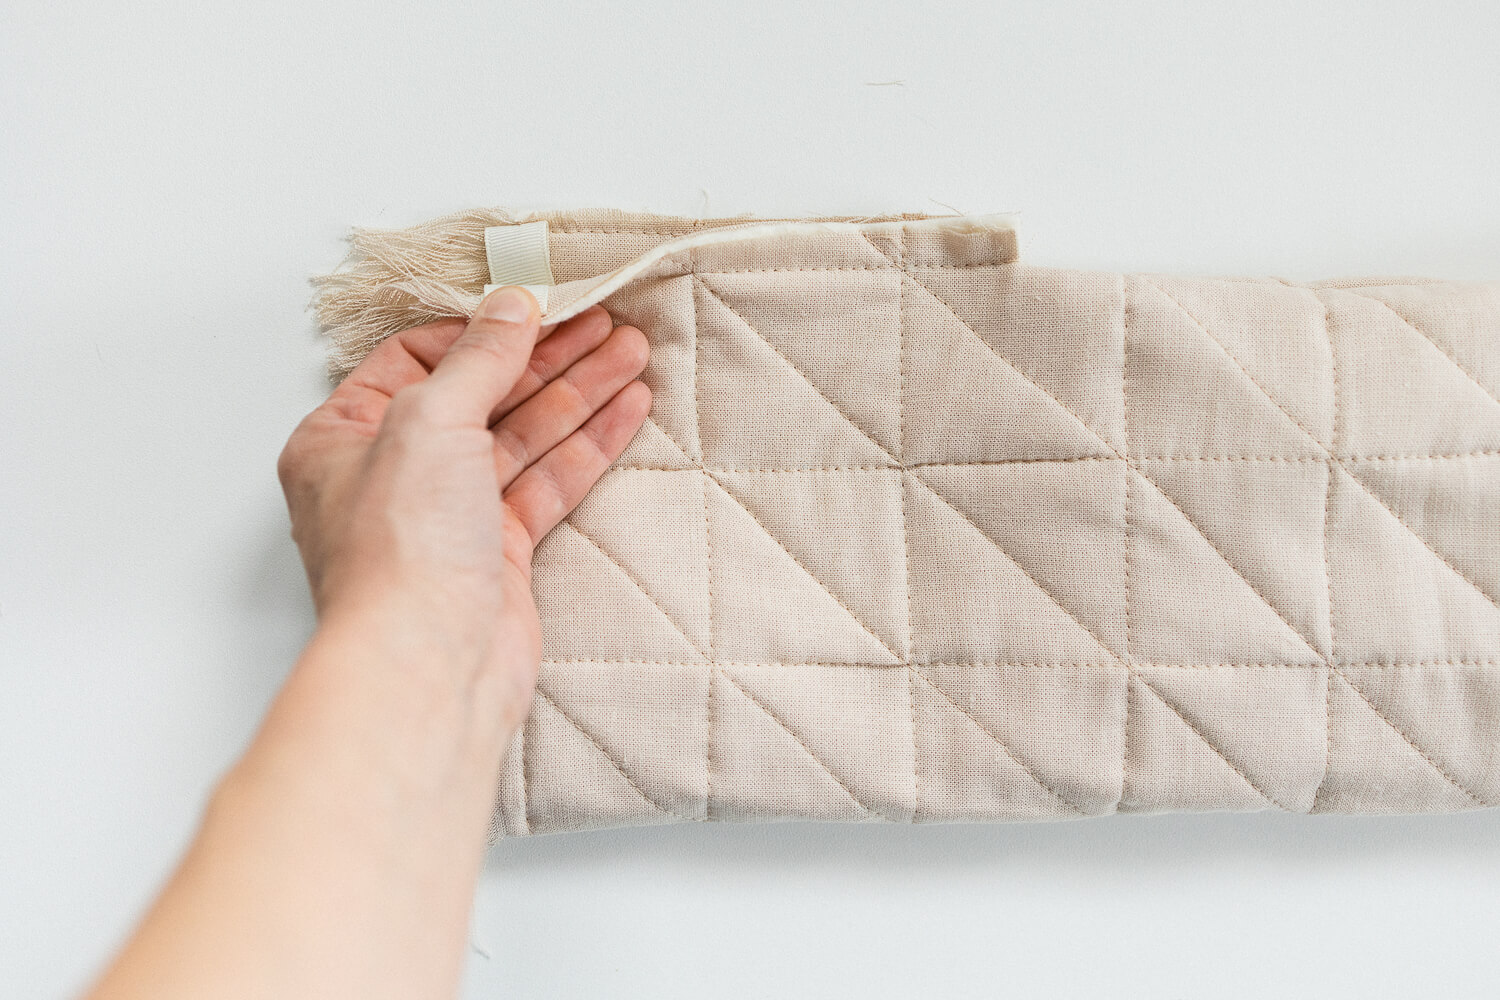
Step 7: Cut 54” (1.4 m) of ribbon. Center the ribbon along the FRINGE LINE and sew in place.
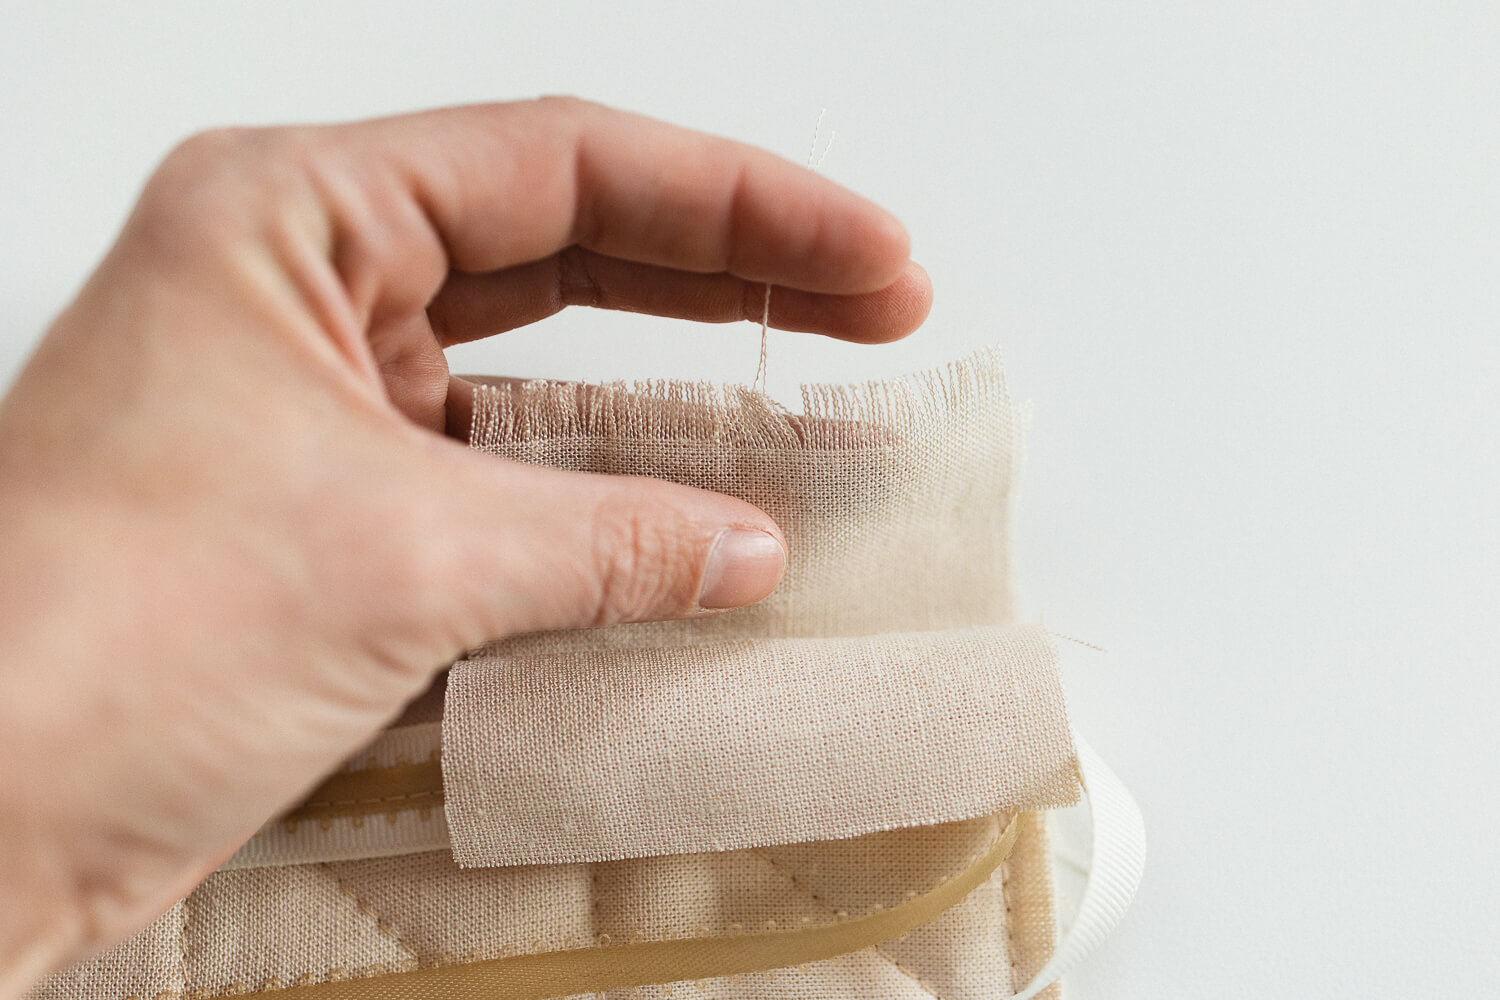
Step 8: Snip the fringe section into a few segments. Carefully remove all the horizontal threads to make the fringe.
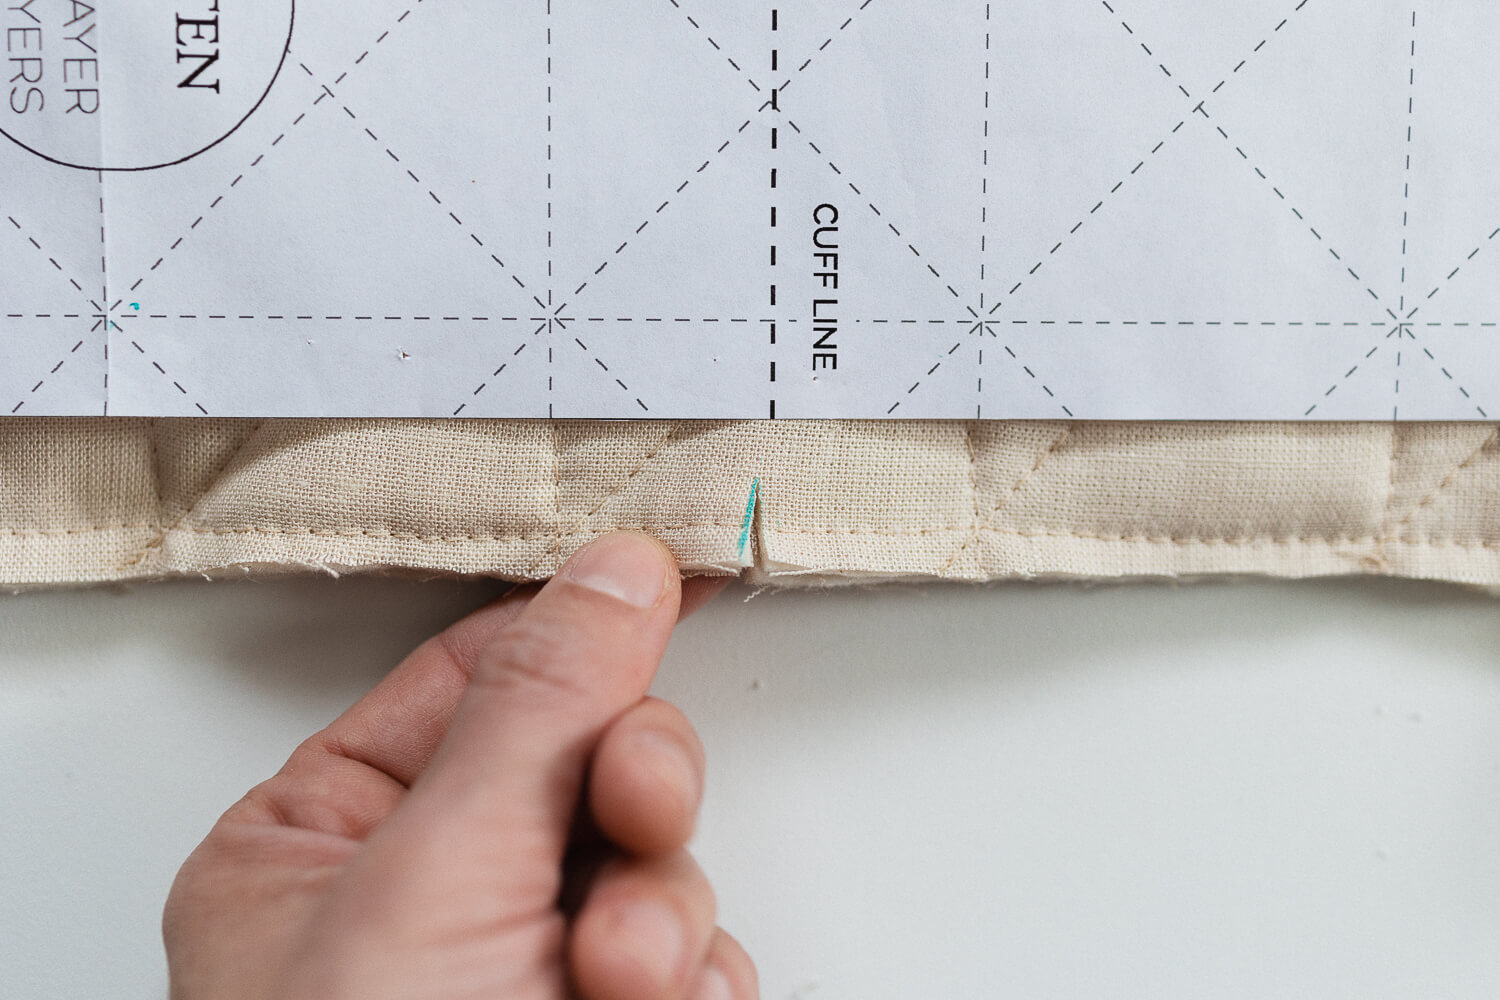
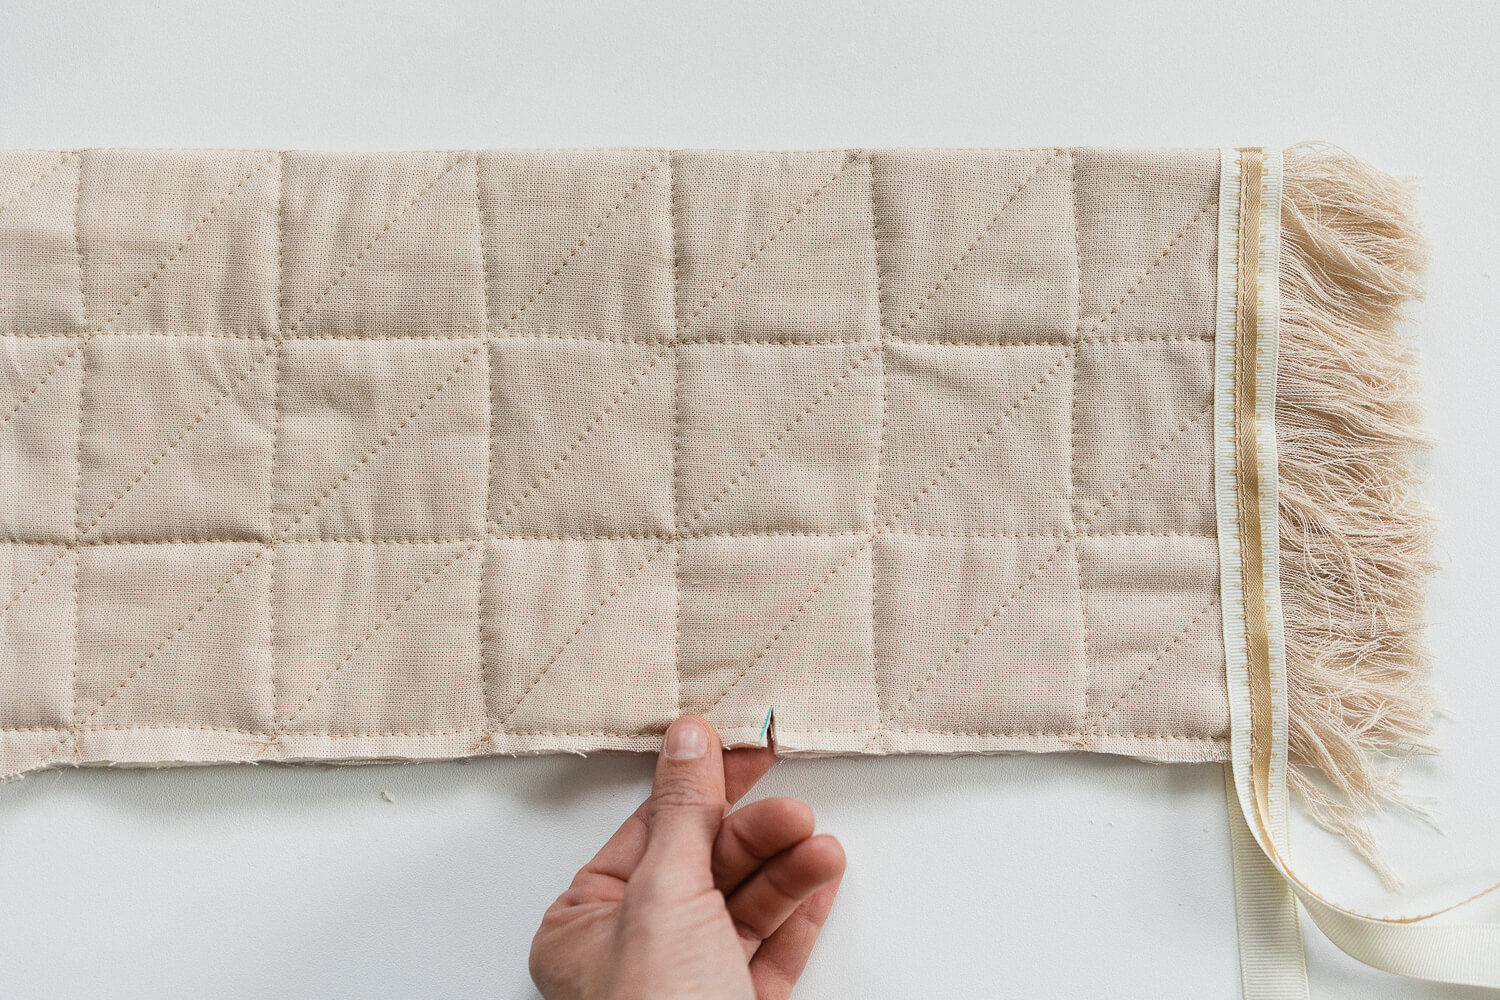
Step 9: Fold the stocking together with the ribbon side facing out. Make a 1/2” (1.3 cm) snip through all layers at the CUFF LINE.
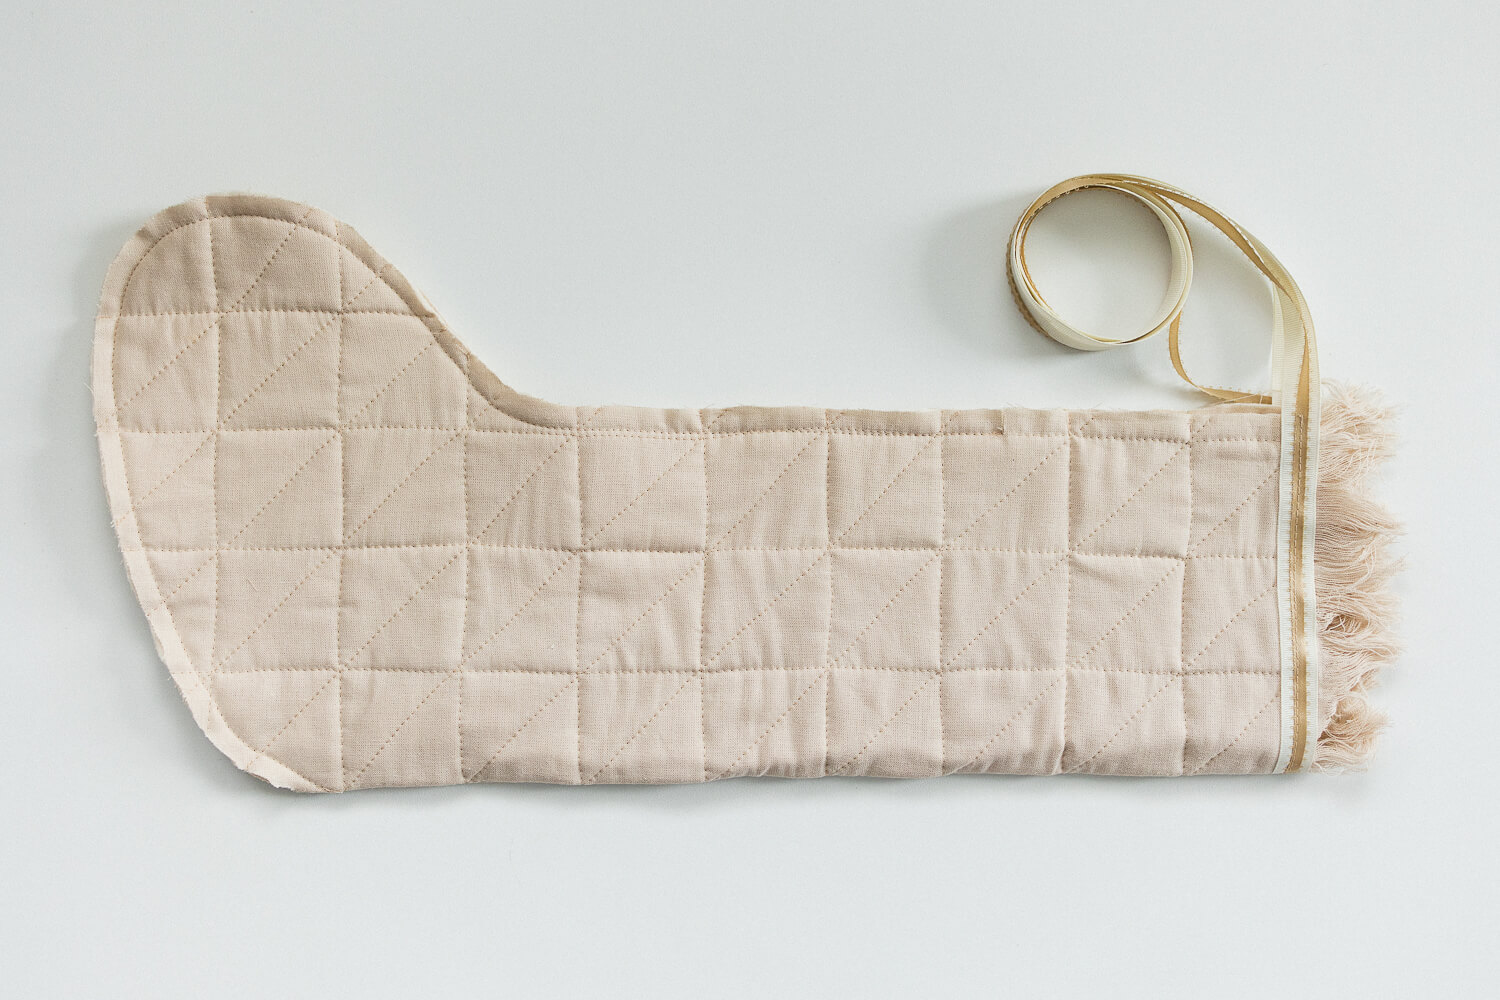
Step 10: Starting from the snip at the CUFF LINE, sew down and around the foot of the stocking with a 1/2” (1.3 cm) seam allowance. Finish the seam with serger or zigzag stitch.
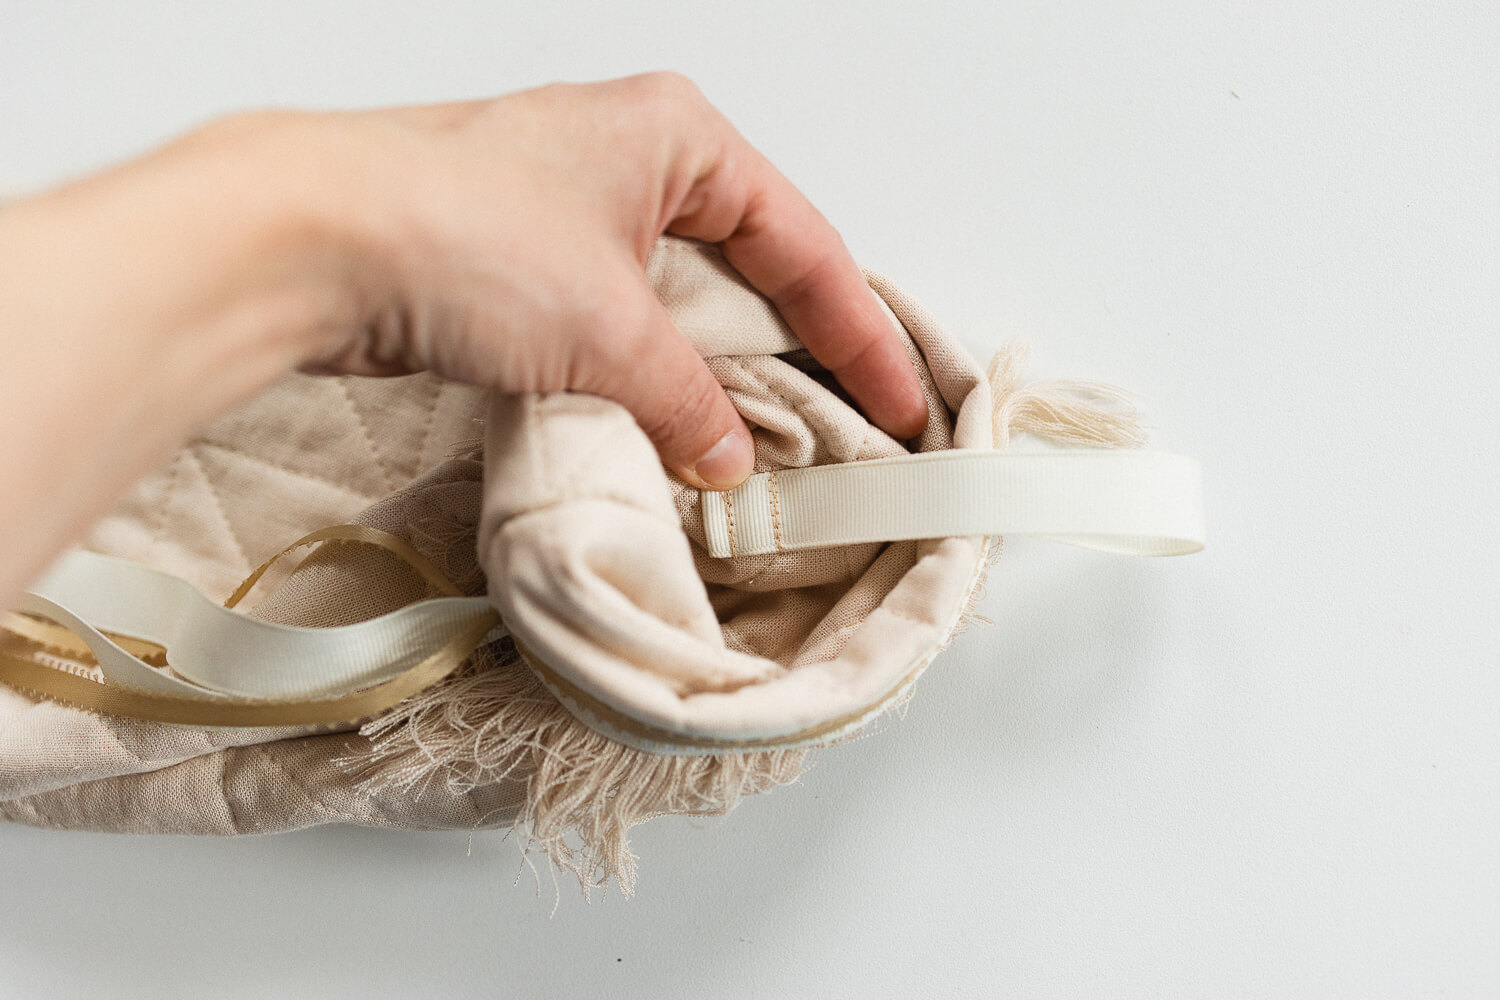
Step 11: Turn the stocking right side out. Neatly fold in the ribbons. Starting from the snip at the CUFF LINE, sew up to the fringe with 1/2” (1.3 cm) seam allowance. Finish the seam with serger or zigzag stitch.
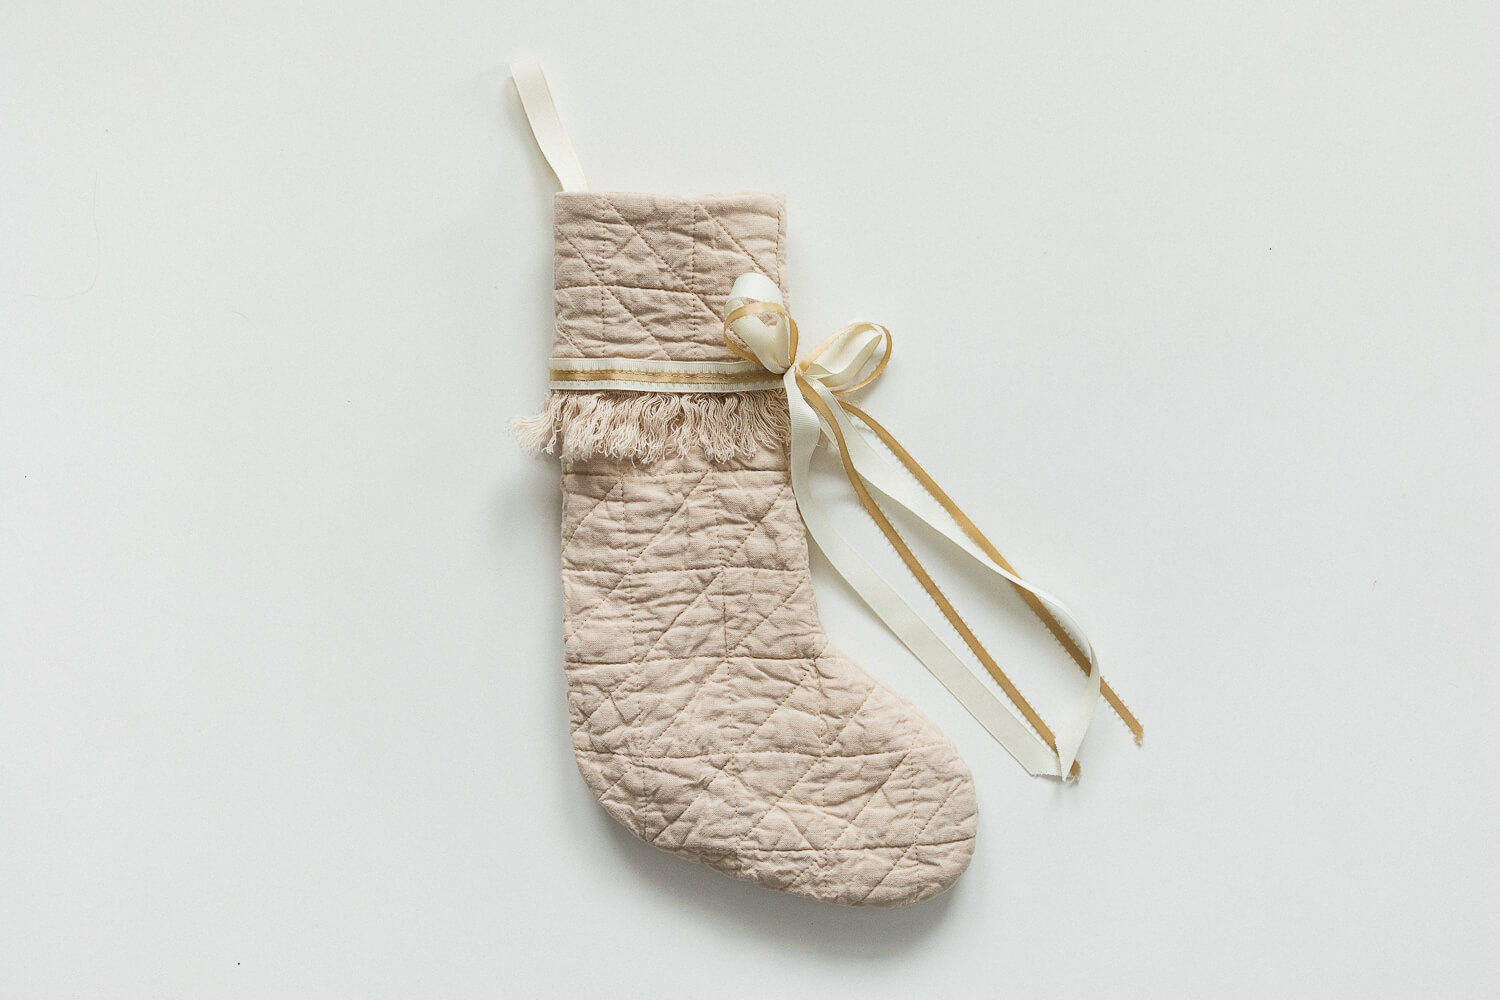
Step 12: Cut about 10” (25 cm) of ribbon. Fold the stocking cuff down and pin the ribbon in place about 1” (2.5 cm) from the fold. Sew with two lines of stitching.
Step 13: The most important step is to toss the stocking in the washer and dryer on high heat. Take it out and tie a big bow.
Things can easily get a little wonky when quilting fabric. The layers often shift and don’t stay lined up as nicely as you would like. But quilting has a magical power. Just as the fabric is prone to shifting, it is also prone to forgiving. In the grand scheme of stitching, the imperfections end up making it look inviting and warm.
It might be so inviting and warm that your family will do what mine did that Christmas night a few years ago. We must have been in the spirit of things because for the first time ever, the family sat around the piano and sang carols in the candlelight after dinner. It really was an extra special Christmas.


















2 Comments
Pingback:
20 Free Christmas Stocking Patterns: Creative Ideas to Make Your Holiday Season Magical - Quilt Trails WNCLisa Koegler
What a sweet story! Love the stocking too! What weight and color of linen did you use?