Tutorial: How To Sew An Angled Colorblock Blouse

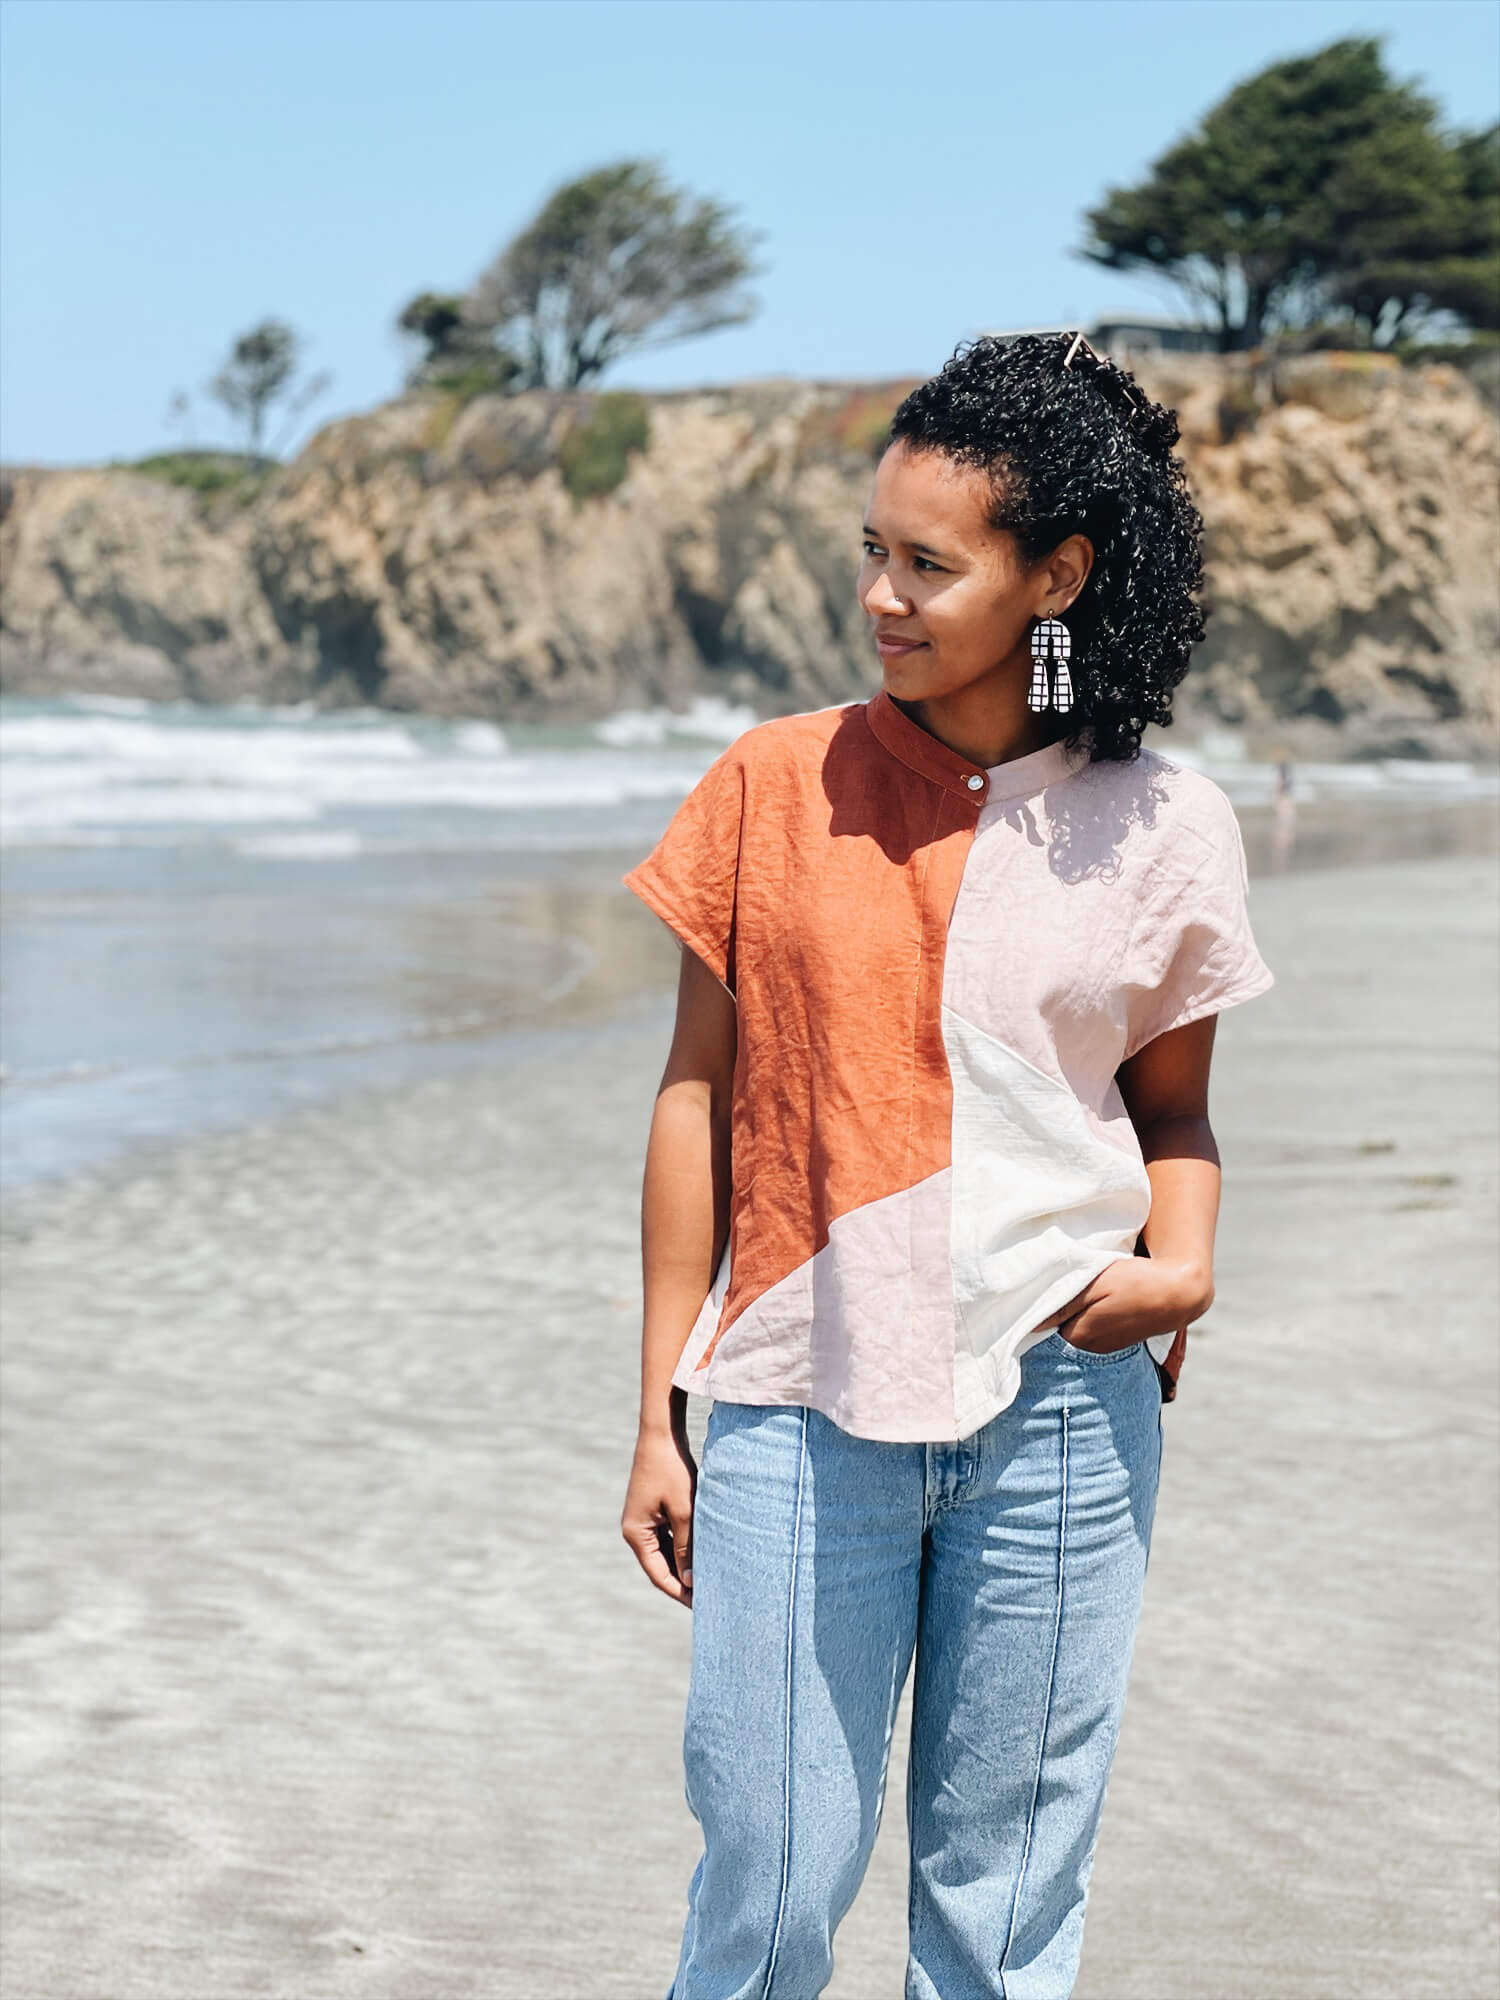
FS Charlie Blouse made with FS Desert Sand, Kenya FS Signature Finish, Bleached FS Signature Finish Midweight Linen
It’s official. I am incapable of sewing a basic. I *had* plans to create a nice simple Charlie Blouse, but…here we are with this angled color-blocked beautiful madness. What should have been a nice quick sew turned my project with three pattern pieces into nine, lots of confusion about what goes where, and twice the cutting time.

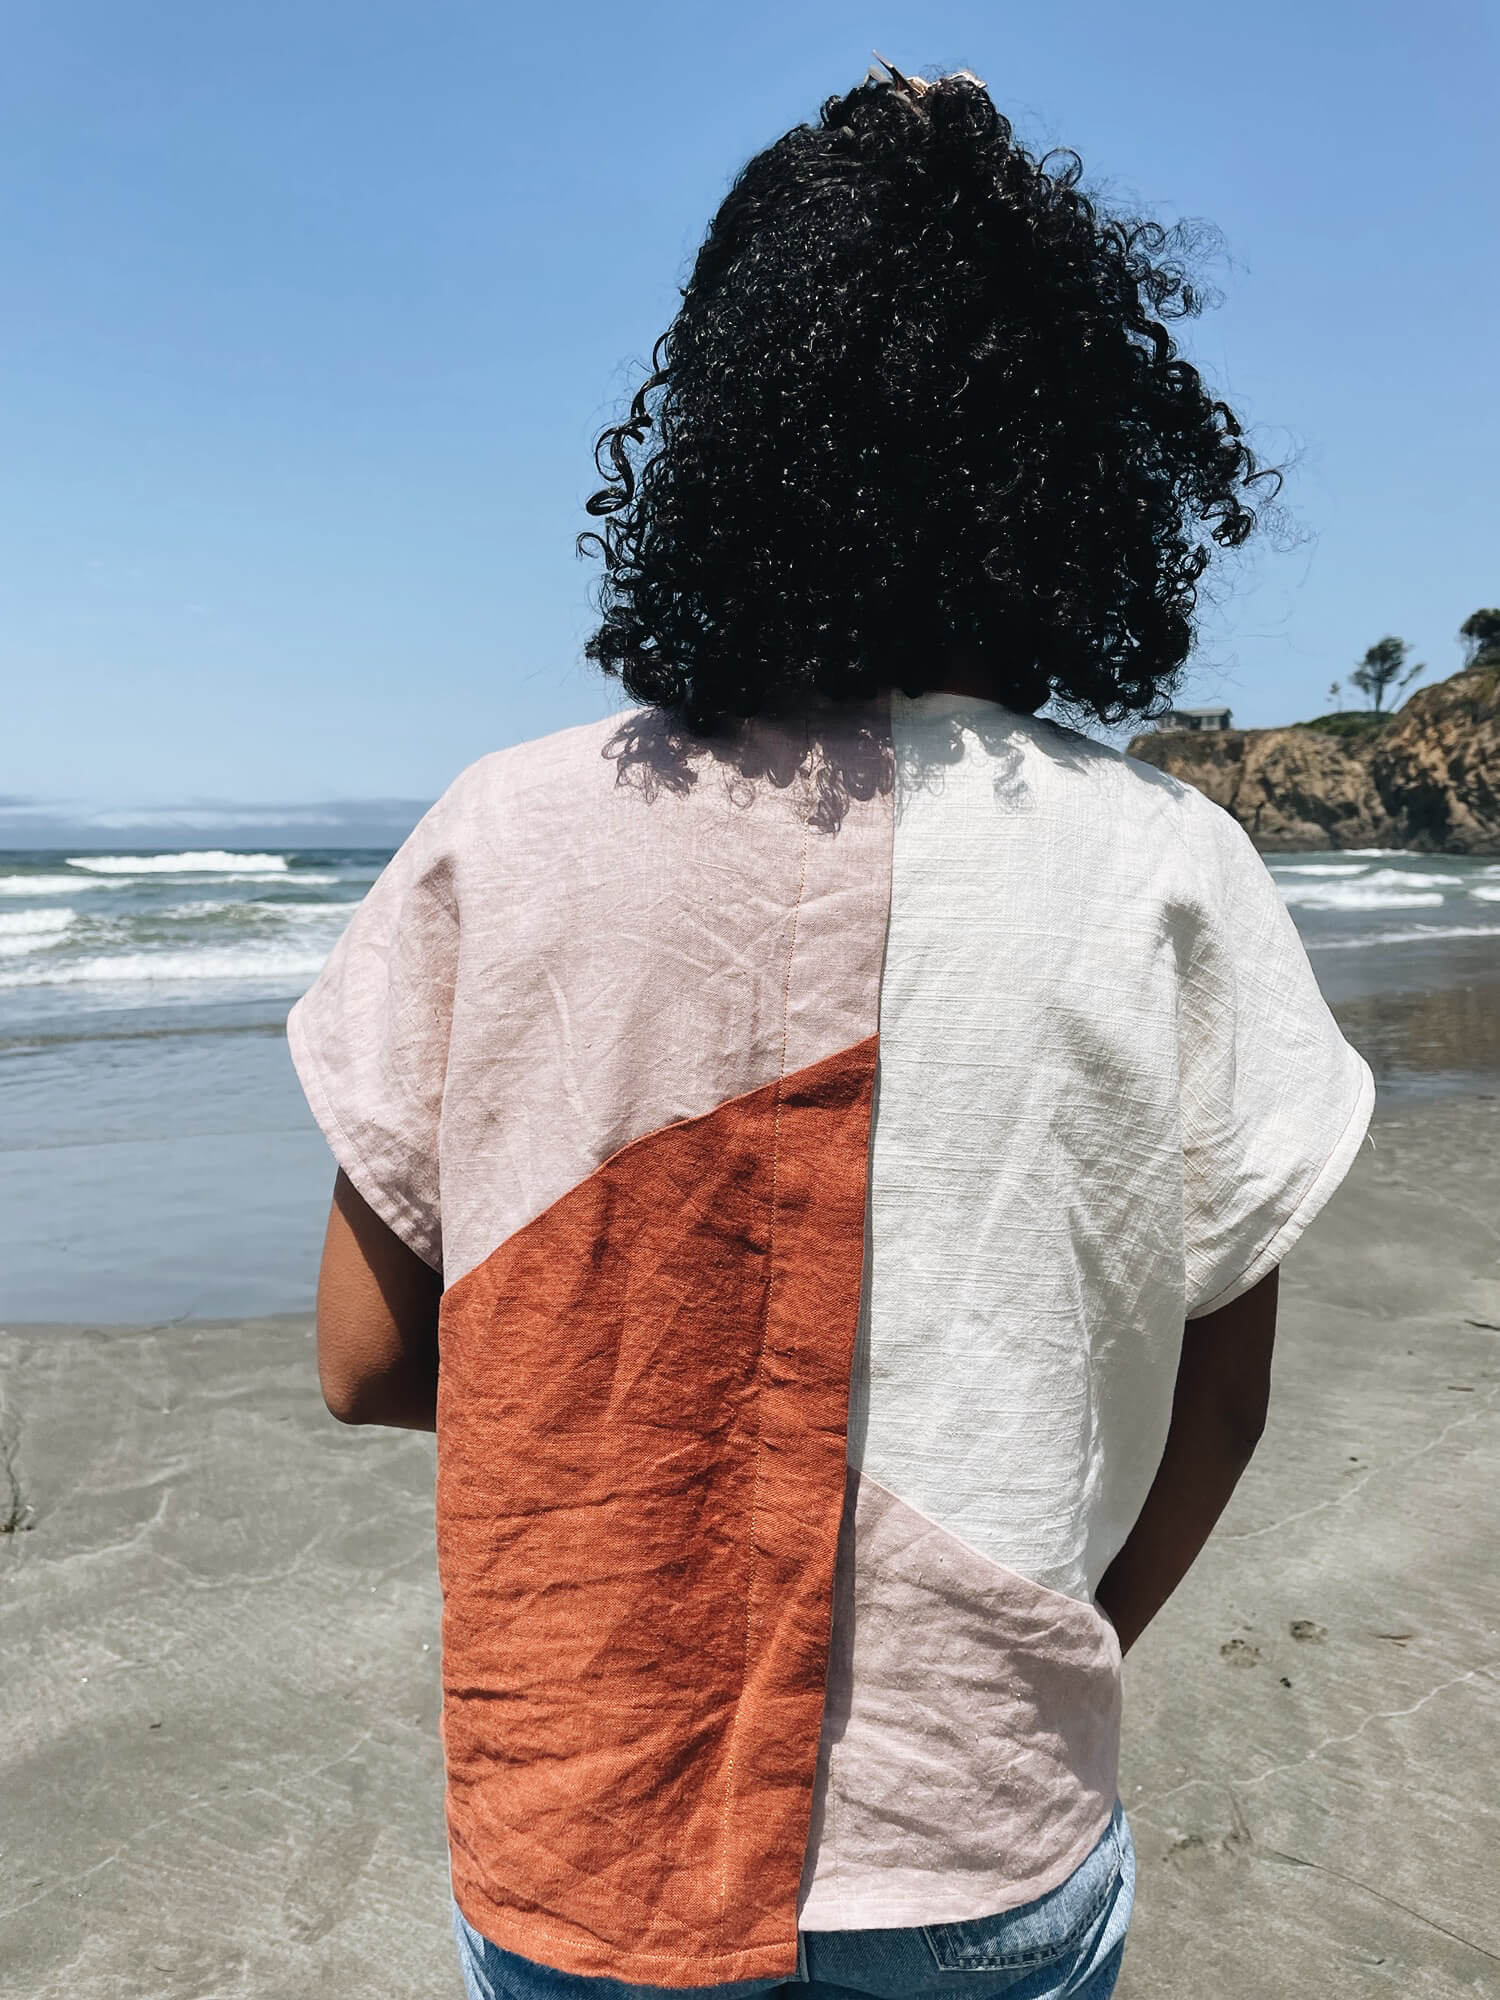
FS Charlie Blouse made with FS Desert Sand, Kenya FS Signature Finish, Bleached FS Signature Finish Midweight Linen
I have no regrets.
The Charlie Blouse is a tasteful top with fold-over lapels on the front and back, and a mandarin-style collar with a button. It features drop shoulders in a design that makes it almost “sleeveless” since there are no attached sleeves, as well as bias-bound armholes. It’s a beautiful pattern, and it lends well to a hack for some extra flair!

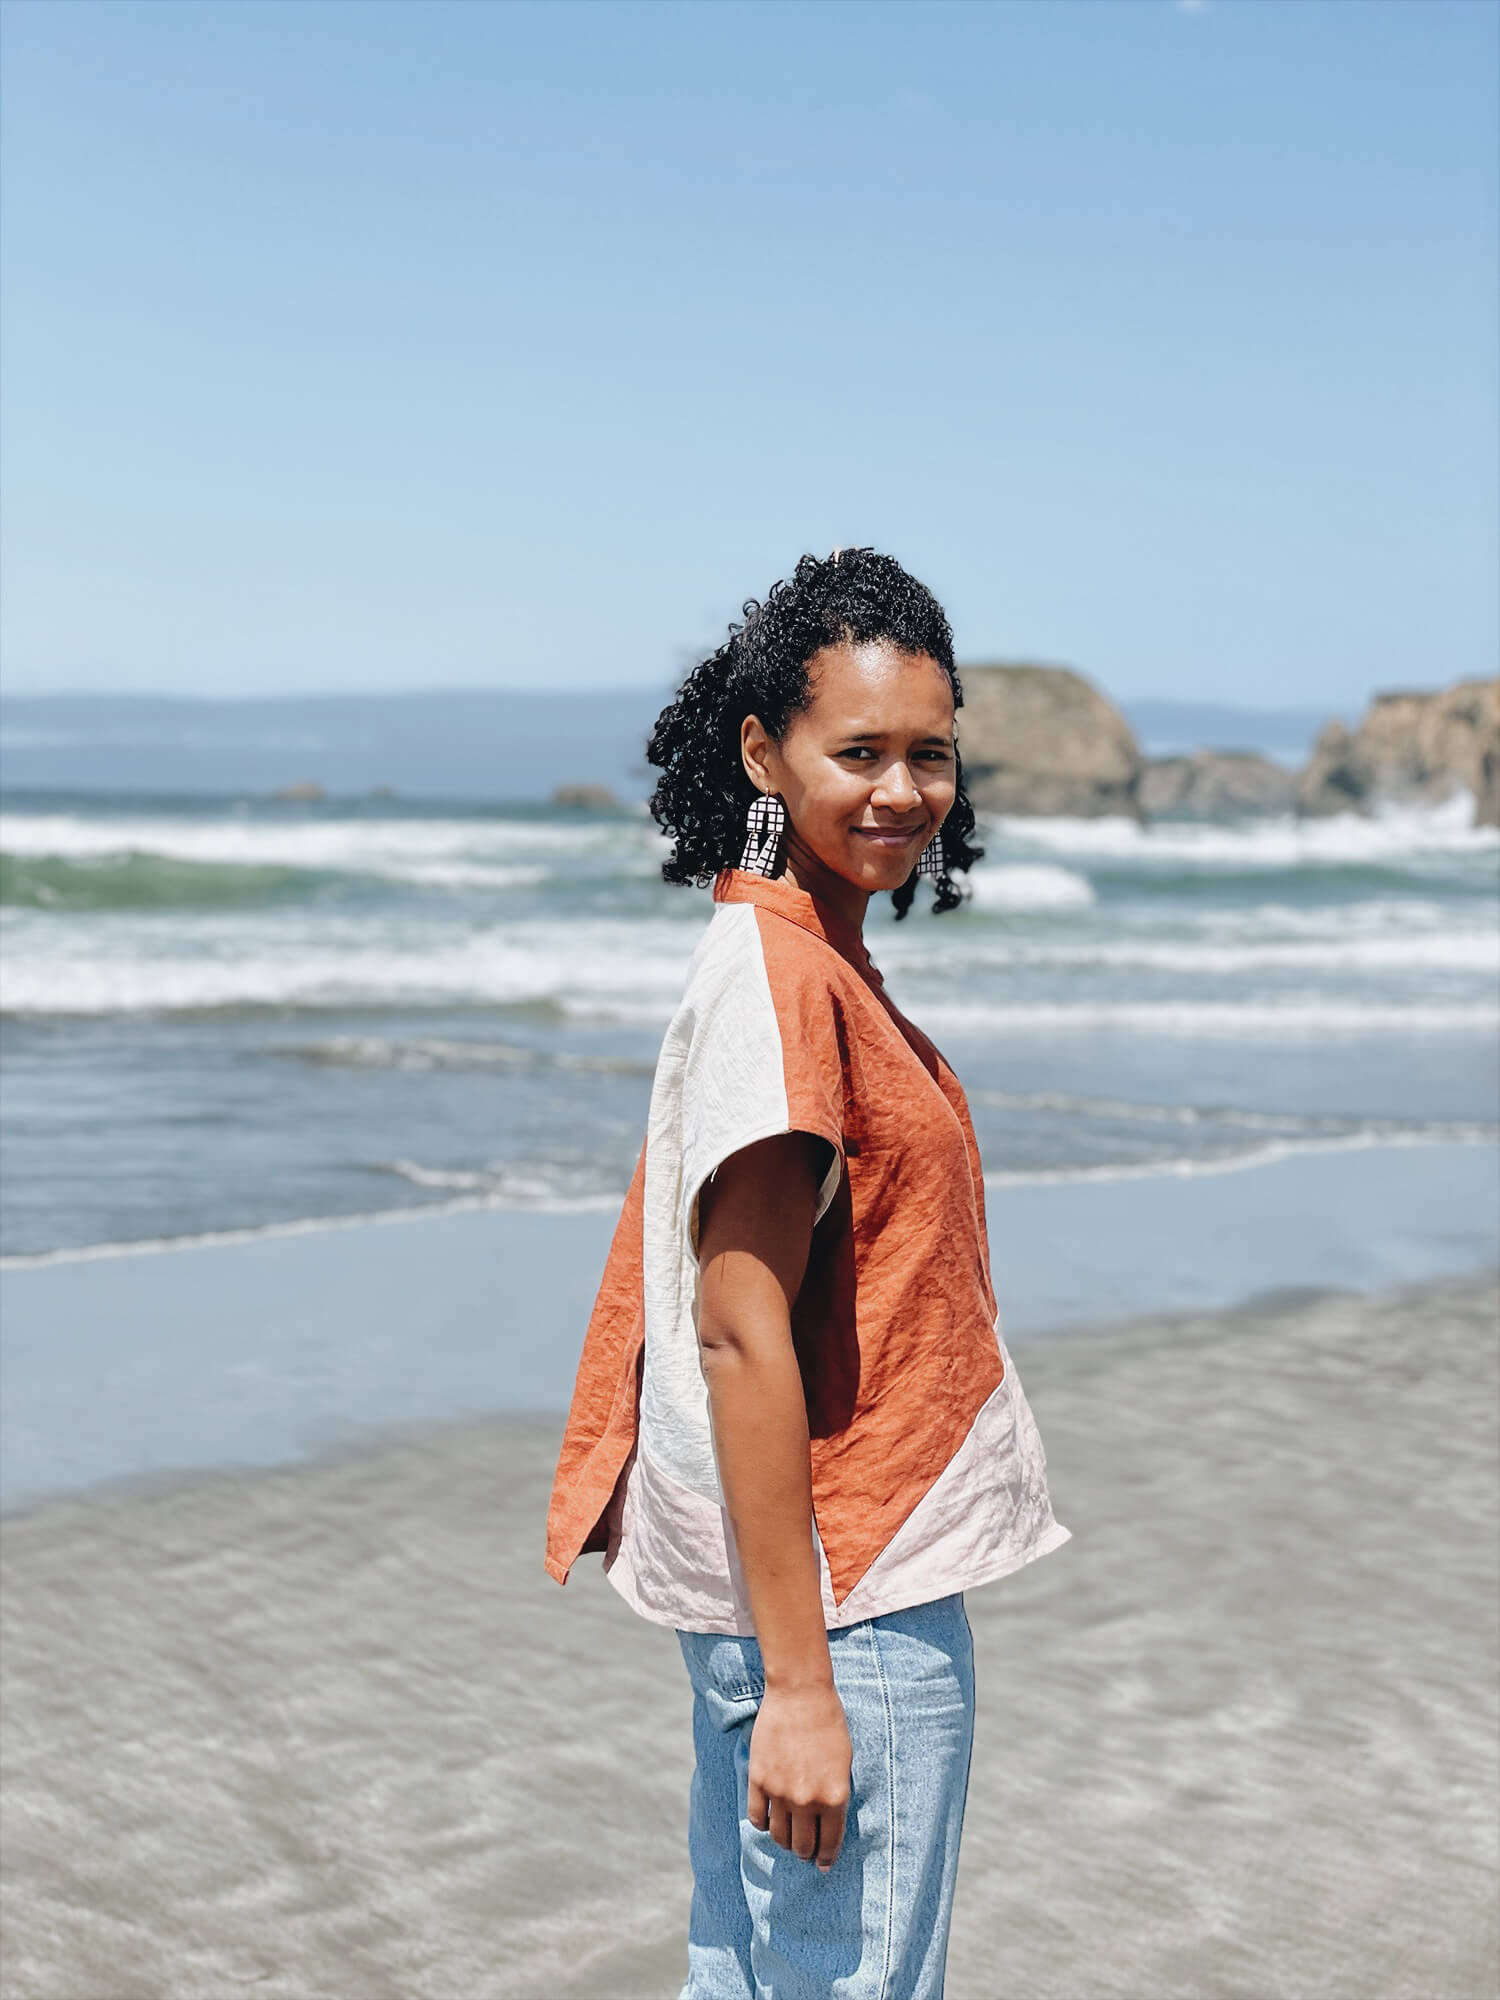
FS Charlie Blouse made with FS Desert Sand, Kenya FS Signature Finish, Bleached FS Signature Finish Midweight Linen
How to Make Your Own Colourblocked Top
- Plan out the angled design you like, and choose how many colors to use. This project is perfect (!) for using up scraps.
- Map out the design of the colorblocking and which colors will connect. My front and back designs are different, so I ended up having four front pieces and four back ones. I like the effect of one neutral with two colors.
- Trace off mirrored front and back pieces (so that there is a right and left for each one), and draw your chosen angles across these pieces. I did all of mine at a 60-degree angle for consistency, but you could do whatever feels right!
- Add seam allowance to these new pieces and label them carefully! Your pattern pieces are now ready.
- After cutting out the fabric, we’re going to sew each front right, front left, back right, and back left piece together carefully so that you have whole pieces to continue on with the pattern instructions.
- To have the sides of each piece line up neatly, you need to sew the colorblocked pieces together with an offset that is the same width as your seam allowance. In my case, I offset each piece by my 4/8ths of an inch seam allowance. Test (!) before you sew by pinning each seam, finger pressing, and folding the pieces open before you sew the seam. This will save you a lot of time in unpicking pieces that are misaligned! Be cautious not to overwork the angled edge of these pieces, as they are on the bias, so will be prone to stretching out.
- Sew the Charlie Blouse as instructions layout and carry on!
I sewed up the suggested size for my measurements, a size four. I cropped 3.5 in/9cm off the suggested length for the shirt.


8 Comments
Michelle Bringman
Oh my, this blouse is beautiful! Almost a neutral stained glass effect! I’m going to be busy checking my scraps and looking through the doggie bag section now!
G. Nelson
I absolutely love what you did with your scraps. I have a bunch of them and want to give this a try!! I do have a few questions: what weight was your linen? and how did you finish the seams? Thanks for the inspiration! Now to follow you on instagram!!
ella clausen
Hi there! Ella here. I finished the seams with an serger and these are all midweight linens. Happy sewing 🙂
Candace Strong
Very cute top and it looks great on you. I like your choice of colors too.
Kerry Pitt-hart
Looks absolutely beautiful on you Ella!
Laura Raymond
Brilliant and inspiring!!!! Looks great on you, too.
Tom S.
Love the color combo. Thanks for your inspiration. And yes, wonderful way to use up those smaller pieces from the doggie bag.
Stephanie Hammer
This shirt design is awesome to begin with, but you really elevated it. Very nice!