Tutorial: How To Make Block Printed Fabric
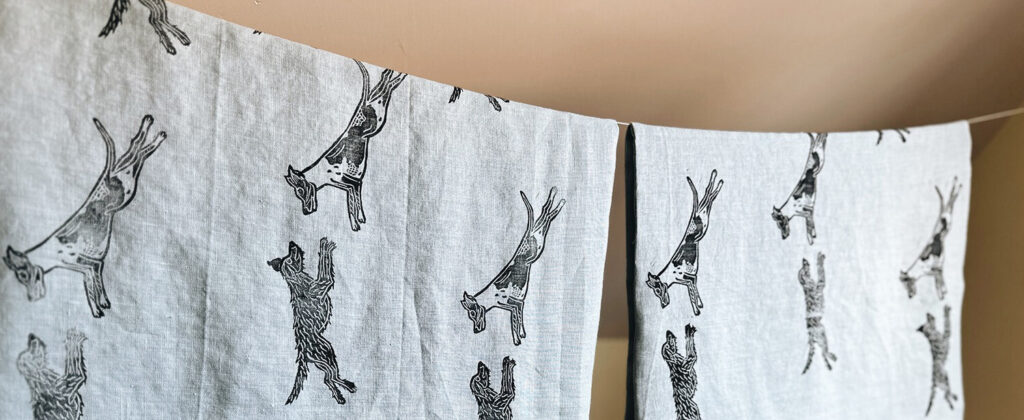
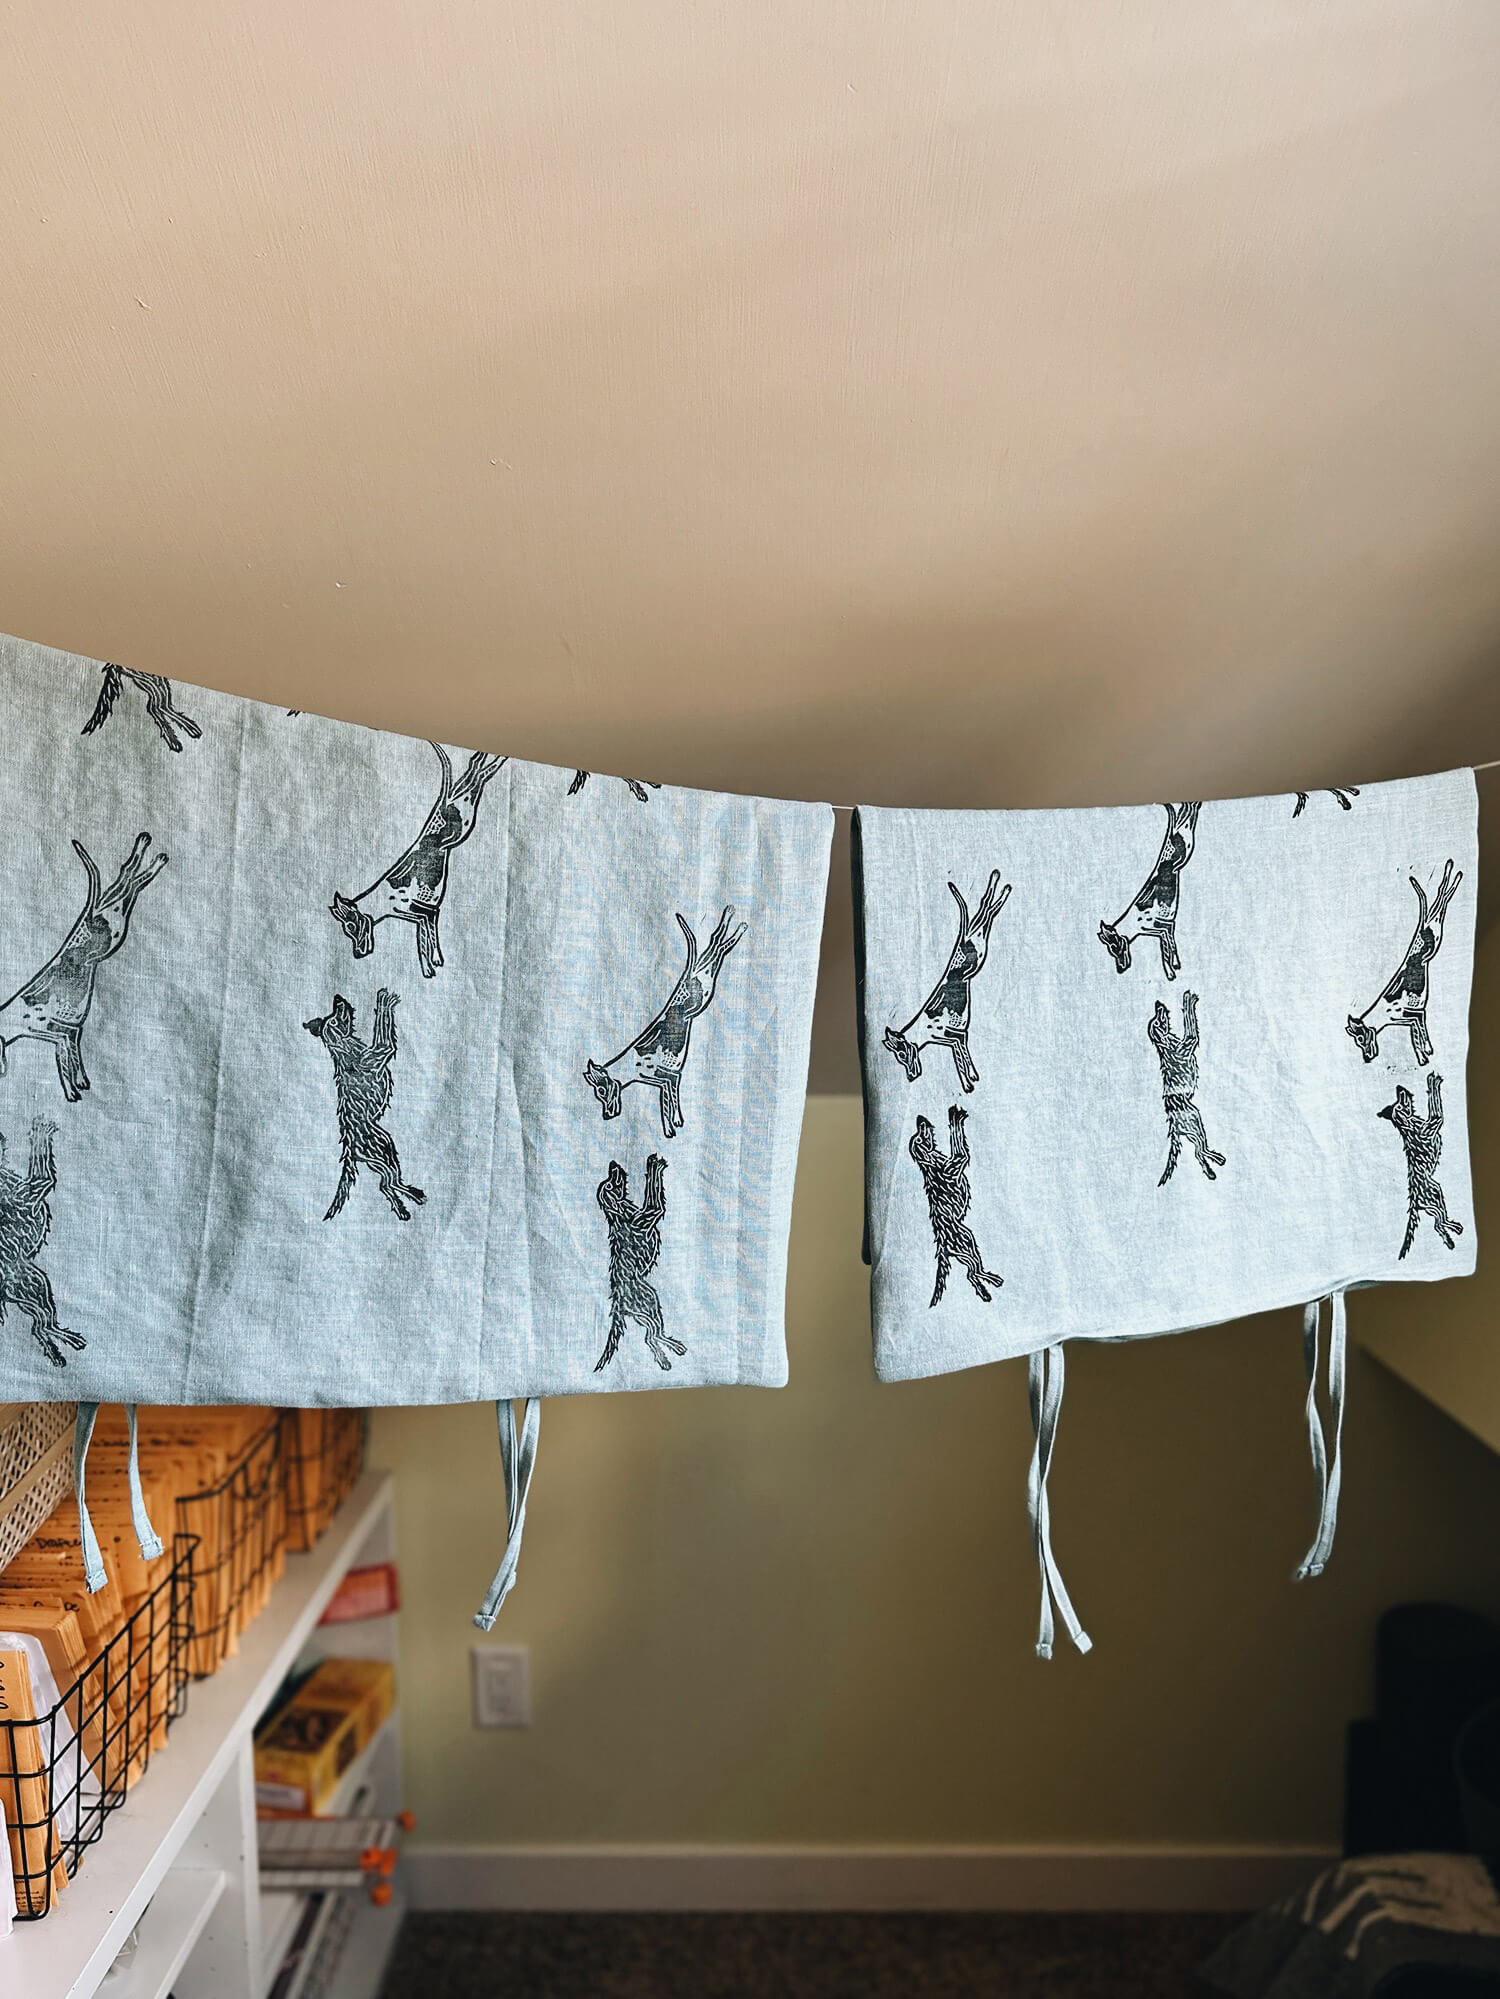
Back by popular demand, here is a closer look at making your own block printed fabric.
Editor’s note: If you would like to make towels, we have two fantastic tutorials for this here and here.
Materials & Tools
Lino Handle (roller)
Lino Cutters
Rubber Block Stamps
Block Printing Ink for fabric (oil-based)
Scrap cardboard
Steps:
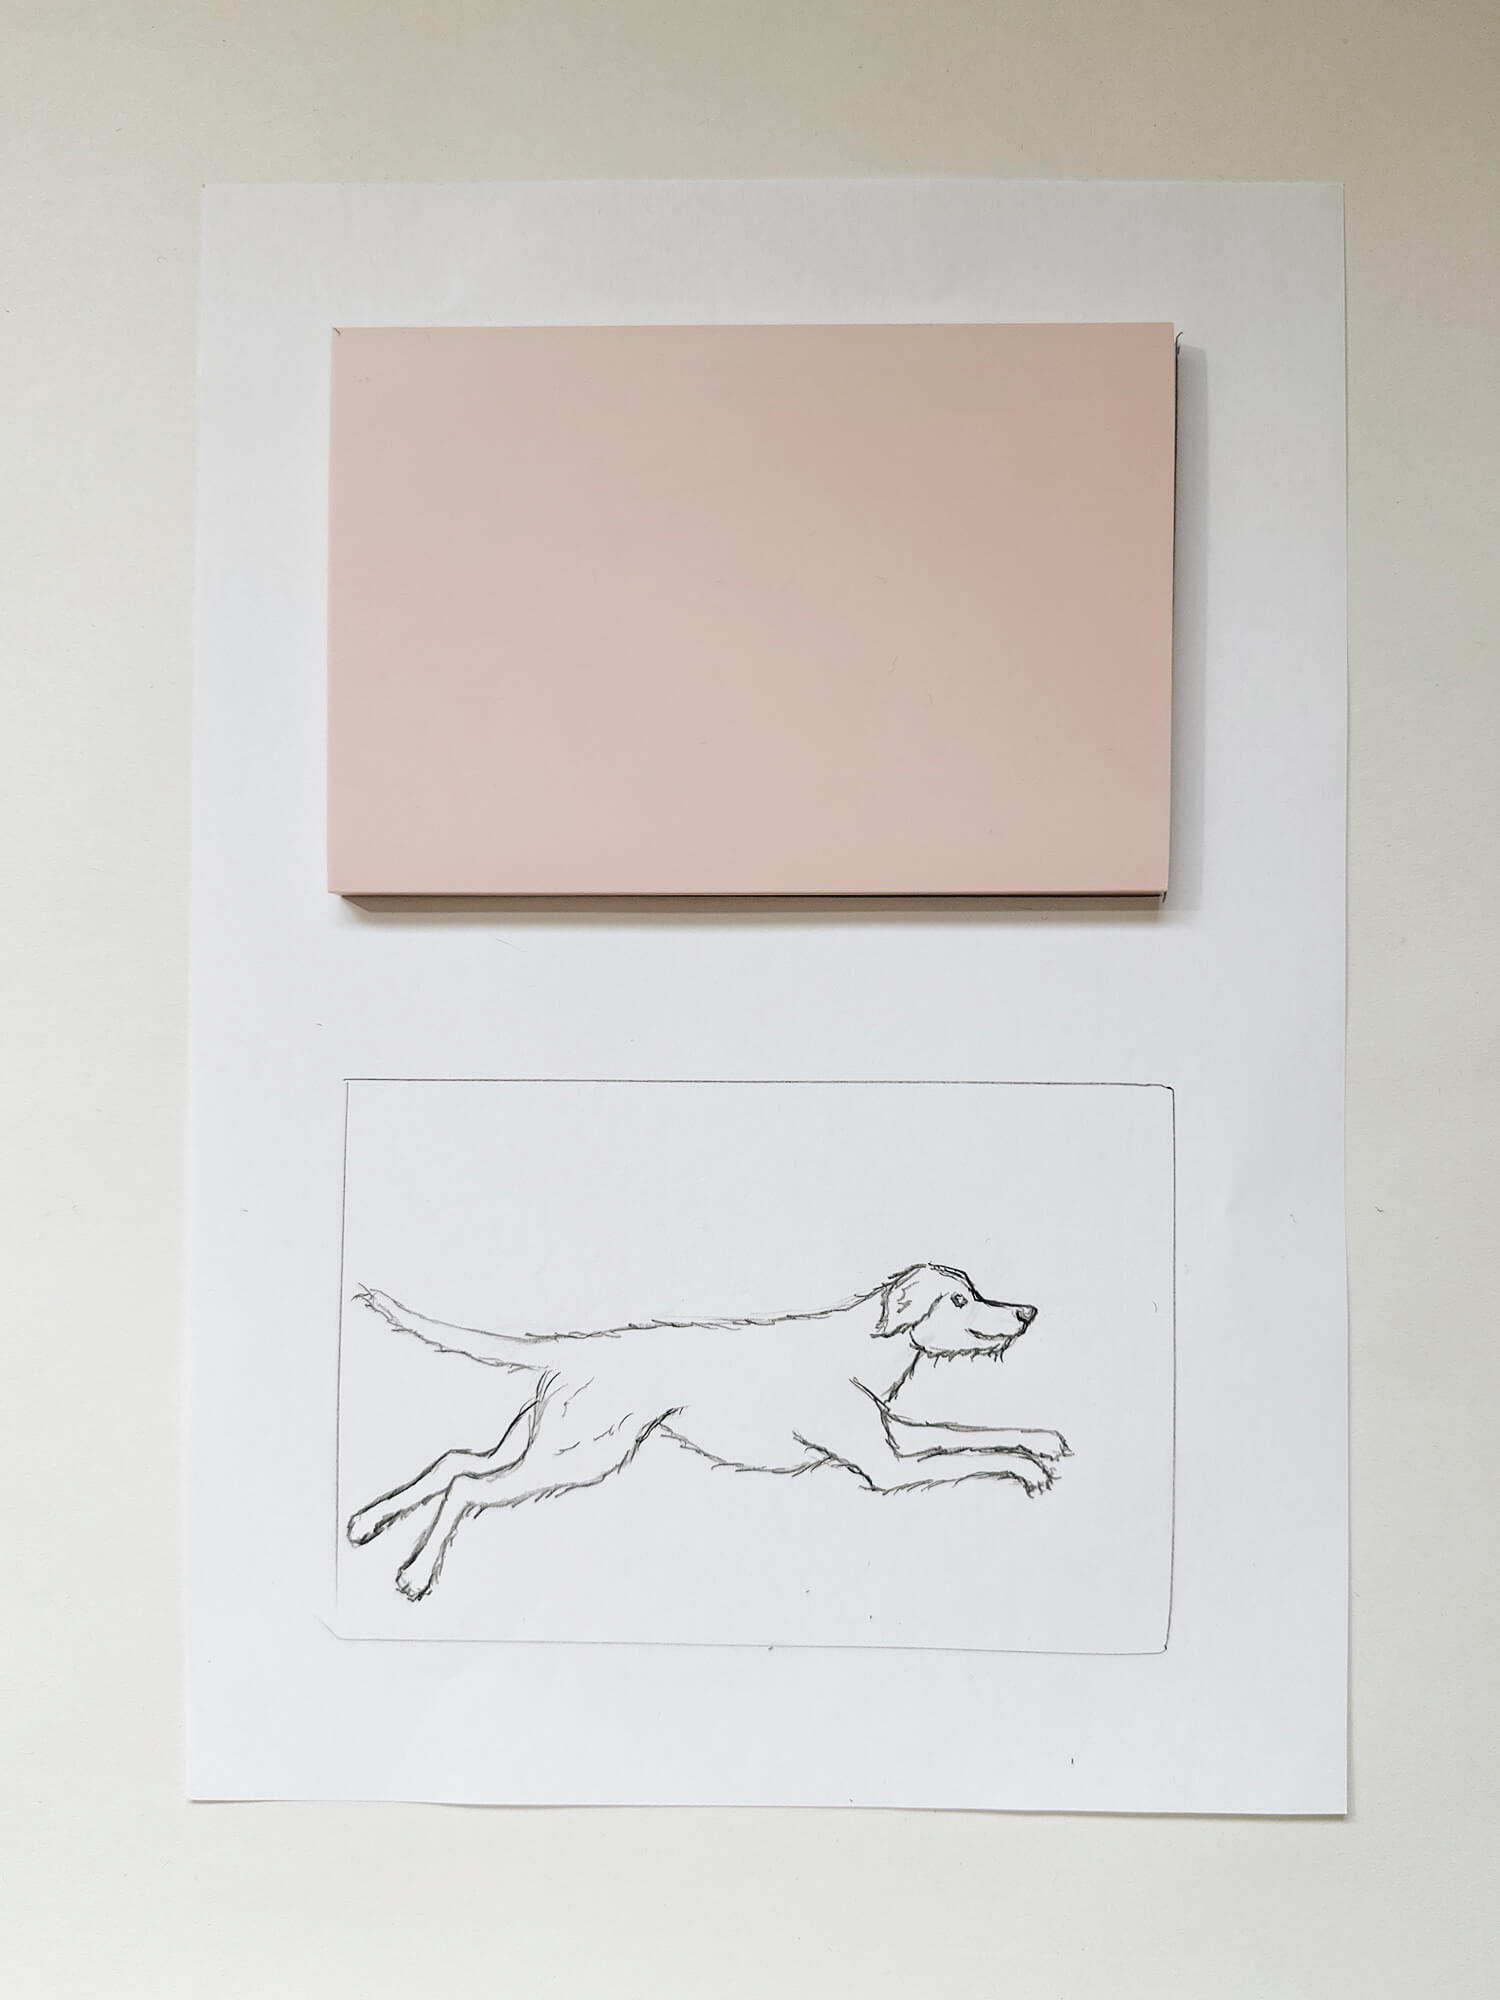
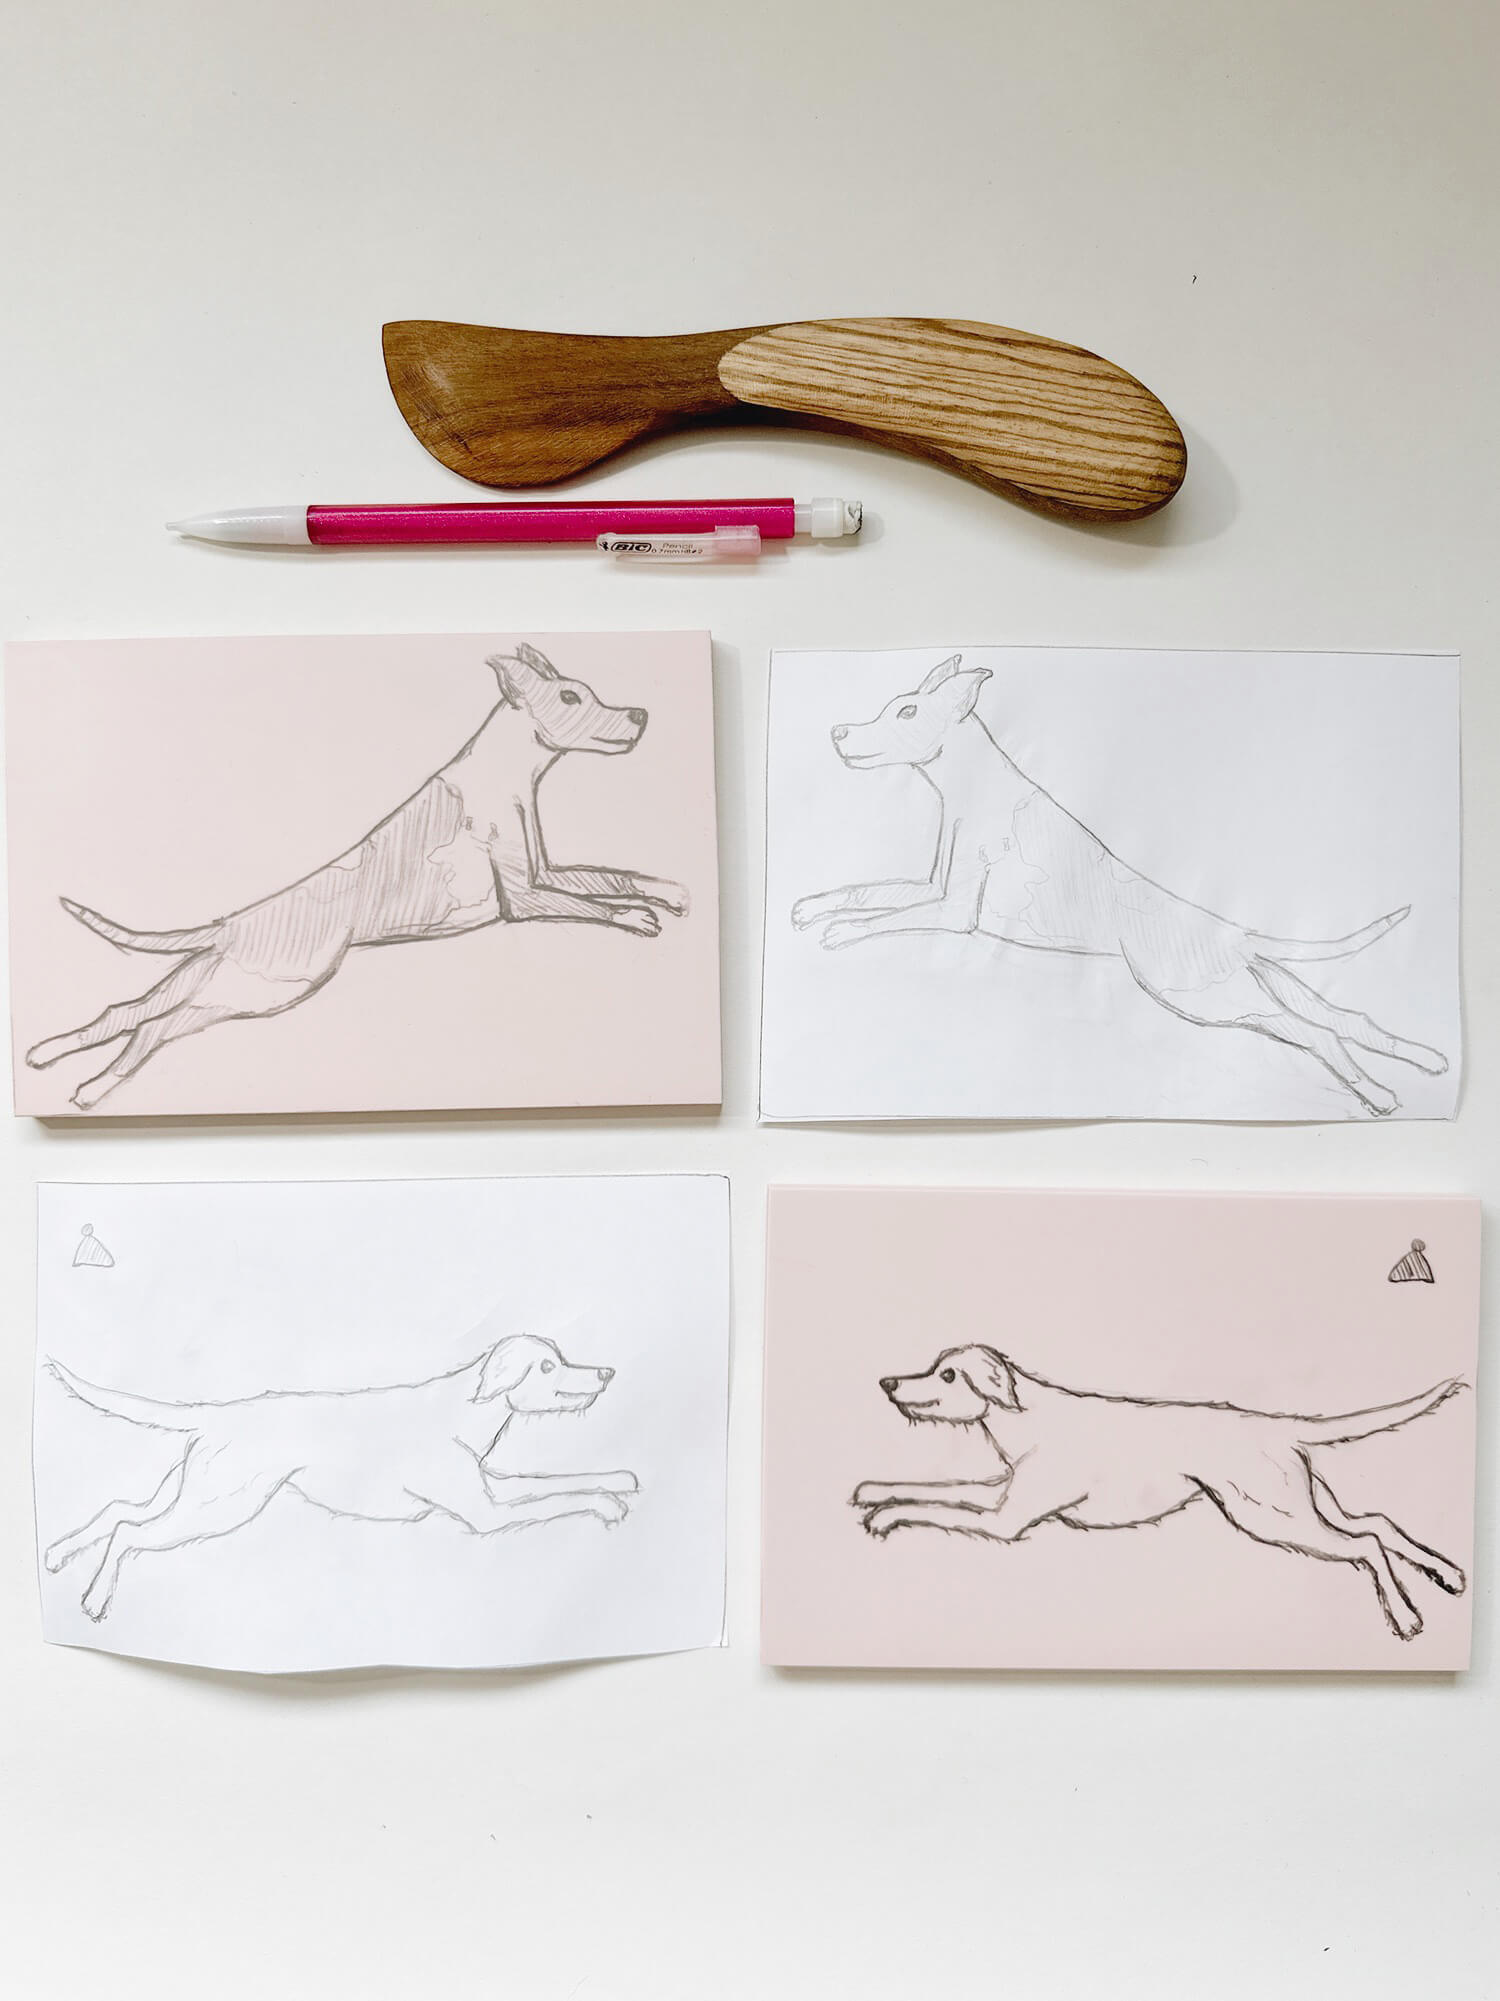
1. Draw your stamp art
This can be done one of two ways – either draw by hand or print out a design – both using regular printer paper. To draw by hand, use a pencil and sketch away (be sure that your drawing will fit within your stamp size – mine here is 4” x 6”. To print out a design, be sure to trace over the design with pencil to be sure that the image will transfer to your rubber block stamp.
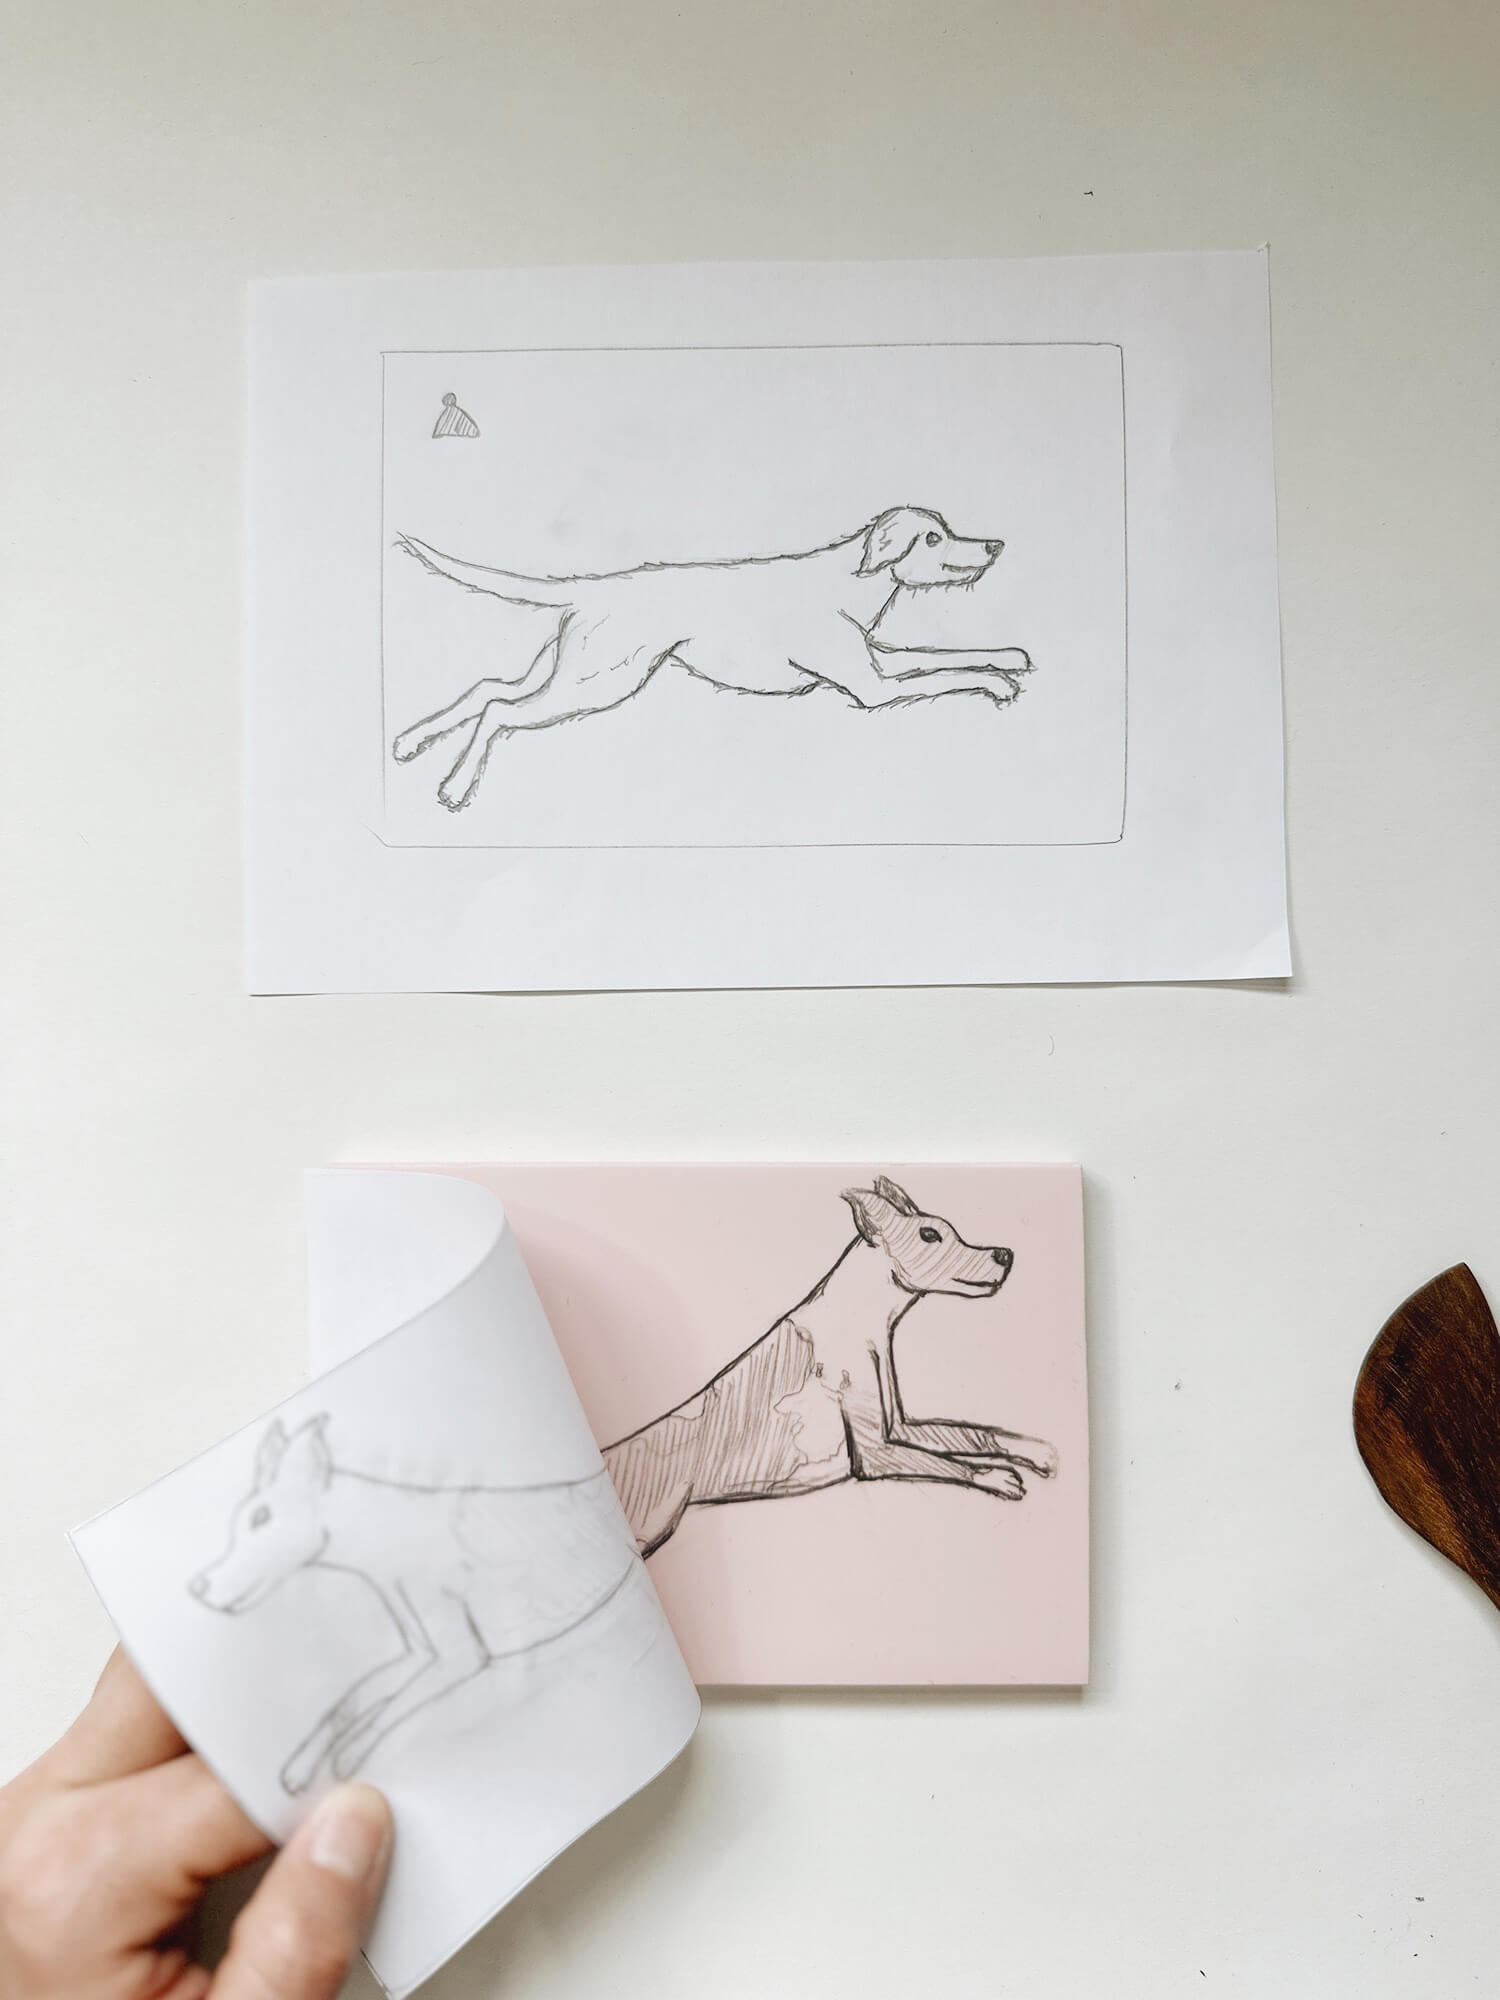
2. Transfer design to your stamp
Turn your design over onto your rubber block stamp and firmly press/rub the backside of your paper onto the block. Here I use the back of my nail as well as a hera marker. Note that if you are including text in your design, it will transfer backwards onto the block stamp, but that’s okay because you will re-reverse it when stamping and it will be in the correct direction!
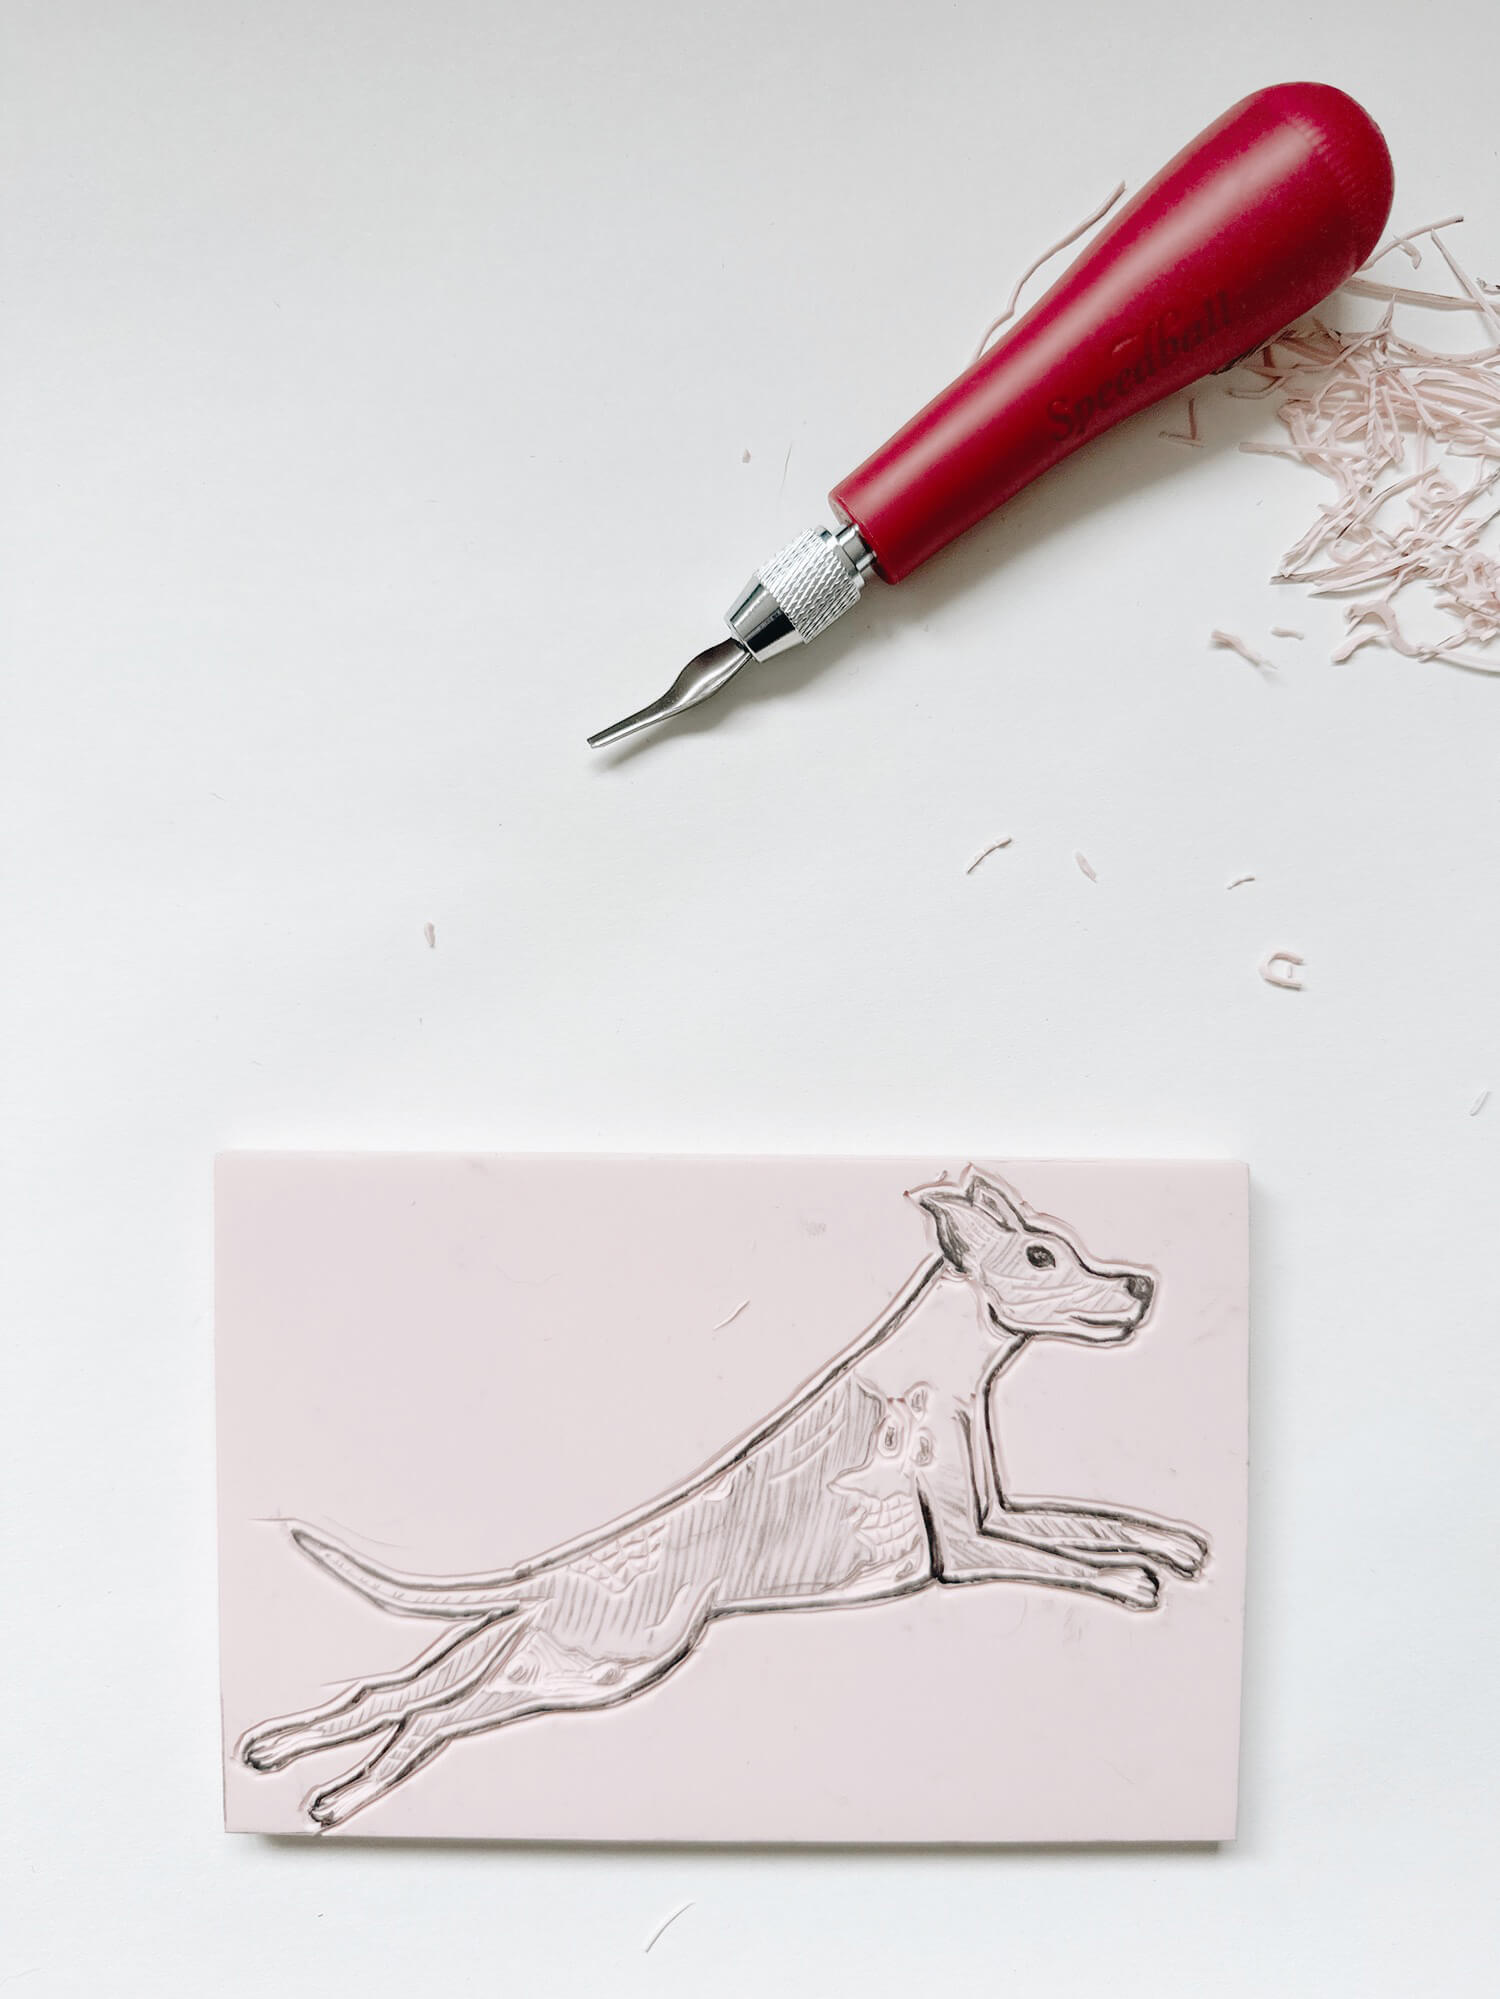
3. Carve your stamp
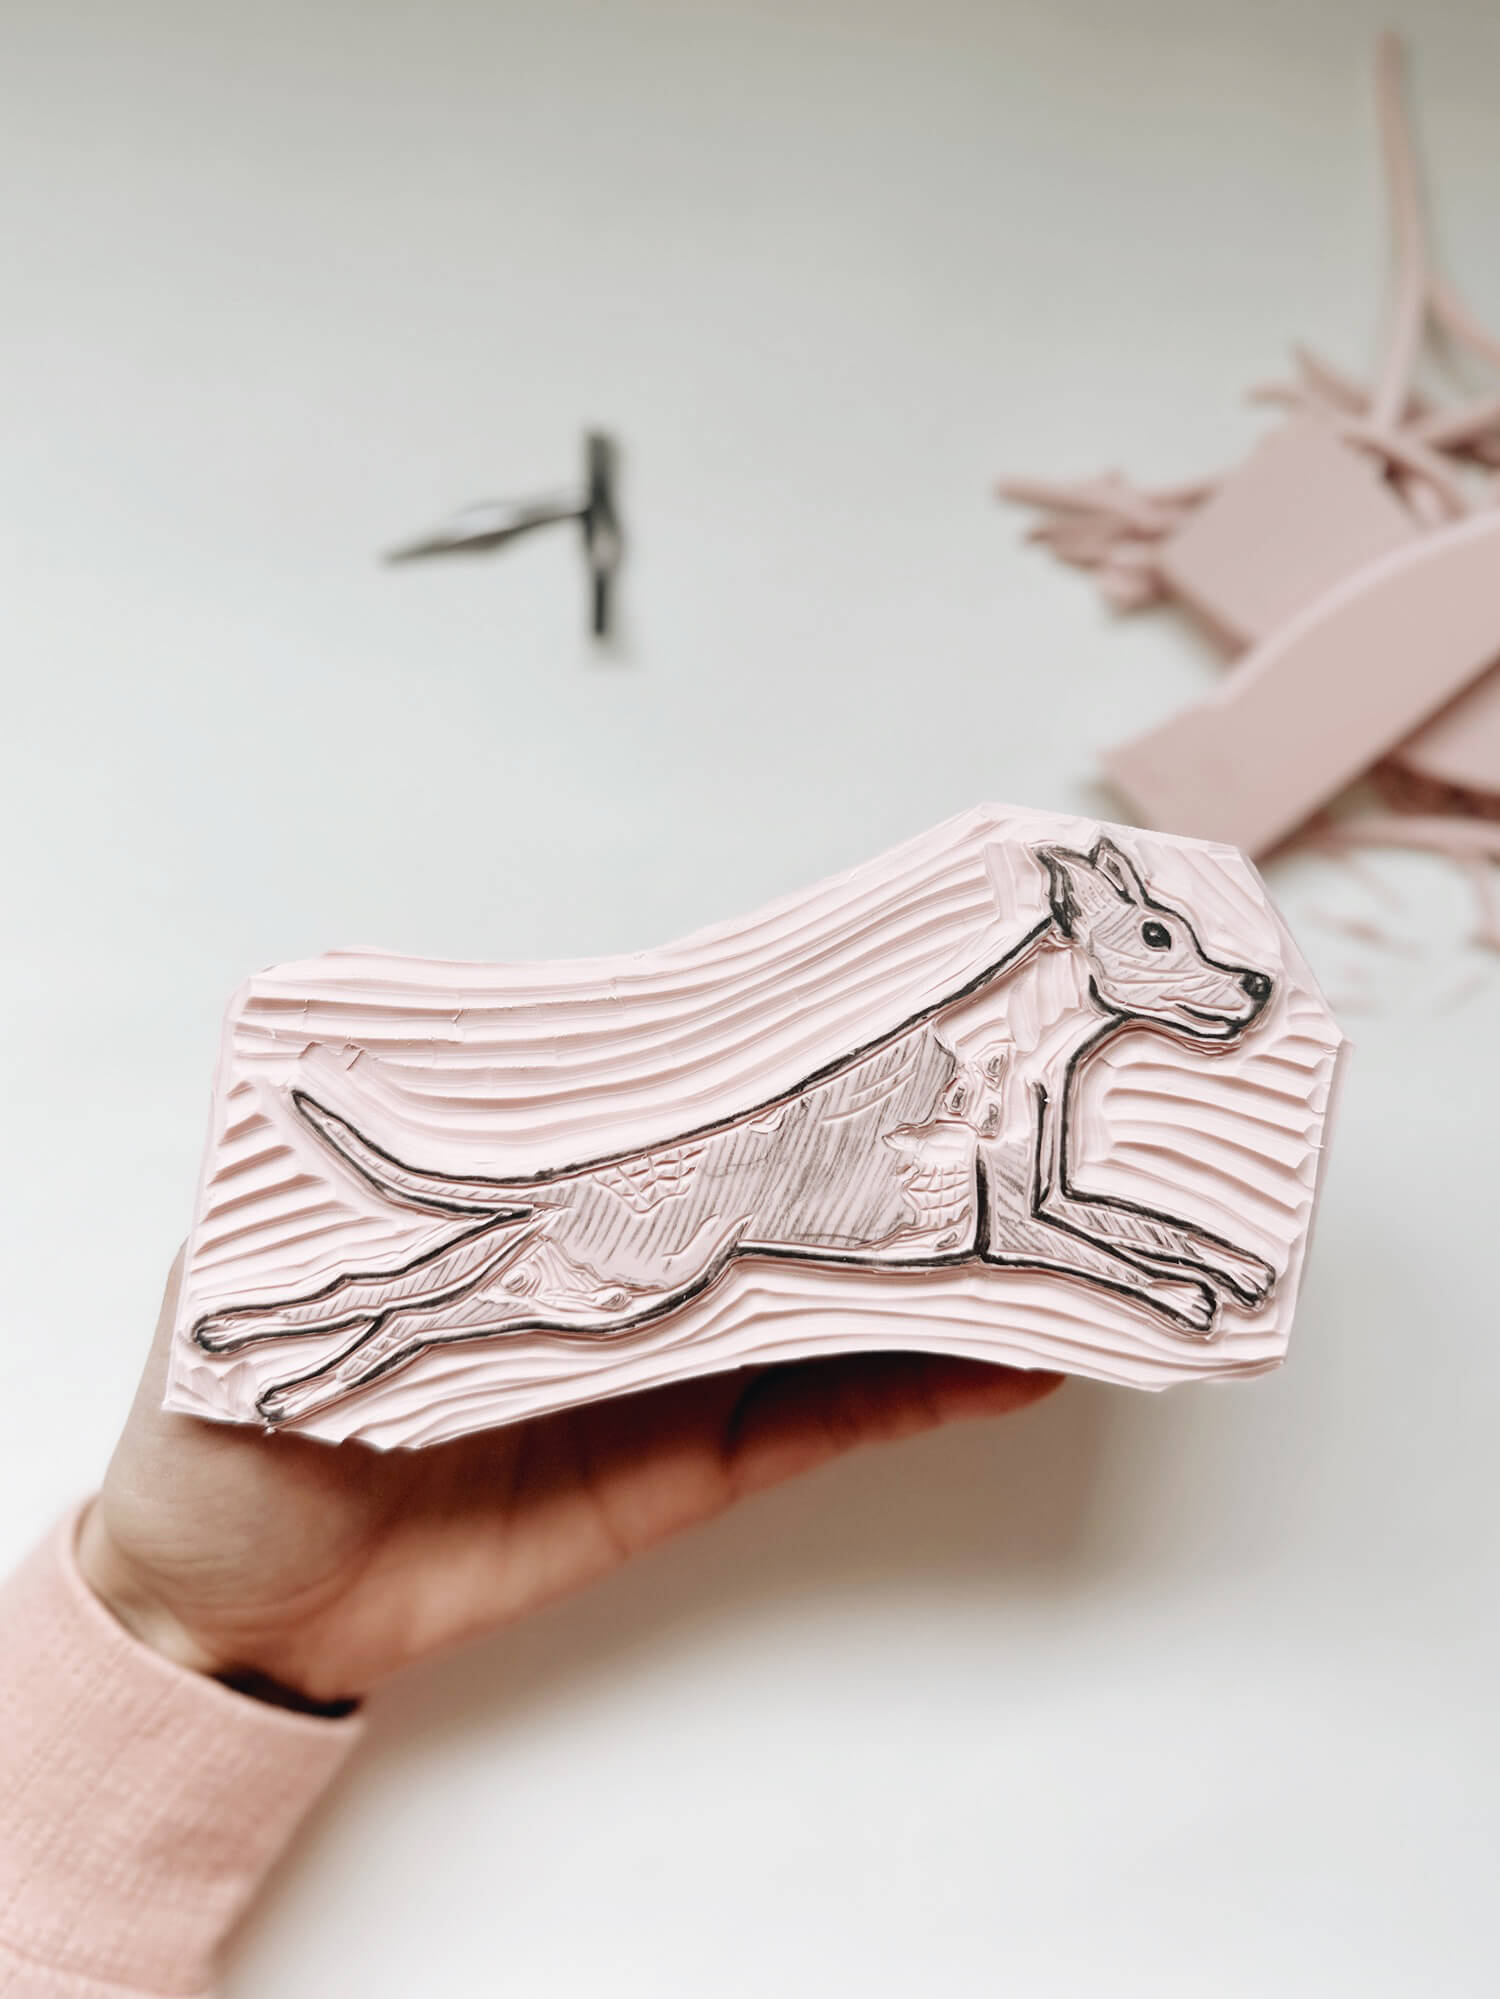
At this step, if you are unhappy with your block design, you can draw directly onto the rubber stamp to make any last minute changes. I use the “Speedball Block Printing Starter Kit” lino cutters to carve out my designs and specifically used the #1 and #5 linoleum cutters (#1 for finer detail work, #5 for large carving work). I start by carving out the outline of the design with the #1 cutter, then focus on the smaller details within the design. Then I graduate to the #5 cutter to carve out bigger spaces within and around the design. It is good to work slowly here because 1. the cutters are sharp! and 2. you have to be conscientious about what you want to show up black (or whatever color ink you’re using) and what you want as negative space i.e. what you’re carving out. This is also a good time to try out different textures like crosshatching or stripes.
At this point you can keep the block as a square/rectangle (the original shape of the stamp) and carve out the background or trim the edges off. Be careful not to carve too deep in the background areas, you still want enough rubber to keep the stamp intact – aim to carve off 3-4mm below the design surface so that ink does not get onto it when printing.
4. Block print your fabric!
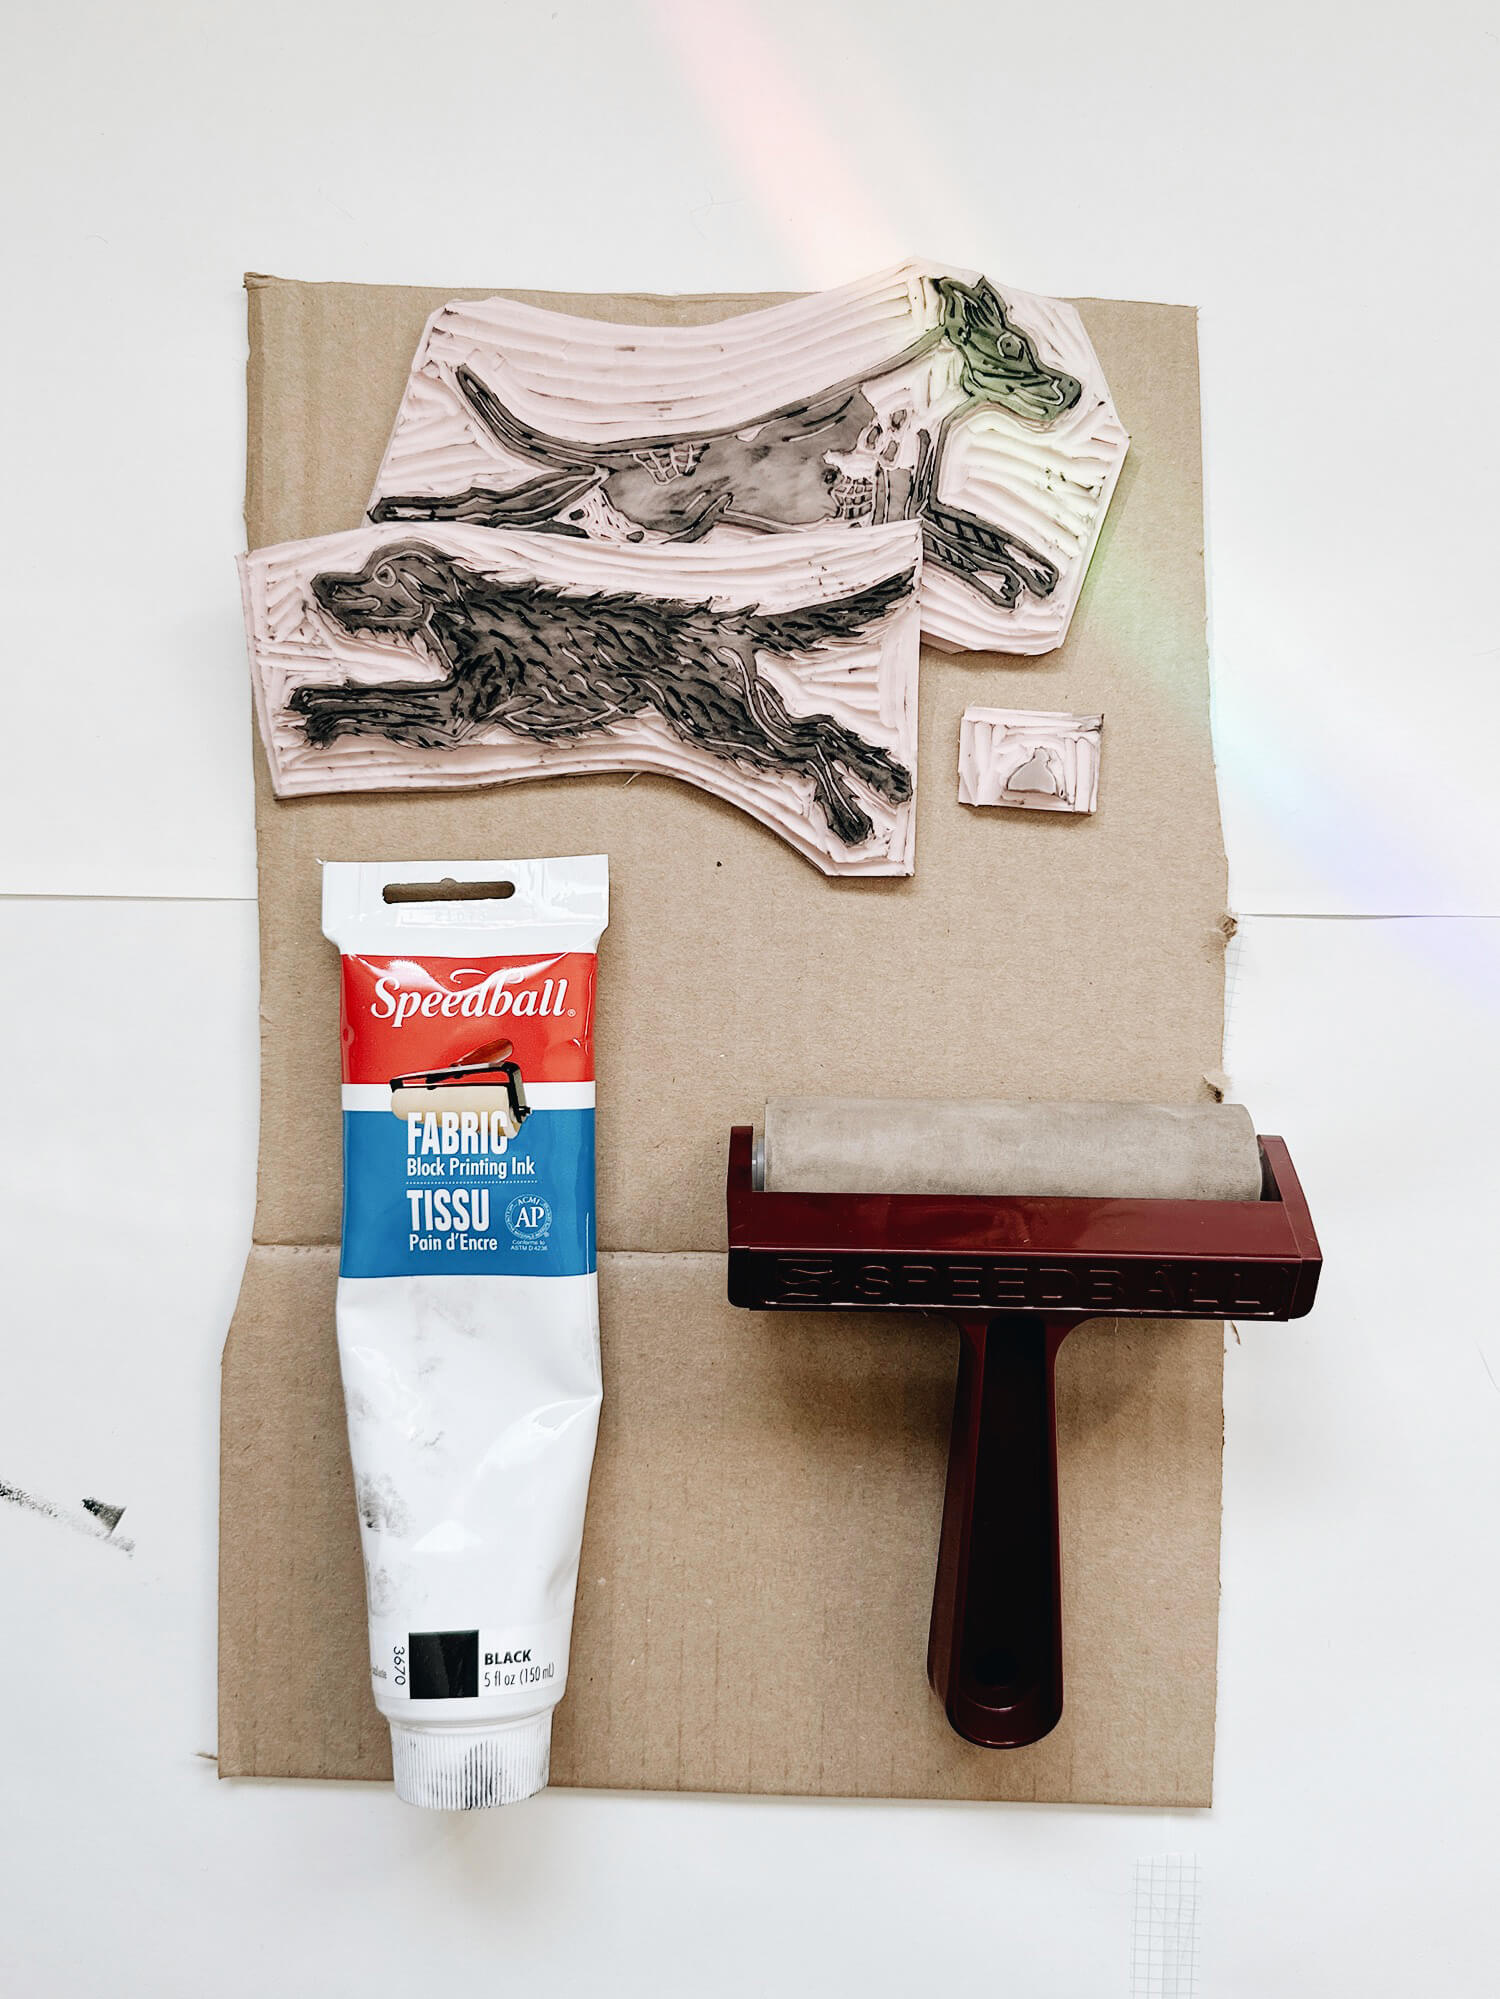
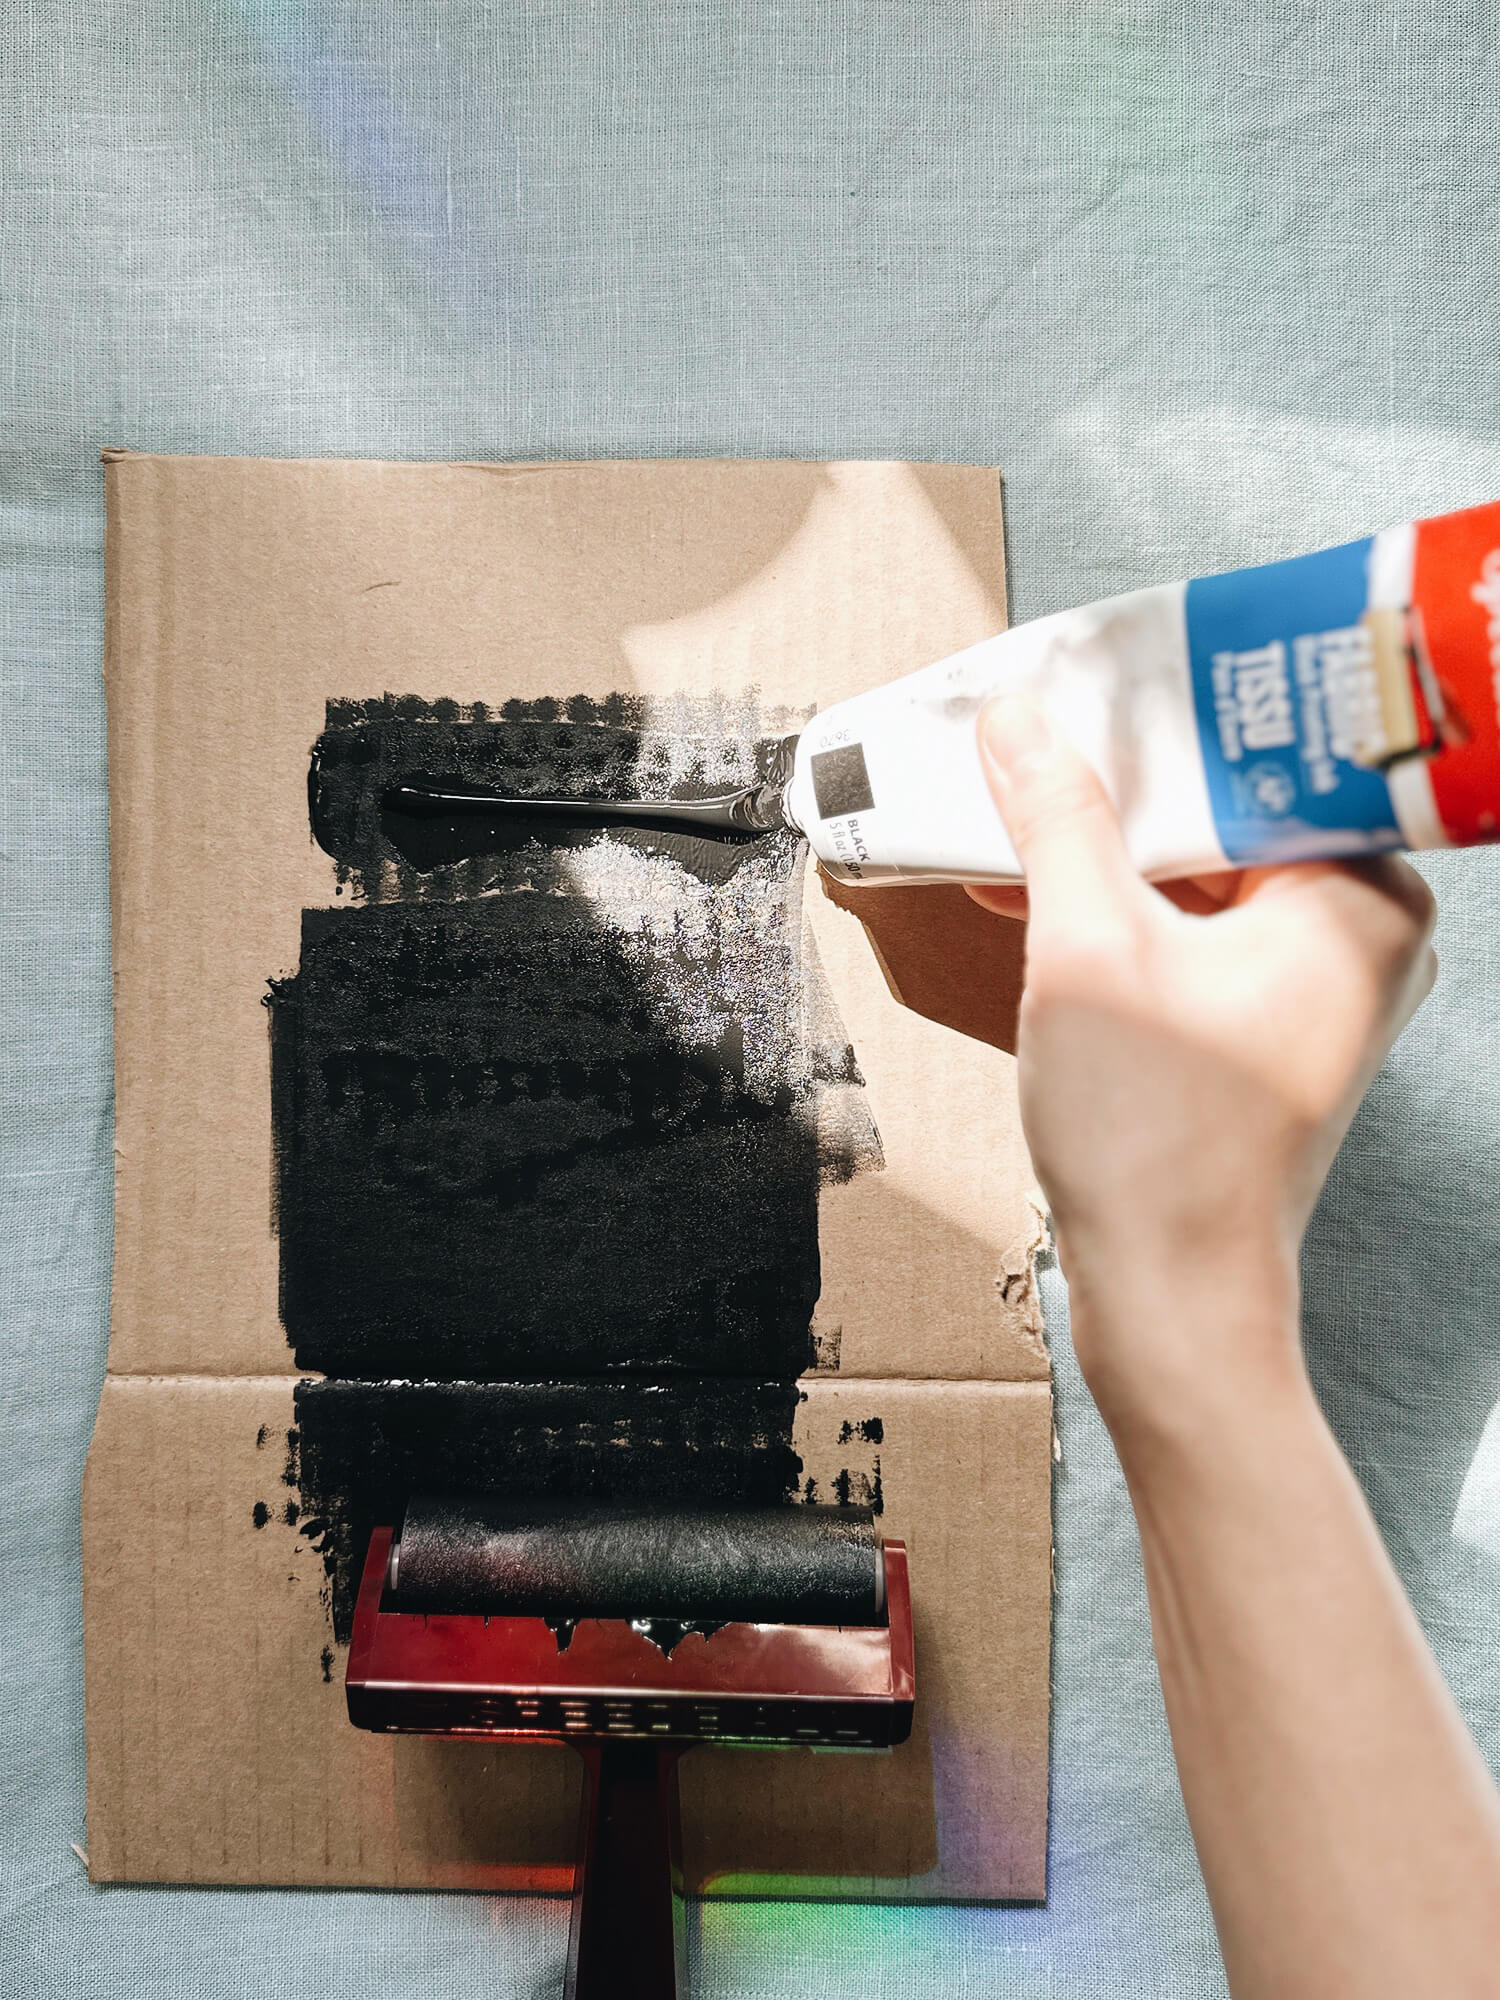
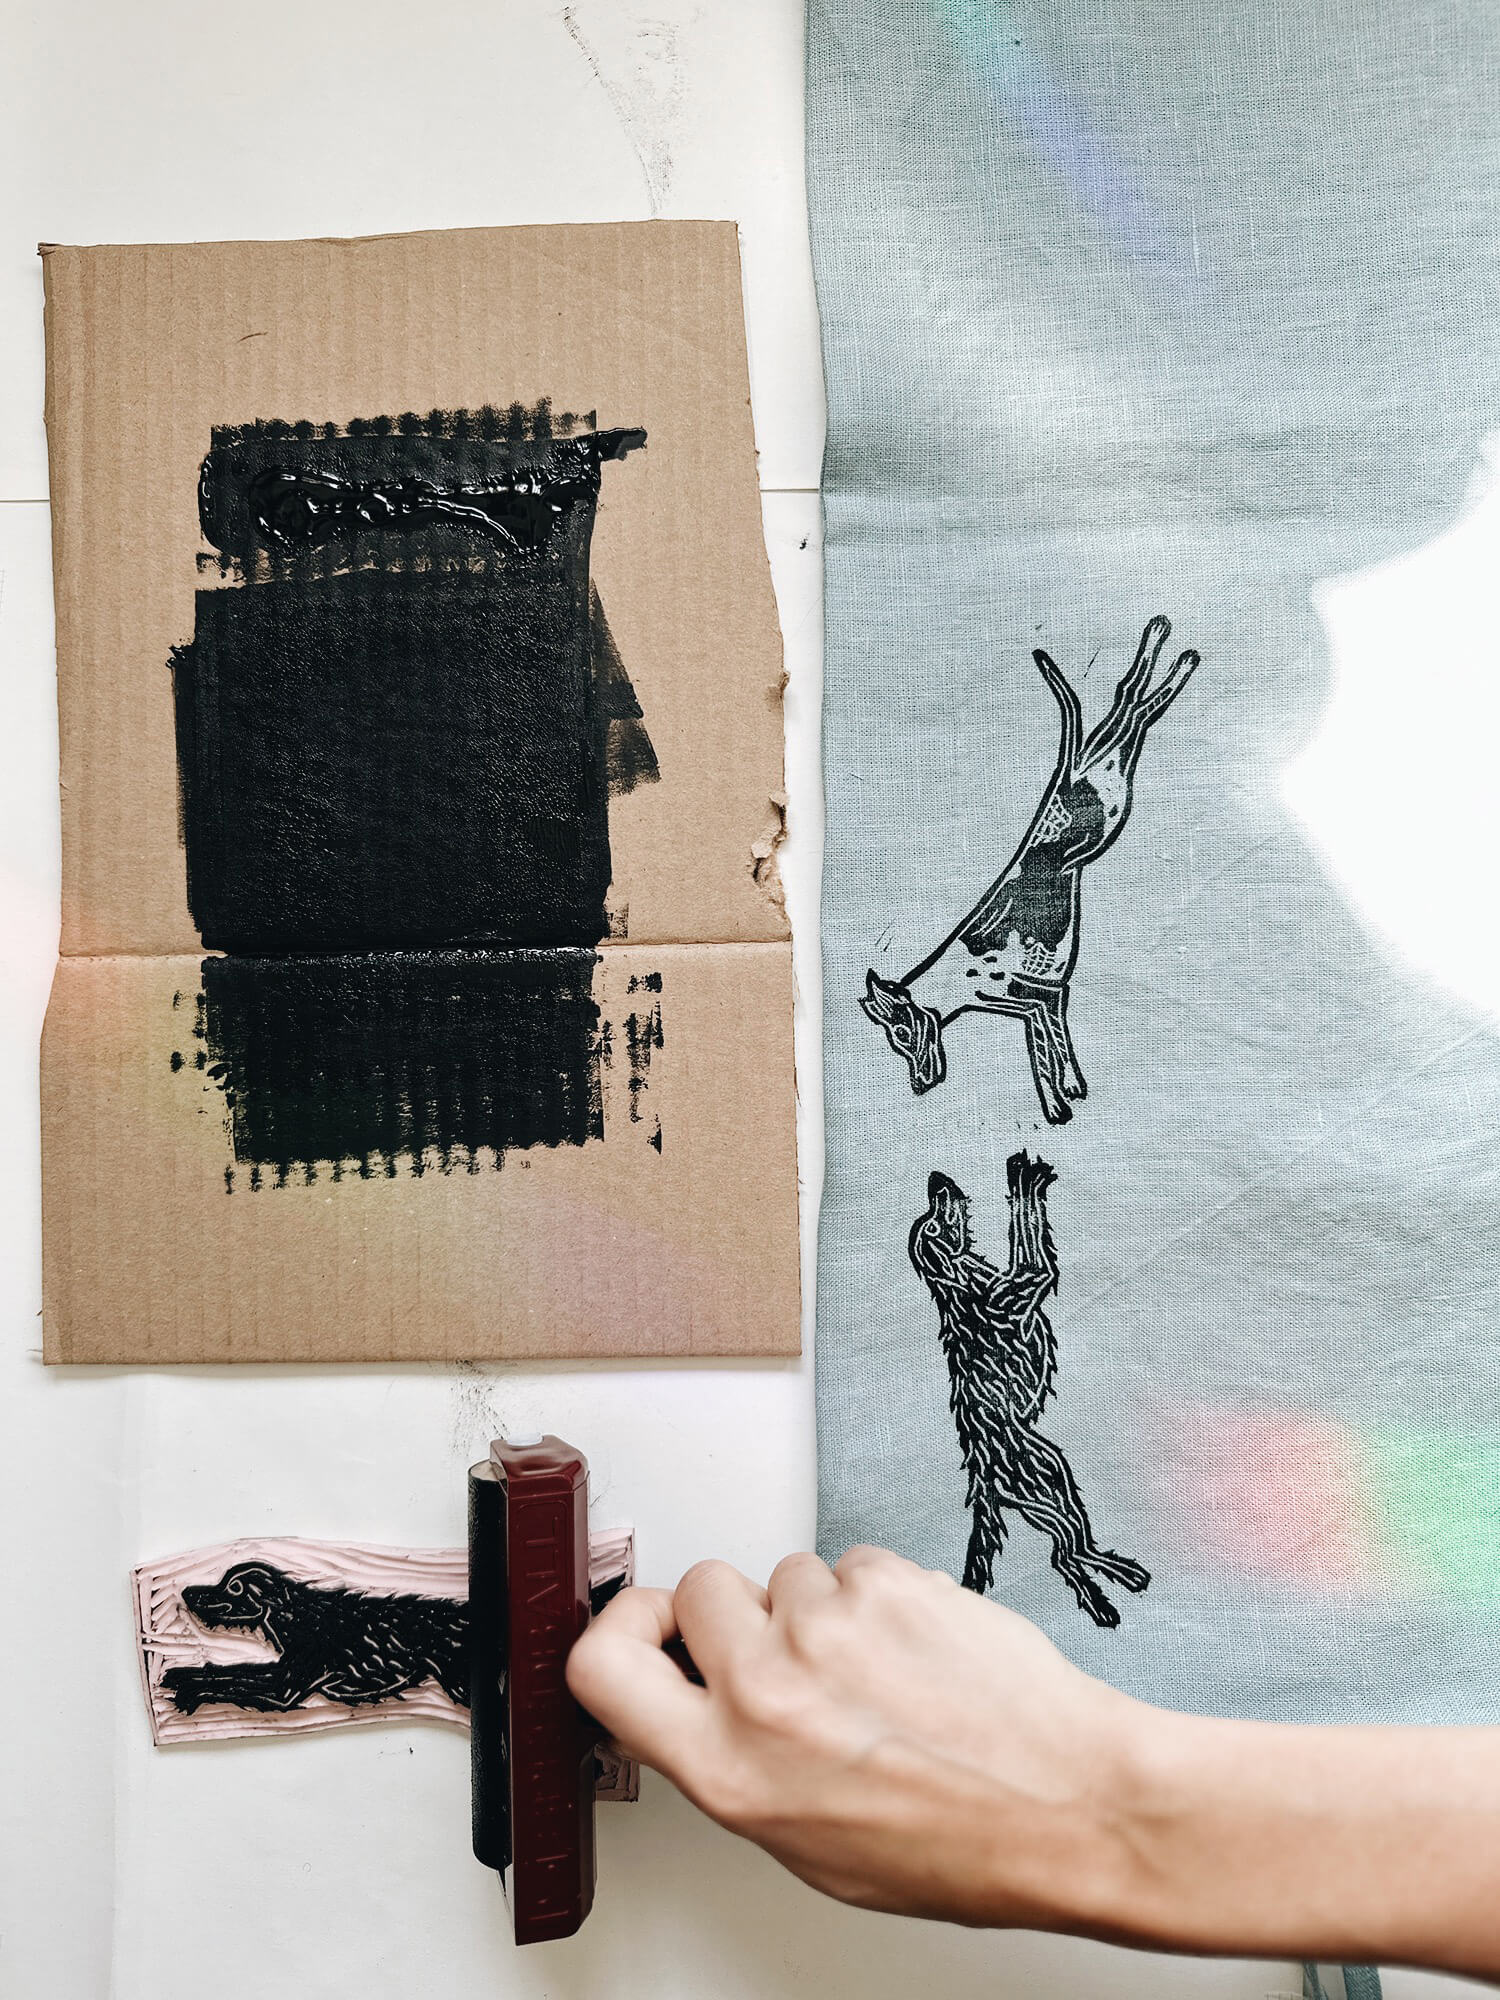
It is a good idea to do a test print on a scrap piece of fabric first – mostly so you get the hang of how much ink is too much (you don’t want a splotchy print). Place a strip of ink on a piece of cardboard and be sure your roller is evenly covered in ink. Do this by rolling it along your cardboard palette several times then rolling it evenly on your stamp. I like to use another piece of cardboard as my backdrop to work on so that ink doesn’t get all over my workspace, but you can also use some paper or cut a trash bag open to cover your space and stay clean.
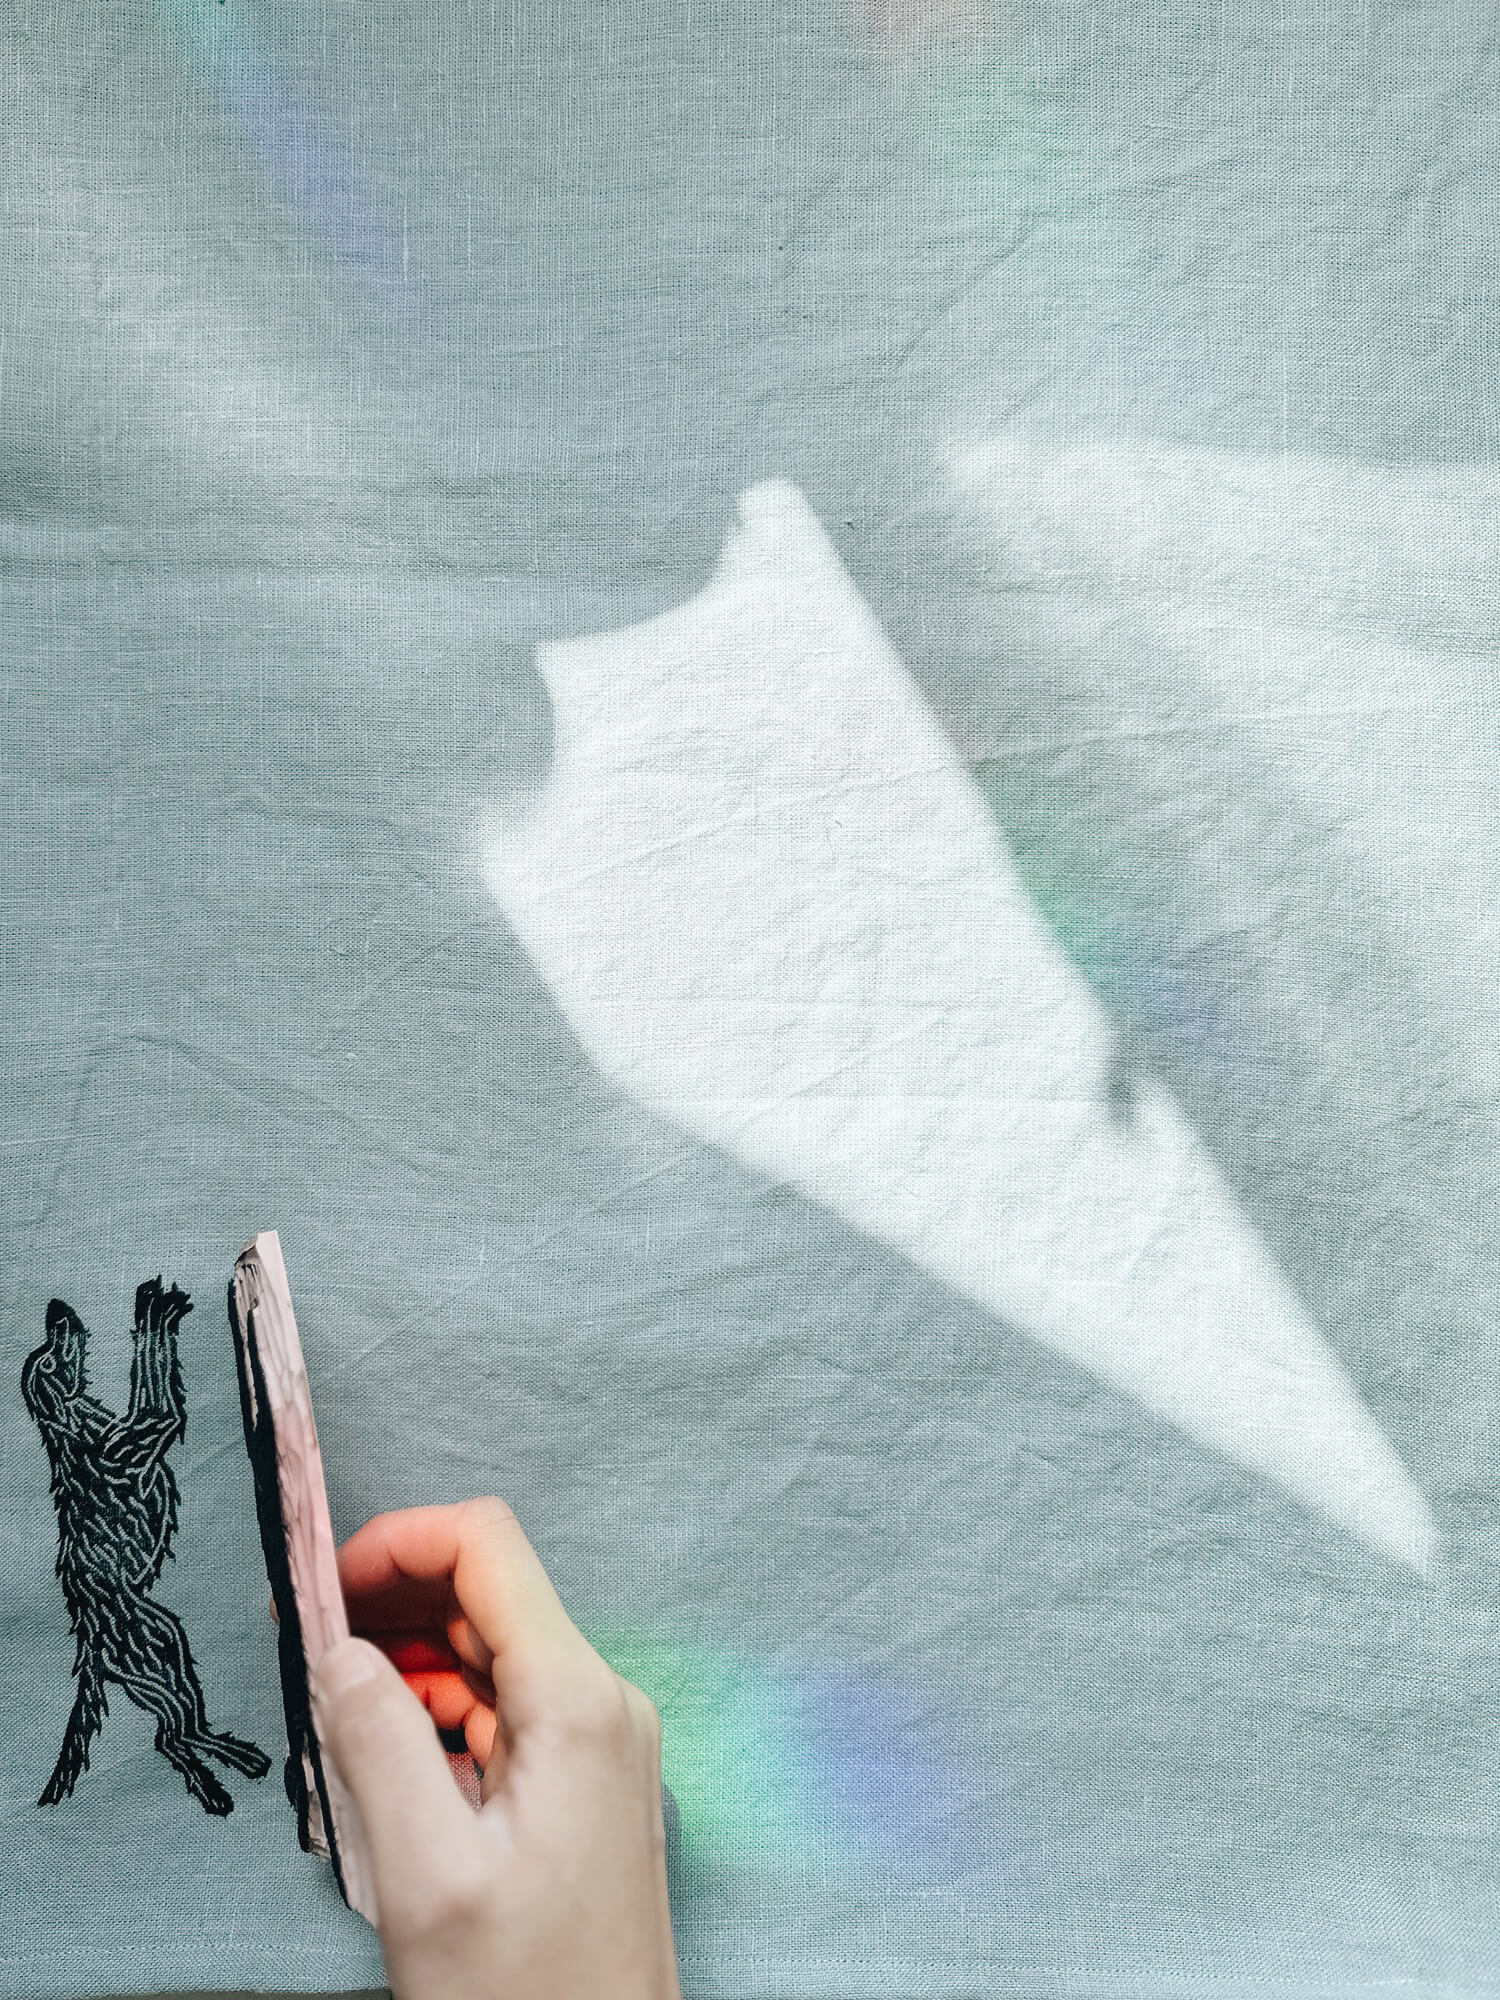
Press the stamp onto your fabric and firmly press with your fingers/fist then gently peel it off to reveal your beautiful design! 🙂
5. Cure your printed fabric
For Speedball oil-based fabric printing ink, the ink can be “set” onto the fabric by letting it dry/cure for one week then wash with cool water and a mild detergent. Other inks may recommend heat setting to cure, so be sure to double check your ink instructions.
5. Clean up
Oil-based ink is messy, but can be easily washed off of your hands and stamps with warm soapy water.
Ta-da! Welcome to block printing your own fabric. I hope you enjoyed this tutorial!








3 Comments
Laurie Brooks
Hi!
I’m a print maker and I sew and I have made block printed items using your linen many times. From experience I can say that the Speedball fabric ink does not last. It will fade and eventually disappear after washing. I now use Cranfield brand Caligo Safewash oil based inks and they are excellent. Although they’re not made specifically for fabric, (they’re actually the same inks I use on my paper printed block prints) they are far superior and all you need for clean up is soap and water.
Just thought I’d share!
Debbie Weekes
Oh thank you for that bit of info.
Marie Weber
Love it, thank you : )
Super concise and inspiring! Will definitely be thinking up some ideas for this technique…