Sewing Glossary: How To Sew Set-In Sleeves
If you like sewing your own clothes, there will be a time where you will come across a pattern that requires knowing how to sew set-in sleeves and attaching them to the bodice. And this is when this tutorial will come in handy.
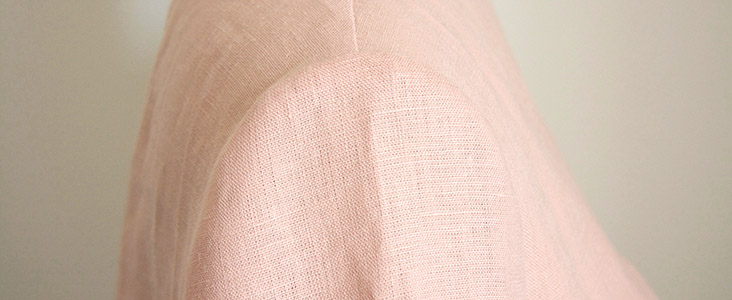
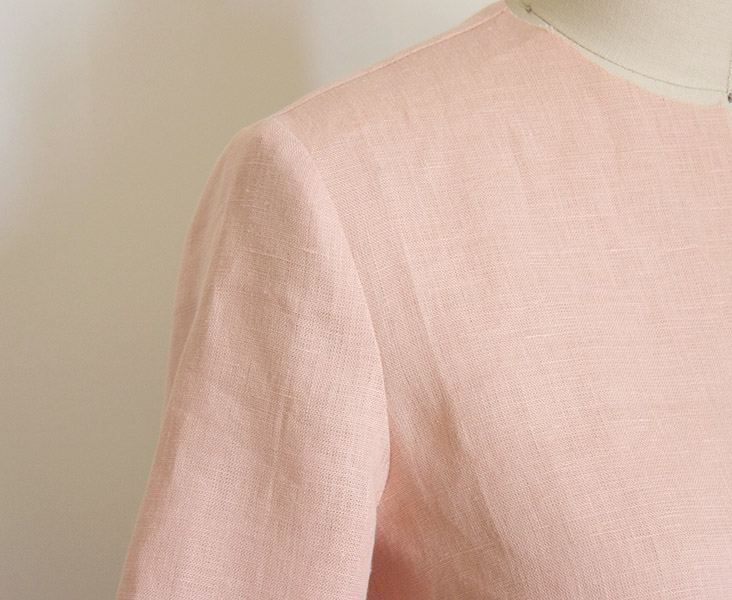
A set-in sleeve is the most basic of sleeves and as its name suggests, it is actually set into the armhole of the bodice. Basically, the sleeve and the bodice are prepped and sewn individually and then assembled together at the armhole. A nicely set sleeve gives a flattering and tailored look to any project.
The set-in sleeve method works best for woven fabrics. Knits can easily be sewn using the flat method where you finish the shoulder seams of the bodice first, lay sleeve flat on top of the armhole and join the two together. The side seams of the sleeves and armhole are then finished together in one line.
Sewing this most basic of sleeves can often be quite a challenge for beginners and many intermediate sewists alike. And the main reason for this is that a set-in sleeve has some ease at the cap. To put it simply, the measurement of the sleeve cap is slightly bigger than the armhole to which it will be attached. Since most set-in sleeves are cut to sit right on the shoulder, the sleeve cap needs to have a bit of volume (ease) to better conform to the shape of the shoulder edge. This will give a lovely rounded line to the garment and comfort of movement.
The amount of sleeve cap ease varies depending on the pattern. Usually, it’s somewhere between 3/4″ to 2” (for coats). You can figure out how much ease your sleeve cap has by comparing the sleeve seam and armhole seam measurements. Subtract the armhole from the sleeve cap measurement. The difference between the two measurements is your sleeve cap ease.
So not only you have to sew within a circular shape, but you also need to smoothly squeeze the extra sleeve fabric into the armhole without creating any visible fullness or gathers. Just to be clear, we are not talking here about set-in sleeves with exaggerated fullness like puff sleeves that are designed to be gathered at the cap. In this tutorial we will be showing you how to sew fitted set-in sleeves that you often see on shirts or jackets.
With these step-by-step guidelines you will be sewing those sleeves like a pro! Alright, let’s get on with it!
Materials
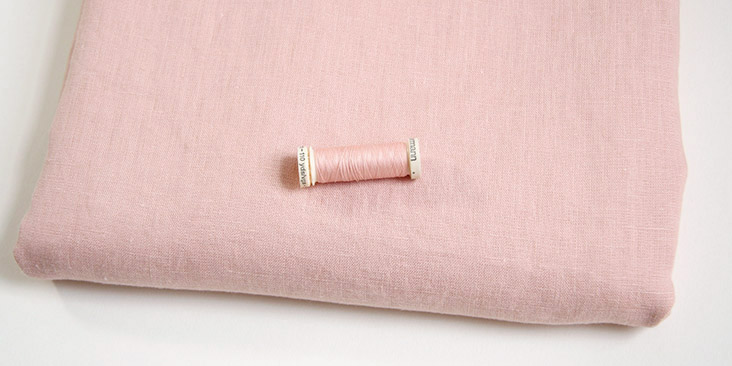
Fabric of your choice (we are using 4C22 HONEYBLOSSOM Softened Heayweight Linen )
Sewing thread
Pattern
Pattern of your choice
Tools
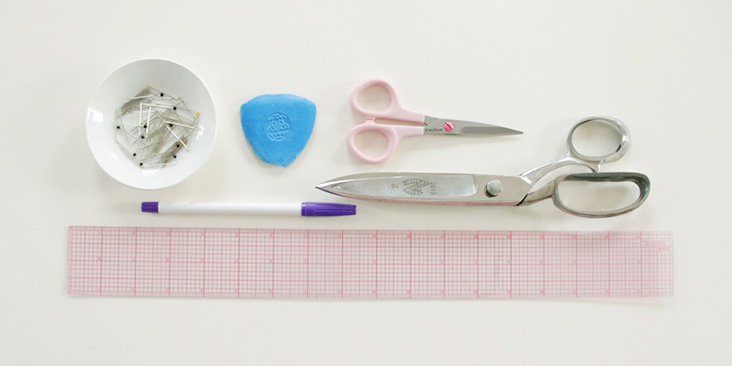
Scissors, ruler, pins, fabric marker or chalk, sewing machine
Difficulty
Advanced Beginner
Sewing Time
1/2 hour
Steps
Note: Prewash your fabric and tumble dry it until it is still slightly moist, dry at room temperature. Iron the fabric so it is easier to work with.
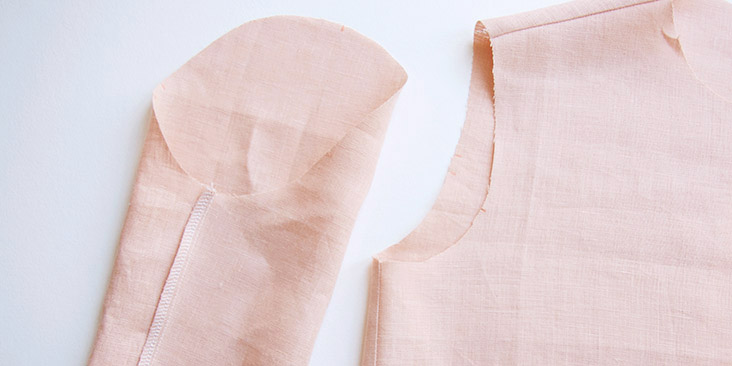
1. First and foremost, mark the notches on the sleeve and on the armhole. The sleeve typically has three notches: a single one at the top that matches up with the shoulder seam, a single one to signify the front of the sleeve, and a double notch to indicate the back of the sleeve. These notches are aligned with corresponding notches around the armhole of the garment and the shoulder seam. You can mark the notches with a little snip within the seam allowance or with a fabric marker or a piece of chalk.
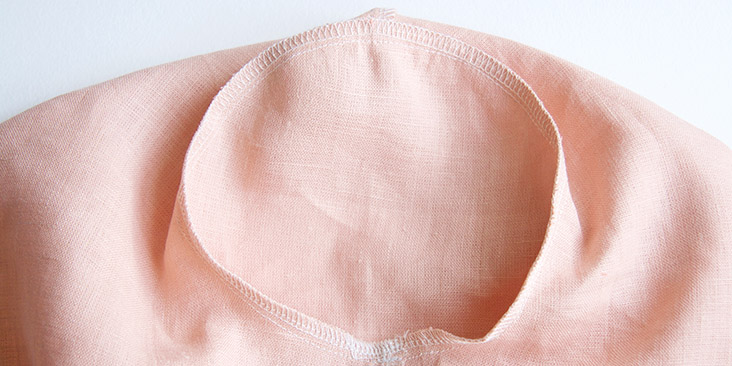
2. As we’ve mentioned earlier, a set-in sleeve is constructed after the body of the garment is already assembled at the shoulders and side seams and the sleeve is sewn into a tube. Follow your pattern instructions and assemble the bodice at the shoulders and side and the sleeve at the underarm seam. Finish the seams and press (open or toward one side based on your instructions).
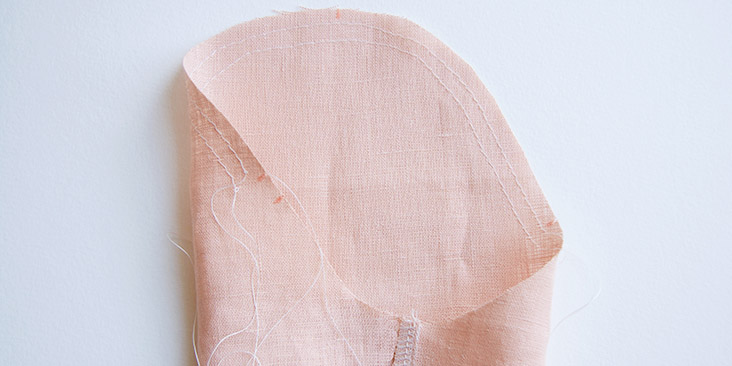
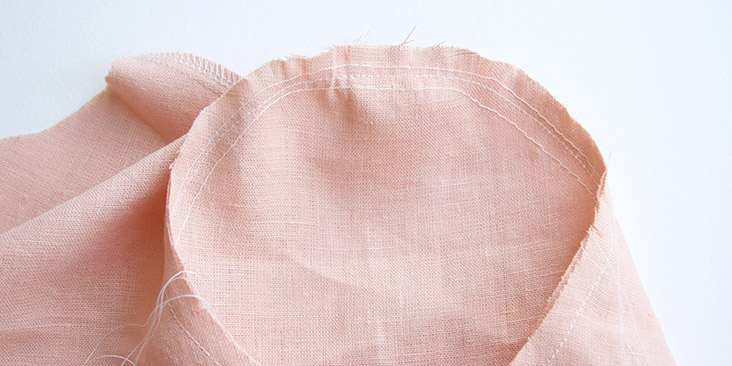
To help ease and fit the sleeve into the armhole, two rows of basting stitches are needed in order to gather the excess fabric of the sleeve. The sleeve in this tutorial has about 3/4″ of ease.
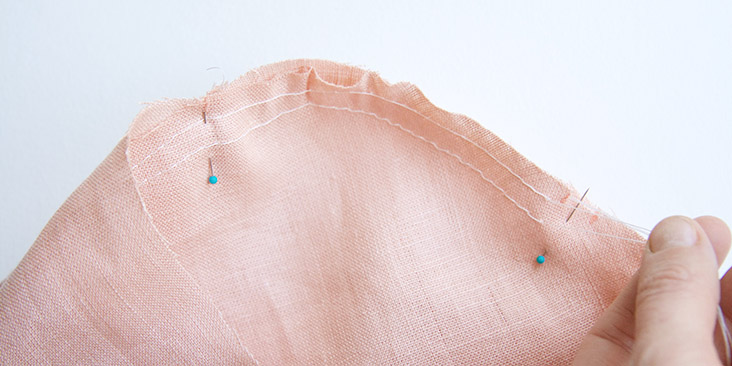
3. Set your sewing machine to a long stitch length, around 4.5 – 5mm. Run two rows of basting stitches between your front and back sleeve notches on both sides of the seam allowance. In this example, we are using a 3/8” seam allowance, therefore our rows will be stitched at 1/4″ and 1/2″ from the raw edge of the sleeve cap. Make sure to leave nice long thread tails.
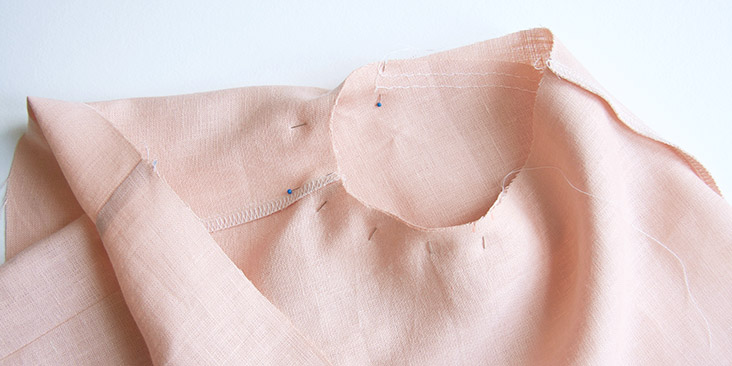
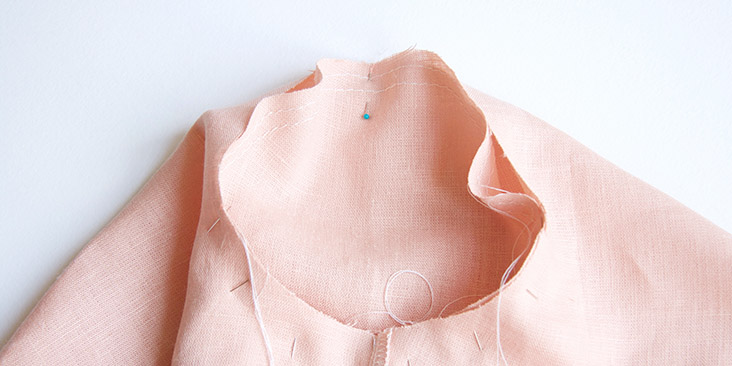
4. Turn the sleeve to the right side out. With the body of the garment inside out, drop the sleeve into the armhole. Match up the back and front notches. Pin the underarm into position and pin around the lower part of your armhole, between the notches. Note that there’s no easing involved. They have the same length and should match exactly.
5. Next, pin the top notch of the sleeve to the shoulder seam. Notice how the sleeve cap is longer then the armhole because of the built-in ease.
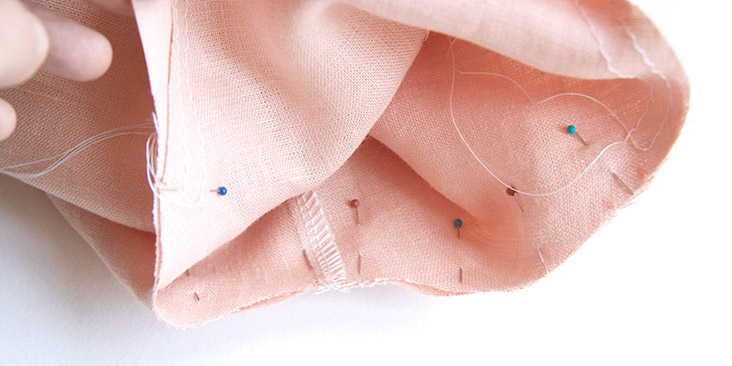
6. Now adjust the sleeve cap by pulling on the thread tails until it fits nicely into the armhole. The goal here is to pull the threads enough to curve the cap, but not so much that it creates gathers. Try to distribute the gathers as evenly as possible, making sure to curve the top while avoiding puckers from the gathers. Pin the sleeve cap into place using as many pins as it takes to secure it in place.
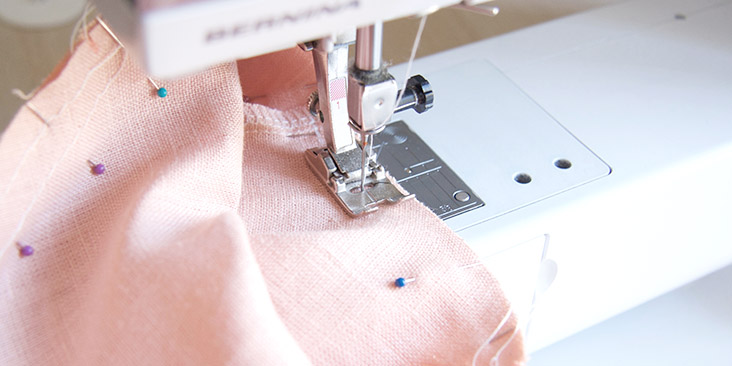
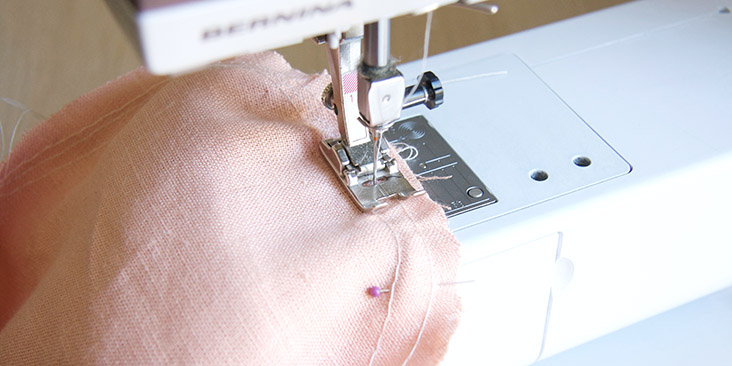
7. Now take your project to the sewing machine and stitch around the armhole (between the two rows of basting stitches) keeping your seam allowance constant and avoiding any possible puckers and tucks. I like to do it with the sleeve side agains the feed dog as it makes the distribution of the gathers much easier. When the sleeve side is visible, you can straighten any possible puckers as you sew. Just use your fingers to pull on opposite sides of the seam, contracting the fabric and making it lay fairly smooth. Start your stitching at the underarm seam and take the pins out as you sew.
Note: If you accidentally sew in a tuck, it’s very easy to fix. You can undo that little portion with a seam ripper and redo it.
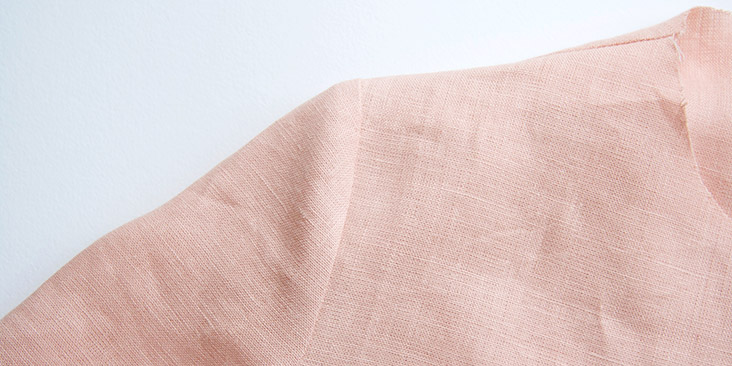
8. Once your sleeve is stitched into place you can remove your basting stitches and finish the seam allowances according to your pattern instructions. Press.
That’s it, you have set a sleeve!















3 Comments
Pingback:
Lined Katabira Project – ?? Friendly Fire RabbitElizabeth Horst
Well done. The instruction to use two basting lines, ON EITHER SIDE of the actual seam line is very helpful.
I used to put them both in the seam allowance, and this is much better.
Sara Alicea
Thanks for your help, very much appreciated.
Sara Alicea