FS Cameron Top Pattern Sewalong Part 4: Sew And Attach The Sleeves
In this final part of the CAMERON sewalong we will show you how to sew and attach the sleeves to the bodice.
CAMERON top/blouse/dress pattern comes with two choices of sleeve (short or 3/4 length) or a sleeveless option. The short sleeve is finished with a pleated cuff and the 3/4 sleeve has a tailored placket and a buttoned cuff. In this tutorial we will be making the short sleeve version. If you opted for a different style, please follow the instructions in your booklet or check this detailed tutorial on how to sew sleeve plackets and cuffs.
Let’s start!
Difficulty
Beginner
Sewing Time
1-2 hours
Pattern
If you don’t have your copy of the CAMERON pattern yet, you can order it from our shop.
Steps
Note: Prewash and dry your linen fabric in the same manner you would your finished garment. This will soften your fabric and eliminate further shrinkage.
For this step you will need your two sleeve pieces (D).
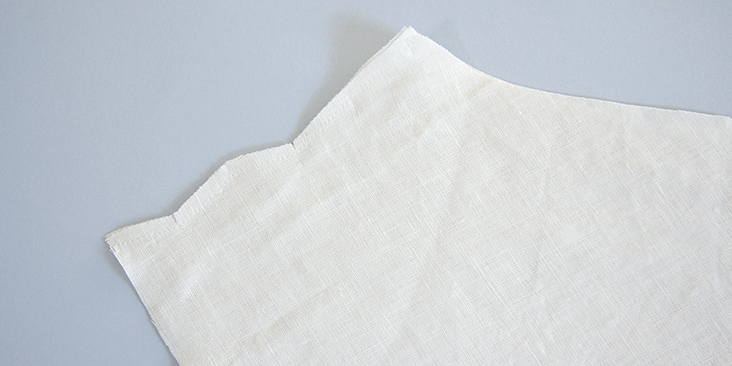
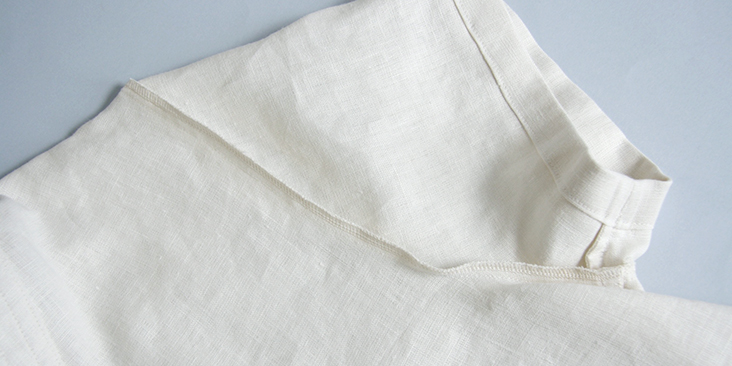
1. The inseam of the sleeve is finished with a French seam. A technique that we explain in this tutorial. Fold the sleeve in half with wrong sides together and pin at the inseam. Sew a scant ¼” seam. Clip the inner corners of the hem jogs.
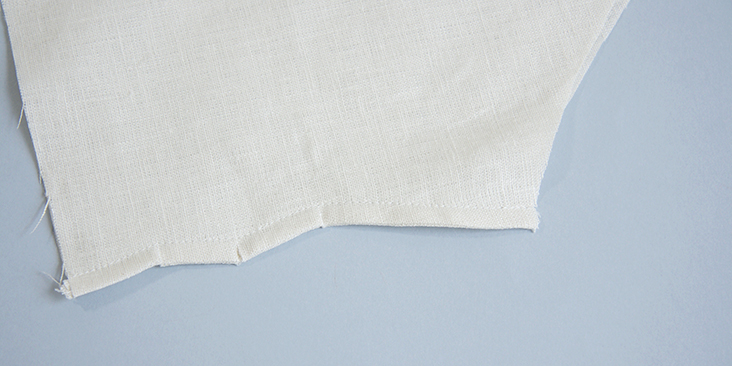
2. Turn the sleeve wrong side out, neatly press the seamed edge. Sew a second line of stitching a full ¼” from the edge. This will encase the raw edges neatly inside. Once again, clip the inner corners of the hem jogs.
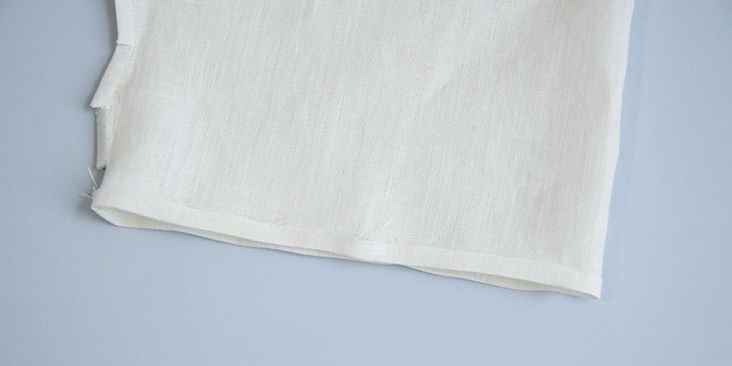
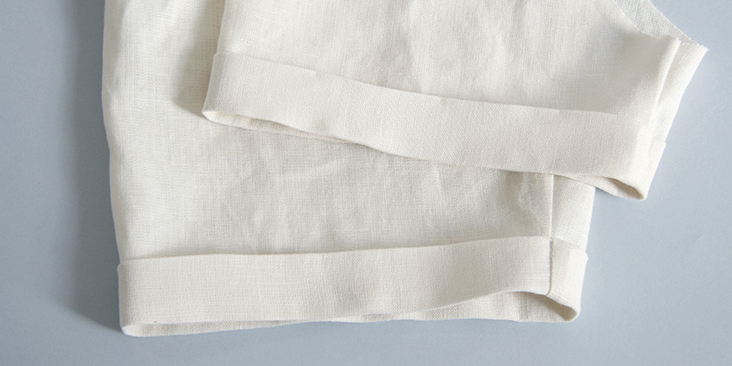
3. To create the cuff, turn the hem ¼” to the wrong side and press.
4. Turn again 2 1/8” and press. Topstitch the hem 1/8” from the first folded edge.
Note: There’s a typo in the older version of the instructional booklet. You should turn the hem 2 1/8” and not 1 1/8”.
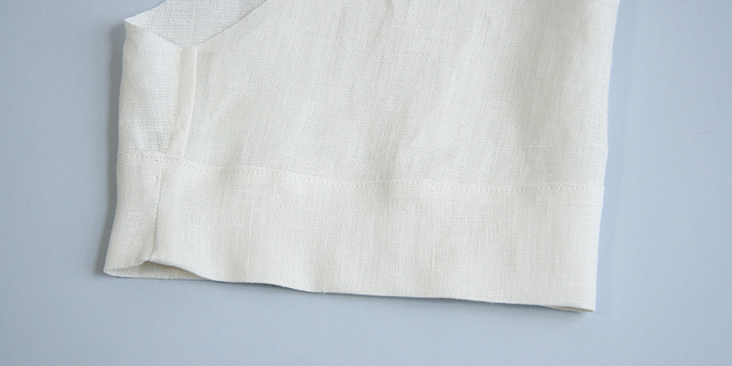
5. Turn the sleeve right side out. Turn the cuff 1 1/8” up and press. Tack the cuff in place at the inseam and center of the sleeve hem to keep it in place.
6. To prevent the sleeve cap from stretching, sew a row of staystitching to the upper curve of the sleeve scant ½” from the edge.
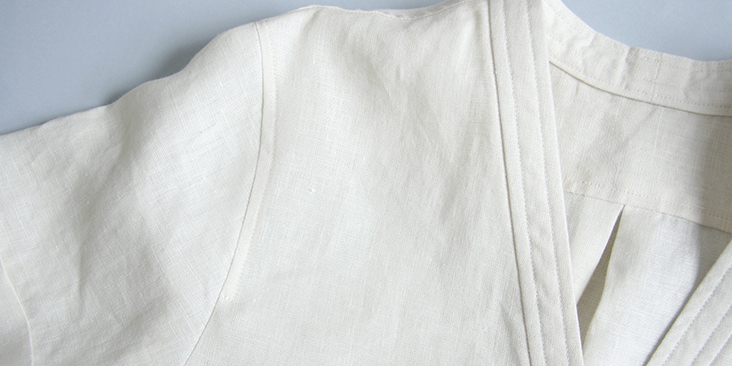
7. With right sides together, pin each sleeve to the corresponding armhole matching the notches. Sew a ½” seam, stopping and starting at the inseam. Serge the raw edges together.
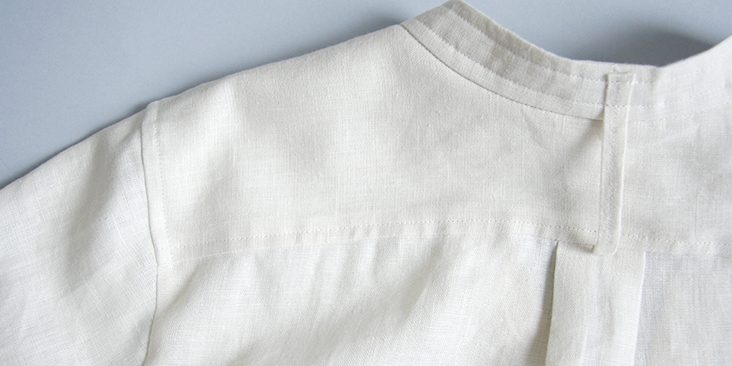
8. Press the seam allowance of the armholes towards the bodice and topstitch the cap area ¼” from the seam from the lower edge of the back yoke seam to the front armhole notch.
Congratulations! You have now successfully completed your Cameron top! Thanks for sewing-along with us!
We can’t wait to see your beautiful versions of our Cameron pattern collection. Don’t forget to share your pictures and tag your creations with #FabricsStoreCameronPattern hashtag.






Leave a comment