Aja Plunging Neckline Maxi Dress Tutorial and Pattern
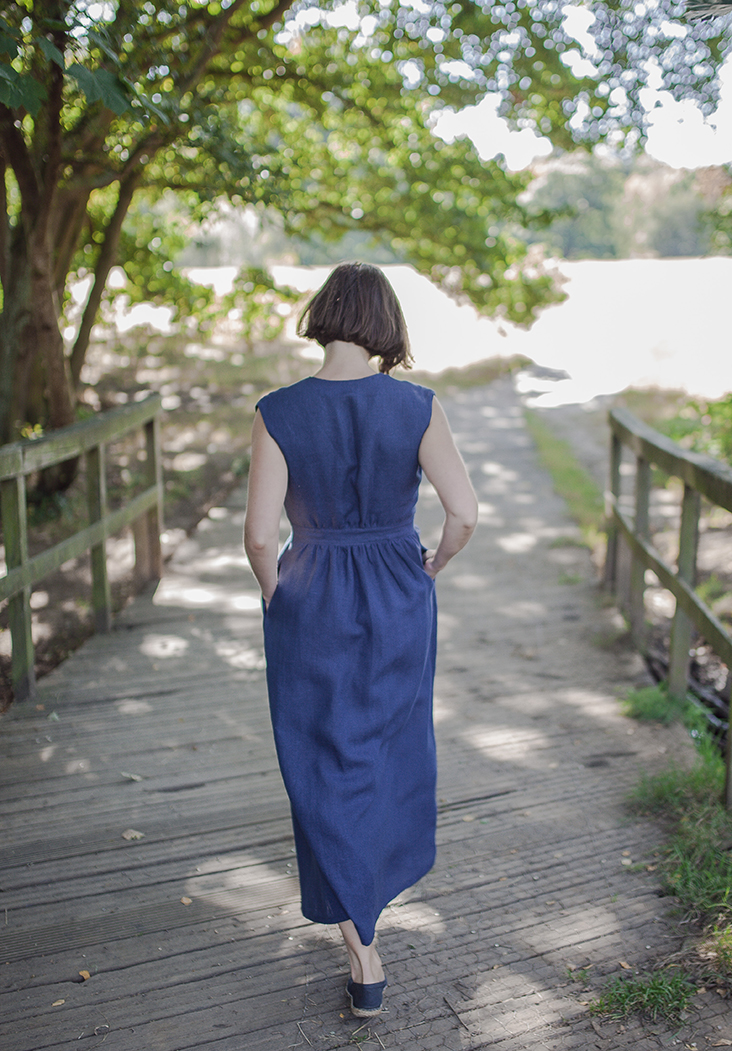
Take the plunge on your next night out with our newest sewing pattern – the Aja dress. With its deep and flattering neckline, flowy maxi skirt and a sexy front slit, it’s guaranteed to turn heads and highlight your best assets.
Cut from our medium weight softened linen in a gorgeous shade of navy blue, Aja is versatile and effortless, suitable for a casual night out or a big occasion. This pattern is suitable for advanced beginners and features such details as a concealed button placket, lined bodice, inseam pockets, and a gathered skirt.
Materials
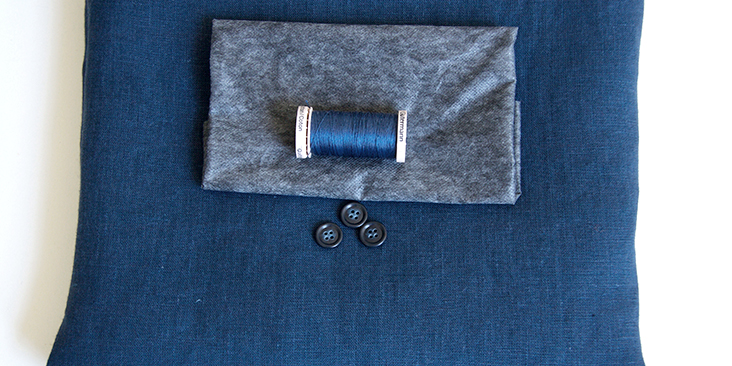
For our sample US size 6 pictured in this tutorial we used 3 yards of IL019 COBALT Softened Medium Weight Linen
For other sizes, please refer to the yardage table in the PDF pattern to determine the required amount of fabric.
Matching sewing thread, fusible interfacing, 3 buttons (1/2”-5/8” wide)
Tools
Scissors, pins, ruler, chalk, measuring tape, fabric marker, buttonhole foot, seam ripper, needle, sewing machine
Difficulty
Intermediate
Sewing Time
6-7 hours
Pattern
You can access the multi-sized printable PDF pattern by following this link HERE. All seam allowances are included and are 3/8” unless otherwise specified. The model is wearing US size 6.
Remember to transfer all the notches onto your fabric.
Steps
Note: Prewash your fabric and tumble dry it until it is still slightly moist, dry at room temperature. Iron the fabric so it is easier to work with.
1. Sew the main front and back bodices right sides together at the shoulders at a 3/8” (1 cm) seam allowance. Press the seams open.
Repeat for the lining pieces.
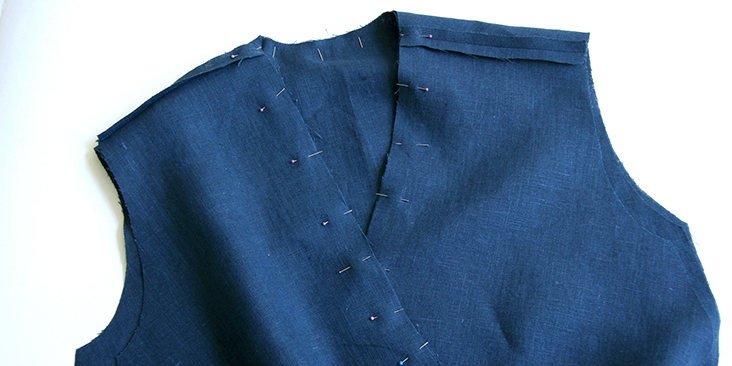
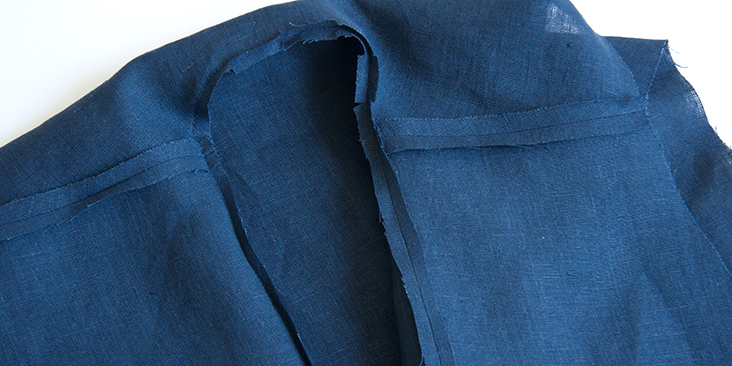
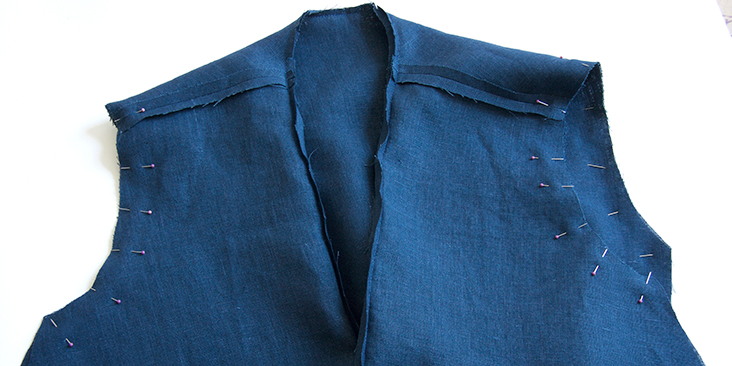
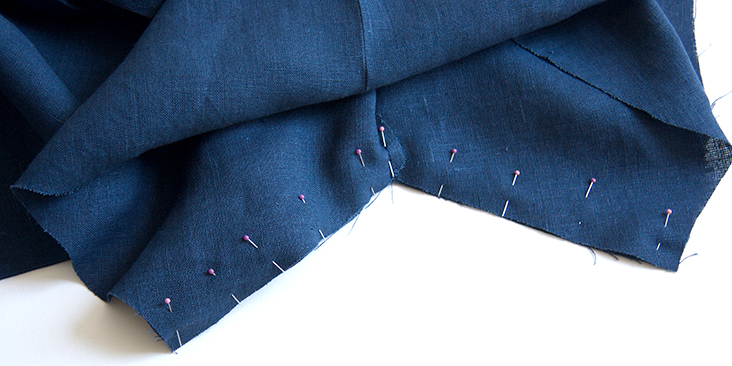
2. Pin the main fabric and the lining right sides together at the neckline/center front edges. You’ll notice that the lining is slightly smaller to allow for the turn of cloth when the bodice is complete and pressed. Stretch the lining slightly to make it fit the main bodice.
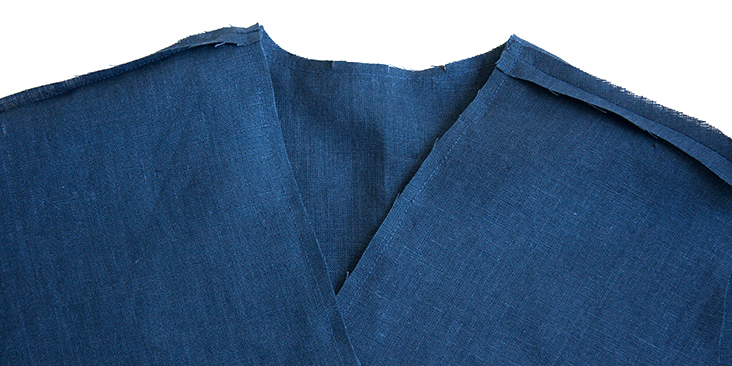
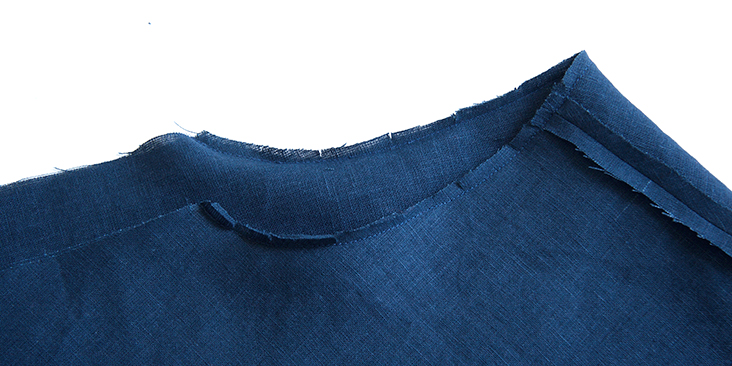
3. Stitch the pinned edges at a 3/8” (1 cm) seam allowance. Grade the seam down to ¼”, clip along the neckline curve to release the tension and press open.
4. Now pin and sew the two layers along the armholes. Trim, clip and finger press open.
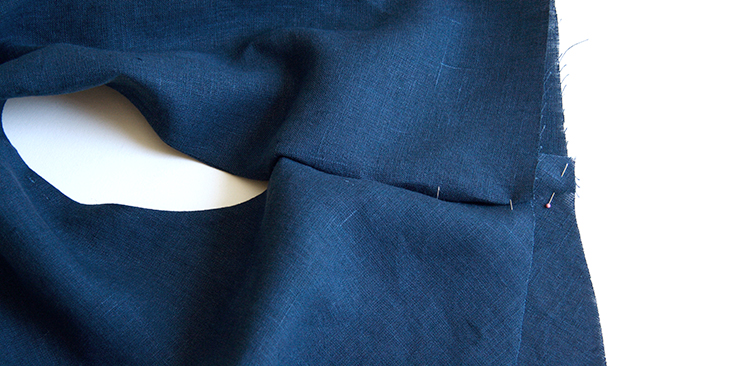
5. Insert your hand in between the two layers of fabric, in the tunnel between the neckline and the armhole, and turn the fabric right side out.
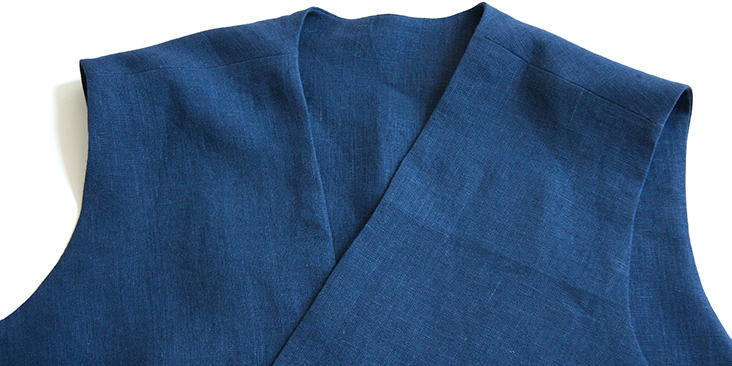
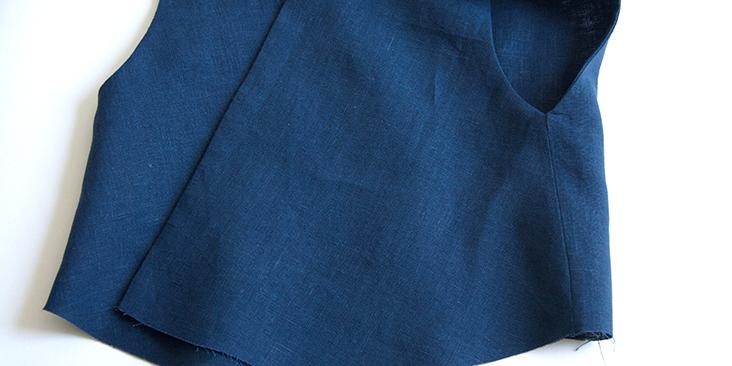
6. Press the neckline and the armhole edges. Since the lining is slightly smaller than the main fabric, it will naturally roll to the inside making the seamline invisible from the outside.
7. Lastly, pin the front and back bodices along the side seams right sides together. Sew at a 3/8” (1 cm) seam allowance, grade and press the seams open.
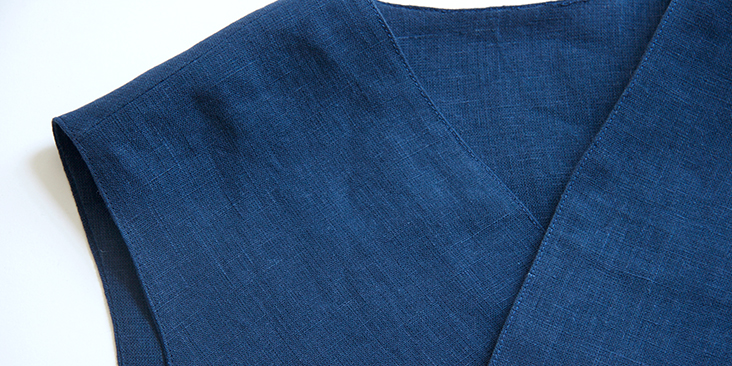
8. Edgestitch along the armholes and the neckline/center front edges 1/16-1/8” away from the edge to secure the lining and prevent it from shifting.
The bottom of the bodice is left open, it will later be gathered and inserted into the waistband.
Next up – the skirt!
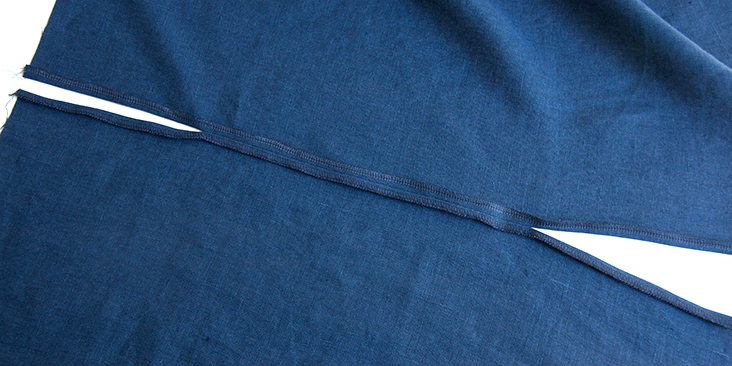
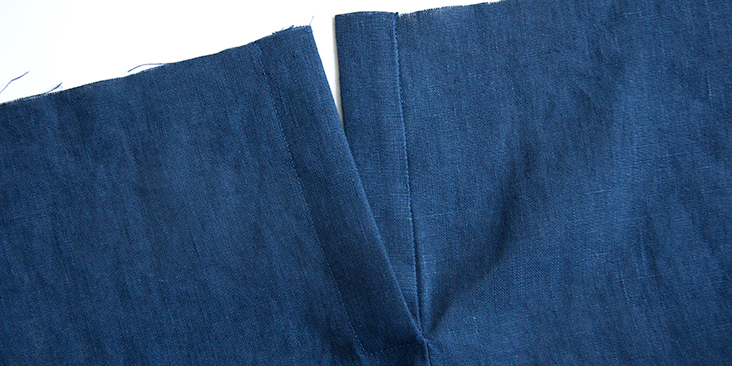
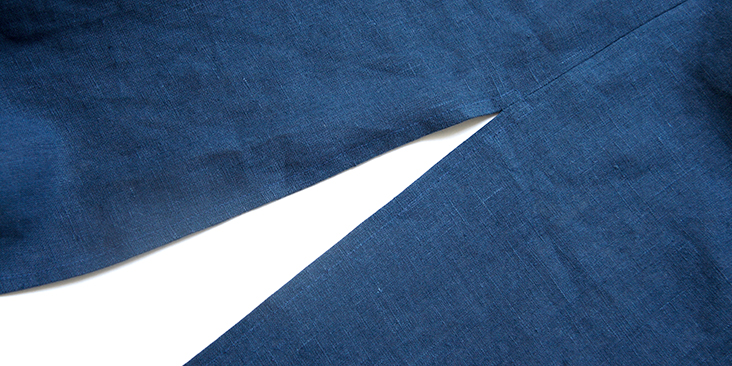
9. Finish the center edges of your 2 front skirt pieces using your preferred method (serge or zigzag). Then pin right sides together and stitch between the two notches (one is there the placket ends and the other – where the slip starts). Remember to backstitch at both ends.
Press the seam allowances open along the entire length of the skirt.
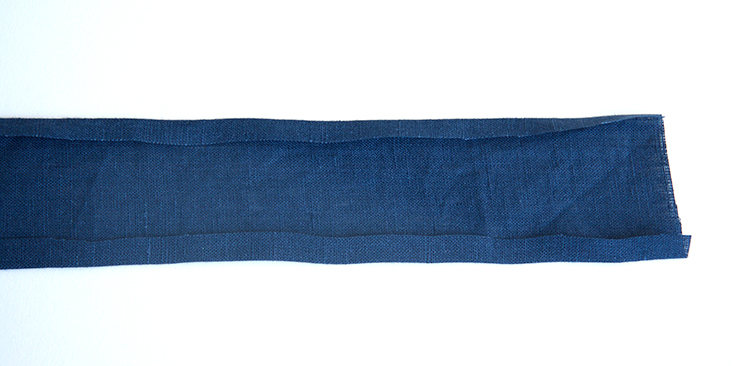
10. Take your placket piece and press the long seam allowances 3/8” (1 cm) to the wrong side.
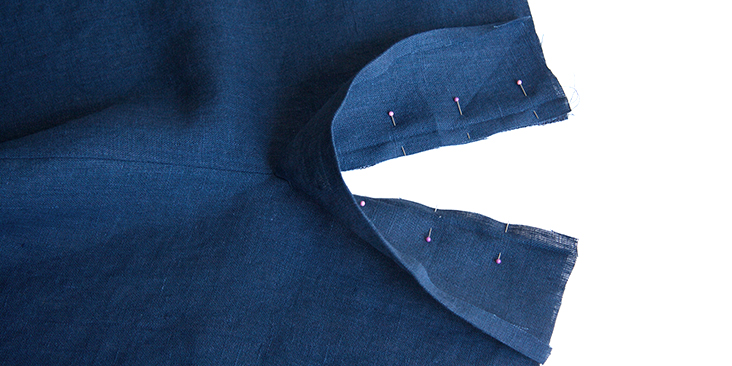
11. Pin one edge of the placket to the placket opening on the skirt, right sides together and lining up the edges.
12. Sew along the pinned edges in the crease of your placket, just catching the skirt fabric at the center and making sure that no folds or tuck are caught under the thread.
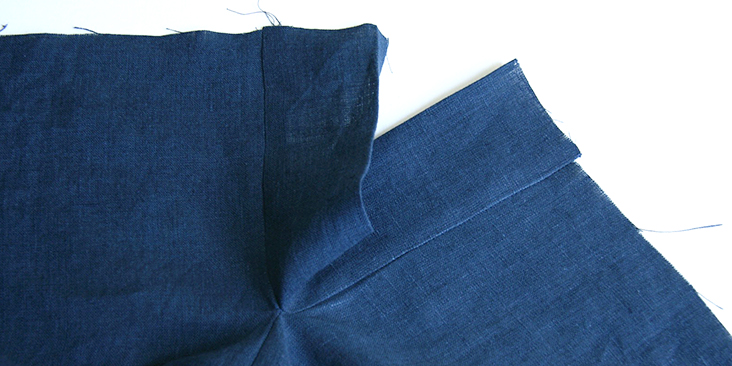
13. Trim the seam allowance down to ¼” and press the placket away from the skirt.
14. Fold the placket over to the wrong side slightly covering the stitching line and pin. This will enable you to neatly topstitch it from the right side and catch all layers.
15. Working from the right side, topstitch the placket in place in the crease.
16. Now fold the placket in half and press the right side over left creating a sort of button fly. Topstitch the right placket in place.
17. Create two buttonholes on the left placket extension and sew two buttons on the right placket. When you attach your buttons, make sure that your thread is not visible from the right side of the dress.
18. Complete the center slit by topstitching the seam allowances in place.
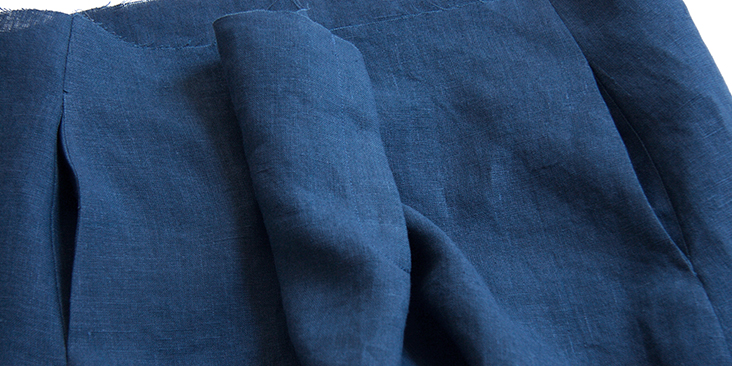
19. Now that your front skirt is complete attach the inseam pockets and assemble front and back skirts at the side seams as explained in this step-by-step tutorial.
Refer to the notches on the pattern for pocket placement. Finish the seams and press towards the front of the dress.
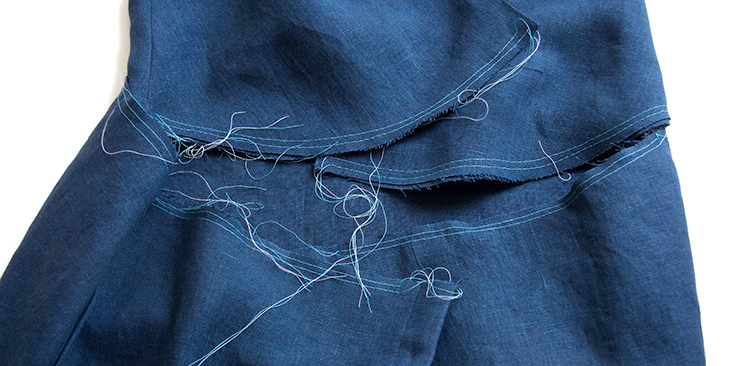
20. Set your machine to longest stitch length and run two lines of basting stitches along the waist edge of your skirt and bodice (back and two fronts separately). Use contrasting color thread and leave long tails.
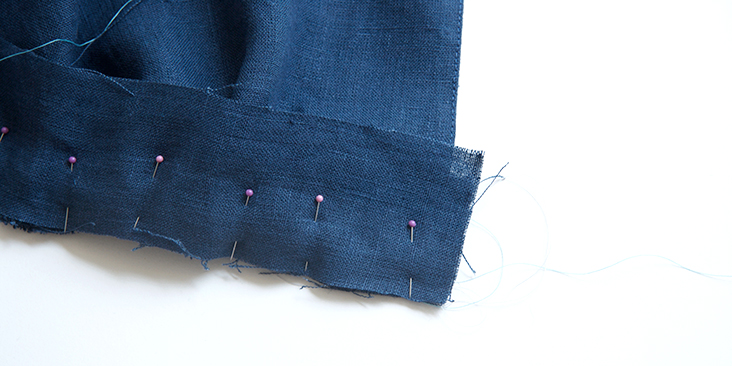
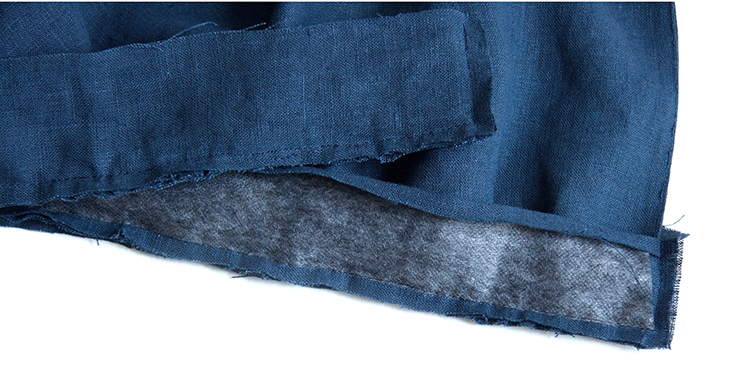
21. Apply fusible interfacing to the wrong side of one of your waistband pieces. Press one long seam allowance towards the wrong side. This will be your inner waistband.
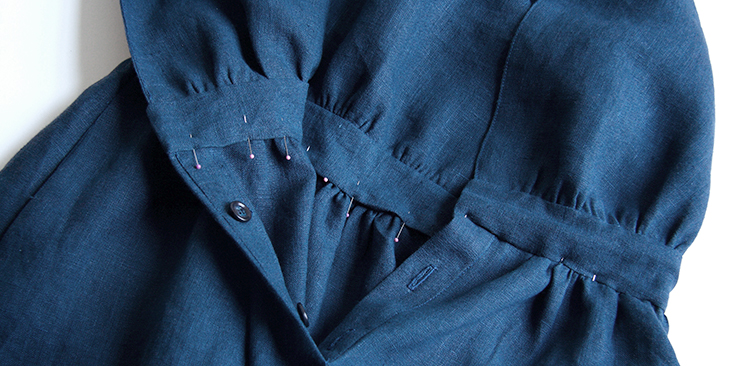
22. Pin your bodice in between the two waistband pieces, matching the side seams to the side seam notches of your waistband and the center back to the center back notch. Right side of the outer waistband to the right side of the fabric and the right side of the inner (interfaced) waistband to the wrong side of your bodice. Now pull your basting stitches and gather the fabric to meet the waistband in between the notches.
Make sure that the 3/8” seam allowances of the waistband are extending over the center front edges of your bodice.
23. Sew the short ends of your waistband and all three layers along waist at a 3/8” (1 cm) seam allowance. Trim the seam allowance down to ¼”, remove basting stitches and press the waistband away from bodice.
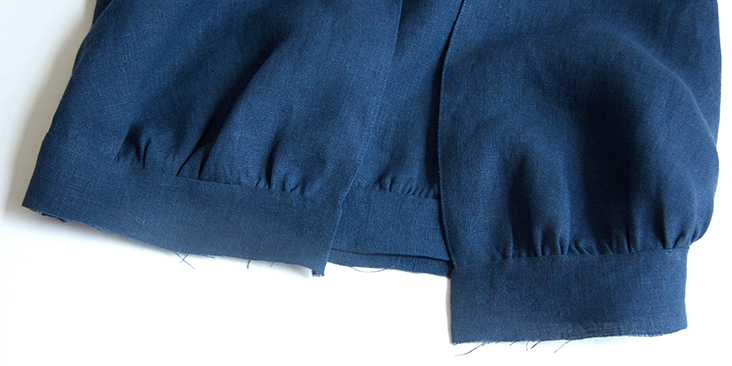
24. Pin the skirt to the other edge of your outer waistband, right sides together and matching the side seams to the notches. Gather your fabric evenly and pin.
25. Sew the pinned edge, trim and press the waistband and the seam allowance away from skirt.
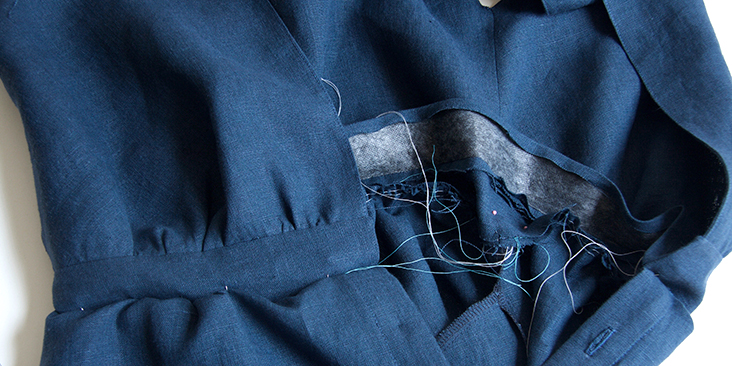
26. Now pin the inner waistband’s pressed edge to the wrong side of your skirt covering the seamline.
27. Working from the right side of your skirt, stitch in the crease of the waistband catching the inner waistband as you go.
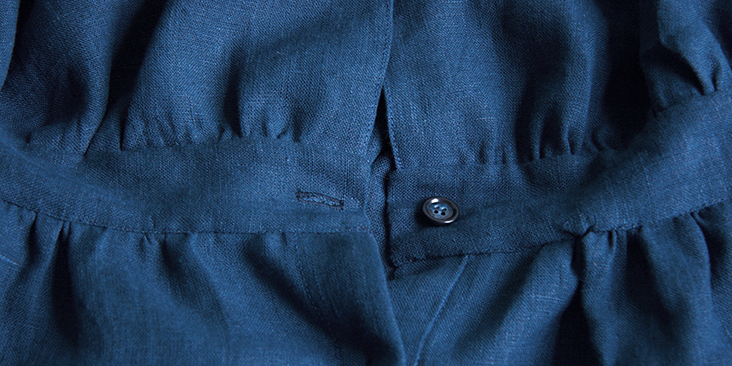
28. Overlap the center front edges of the waistband and sew one buttonhole and attach one button.
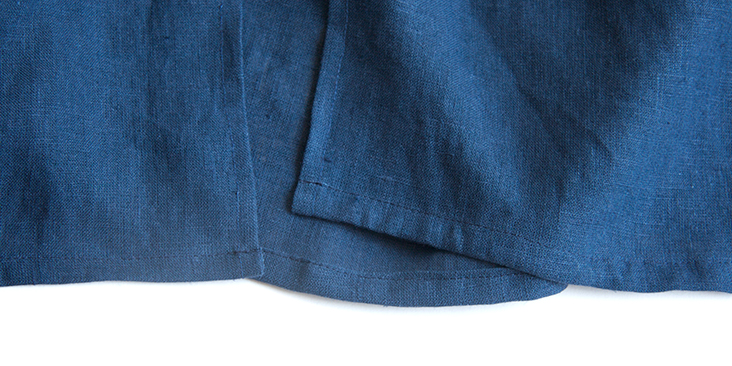
29. Lastly, hem the skirt by folding the fabric twice to the wrong side (first 3/8”, then another ½”). Press, pin and stitch.
We love seeing what you make! Don’t forget to share your pictures and tag your creations with #FabricsStoreAjaPattern hashtag.















3 Comments
Catie grandi
Would a cotton faille fabric work for this pattern? I’d like to use fabric IC023 to make this if possible.
Barbara Klare
I’d love to make this but I can’t have it so low cut. Would it work if I made the front bodice wider (+3 on each side) then have 3 buttons on waist. One for center and 1 on either side for wider bodice?
Lauren Linen
Yes, you can customize this pattern to make the front not so low cut. You may consider sewing the front bodice pieces together so they are attached up to your preferred neckline point.