Cara Linen Blouse With Oversized Patch Pockets Tutorial and Pattern
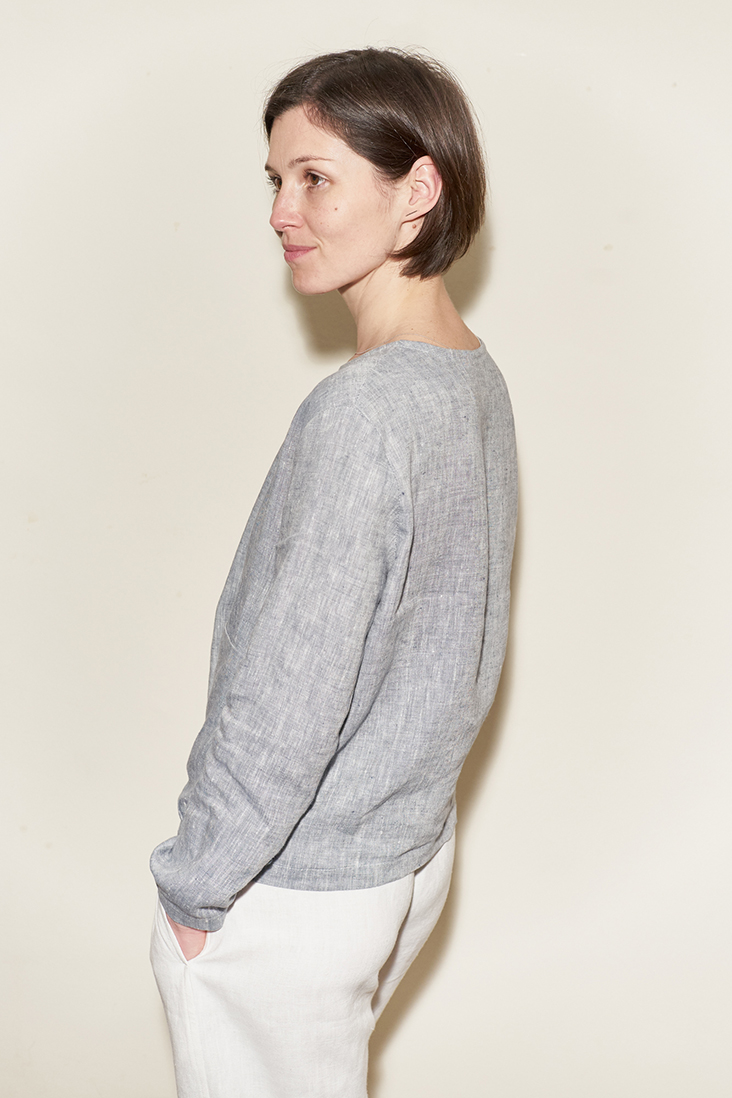
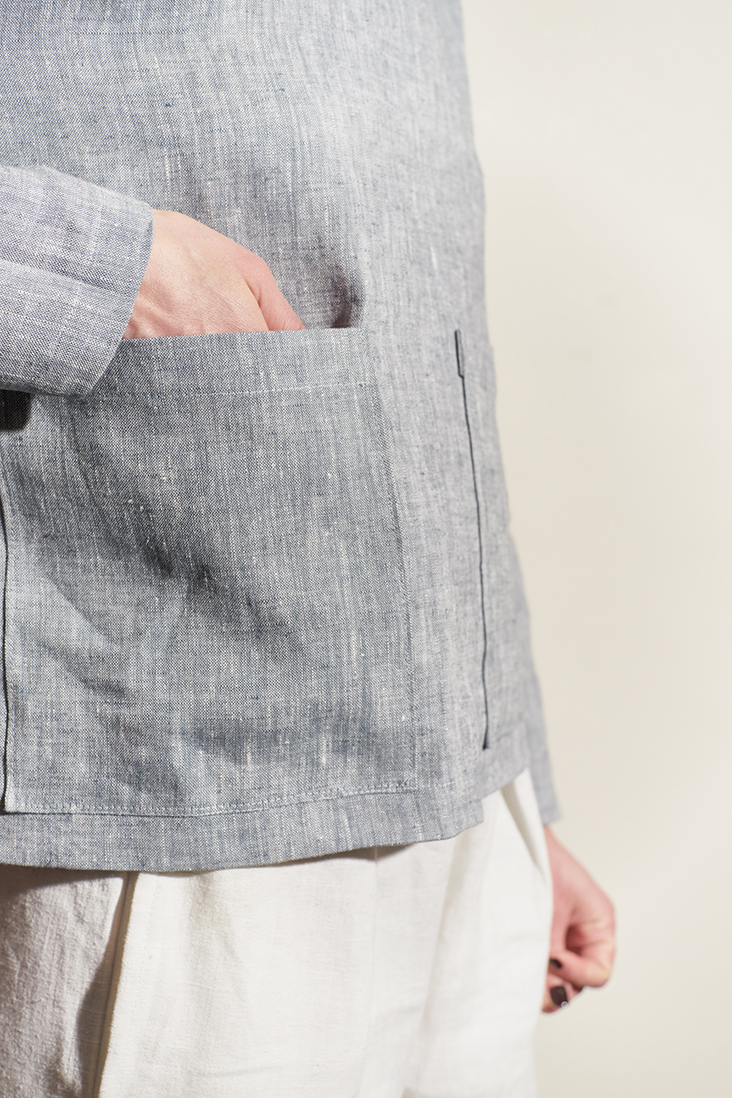
Outfit your carefree days in this relaxed linen top. Uncomplicated boxy shape with a loose fit, rounded neckline, loose sleeves – this is an ideal item for everyday wear that will keep you cozy all year long. When working with a shape this simple, it’s all about the details. That’s why we decided to style it with two oversized patch pockets to turn it into something special.
The raw, textural feel of this pure premium quality linen fabric gives the top a soft, weightless drape and beautiful movement while the yarn-dyed threads add visual interest to this versatile women’s classic.
Materials
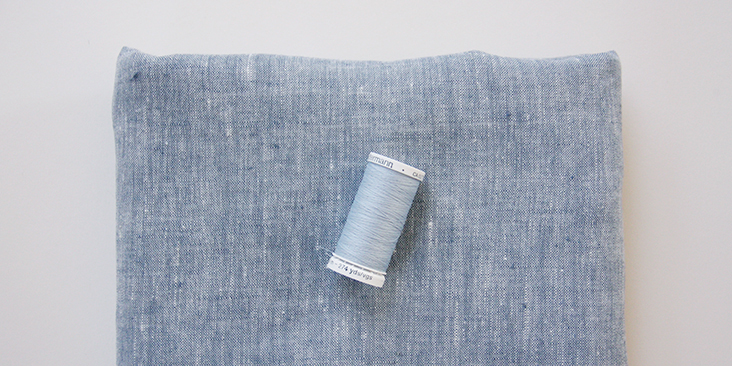
1.5 yards of IL042 907 Premier Finish Medium Weight linen
Matching sewing thread
Tools
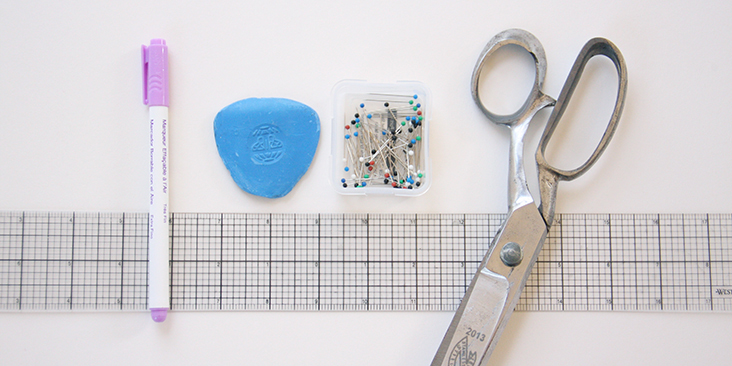
Scissors, ruler, pins, chalk, fabric marker, sewing machine
Difficulty
Beginner
Time
3-4 hours
Pattern
You can access the multi-sized printable PDF pattern by following this link HERE. All seam allowances are included and are 3/8” (1 cm) unless otherwise specified. The model is wearing US size 6.
Remember to transfer all the notches onto your fabric.
Note that you’ll also need to cut a strip of fabric on the bias that is 1.5″ wide and approximatively 25″ long for neckline binding. For detailed instructions on how to cut your bias tape please follow’ this tutorial.
Steps
Note: Prewash your fabric and tumble dry it until it is still slightly moist, dry at room temperature. Iron the fabric so it is easier to work with.
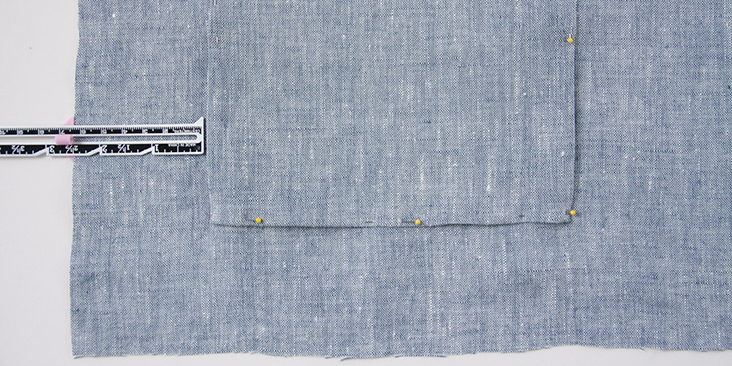
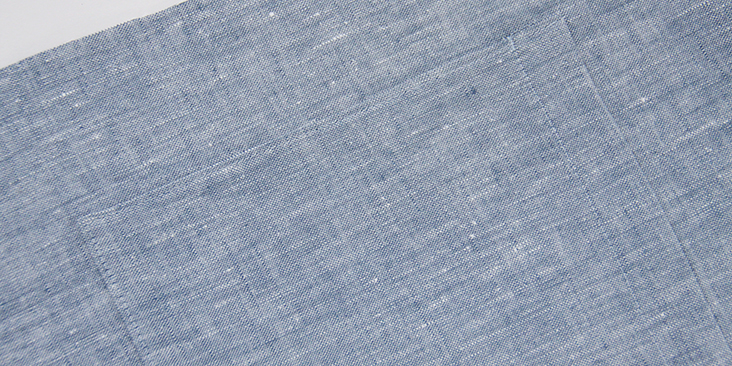
1. Let’s start with the pockets. Attach your pockets to the front of your top by following this detailed tutorial HERE
Place your pockets 2,5″ from the bottom and 2,5″ from each side.
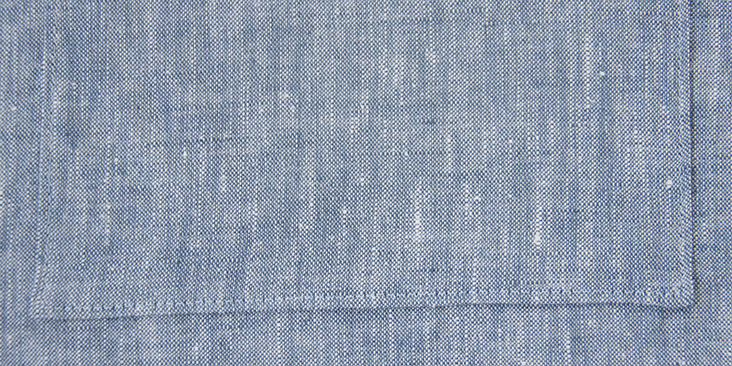
2. Pin the front and the back of your top right sides together at the shoulders.
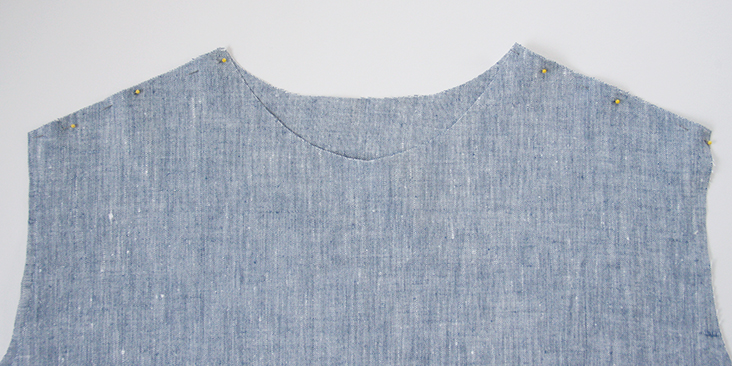
3. Sew the shoulder seams right sides together at 3/8″ (1 cm) seam allowance, remember to backstitch.
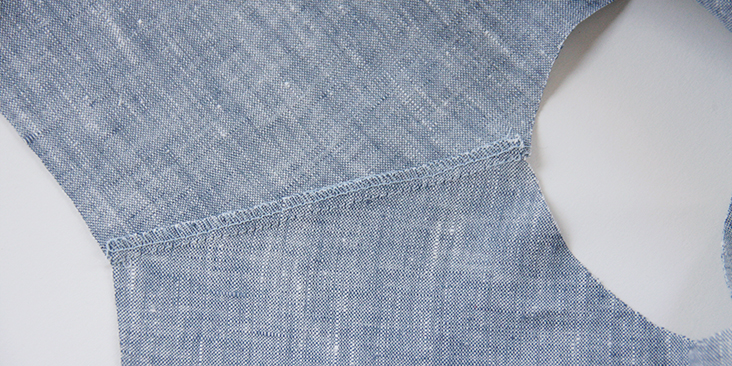
4. Trim the seam allowance down to 1/4″ (6 mm) and serge or zigzag the raw edges together to prevent the fabric from fraying. Press the seams flat folding the serged/zigzagged edges towards the back.
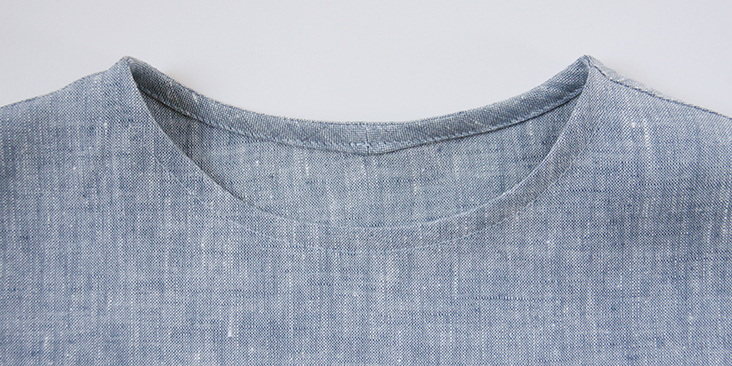
5. Bind the neckline by following this step-by-step tutorial.
6. Pin the sleeves to the armholes right sides together.
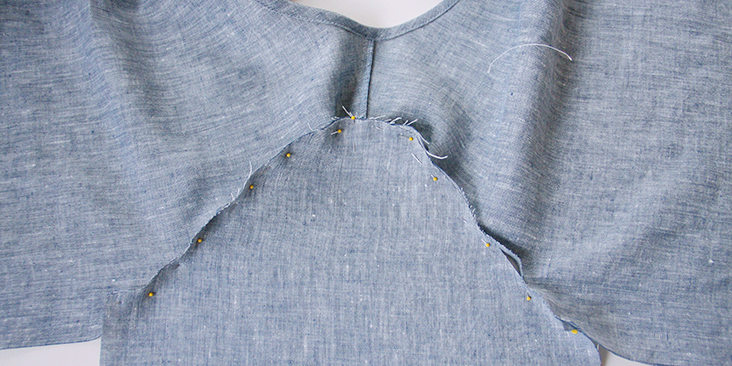
7. Sew at a 3/8” (1 cm) seam allowance. Serge or zigzag the raw edges together to prevent the fabric from fraying. Press the serged/zigzagged seam allowances up towards the sleeves.
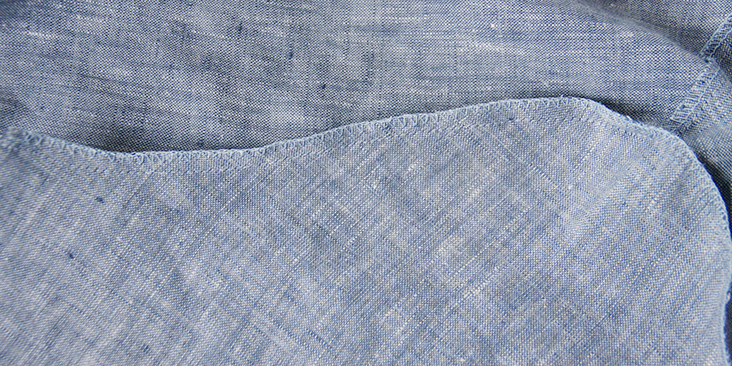
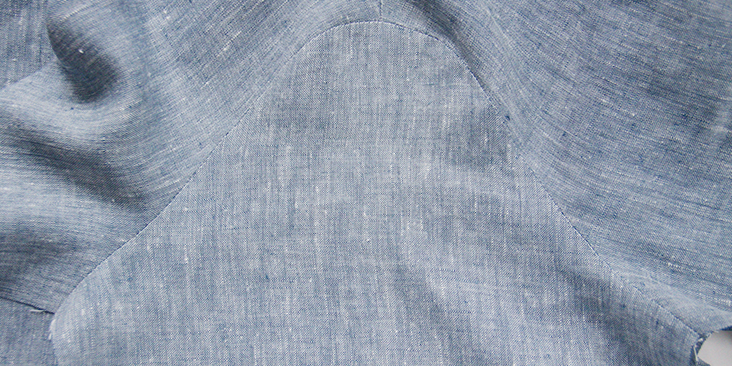
8. Pin the sleeves and the side seams right sides together.
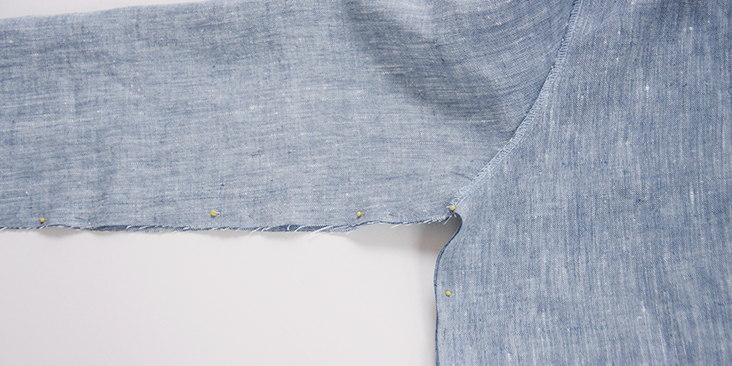
9. Sew the pinned edges at a 3/8” (1 cm) seam allowance and finish the raw edges with a serger or a zigzag stitch. Press the seams flat folding the serged/zigzagged edges towards the back of your top.
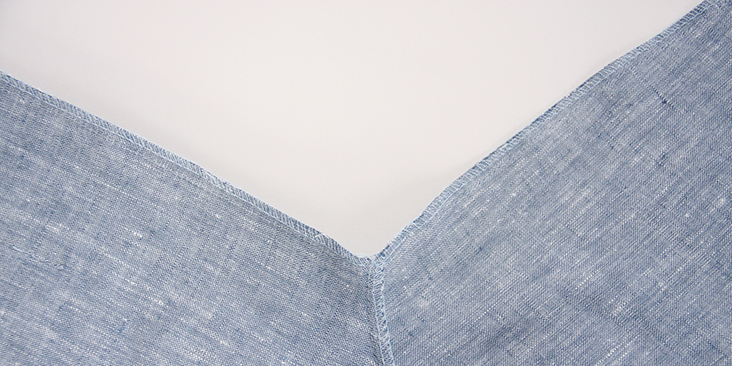
10. Finish the sleeve openings with a rolled hem. Fold the fabric twice towards the wrong side, 3/8″ to 1 inch, press, pin and stitch.
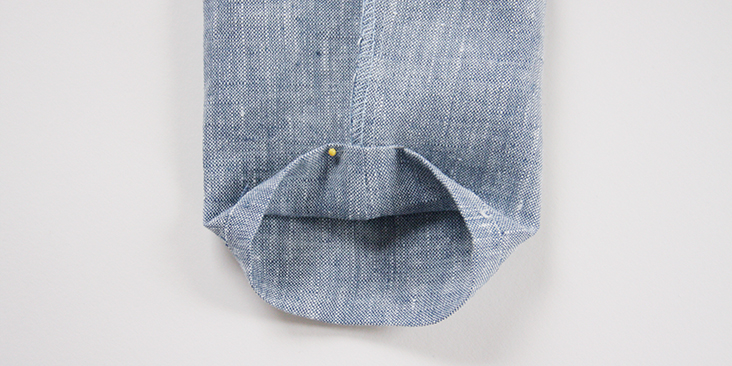
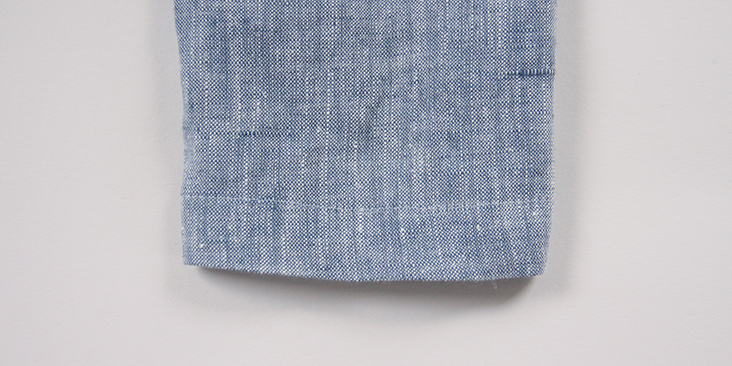
11. Finish the bottom hem the same way you finished the sleeves: fold the fabric twice towards the wrong side, 3/8″ to 1 inch, press, and pin. Make sure that your second fold is in line with the pockets seam line. You don’t want your finished hem to run over the pockets.
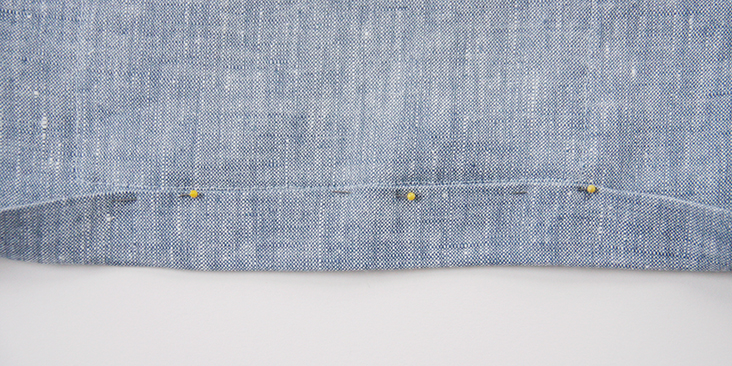
12. Stitch as close to the folded edge as possible to finish the bottom hem.
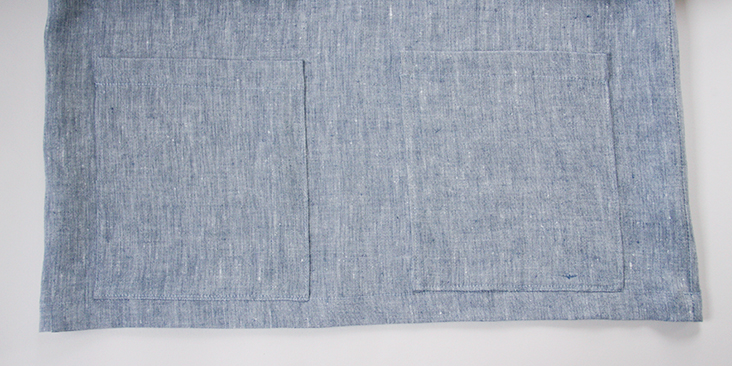
Give your top a good press and you are all done! Such a great basic to pair up with your favorite jeans or denim shorts.







24 Comments
Marina Olson
Am I just missing the notches on the pattern? I didn’t seem them there but maybe I’m just confused.
Lauren Gates
Hello Marina, There is a notch at the top of the sleeve pattern piece. There are no other notches 🙂
Cathryn Waudby
If you fold the sleeve pattern in half they are completely the same, so other than front and back of fabric the front sleeve head Is the same as the back (left and right are the same )
@cathrynsewa
Anja Waleson
I’m working on my first ever garment with this great pattern.
Two questions and one request:
(1) for what bra size did you create this pattern? I need to make a small bust adjustment by adding a side seam dart.
(2) Could you please add notches (e.g. front/ back) to (ALL) your patterns? Not including them made it especially confusing.
A request: please do include sizes 28/30 in more of your gorgeous garments since accurately grading a pattern to larger sizes is a bit daunting.
Thanks so much for letting me know. Keep up the great work!
Anja
Laksmi Noer
Thank you for the pattern, I love it!
I’ve finished sewing it.. it was so easy and simple.. I’m thinking of sewing another one..
Bethany Ettawacappo
Hello! It’s April 2020 and when I download the pattern the pieces are missing. Is there a new link or can this be fixed? I would love to sew this top. Thank you!
Lauren Gates
I sent you an email Bethany 🙂
For others who may be stuck, please see our tutorials in our Help Center which have step-by-step tutorials for accessing the pattern pieces.
https://support.fabrics-store.com/hc/en-us/sections/360000039523-PDF-Patterns
Ashikin Kamarol Zaman
Hi. I could not find the pattern though i have downloaded the pdf. Can you kindly help?
Pingback:
30 Gorgeous Free Sewing Patterns for Tops (Women)Cynthia Clinton
Many thanks for such a lovely, but simple top to construct. I love the loose, boxy fit. It’s gorgeous in you linen!
Cynthia
Dinop
Just finished mine ?? thanks for the pattern and step by step tutorial.
Ready for summer traveling ?
pace
How do i print this out so that it is the correct size to cut the fabric?
Rima Khusainova
Dear Pace, unfortunately this top doesn’t have a printable multi-sized pattern. Basically, you need to transfer the measurements in the diagram onto a large sheet of pattern paper and add seam allowances as indicated. The diagram shows the pattern for US size 6-8 (UK size 10-12).’ If you need help grading your pattern, please follow’ this tutorial here – https://blog.fabrics-store.com/2015/06/01/how-to-grade-a-pattern-tutorial/
Masha Karpushina
Dear Pace, we now have a printable PDF of this pattern, if you still want to have a try at making it .
Enjoy.
Siham Azar
Beautiful & you made it so simple I must try it thanks for sharing
Rima Khusainova
Thank you so much Siham!
Sheri
I love the look of this blouse, but it would make me look so fat. I have a large bust and this wouldn’t work for me.
Masha Karpushina
Dear Sheri, we have so many designs you could look at, just browse our Tutorials to see whether anything would suit your beautiful frame!
Taryn
Classic, minimalist lines with nice pockets for interest. Beautiful top and love the fabric choice for it. I’m going to make it! Thank you so much for another great FREE pattern!
Question: The fabric for the shirt that the model is wearing looks more gray in color than that in the tutorial itself. I would like to purchase the IL042 fabric that is closest to the grey color, rather than the blue in the tutorial. Can you recommend which color choice is closest?
Rima Khusainova
Dear Taryn, thank you so much for your kind words! So happy you loved the pattern! As for the color closest to gray, I’d recommend the IL042 954 FS Premier Finish http://www.fabrics-store.com/first.php?goto=big_fabric&menu=f&fabric_id=1716. I think it’s exactly what you are looking for 🙂
Taryn
Thank you for the recommendation Rima! I will get it!
xarophti
Thanks for adding the link to grading the pattern. I’ll need to grade up quite a bit to get to plus sizes. The help is appreciated.
Rima Khusainova
Sure! This is quite an easy pattern to size up due to the boxy, oversized fit.
Anja Waleson
Hi Xarophti,
I’ve had to do the same thing and spent quite some time trying to figure out how to do this. My specific area I needed to adjust was the width of the waist. I found the pivot method in this YouTube tutorial quite useful: https://www.youtube.com/watch?v=_bzzi4DjCjI. Hope that helps.