Milou Linen Color-Block Dress Tutorial and Pattern
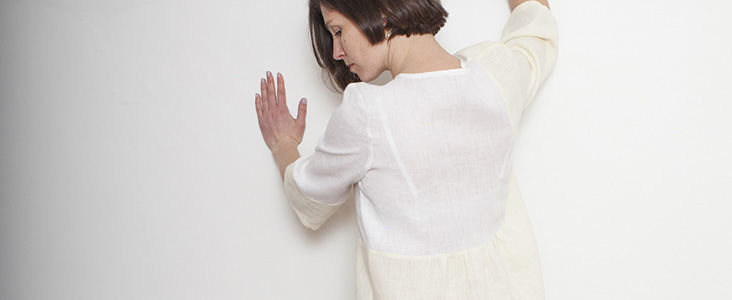
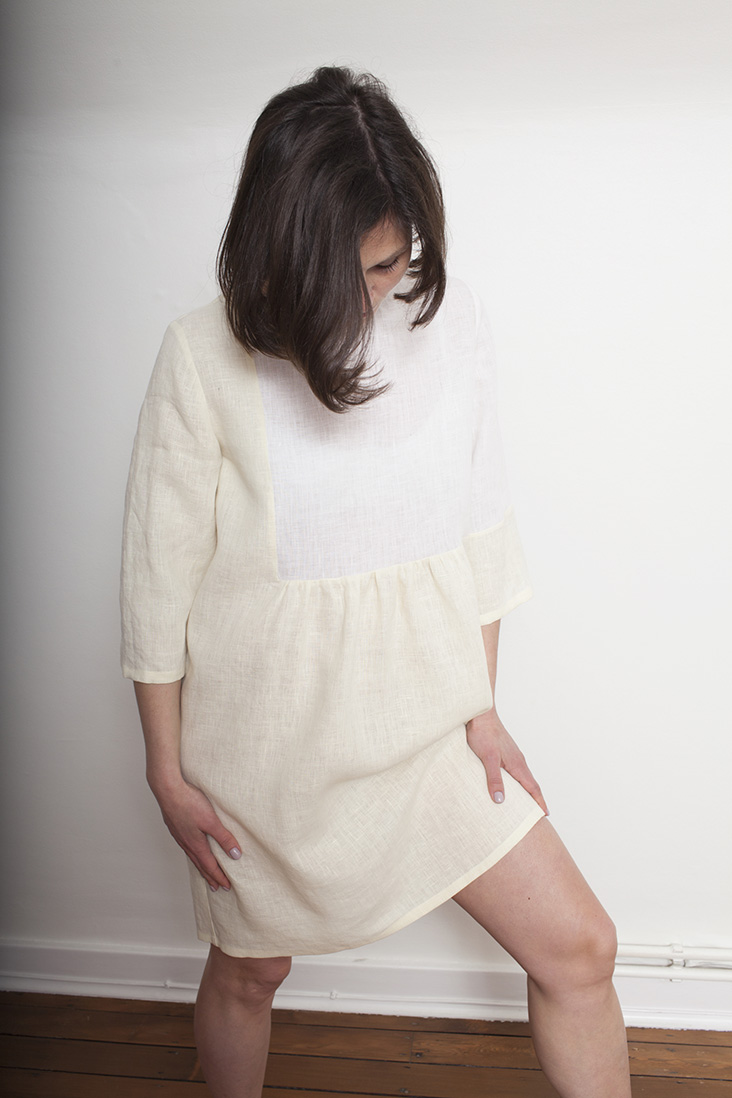
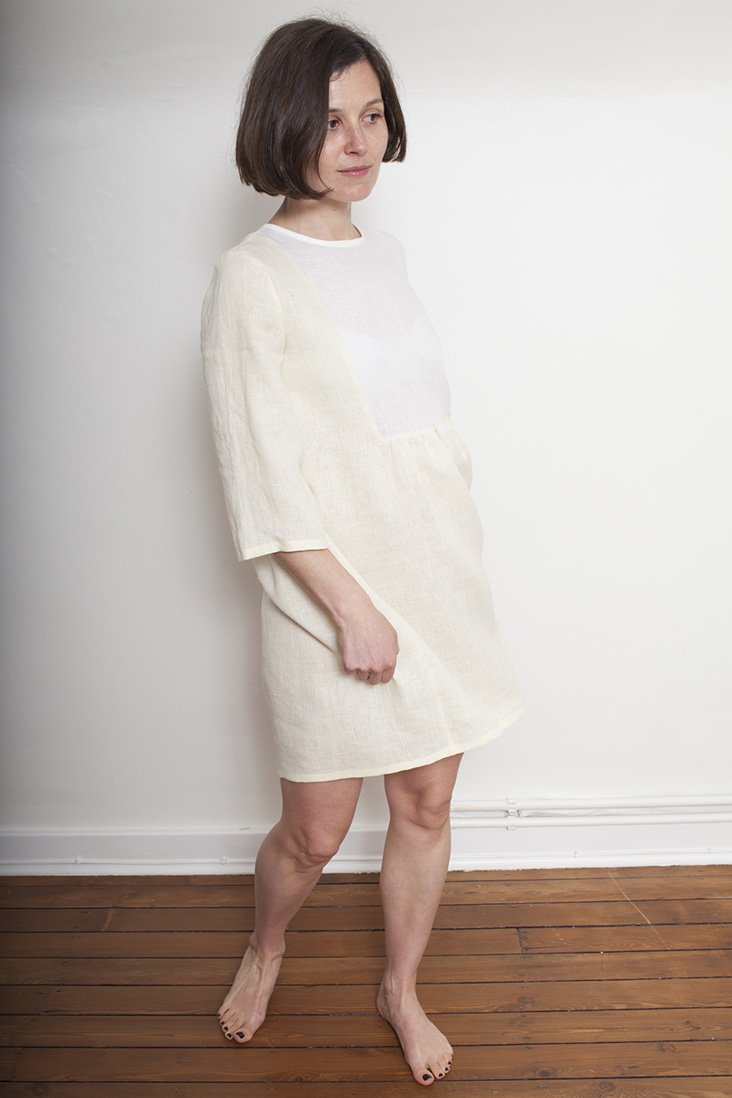
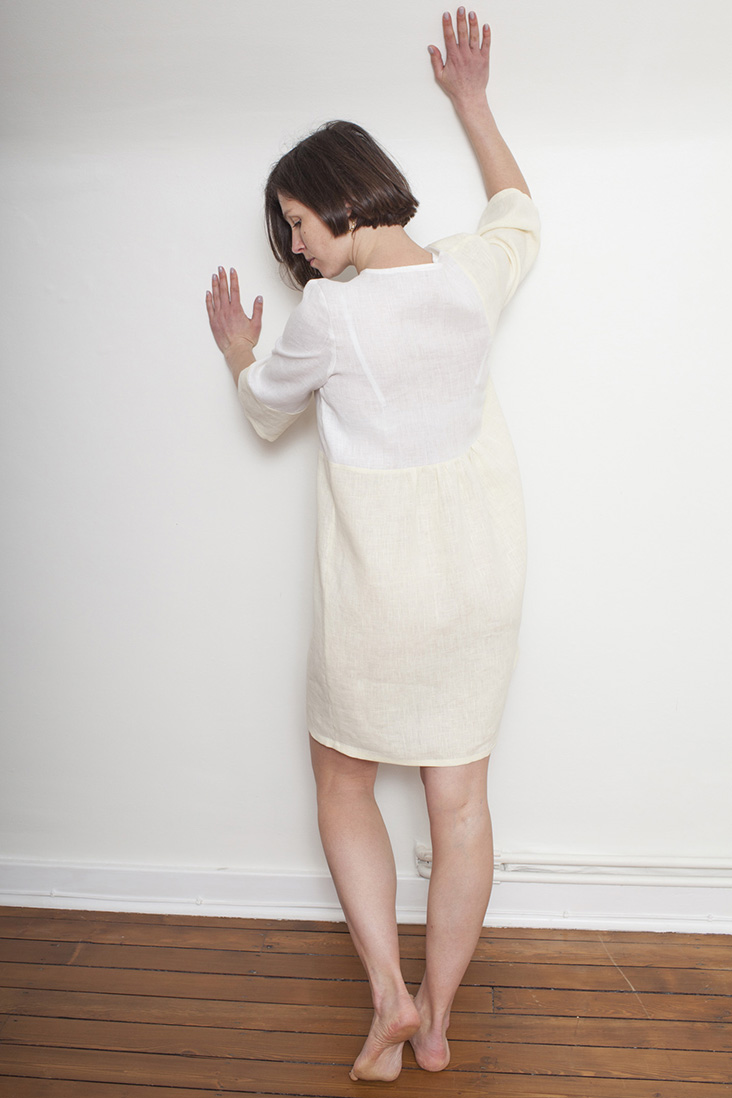
Gray, blue, black and other deep tones dominated our wardrobes for far too long this winter! Now that it’s finally over, why not celebrate spring with an all-white color block dress? Our loose-fitted and partially gathered Milou dress combines two shades of white linens: an optic white and a buttery off-white for a monochromatic and very stylish look. All-white just elevates everything so much more, don’t you think?
A perfect beginner project, this dress is a breeze to make and a pleasure to wear! Cut from our softened medium weight natural linen, it looks and feels effortless and chic.
Follow this easy tutorial and make this pretty little dress that will make you feel special.
Materials
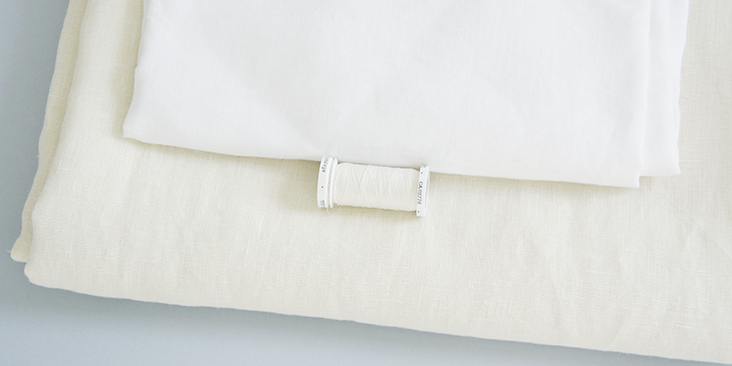
For our sample size S pictured in this tutorial: 2 yards of IL019 KRISTA NATURAL Softened and 1 yard of IL019 OPTIC WHITE Softened Medium Weight Linen
Refer to the yardage table in the PDF pattern to determine the exact amount of fabric you will need to make this dress.
Matching sewing thread
Tools
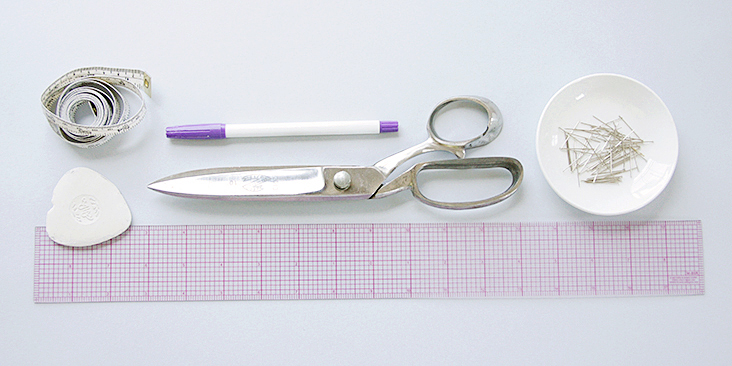
Scissors, pins, ruler, chalk, seam ripper, needle, sewing machine
Difficulty
Beginner
Sewing Time
3-4 hours
Pattern
You can access the multi-sized printable PDF pattern by following this link HERE. All seam allowances are included. The model is wearing size S. If you wish to add inseam pockets to your dress, you’ll find the pocket template and the instructions in this tutorial.
Remember to transfer all the notches onto your fabric.
Steps
Note: Prewash your fabric and tumble dry it until it is still slightly moist, dry at room temperature. Iron the fabric so it is easier to work with.
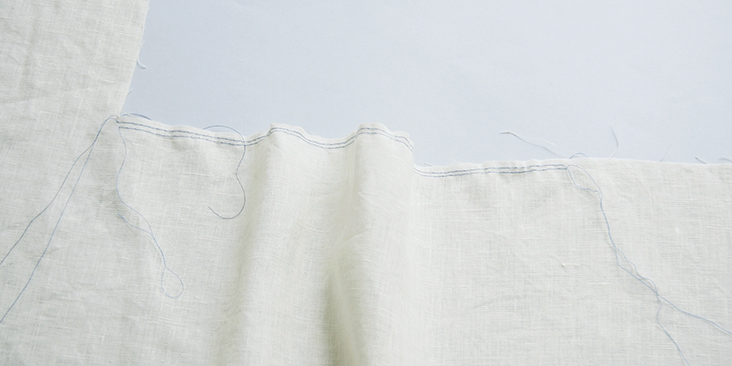
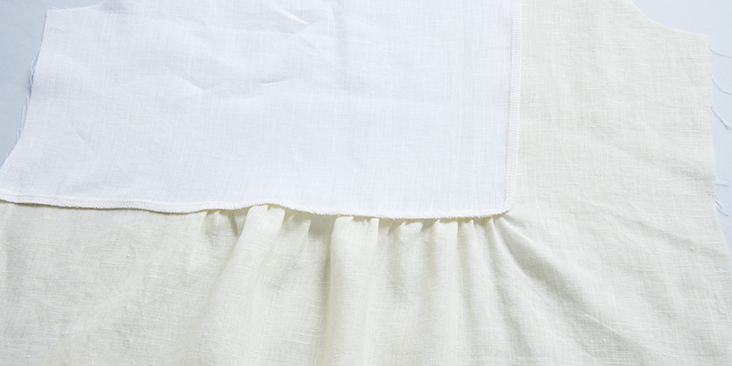
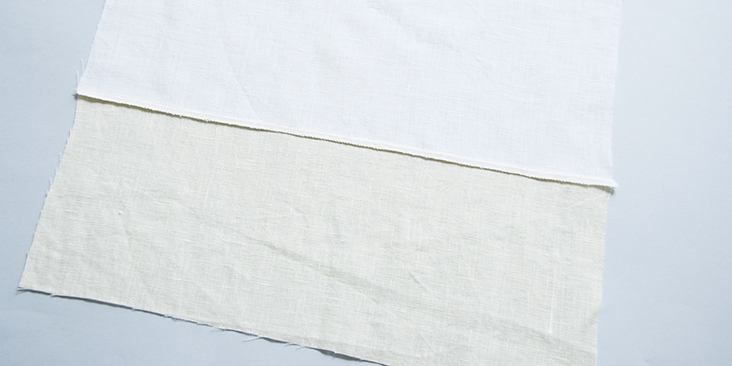
1. First, let’s assemble the front panels together. To gather the skirt into the bodice, run two lines of basting stitches using a contrasting color thread from one notch to the other. For more instructions on how to gather fabric please check our tutorial HERE.
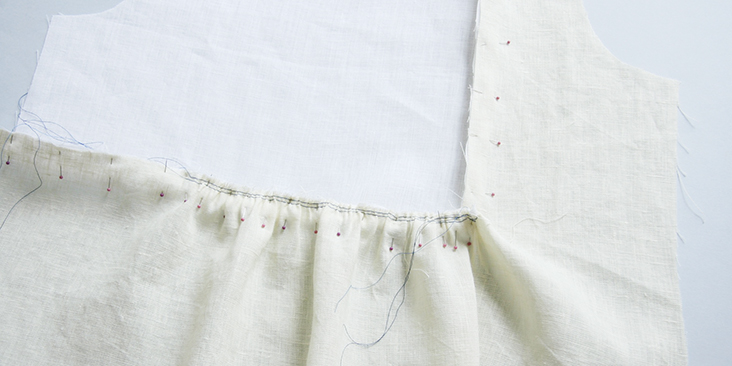
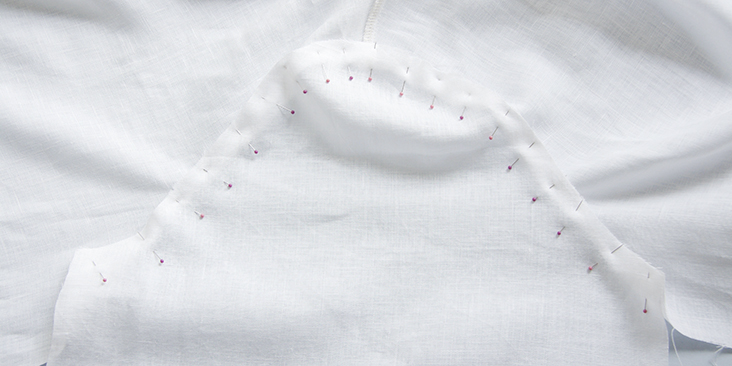
Pin the contrasting bodice piece to the bodice/skirt panel matching the raw edges right sides together.
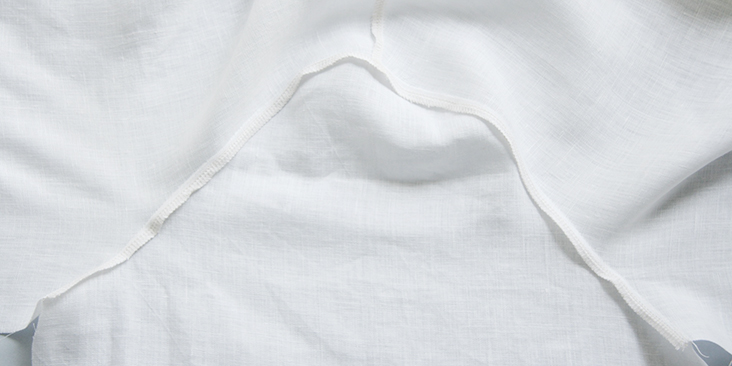
2. Sew along the pinned edges at a 3/8” (1 cm) seam allowance and finish the seams together with your preferred method ( serger or a zigzag stitch) to prevent the fabric from fraying. Press the finished seam allowances away from the inset.
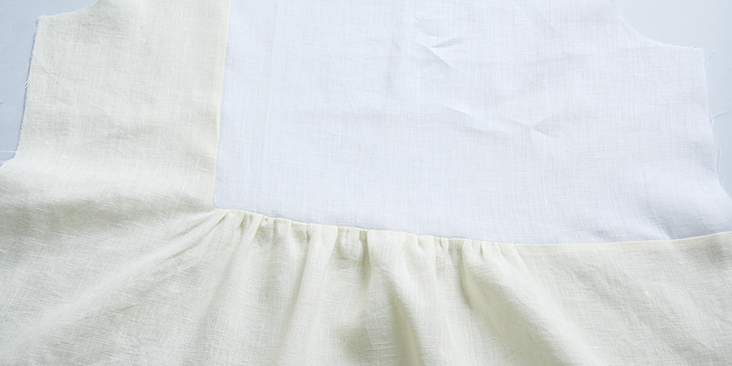
3. Repeat same steps for the back.
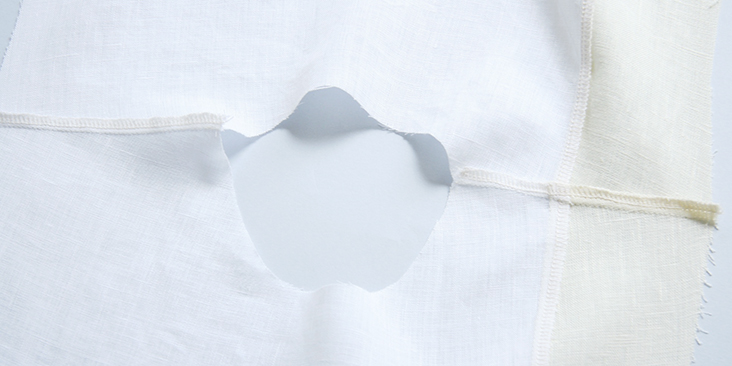
4. Pin and sew (3/8” seam allowance) the back and the front panels right sides together at the shoulders. Press the seams towards the back.
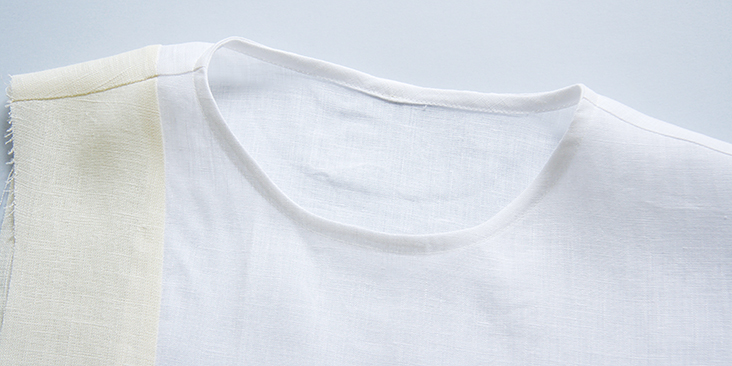
5. Bind the neckline following the instructions in this step-by-step tutorial.
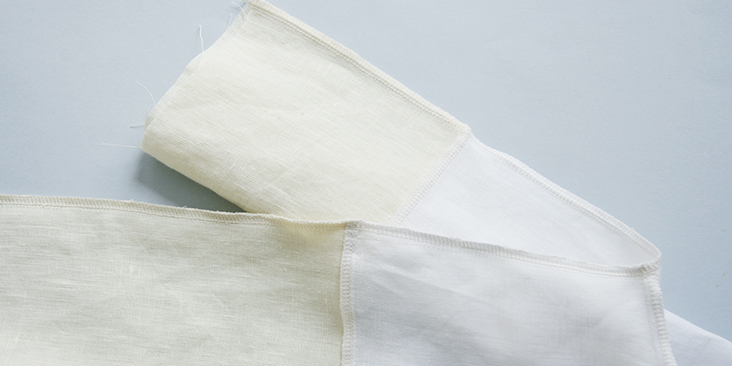
6. Sew the two contrasting panels of a sleeve right sides together and finish the seam. Press flat to one side.
7. Pin the color blocked sleeve to the left armhole right sides together.
8. Sew at a 3/8” seam allowance, finish the seams and press towards the sleeve.
9. Pin (matching underarm seams) and stitch the side seams and the underarms all in one seam at a 3/8” (1 cm) seam allowance then finish the raw edges with a serger or a zigzag stitch and press towards back.
10. Attach the other sleeve.
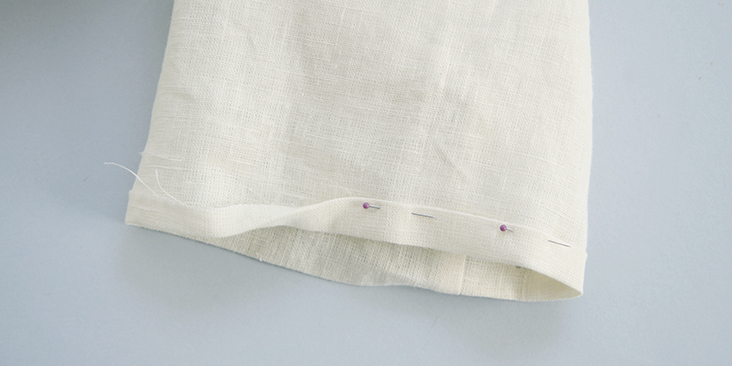
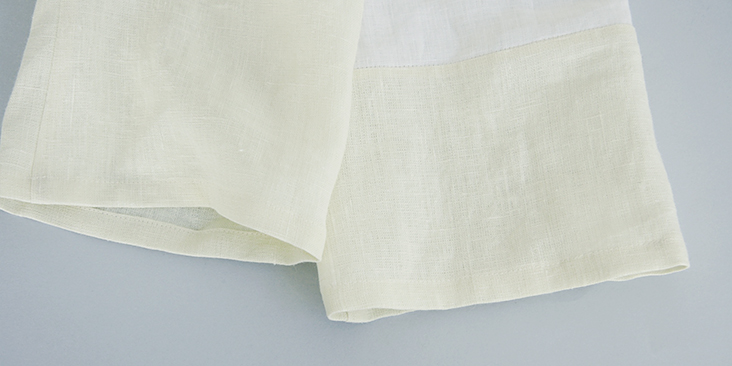
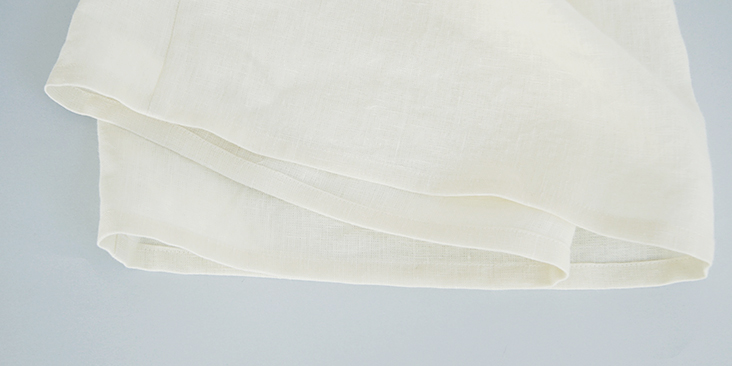
11. Finish the sleeve openings with a rolled hem. Fold the fabric twice to the wrong side (3/8” to 1/2”). Press, pin and edgestitch.
12. Lastly, finish the hem: fold the fabric twice to the wrong side (3/8” to 1/2”). Press, pin and edgestitch.
And you are all done! We love seeing what you make! Don’t forget to share your pictures and tag your creations with #FabricsStoreMilouPattern hashtag.




11 Comments
Carol Barker
What do you mean by cut 2 face to face for front and back side bodice skirt? Please provide clarification/more description since I am a beginner. Thank you!!
Elizabeth Fluehr
I took photos of my pattern pieces laid out (without fabric) on our ping-pong table, which is very conveniently 60″ wide. The first photo shows the layout with my longer version of the skirt. The other photo shoes the layout if you cut the skirt the short length as designed and cut out the lengthener pieces separately in a nice leftover corner of the fabric. That version becomes very efficient with fabric use. I can send those photos to you if you will let me know what email to use.
My color combo will be wisteria with white. I have decided to to use the layout from the second photo. Between the original cutting line of the short dress (in my case, a wisteria skirt) and the extended length pieces (also wisteria), I am going to run a narrow folded band of white (almost like an upper hem), maybe 1/2″ wide, and not stitched at its bottom edge. Bellow that will hang the extension, and the goal of all this is to repeat repeat the accent of the color block color and separate the two wisteria pieces from one another.
Elizabeth Fluehr
I intended for the comment about the photos to go to Lauren.
Lauren Linen
Hello Elizabeth, you can contact us by emailing ask@fabrics-Store.com 🙂
Elizabeth Fluehr
Measuring the bodice pattern pieces on the 3/8″ seam allowance line, the finished neckline of this dress is about 20 5/8 inches around. I hope the pattern designer will check that math. Googling the average circumference of a woman’s head gave me this range: 21.5 inches to 22.7 inches. So this neckline might be too tight for many of our heads to pass through. My own noggin is 23 1/4 inches around and I’m hoping my modifications to the pattern pieces will make the neck dimension work for me.
Lauren Linen
Thanks for the feedback Elizabeth, I’ll pass this onto our pattern team.
You may like to add a slit at the back with a button loop closure. This will help you maintain the lovely high neckline, while making it easier to pull over your head. Here is a tutorial we have for adding a slit and button closure:
https://blog.fabrics-store.com/2016/09/16/how-to-sew-a-button-loop-tutorial/
Elizabeth Fluehr
I will definitely take a look at the slit and button idea. I think I would build it into the seam between the main fabric and contrast fabric. One of the things I have not liked about changing the neckline to make it bigger is that the contrast fabric gets narrower at the shoulder line in the process.
Elizabeth Fluehr
My comment about creating a slit between the main fabric and contrast fabric does not make any sense. Duh!
Elizabeth Fluehr
I apologize. The more I worked with the pattern layout, I came to see that the base color does work in 2 yards of fabric if you don’t add as much extra length as I am doing. It does seem, however, that you may need to open the fabric as I mentioned before, cut the biggest pattern piece, then flip it over (left to right) and cut it again separately, creating one back and one front. This might not occur to a beginning sewist, or even an older one like me. 🙂
Elizabeth Fluehr
I’m getting ready to make the Milou in size 12-14, although I haven’t bought the linen and prewashed it yet. I’ve got the pattern printed out and taped together so I can know that the pattern layout will work on the fabric and buy the right yardage. I want to mention that my biggest pattern piece is a full 59″ wide, so if the linen shrinks at all in width, the pattern piece wouldn’t fit from selvedge to fold to cut front and back simultaneously. If you are making this size or bigger (and even the smaller sizes), you might have to open out your fabric flat (not folded) and cut the biggest piece twice separately, and I’m pretty sure you’ll need more than the 2 yards of your basic color. My layout is also changing because I don’t like the knobby-knees look and I want to add length so the dress goes just below the knee. I’ll also curve the hem and flare the sides of the skirt several inches, because I think this dress looks kind of abrupt cut straight down (perpendicular to the hem) as designed. I will be choosing a higher-contrast pair of linen colors since I find the color blocking humorous and want it to show! Thanks for the free pattern! –Liz
Lauren Linen
Thanks Liz!
I’m going to have our designer look at the pattern layout here.
I hope you’ll share a photo of your finished Milou Dress on the website, it sounds Fabulous!