Avery Tiered Shirt Dress Tutorial and Pattern
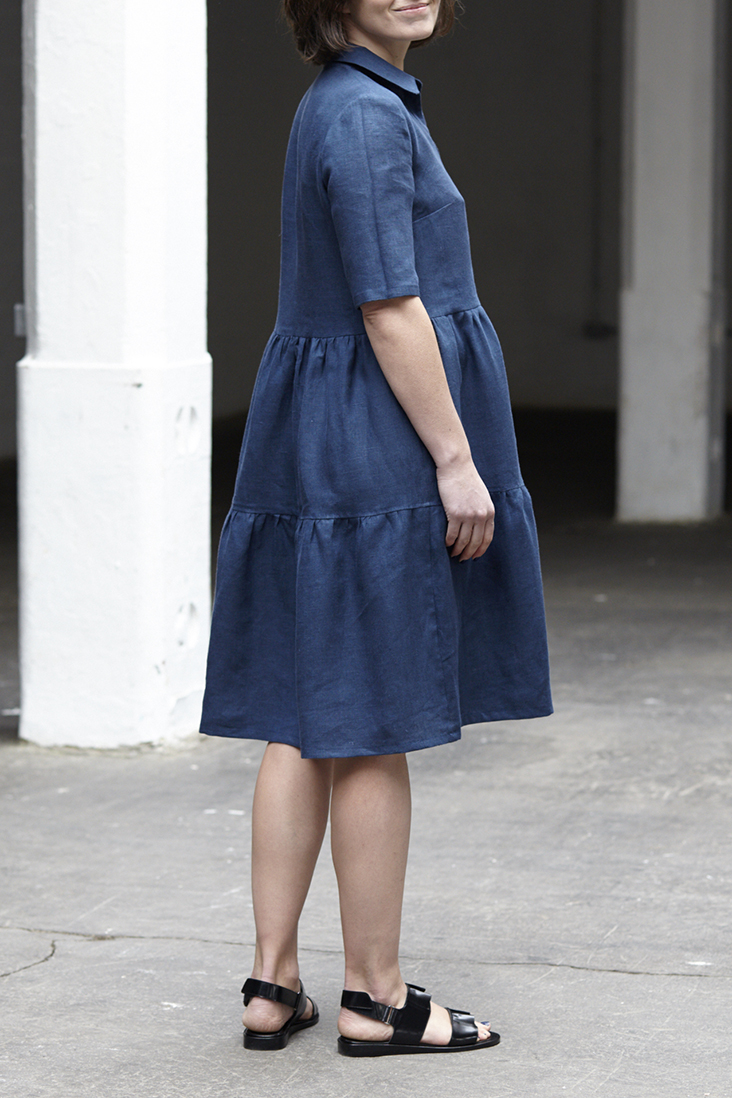
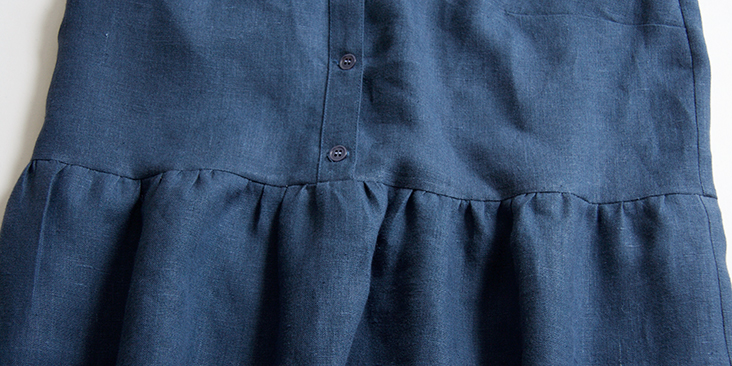
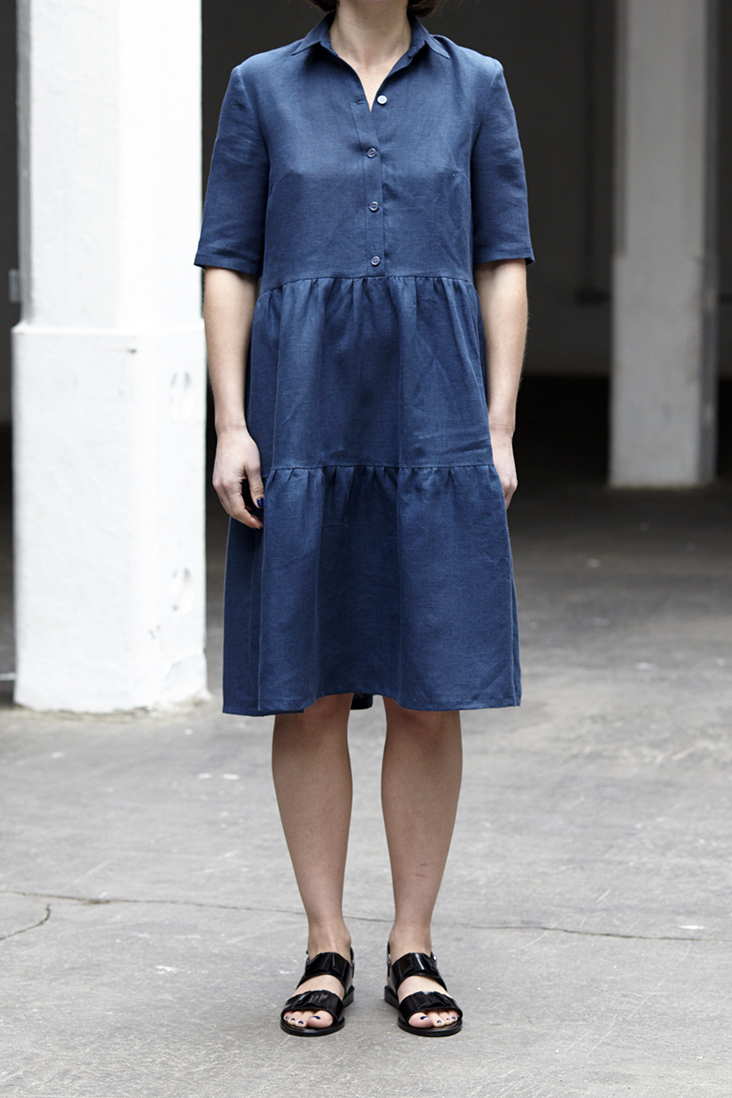 Avery pattern is a classic shirt dress with a tailored collar and a semi-fitted bodice made fancy thanks to a tiered skirt. These flirty layers add an interesting dimension to the whole look and are perfect for spinning, dancing or just looking really neat and feminine for almost any occasion.
We did a two-tier design, but if you’d like to play around with the layers, feel free to add and adjust the lengths of the tiers! It also gives a great opportunity for working with color-blocking and change your whole ensemble around!
One pattern but so many options for styling!
Materials
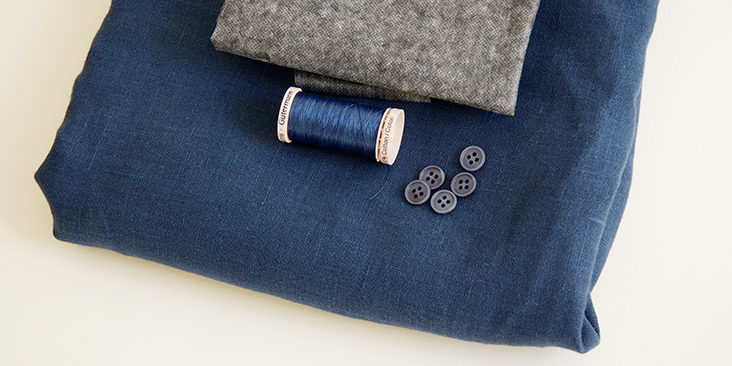
2 yards of IL019 COBALT FS Signature Finish Medium Weight Linen
Matching sewing thread, contrasting thread for gathering, fusible interfacing, 5 small (18L) buttons
Tools
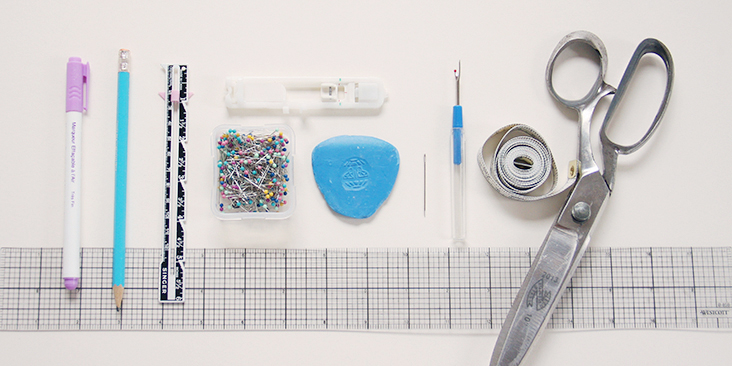
Scissors, pins, ruler, chalk, measuring tape, fabric marker, buttonhole foot, seam ripper, needle, sewing machine
Difficulty
Advanced Beginner
Sewing Time
5-6 hours
Pattern
You can access the multi sized printable PDF pattern by following this link HERE. All seam allowances are included. The model is wearing US size 6.
Remember to transfer all the notches onto your fabric.
Steps
Note: To avoid shrinkage, prewash your fabric and tumble dry it until it is still slightly moist. Iron the fabric so it is easier to work with.
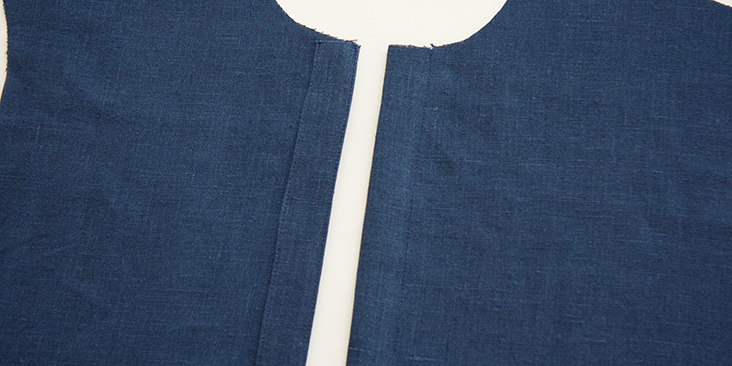
1. First of all, sew the two button bands on right and left front bodice pieces as explained in this detailed tutorial. Don’t forget to interface your button bands.
Do not sew the buttonholes and buttons yet, you’ll do this later when your bodice is assembled.
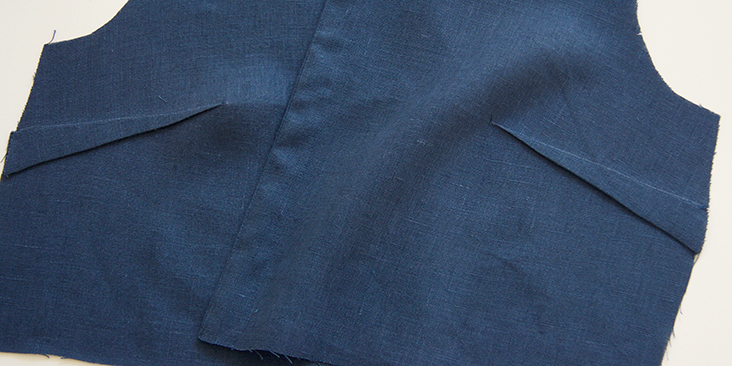
2. Sew the underarm darts. We have a great tutorial about sewing darts HERE. Press the fullness of your dart downward towards waist.
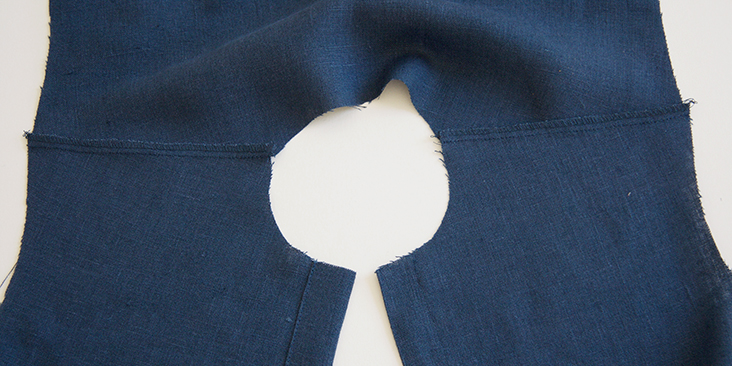
3. Pin and stitch front and back bodices at shoulders right sides together at a 3/8” (1 cm) seam allowance. Trim the seam down to 1/4″, finish with a serger or a zigzag stitch to prevent the fabric from fraying, and press the seams towards back.
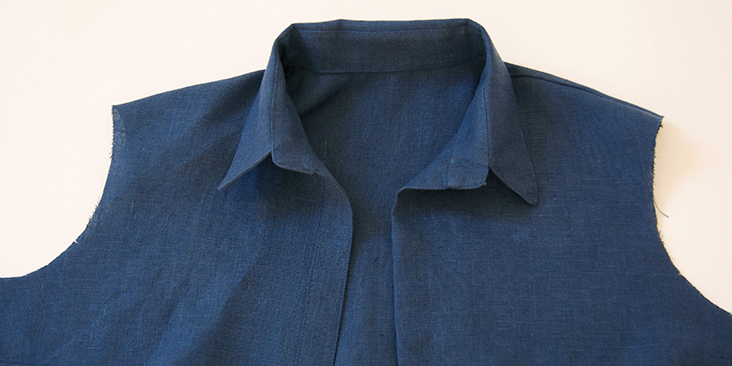
4. Time to attach the collar. To guide you through the process as best as we can, we invite you to follow this step-by-step tutorial explaining how to sew a shirt collar. Follow the steps and complete your collar. Attach it to the bodice neckline as shown below:
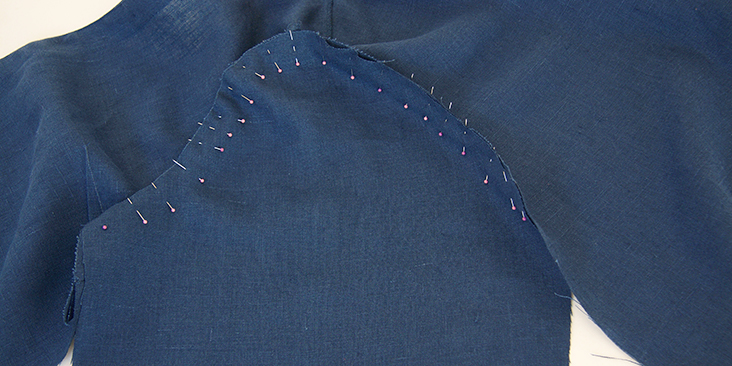
5. Pin and stitch the sleeves to the armholes right sides together at a 3/8” (1 cm) seam allowance. Grade and finish the seams. Press the seam allowance towards sleeve.
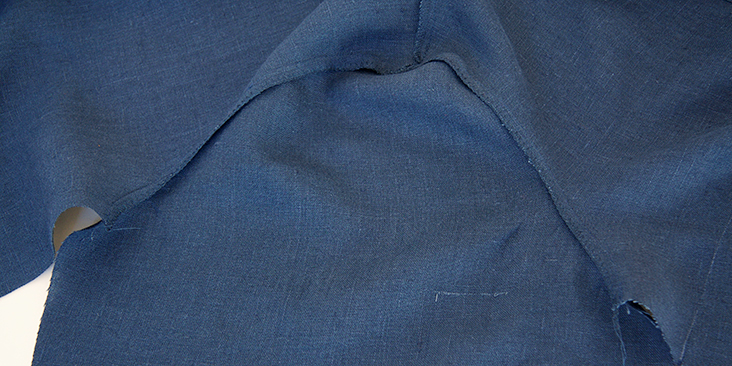
6. Pin (matching underarm seams) and stitch the side seams and the underarms all in one seam at a 3/8” (1 cm) seam allowance then grade and serge/zigzag the raw edges together. Press the seam allowances towards the back.
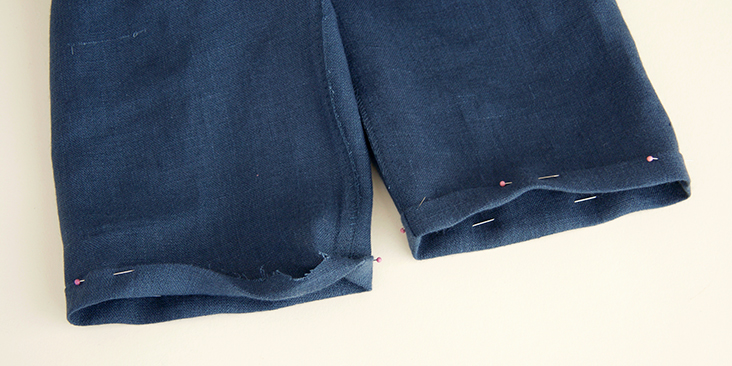
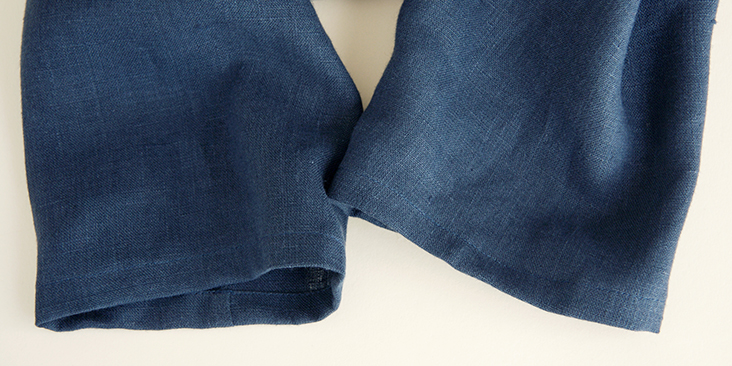
7. Finish the sleeve opening with a rolled hem. Fold the fabric twice to the wrong side (3/8” to 1/2”). Press, pin and edgestitch.
Now that your bodice is assembled, you can sew the buttonholes and attach the buttons. Note that in women’s clothing, the buttonholes are sewn on the right button band, and the buttons – on the left.
8. For the buttonholes, you can follow our detailed tutorial HERE. As for the buttons, check our tutorial HERE for instructions.
The number and the spacing on the front button bands are really up to you. If you want your buttons closer, just leave smaller gaps between them. We decided to space our buttons 2,5” (6 cm) apart. Overlap the two button bands and place a pin into the center of each buttonhole. This is where you’ll need to attach the buttons. Place one button on the collar stand.
Time to sew and attach the skirt.
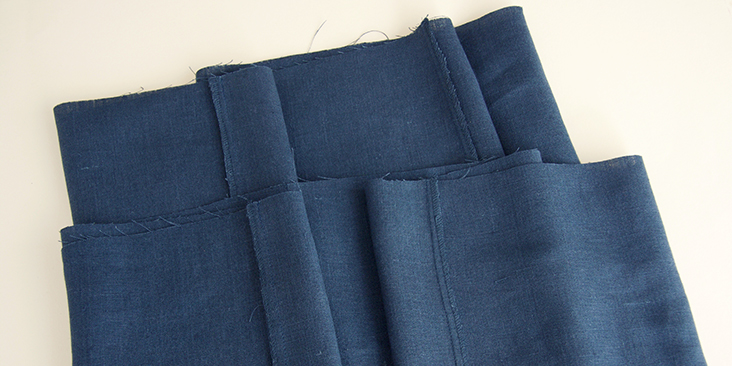
9. Pin and stitch front and back of upper and lower skirts right sides together at the usual 3/8” (1 cm) seam allowance. Trim the seam down to 1/4”, finish and press towards back.
If you wish to add inseam pockets to your dress, you’ll find instructions and the pocket template in this tutorial.
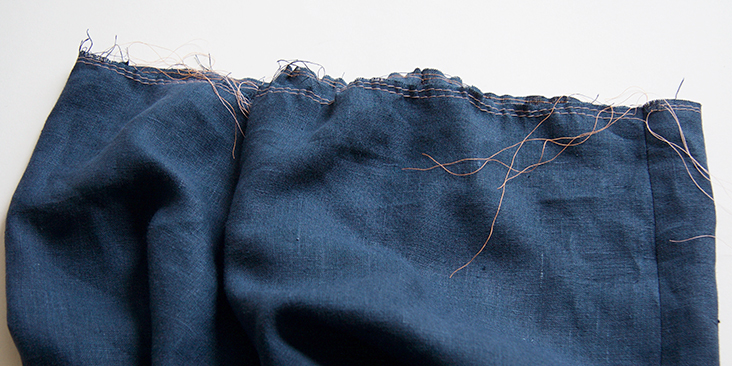
10. Gather the top edge of your upper skirt and attach it to the bodice. If you don’t know how to gather fabric, you’ll find all the answers in this step-by-step tutorial. Use contrasting color thread for basting stitches.
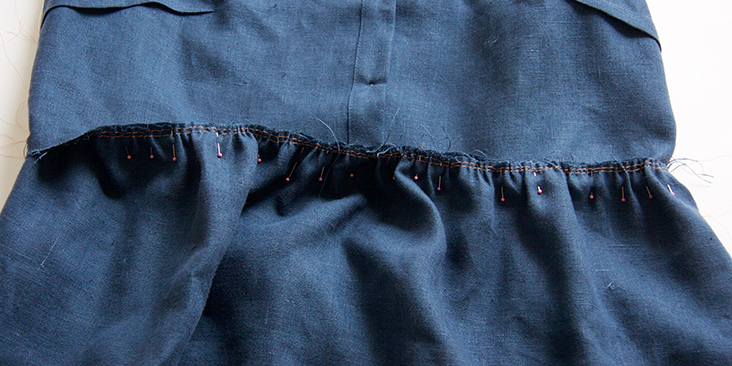
11. Pin the upper skirt to buttoned bodice at waist right sides together matching the side seams and the center notches, then gather the skirt fabric between the notches/sides to meet the bodice’s waist, pin and stitch. Remove gathering stitches, trim the seam and finish with serger or zigzag stitch. Press the seam towards bodice.
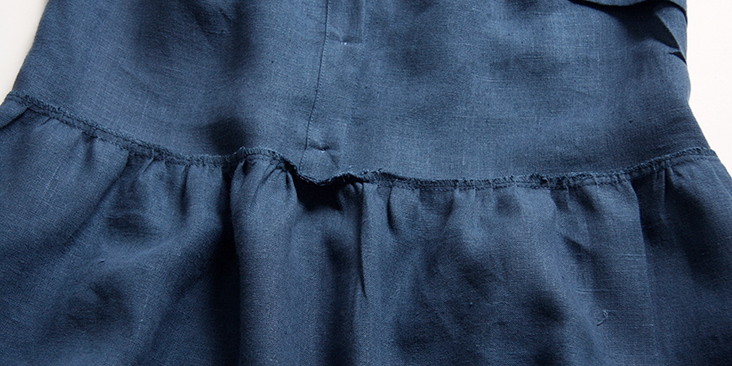
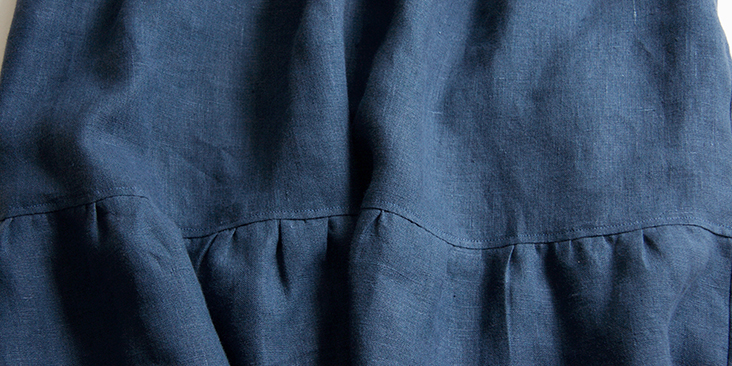
12. Now gather your lower skirt and attach it to the upper skirt. Press the finished seam allowance towards upper skirt and run a decorative line of topstitching 1/4” from the seam.
13. Lastly, fold the hem twice to the wrong side (first 3/8”, then another 1/2”), press, pin and edgestitch.
Give your dress a good last press and you are all done! We love seeing what you make! Don’t forget to share your pictures and tag your creations with #FabricsStoreAveryPattern hashtag.










9 Comments
ANNE-SOPHIE HARDY
Hi! I’m really looking forward to sewing this beautiful dress as its shape would -hopefully- fit my pregnant body!
Just one question though: I’ve printed and assembled the pattern and I’ve notices that several pieces do not have seam allowances (button band, collar stand and collar). Is there no seam allowance needed or are we supposed to add them ourselves?
Thanks in advance for your help!
Christine South
Love this pattern! I added a yoke and pleat to the back as I found my first design restricted movement reaching forward. Worked a charm!
Susana Kaneshige
This looks like a lovely dress and can’t wait to sew it. Do you know if the A0 version is available?
Yasmeen Irani
Hello! Similar to Natalia above I’m a beginner – and the arms are too small. How would I grade up? thanks in advance
Lauren Linen
We have a tutorial for grading here on the blog, Here is the link:
https://blog.fabrics-store.com/2015/06/01/how-to-grade-a-pattern-tutorial/
Natalia Rodriguez
Hello! I’m a beginner sewist attempting to do this dress. I’m loving it so far, but it seems my arms are too big for the sleeves in my size. Is there a way to make them wider? If I use sleeves in a bigger size how do I grade up? Thanks in advance
Lauren Gates
Hello Natalia,
Thanks for reaching out! I’ll send you an email with some resources to help, please look out for it.
– Lauren
Tara Kuilboer
Hi fantastic pattern perfect been looking for ages. Is the pattern available?
Lauren Gates
Hello Tara, yes this pattern is available at the link below, or by clicking the link under the ‘Pattern’ heading.
https://fabrics-store.com/sewing-patterns/avery-avery-tiered-shirt-dress-pattern