Sky Shirt Dress With Flap Pockets Tutorial and Pattern
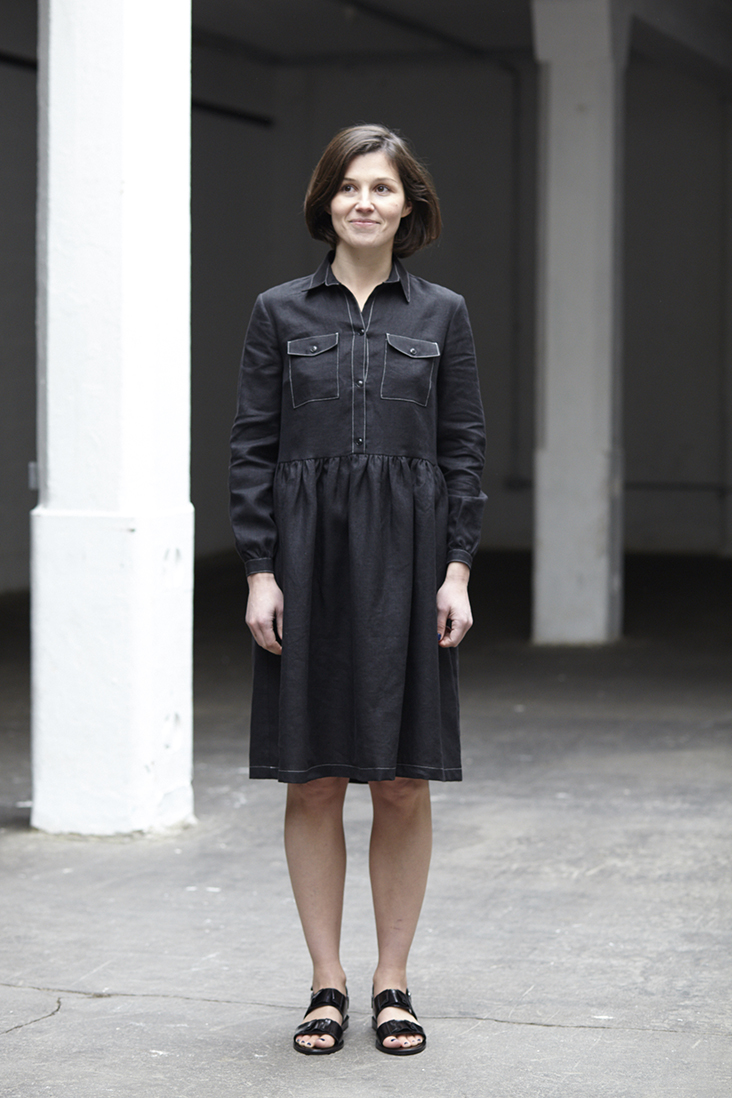
A classic style for decades, the shirt dress is an absolute must have in every wardrobe. It is one of those garments that works for every season and situation. Our Sky sewing pattern is a classic gathered shirtdress with a modern twist and attention to detail. Cut in a flattering, timeless shape, our favorite thing about this design is the flap patch pockets and contrasting topstitching which add some interesting detailing.
Perfectly proportioned, the structured shape with gathered skirt and sleeves and semi-fitted bodice is softened by the softened linen with silky and luxurious feel.
Materials
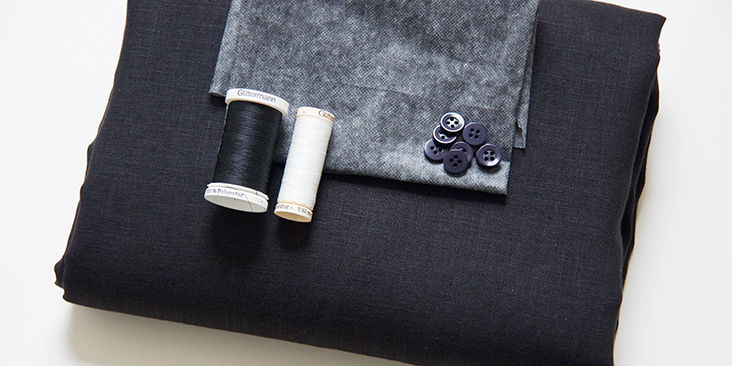
3 yards of IC64 BLACK Softened Medium Weight Linen
Matching sewing thread, contrasting color thread for topstitching, fusible interfacing, 9 medium buttons (1/2″).
Tools
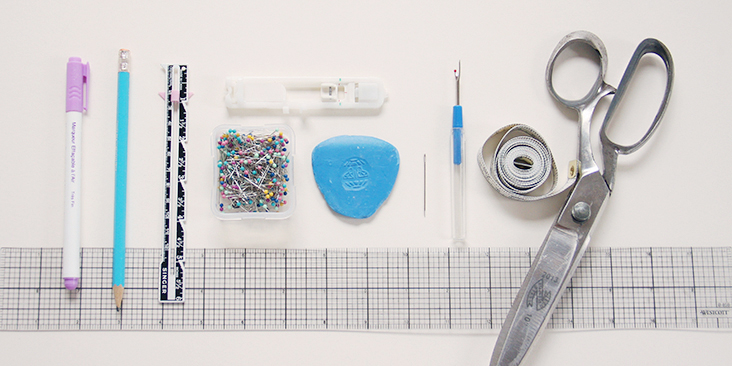
Scissors, pins, ruler, chalk, measuring tape, fabric marker, buttonhole foot, seam ripper, needle, sewing machine
Difficulty
Intermediate
Sewing Time
6-7 hours
Pattern
You can access the multi sized printable PDF pattern by following this link HERE. All seam allowances are included. The model is wearing US size 6.
Remember to transfer all the notches onto your fabric.
Steps
Note: To avoid shrinkage, prewash your fabric and tumble dry it until it is still slightly moist. Iron the fabric so it is easier to work with.
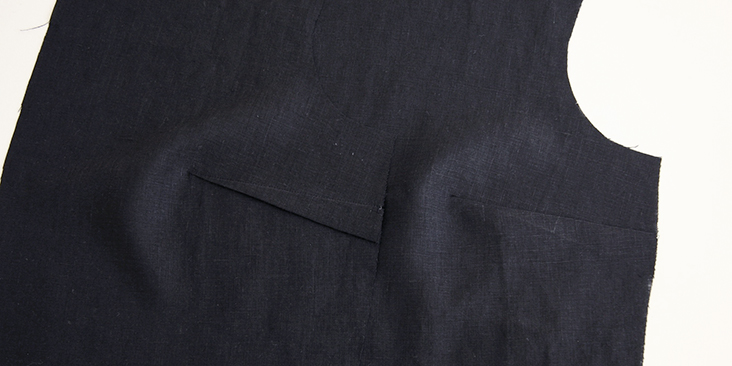
1. Sew front underarm darts. We have a great tutorial about sewing darts HERE. Press the fullness of your darts downward towards waist.
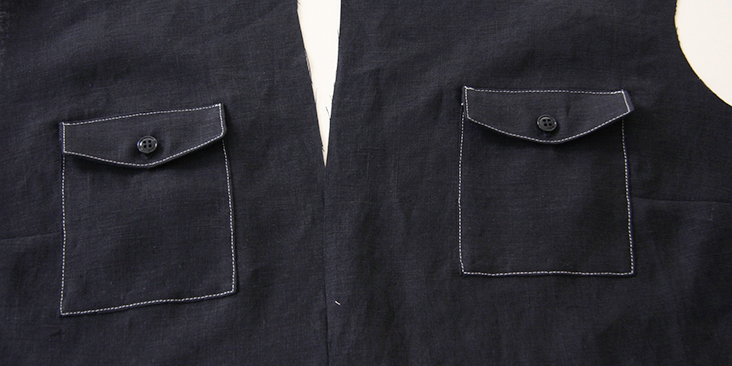
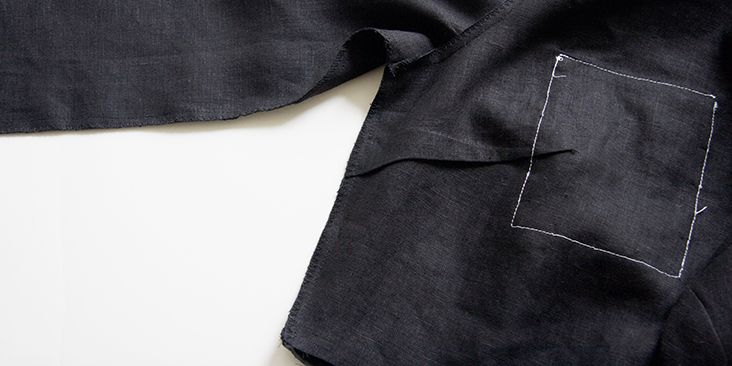
2. Attach your patch pockets and flaps to the left and right fronts (refer to the markings on the pattern for pocket placement). We have a step-by-step tutorial about sewing flap pockets HERE. Complete all the steps and use contrasting color thread for attaching the pockets and topstitching the flap.
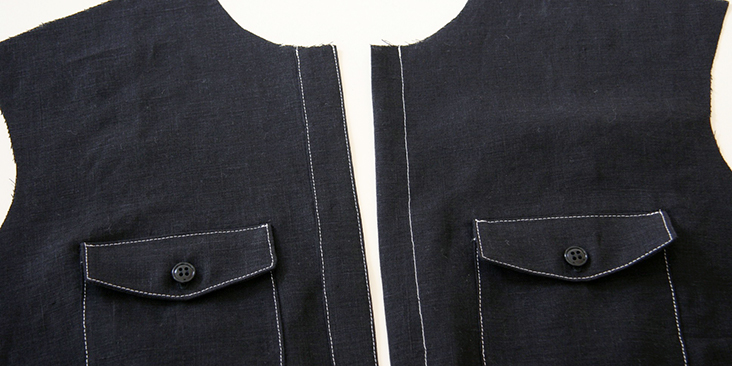
3. Sew the two button bands on right and left front bodice pieces as explained in this detailed tutorial. Don’t forget to interface your button bands. Use contrasting color thread for topstitching on right button band.
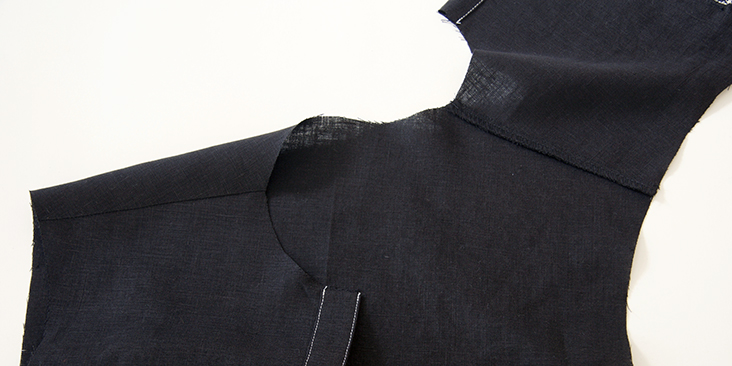
4. Pin and stitch front and back bodices at shoulder seams right sides together at a 3/8” (1 cm) seam allowance. Trim the seam down to 1/4″, finish with a serger or a zigzag stitch to prevent the fabric from fraying, and press the seams towards back.
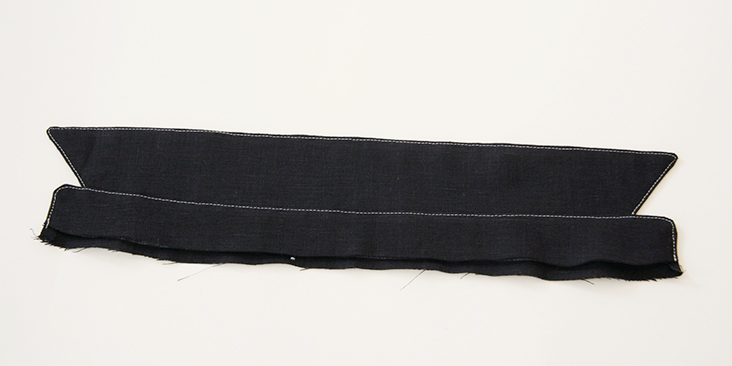
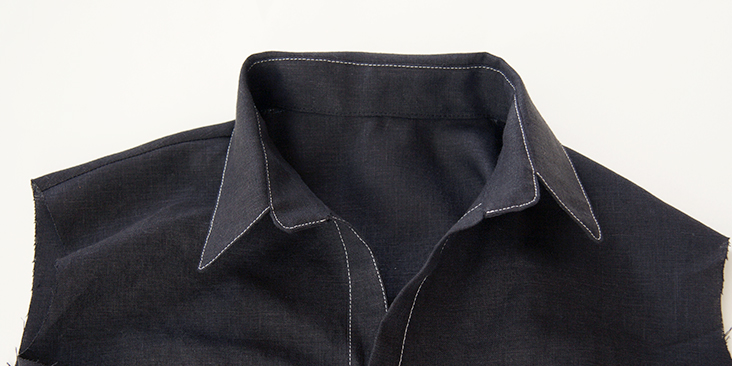
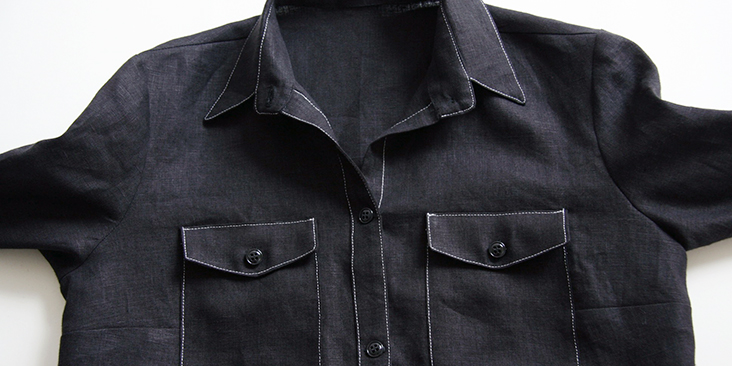
5. Time to attach the collar. To guide you through the process as best as we can, we invite you to follow this step-by-step tutorial explaining how to sew a shirt collar. Follow the steps and complete your collar. Attach it to the bodice neckline as shown below:
Use contrasting color thread for topstitching around the edges of collar and collar stand.
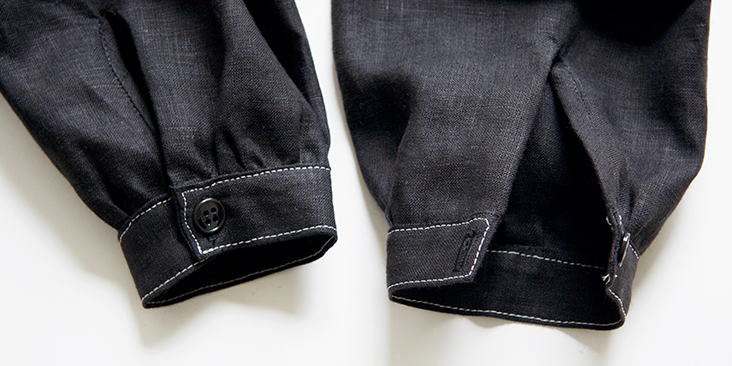
6. Next, prepare your sleeves. This dress has gathered sleeves at the bottom, with a sleeve placket and a cuff. Binding a placket can be a bit tricky sometimes but we have this detailed tutorial to help you with it. Bind the placket and sew your cuffs as explained in the tutorial.
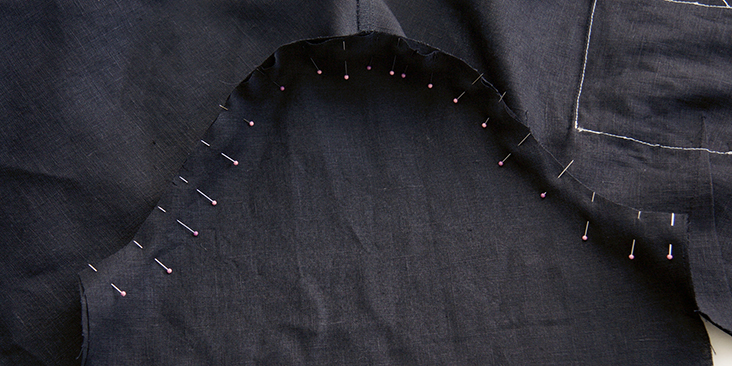
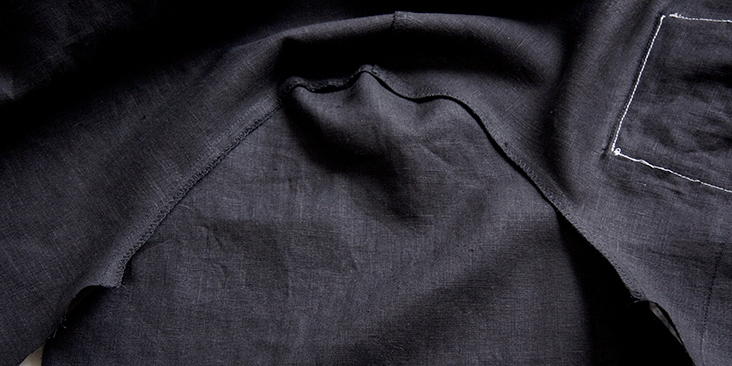
7. Pin and stitch the sleeves to the armholes right sides together at a 3/8” (1 cm) seam allowance. Grade and finish the seams. Press the seam allowance towards sleeve.
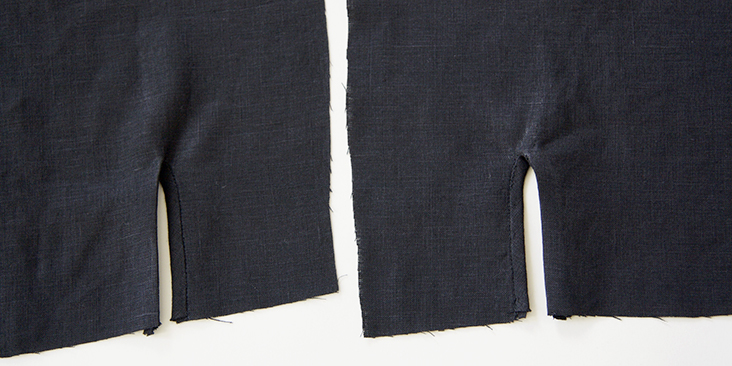
8. Pin (matching underarm seams) and stitch the side seams and the underarms all in one seam at a 3/8? (1 cm) seam allowance then grade and serge/zigzag the raw edges together. Press the seam allowances towards the back.
9. Run two lines of basting stitches along sleeve opening from one placket edge to the other. Gather to the width of your cuff, pin and sew as explained in this tutorial.
Topstitch the cuff with contrasting thread.
10. Sew front buttonholes and attach buttons: one on the collar stand and four on the bodice, equal distance apart. Note that in women’s clothing, the buttonholes are sewn on the right button band, and the buttons – on the left.
For the buttonholes, you can follow our detailed tutorial HERE. As for the buttons, check our tutorial HERE for instructions. Overlap the two button bands and place a pin into the center of each buttonhole. This is where you’ll need to attach the buttons. Place one button on the collar stand.
Time to sew and attach the skirt.
11. Pin and stitch front and back skirts right sides together at the usual 3/8” (1 cm) seam allowance. Trim the seam down to 1/4″, finish and press towards back.
If you wish to add inseam pockets to your dress, you’ll find instructions and the pocket template in this tutorial.
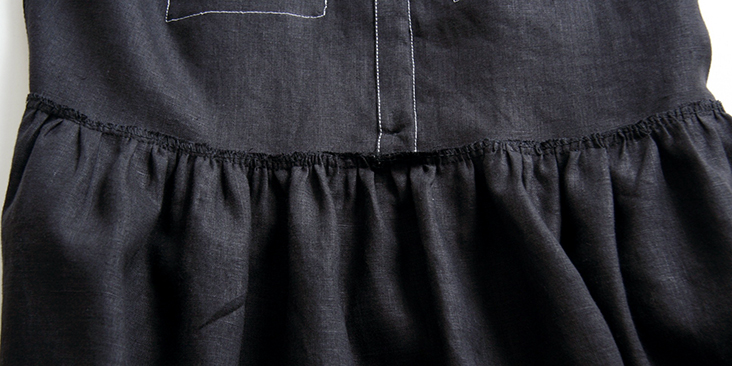
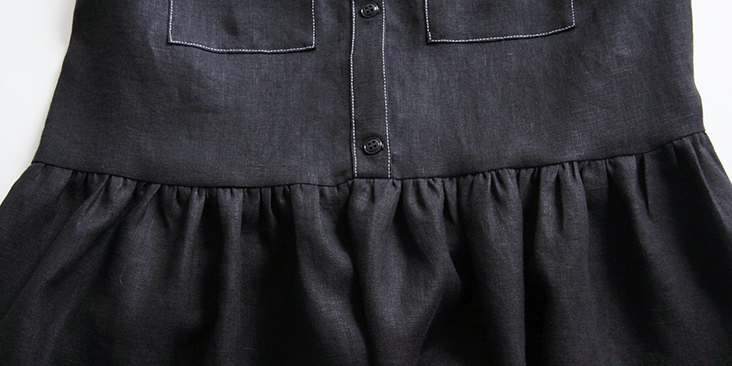
12. Gather the top edge of your upper skirt and attach it to the bodice. If you don’t know how to gather fabric, you’ll find all the answers in this step-by-step tutorial. Use contrasting color thread for basting stitches.
Pin skirt to buttoned bodice at waist right sides together matching the side seams and the center notches, then gather the skirt fabric between the notches/sides to meet the bodice’s waist, pin and stitch. Remove gathering stitches, trim the seam and finish with serger or zigzag stitch. Press the seam towards bodice.
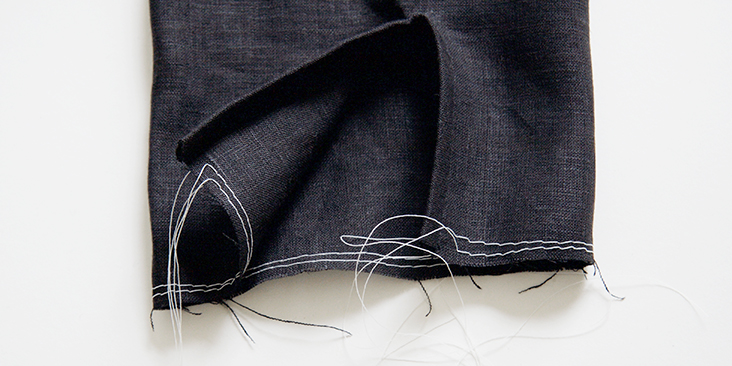
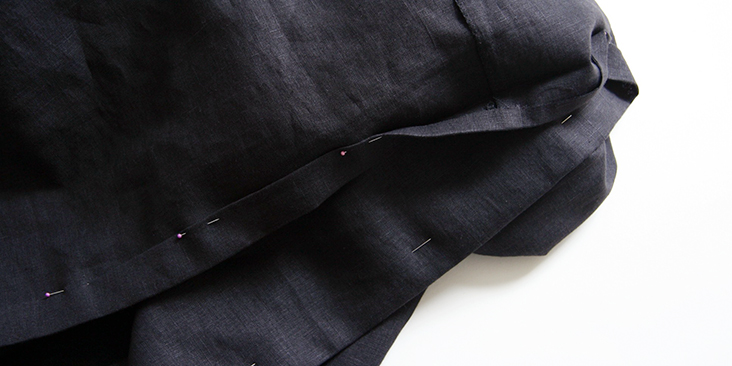
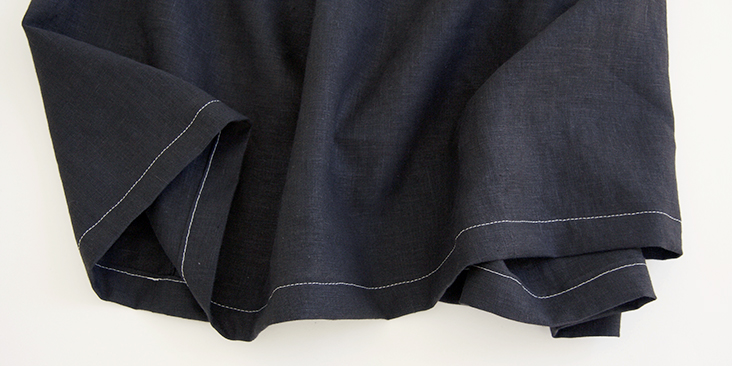
13. Lastly, fold the hem twice to the wrong side (first 3/8”, then another 1/2″), press, pin and edgestitch.
14. Give your dress a good last press and you are all done!
We love seeing what you make! Don’t forget to share your pictures and tag your creations with #FabricsStoreSkyPattern hashtag.





2 Comments
Connie Burgess
I’m lost. The 1 3/4″ wide button band pattern piece says to cut one of fabric. The instructions say to sew both button bands to the fronts. The instruction page says to sew one 2 1/2″ band to the right front. I sewed the band, but folded over then the band is only 1/2″ wide, which obviously isn’t right. Am I missing something?
Jamie Pinkerton
Cute dress! This is one of my favorites from you. Thank you!