Sewing Glossary: How To Add Decorative Flaps To Your Patch Pockets Tutorial
When you become a more confident sewer, you are always looking for things to hack or add that may not be included in the pattern. Adding a flap to a patch pocket is one such thing. Pocket flaps add some interesting detail to a standard patch pocket and can help to restyle a tired garment in your wardrobe.
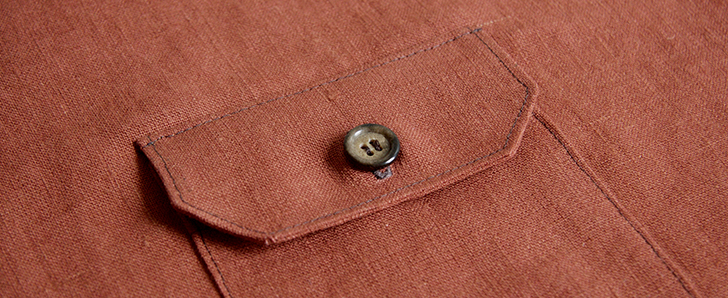
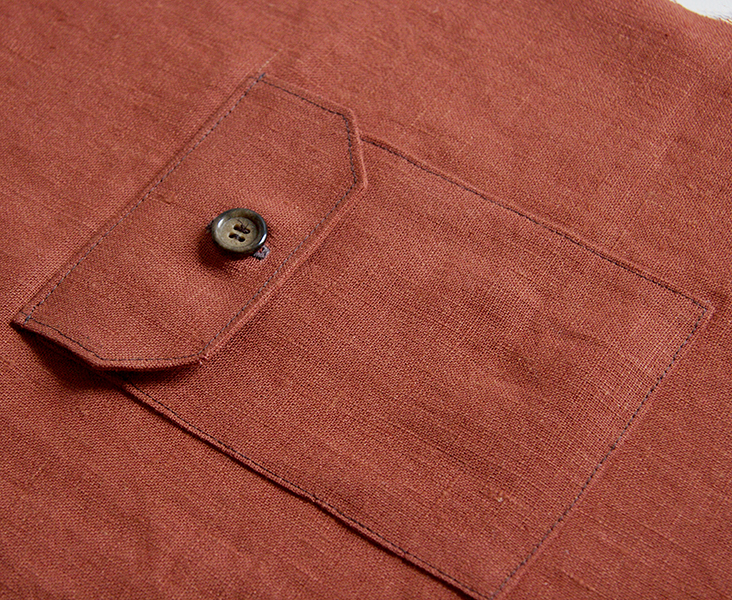
Today we are going to show you how to create a patch pocket with flap and button closure. Follow this easy tutorial and learn how to add flaps to any patch pocket in any shape you want.
Materials & Tools
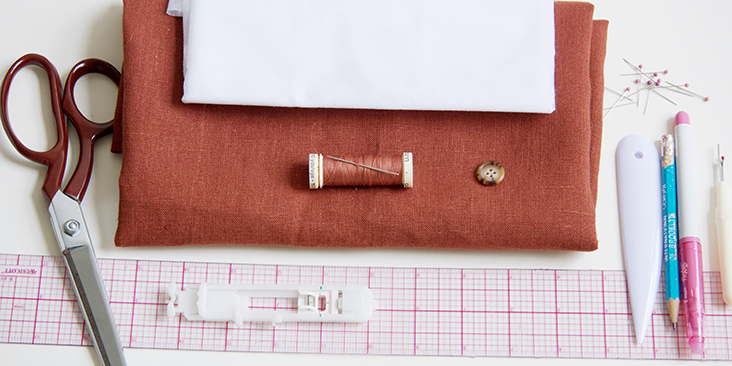
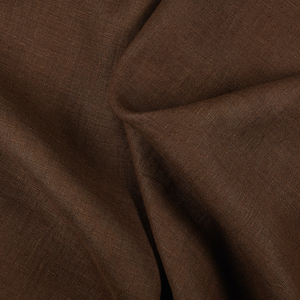
Fabric of your choice. In this tutorial we are using our IL019 KENYA Softened Medium Weight Linen
Matching sewing thread (for the purpose of this tutorial and to better demonstrate the technique, we are using a contrasting thread), fusible interfacing that matches your fabric in weight, one medium button.
Scissors, ruler, pins, pen, paper, fabric marker, seam ripper, needle, buttonhole foot, sewing machine and iron
Difficulty
Beginner
Time
1 hour
Pattern
If you are working with a pattern that features a flap patch pocket, it would tell you all the necessary measurements. But even if your pattern doesn’t have one, you can always create your own flap in any flappy shape you like and add it to any pocket.
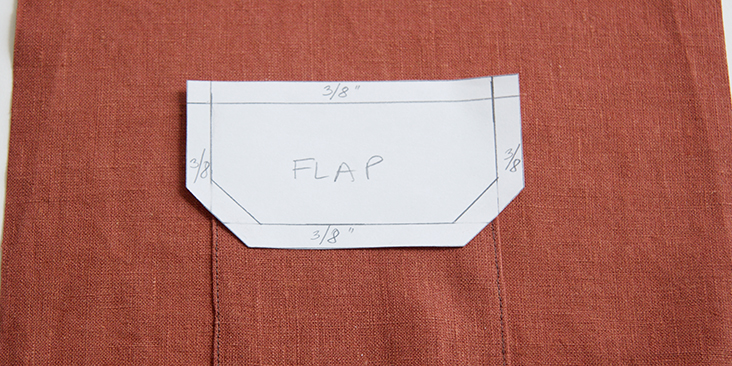
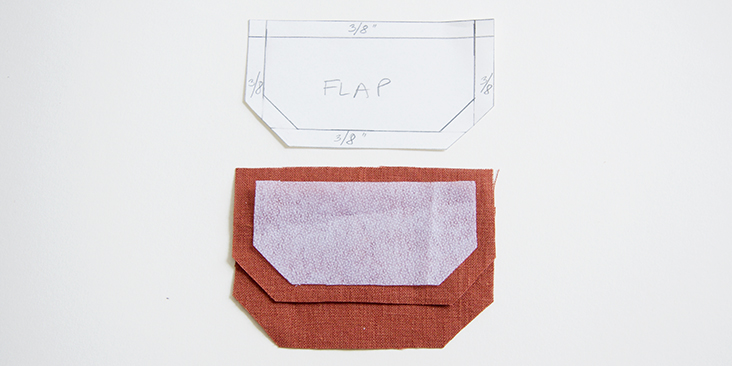
To create a flap pattern, use your existing pocket pattern and match the width of pocket to the width of your future flap. Decide how deep you want your flap to be but remember that you need to take into account seam allowances. Add seam allowances to top and bottom edges. Normally your side seam allowances are already here since you copied the width of the pocket pattern piece. If you are working with a pattern that doesn’t include seam allowances or adding flap to an already sewn-on pocket, then add seam allowances to all edges of the flap.
Pocket flaps may be round, square or angled, depending on design and your personal preference. To make your flap look more harmonious, try to match them to your pocket in shape, size and topstitching. If you are working with patterned fabric, then you should also match the print.
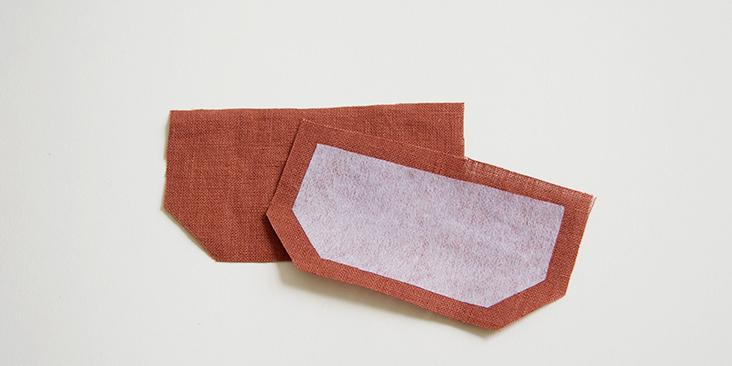
Using the flap template that you’ve just created cut two pieces in fabric and one in interfacing. To reduce bulk, you can trim the interfacing seam allowance.
Steps
Note: To avoid shrinkage, prewash your fabric and tumble dry it until it is still slightly moist. Iron the fabric so it is easier to work with.
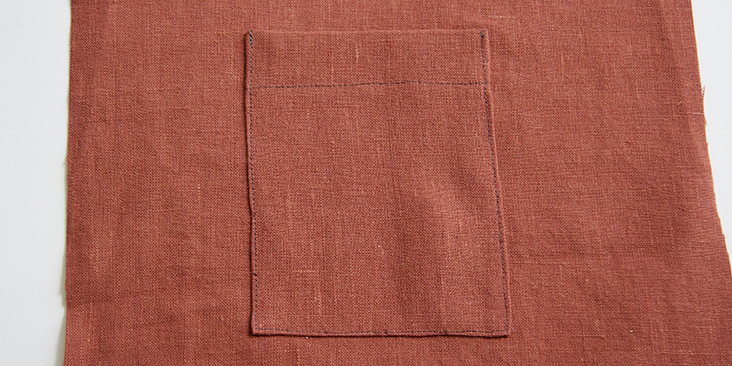
1. The flap should be attached after the pocket has been sewn onto the shirt. We already have a detailed tutorial about two different methods of creating patch pockets on our blog. Follow the instructions in the tutorial and attach your patch pocket to the main fabric.
2. Apply fusible interfacing to the wrong side of the upper flap piece. To reduce bulk, you can trim the interfacing seam allowance. Interfacing the flap gives your fabric more structure and support, especially if you are going to add a buttonhole.
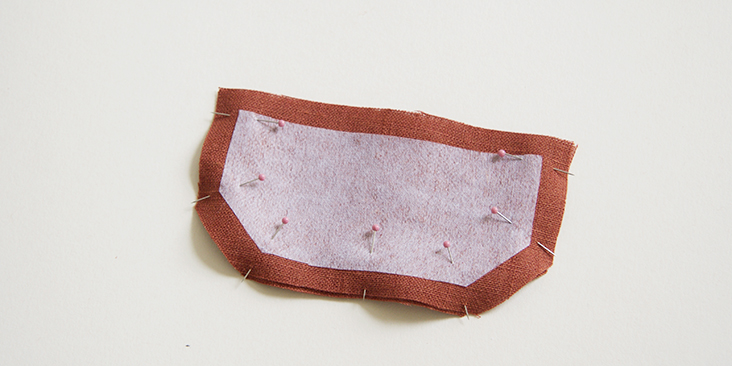
3. Pin the two flap pieces right sides together.
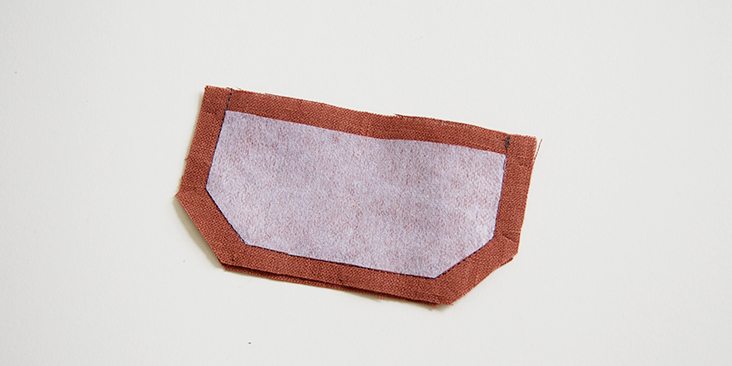
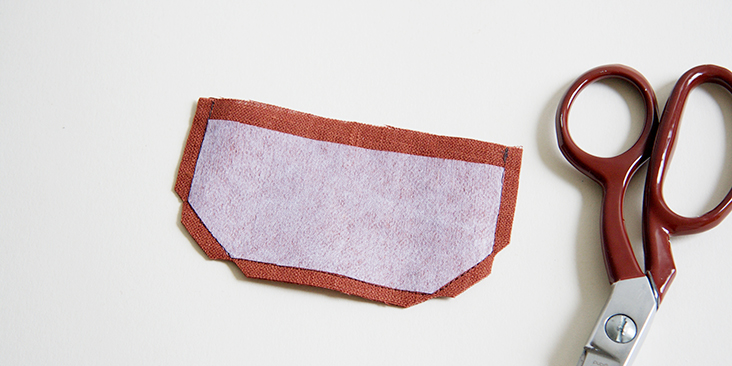
4. Stitch the two pocket flaps right sides together at the indicated seam allowance (3/8” in our case). Leave the top edge open. If you want to, you can draw the stitching line onto the fabric (with fabric marker) to make sure that your stitching is symmetric on both sides.
5. Trim away the seam allowance (down to 1/4″) and clip the corners.
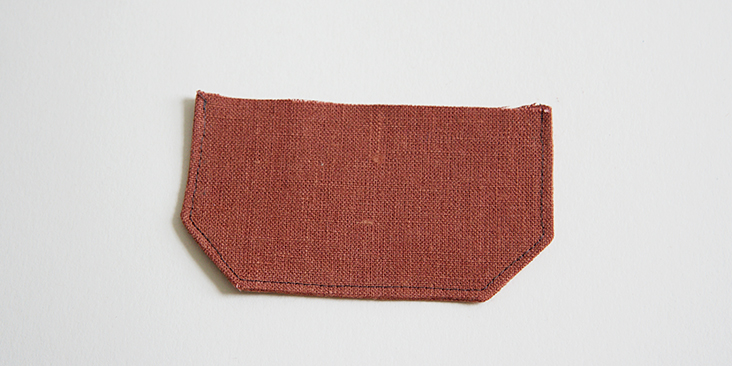
6. Turn the piece right side out, poke out the corners. Then press the flap flat making sure to roll the seam line to the inside of the flap. Now is a good time to place the flap over your pocket to double check the size is right and made adjustments if needed.
7. Topstitch around the edge of the flap because the pocket got some topstitching.
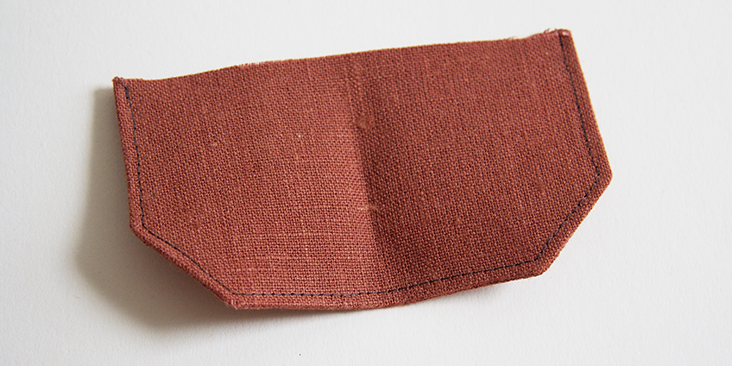
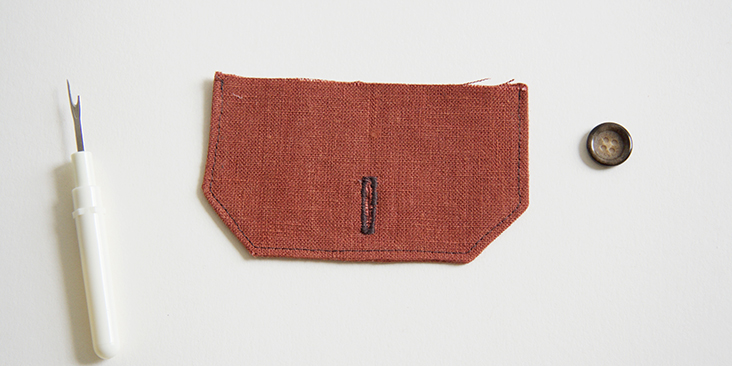
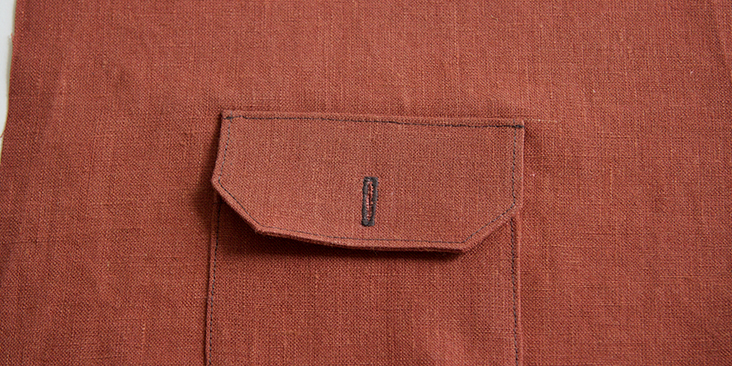
8. If you’d like to add a button closure to your flap, now is the time to sew your buttonhole. It’s much easier to do it before attaching the flap to the pocket.
Put your buttonhole in the middle, at least ¼” away from the bottom edge. To find the center, fold the flap in half and crease slightly. This is where you want to place your buttonhole. The size of your buttonhole depends on the size of your button.
We have a great tutorial about sewing buttonholes HERE.
You are now ready to attach the flap to your patch pocket.
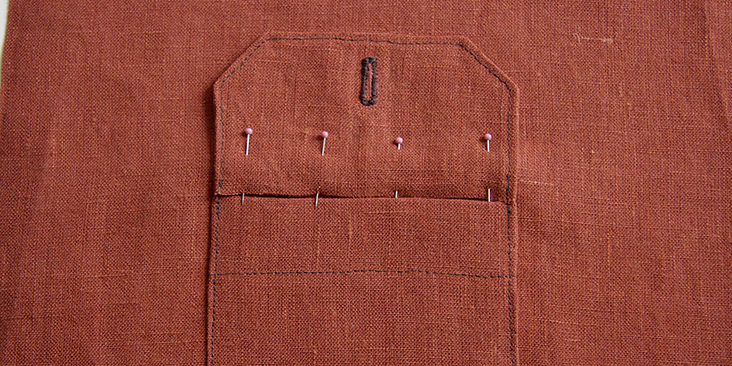
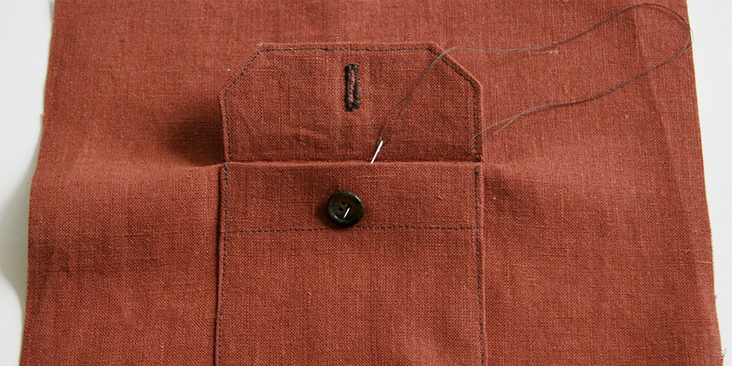
9. Align raw edge of the flap to the top of the attached pocket. The interfaced (upper) part of the flap should touch the main fabric and the non-interfaced (under) part should face you. Pin and stitch along the raw edge at ¼”.
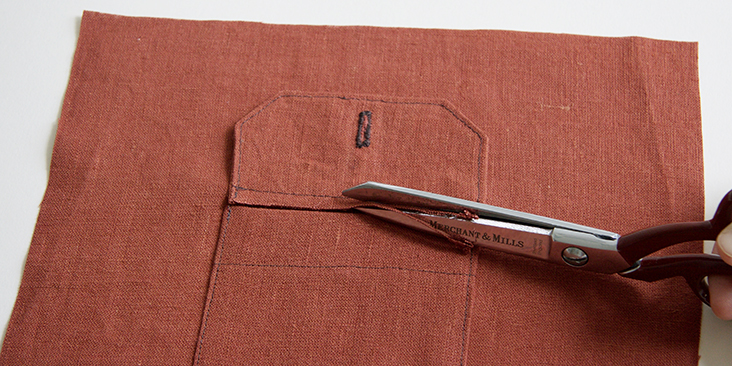
10. Trim seam allowance to 1/8”.
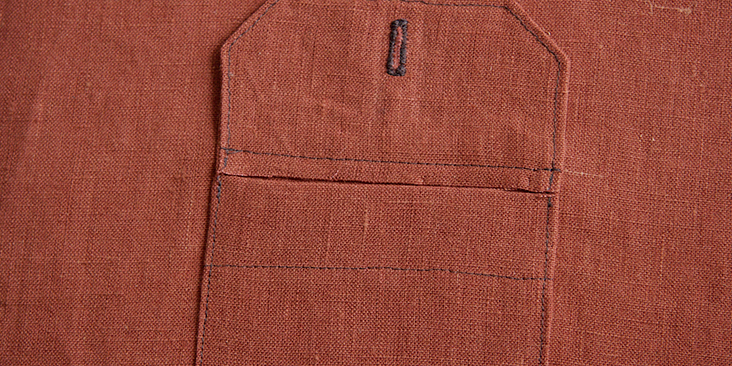
11. Press the flap downward and run a line of topstitching along the top edge to secure the flap and prevent it from flapping upwards.
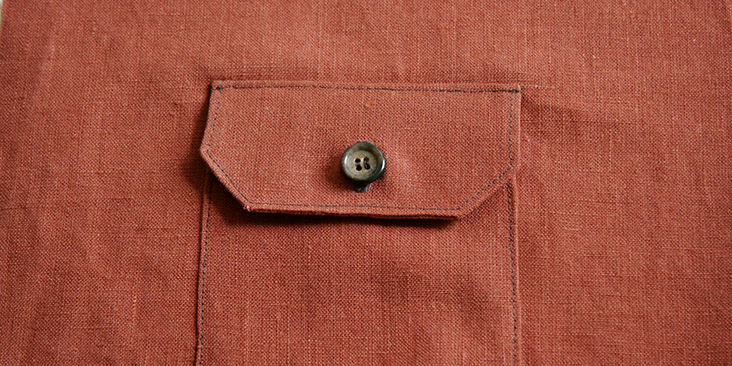
12. Sew a button onto the hem of the main pocket and you are all done!
Have fun adding flaps to your pockets for some extra detailing!











2 Comments
Nancy Linn
Great tutorial! Just when I needed it. ??
Wendy D
Thank you so much! I wouldn’t have known to do another stitch across the folded down flap.