Giorgi Pinafore Tutorial and Pattern
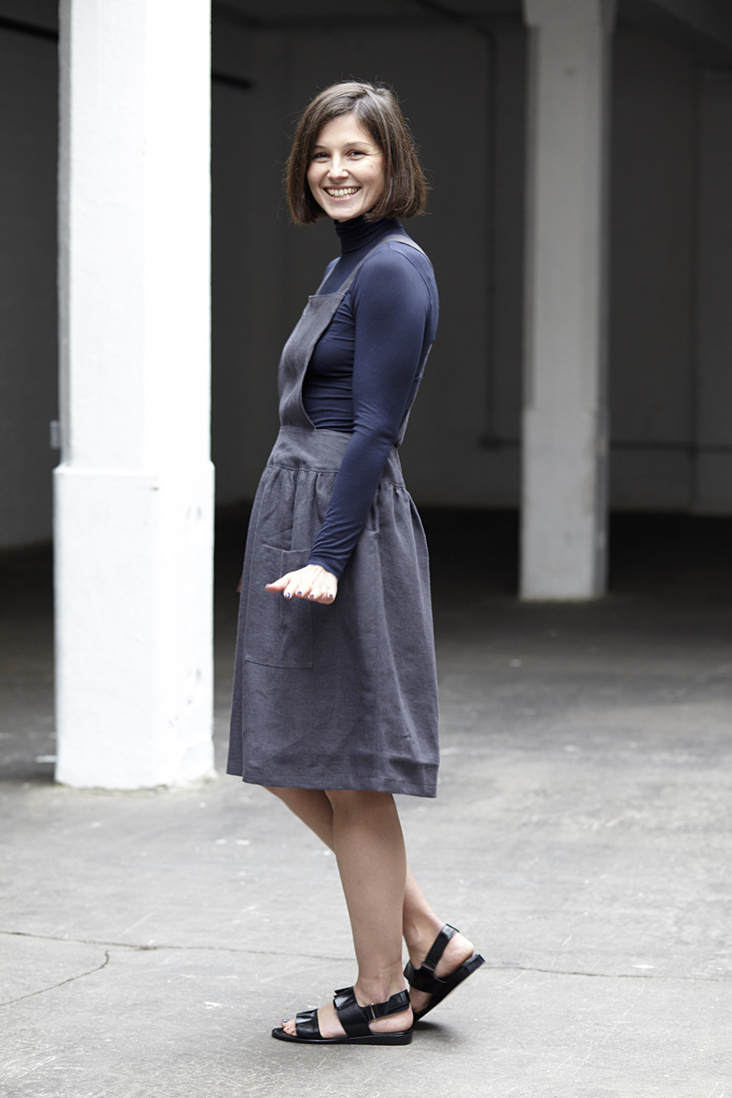
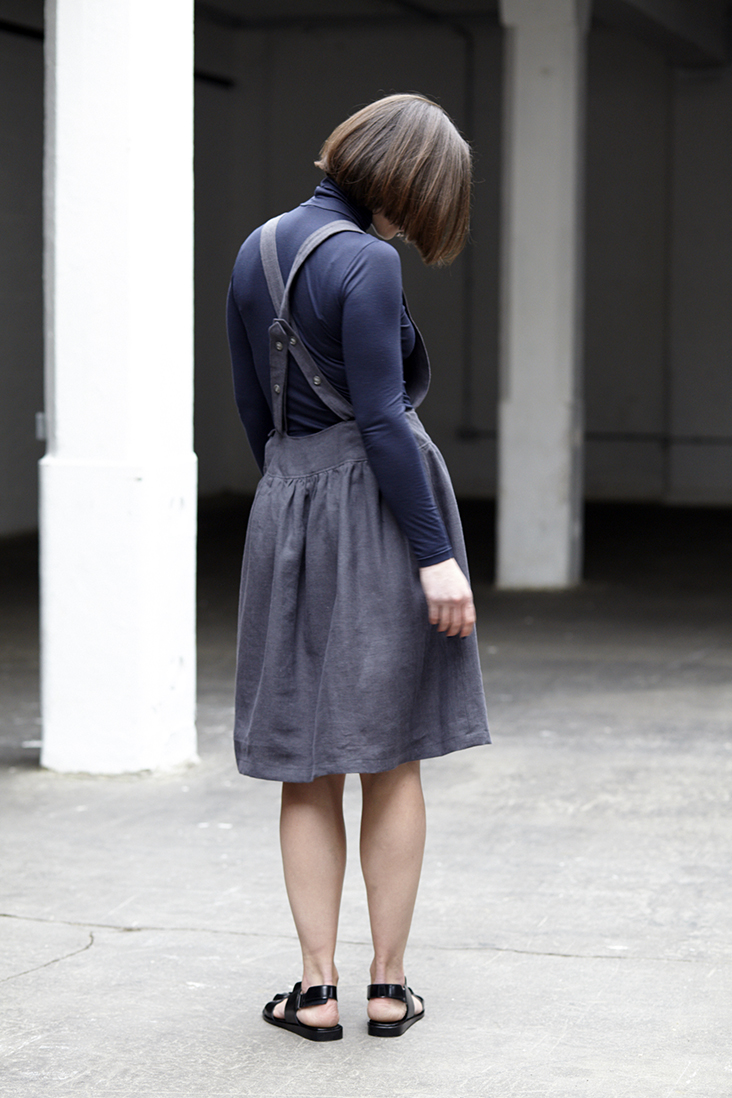
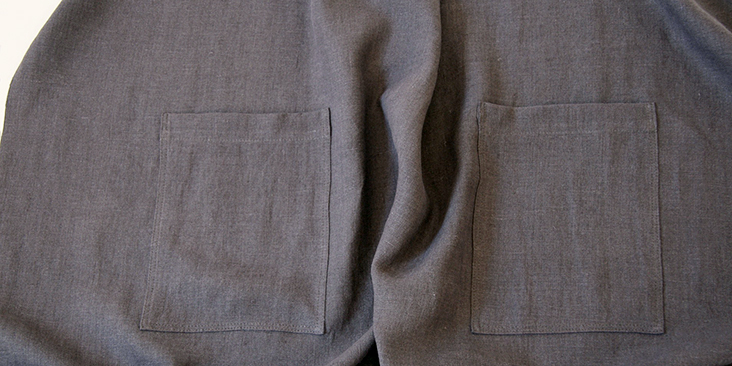
 This cute little pinafore is a wonderful piece to wear going into winter. Comfortable and versatile, with adjustable straps and two hand patch pockets, it will become your favorite layering piece this season. It will look lovely worn with a long sleeve top or a turtleneck underneath.
We are sure that the word pinafore brings back memories of school days and simpler times, but pinafores are actually making a big come back right now. They can look smart and sleek if you know how to work them. It’s a style that makes getting dressed simple and easy.
Materials
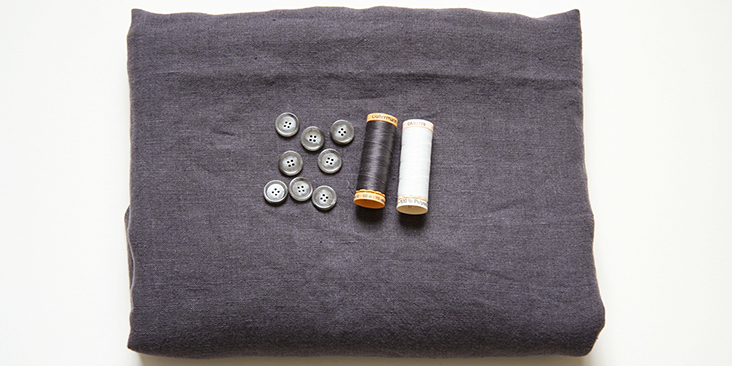
2 yards of IL019 NINE IRON Softened Medium Weight Linen
Matching sewing thread, contrasting thread for gathering, 8 medium (24L) buttons
Tools
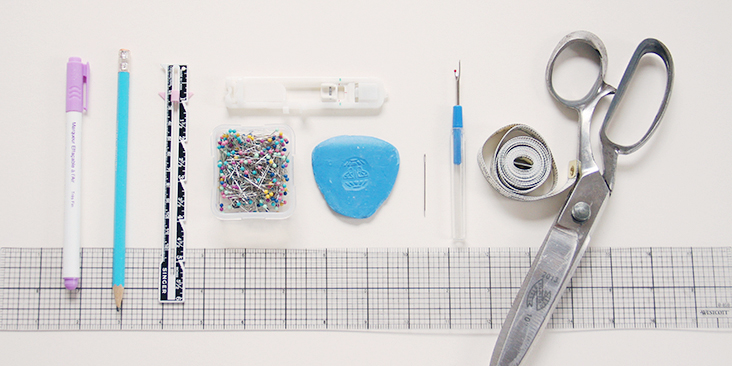
Scissors, pins, ruler, chalk, measuring tape, fabric marker, buttonhole foot, seam ripper, needle, sewing machine
Difficulty
Beginner
Sewing Time
4-5 hours
Pattern
You can access the multi-sized printable PDF pattern by following this link HERE. All seam allowances are included. The model is wearing US size 6.
Remember to transfer all the notches onto your fabric.
Steps
Note: Prewash your fabric and tumble dry it until it is still slightly moist, dry at room temperature. Iron the fabric so it is easier to work with.
Let’s start with patch pockets.
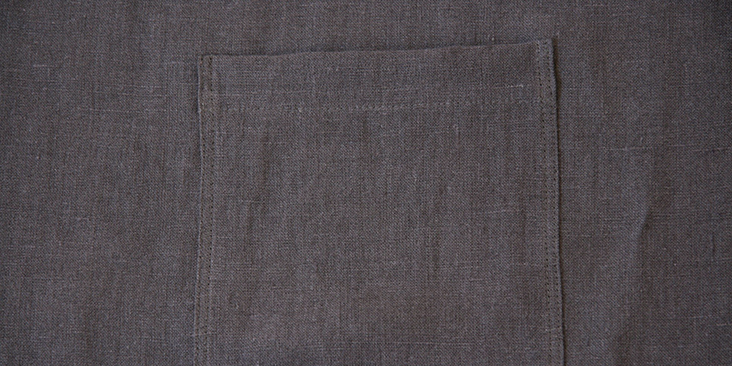
1. Sew the front patch pockets following the first method explained in this tutorial (seam allowances are the same). Refer to your pocket placement notches to pin and topstitch front patch pockets onto the front skirt fabric.
2. Run a second line of topstitching 1/8” in from your first line. Remember to backstitch at both ends.
3. Serge/zigzag raw side seam edges of your skirt to prevent the fabric from fraying in the future.
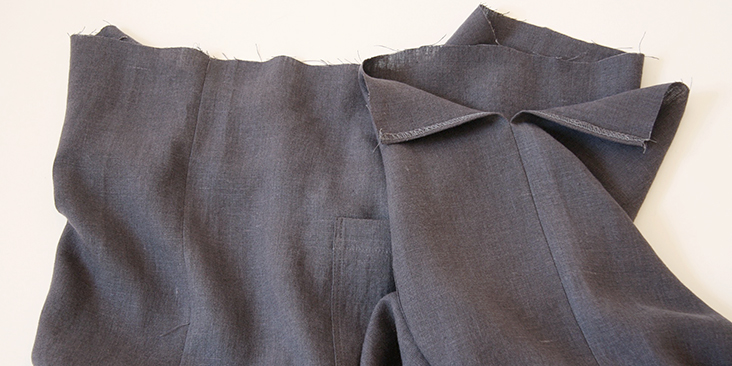
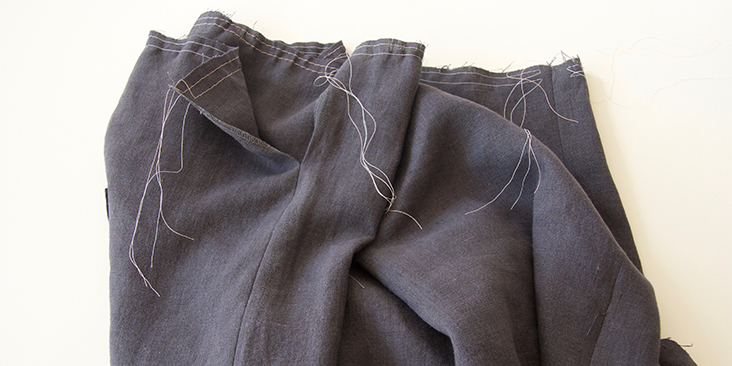
4. Pin front and back skirts right sides together at side seams. Stitch together at a 3/8” (1 cm) seam allowance. Right side seam is stitched all the way to the waist, and left – up until the button placket notch. Remember to backstitch and press the seams open.
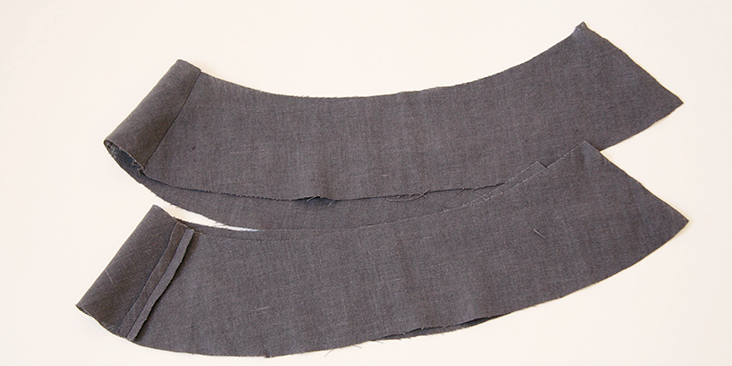
5. Pin front and back outer yoke pieces right sides together at right side seam and stitch at 3/8” seam allowance. Left side is left open for now as it will later be finished with a button placket. Repeat for the inner yoke.
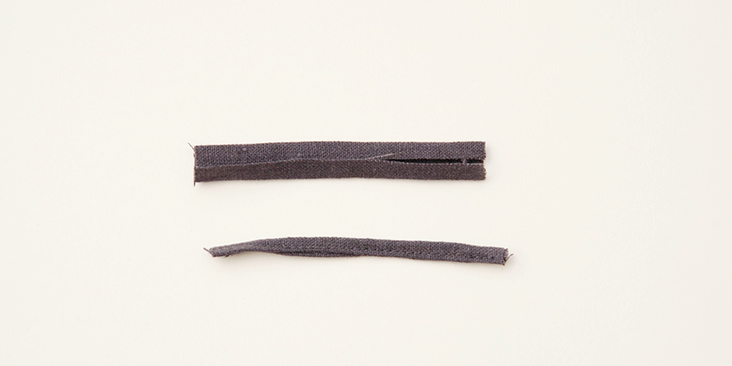
6. Sew the two fabric loops for the ties. Fold the seam allowances to the wrong side so that they meet in the center, then fold in half lengthwise, press and stitch the long edge closed.
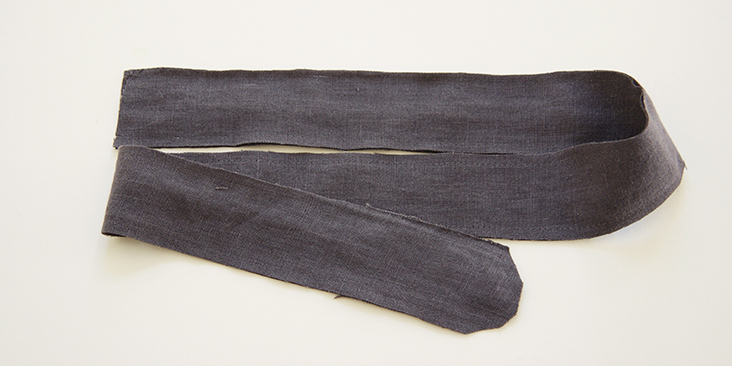
7. Sew the straps. With right sides together, stitch (3/8” or 1 cm seam allowance) the length of the tie leaving the straight short end open. Backstitch at the start and finish of the seams. Clip the corners.
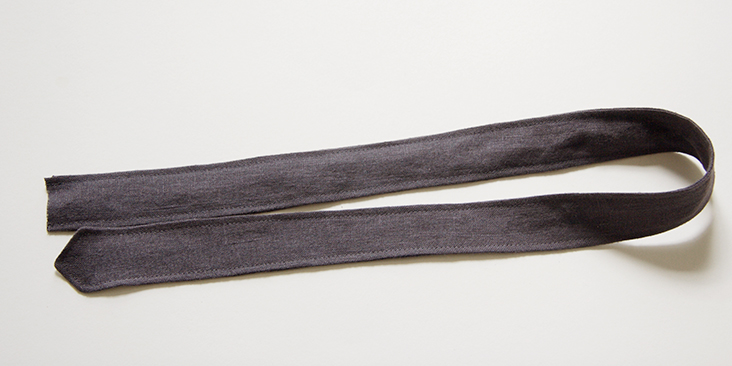
8. Turn your straps right side out, press and run a line of topstitching 1/8” away from the edge.
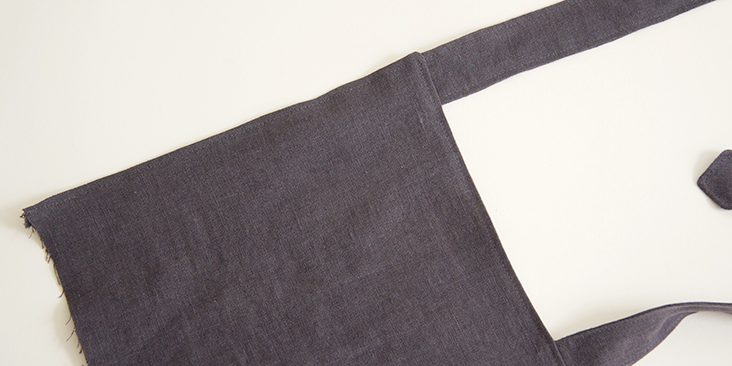
9. Pin the bib outer and inner pieces right sides together (leaving the waist unpinned) and insert your straps into the upper edge, 3/8” away from sides, aligning the raw edges.
10. Stitch along the pinned edges at a 3/8” (1 cm) seam allowance making sure not to catch the straps. Grade down to 1/4″, clip the corners and turn right side out. Topstitch 1/8” from the edge along the sides and the top edge.
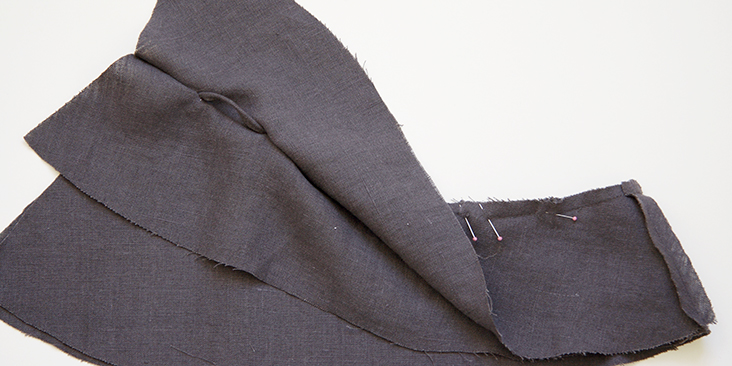
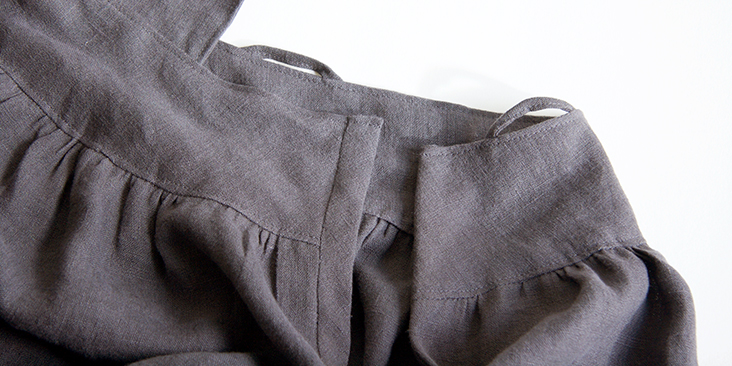
11. Pin the two yokes right sides together (and matching the side seam) at the top (waist) edge. Insert your two belt loops in between the two yokes, along the waistline, matching the raw ends to the notches. You should have a little ease for the straps.
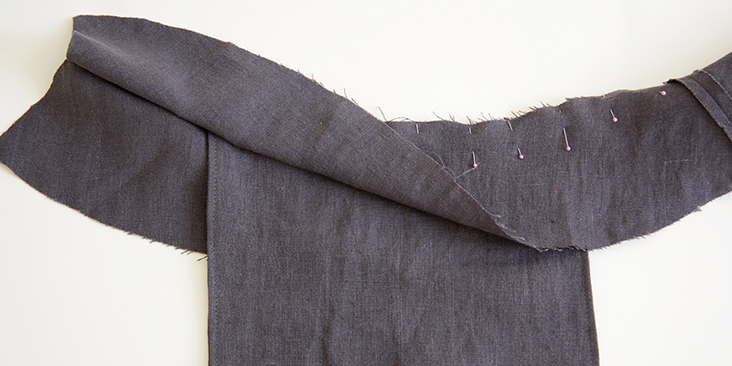
12. Then insert your bib into the front yoke matching the centers and pin.
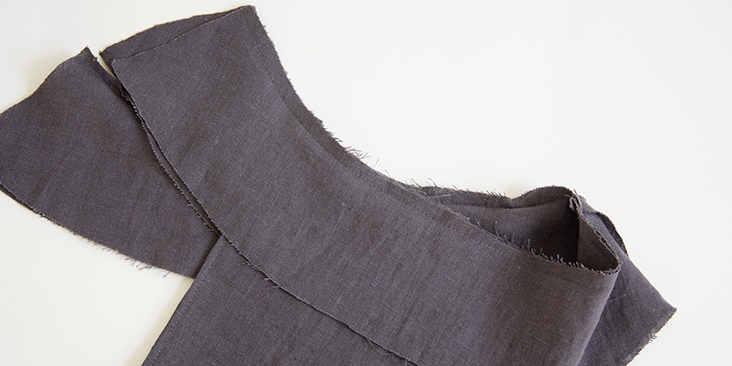
13. Stitch along the waistline at a 3/8” seam allowance backstitching at both ends.
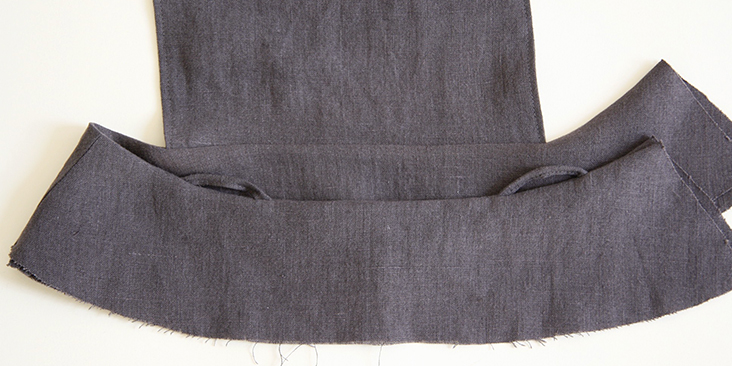
14. Grade the seam allowance down to 1/4″, press open, turn yoke right side out and press flat.
15. Next, you need to gather the skirt panels to match the yokes. We have a great tutorial explaining how to gather fabric HERE.
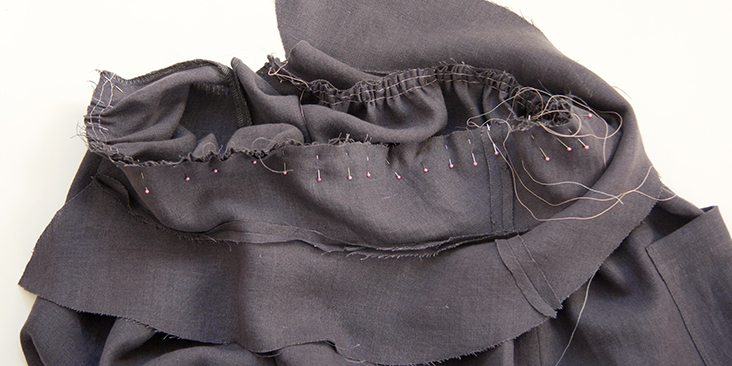
Set your machine on a longer stitch length and run two lines of topstitching using contrasting thread and leaving long tails. Your lines should run from side seam to side seam on front and back panels.
16. Pin your outer yoke raw edge to the skirt right sides together matching the side seams and the notches in the middle of each panel, then gather the skirt fabric evenly to match the yokes.
17. Stitch at a 3/8” (1 cm) seam allowance, then remove contrasting gathering thread and press the seam allowances towards the yoke.
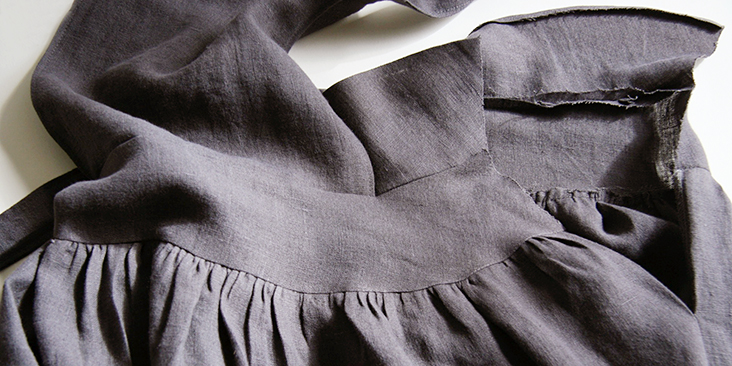
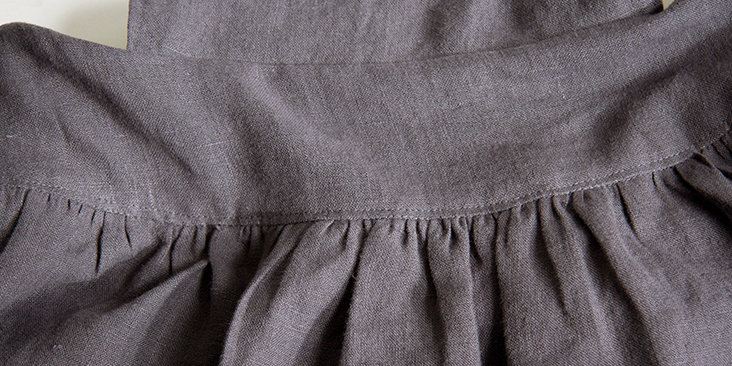
18. Press the raw edge of the inner yoke 1/4″ up to the wrong side and pin to skirt covering the stitch line by 1-2 mm.
19. Working from the right side, topstitch along the yoke seam in the crease making sure to catch the edge of the inner yoke.
20. Run a second line of topstitching 1/8” from the seamline.
Time to attach the button placket.
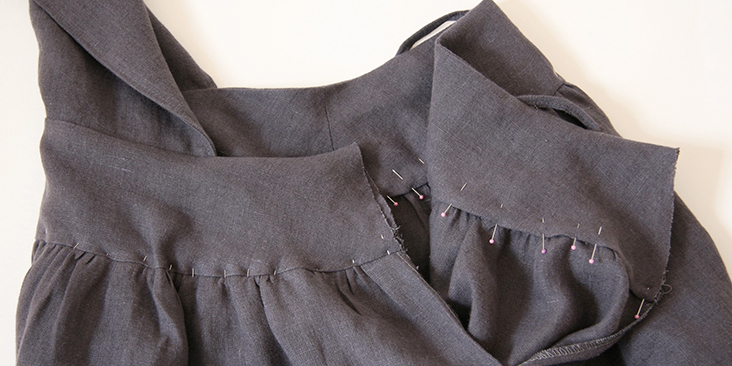
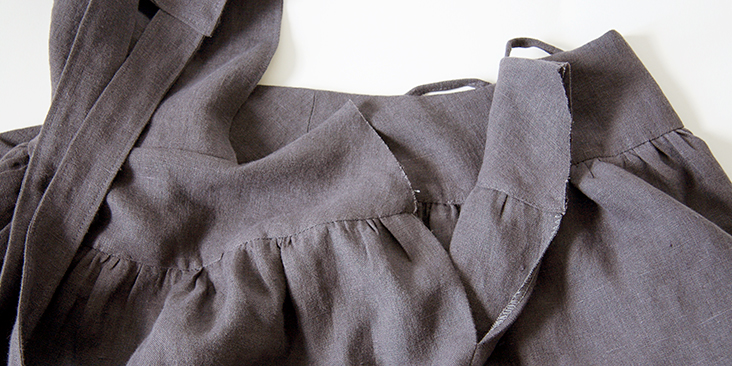
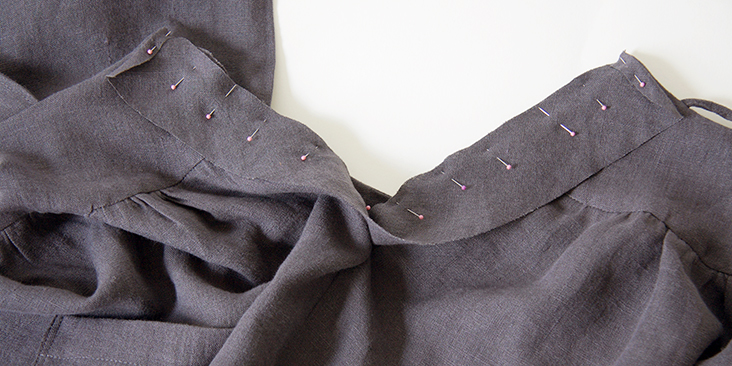
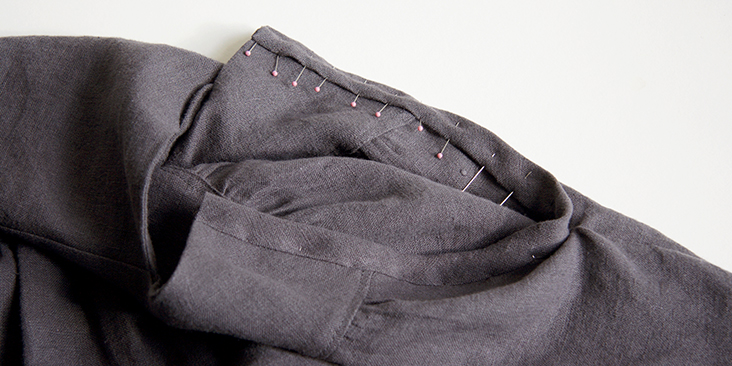
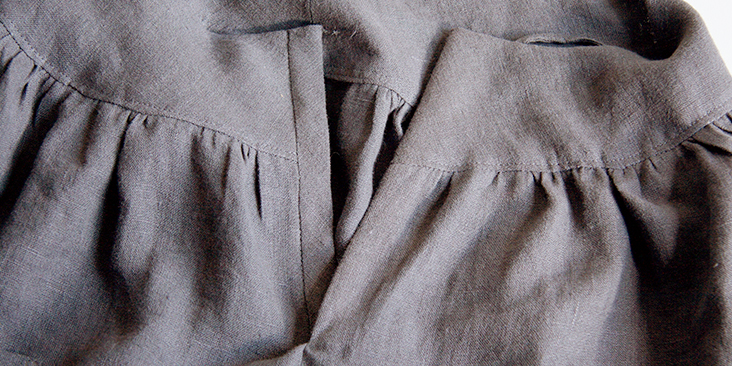
21. Press one short end of your placket fabric 1/4” to the wrong side, then pin to the skirt placket opening (starting at the front skirt) right sides together aligning the raw edges. When you reach the other end, fold the short edge of the placket to the inside and cut the excess.
22. Sew along the pinned edges catching the skirt fabric at the V and making sure that no folds or tuck are caught under the thread. Press the placket and the seam allowances away from skirt and press the other placket raw edge 1/4” to the wrong side.
23. Just like you did with yoke, fold the placket fabric over to the wrong side slightly covering the stitching line and pin.
24. Working from the right side, topstitch in the crease catching the inner placket edge.
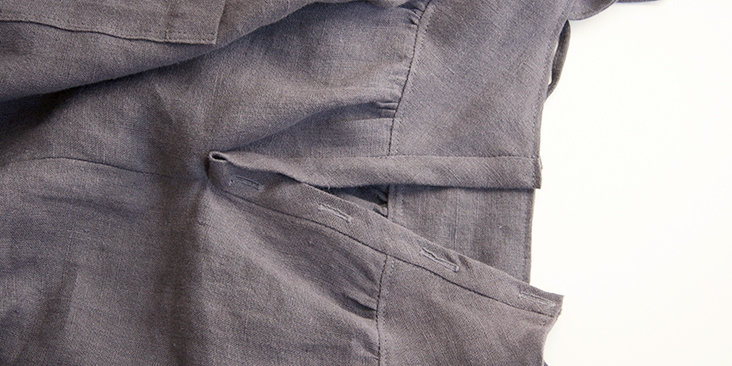
25. On the right side of the placket that is attached to the back skirt, sew four buttonholes that are evenly spaced 1/4″ from the waist. For more instructions, you can follow our detailed tutorial HERE.
26. Fold and press the edge you just added the buttonholes to towards the inside and run a line of topstitching 1/8” from the edge along the entire waistline to close the left placket edge and to keep the other edge in place.
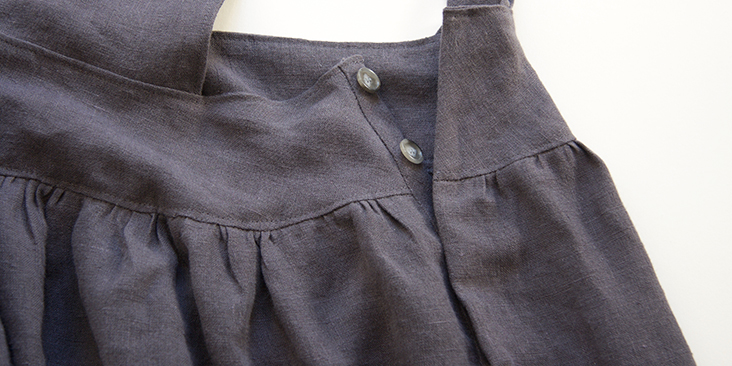
27. Sew the buttons onto your button placket.
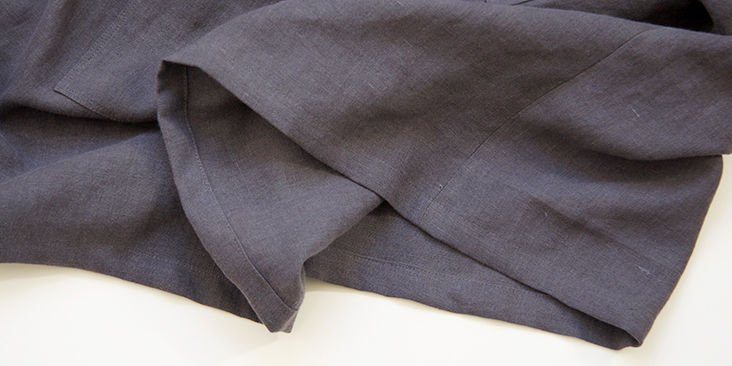
28. Finish the hem by folding the fabric twice (1/2” to 1”) to the wrong side. Press, pin and stitch in place. Remember to backstitch.
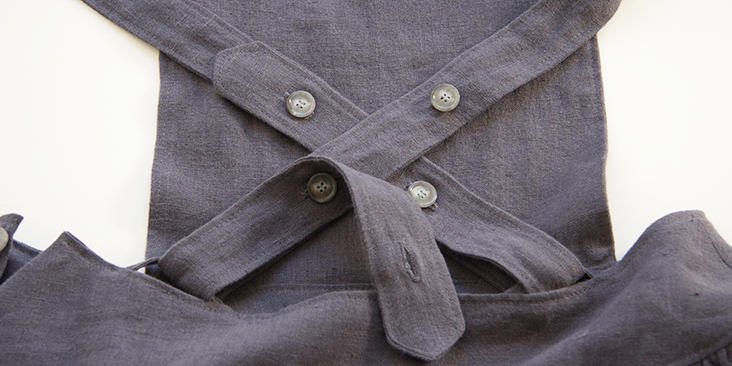
29. Now is a good time to try your pinafore on, cross the straps at the back, insert them into the button loops and decide where you want to place buttons for a better fit. Place a couple of pins to mark the spot.
29. Stitch two buttonholes on each strap (one at the marked spot and the other – closer to the end of the strap to keep it in place), cut them open with your seam ripper, overlap and place a pin into the center of each buttonhole. This is where you’ll need to attach the buttons. Check our tutorial HERE for instructions on how to attach buttons.
Give your pinafore one last press and you are all done! We love seeing what you make! Don’t forget to share your pictures and tag your creations with #FabricsStoreGiorgiPattern hashtag.















8 Comments
Pingback:
10 Free Pinafore Dress Patterns That Are So Cute! - Sage&LilacPingback:
10 Free Pinafore Dress Patterns That Are So Cute! - Sage&Lilaceneri savid
The dress is super cute, but I find the tutorial very lacking.
1. There was no button placket notch marker on the pattern, so it got confusing when the tutorial was talking about that.
2. In Step 5, it said to stitch the right seam of the yoke. However, I had to undo these seams to be able to do Step 16. In the picture in Step 16, the yokes are stitched together at the right seam, and they cannot be stitched in the beginning because it would be impossible to turn it inside out.
3. More pictures showing how to arrange the placket buttons would be helpful.
Probably not beginner friendly, because as a beginner I had to make some assumptions and trial and error to figure out some stuff. But the final product looks cute, would definitely make another one knowing the corrections I know now.
Bridget Kelly
Heh, over a year later I’ve finally gotten around to finishing cutting out the pattern and I’m on step 1 of sewing it, putting the pockets onto the front skirt, and it says to refer to the pocket placement notches.
… I really tried to transfer notches as I went but I found no such thing, so I dug my paper pattern back out and I cannot for the life of me find any markings of any kind to indicate where the pockets ought to go. Is that a layer I accidentally turned off during printing??
I could just estimate but I really want to actually follow the directions properly, so any advice you could give would be very appreciated.
Courtney Harmon
i don’t see any notches (button placket) on the pattern pieces…?
Bridget Kelly
I’ve downloaded the pattern and printed it out and laid it all out and cut out the paper, and am confused: there are two large curved pieces that both say “Front Skirt Yoke– Cut 2” and there are no pieces that are the skirt yoke in back.
I assume this is an error and one of the pieces is meant to be the front yoke and one the back yoke, and the “cut 2” means you’ll have an inner and outer piece of each one. They’re very similarly sized, but not quite identical, and I imagine it matters which is which. But I am not a good enough pattern maker to guess which is supposed to be the back!
I would love some advice on this matter.
Lara Dufour
Hello, i had the same problèm, looking at thé tutorial i would say thé shorter yoke is thé back one, thats how ive sewn it anyhows, and it seems ok, im sewing side placket and buttons on attend thé moment. Good sewing!
Jill Berryman
Might be a bit late, but it looks like one of the pieces has markings for where the loops go, so I’d assume that’s the back piece.