Quin Patchwork Dress Tutorial and Pattern
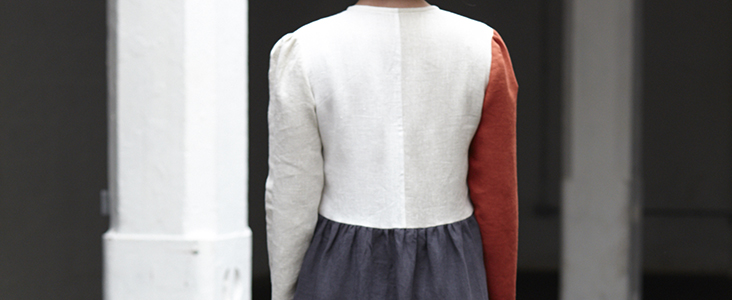
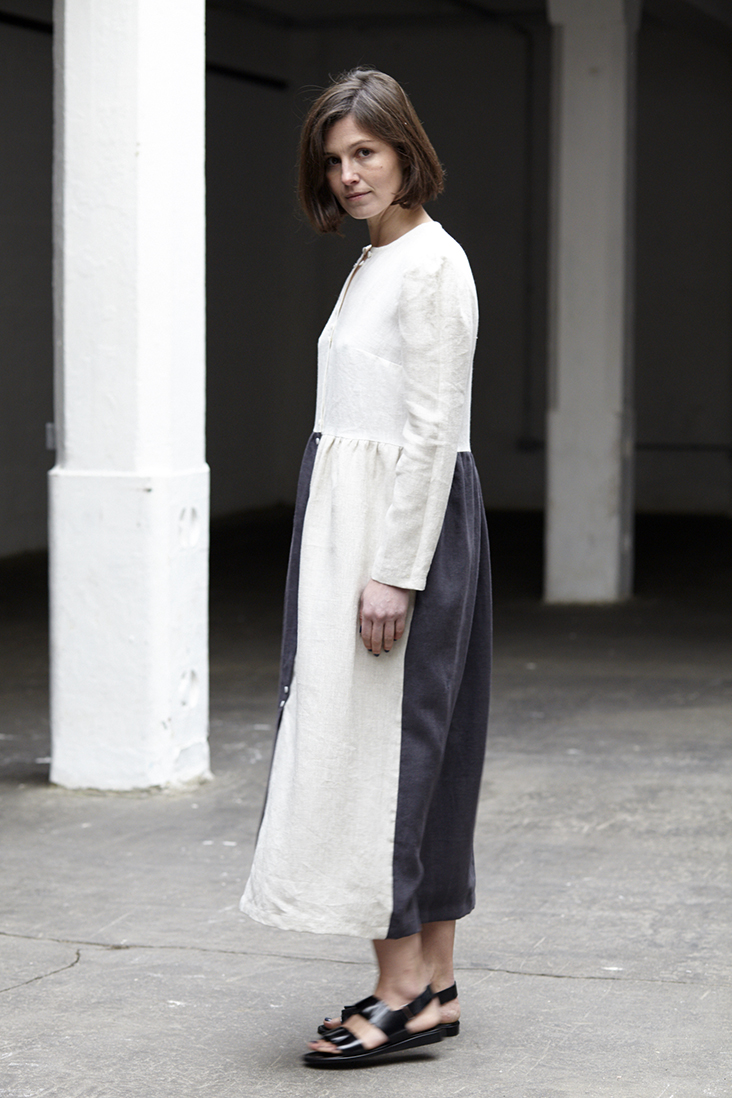
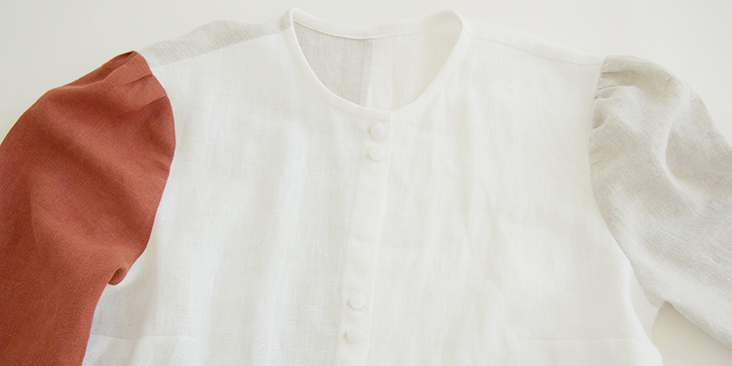
Add a splash of color to your wardrobe and spice up your look. Our Patchwork dress is a perfect solution to help get over a winter slump. Quin is a color-blocked ankle length dress with crewneck, long sleeves, fitted bodice and gathered skirt.
Express your creativity and mix and match your favorite colors to create a truly unique dress!
Materials
For our sample US size 6 pictured in this tutorial we used:
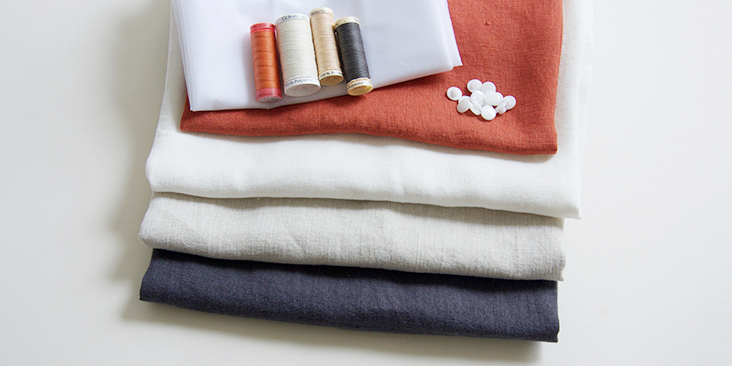
- 1 yard of IL019 NINE IRON FS Signature Finish Medium Weight Linen
- 1 yard of IL019 MIX NATURAL FS Signature Finish Medium Weight Linen
- 1 yard of IL019 BLEACHED FS Signature Finish Medium Weight Linen
- ½ yard of IL019 SEDONA Softened Medium Weight Linen
Matching sewing threads, fusible interfacing, 14 small (14L) shank buttons
Tools
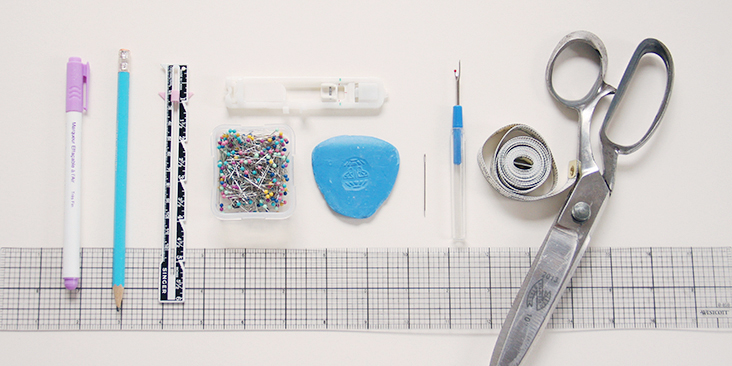
Scissors, pins, ruler, chalk, measuring tape, fabric marker, buttonhole foot, seam ripper, needle, sewing machine
Difficulty
Advanced Beginner
Sewing Time
5-6 hours
Pattern
You can access the multi-sized printable PDF pattern by following this link HERE. All seam allowances are included. The model is wearing size US size 6.
Remember to transfer all the notches onto your fabric.
Steps
Note: Prewash your fabric and tumble dry it until it is still slightly moist, dry at room temperature. Iron the fabric so it is easier to work with.
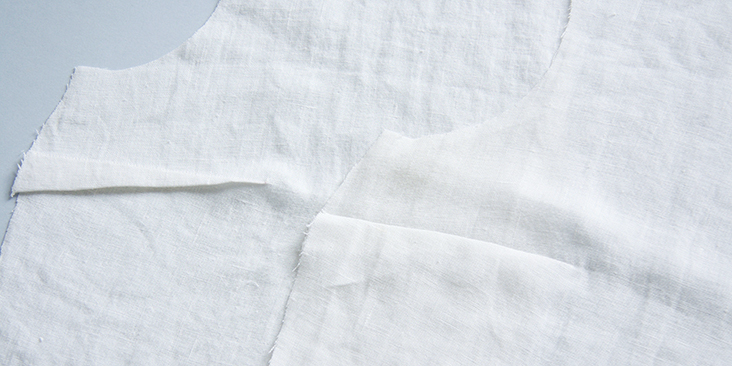
1. Sew front bust darts as explained in this tutorial. Press the fullness of each darts downward.
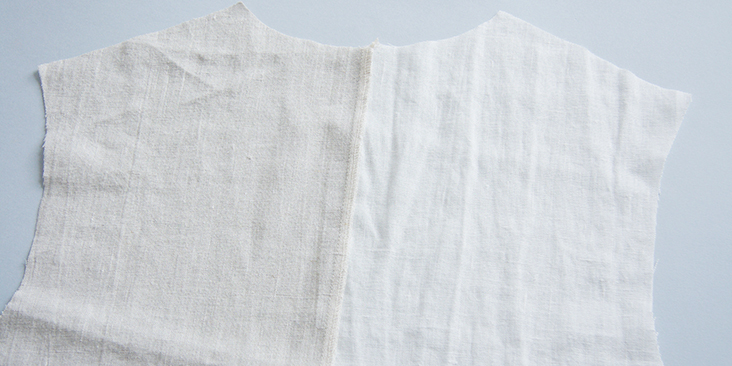
2. Pin and stitch the two back pieces right sides together at a 3/8” (1 cm) seam allowance. Trim the seam down to 1/4″ and finish raw edges together with a serger or a zigzag stitch to prevent the fabric from fraying in the future. Press seam to one side.
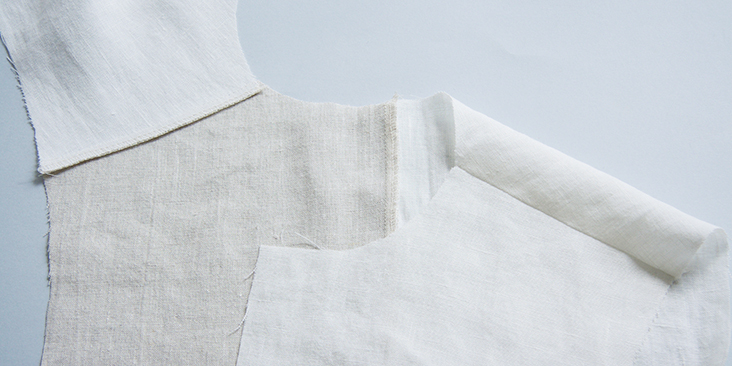
3. Pin and stitch front and back pieces right sides together at shoulder seams at a 3/8” seam allowance. Trim, finish and press seam towards back.
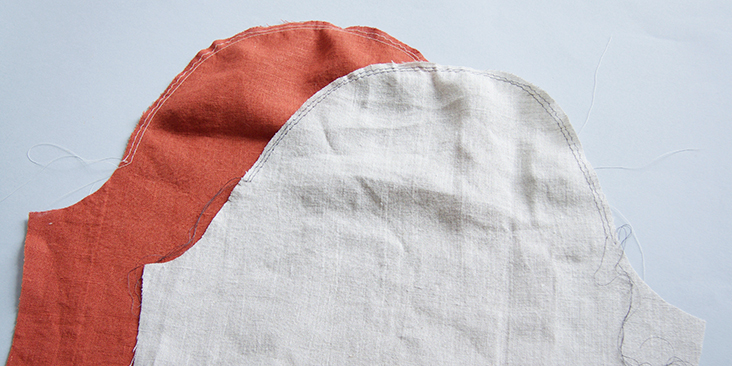
4. Prepare your sleeves for gathering. Run two lines of basting stitches on each sleeve cap, 1/2″ away from back armhole notch to 1/2″ from front armhole notch. If you don’t know how to gather, please check our detailed tutorial HERE.
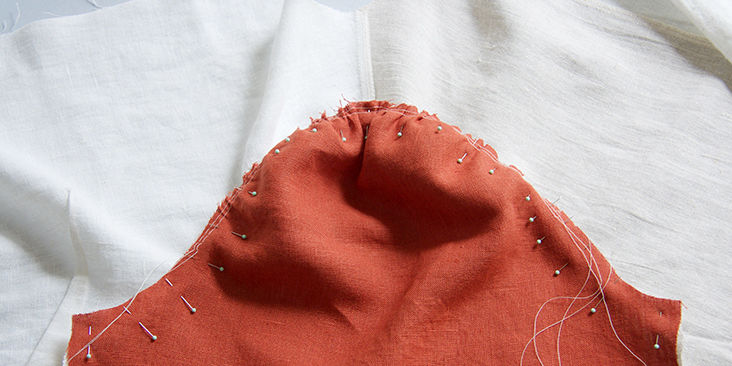
5. Pin sleeves to corresponding armholes right sides together and matching the notches. Pull basting threads to gather sleeve cap. Distribute fullness towards center of your cap and pin to bodice.
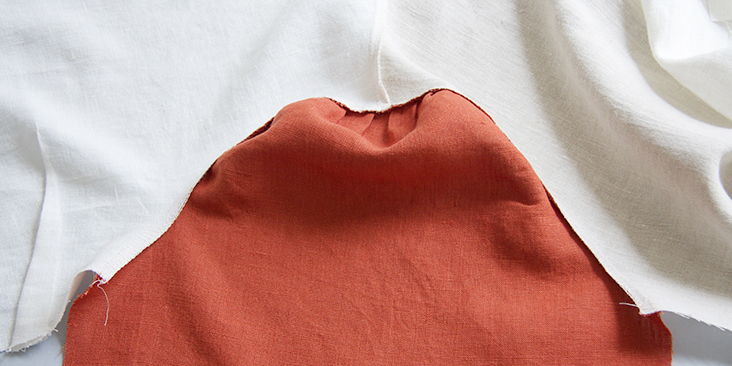
6. Stitch sleeve to bodice (3/8” or 1 cm seam allowance) gathered side up, trim seam allowance to 1/4″ and finish using your preferred method. Press toward sleeve.
Use matching color threads for each sleeve. When you are color blocking two panels, you can use two different color threads for bobbin and needle thread to match the color of your fabric.
7. Pin (matching underarm seams) and stitch the side seams and the underarms all in one seam at a 3/8″ (1 cm) seam allowance, then grade and serge/zigzag the raw edges together. Press seam allowances towards back.
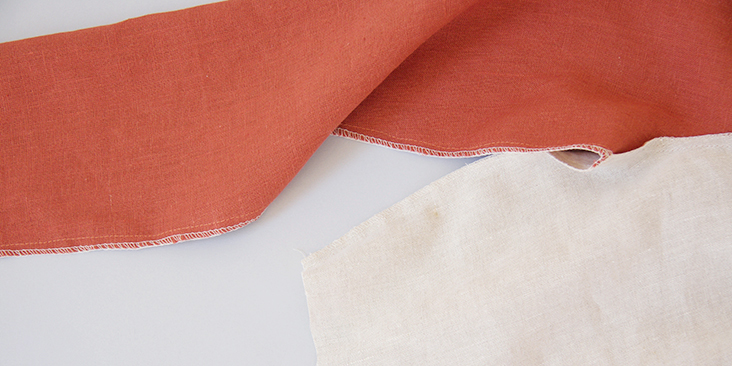
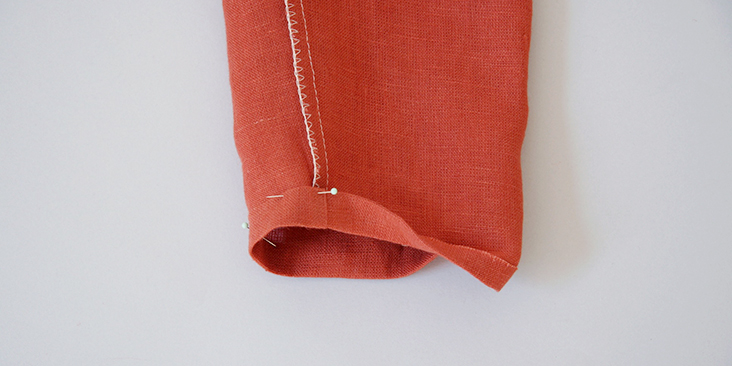
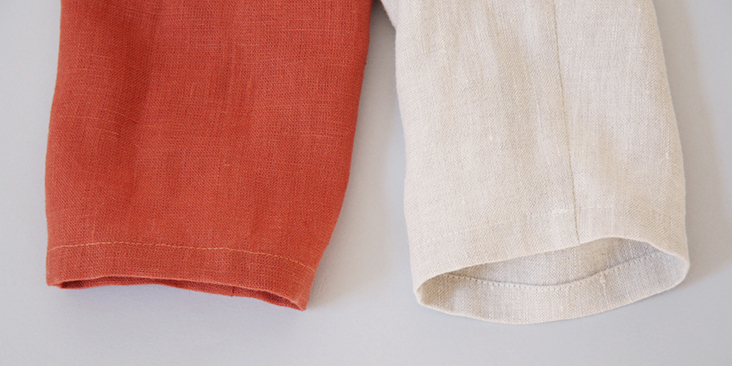
8. Finish the sleeve opening with a rolled hem. Fold the fabric twice to the wrong side (3/8” to 1/2″). Press, pin and edgestitch.
Time to sew the skirt.
9. Take your front and back skirt pieces, attach the inseam pockets and sew the side seams by following the instructions in this step-by-step tutorial. Refer to the notches on the pattern for pocket placement. Finish the seams and press towards the front of the dress.
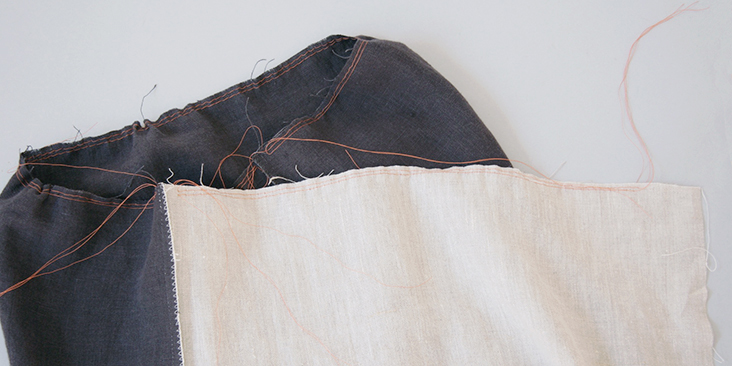
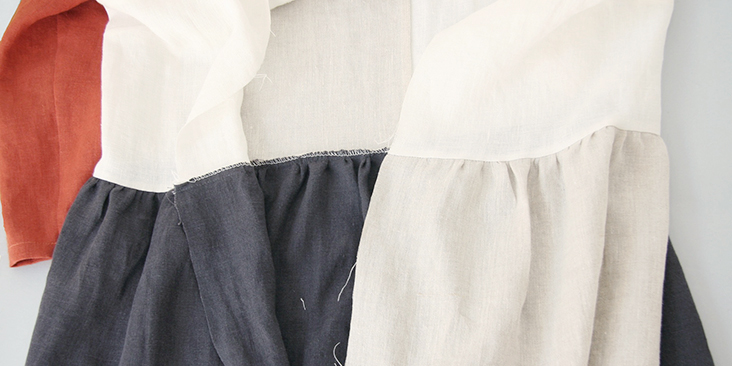
10. Run two lines of basting stitches along the waist edge of your skirt (back and two fronts separately). Use contrasting color thread and leave long tails. On the front pieces, stop your basting lines 2” away from Center Front to leave enough space for button bands.
11. Pin your skirt to bodice right sides together matching side seams and Center Backs. Gather your fabric evenly in between the pins.
Stitch skirt to bodice at a 3/8” seam allowance, trim and finish the seam. Press towards bodice.
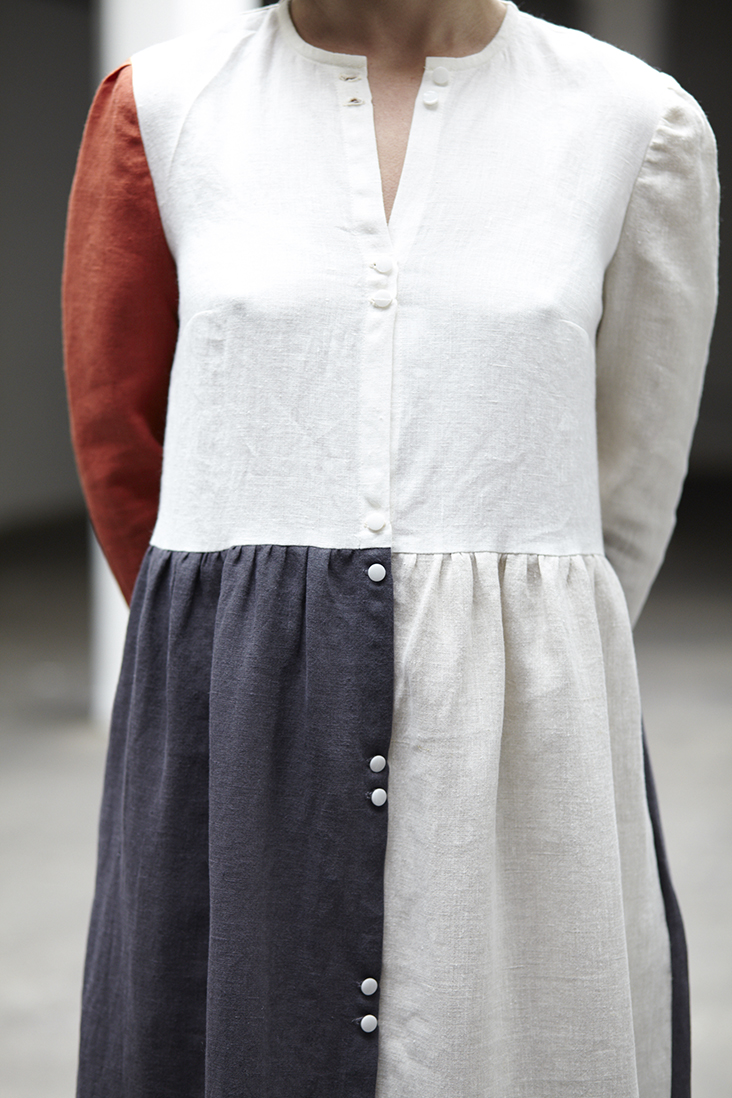
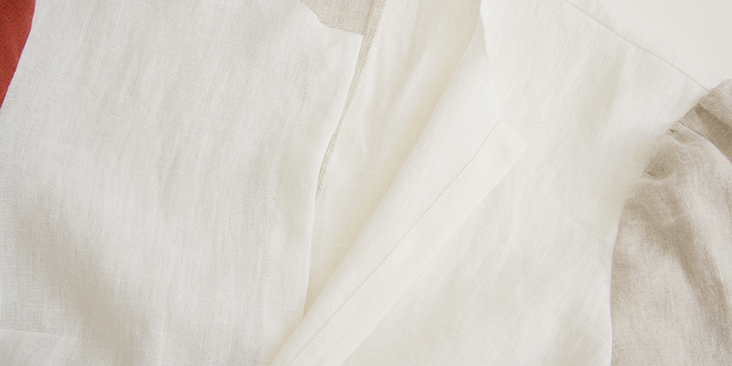
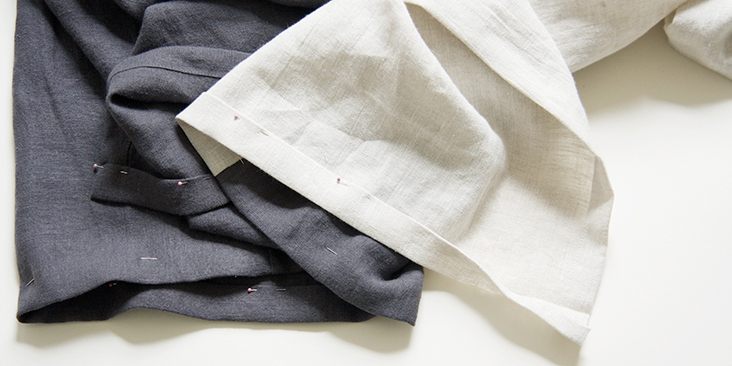
12. Now that your dress is assembled you can create two front buttonbands. To do so, fold the front raw edges twice to the wrong side, first 3/8” (your seam allowance) and then another ¾”. Press, pin and edgestitch.
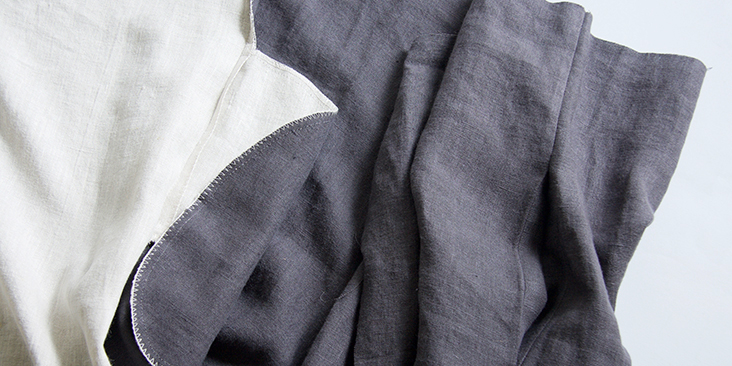
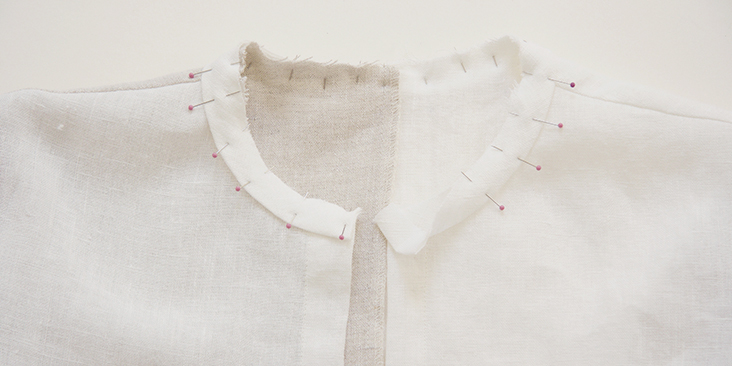
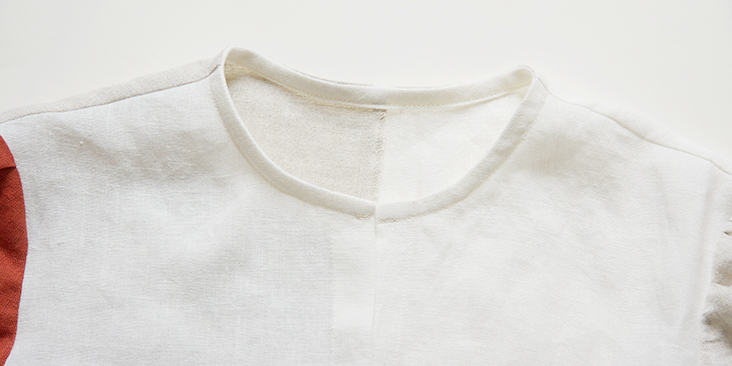
13. Bind the neckline as explained in this step-by step tutorial.
Tuck in the ends as shown:
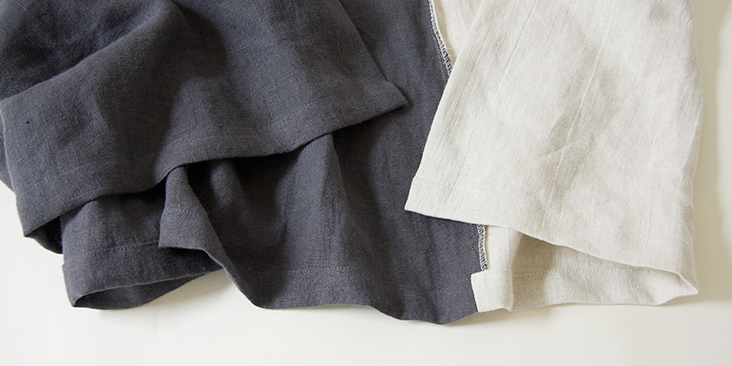
14. Finish the bottom hem. Fold fabric twice to wrong side: 1/2″ to 1”. Press, pin and edgestitch.
15. Lastly, sew the buttonholes and attach the buttons.
Note that in women’s clothing, the buttonholes are sewn on the right button band, and the buttons – on the left.
For the buttonholes, you can follow our detailed tutorial HERE. As for the buttons, check this tutorial HERE for instructions.
The number and the spacing are really up to you. If you want your buttons closer, just leave smaller gaps between them. We decided to place two buttonholes 1” apart at the neck, fullest part of the bust and waist and placed three more pairs of buttons on the skirt.
Overlap the two button bands and place a pin into the center of each buttonhole. This is where you’ll need to attach the buttons.
16. Give your finished dress a good last press and you are all done!
We love seeing what you make! Don’t forget to share your pictures and tag your creations with #FabricsStoreQuinPattern hashtag.





Leave a comment