Easy DIY Gia Tie Up Sundress Tutorial and Pattern
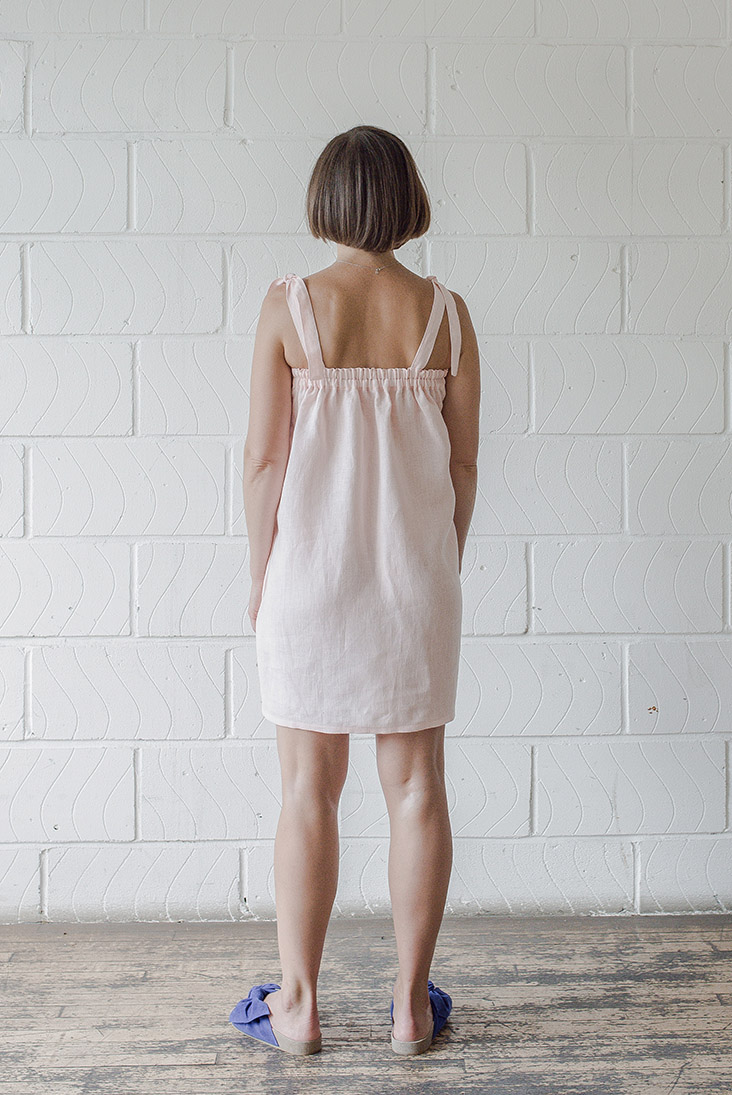
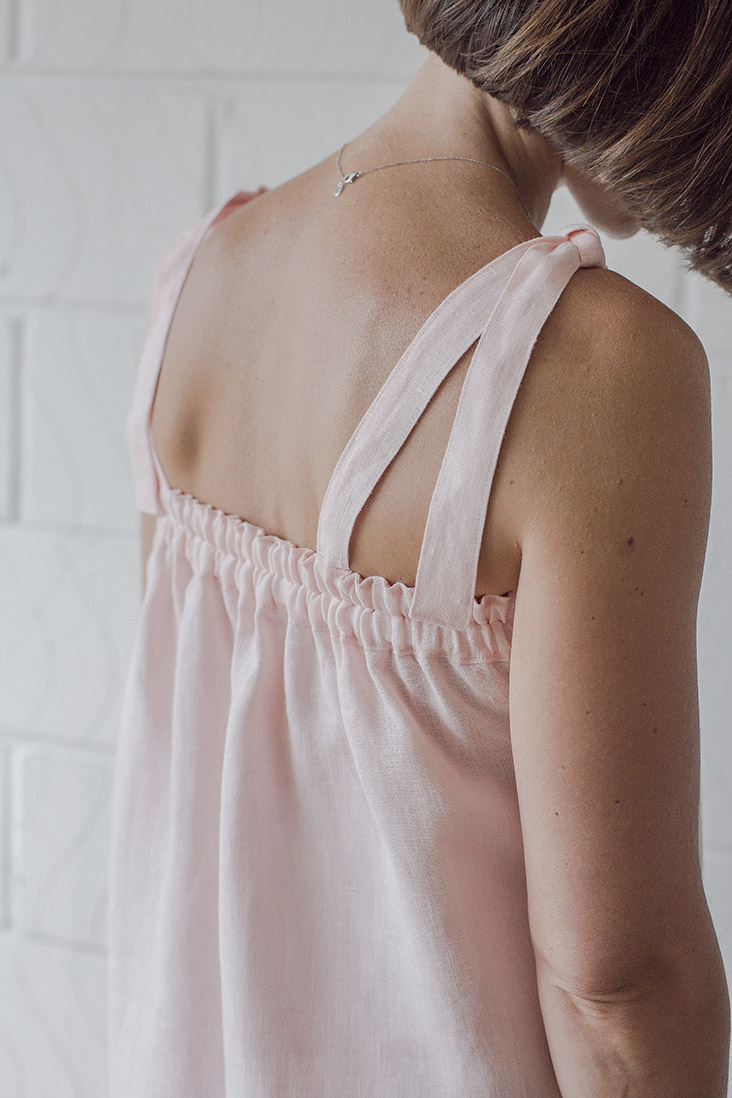
If you are looking for a great beginner project, this cute little sundress has a relatively simple construction. The fit is so basic and doesn’t require a pattern; all you need to do is create a gathered tube for the dress and four ties. To make it a little bit more special, we decided to make the front flat and the back gathered.
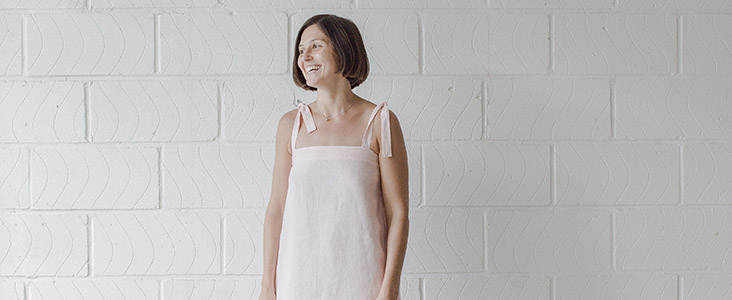
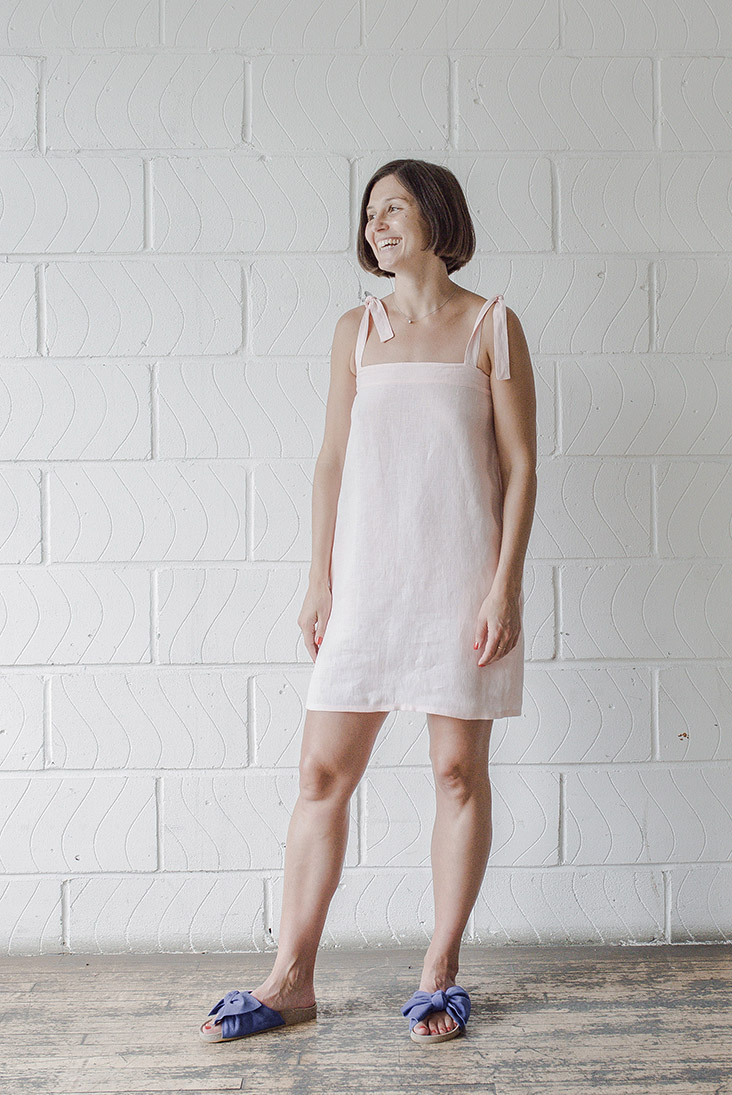
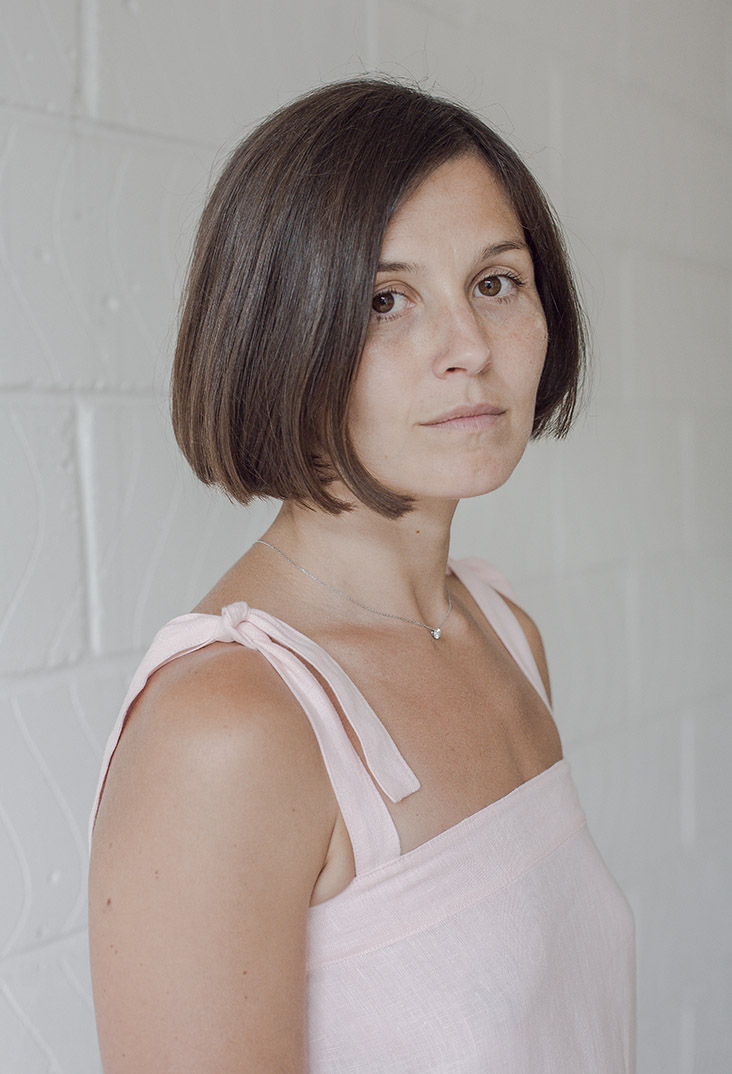
The Gia sundress is really quick and easy to draft and sew, and even easier to wear every day, all summer long. It’s basically the perfect summer dress, hitting all the trends: blush pink, textural and breathable linen, minimalist shape and bohemian feel.
Plus you can always add a matching belt to define your waist!
Materials
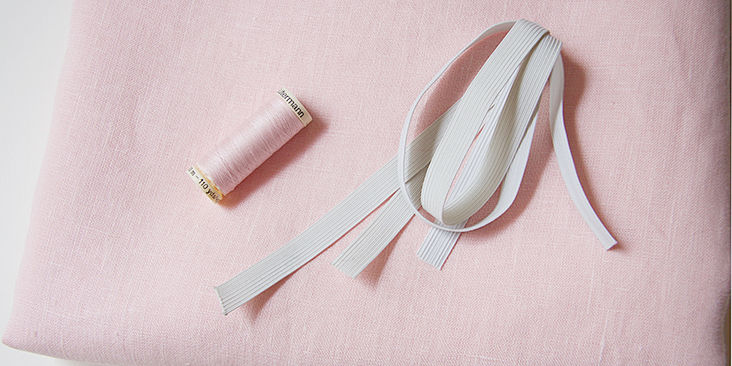
2 yards of IL019 LIGHT PINK Softened Medium Weight Linen
Matching sewing thread, 1 yard of 1/2″-wide elastic
Tools
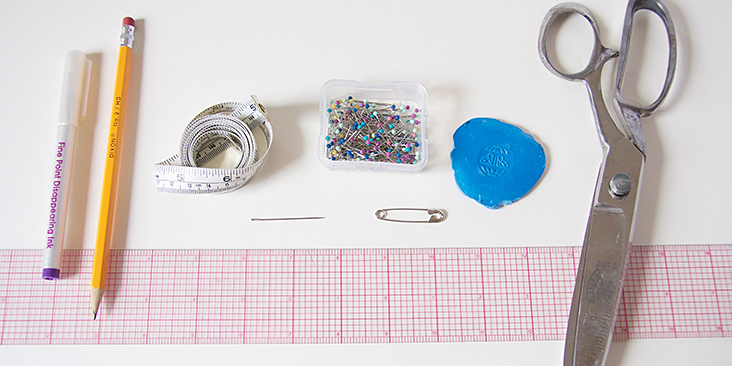
Pattern paper, pen, ruler, pins, scissors, chalk, fabric marker, measuring tape, needle, safety pin, sewing machine.
Difficulty
Beginner
Time
3-4 hours
Pattern
For this DIY project, you will be creating your own pattern. All you need is to do is to take three measurements (using your soft measuring tape) and write them down:
– Bust (Measure around the fullest part of your bust)
– Hips (Measure the circumference of your hips)
– Dress Length (From your upper bust, measure down to where you want your dress to end). You decide how long you want the dress to be (we went for a mini).
To determine the width and fullness of the dress, compare your bust and hips measurements and choose whichever is the biggest (since you want to make sure that you have enough width to accommodate your curves in all the right places).
For this tutorial, we’ll be creating a US size 6 dress and our measurements are: Bust – 32”, Hips – 38”, Length – 27,5”. In our example, we will be working with the hip measurement.
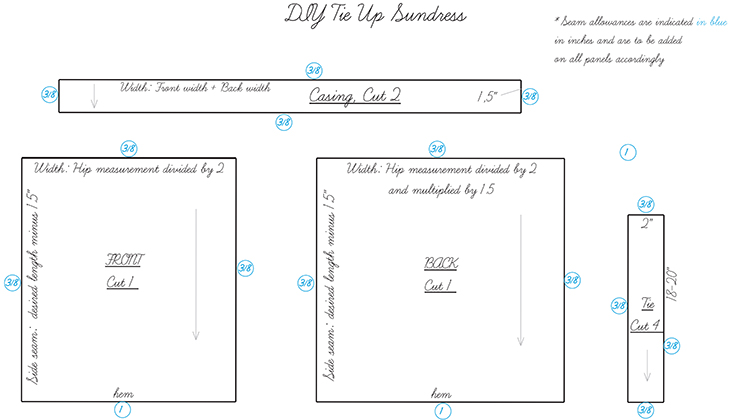
1. To create the front pattern piece, take the hip measurement (or bust, whichever measurement is bigger) and divide it by 2. This is the width of your front bust and hem edges. Now take your desired length measurement and subtract 1.5” (this amount will be replaced by the decorative casing around the upper bust area). Using this new measurement, draw two vertical lines for your side seams.
2. As for the back pattern piece, we’ll need to do a little bit of math to account for the gathering. Take half of your hips (or bust) measurement and multiply it by 1.5 (for the 1.5:1 gathering ratio). This will be the back width of your dress. Use the same length measurement as for the front piece to draw your side seams.
These two rectangles are the body of your dress. Add your usual seam allowance around all edges (3/8” (1 cm) in our case) and a little extra for the hem (1” or 2.5 cm).
3. To create the decorative casing, add your front bust measurement and the upper back measurement (without the seam allowances) and you’ll get the length of the casing. As for the width, 1.5” is a good amount to accommodate two rows of ½” elastic. Draw a rectangle using these two measurements, add your usual seam allowances around all edges and cut 2 in fabric.
4. Lastly, draw your ties. For a finished 1”-wide tie, draw a rectangle that is two times the desired width (2”) and approximately 16-18” long. Add seam allowances around all edges and cut 4 in fabric.
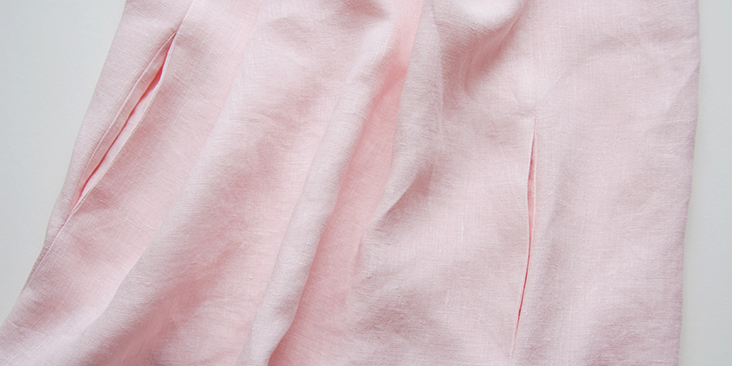
5. As for the inseam pockets, you can find the printable template HERE. You’ll need to cut two sets for two pockets, all seam allowances included.
Now that you have your pattern pieces, you can draft them on paper or draw them out on your fabric with chalk or fabric marker. Your choice and either will work.
Steps
Note: Prewash your fabric and tumble dry it until it is still slightly moist, dry in room temperature. Iron the fabric so it is easier to work with.
1. Follow this step-by-step tutorial and attach the inseam pockets and sew the side seams. To determine the location of your pockets, measure down from the underarm to the desired height, subtract 1.5” (to account for the casing) and use this measurement to place your pockets on each side.
Remember to finish the seams with a serger or a zigzag stitch as demonstrated in the tutorial.
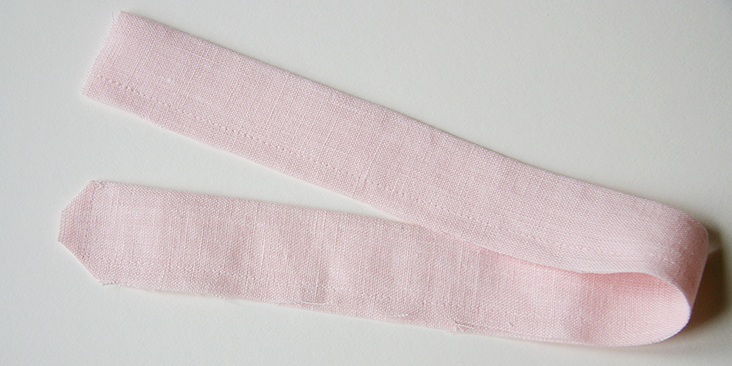
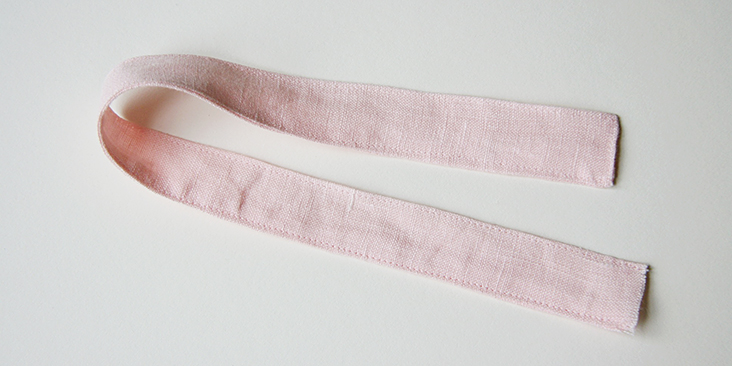
2. With right sides together, fold your tie piece in half lengthwise and press. Leaving one short end open, stitch (3/8” or 1 cm seam allowance) the length of the tie and then pivot at the end corner and finish the end. Backstitch at the start and finish of the seams. Clip the corners.
3. Turn the tie right side out. Use a sharp tool or a simple chopstick to turn the point. Press and edgestitch along the finished edges (1/8” away) leaving the end open.
Repeat same steps for the remaining three ties.
To determine the location of your ties on your dress, you’ll need to find midpoints between center front and left side seam and center front and right side seam. Same thing for the back: find a midpoint between center back and left side seam and center back and right side seam. Make four marks and transfer them to one of the casing pieces.
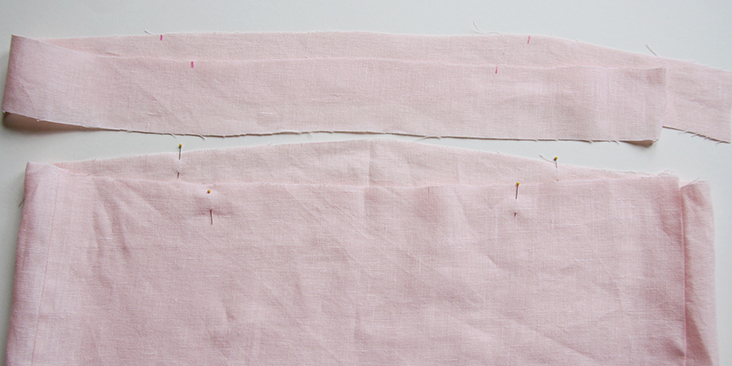
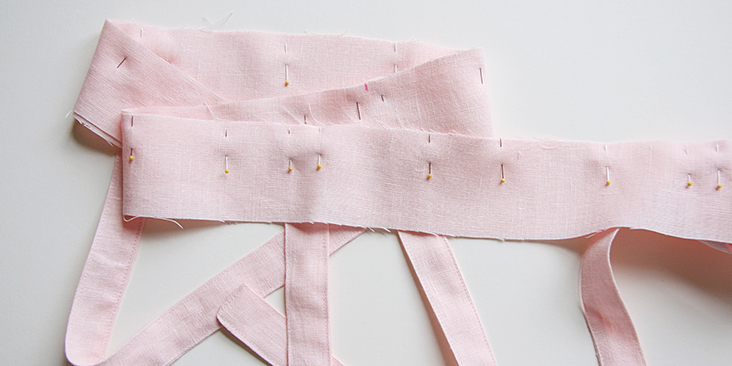
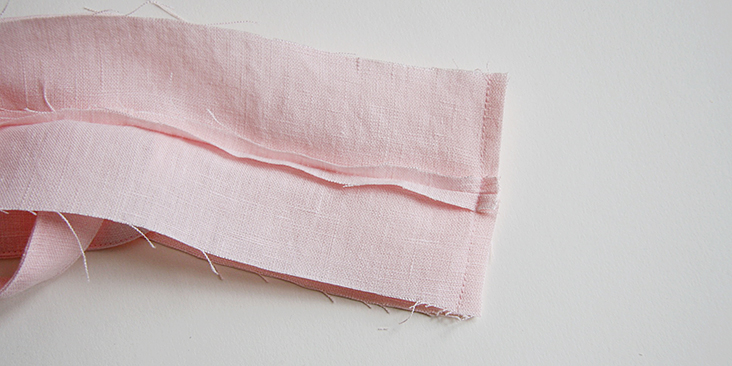
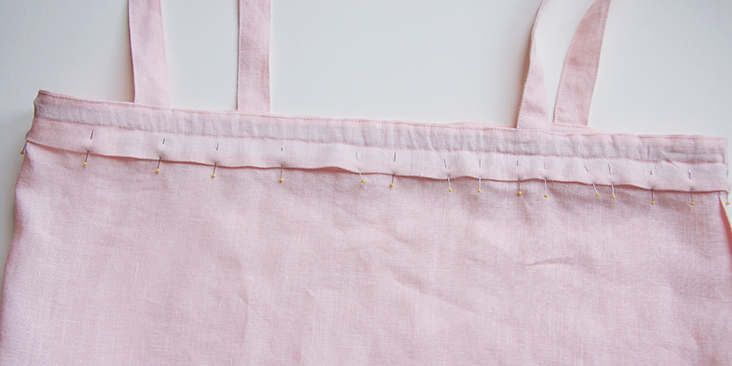
4. Take your two casing pieces and place one piece on top of the other right sides touching. Insert the raw edge of your ties (finished end down) between the two layers at the marked locations matching the raw edges. Pin all layers together.
5. Stitch along the pinned (upper) edge at a 3/8” (or your usual) seam allowance.
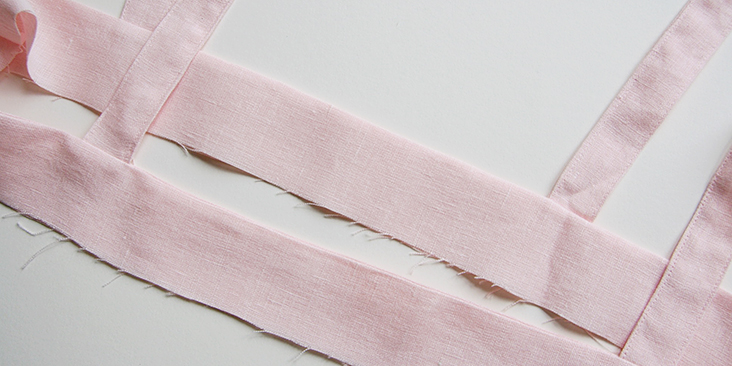
6. Trim the seam allowance down to ¼” and press open. Then turn right side and press flat.
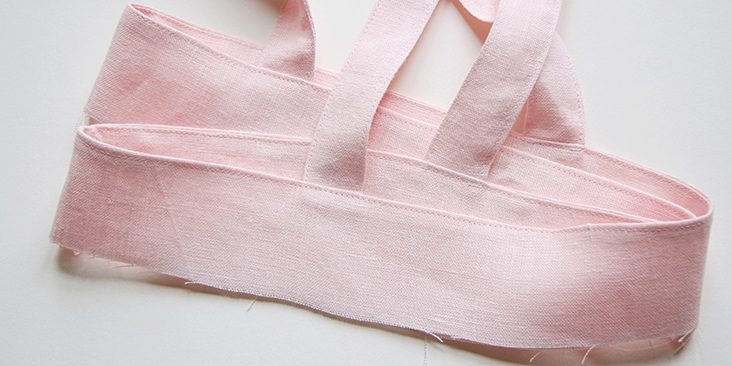
7. Pin and stitch the two short ends right sides together to create a tube. Press the seam open.
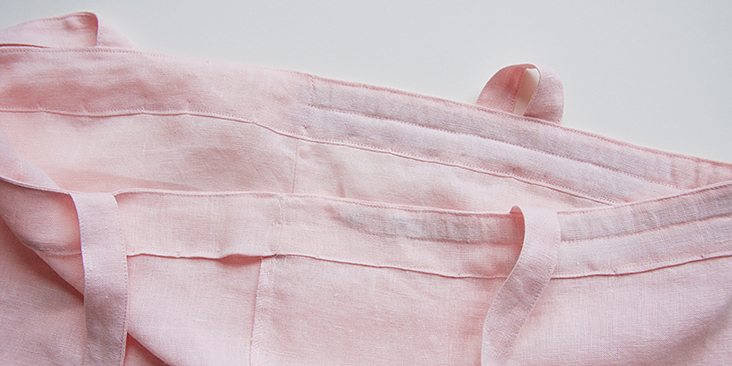
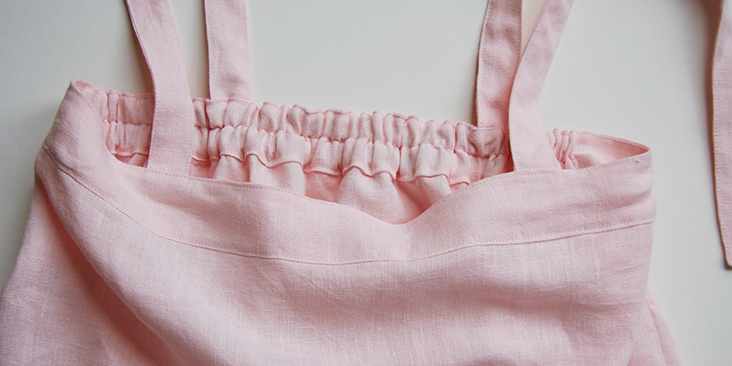
8. Refold your casing in half lengthwise and edgestitch along the finished edge.
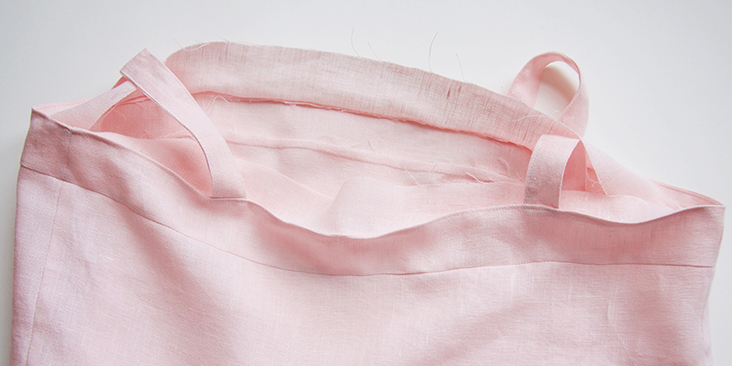
9. Matching the casing seam to the side seam of your dress, and making sure the front/back of the casing match the front/back of the dress, pin one edge of the casing to the neckline edge of the dress right sides together.
10. Stitch together at a 3/8” (1 cm) seam allowance and press the casing and the raw edges away from the dress.
The dress features elasticated back with two casings so in the next steps we will be sewing the back.
11. Prepare the elastic by cutting two equal pieces to the measurement of your upper bust divided by 2.
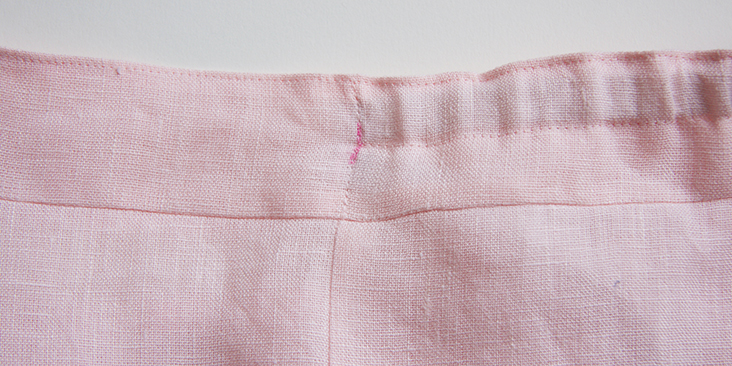
12. Using fabric marker or chalk, extend the side seam on the dress to the casing. 
From this point, run a horizontal line of stitching in the middle of your casing and stop when you reach the other side seam. Remember to backstitch at both ends.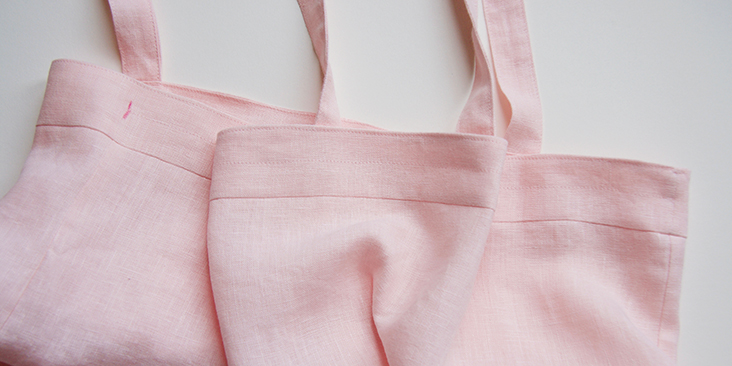
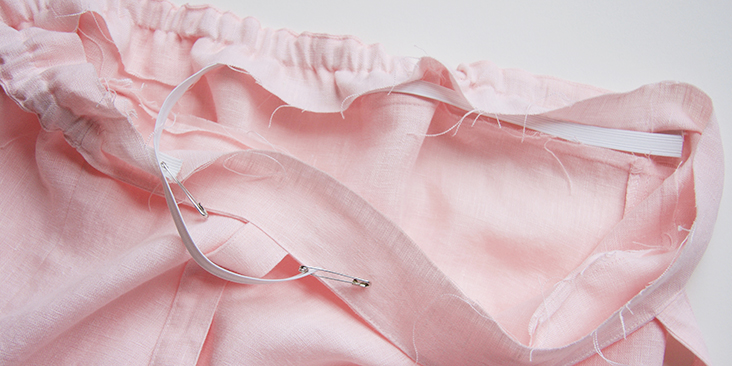
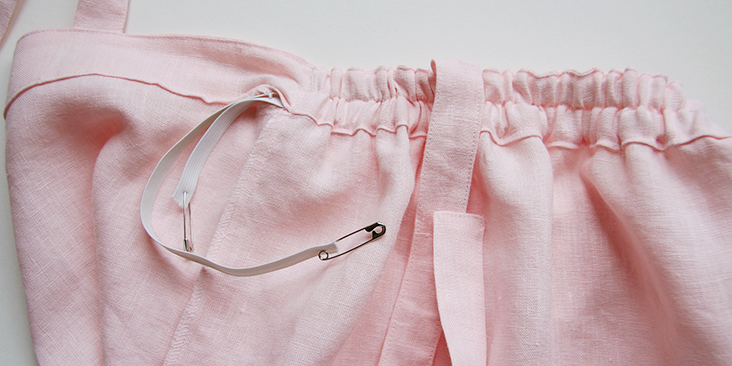
13. Attach a safety pin to one end of the elastic and feed it through the upper tunnel. Place the other end at the side seam, a little past the seam.
Repeat with the second elastic and place it in the bottom tunnel that is not stitched yet.
14. Run a vertical line of topstitching along the side seam, securing the elastic ends in place. Make sure you fold under the seam allowance at the side seam.
15. Fold under the casing seam allowance and pin it to the dress covering the seam line. With your safety pins still attached to your elastics and working from the right side of your dress, topstitch along the pinned edge, catching the underside of the casing as you sew and leaving a small opening at the other side seam of the casing to be able to take out your safety pins. Make sure you don’t catch the elastic when you sew.
16. Now try on your dress and determine how gathered you want your back to be by pulling the elastics. When you reach the desired width, secure your elastic ends with pins and stitch them down in the ditch of your side seam.
17. Trim the ends, take off the pins and close the opening.
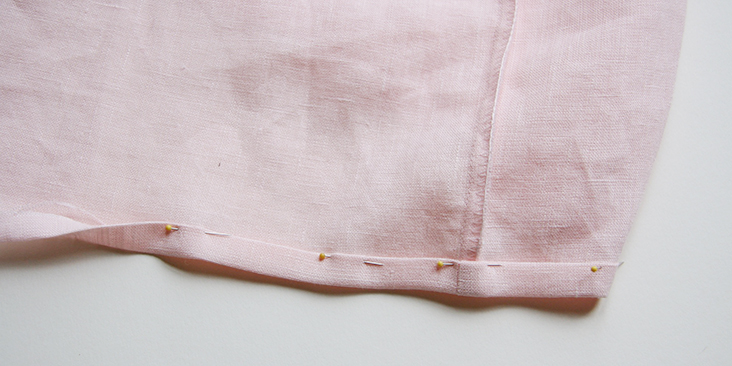
18. Lastly, hem your dress by folding the fabric twice to the wrong side (3/8” to 1/2”), press and pin.
19. Edgestitch along the folded edge and don’t forget to backstitch!
Press your dress one last time and you are all done!
We love seeing what you make! Don’t forget to share your pictures and tag your creations with #FabricsStoreGiaPattern hashtag.






8 Comments
Jennifer Toews
Hi, I am very interested in making this dress with the inseam pockets. I clicked on the link and wasn’t able to download the pattern? Where else can I find it? Help?
Thank you
Lauren Linen
Here is the link to the tutorial and pattern :
https://blog.fabrics-store.com/2016/10/14/sewing-glossary-how-to-sew-inseam-pockets-tutorial/
Jennifer Toews
Wow, thank thank you so much Lauren. 🙂
Karen Lloyd
Hi. I found your tutorial on pinterwst. Loving it. I am to the point of the casing. I have mu strips cut, I have my straps made and now l am so stuck! I’ve looked at the directions over and over. Any extra advice?
Thanks,
Karrn
Millie
This gives us a real good look at that fabric. It’s gorgeous, and such a lovely model too. Your tutorials are very nicely done.
Fay
When it comes to taking the measurements for the dress length you mentioned taking it from the upper bust well forgive
me my ignorance but how far above the bust point is that? This dress came just in time because I have always wanted to see a simple dress like this .
Rima Khusainova
Dear Fay, thank you for your comment and let me see if I can be of any help. Upper bust (also called “high bust”) is the measurement around your upper chest (where your bust starts) just under your armpits. To get the most accurate measure you need to keep the measuring tape straight across and around the back. If you look at the dress picture, the decorative casing (flat at the front and elasticated at the back) sits just where the upper bust is. So this the spot from which you should measure down to your desired length. Hope this helps!
Fay
Thank you very much Rima it definitely does and by the way I love the sandals also