Jane Gathered Shirt Dress With Notched Collar Tutorial and Pattern
If you feel like your wardrobe needs a lot more buttons and collars, then you’ll love our new pattern – The Jane Notched Collar Shirtdress! Effortlessly chic, its feminine cut is flattering for all body shapes and sizes.
For this project, we chose to work with our striped medium weight linen because stripes are so summery and never go out of style. Plus, they offer many possibilities to have fun with the pattern by cutting the pieces on different grainlines.
Practice sewing a collar, adding facings, attaching yokes and patch pockets and stitching buttonholes. And even though this pattern is classified as intermediate, beginner sewists should not be scared to try! We go through all the techniques together and are always here to answer any questions!
Materials
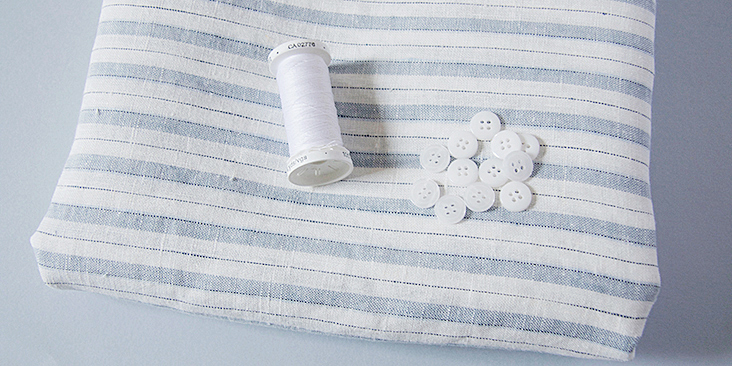
3 yards of IL042 901 FS Premier Finish Medium Weight Linen
Matching sewing thread, 10-12 ½”-wide buttons, fusible interfacing for the collar (optional)
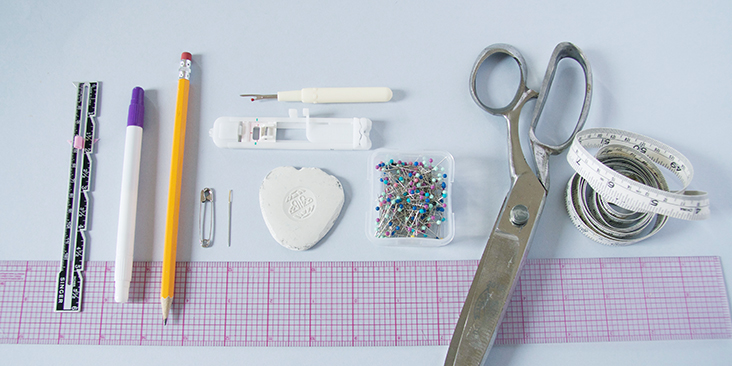
Tools
Scissors, pins, ruler, chalk, measuring tape, fabric marker, buttonhole foot, seam ripper, needle, sewing machine
Difficulty
Intermediate
Time
6-8 hours
Pattern
You can access the multi-sized printable PDF pattern by following this link HERE. All seam allowances are included. The model is wearing US size 6.
If you need help adjusting the pattern for a fuller bust, we have a great Full Bust Adjustment tutorial HERE.
Steps
Note: Prewash your fabric and tumble dry it until it is still slightly moist, dry in room temperature. Iron the fabric so it is easier to work with.
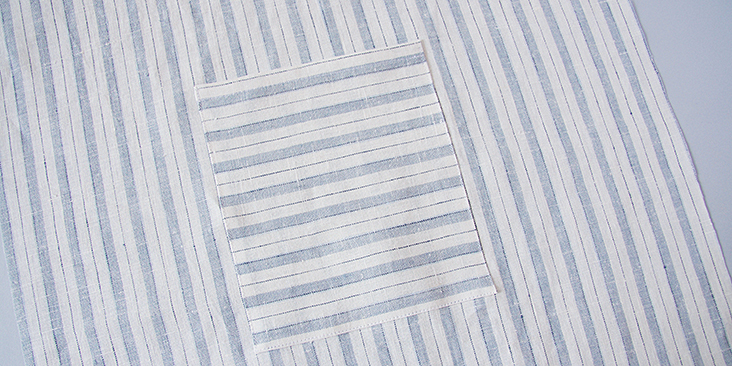
1. Start by attaching the patch pockets to the left and right skirt fronts. Follow the instructions in this step-by-step tutorial and place your pockets 5” below the waist, in the middle.
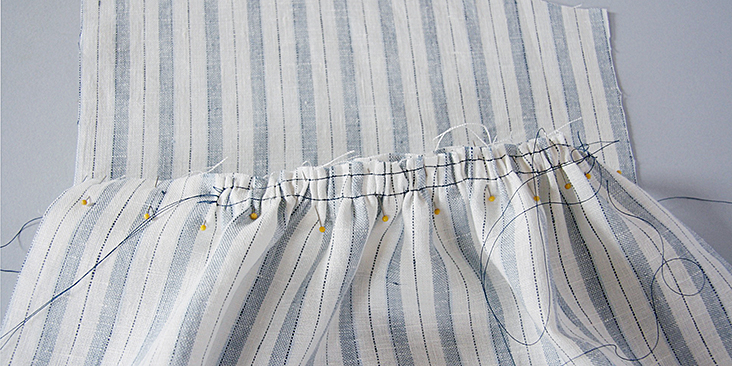
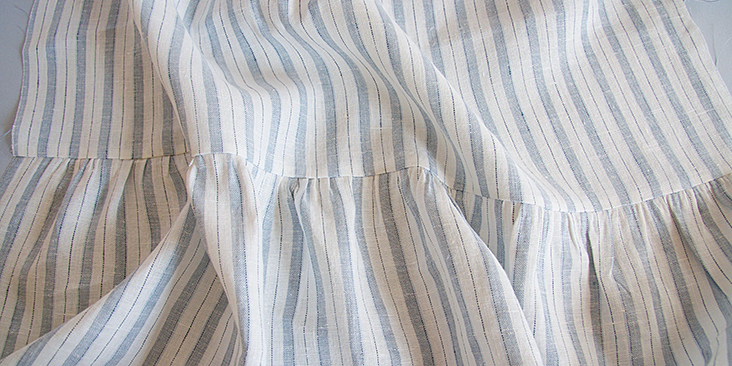
2. Use a contrasting color thread and follow the steps in this detailed tutorial to gather your front skirt to the measurement of your front bodice.
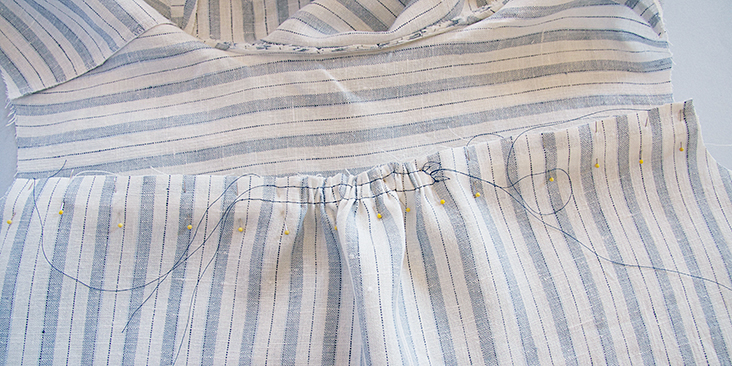
Space the gathers evenly but leave 3” at the front opening ungathered. The reason why we ask you not to gather around the front opening is because it needs to stay flat for the button overlap. Pin the raw edges right sides together.
3. Sew at a 3/8” (1 cm) seam allowance. Remove the gather stitches using your seam ripper. This is why it’s recommended to use a contrasting color thread – so that you don’t make a mistake and rip out wrong stitches.
Trim the raw edge if necessary and serge or zigzag the two layers together. Press the seams flat folding the serged/zigzagged edges to one side.
Next up – the collar! Normally, we’d ask you to interface the under collar and the front facings. But since this medium weight linen has good structure and holds well its shape, we decided to skip the interfacing. If you are working with a lighter fabric, you should use lightweight interfacing.
4. Serge or zigzag the long outer raw edges of your two front facing pieces to prevent the fabric from fraying in the future.
5. Assemble the facing. With the right sides together, pin and stitch the front facing pieces to the inner back yoke at the shoulders. Then press the seams open including the yoke seam allowance.
6. Assemble the bodice. With the right sides together, pin and stitch the two fronts to the outer back yoke at the shoulders. Trim the raw edge down to ¼” (6 mm) and serge or zigzag the two layers together. Press the seams flat folding the serged/zigzagged edges towards the back.
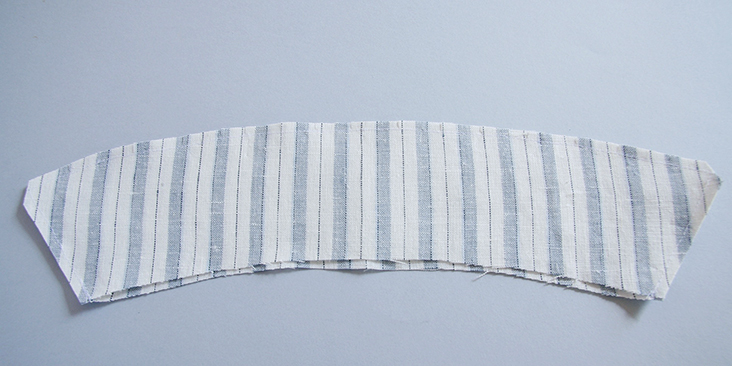
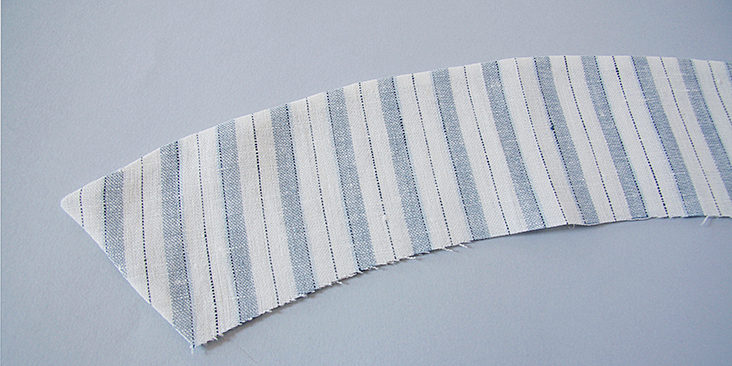
7. Assemble your collar and under collar pieces right sides together. Stitch around all edges, except the bottom one, then trim the seam allowance down to ¼”. Trim the corners and clip around the curve to release the tension.
8. Turn your collar right side out, turn all the corners and press. To get a really professional-looking finish, you’ll want to slightly roll the seam to the underneath of the collar. This can be quite fiddly but go slowly and use lots of steam.
Now it’s time to attach the collar to the dress.
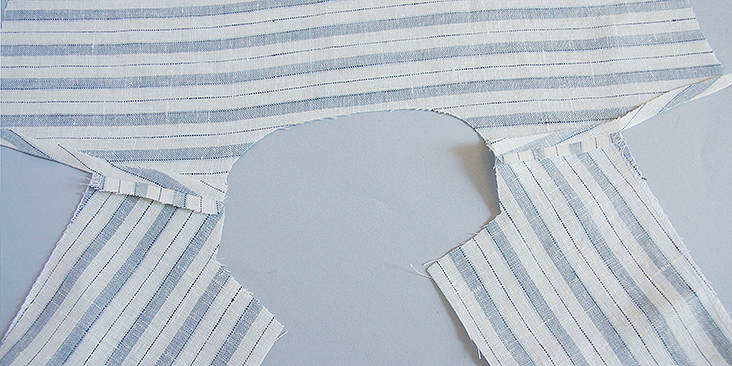
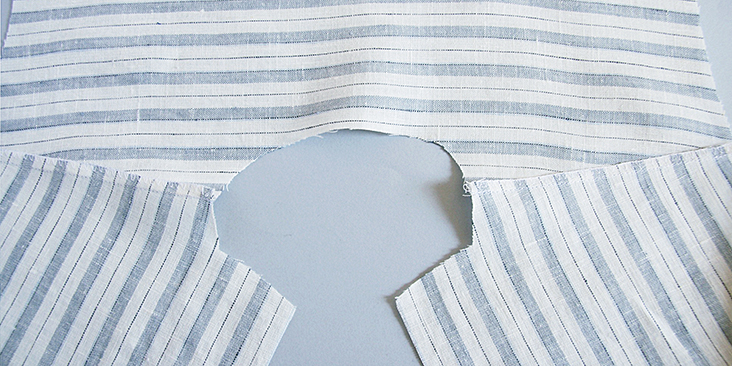
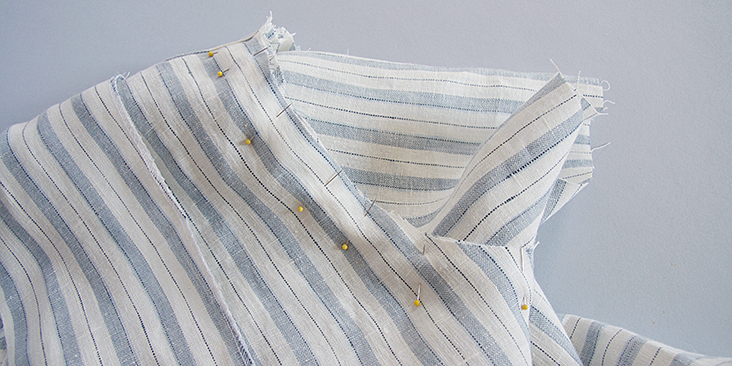
9. With the underside of the collar facing the right side of the bodice neckline, pin them together. Each end of the collar should meet the start of each lapel.
10. Pin the facing in place, all the way around from hem to hem, sandwiching the collar in between.
Note how the facing is slightly shorter than the dress. Do not worry; it will later be enclosed in the hem.
11. To stop the facing from shifting whilst you are sewing, we are going to sew it to the dress in two parts.
Starting at the center back and sewing down to the hem, stitch the facing to the dress using a 3/8” (1cm) seam allowance.
When you get to the point where the collar meets the start of the lapel, remember to stop stitching, lower your needle, lift your presser foot and pivot the fabric.
12. To help the facing sit nice and flat, we are going to grade the seam allowances and clip all around the back neck facing and the curved lapel edges. Go as close to your stitching line as you can but be careful not to cut the thread.
At the pivot point, snip into the seam allowance into the corner.
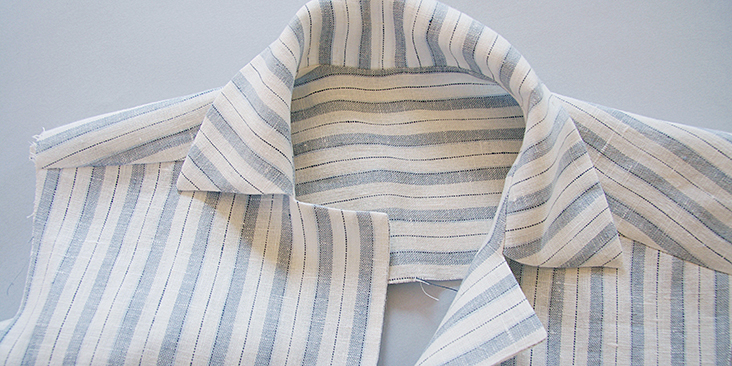
13. You are finally ready to turn your fabric right side out. Make sure to get all the corners and press rolling the seam from the facing unit/under collar slightly to the outside of the dress. You’ll want the seam line at the edge to lie slightly on the underside of the collar and the lapel and not to show when made up.
Your notched collar is now complete, but we’ll press it in place later, when the rest of the dress is assembled.
Time to attach the yoke.
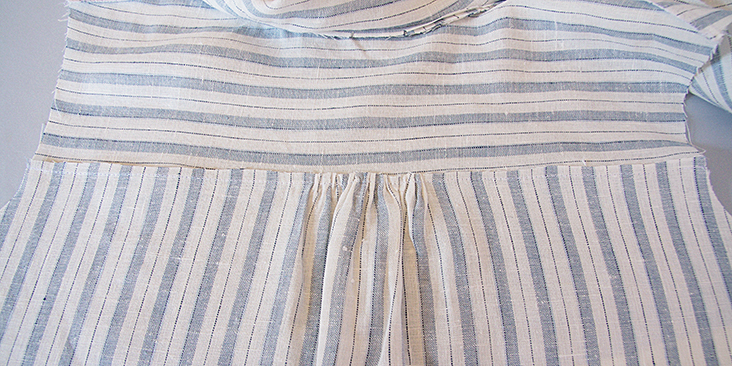
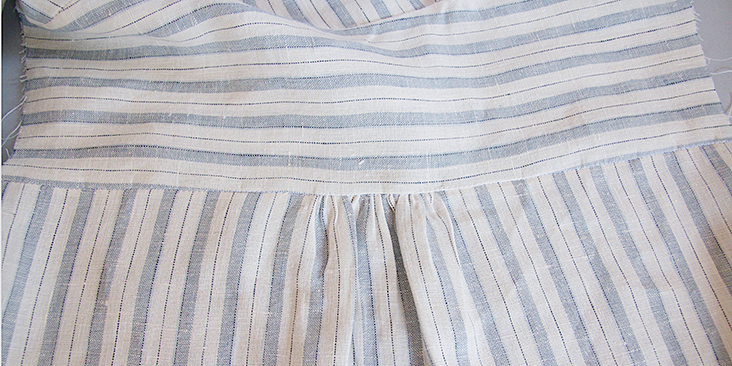
14. The dress features some gathers at the center back. So, use a contrasting color thread and follow the steps in this detailed tutorial to gather your lower back bodice around the center back to the measurement of your outer yoke.
15. Sew at a 3/8” (1 cm) seam allowance. Remove the gather stitches using your seam ripper. Trim the raw edge if necessary and press it up towards the yoke. You can leave this edge raw as it will be hidden between the two yoke pieces anyway.
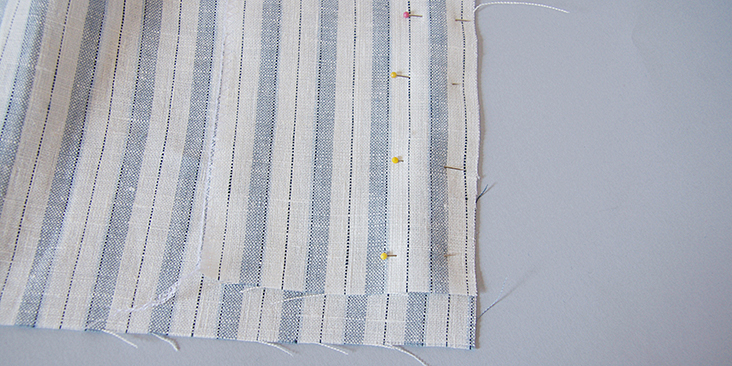
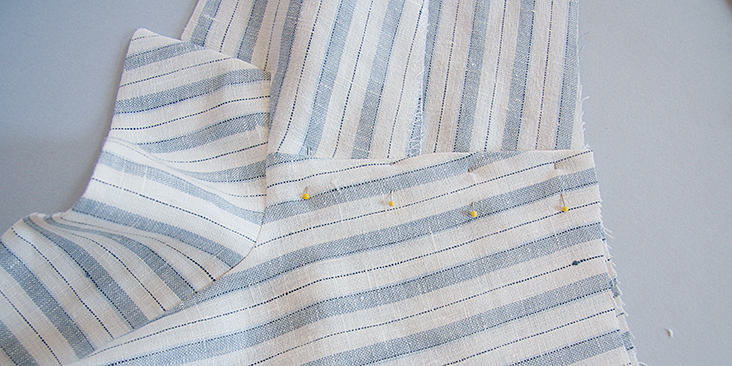
16. Lay your fabric flat on the table with the inside yoke facing you and pin it to the outer yoke at the shoulders. Make sure that the folded edge overlaps the seam line by a couple of millimeters so that when you stitch from the front it catches all layers neatly. Make sure to smooth out any wrinkles before you pin.
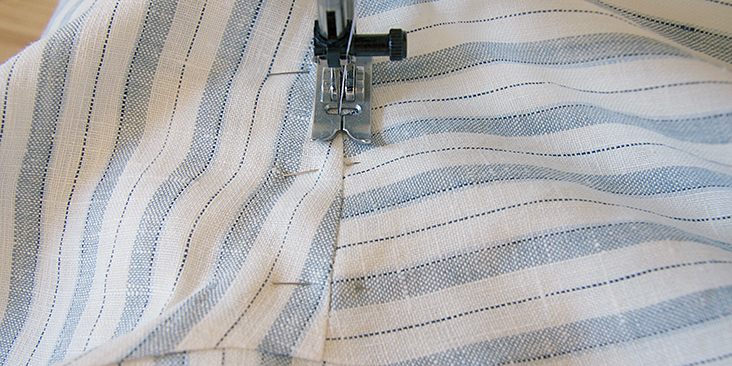
17. Working from the right side of your dress, topstitch along the yoke seam in the crease of your outer yoke making sure to catch the edge of the inner yoke.
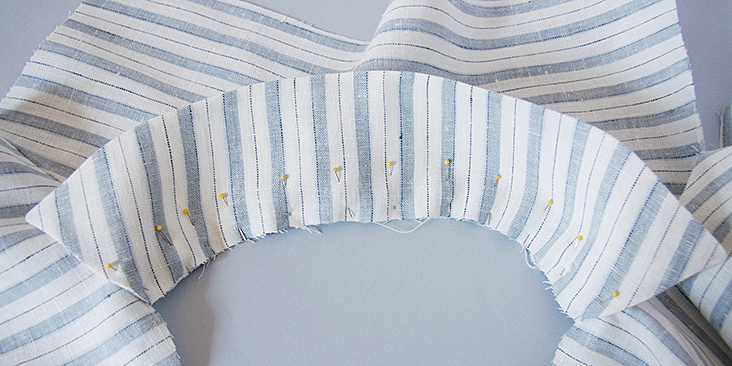
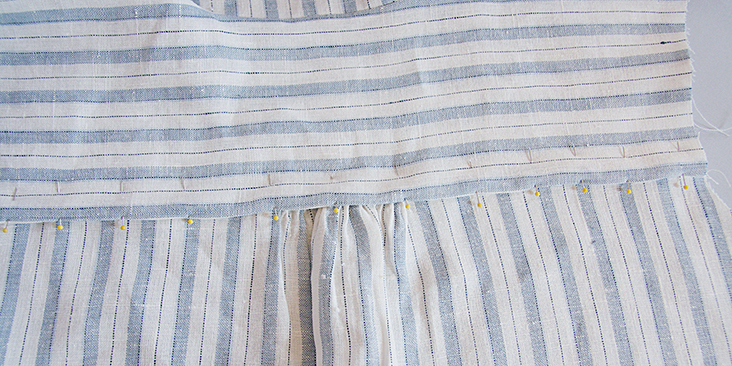
18. Now take your inside yoke, press the raw edge ¼” to the inside and pin its right side to the wrong side of your outer yoke aligning the raw edges. Basically, you sandwich the gathered back panel between the two yoke pieces.
19. Just as you did with shoulder seams, topstitch along the yoke seam in the crease of your outer yoke making sure to catch the edge of the inner yoke.
The yoke is now attached and you get a nice finish on the inside.
20. Just as you did with your two front skirts (steps 2 and 3), gather the back skirt and sew it to the back bodice right sides together.
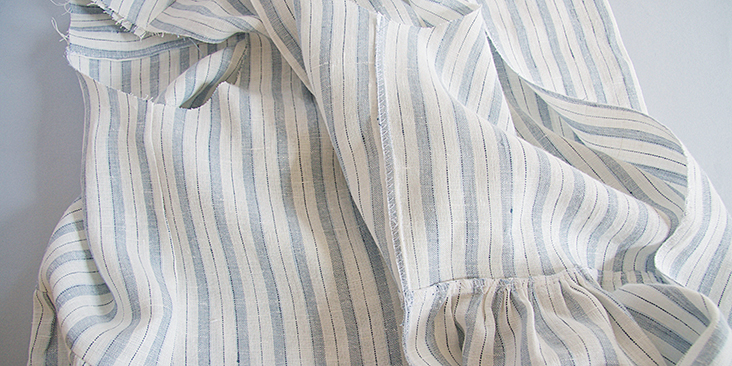
21. Pin and sew the side seams. Trim and serge the two seam allowances together. Press flat towards the back.
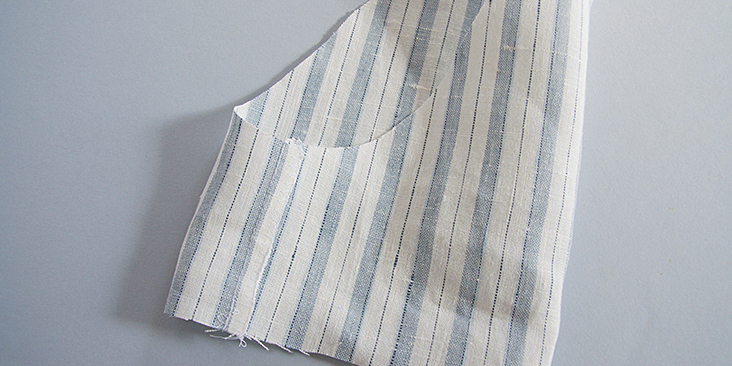
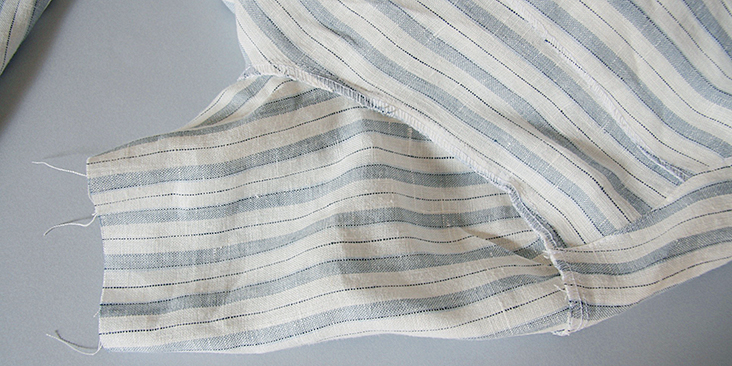
22. Take your sleeves and sew the two side edges right sides together. Serge/zigzag and press.
23. Pin the sleeve to the armhole right sides together matching the underarm seams.
24. Sew at a 3/8” (1 cm) seam allowance starting and finishing at the underarm. Trim, serge and press.
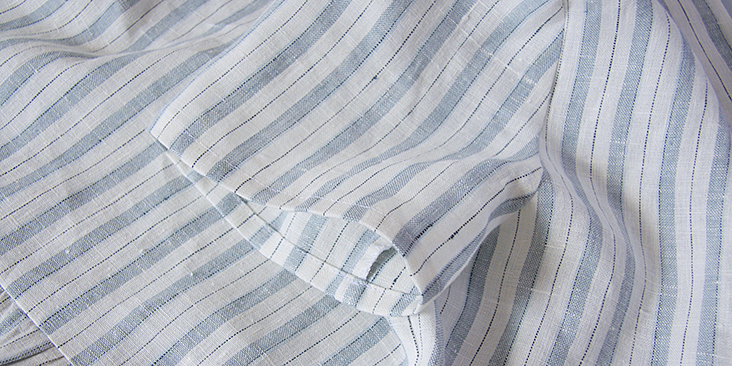
25. Finish the sleeve opening with a rolled hem. First, fold 3/8” and then another ½”. Stitch and press.
Repeat with the other sleeve.
26. Finish the bottom hem with another rolled hem, but this time fold 3/8” to 1”. Press, pin and stitch as close to the folded edge as possible.
It’s the time to do all the finishing touches – press the collar in place, position and sew the buttonholes and attach the buttons!
27. Try the dress on and decide where you want your lapels to cross. Basically, decide how deep you want your neckline to be and place a pin. Press the lapels to the outside of the dress stopping at the pin.
28. Lastly, sew the buttonholes and attach the buttons. For ½”-wide buttons we need a ¾”-wide overlap. Remember, that in womens clothing such as this dress the buttonholes are sewn on the right button band and the buttons – on the left.
For the buttonholes, you can follow our detailed tutorial HERE. Buttonholes are stitched through the dress fabric and interfacing.
As for the buttons, check our tutorial HERE for instructions.
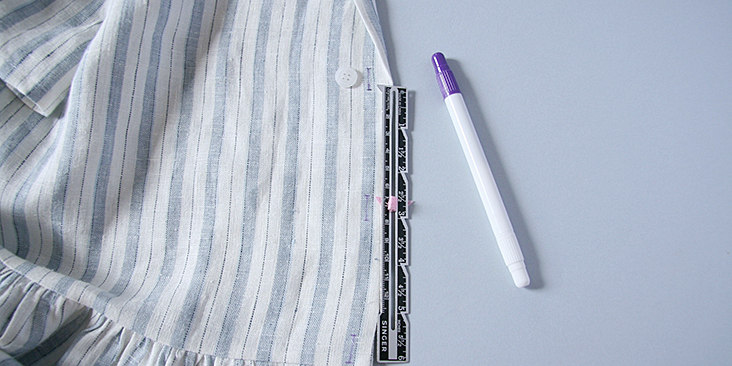
The number and the spacing are really up to you. If you want your buttons closer, just leave smaller gaps between them. We decided to space our buttons 2.25? (6 cm) apart.
Overlap the bands and place a pin into the center of each buttonhole. This is where you’ll need to attach the buttons.
29. Give your dress one last good press and you are all done!
We love seeing what you make! Don’t forget to share your pictures and tag your creations with #FabricsStoreJanePattern hashtag.

















17 Comments
sylvie Deschesnes
BONJOUR je suis entrain de faire le montage de la robe Jane, et je suis incapable de faire le col donc je suis complètement bloqué marlgré le tuto photo . Avez-vous, une video du montage de la robe et d’assemblage.
Sinon je n’y arriverai pas. Merci Sylvie.
Sara Conne
I would love to make this but I only have 2 meters of fabric. I am a very short human, do you think I could make it work?
Lauren Gates
I would recommend adjusting your pattern to suit your body, then doing a mock layout of the pattern pieces on your fabric to see if they fit. 🙂
Nancy Janiszewski
Hello, I don’t know if yo made your dress or not, but for fun, and because you only have 2 meters of fabric: you could use a print for the under collar and the inside yoke pieces. If you are using a solid color for the dress, you could go with a cotton print, picking up the main color of the dress, or use a stripe or pin dot print. Just make sure, if you do this, that you don’t use a dark color for the underside of the color and the inside yoke pieces. You wouldn’t want the dark fabric showing thru the outside fabric. I hope this helps, but it would be a way to not run out of your main color. You could also sew the contrasting fabrics around the bottom off the sleeves, press inward and if you lengthened the sleeves just a bit, you could turn the bottom of the sleeve up, to show the contrasting fabric. Of course these are just suggestions from someone who has sewn for over 5pm years. It would be a chance for you to show off your creative skills. Good luck for this and future sewing endeavors, Nancy Janiszewski
Nancy Janiszewski
Sorry for the typo’s. I should have read through my comment before posting. I did mean I’ve been sewing for over 60 years.. My Grandmother taught me how to sew. I made a gray jumper, with patch pockets, a zipper and facings. I wore that jumper for years and learned many new skills from my Grandma. I still remember sewing on her trusty old black Singer. My Aunt still has the machine and it works. My Aunt gifted me my Grandmas General Electric iron. It’s old, still works. There’s no steam feature, but it presses like a dream. It’s pretty heavy too. Blessings, Nancy Janiszewski
ngan nguyen
Thank you for all the great patterns you have posted. I made this dress in a single day. The instructions were great. I did get a bit confused around steps 15-18 but figured it out eventually. The shape of the dress I made looks very close to the photo. I am very happy with the way this dress made up in white linen. Thanks again.
Masha Karpushina
thank you for sharing!
Deidre Mercer
This is the 73yr old again.
I am leaning toward the Terracotta Linen Dress & shirt dress as my first purchases. I am still looking for the Ruby dress.
My dress will go slightly below the knee. Since I have to print it out, I’ve got to purchase a computer 1st. I retired in 2004, my computer died about 4yrs later.
Thank God for Smartphones, which will cost more than a computer in 2yrs. Projected to around $2000 ea. I only know Apple computers so it will be more.
Thank You,
Deidre Mercer
Jasminekai @aol.com
Jasminekai@comcast.net
Katie
Problem has been solved. Just ignore me please… because I just simply forgot that I have two back yokes haha.
Rima Khusainova
So sorry for a late reply but I’m happy to hear you figured it out!!! Happy sewing!
Katie
Hi, this pattern is amazing :)) Thank you very much. May I have a question? I am quite struggling with this “Assemble the bodice. With the right sides together, pin and stitch the two fronts to the outer back yoke at the shoulders. Trim the raw edge down to ¼” (6 mm) and serge or zigzag the two layers together. Press the seams flat folding the serged/zigzagged edges towards the back.”
I have no idea how to do it 🙂 Can you help me please.
Anna
Hi, this is a sereously beautiful dress, but for some reason when I download the pattern I only get the first five pages that state the printing instructions and so on, but not the actuall pattern! I would dearly love to sew this so I hope you can help me 🙂
Milica
I am in love with all your patterns! Thank you so much for sharing this beauty, I am honestly happy to be here!!!
Karla Hoskins
I am very excited to make this dress! It looks so comfortable and cool. I am totally into comfortable while looking well dressed.
Rima Khusainova
Thanks so much Karla! Happy sewing and please share your version of this dress using hashtag #FabricsStoreJanePattern!
Maryanne
I’ve been looking for a no-frills button down shirt with this collar style, thank you so much for this!! Now can I finally make my own.
Rima Khusainova
Thank you so much for your kind words Maryanne! Please share pics of your Jane dress using hashtag #FabricsStoreJanePattern. We’d love to see what you’ll make of it!