Donna Terracotta Linen Dress Tutorial and Pattern
The trendy color in the world of design for 2018 is that of the refined and warm terracotta. That is why we decided to celebrate earthy tones with this airy linen Donna dress in IL019 KENYA Softened medium weight linen. Such a rich, reddish brown color that instantly makes an outfit look both effortless and chic.
Minimal but edgy, the Donna dress features a crew neckline, a back button closure, loose cuffed sleeves, side seam pockets, an elastic waistband and a voluminous skirt that swings as you move!
Materials
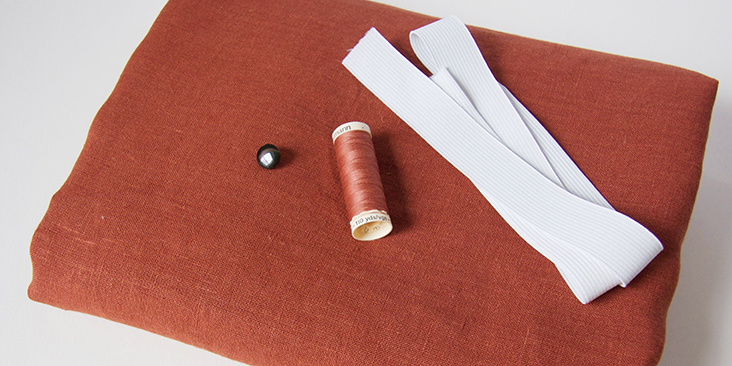
3 yards of IL019 KENYA Softened Medium Weight Linen
Matching sewing thread, 1 yard of 1”-wide elastic, one small button.
Optional: fusible interfacing for the button opening.
Tools
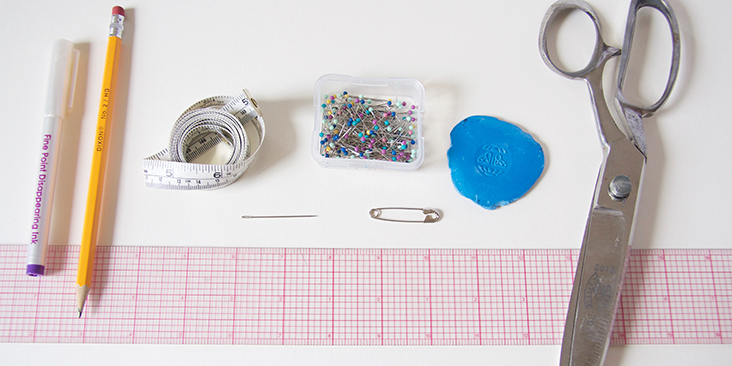
Pattern paper, scissors, pins, ruler, chalk, safety pin, needle, measuring tape, fabric marker, sewing machine
Difficulty
Beginner
Time
3-4 hours
Pattern
You can access the multi-sized printable PDF pattern by following this link HERE and the printable pocket pattern can be found HERE. The model is wearing size US size 6.
Note that you’ll also need to cut one continuous strip of fabric on the bias for the neckline binding. It should be approximatively 55” long. For detailed instructions on how to cut your fabric on the bias please follow this tutorial.
Steps
Note: Prewash your fabric and tumble dry it until it is still slightly moist, dry at room temperature. Iron the fabric so it is easier to work with.
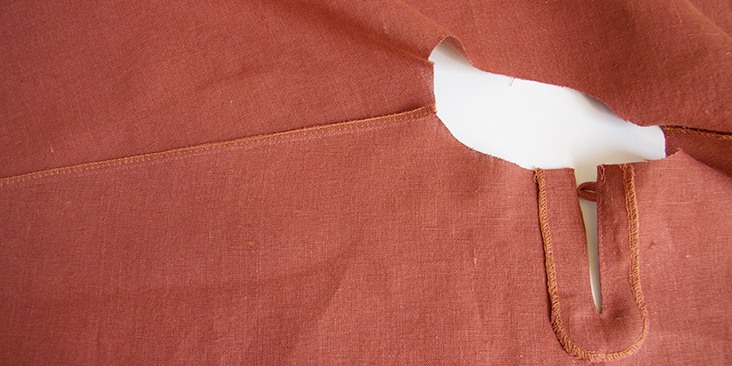
1. Before assembling the front and the back together, you need to sew the back slit and the button loop closure. HERE is a step-by-step tutorial on how to do it. Do not attach the button yet.
2. Pin the bodice front and back sections right sides together at shoulder seams.
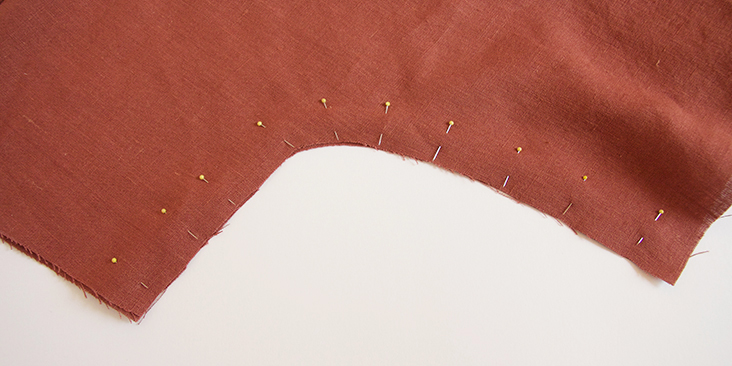
3. Sew the shoulder seams right sides together at 3/8” (1 cm) seam allowance, remember to backstitch. Trim the seam allowance down to 1/4″ (6 mm) and serge or zigzag the raw edges together to prevent the fabric from fraying. Press the seams flat folding the serged/zigzagged edges towards the back of your shirt.
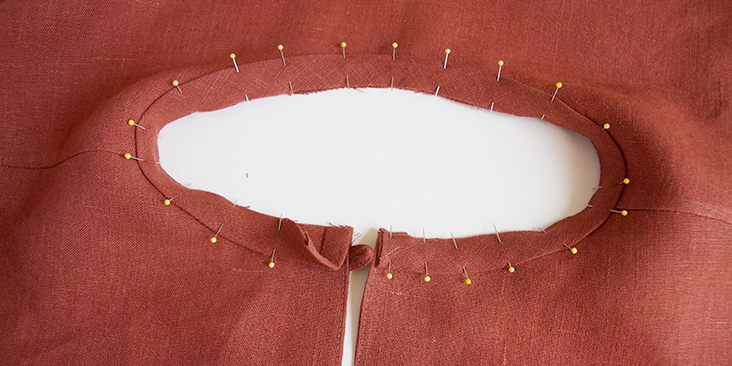
4. Bind the neckline following this tutorial. Make sure that when you attach the binding, the serged/zigzagged shoulder seam edges are folded towards the back of your dress.
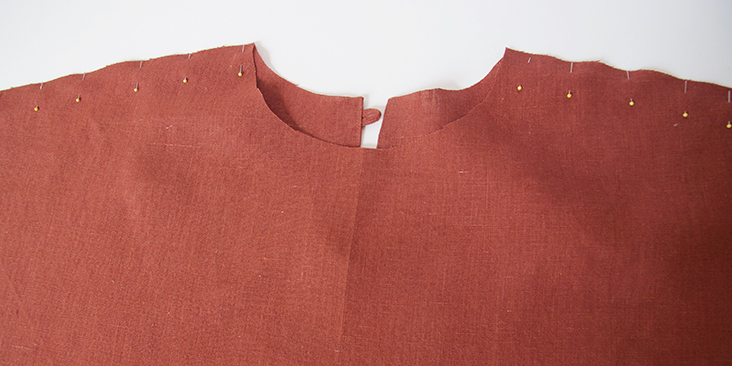
When you come to the back opening, tuck in the ends of your bias band as shown below:
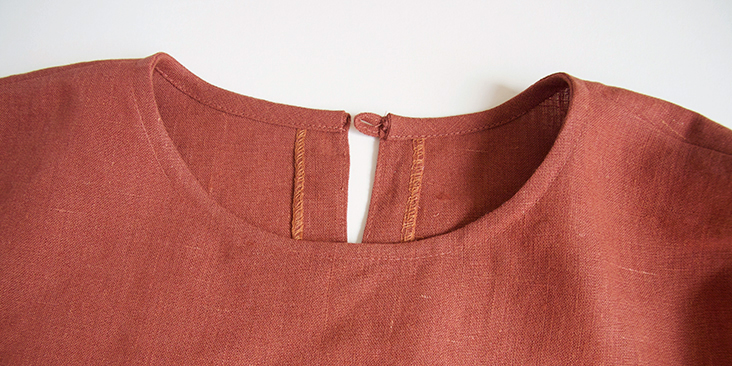
Here’s what your finished neckline will look like:
5. Pin the front and the back bodices right sides together at side seams.
6. Sew the pinned edges at a 3/8” (1 cm) seam allowance, trim to 1/4″ (6 mm) and finish the raw edges with a serger or a zigzag stitch. Press the seams flat folding the serged/zigzagged edges towards the back of your dress.
7. Create 1.5”-wide cuffs following this detailed tutorial.
8. Attach the button.
Set your bodice aside and let’s move on to the skirt.
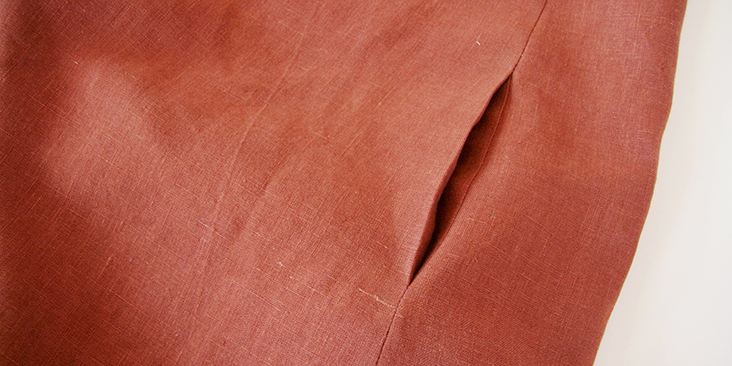
9. First, sew the inseam pockets. Follow this step-by-step tutorial and place your pockets 7″ from the waist raw edge.
10. Sew along side seams and the pockets all in one seam at a 3/8” (1 cm) seam allowance. Serge and press.
The time has come to attach the skirt to the bodice.
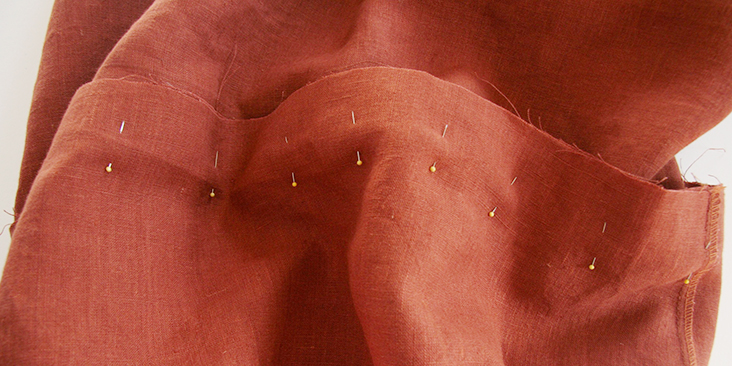
11. Pin skirt to bodice right sides together and matching side seams.
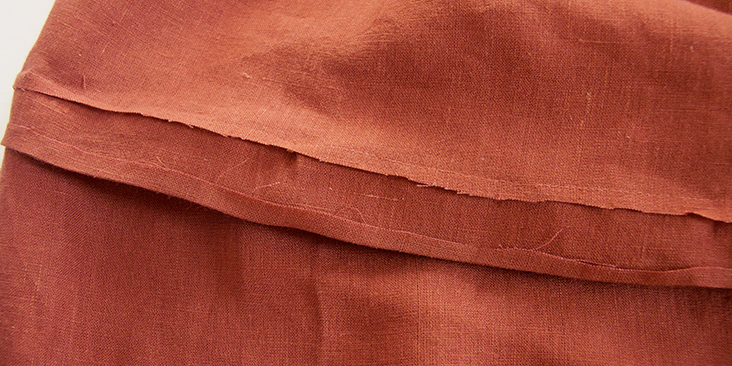
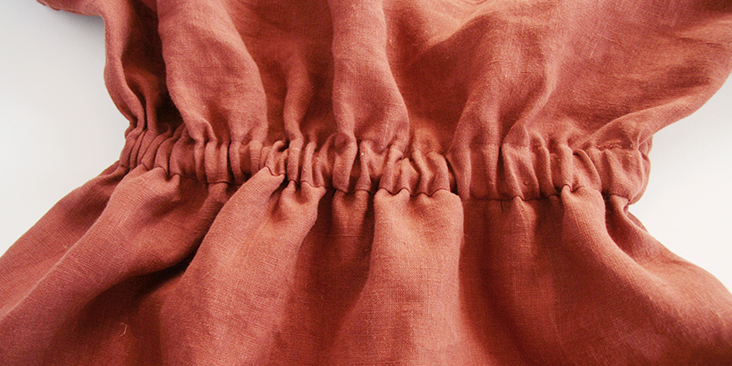
12. Stitch at 1,5” (4 cm) seam allowance. Trim the bodice seam allowance down to 1/4” (6 mm) but leave the skirt’s 1,5” seam allowance intact. Press it up turning 1/4″ (6 mm) on raw edge.
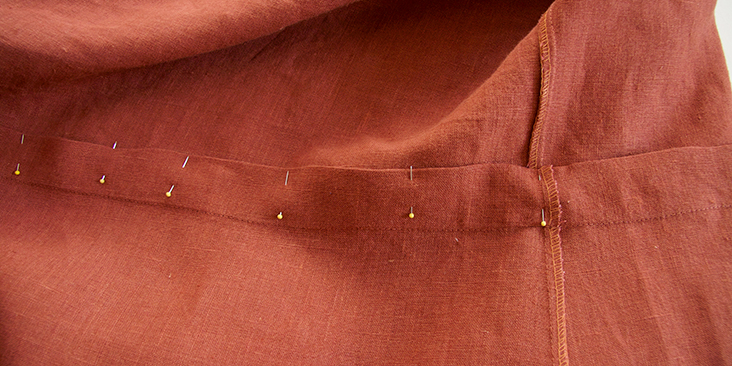
13. To form the casing for the elastic, press both seam allowances up towards the bodice and pin in place.
14. Stitch through all layers at once, leaving an opening to insert elastic.
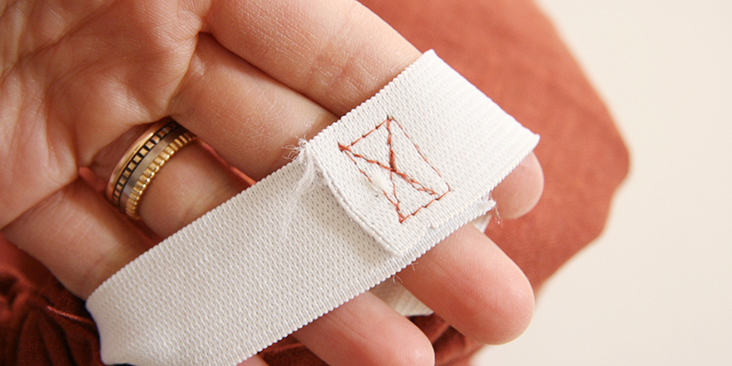
15. Cut elastic to a comfortable waist measurement plus 1” (2,5 cm). Using a safety pin, insert elastic through the opening, then lap the ends and stitch them in place securely.
16. Stitch the opening, stretching elastic while stitching.
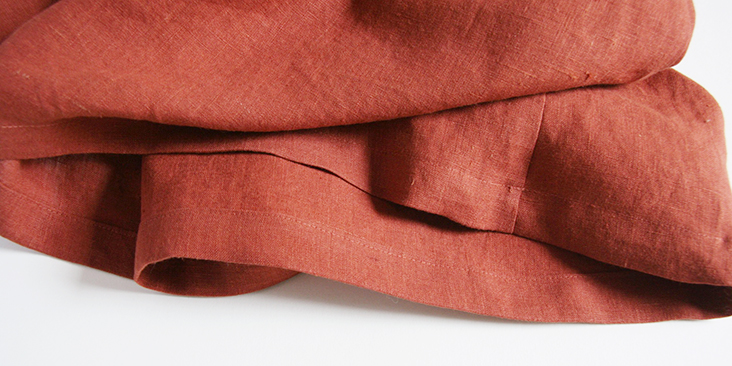
18. Finish the bottom hem by folding the fabric twice (3/8″ to 1”) to the wrong side. Press, pin and stitch as close to the inner edge as possible. Give the entire hem a good press.
19. Give your finished dress a good last press and you are all done!
Dress it up with some statement jewelry and heels for a more sophisticated look!
We love seeing what you make! Don’t forget to share your pictures and tag your creations with #FabricsStoreDonnaPattern hashtag.








19 Comments
Helen Rose Patterson
I’m getting ready to sew this dress, and I tried to click on the link for the pockets, but the link it broken. Would it be possible to update the link?
Lauren Gates
Hello Helen,
The link has now been fixed. Thanks for letting us know 🙂
pamela ferret
Great pattern and tutorial! Thanks for a great website and patterns!
I’m a beginner and this took me all day, but thanks to the detailed instructions I have a lovely summer dress!
SUE
I WOULD LIKE TO KNOW IF IT IS POSSIBLE TO USE OTHER FABRIC BESIDE LINEN. LIKE A NICE COTTON OR POLYESTER
Rima Khusainova
Yes of course you can use other woven fabrics like cotton, rayon or polyester. But linen is the best choice! 🙂
Marguerite
Thanks a lot for this pattern. I had been looking for this style of dress for a while now and your version is exactly the look I intended to achieve : comfortable, relaxed but chic enough for the workplace.
Looking forward to sewing it!
Rima Khusainova
Thank you so much for your kind words Margeurite! This dress is so comfortable you won’t want to take it off! Did you know that you can share the pics of your finished dress using hashtag #FabricsStoreDonnaPattern? This way we can all se what you’ll make of it and inspire other to try out this pattern!
Millie
Sorry, but that is one ugly bag of a dress. That waist looks so bulky, messy and awkward. It needs narrower elastic, or to have several rows of stitching sewn over the elastic to reduce the bulk.
Something is so obviously wrong with the construction or design. Or even leave out the elastic and use a nice slender belt. If it looks that bad on your lovely model, there’s no way I could wear it.
I love the idea, but it needs some modifications.
Rima Khusainova
Dear Millie, sorry to hear you don’t like this design. Please check some other patterns we have and maybe you’ll find something more suitable for you.
Julie Mosser
Such an unnecessary comment! If you’re not a fan, scroll on. I think it’s a gorgeous dress, and as a new sewist I was super excited to find that the Fabrics Store offers free patterns! Can’t wait to make this dress!
Anna Masse
It’s funny but I’m looking at this dress four years later and it is so on trend right now. Thank you for sharing this design!
Mina
By the way, this is a lovely dress. Especially like the cut-on sleeves, gathered waist, and skirt which looks like it is slightly flared. And that it has pockets!
Just not for me these days.
Koolstitch
Oh I’m in love with this one! So beautiful and exactly what’s I’m looking for! Thank you for sharing the pattern!
Rima Khusainova
You are very welcome! Happy sewing!
Erin
I would really love to see some dresses on a model who is a larger plus size once in a while on these tutorials.
Listen, I’m sure that this is the style right now. It is a very bohemian/1920s shapeless style that is perfect for very slender frames…. but I cannot imagine trying to wear any of the boxy/baggy looking dresses and tops that have been the subject of these tutorials for the past several weeks myself as I’m a plus-sized hourglass with a short torso. I’m a professional seamstress and just ended up helping someone adjust an online pattern for a dress in a similar style for her plus-sized bust, adding in darts so that it actually had some shape and flattered her rather than hanging off of her and ending in a line mid-breast instead of at the waist where it was supposed to.
Can we get some variation in body types here? Your model is lovely, but looks nothing like me or the majority of my friends or customers.
Rima Khusainova
Dear Erin, thanks for your input. It’s very hard to find a pattern that would work for everyone. We try to keep all our customers happy but if you feel like this particular style wouldn’t suit you, you should check our other tutorials and patterns, I’m sure you’ll find something to your liking!
Mina
I would like to nominate a pattern style which is flattering to almost everyone – the original Empire dress, like Josephine and Mme. Recamier wore. The French version, with a flared, full-length skirt is the flattering one. Not the English version with a straight skirt, which in the caricatures looks like the traditional sack of potatoes tied with a string. Like the granny dresses of the 1960s.
Whether it’s an empire-waist baby-doll top (which also needs to be tunic-length), or the most flattering full-length dress, the skirt has to be flared. I used to figure an approximate ankle-length hem circumference of 120 inches, when I was slender. I have seen this shape or similar on all shapes of women, back when I was doing historical costuming the first time. And one friend wearing one of my dresses, who was larger busted and larger waisted, looked fantastic in my dress. It had cut-on sleeves, so it fitted several sizes.
That one had a half-oval skirt, which moves wonderfully. But now I figure the best cut for a skirt that is maximally flattering on everyone is both gathered/elastic AND flared. 2X waist circumference gathered/elastic down to the (empire) waist size. Then 2X that so that the hem is 4X the waist size. And several gores, for preference at least 4 gores, so the front flares too. Or, of course gathered tiers – but often the first one is not gathered enough/flared enough, so that style may not be a flattering fit unless it is.
A surplice top would be good, or anything that can pull on without fastenings.
Ann Madison
I love this, it would be perfect for summer.
Rima Khusainova
Thank you so much Ann!