Ruby Crossover Linen Dress Tutorial and Pattern
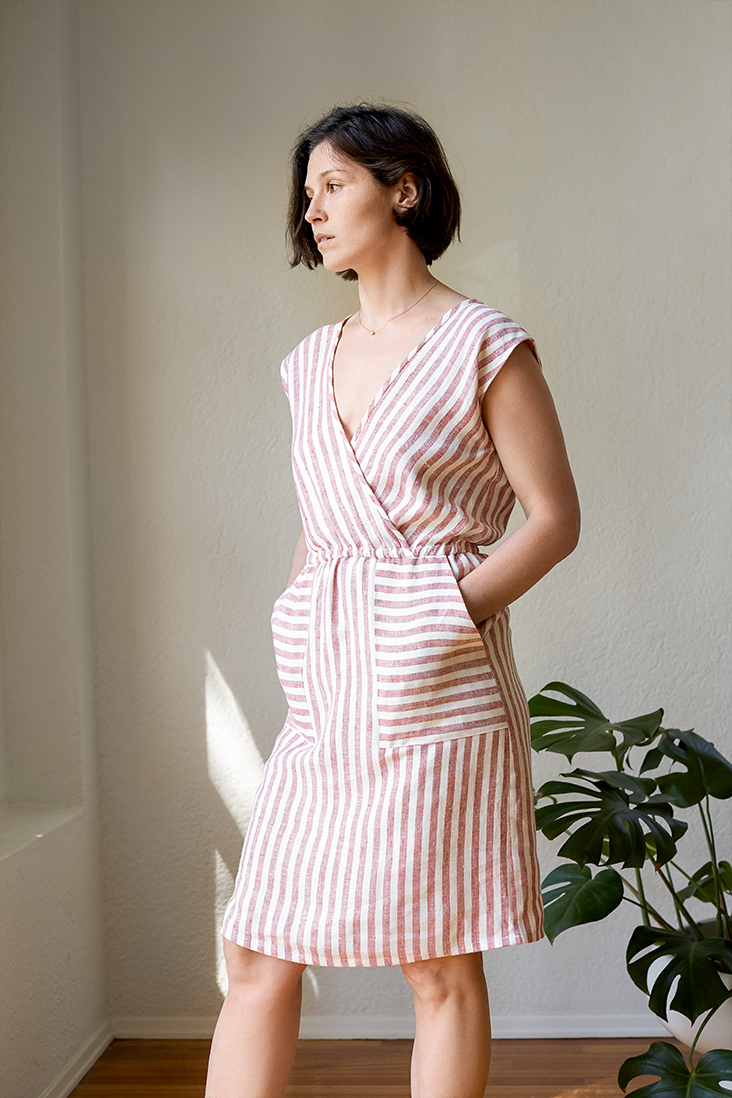
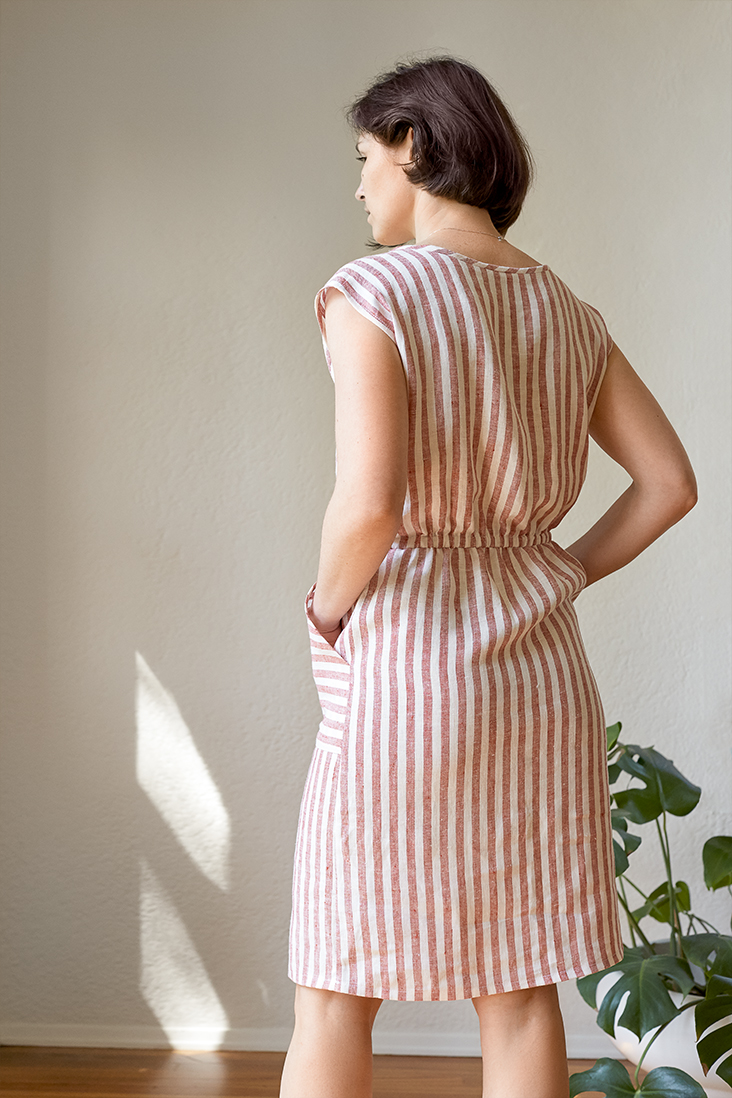
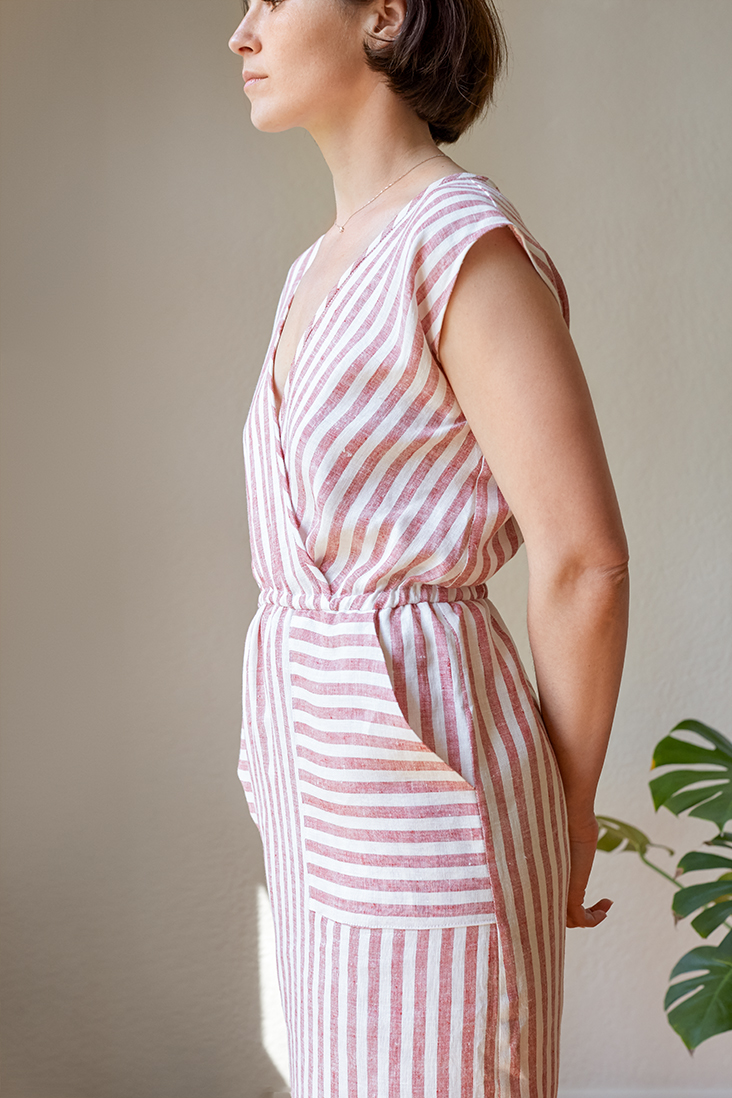
Simple, chic and oh so stylish, the Ruby crossover dress gives maximum impact with minimum effort. The prefect pull on and go piece, this dreamy dress will hug your curves in all the right places and create a flattering V-neckline. Plus, we all know it, slender vertical stripes elongate the figure and contrasting pockets and binding bring a touch of fun!
Our homage to the spirit of endless summer, this dress is made from our super soft medium-weight Premier Finish linen fabric for comfort and natural everyday wear.
Materials
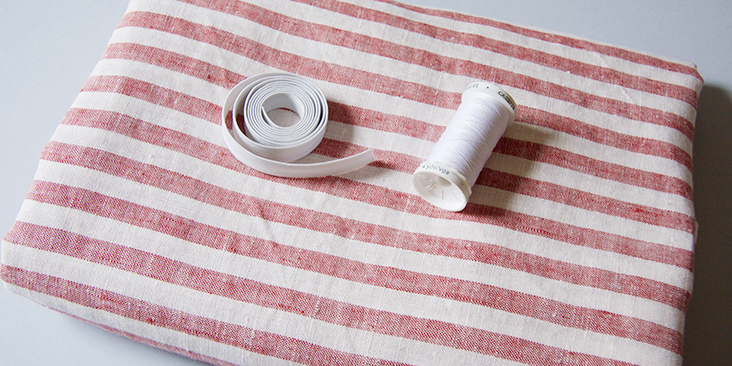
2 yards of IL042 911 FS Premier Finish
Matching sewing thread, 1 yard of 1/2″-wide elastic
Tools
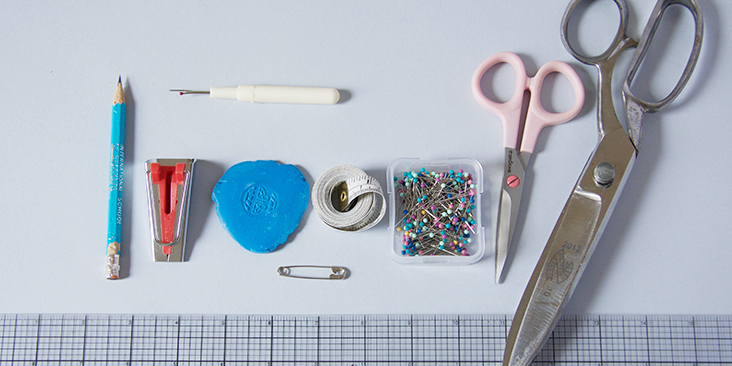
Pattern paper, scissors, pins, ruler, chalk, safety pin, measuring tape, fabric marker, 18 mm bias tape maker, sewing machine
Difficulty
Beginner
Time
4-5 hours
Pattern
You can access the multi-sized printable PDF pattern by following this link HERE. The model is wearing size S.
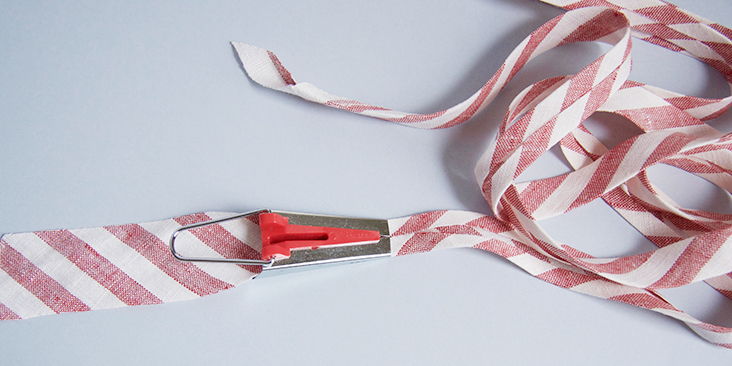
Note that you’ll also need to cut one continuous strip of bias tape for the neckline and front opening edges. It should be approximatively 55” long. For detailed instructions on how to cut your bias tape please follow this tutorial.
Steps
Note: Prewash your fabric and tumble dry it until it is still slightly moist, dry in room temperature. Iron the fabric so it is easier to work with.
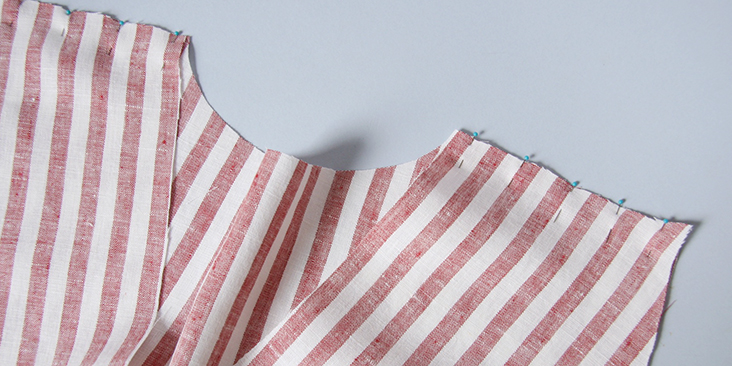
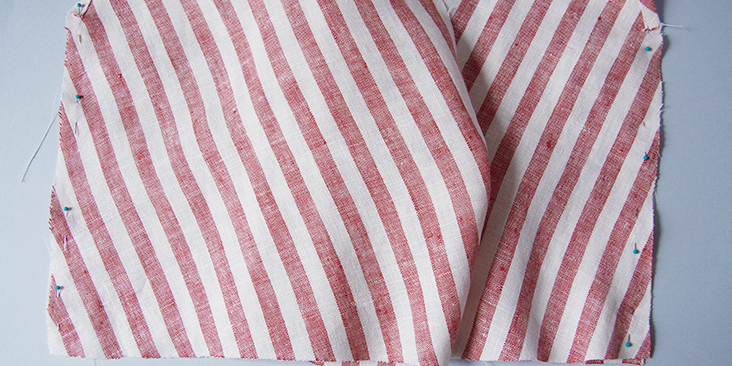
1. Pin the bodice front and back sections right sides together at shoulder seams.
2. Sew the shoulder seams right sides together at 3/8” (1 cm) seam allowance, remember to backstitch. Trim the seam allowance down to 1/4″ (6 mm) and serge or zigzag the raw edges together to prevent the fabric from fraying. Press the seams flat folding the serged/zigzagged edges towards the back of your dress.
3. Turn twice the armhole edge to the wrong side- 3/8” to 1/2″ – press and pin.
4. Stitch along the pinned edge.
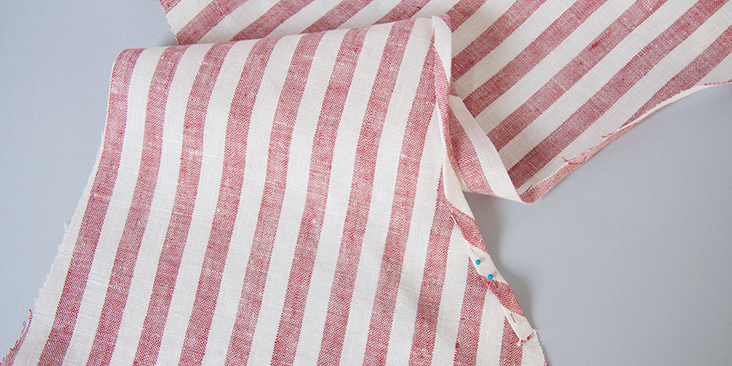
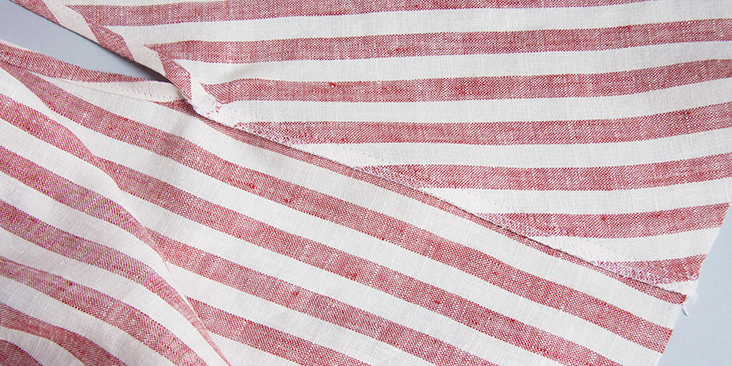
5. Pin the front and the back bodices right sides together at side seams.
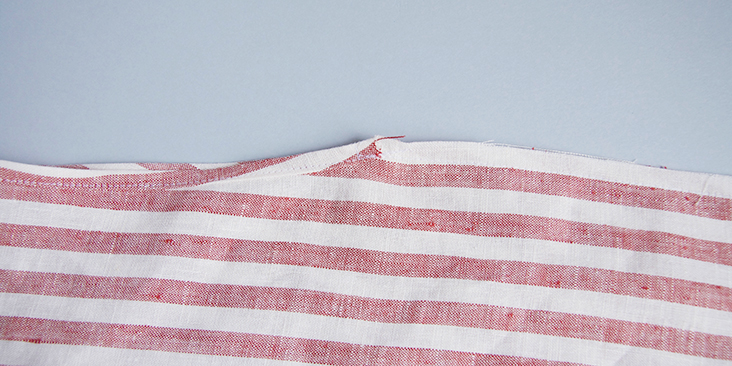
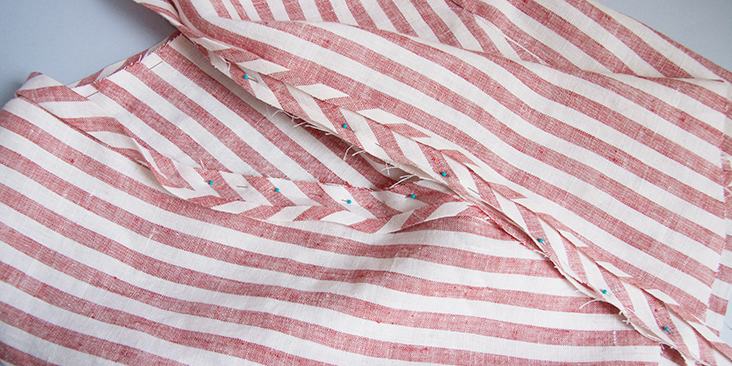
6. Sew the pinned edges at a 3/8” (1 cm) seam allowance, pivoting at both ends as shown in the picture:
Trim to 1/4″ (6 mm) and finish the raw edges with a serger or a zigzag stitch. Press the seams flat folding the serged/zigzagged edges towards the back of your dress.
Now that your bodice pieces are attached together, you can bind the neckline and the front opening.
7. Start by making your bias tape long enough to bind the entire front and neck edges. To determine the length of the tape needed, measure the entire neck/front opening and add a couple of inches. For instructions on how to make your own bias tape, please follow this tutorial.
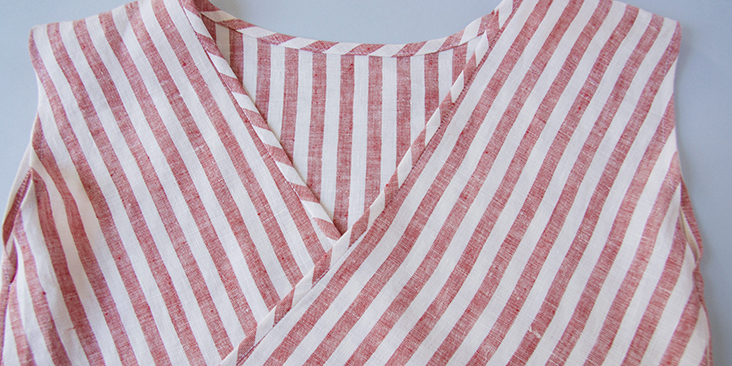
8. Following this tutorial, attach the bias tape all around your front opening.
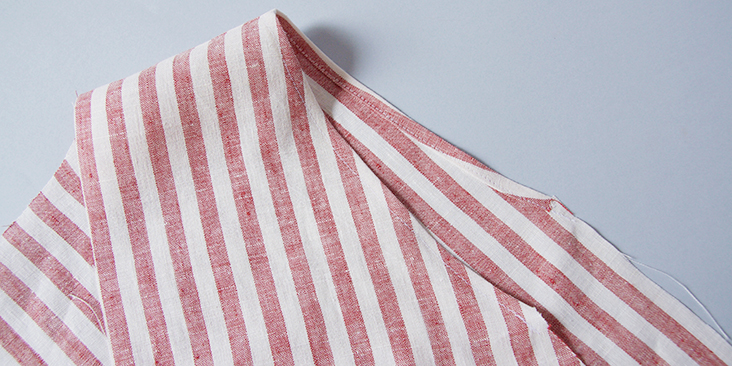
Pin bias tape to neck and front edges, starting at the center back and placing outer crease along seamline, ends even with raw edges.
Stitch along crease, trim the seam allowance down to 1/4″ and press the tape away from the bodice. Turn bias tape to the wrong side of your dress and pin the other edge of the bias tape to the bodice. Topstitch the tape in place (from the right side) in the crease or as close to the bottom edge as you feel comfortable.
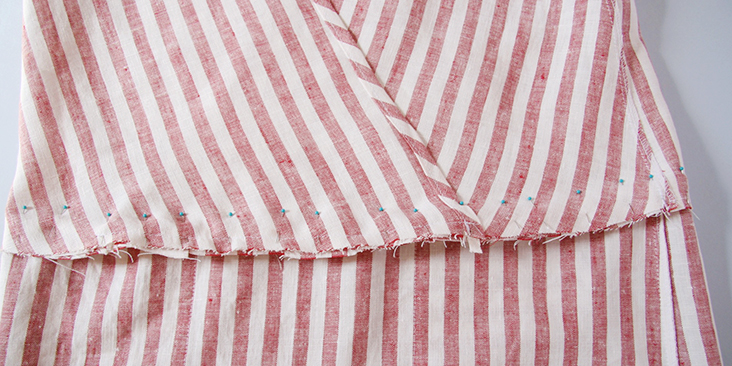
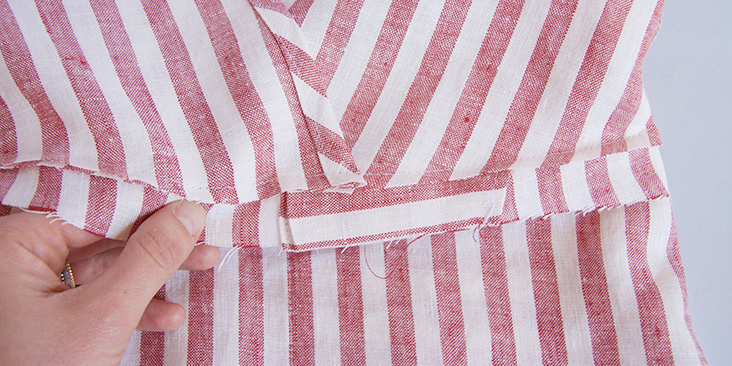
9. Lap right front over left, matching centers. To determine the exact amount of the overlap, measure the waist top edge of your front skirt, subtract 3/4″ (2 x 3/8” seam allowances)and lap the two fronts until the waist edge of your bodice matches this measurement. Baste the two edges together 3/8″ from the raw edge to keep the overlap in place.
Your bodice is now complete. Time to sew the skirt. But first, you’ll need to attach the pockets.
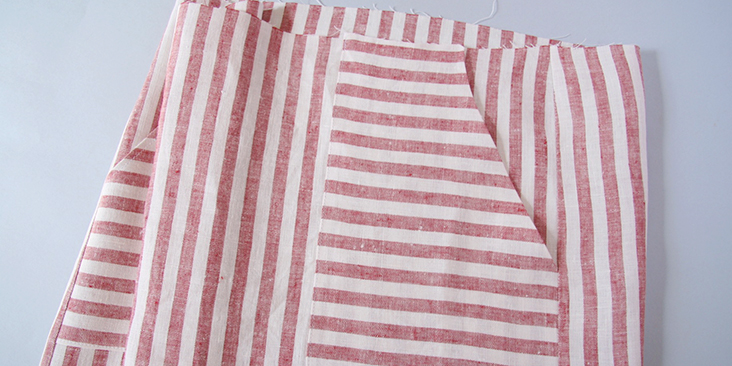
10. We have a great tutorial about cargo patch pockets HERE that you can use a guide. However, since the top edge and the side edge of the pocket are integrated into the waistline and the side seams of the dress, you only fold and press the longest vertical edge and the bottom raw edge of each pocket and fold twice and stitch the curved edge as demonstrated in the tutorial. Leave the top and the short vertical edges raw. Make sure that your pockets are mirror images to each other.
11. Topstitch the pockets to the front of the skirt, aligning top and side raw edges.
12. Now, pin and stitch skirt front and skirt back right sides together at side seams. Make sure you catch the pocket edge when you sew. Sew the pinned edges at a 3/8” (1 cm) seam allowance, trim to 1/4″ (6 mm) and finish the raw edges with a serger or a zigzag stitch. Press the seams flat folding the serged/zigzagged edges towards the back of your dress.
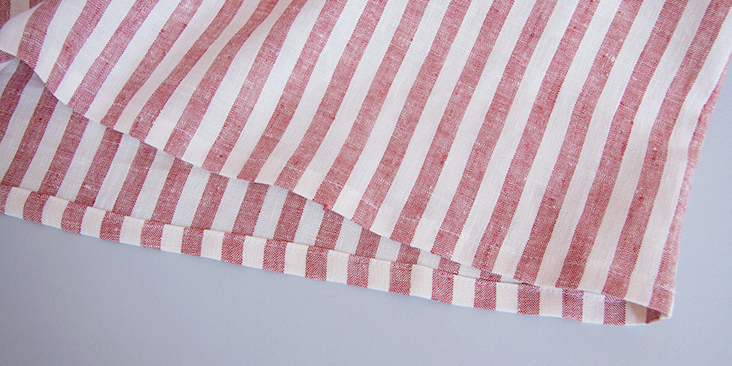
13. Finish the bottom hem by folding the fabric twice (3/8″ to 1”) to the wrong side. Press and pin.
14. Stitch as close to the inner edge as possible. Give the entire hem a good press.
The time has come to attach the skirt to the bodice.
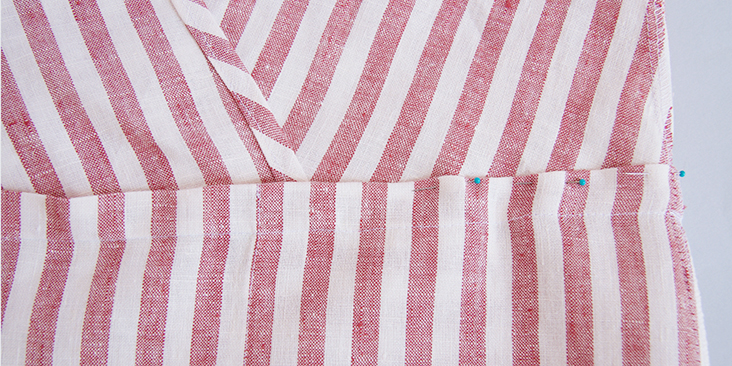
15. Pin skirt to bodice right sides together and matching side seams.
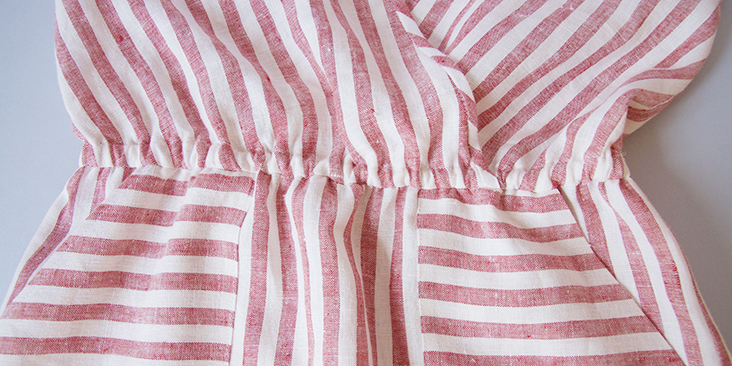
16. Stitch in 1” (2.5 cm) seam.
17. Trim the bodice seam allowance down to 1/4” (6 mm) but leave the skirt’s 1” seam allowance intact.
18. To form the casing for the elastic, press seam allowances up, turning in 1/4″ (6 mm) on raw edge. Pin in place.
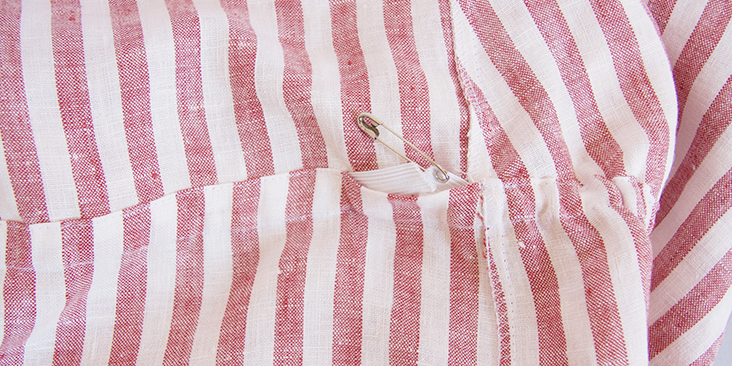
19. Stitch through all layers at once, leaving an opening to insert elastic.
20. Cut elastic to a comfortable waist measurement plus 1” (2,5 cm). Using a safety pin, insert elastic through opening, then lap the ends and stitch them in place securely.
21. Stitch the opening, stretching elastic while stitching.
22. Give your finished dress a good last press and you are all done!
Tip: If you wish to secure the wrap at the bust, you can sew a little snap button on the inside of your dress.
Be sure to pack the wrap dress when escaping on your next seaside holiday!
We love seeing what you make! Don’t forget to share your pictures and tag your creations with #FabricsStoreRubyPattern hashtag.







20 Comments
Chloe Smith
Hi I would like to sew one inch elastic directly onto the dress instead of a casing. I find wider elastic sits better when sewn in existing dresses. Could you please suggest a suitable pattern adjustment and at which step I would do this? Could you please suggest how to add some more grown on sleeve coverage to this pattern?
Kelly Potocki
Hello Lauren,
I really like this pattern. I made one two years ago and now I want to make another one in a different color. I realized that the pattern was made for a B cup. Could you show me how to do a small bust adjustment on this pattern?
Thank you!
Kelly
Martha Wheeler
I finished my first version of the Ruby Crossover today. From reading the comments I knew I would have to make a few changes to the bodice pattern. Because i did not want binding on the front and would need the v-neck a little higher, I added two inches to the front neck edge of both pieces. I did a rolled edge on the front bodice pieces but still did the binding for the back neck edge. The added width gave me the slightly higher v-neck opening just what I needed to feel comfortable with it. I also added bust darts for a more fitted bodice which was my first time adding bust darts to a pattern with no darts. With the little bit of added width to the front and the darts, I don’t need to add a snap to the front. I prefer side seam pockets so I added a side seam pocket and left off the patch pocket. I wanted to try the pattern first before using my pink and white striped fabric so I used a vintage flowered sheet. The length of the dress was very close to what I normally do for my dresses so I did not have to trim any off of the skirt. I am really happy with the fit of the dress with the changes I made. I know I will make at least one more, probably several.
Rosemary Roberts
Hi, can you please explain what is meant by “pivoting at both ends” in step #6? I can’t tell from the picture what/where the pivoting is. Thank you!
Lisa Buttrey
Rosemary, I had this same question also.
Faith Mathingsdal
I love this dress and the pattern construction was very straight-forward. I’ve just made a toile from an old bedsheet and as I have a fuller bust than the model, the v comes a little low for me. I’m wondering if I just went up a size on the front pattern piece, would that fix the problem? It fits everywhere else. Thank you so much for these patterns. I’m having a little sewing retreat with my mother-in-law this week, testing out all these patterns before I make them for real, and it’s been a very enjoyable process.
Kelly Potocki
Hi’
I am in the middle of making this beautiful dress. I finished the bodice today. I really like how it turned out except that the V shape in the front is a bit too low than I would like. I am planning to secure it by a button, but still it is just too low for me. Any idea how to fix it before I sew the skirt would be greatly appreciated, Thank you!
Lauren Gates
Hello Kelly, You may like to add buttons or snaps to hold the V together. Or you can always add some extra fabric along the V section to give it more coverage. If you’d like some more help, feel free to email us at Ask@fabrics-store.com
Faith Mathingsdal
Ahhh, I was thinking I might do this, but wasn’t sure it would work, so I’m glad I read this comment! Would you recommend this, over using the next size up front piece? I imagine it’s same same??
Lauren Gates
If you haven’t sewn up your dress in your desired fabric like Kelly had, I would highly recommend doing a full bust adjustment on the bodice pattern pieces. Our pattern is designed for a B-cup, so if your cup size is above that a full bust adjustment is the best way to ensure a great fit.
We have a great tutorial showing you how to do a full bust adjustment here: https://blog.fabrics-store.com/2017/01/10/sewing-glossary-full-bust-adjustment-tutorial/
I also found this tutorial which shows a method for how to do it on a wrap dress: https://www.gathered.how/sewing-and-quilting/sewing/how-to-do-a-full-bust-adjustment-wrap-dress-tutorial/
Rosemary Roberts
I wish it was stated somewhere that the pattern is intended for a B cup size! I scoured everything looking for sizing tips and went with the measurements I saw in the pattern, but now after I’ve half-way finished sewing the bust I see this. With a D cup I am now nervous that it won’t fit! Can that information be made explicit from the beginning please?
Laura Newberry
I just finished this pattern, and I love it!
Cynthia Weaver
Perfect! Thank you!
Liva
Where i need to cut material? Right there where ends pattern or leave 1 cm space for stiches?
Rima Khusainova
Dear Liva, all seam allowances are already included in the paper pattern so you can pin it to your fabric and cut just at the line where the paper ends.
Anastasiya
I am so glad I found your site!
Love this beautiful tutorial and have downloaded the pattern already.
Thank you!
Sue Pennington
Hello,
Could you please tell me where you purchased the tool for making self bias tape.
Thank you
Puffin36@msn.com
Rima Khusainova
Dear Sue, the bias tape maker can be purchased in any fabric store that sells sewing supplies or even online at Amazon, JOANN Fabrics etc. It’s not at all difficult to find but it comes in different sizes. I’d recommend starting with the most common size, 18mm.
Jane Braunig
I can not find any where the pattern pieces…I had planned on buying the linen for this but why if there is not pattern…Can go to my fabric store and find something else that is complete..Suggest that if you put a pattern out there you make sure that the site works properly and if not.,,,Stop send this crap to me..I won’t buy unless complete…I work on computers daily so no stranger to them..Just can imagin how upsetting this could be to some one new to whole thing
Rima Khusainova
Dear Jane, no need to be so upset, the pattern pieces are there, as an attachment to the pdf. You just need to read carefully the instructions in the “pattern download” section (p.4 of the pdf). To get to the pattern pieces, open the file in Adobe Reader. In the Adobe reader menu click View-Show/Hide -Navigation Panes- Attachments and Adobe will pop open the attached files. Double click on the file that shows up on the left-hand side of your screen and those are the pattern pieces themselves. Email us if you have any questions ask@fabrics-store.com. Have a great day.