Harper Box Pleated Dress Tutorial and Pattern
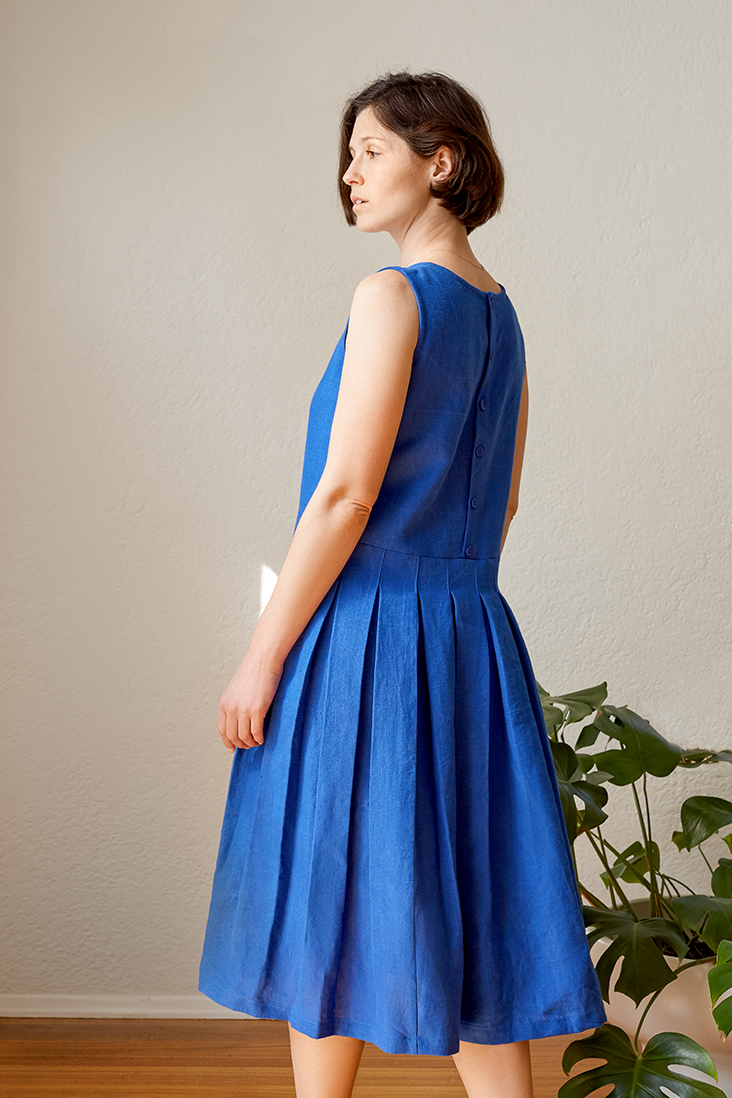
When it comes to fashion, the saying «history repeats itself» tends to be true. The styles that make a comeback, do so for a reason: they have a classic appeal and flattering shapes, just like this box-pleated dress. A staple of the 50’s with its pleated full skirt, Harper is as feminine now as it was back then. Plus, this pattern can be forgiving on those who have full hips and create flattering curves on those who don’t.
So, check your wardrobe and if there’s no pleated dress in there, make one yourself following this easy tutorial! We assure you that you are going to need at least one this summer.
Materials
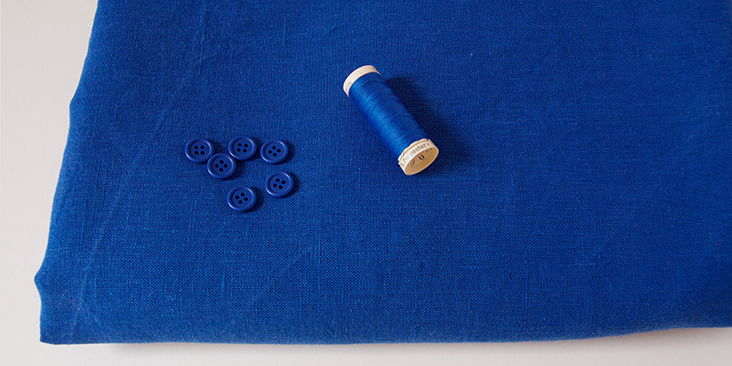
3 yards of 4C22 ROYAL BLUE Softened
Matching sewing thread, six 5/8”-wide buttons
Tools
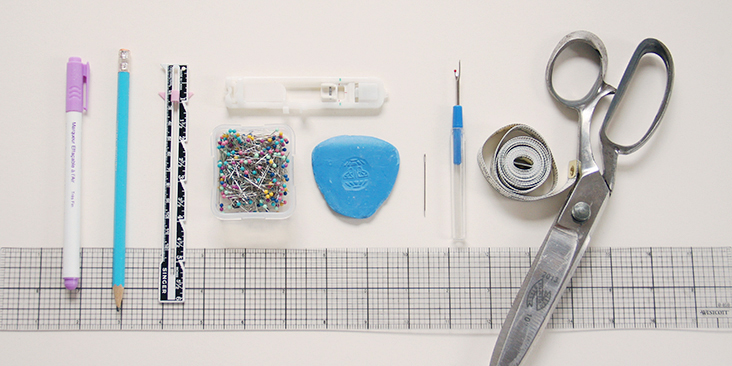
Scissors, pins, ruler, chalk, buttonhole foot, seam ripper, needle, measuring tape, fabric marker, 18mm bias tape maker, sewing machine
Difficulty
Intermediate
Time
5 hours
Pattern
You can access the multi-sized printable PDF pattern by following this link HERE. The model is wearing size S.
Please note that you’ll also need to cut three continuous strips of fabric on the bias 1.5″ wide: one for the neckline (26″ long) and two for each armhole (24″ long). For more instructions on how to cut your fabric on the bias please follow this tutorial.
If you need help adjusting the pattern for a fuller bust, we have a great Full Bust Adjustment tutorial HERE.
Steps
Note: Prewash your fabric and tumble dry it until it is still slightly moist, dry at room temperature. Iron the fabric so it is easier to work with.
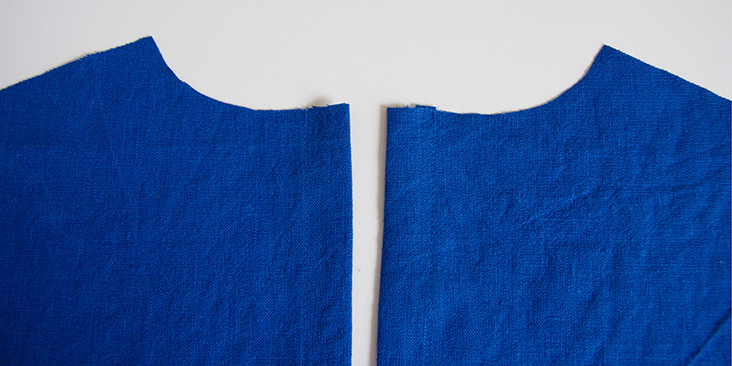
1. Let’s start with the back button bands. First, fold the 3/8″ (1 cm) seam allowance to the wrong side of your back panels and press. Then fold another 1″ (2,5 cm), press and pin.
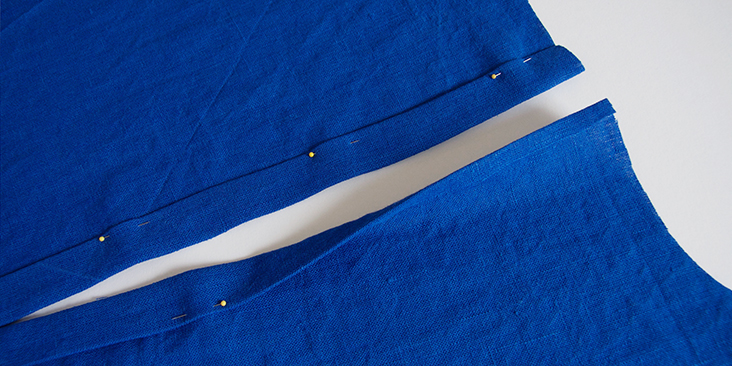
Note: When you fold/pin, make sure that your back pieces are mirror images of each other.
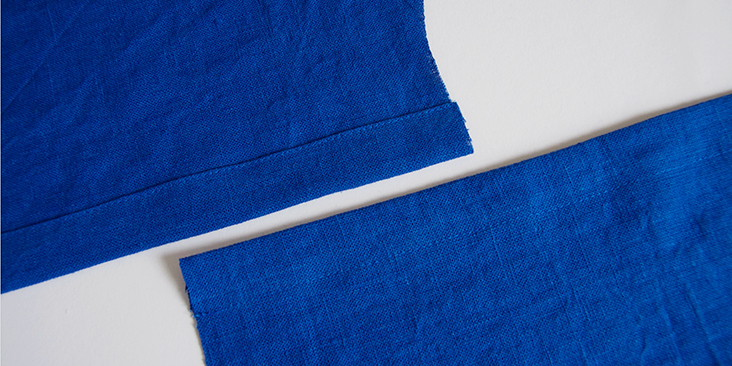
2. Stitch as close to the folded edge as possible (remember to backstitch). Press the finished button bands to ensure the fabric sits flat.
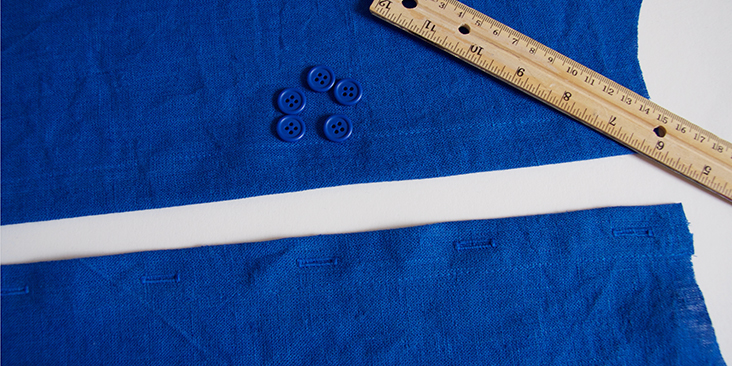
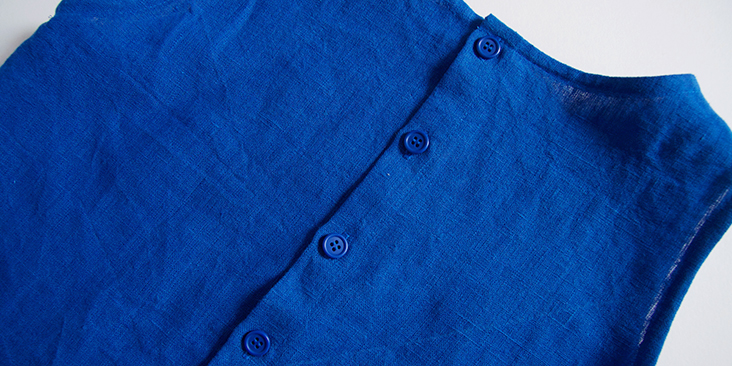
3. Sew the buttonholes as explained in this detailed tutorial HERE. Please note that in women’s clothing the buttonholes are traditionally placed on the right, and the buttons – on the left. The number and the spacing are really up to you. If you want your buttons closer, just leave smaller gaps between them. We decided to space our buttonholes 2,25″ (5,5 cm) apart. However, be mindful of the neckline and waistline seam allowances and place your buttonholes at least 3/4″ away from the top edge (because we need some space for the binding) and 1/2″ from the bottom edges.
Open the buttonholes with your seam ripper. Then overlap the button bands’ and place a pin into the center of each buttonhole. This is where you’ll need to attach the buttons. Here’s a very easy tutorial on how to attach the buttons.
4. Pin the front and the two back panels of your bodice right sides together at the shoulders.
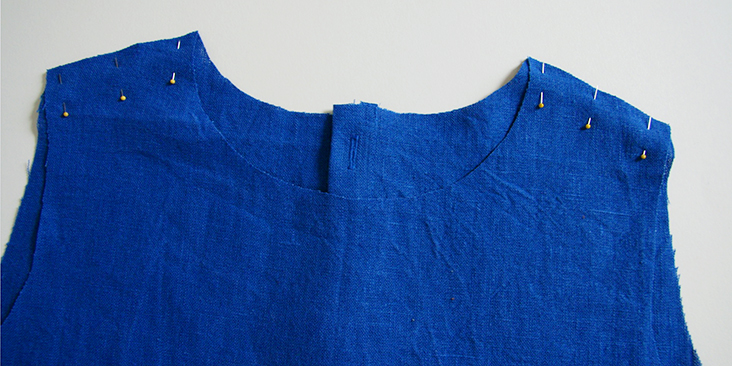
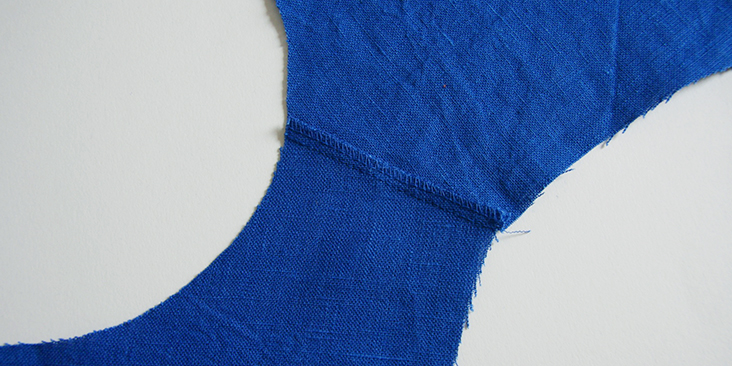
5. Sew the shoulder seams right sides together at 3/8″ (1 cm) seam allowance, remember to backstitch. Trim the seam allowance down to 1/4″ (6 mm) and serge or zigzag the raw edges together to prevent the fabric from fraying. Press the seams flat folding the serged/zigzagged edges towards the back of your dress.
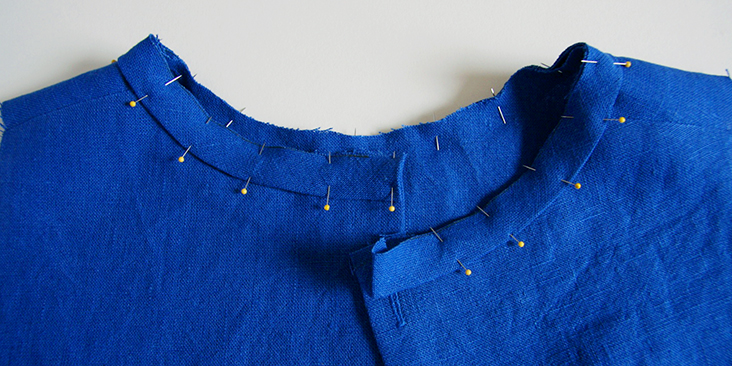
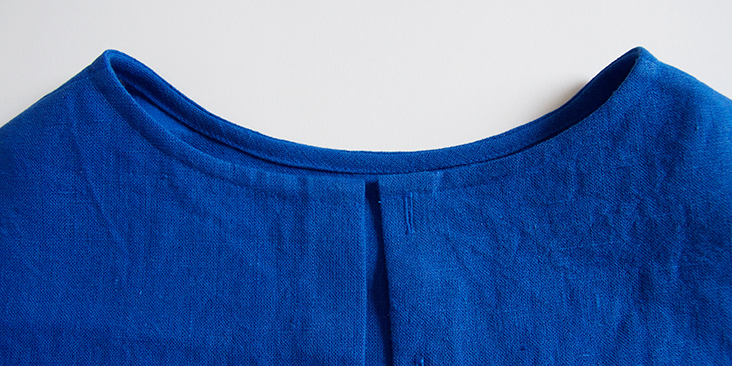
6. Bind the neckline following this tutorial. Make sure that when you attach the binding the serged/zigzagged shoulder seam edge is folded towards the back of your dress.
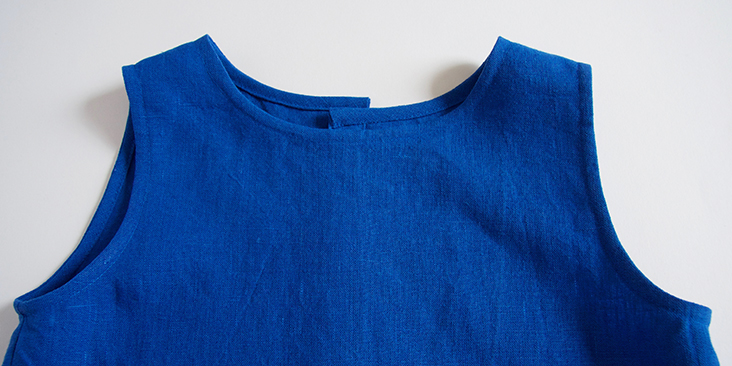
When you come to the back opening, tuck in the ends of your bias band as shown below:
Here’s what your finished neckline should look like:
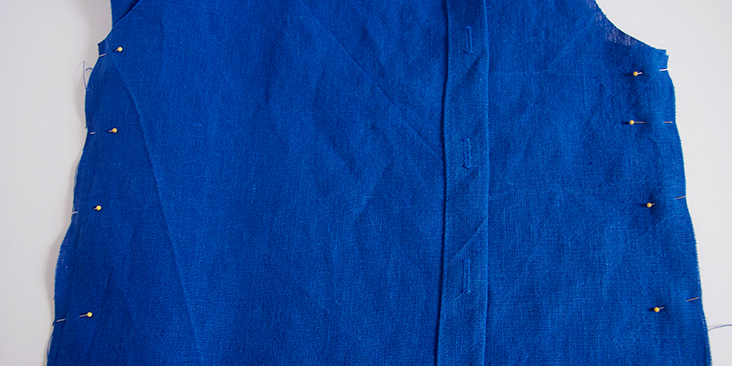
7. Now pin the side seams right sides together.
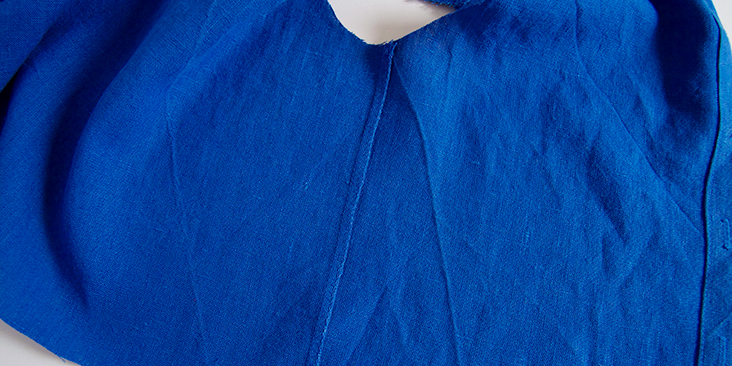
8. Sew, trim, serge/zigzag and press just as you did with your shoulder seams (step #5).
9. Bind the armholes using the same method as you’ve used for the neckline (see step # 6). Join the ends at the underarm.
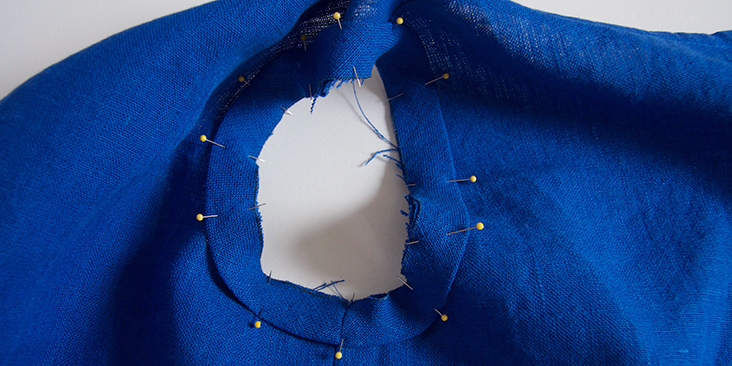
Set your bodice aside for now and take your skirt pieces.
10. Pin and sew the skirt front and back side seams right sides together. Trim the seam allowances down to ¼” and serge/zigzag the raw edges together to prevent the fabric from fraying in the future. Press the seams flat towards the back.
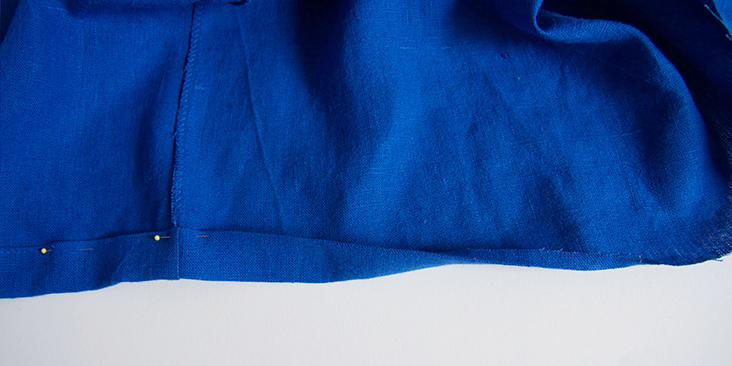
11. Hem the skirt with a rolled hem. First, fold 3/8” to the wrong side and press, then another 1”. Press, pin, and stitch as close to the inner fold as possible. Remember to backstitch and press the seams when you’re done.
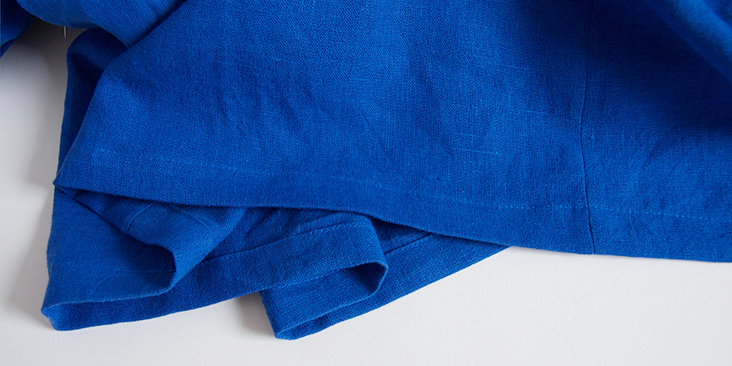
Now that your skirt is assembled, it’s time to pleat it. The skirt has eighteen 2”-wide box pleats at the top edge: 9 at the front and 9 at the back. We have a detailed tutorial that will explain how to form box pleats. Remember that each finished pleat should be 2” wide with a two times x 1” underlay. Be patient as pleating takes time. Just remember, the more carefully you pleat, the nicer your finished dress will be.
14. Because we want to hide the side seams inside the fold of a pleat, we recommend starting your pleating process at the side seam, folding your fabric as shown below:
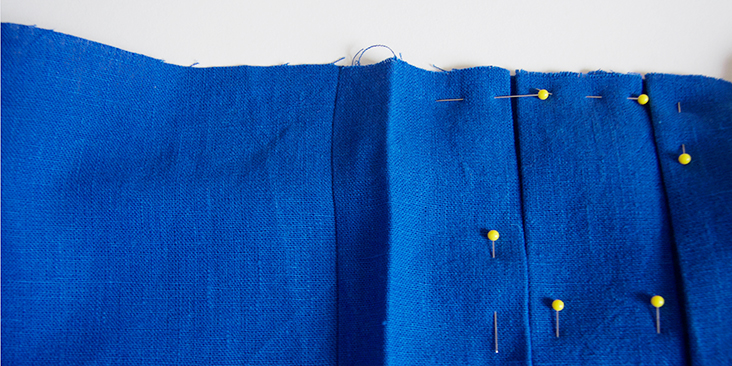
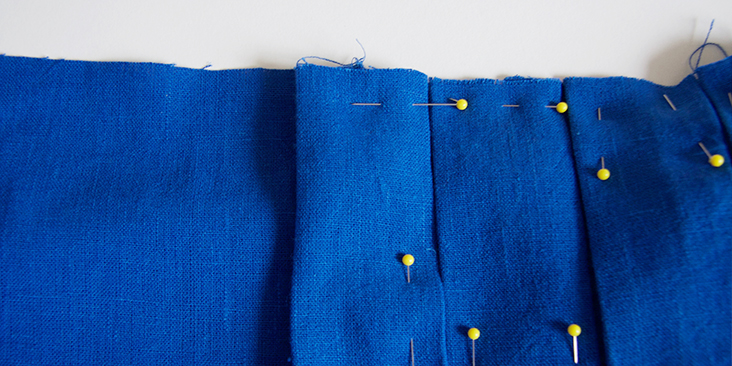
Iron down your pleats for about 2/3 of the skirt length and then leave to fall softly.
15. Check that the pleated skirt matches your buttoned-up bodice. If this is the case, baste the pleats in place ¼” from the raw edge to secure them. Then run vertical lines of topstitching (about 2” long) at each pleat fold (as close to the folded edge as possible) to give your pleats more definition. Remember to backstitch at the beginning and the end of your seams.
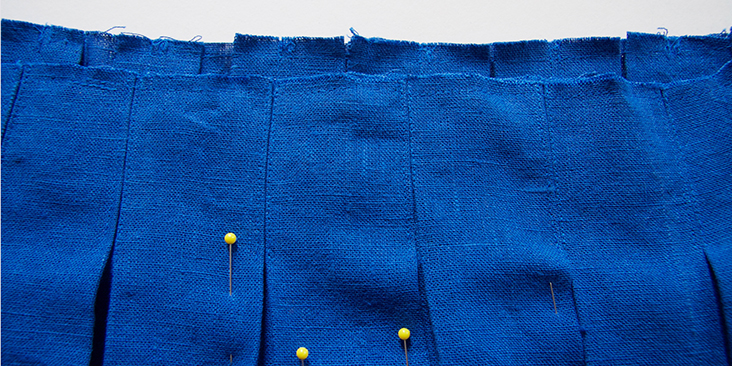
16. Pin the skirt to the bodice right sides together.
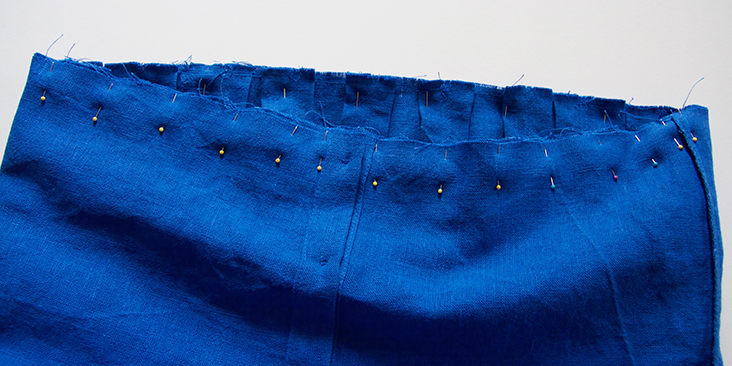
17. Sew at a 3/8” (1 cm) seam allowance. Trim the seam allowances down to ¼”, serge/zigzag the raw edges together, press the seam flat to one side.
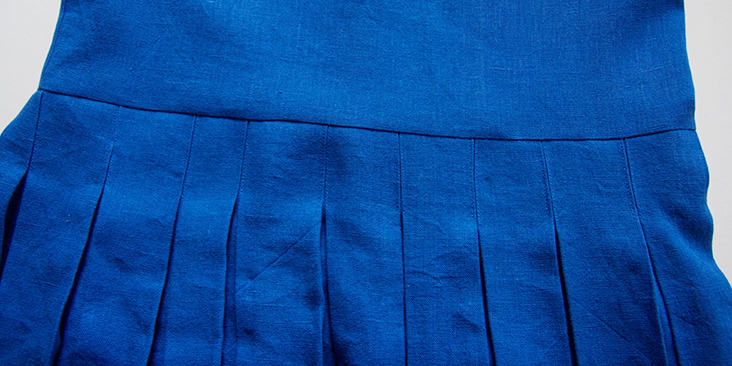
18. Give your dress one last good press and you are all done!
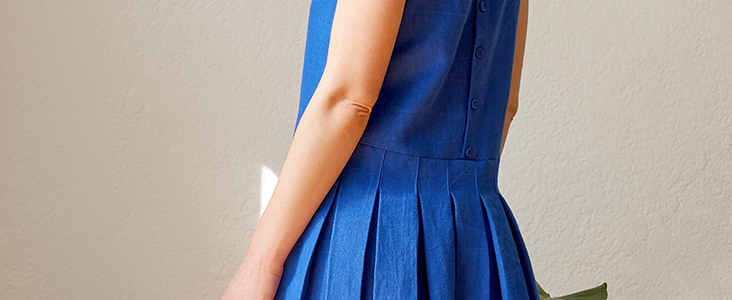
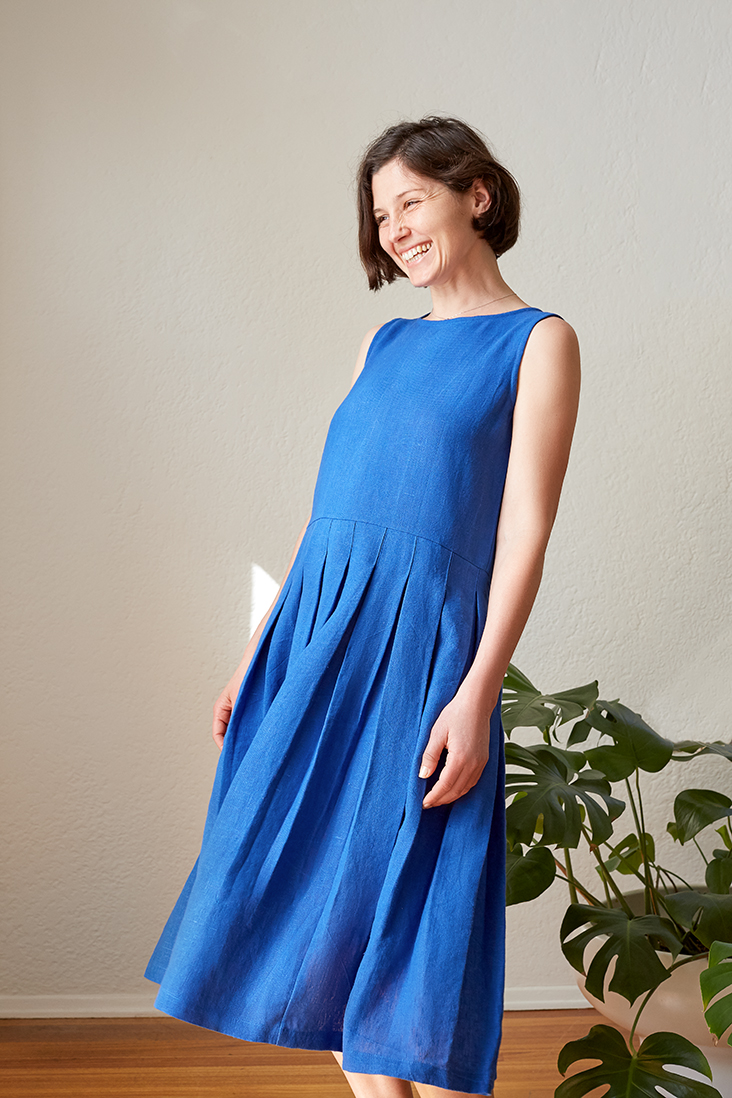
Retro-inspired and fun, this dress will look great literally in any color




2 Comments
Maria Ekberg
Detta mönster är inte komplett, kan jag hitta det på något annan ställe?
Suzy Roques
Bonjour Rima. Vos modèles pour femmes sont très élégants, épurés et stylés. Les tutoriels sont très précis même pour une française comme moi. Est-il possible d’avoir des patrons de robe et de vêtements pour petite fille 5 ans à 12 ans s’il vous plait ? Mille mercis pour votre réponse. Suzy