Anna Rose Knife Pleated Button Up Dress Tutorial and Pattern
Today we thought we would try something new. Like this gorgeous yellowish mustard linen! Doesn’t it just scream summer and warm sunny days? And since we just posted a tutorial about knife pleats, what better way to practice your new skill than making a beautiful pleated dress?
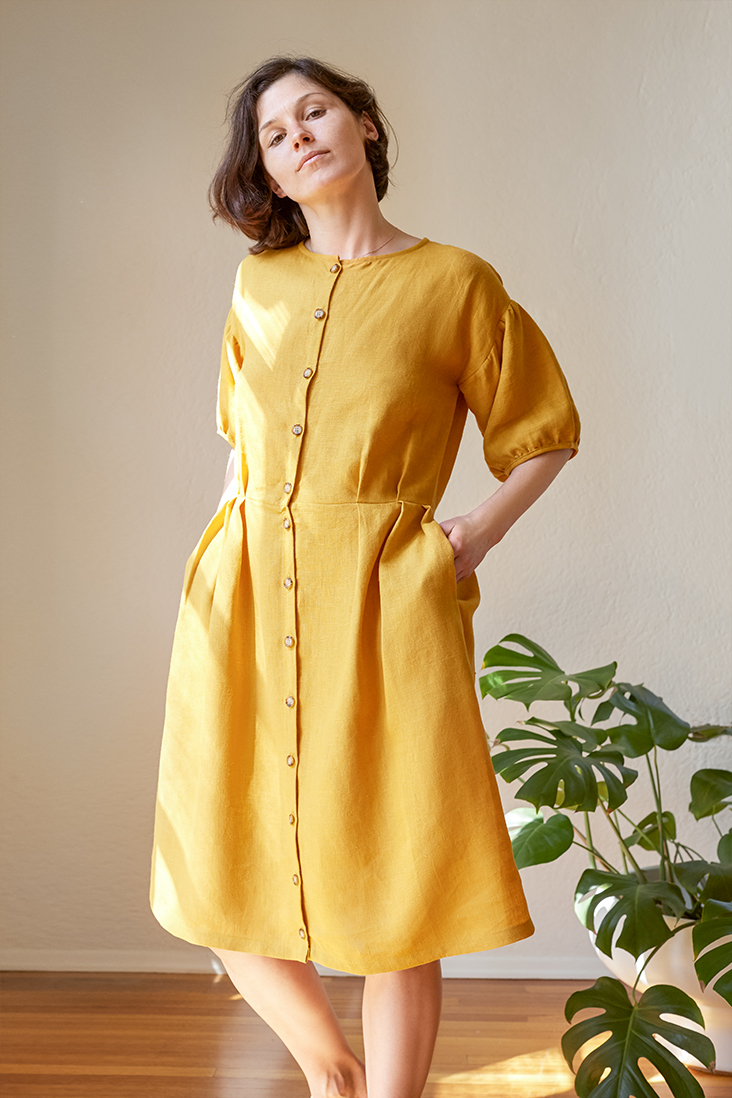
Carefully tailored, gently pleated Anna Rose shirtdress will make a delightful addition to your wardrobe. In a flattering knee length, with a button front and puff sleeves, we have combined comfort with elegance for everyday summer wear.
Materials
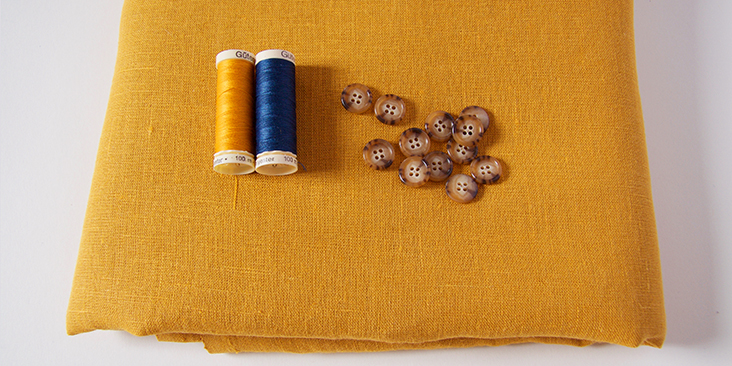
3 yards of IL019 AUTUMN GOLD Softened
Matching sewing thread, contrasting thread for sleeve gathering, fourteen 1/2”-wide buttons
Tools
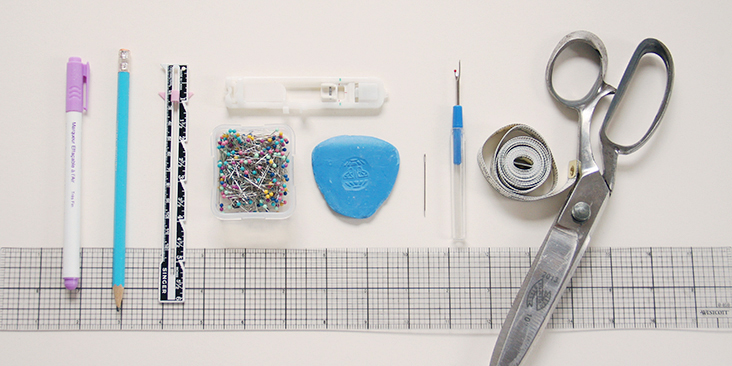
Scissors, pins, ruler, chalk, buttonhole foot, seam ripper, needle, measuring tape, fabric marker, 18mm bias tape maker, sewing machine
Difficulty
Intermediate
Time
6-7 hours
Pattern
You can access the multi sized printable PDF pattern by following this link HERE and the printable pocket template could be found HERE. The model is wearing size S. All seam allowances are included in the pattern.
Note that you’ll also need to cut one continuous strip of fabric on the bias (1,5″ wide and 24″ long) for the neckline binding and two strips for cuffs (1,5” wide and 17” long). For detailed instructions on how to cut your fabric on the bias please follow this tutorial.
Steps
Note: Prewash your fabric and tumble dry it until it is still slightly moist, dry in room temperature. Iron the fabric so it is easier to work with.
Normally, you’d start your project with button bands, but since our button bands are folded along the entire length of the dress, we need to attach the bodices to the skirts first at the waist. And since in this particular dress the waist is pleated, we’ll start with pleats.
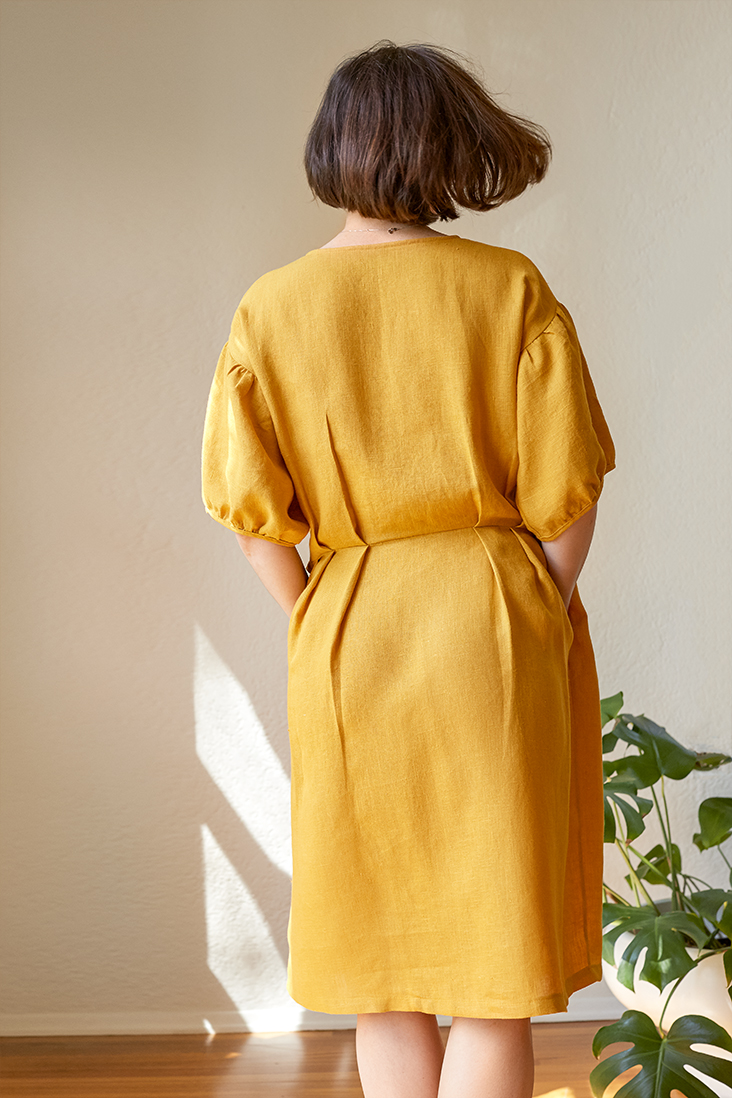
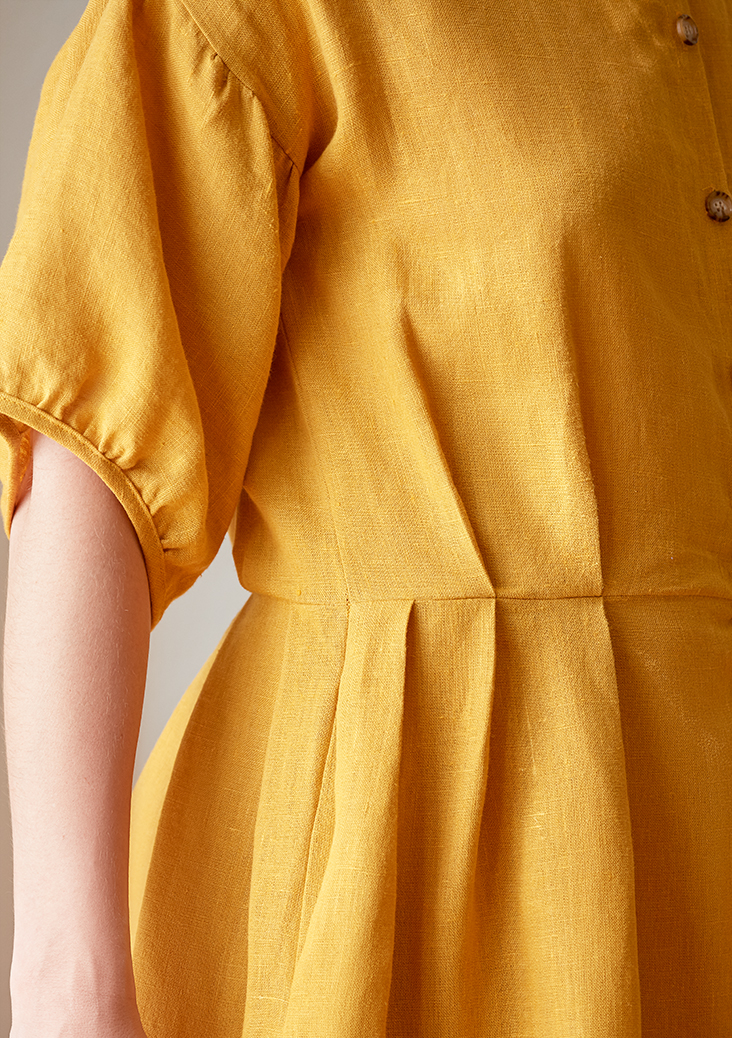
This dress features two knife pleats at each bodice front, three pleats at the two skirt fronts, four pleats at the back of the bodice and six pleats at the skirt back. Before we start forming our knife pleats, we invite you to check out our detailed tutorial about knife pleats where you’ll find all tips and techniques for forming knife pleats.
1. Create two ½”-wide knife pleats at each front bodice pattern piece. Form your first pleat 5” away from the center front, pin, and then create your second pleat 2” away from the first one. Fold your pleats in the direction of the center front and remember that your front bodices should be mirror images to each other.
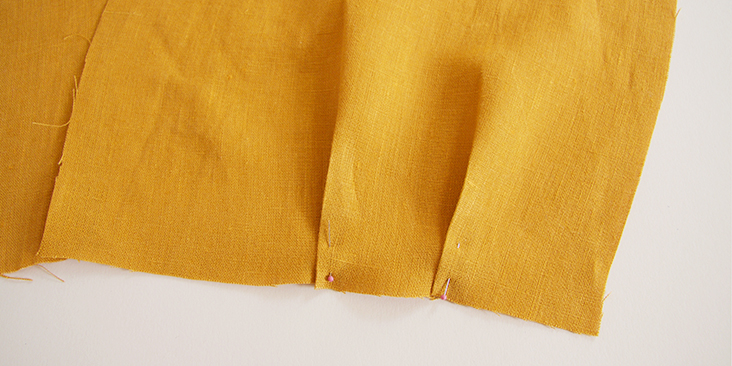
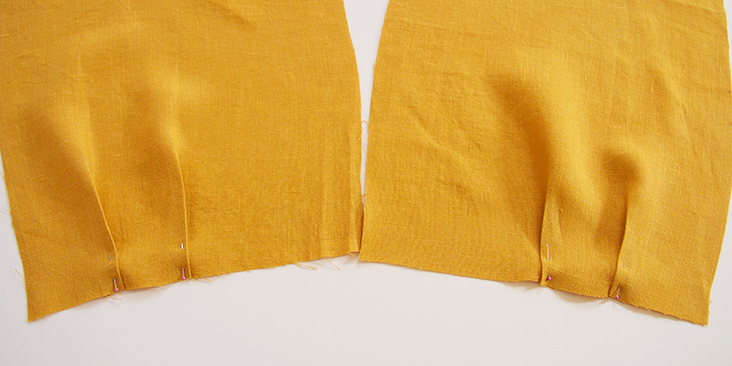
2. Press your pleats lightly; we don’t want to crease them too much just around the waist.
3. Take your two skirt fronts and create three 1”-wide knife pleats, all in the direction of the center front. Try to match your two skirt pleats to the two bodice pleats and add a third one. Adjust the width of each pleat if necessary but remember that in the end your skirt waist should be equal to your bodice waist.
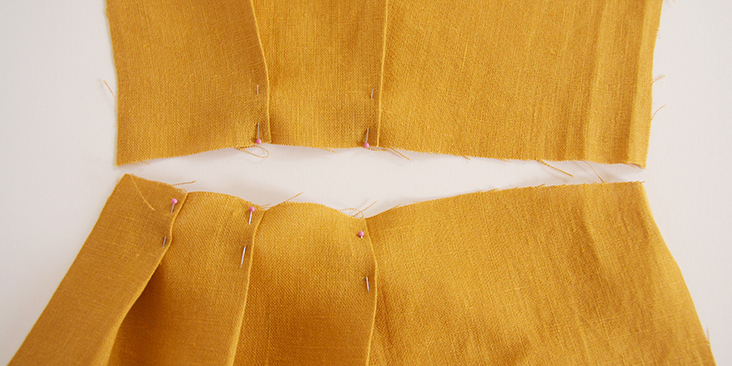
4. When you formed, pressed, pinned and matched all your front pleats, you can take your fabric to the sewing machine and run a line of straight stitches ¼” from the raw edge to baste them in place.
5. Now, pin your front bodice and front skirt right sides together.
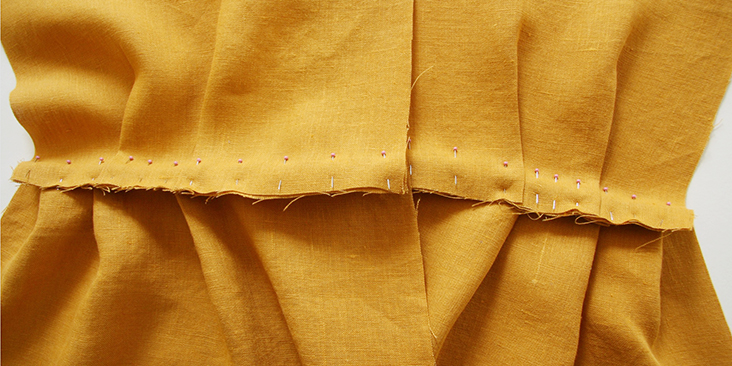
6. Sew the pinned edges together at a 3/8” (1 cm) seam allowance, then rip off your basting stitches, trim the seam allowance down to ¼” and serge/zigzag the raw edges together to prevent the fabric from fraying in the future. Press the seam flat towards skirt.
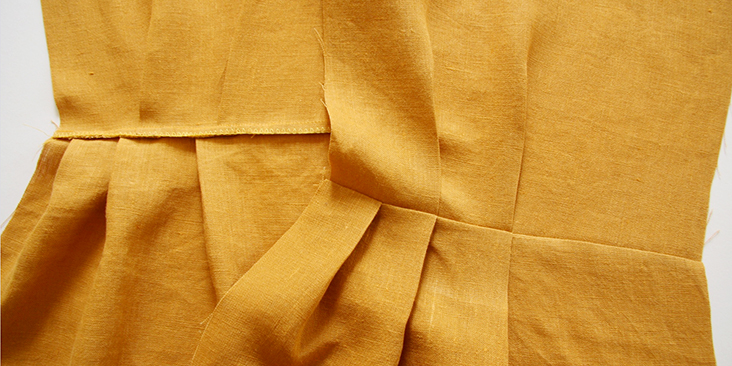
Time to pleat the back.
7. Create four ½”-wide knife pleats at the back bodice. Here, we want to place our first pleat 3” from the side seam (one pleat on each side seam), folding it towards center back. Place the second 2” inches apart. Pin, press.
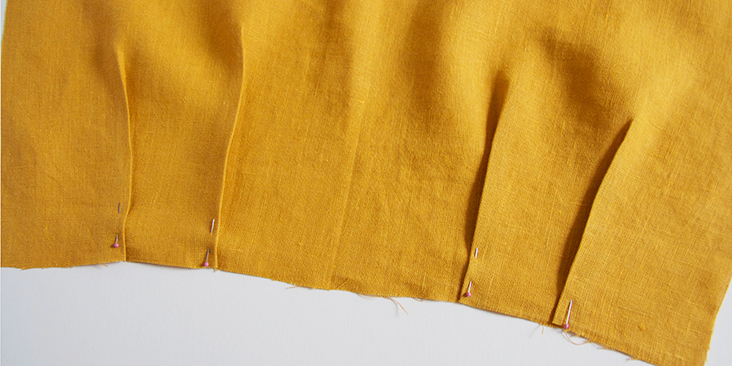
8. Take your back skirt and form six 1”-wide pleats (3 on the left side, and 3 on the right side). Match them with your two pleats on the back bodice, than add a third pleat on either side of the center back. Pin, press.
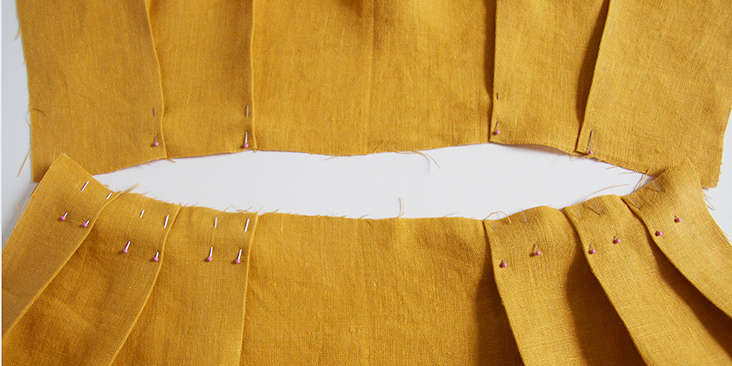
9. Match your bodice and skirt at the waist, if they match – you can baste the pleats in place. If not – adjust your pleats.
10. Now, pin and sew your back bodice and back skirt right sides together. Then trim the seam allowance down to ¼” and serge/zigzag the raw edges together to prevent the fabric from fraying in the future. Press the seam flat towards skirt.
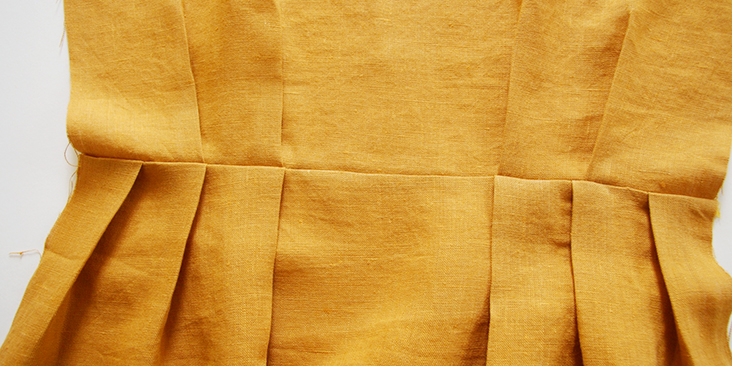
Now that you have the full length of your dress, you can sew the button bands.
11. Fold the center front left and right raw edges twice to the wrong side (3/8? (1 cm) to 3/4? (1.3 cm)). Press and pin.
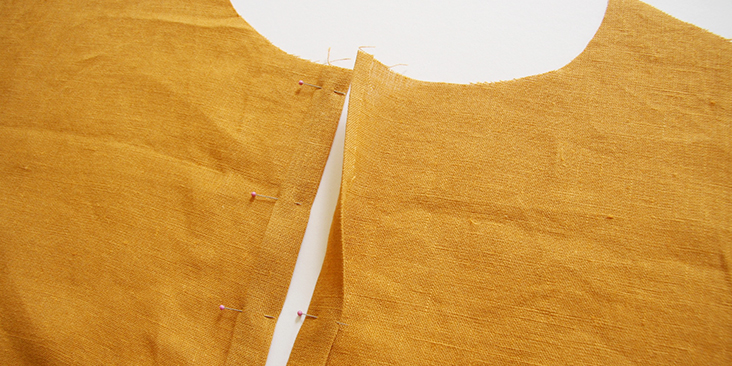
12. From the wrong side of the fabric, stitch a straight line as close as possible to the inner folded edge. Repeat for the other side.
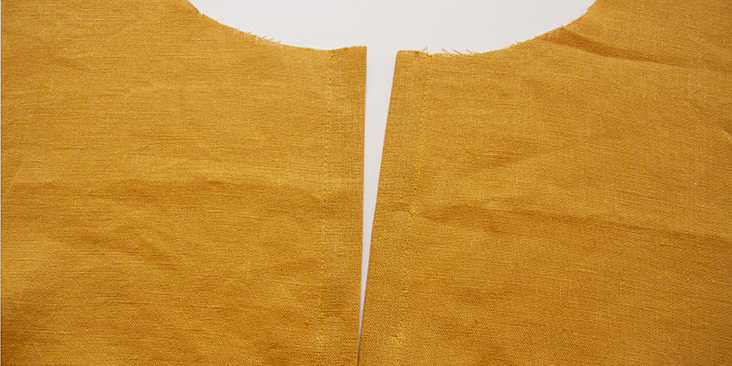
You have now created two identical button bands along the entire center front that will form a 3/4? overlap when buttoned up.
Do not sew the buttonholes and attach the buttons yet. We’ll do this step when the neckline and the bottom hem are finished.
13. You can finally assemble the front and the back of your dress by pinning them at the shoulder seams right sides together.
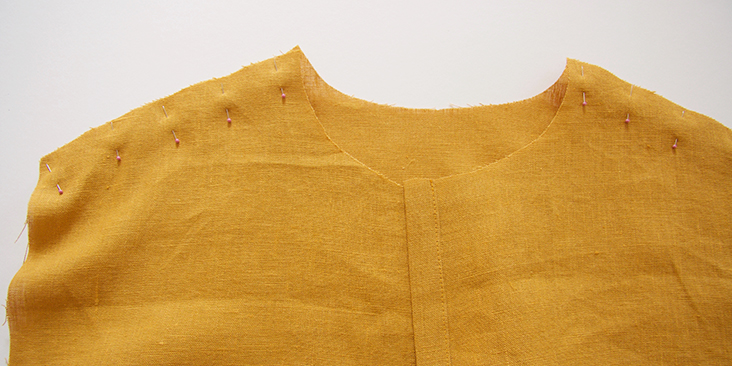
14. Sew at a 3/8? (1 cm) seam allowance and remember to backstitch at both ends. Trim the seam allowance down to 1/4? (6 mm) and serge/zigzag the raw edges together and press towards the back.
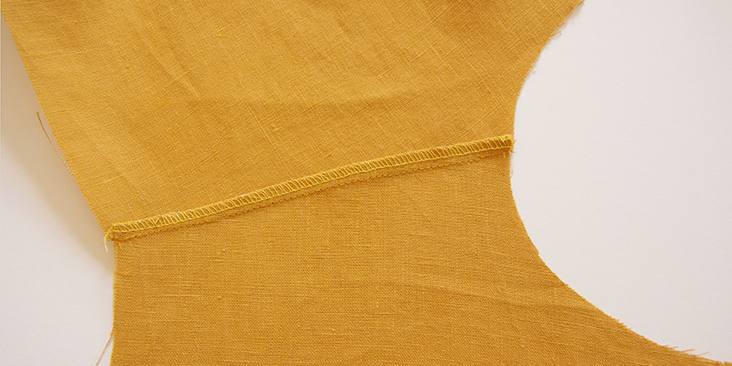
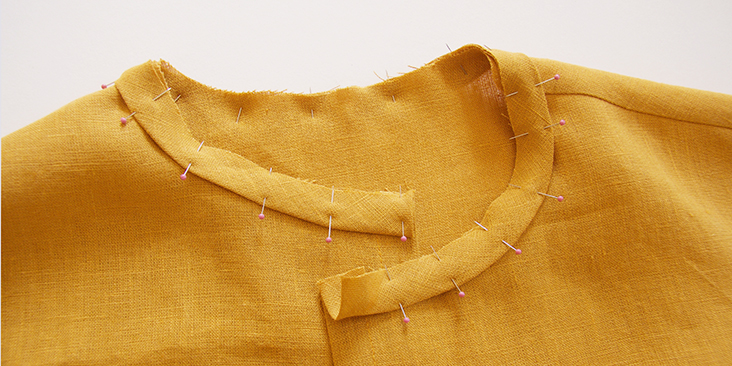
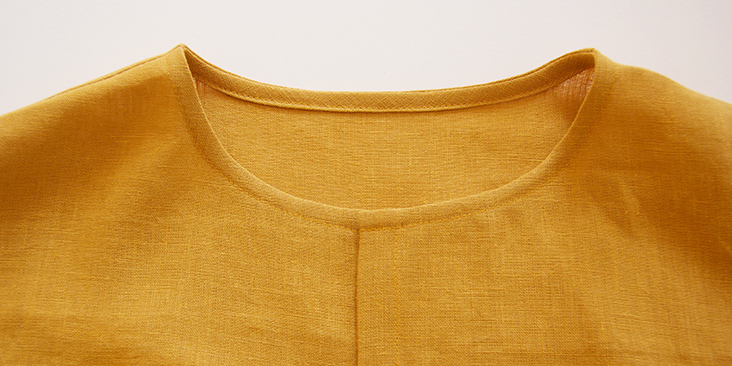
15. Finish your neckline with a bias band as explained in this step-by-step tutorial. Fold the ends of your bias band to the wrong side to match the edges of your button bands, and stitch the band in place all along the neckline.
Next up – side seams and pockets.
16. Following THIS tutorial, attach the inseam pockets and assemble the front and the back of the dress together at the side seams. Pin the pockets 1” away from the waistline and remember that your side seam starts 7,5” down from the shoulder seam.
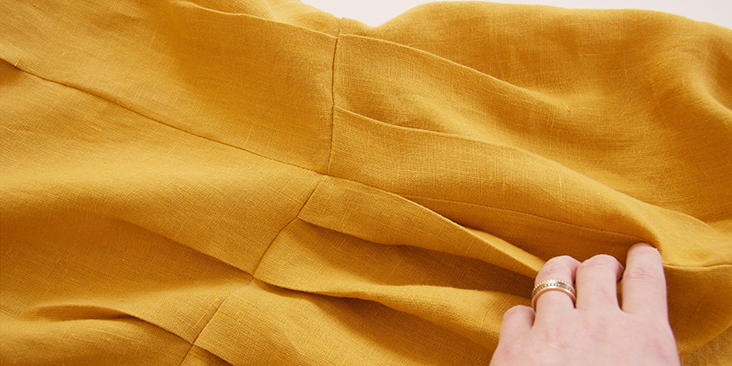
17. Finish the bottom of your dress with a simple rolled hem. Fold the bottom edge under first 3/8? (1 cm) then another 1? (2,5 cm) and press. Pin the fold. Make sure that your hem is even at the center front.
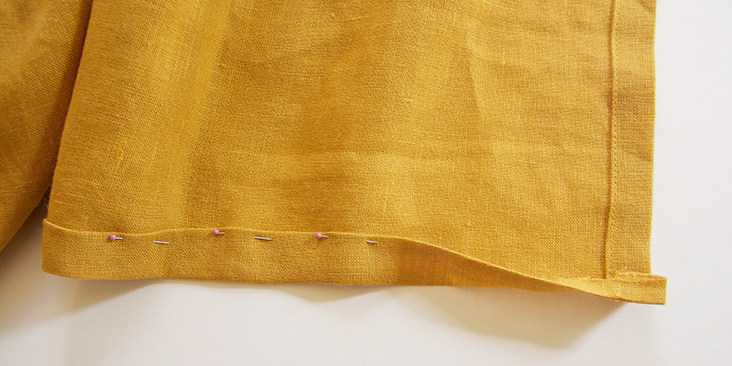
18. Working from the wrong side, topstitch as close to the inner fold as possible. Remember to backstitch and press the seams when you’re done.
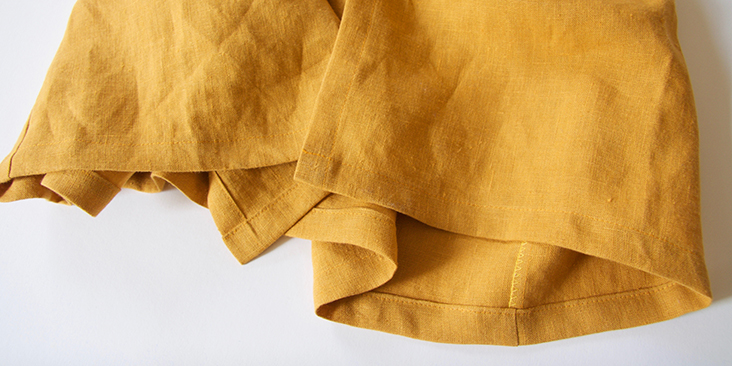
We now need to gather and attach the sleeves.
19. First, pin, sew, serge/zigzag the two short edges of the sleeve right sides together. Press the seam flat to one side.
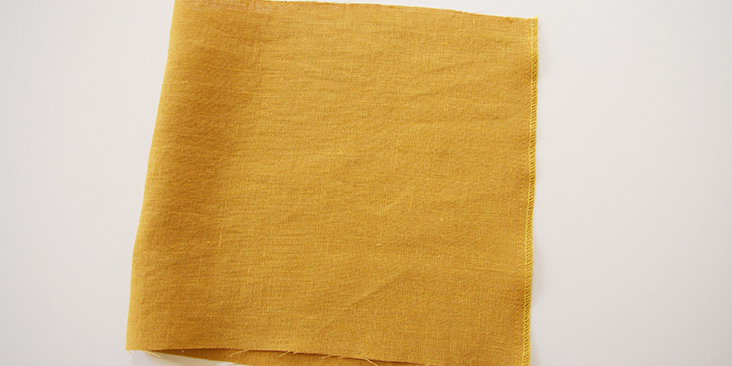
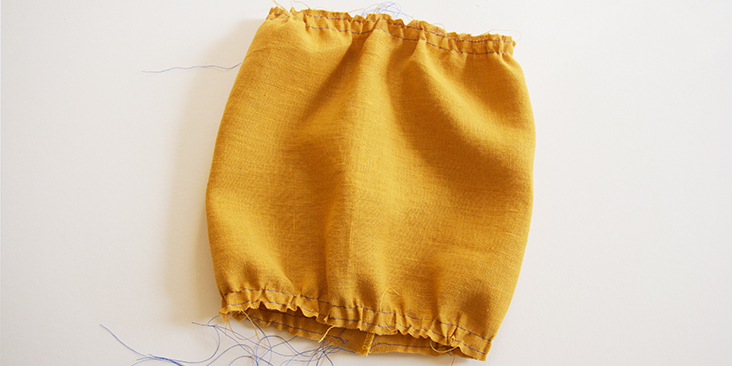
20. You’ve created a tube that is 20” wide. Your sleeve opening is 15” wide. What you need to do is to gather the sleeve both at the cap and at the hem and bring it to 15”. You are creating a kind of puff sleeve.
HERE is a step-by-step tutorial on how to gather your fabric. Be sure to use a contrast color thread and to secure your gathers once you’ve checked that the sleeve matches your armhole and that the gathers are evenly spaced.
21. Pin the gathered sleeve to the bodice right sides together and matching the seam of the sleeve to the underarm of the dress.
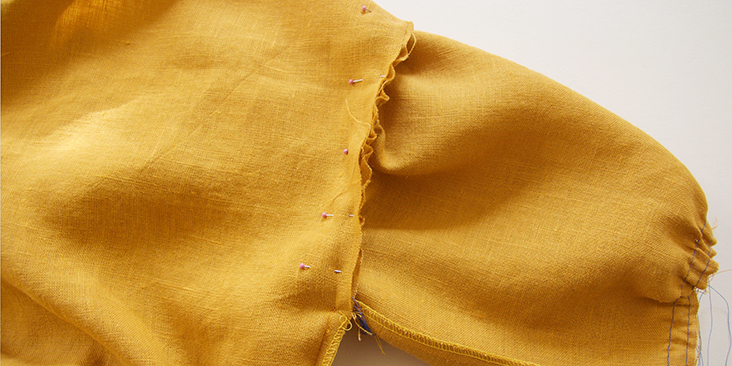
22. Sew at a 3/8” (1 cm) seam allowance. Remove the gather stitches using your seam ripper. This is why it’s recommended to use a contrasting color thread – so that you don’t make a mistake and rip out wrong stitches.
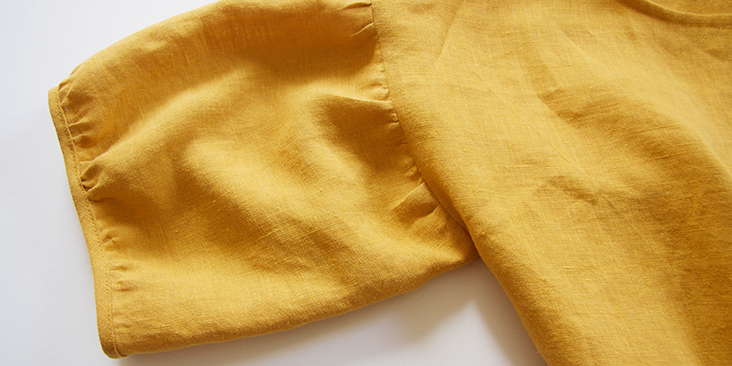
Trim the fabric and serge or zigzag the raw edges together. Press the seams flat folding the serged/zigzagged edges towards the sleeve and reducing the volume of your sleeve.
23. Take your two strips of fabric that you’ve cut on the bias and make some bias tape with using your bias tape maker.
24. Join the two ends of the tape right sides together to create a 15” tube that you’ll use to bind the sleeve opening. Check this detailed tutorial on how to finish a gathered sleeve.
25. Lastly, sew the buttonholes and attach the buttons. Remember, that in the womenswear the buttonholes are sewn on the right button band and the buttons – on the left side of the button band.
For the buttonholes, you can follow our detailed tutorial HERE. As for the buttons, check our tutorial HERE for instructions. Overlap the dress and place a pin into the center of each buttonhole. This is where you’ll need to attach the button.
The number and the spacing are really up to you. If you want your buttons closer, just leave smaller gaps between them. We decided to space our buttons 2,5? (6 cm) apart.
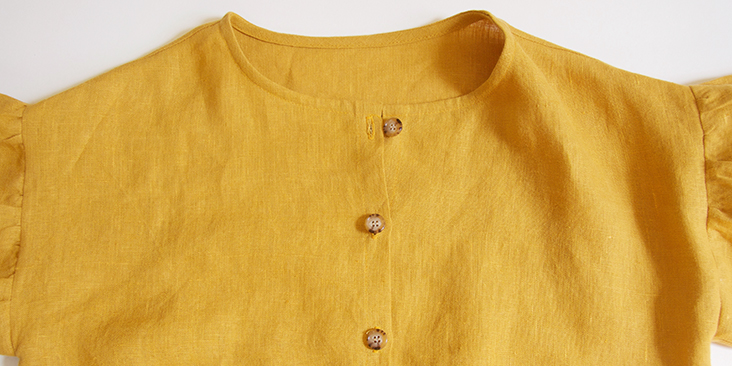
26. Give your dress one last good press and you are all done!
Check out our selection of linen and see which of our fabrics inspire you for this project!





2 Comments
Helen Wilson
Love the fabric, love the color, love the pleats. But that style desperately needs something at the waistline to set it off. Even just a band of the same fabric would work, or a belt or sash. Without it, the dress just looks as though you forgot to put your belt on.
Rima Khusainova
Dear Helen, thank you very much for the comment! You can always alter the pattern and add a belt if you feel like it’s missing. This should be pretty easy!