Lola Linen Trench Tutorial and Pattern
The summer trench is on just about every stylish woman’s must-have list and a favourite to wear. And since we all dream of a little bit of colour after a long winter, our version of this classic coat in dusty rose linen is just what is needed to brighten up your spring wardrobe and look classy and stylish this season.
So, if you don’t own a trench yet, here’s your chance to add Lola to your closet and sharpen your sewing skills. Even though this project is intended for intermediate sewists, with quite tricky techniques involved (like sewing a back vent, flat felled seams, and welt pockets), it would be a bit challenging but absolutely possible for beginners as well. We’ll guide you through all the steps and offer help and answer any questions you might have.
Materials
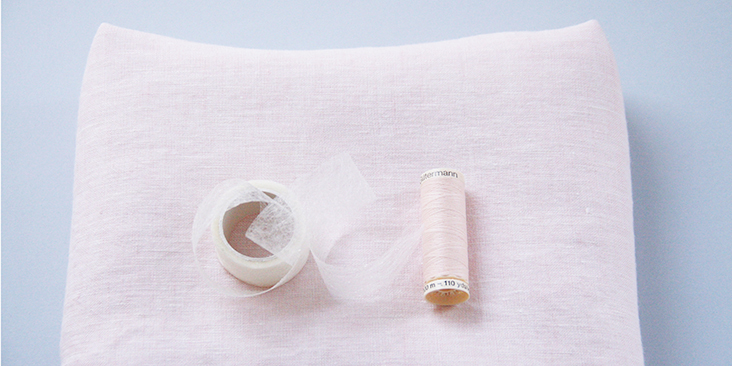
3 yards of IL042 894 – FS Premier Finish – 100% Medium Weight Linen
Matching sewing thread, 1-inch fabric fusion tape, a small piece of fusible interfacing for welt pockets (optional).
Tools
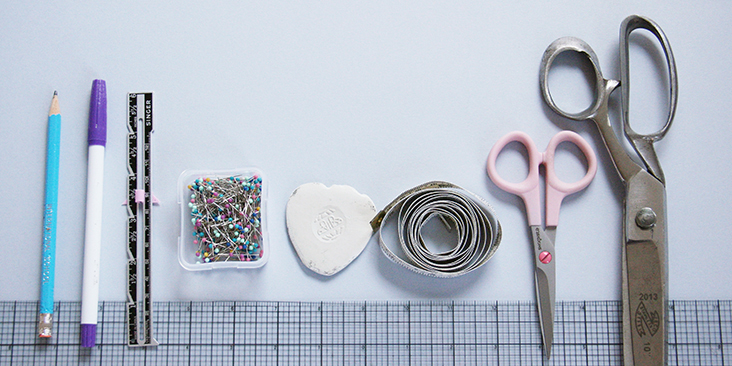
Scissors, pins, ruler, chalk, fabric marker, measuring tape, sewing machine
Difficulty
Intermediate
Time
6-7 hours
Pattern
You can access the multi sized printable PDF pattern by following this link HERE. The model is wearing size S.
Steps
Note: Prewash your fabric and tumble dry it until it is still slightly moist, dry in room temperature. Iron the fabric so it is easier to work with.
1. Let’s start with the welt pockets. To make sewing them a breeze, we have prepared a very detailed tutorial that will guide you through the process.
Place your welts on the right side of your front trench pieces at a 30-degree angle as shown in the picture below and then follow the steps in the tutorial to attach the pocket bag. The only thing that is optional, is interfacing the wrong side of pocket mouth since the trench is not lined and you might want to avoid the interfacing showing on the inside of your finished garment.
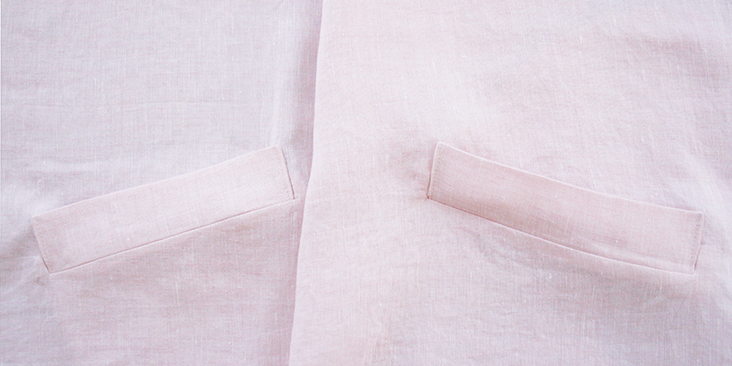
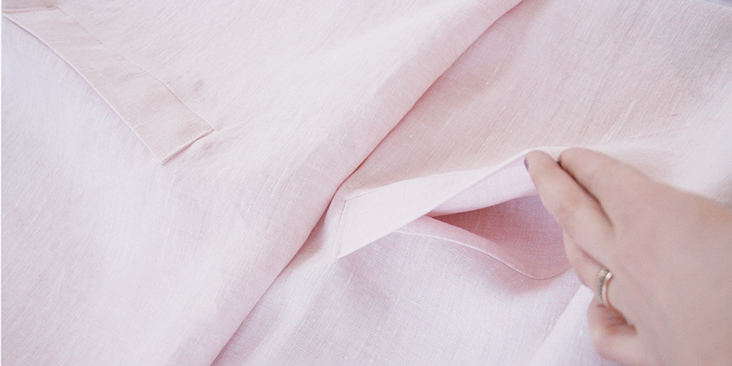
The next step is to assemble the two back pieces right sides together, sew the back vent and finish the center seam with a flat felled seam. We have a great back vent tutorial HERE that you can refer to, but since the process is slightly different here due to the presence of a flat-felled seam, we’ll guide you through all the steps.
2. The very first thing to do is to finish the vertical raw edges of your vent with a narrow rolled hem: turn the raw edge twice (¼” to ¼”) to the wrong side, press and stitch.
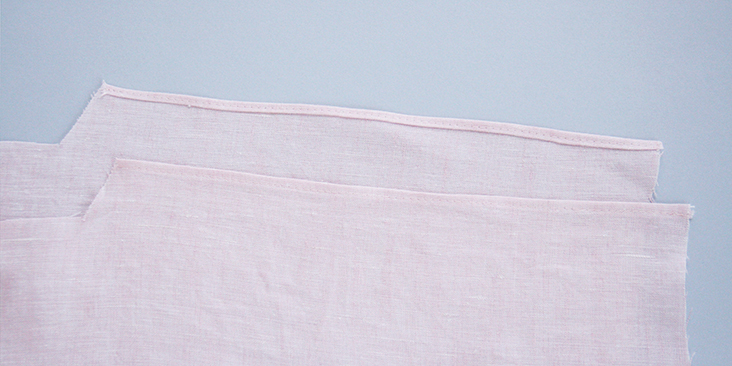
3. Press your left overlap extension along the 5/8” seam allowance to the wrong side of your garment to mark the fold.
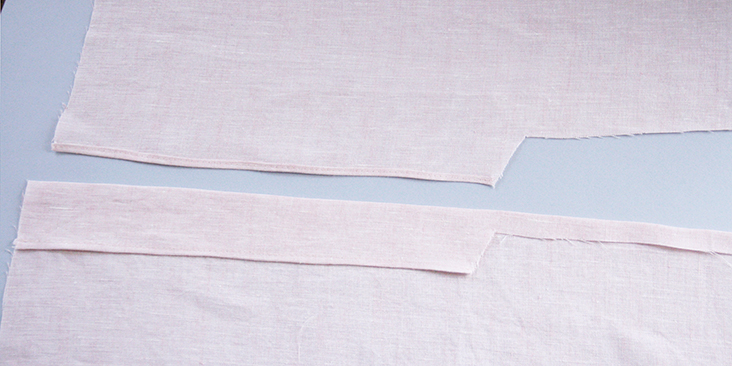
4. Pin the two back pieces right sides together aligning the edges and mark the pivot point (the top of your vent).
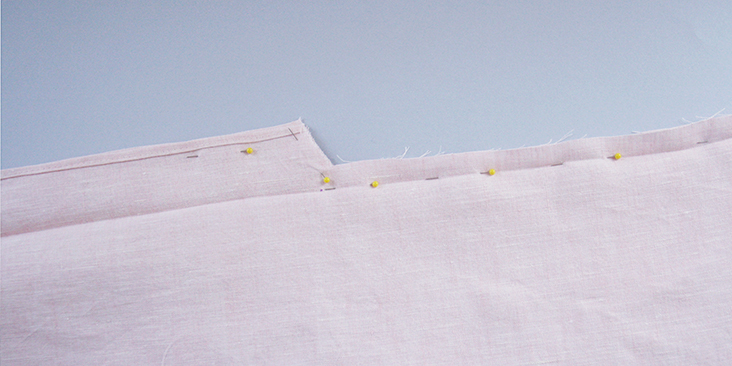
5. Sew the pieces right sides together in the crease that you’ve just pressed starting from the top of your garment and up to the pivot point. Then make a couple of back stitches and with your needle in the fabric, pivot the project at the point and run a line of stitching (backstitch at the beginning and the end) diagonally to the end of your vent extensions.
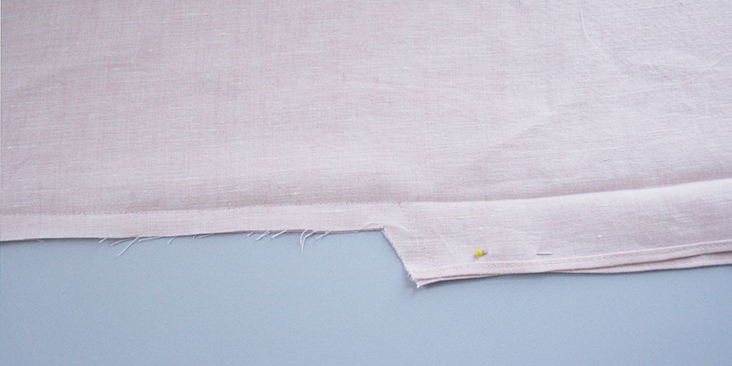
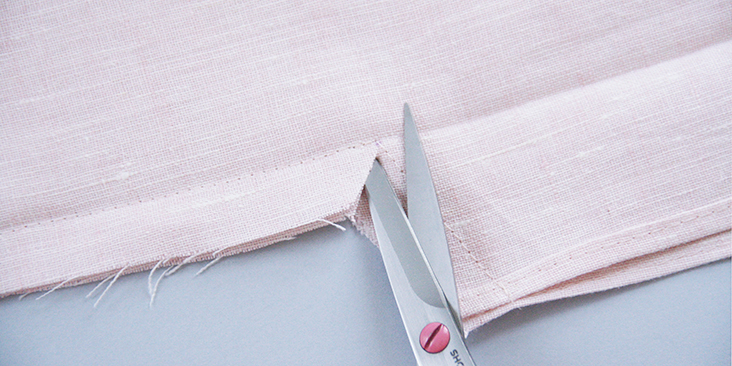
6. To release the tension and avoid puckering, snip into the corner of the vent at the seam allowance but be careful not to cut the stitching.
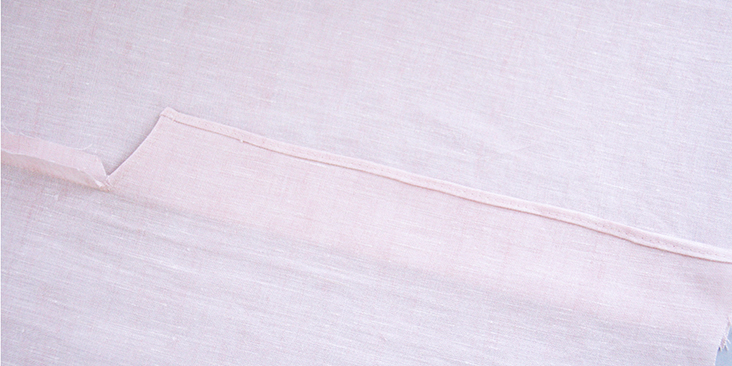
7. Press the vent extensions to one side (to the right) and fold the raw edges under.
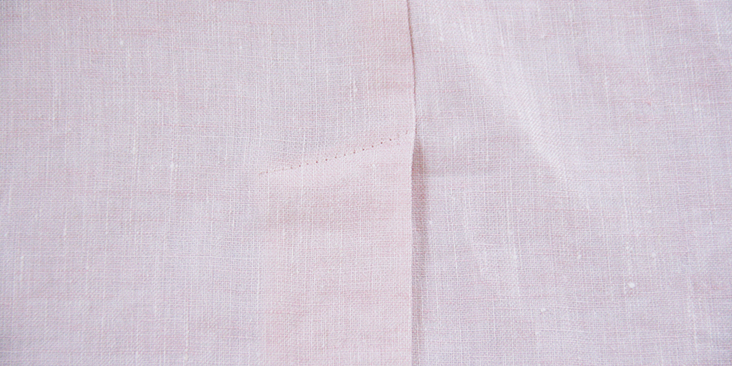
8. To secure the vent and prevent it from moving around, you’ll have to run another line of stitching from the right side of the garment.
Stitch diagonally from the pivot point (insert your needle directly into the seam) to the end of the vent extension (you can feel where it ends with your fingers). Do not backstitch and tie a few knots at each end as demonstrated in our tutorial.
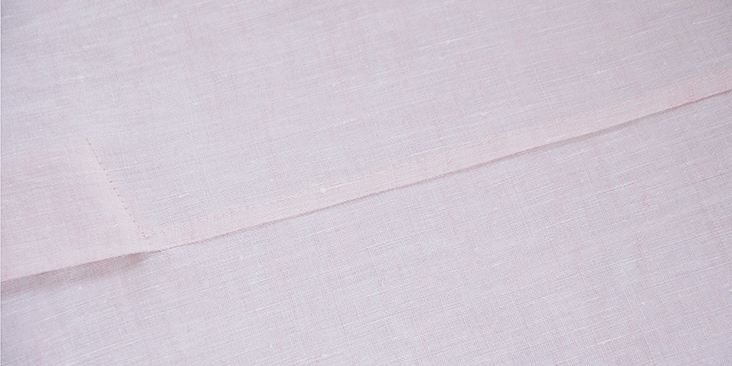
9. Your vent is now completed and you can finish the center back seam with a flat felled seam. Follow the steps in this tutorial.
10. Now take your rain flap and finish the bottom edge with a baby hem as explained HERE.
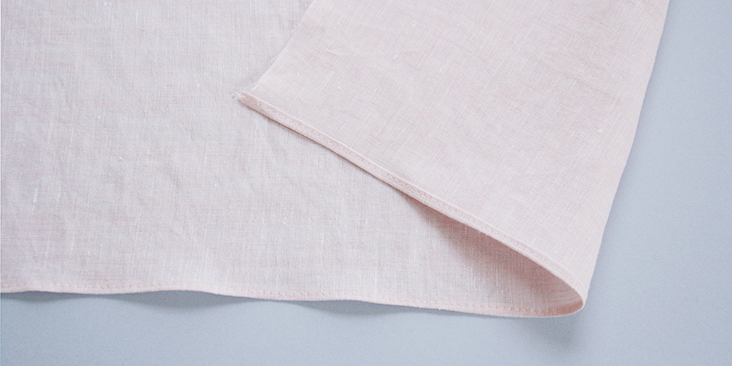
It’s time to assemble the front, the back and the rain flap together and finish the seams with flat felled seams. It is a great finish that will allow you to hide all the seam allowances within the folds and achieve a nice and clean look from the inside of the trench as well. We have a great step-by-step tutorial on how to sew flat felled seams HERE.
11. Pin the front and the back pieces right sides together at the shoulder seams and sandwich your rain flap piece in between (make sure that when you look at it from the right side, the right side of the flap is facing you.
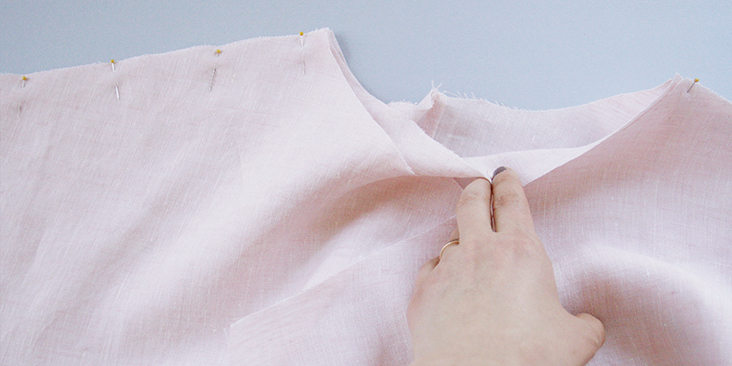
12. Sew at a 5/8” seam allowance and finish the seams with flat felled seams as you did in step #9. The only difference is that since here you have 3 raw edges and not two (due to the rain flap sandwiched in between), you trim the back’s and flap’s raw edges and cover them with the front fabric edge folding it towards the back of your project.
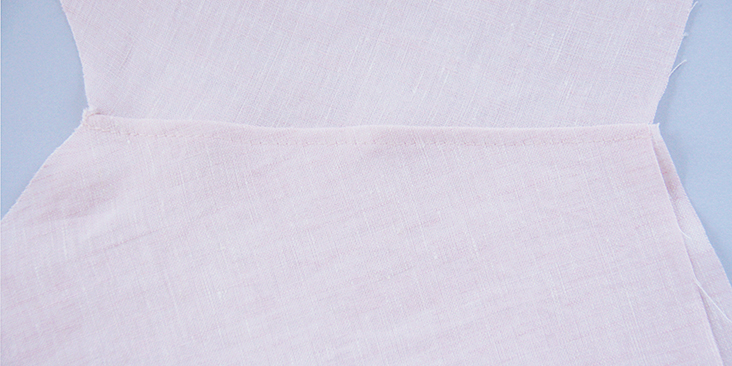
13. Fold your sleeves in half and press lightly at the edge to mark the center. Matching the center sleeve to the shoulder seam, pin the sleeves to the trench (including the rain flap layer) right sides together.
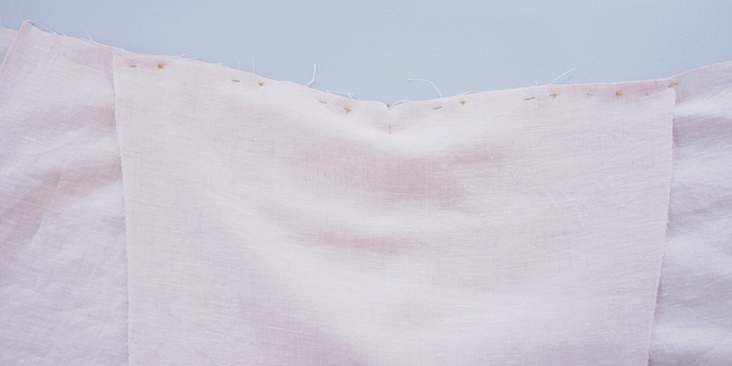
14. Sew at a 5/8” seam allowance and finish the seams with flat felled seams as you did in step #9.
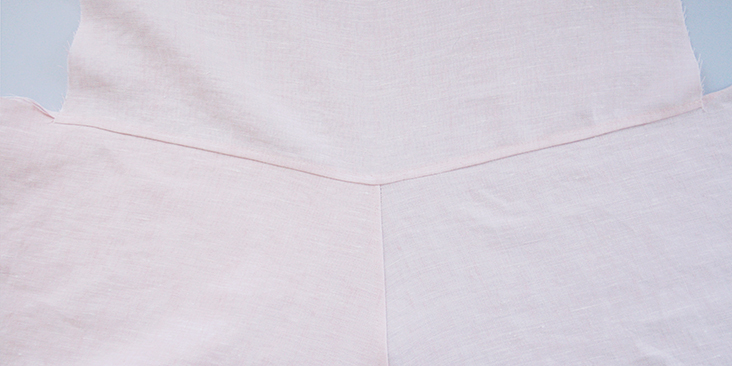
15. Pin the sleeves and the side seams right sides together.
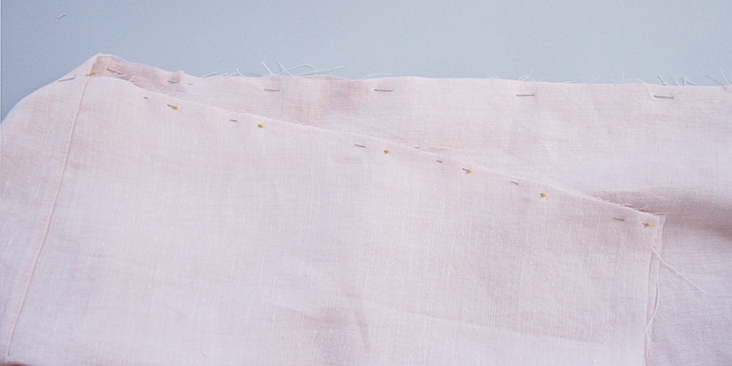
16. Sew the pinned edges at a 5/8” seam allowance (the underarm and the sides all in one seam) and finish the raw edges with a flat felled seam.
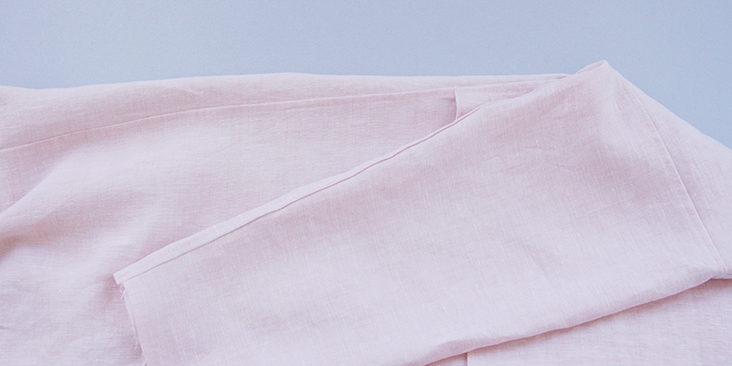
Now that your trench pieces are assembled, it’s time to attach the facing to the front opening.
17. Assemble your facing pieces right sides together.
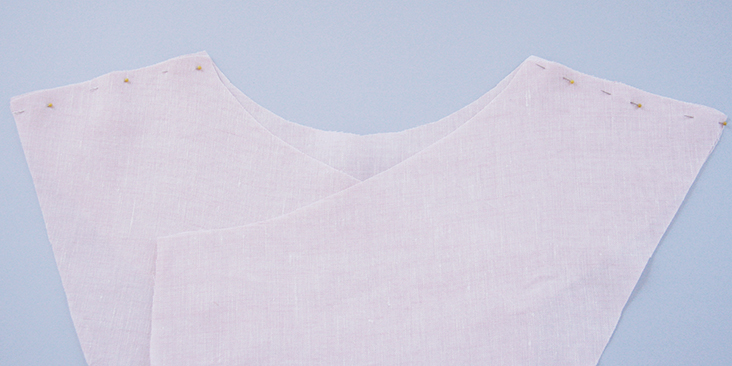
18. Sew at a 3/8” (1 cm) seam allowance and press the seams open. Press the outer raw edge of the facing 3/8” to the wrong side. Use a lot of steam to make it follow the curve. Later we will fuse it to the main fabric to create a clean finish on the inside.
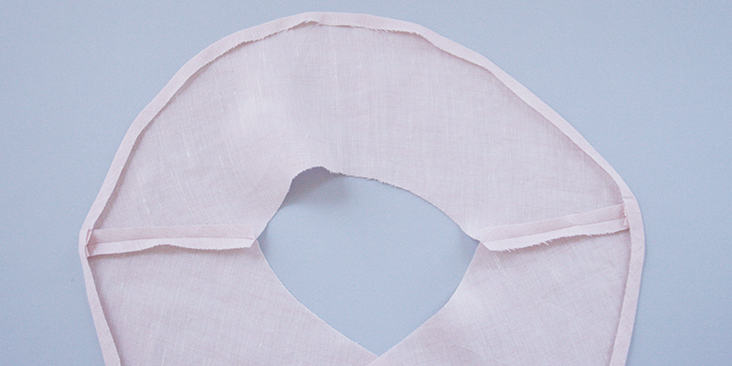
19. Working from the right side, pin the facing to the trench along the entire front/neckline opening. Right sides together and matching the shoulder seams.
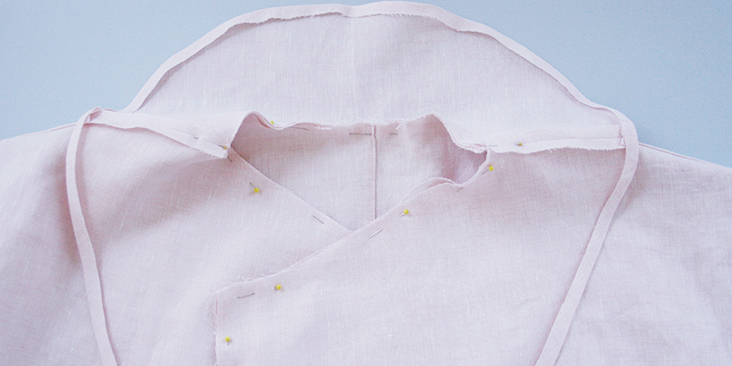
20. Sew at a 3/8” (1 cm) seam allowance and trim the raw edges down to ¼”.
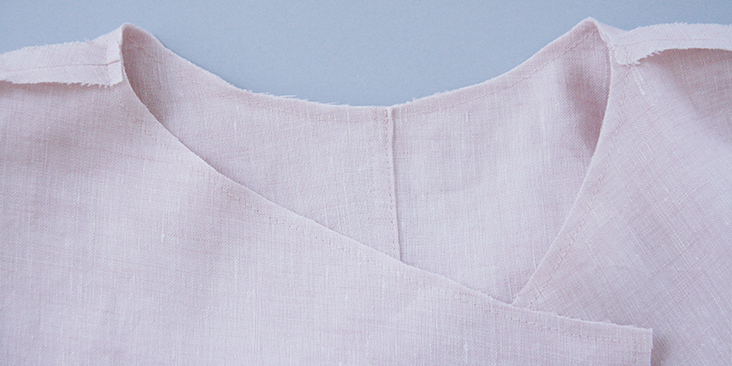
21. Press the facing and the trimmed raw edge away from the garment and fold it over to the wrong side; press the fold making sure that the seam isn’t showing on the right side and pin. Use a dull pointed object like a chopstick to get to corners of the lapels out.
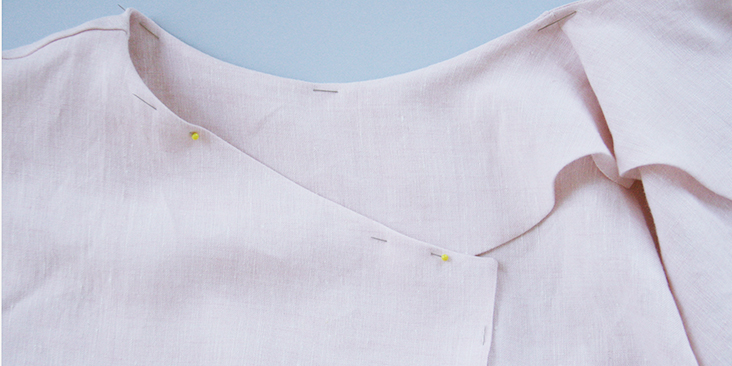
22. Topstitch the entire facing 1/4” from the seam. It will help to prevent the facing from popping back out and lay flat on the inside.
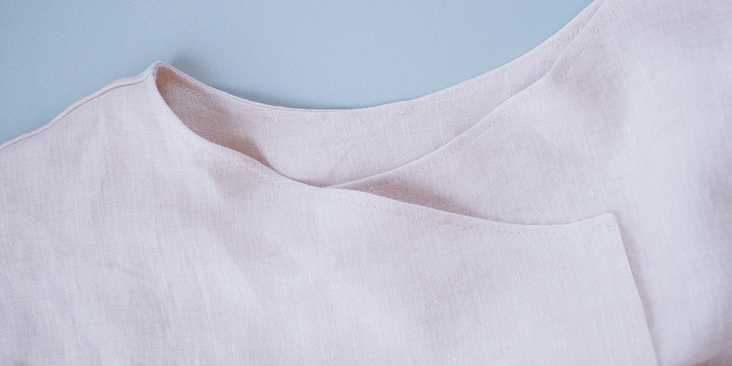
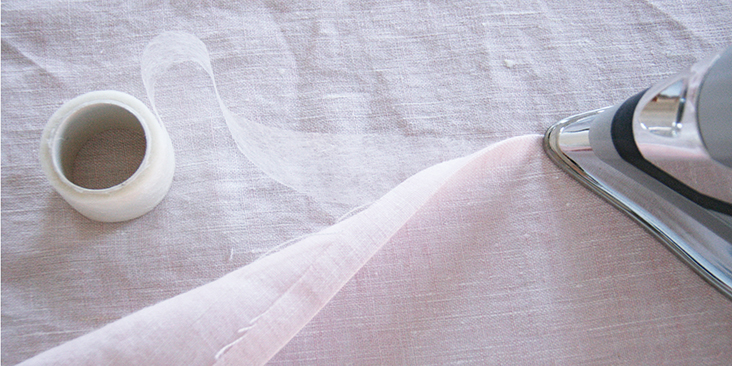
23. Lastly, use your fusion tape and fuse the folded outer edge of your facing to the trench. To avoid any unwanted shifting of the fabric, first pin the facing to the fabric and then fuse removing the pins as you go.
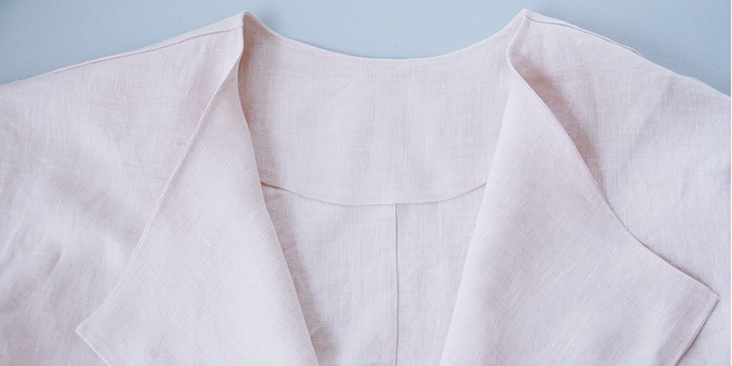
24. Finish the sleeve openings with a rolled hem: fold the fabric twice to the wrong side, first ½” and then another 1”.

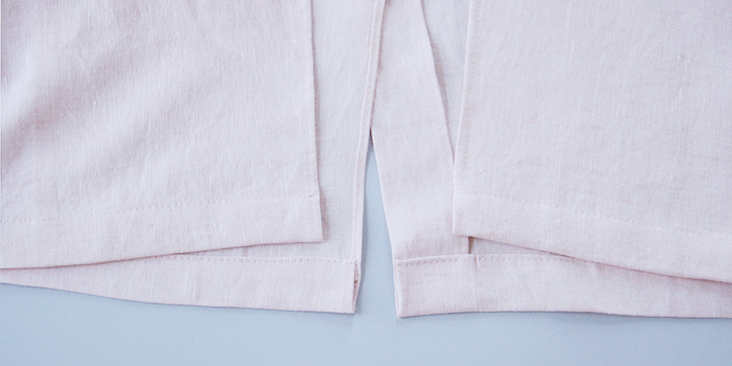
25. Exactly as you did with the sleeves, finish the bottom edge with a rolled hem. Make sure that the vent and front opening edges are even.
The body of your trench is now complete. In these last steps, we’ll sew the belt and attach the belt loops (optional).
26. Press your belt fabric in half lengthwise (wrong side facing you) and sew the long raw edges together at a 1/4” (6 mm) seam allowance.
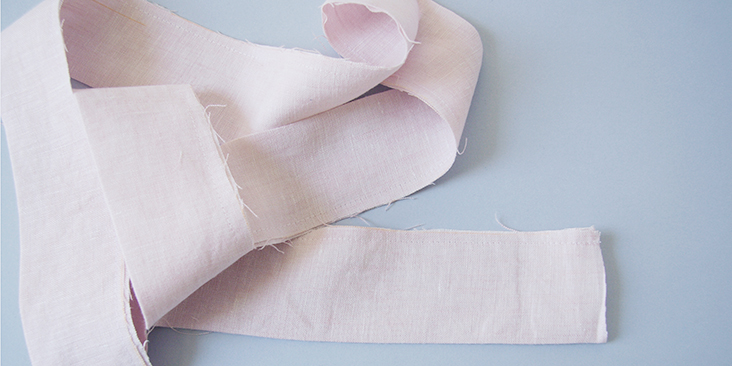
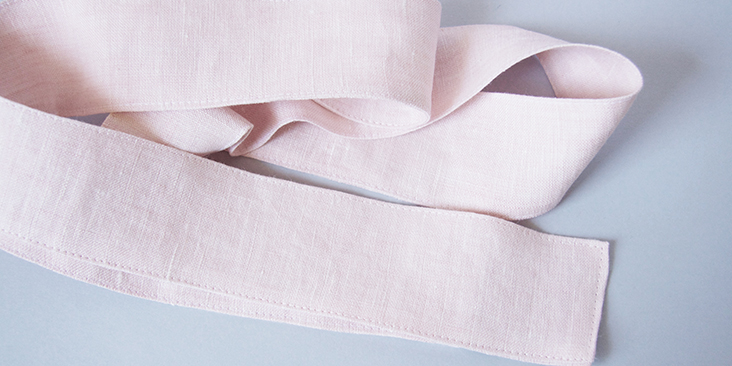
27. Turn the belt right side out through the hole and press again. Tuck in the short ends raw edges and topstitch around all the edges (1/4? (6 mm) from the edge) to close the openings and make sure that the belt doesn’t shift in the future.
28. Lastly, if you wish, sew and attach the button loops to the side seams at the waist (try on your bathrobe and decide where you want your belt loops to sit) following this detailed tutorial.
Et voila! Your new favorite spring basic is all ready!
Check out our selection of linen and see which of our fabrics inspire you for this project. This trench will look great in any color!





Leave a comment