Linen Bow Blouse Tutorial and Pattern
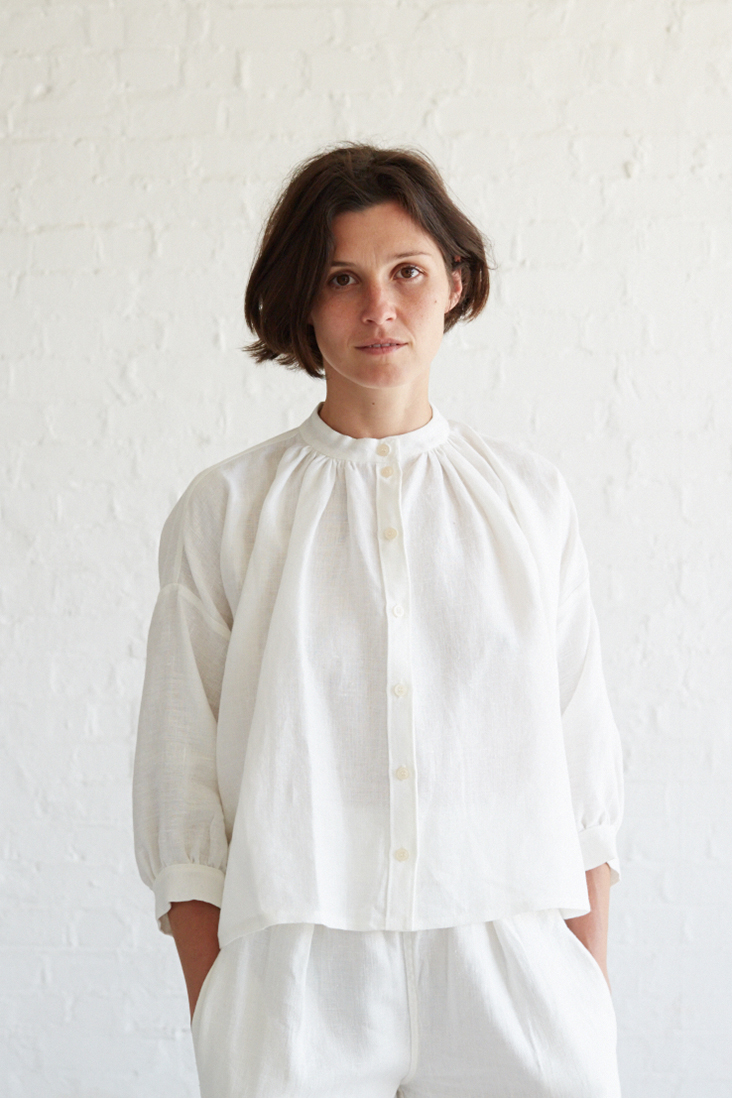
Something curious, different and playful since it’s almost Valentine’s Day! We used a medium weight linen, but you can always go for a lighter weight in order to gain a more flowing look to the shirt.
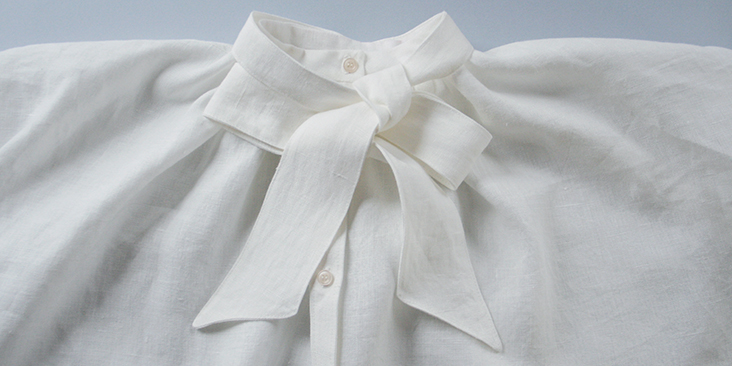
This simple design features a slightly cropped boxy silhouette, a gathered neckline and sleeves as well as a mandarin collar stand with an oversized detachable bow.
Materials
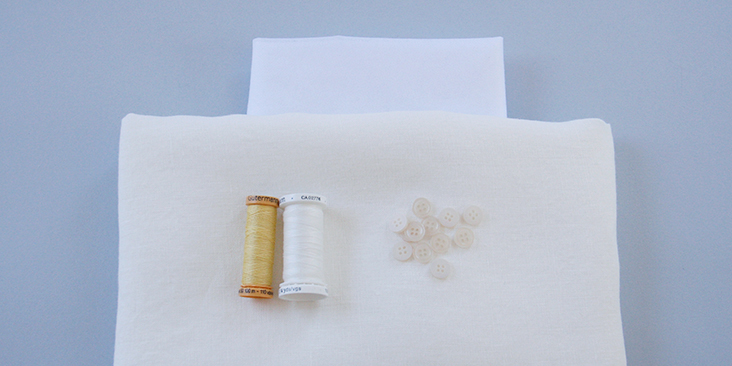
2 yards of IL019 BLEACHED Softened Medium Weight Linen
Matching sewing thread, contrasting color thread (for gathering), 7-8 1/2″-wide buttons, fusible interfacing
Tools
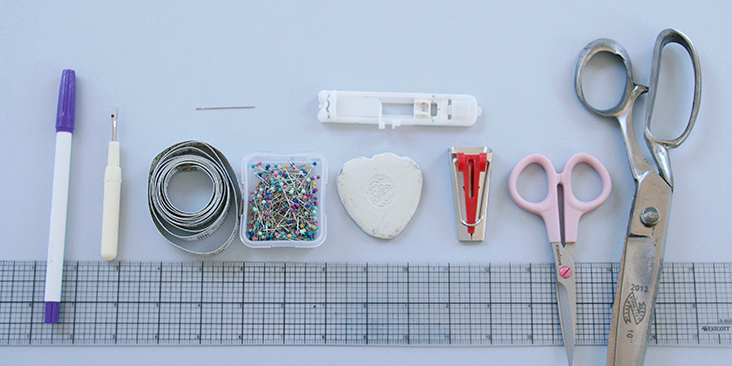
Scissors, pins, ruler, seam ripper, fabric marker, chalk, buttonhole foot, measure tape, needle, 18mm bias tape maker, sewing machine
Difficulty
Advanced Beginner
Time
4-5 hours
Pattern
You can access the pattern by following this link HERE. Remember to add seam allowances as indicated in the pattern.
Please note that this blouse has a boxy, oversized fit and would suit sizes XS – M. If you need a larger size, then we’d recommend adding a couple of inches to the sides of the front and back panels and some extra volume to the sleeves. If you need help grading your pattern, please follow this tutorial.
Steps
Note: Prewash your fabric and tumble dry it until it is still slightly moist, dry in room temperature. Iron the fabric so it is easier to work with.
1. We’ll start with the front button bands. Follow our detailed tutorial here that explains how to sew the button bands the classic way.
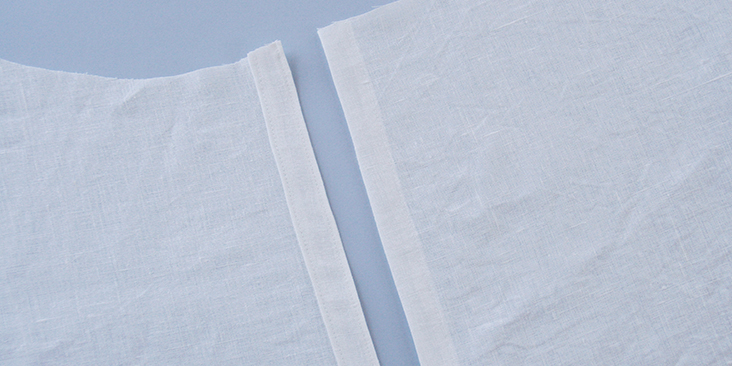
2. Now that your button bands are finished, you can assemble the front and the back of the shirt by pinning them right sides together at the shoulder seams.
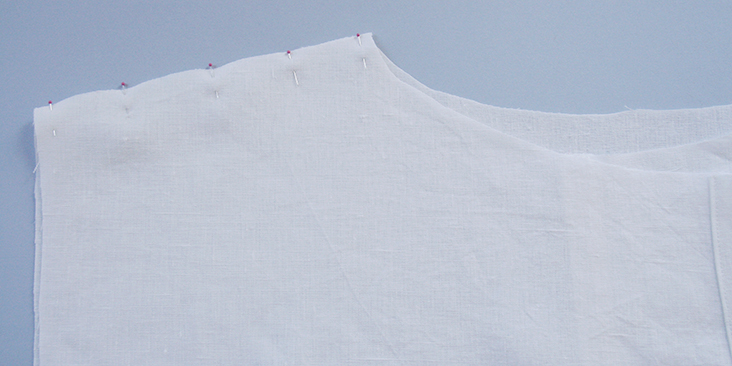
3. Sew the shoulder seams right sides together at 5/8″ (1,6 cm) seam allowance and finish the raw edge with a flat-felled seam. This detailed tutorial here will guide you through the process.
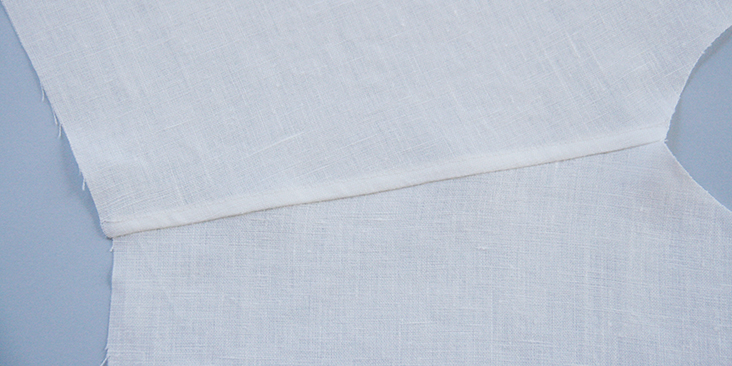
Time to assemble and attach the collar to the neckline. However, since our design features a bow tie that is secured in place by a small belt loop at the center back of the collar, we’ll first make our belt loop and then will sandwich it between the two collar pieces.
4. Normally, you’d make a button loop by stitching the two long raw edges right sides together and then turn the fabric right side out by pulling it through one of the openings. But since the medium weight linen is a bit on the thicker side and we want our belt loop to be pretty narrow, what you’ll do it press the two long raw edges to the wrong side so that they meet in the middle, and then fold it again in half. Topstitch the fold as close to the edge as possible to close the opening and then topstitch the other side as well just to make it look balanced.
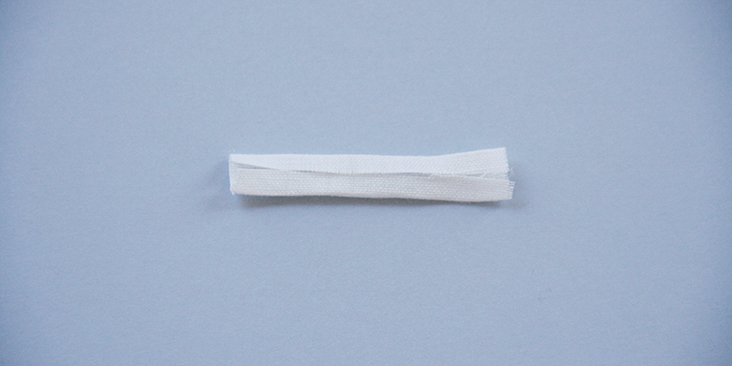
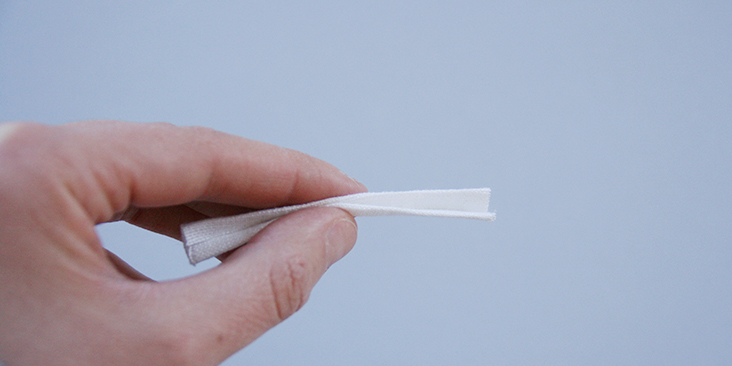
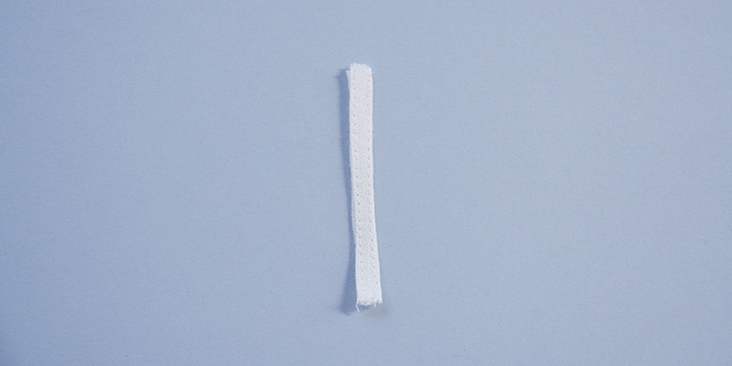
5. Interface one of the collar pieces and then press its long raw 3/8″ (1 cm) towards the interfaced/wrong side.
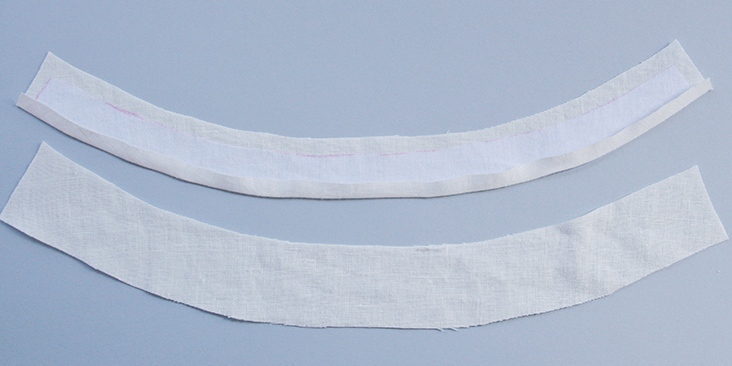
6. With right sides together align the interfaced and non-interfaced collar stands and pin. Find the center and sandwich one end of your belt loop between the two right sides of the collar. Make sure that the side of the loop that has the middle seam is touching the interfaced collar panel.
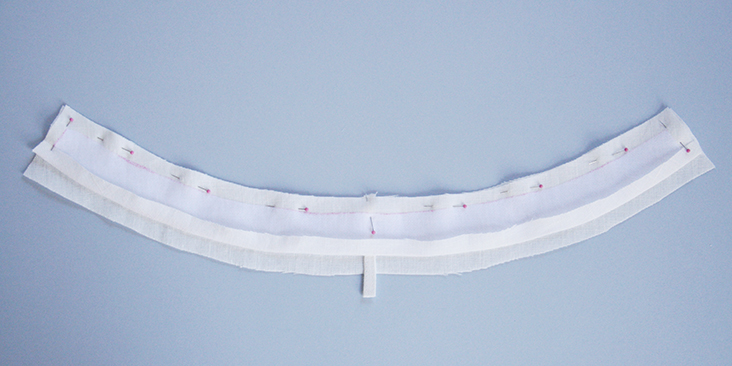
7. Stitch around the curved (upper) edge at a 3/8″ (1 cm) seam allowance, then trim the seam allowance to 1/4″, clip the corners and make a few notches when you reach the curved ends to release the tension.
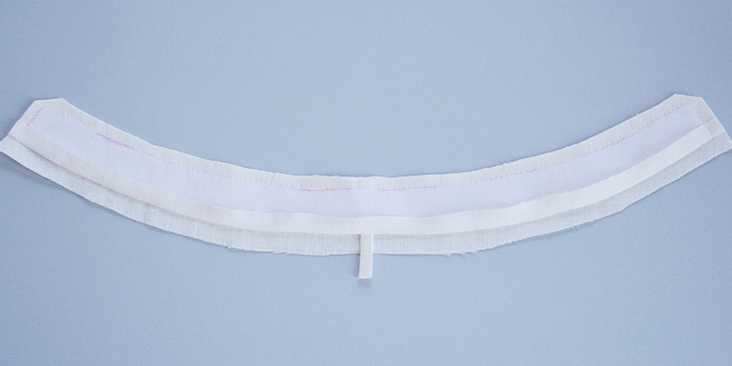
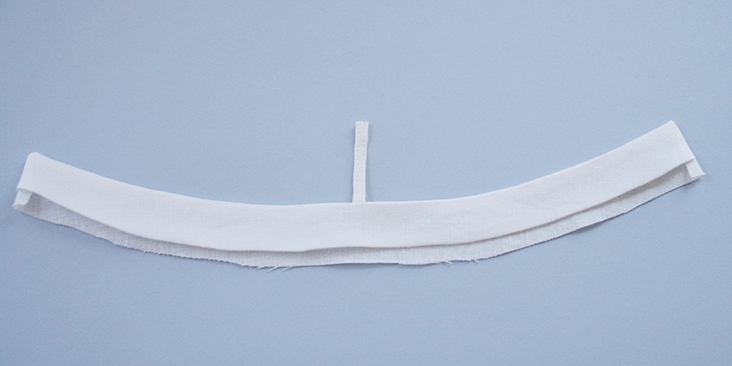
8. Finger press the seams open and then turn the collar right side out and give it a good press.
9. To gather the neckline, set your machine to the longest stitch length and run two lines of stitching on each panel using a contrasting color thread: two fronts (from button bands to shoulder seams) and the back (from shoulder to shoulder). Should you need more help with the gathering process, please visit our detailed tutorial HERE.
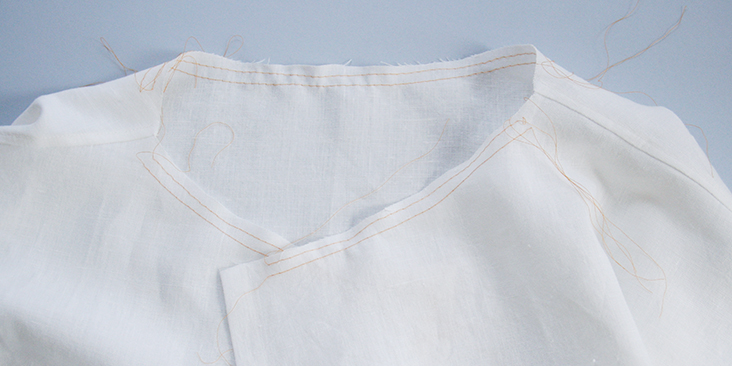
10. Gather the fabric in the middle of each panel to the width of your finished collar stand. Make sure that the gathers are evenly spaced and that the front panels are even.
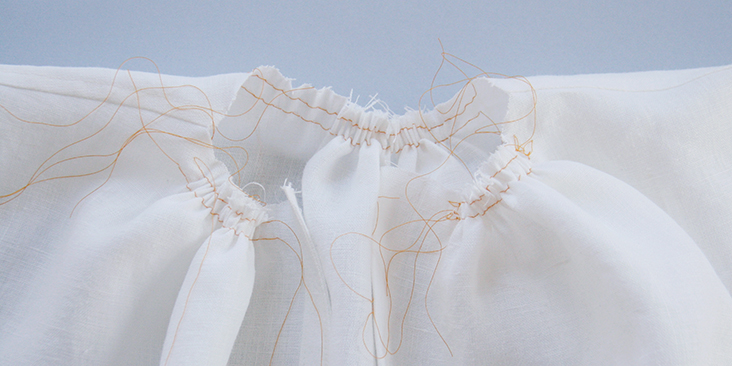
11. Attach the collar as explained in this step-by-step tutorial. The only extra thing you’ll need to do is to tuck in the belt loop when you attach the outer collar (the first collar piece you sew).
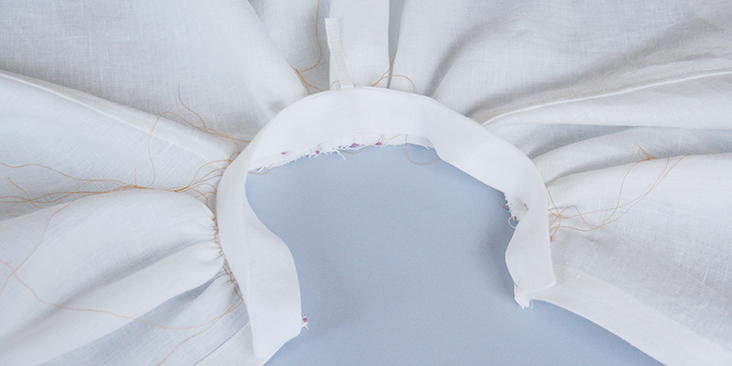
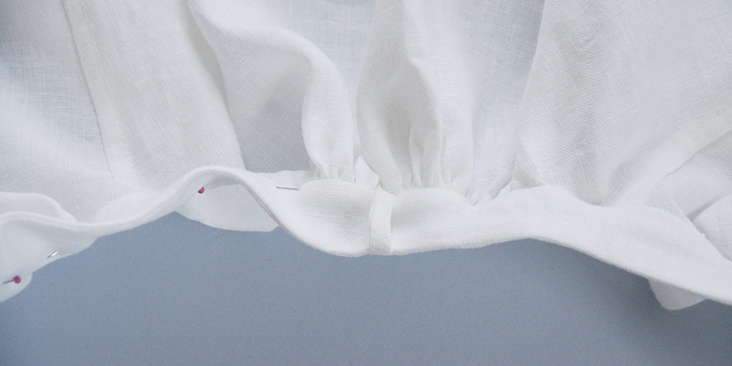
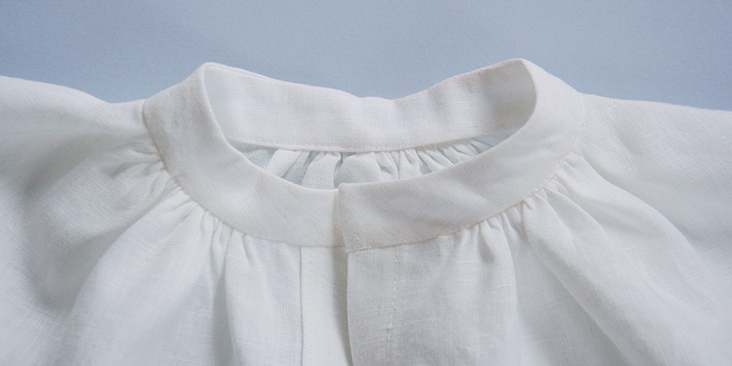
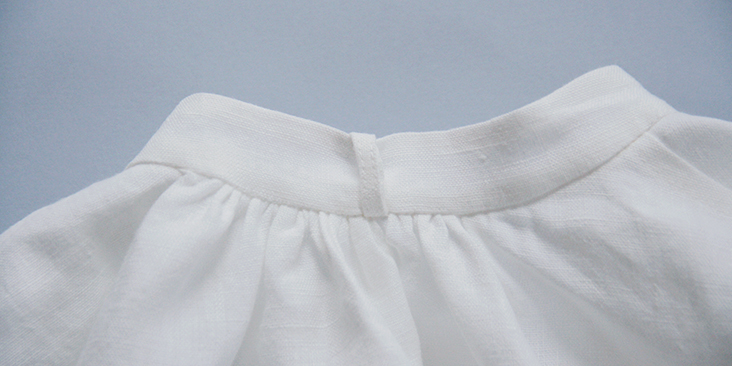
12.Match the center point of your sleeves (fold it in half to mark the center) to the shoulder seams, pin along the whole width of the sleeve panel with right sides together.
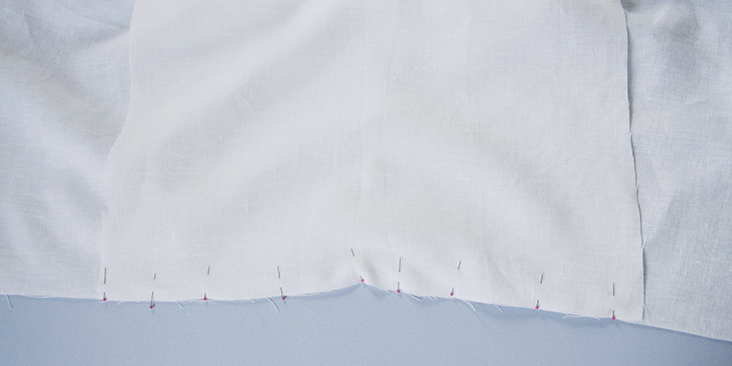
13. Sew the shoulder seams right sides together at 5/8″ (1,6 cm) seam allowance and finish the raw edge with a flat-felled seam.
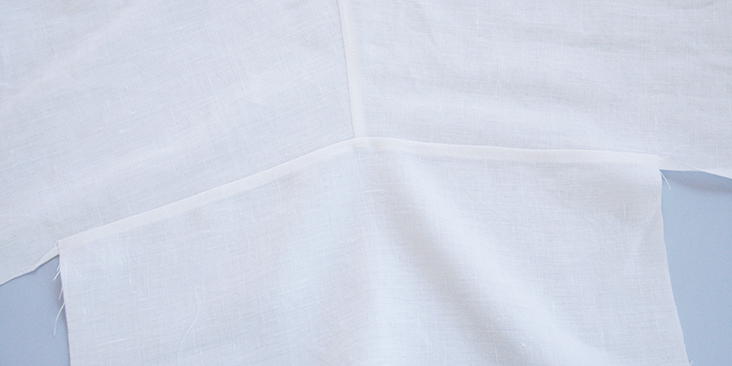
14. Pin the sleeves and the side seams right sides together all in one seam.
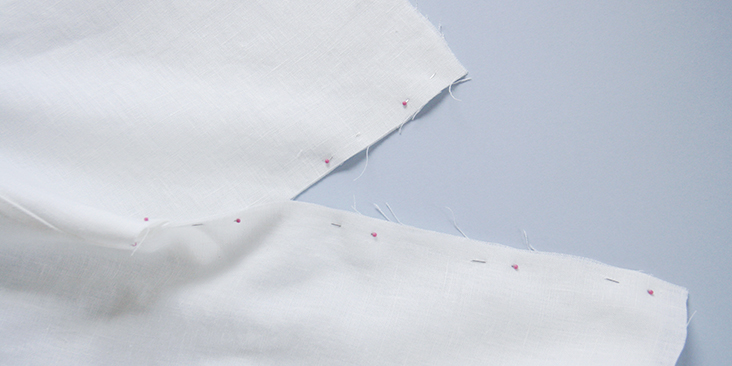
15. Sew at 5/8″ (1,6 cm) seam allowance and finish the raw edge with a flat-felled seam.
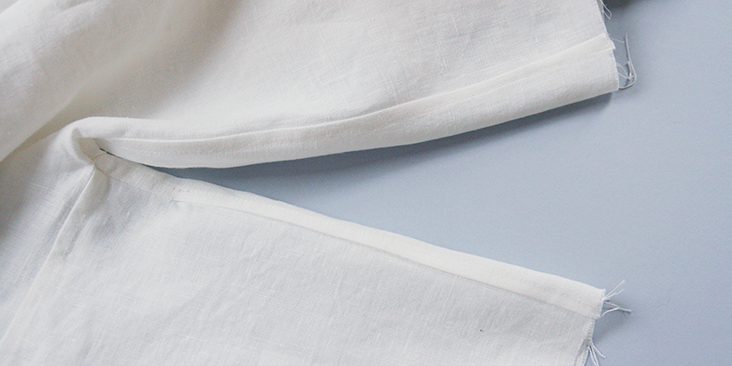
16. Now gather the sleeves and attach the cuffs as explained in our detailed tutorial HERE.
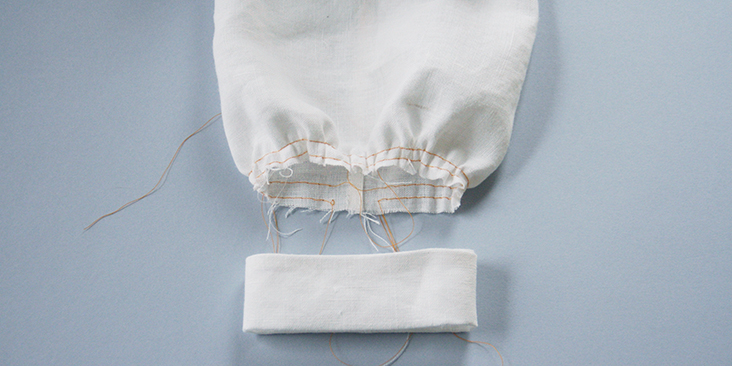
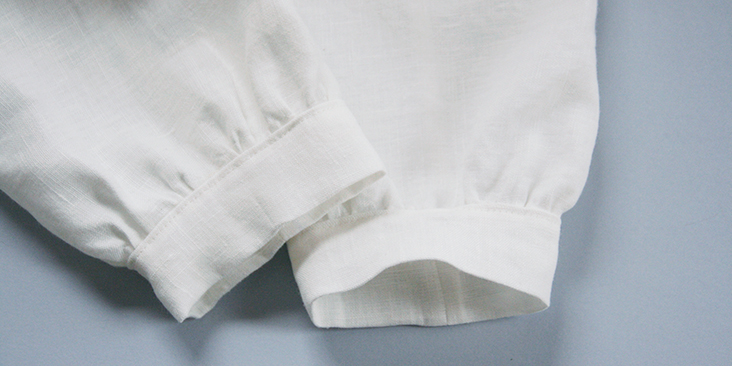
17. Finish the bottom hem with a rolled hem. Fold the fabric twice (1/4″ to 3/8″) towards the wrong side, press and stitch in place.
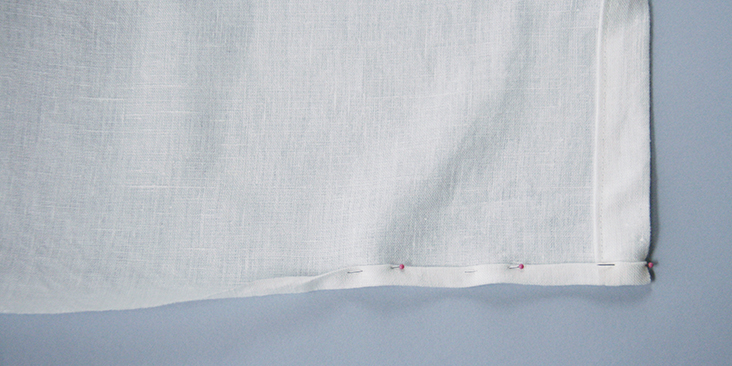
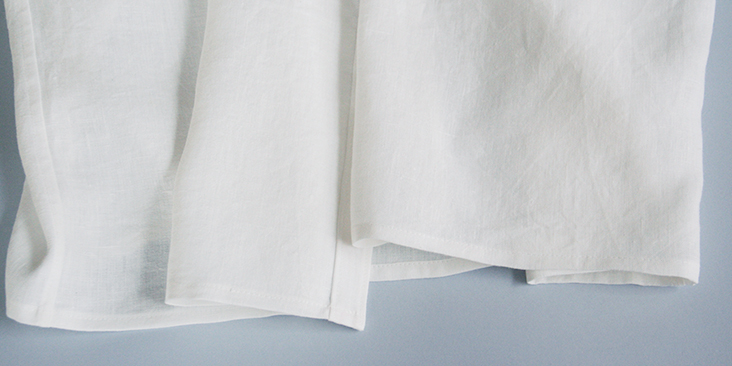
18. Time to sew the buttonholes and attach the buttons. Remember, that in women’s clothing the buttonholes are sewn on the right button band and the buttons – on the left side of the button band. The number and the spacing are really up to you. If you want your buttons closer, just leave smaller gaps between them. We decided to space our buttons 2,5″ (6 cm) apart. Overlap the shirt and place a pin into the center of each buttonhole. This is where you’ll need to attach the button
For the buttonholes, you can follow our detailed tutorial HERE. As for the buttons, check our tutorial HERE for instructions.
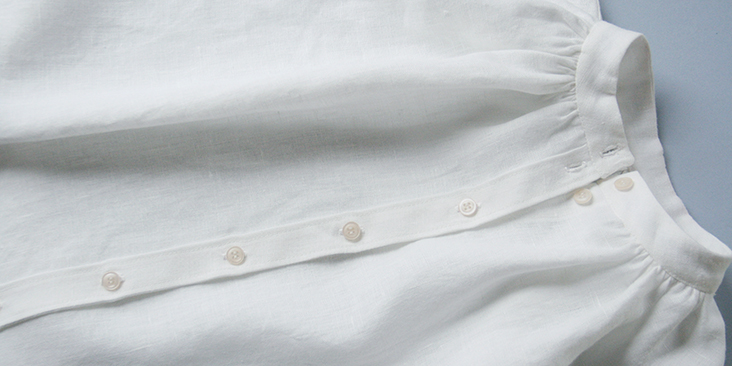
19. Lastly, assemble the bow tie by pinning around all edges right sides together.
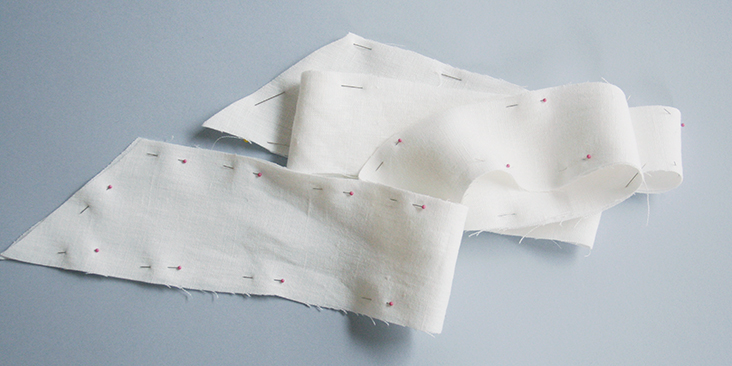
20. Stitch around all edges at a 3/8″ seam allowance but leave a 4″ gap at the center of one of the edges. Trim the seam allowances down to 1/4″ around all edges but keep the seam allowance at the gap untouched. Clip the corners to reduce bulk.
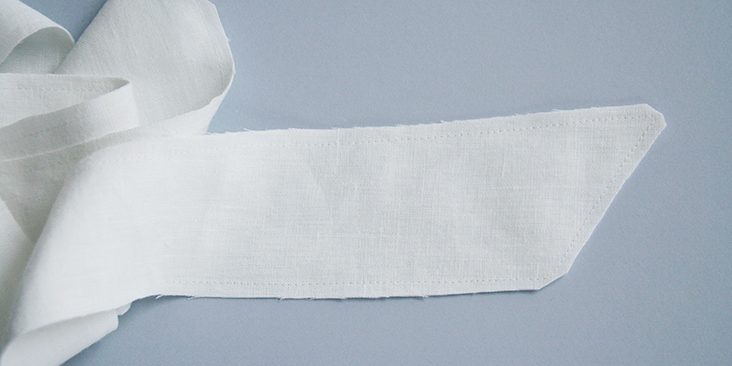
21. Turn the bow right side out through the gap, then press all edges nice and flat. When you come to the opening, tuck in the seam allowance inside, press and pin.
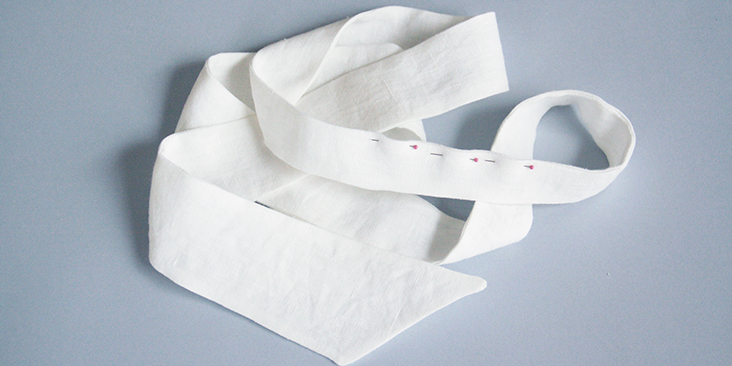
22. To give your bow a nice final touch and keep it from twisting, topstitch around the entire bow as close to the edge as you feel comfortable and close the gap.
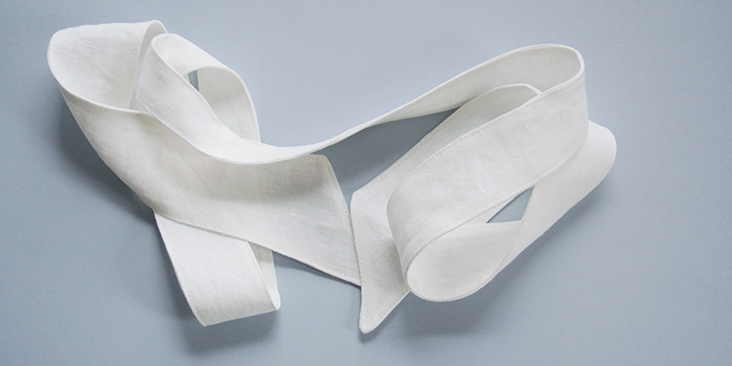
23. Give your blouse a good last press and you are all done!




13 Comments
Margareta Banasova
Hi, I would love to make this top, but the link to the pattern is not working for me. Please let me know how I can access it.
Thank you!
Charlotte Dubery
Hi there,
Thank you so much for this beautiful pattern – I can’t wait to make it this weekend!
I was just wondering at what percentage the pattern needs to be enlarged to print it out to size as it is just one A4 page? Or do you just measure it out and draw it by hand?
Many thanks again,
Charlotte
Jill
I just bought a long roll of paper – actually wallpaper, the plain sort for lining walls – and drew the measurements in full size on it.
Jill
My post was in response to Diana’s question ……!
Kay
Beautiful tutorial, beautiful sewing! I enjoyed just reading this pattern- and I haven’t even planned on doing it myself (yet). Very nice. There are so many poorly done tutorials out there- this was a pleasure to read. Thank you- I hope this increases sales on that gorgeous linen you carry. I feel bad because I haven’t purchased any of it yet, but hopefully soon I will.
Rima Khusainova
Dear Kay, thank you so much for your lovely comment! We try to do our best to be accurate and thorough with our tutorials, to make it easy to follow ever for beginner sewists. To hear this from you means a lot! Don’t feel bad though, if you ever need some linen – you know where to find it 🙂 And we do have different sales on our linen fabrics pretty regularly, so you could enjoy great fabric without paying too much.
Jill
I am making the linen bow blouse and have downloaded the pattern and tutorial. Please will you indicate your sizing details. What is the range XS x M? Specifically, what is the largest chest size this would fit without altering the pattern. Please give answers in inches or centimetres, as I am in Europe and American size numbers will be meaningless to me!
Rima Khusainova
Dear Jill, thank you very much for your question. As you can probably tell from the pictures, this blouse have an oversized fit due to the gathered fabric at the neckline, and would fit a variety of sizes from XS to M with smaller sizes wearing it more dramatically oversized and larger sizes wearing it with a more sheath-like effect. To answer your question, the maximum across the chest measurement after assembling the back and the front bodices together would be of approximatively 55″ (or 140 cm) which would fit even the fullest bust, up to cup size DD. Now, if you wear sizes L and up and are thinking about grading the pattern, what you’d recommend you should do is add a couple of inches to the side seams, lower the underarm line and add some length to the bottom. Hope this helps!
Jill
Thank you very much. Most helpful. Can’t wait to begin stitching!
Clarice
suggest lengthening the back part of the garment/pattern to allow for sway back etc. in order for the blouse to hang better in the back. The pattern is wonderful and I do want to try it.
Rima Khusainova
Dear Clarice, thanks so much for your suggestion! The blouse is intended to have a cropped fit but you can totally lengthen the back bodice if you feel it would hang better. Maybe do a curvy edge instead of a straight one? 🙂
Diana
You present some very interesting patterns, but I can’t quite envision piecing together 2 dozen 8.5×11 sheets of paper to make the pattern. I’ve considered projecting the pattern pieces onto a wall and moving the projector to where the gauge matches what it claims to be. Will that work or is there another way to do this?
Rima Khusainova
Dear Diana! To be honest, we’ve never tried projecting the pattern pieces onto a wall before so have no idea whether this would work! Would love to hear your feedback on this! As for piecing sheets of paper together – we understand it requires some time but in the end you get a nice result and a totally free sewing pattern for you to try!