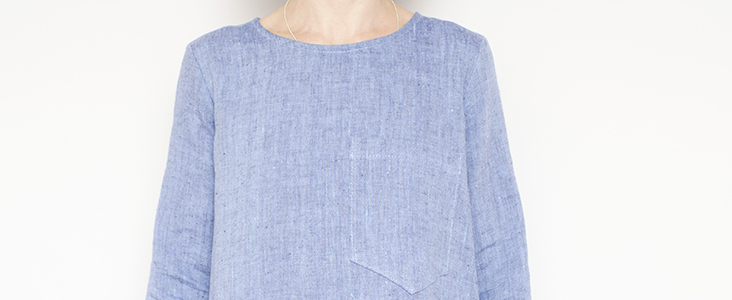
Oona A-Line Dress With Oversized Patch Pocket Tutorial and Pattern
A-Line styles are my all time personal favourites. I like to sew them as they don’t require darts or precise measurements, and I like to wear them since they are very flattering and comfortable. This is why this week I wanted to share with you a simple pattern for an A-Line dress.
The great thing about Oona pattern is that it’s so simple to work with and you should be able to polish one off in an afternoon. And once you’ve made a basic version you can vary it according to your own personal style: you can either shorten or lengthen the hem, the sleeves (or no sleeves at all) or add some embellishments (like our cute little patch pocket). It’s easily tweaked into lots of different looks.
But the real magic of an A-Line dress is that it flatters literally all body shapes. For those with fuller hips, the A-Line design with its flare towards the hem draws the eye’s attention upward. For those with slimmer figures, it creates curves where they don’t exist. And for those with larger busts, it provides a more balanced silhouette.
This pattern is so versatile and a worthy addition to your sewing experience.
Materials
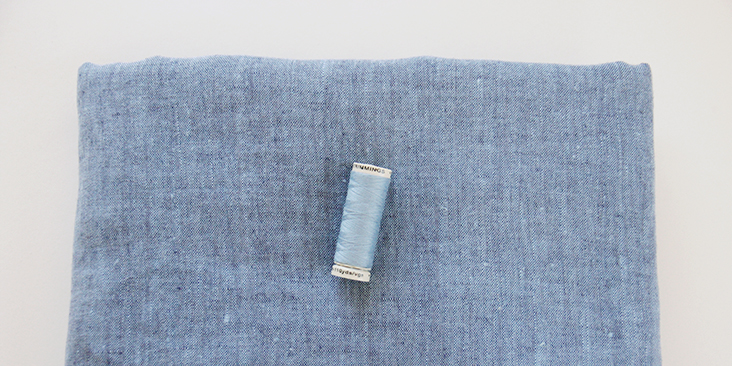
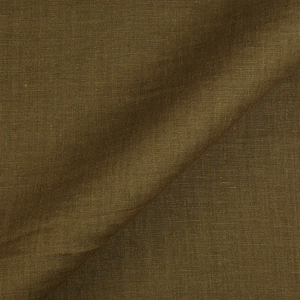
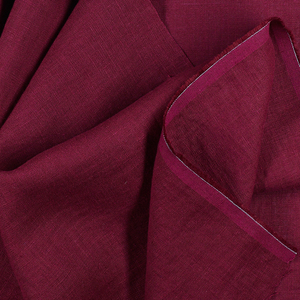
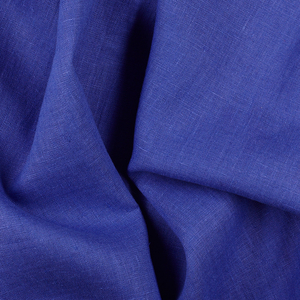
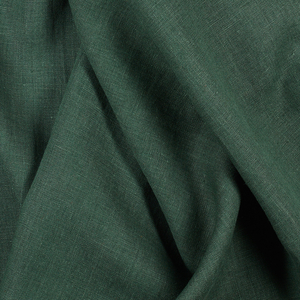
2 yards of IL051 Softened 100% Linen
Matching sewing thread
Tools
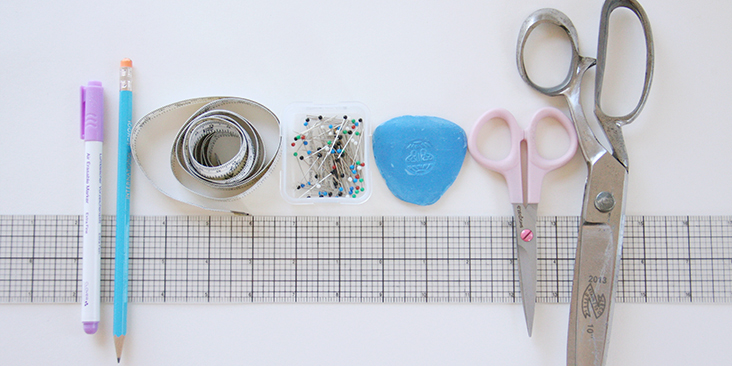
Pattern paper, scissors, pins, ruler, fabric marker, measuring tape, chalk, sewing machine
Difficulty
Beginner
Time
3-4 hours
Pattern
You can access the multi-sized printable PDF pattern by following this link HERE. All seam allowances are included. The model is wearing size S.
Remember to transfer all the notches onto your fabric.
Steps
Note: Prewash your fabric and tumble dry it until it is still slightly moist, dry in room temperature. Iron the fabric so it is easier to work with.
1. Let’s start with the pocket. Before attaching it to the front of your dress, you need to serge/zigzag all raw edges (except the top edge that will later be enclosed inside a rolled hem) to prevent them from fraying in the future.
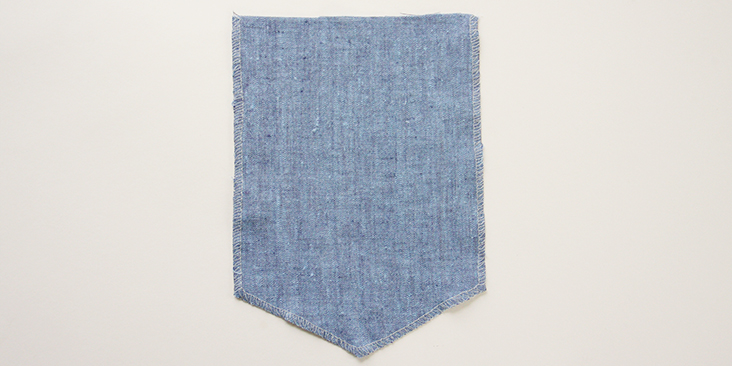
2. Finish the top raw edge of your patch packet with a large rolled hem. Fold the fabric twice to the wrong side, 3/8″ (1 cm) to 1 inch (2,5 cm), press and pin.
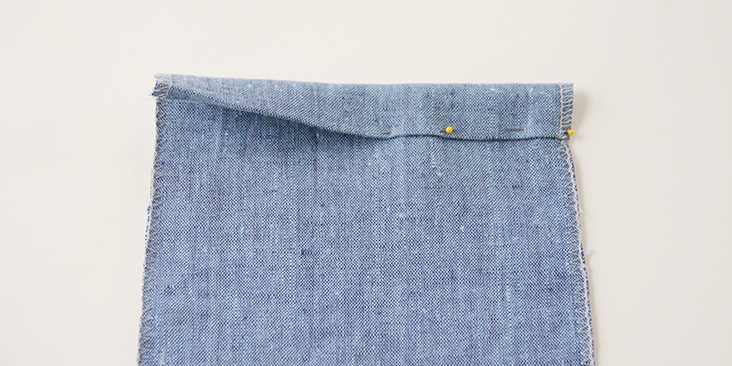
3. Edgestitch in place.
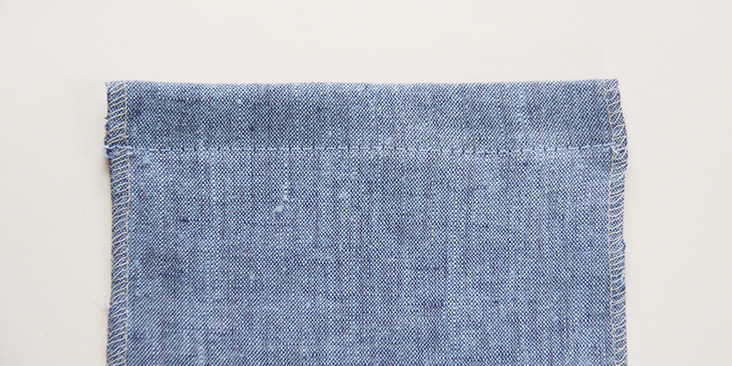
4. Fold the three serged/zigzagged edges 3/8″ (1 cm) towards the wrong side and press. Be careful to press the bottom corners so they do not stick out beyond the sides of the pocket.
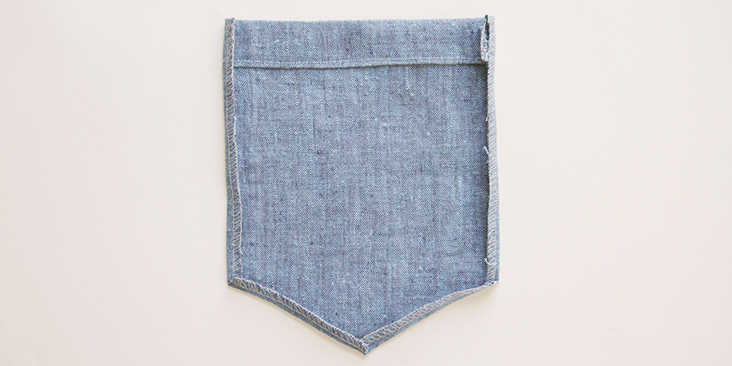
5. Pin the wrong side of your pocket to the right side of your front panel.
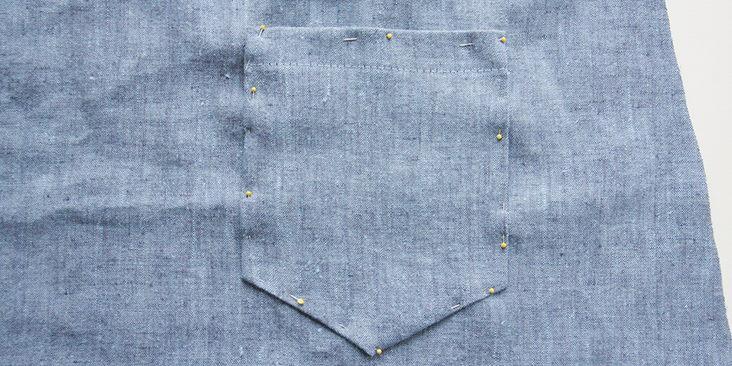
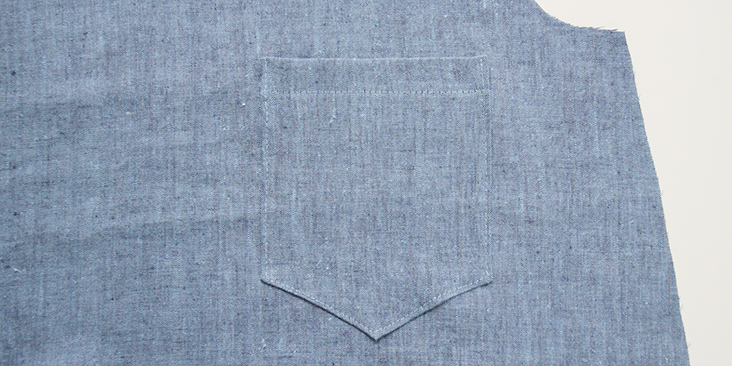
6. Topstitch onto the dress 1/8″ from the fabric’s edge.
7. Pin the front and the back of your dress right sides together at the shoulders.
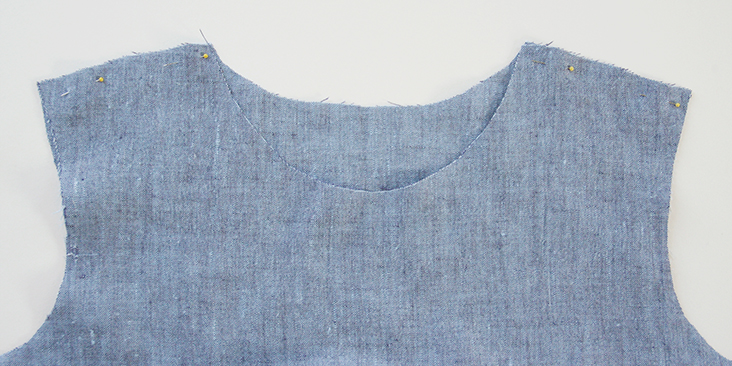
8. Sew the shoulder seams right sides together at 3/8″ (1 cm) seam allowance, remember to backstitch.
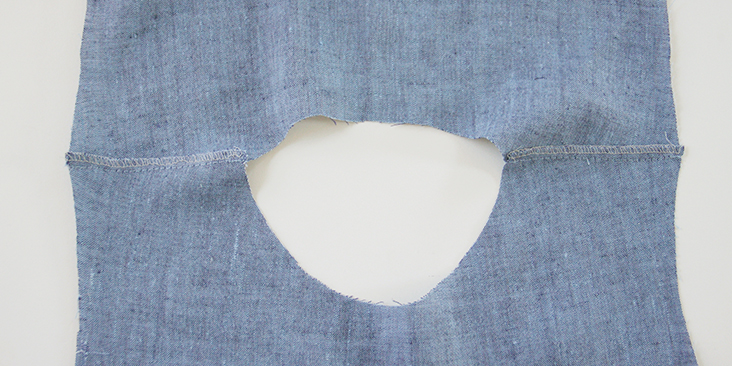
9. Trim the seam allowance down to 1/4″ (6 mm) and serge or zigzag the raw edges together to prevent the fabric from fraying. Press the seams flat folding the serged/zigzagged edges towards the back of your dress.
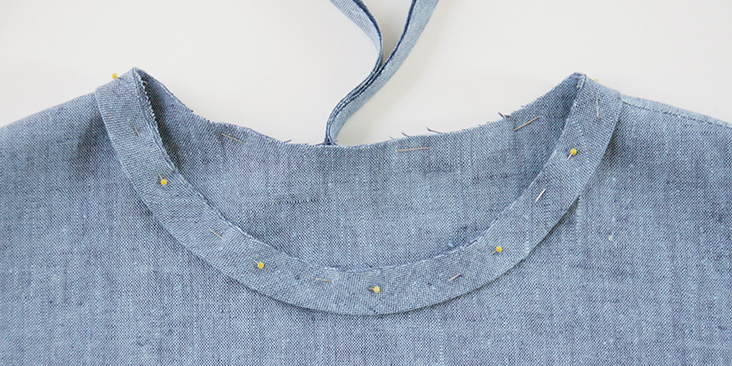
10. Bind the neckline following this tutorial. Make sure that when you attach the binding the serged/zigzagged shoulder seam edge is folded towards the back of your dress.
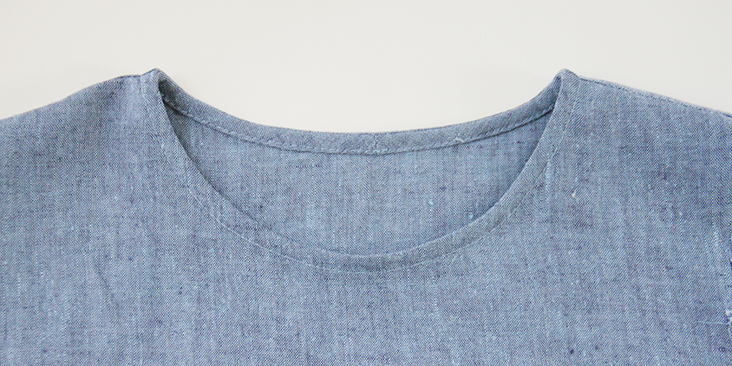
Now that we’ve finished with the neckline, we can attach the sleeves.
11. Pin the sleeves to the armholes right sides together.
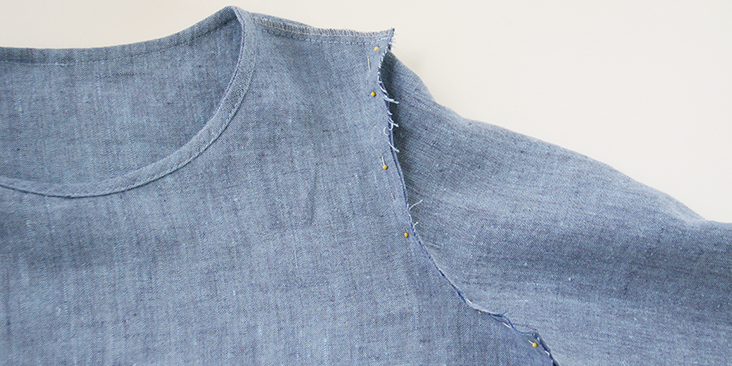
12. Sew at a 3/8” (1 cm) seam allowance.
13. Serge or zigzag the raw edges together to prevent the fabric from fraying. Press the serged/zigzagged seam allowances up towards the sleeves.
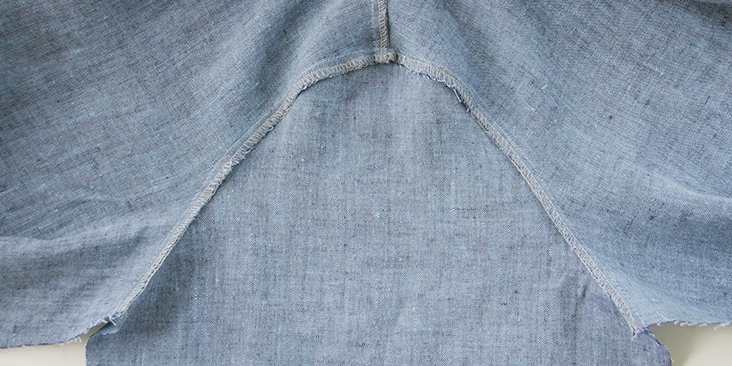
14. Following this tutorial, attach the inseam pockets 10 inches from the underarm.
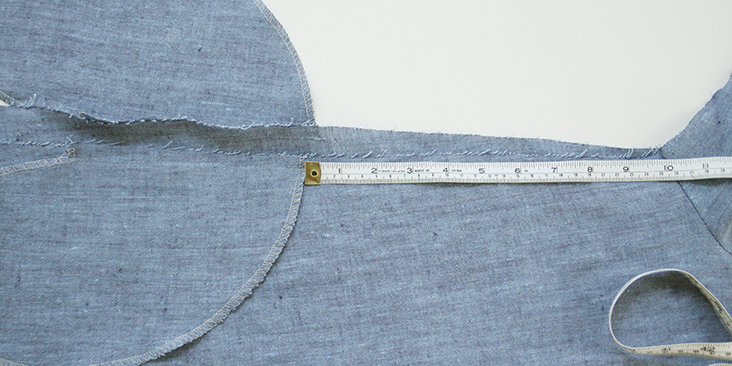
15. Finish the raw edges with a serger or a zigzag stitch to prevent the fabric from fraying.
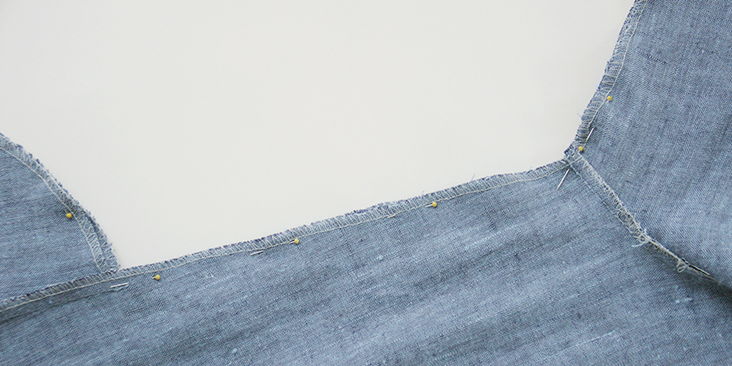
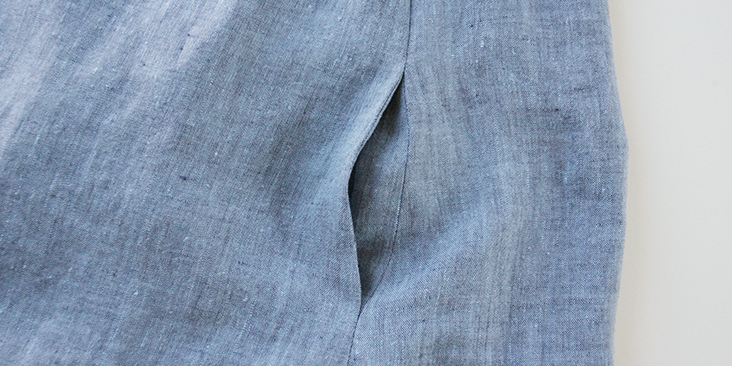
16. Sew the sleeves and the side seams right sides together at a 3/8” (1 cm) seam allowance.
16. Finish the sleeve opening with a rolled hem. Fold the fabric twice towards the wrong side, 3/8″ to 1 inch. Press, pin and stitch.
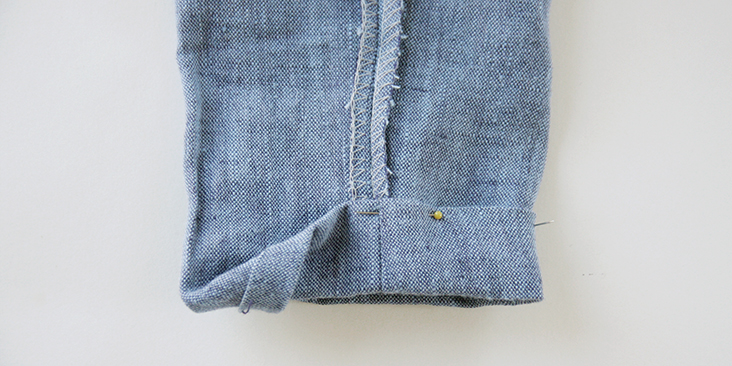
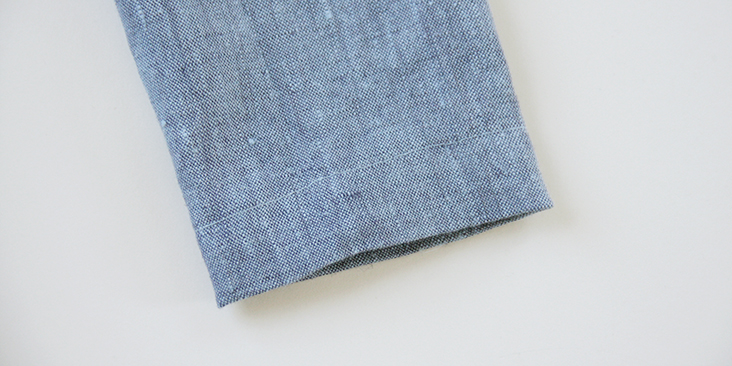
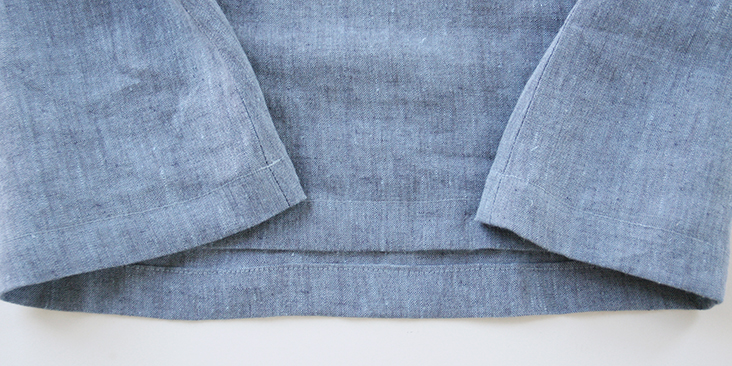
17. Finish the bottom hem the same way you finished the sleeves: fold the fabric twice towards the wrong side, 3/8″ to 1/2 inch. Press, pin and stitch.















24 Comments
Pingback:
Sew a Simple Dress - Create Function ThriveAM Berry
The bias that is cut to finish the neck edge – could I have the width for this please?
Thank you
Anne-Marie
Kathleen Gomperts
Add me to the list who’d love a plus size version of this pattern.
Stephany Bartolo
Absolutely love this dress. I’m a novice sewer but taking classes once a month and did this in one of my classes. I used a light cotton and it came out beautifully. Thank you!
Deborah Kristal
Where is the size chart for this dress?
Linda Kamal
I love this pattern! I am a beginner in sewing and I am confident that I can sew this simple A-line dress. But I don’t know how to choose the right size for me. Should I use the finished garment measurement or my body size measurement? Can anyone help me?
Thank you.
Stephany Bartolo
I blended two sizes. I’m really small on top but have larger thighs. I blended a 4/6 on top and 8/10 on bottom and it worked out perfectly.
Francis Berryhill
I usually make a pattern size to fit my shoulders then do a FBA. Will I do this or just have a dropped shoulder seam?
Shar
I would rather have printed patterns to purchase too. I’m just getting back into sewing after decades of not doing any, and drafting larger sizes of PDF patterns is not a first step I want to take. I wear a 1X-16 generally.
Rima Khusainova
Dear Shar, unfortunately we don’t sell printed patterns but offer some for free as downloadable multi-sized PDF files. If you are looking for something to make in size 16, please check all our available patterns here – https://fabrics-store.com/sewing-patterns/
Lisa G
Oh yes I’d also love to have a printable pattern for this dress! It’s exactly the type of style that I’m looking for. The pattern itself looks pretty straightforward and easy to sew but pattern drafting is a whole other skill set that is beyond me. Even with the measurements I don’t know how to get the proportions right etc.
Rima Khusainova
Hi Lisa! As you say, the pattern is very easy to grade and sew but I totally understand that the pattern drafting can be intimidating sometimes. The best way to proceed would be to take some similar garments that you already have and to use as a guide for the measurements and proportions. Just don’t forget to add the seam allowances. I hope this helps!
Suzanne Minarcine
I would also love a pattern. I have the Nico pattern and can’t wait to get started. The idea of downloading is intimidating to me.
megan
I’ve cut it out now – it didn’t work out to end up that I could fit a front and back on the two yards so I had to make the back in two pieces. Do you have a diagram to show how you meant to say it could be cut on two yards as two pieces on the fold? Also, do you have an inseam pocket pattern piece you could direct me to use?
Rima Khusainova
Dear Megan, I apologize for the delay in getting back to you and so sorry to hear that it didn’t work out. What size did you use? I’ll try and make a diagram with the cutting instructions asap. As for the inseam pocket – you can find the template in our tutorial here https://blog.fabrics-store.com/2016/10/14/sewing-glossary-how-to-sew-inseam-pockets-tutorial/.
megan
How does this pattern only require two yards of fabric but the main pieces (front and back) are each 42 inches?
Rima Khusainova
Dear Megan, thank you very much for this very good question! Since our fabric is pretty wide (59″), it’s all about the layout of your pattern pieces. Basically, you flip the front piece upside down and pin the bottom hem (the larger part of your pattern) to the upper right side of your fabric. Cut. Then you take your back piece and pin it normally on the grainline with the hem being placed to the very bottom of your fabric. Basically, you create a kind of a Yin Yang shape to save fabric. And you use the rest of the fabric to cut sleeves and pockets. Hope this helps!
megan
Ok thank you I will try it – a diagram for this would be super helpful! I have several two yard cuts from your shop so hoping it works out for me
Gerri Atherton
I also love this pattern but I wear a size 18
Donna La Vack
I would love to get an actual pattern. Is there one available I could buy?
Rima Khusainova
Dear Donna, thanks for your interest! Unfortunately, there’s no actual pattern available at this time, only the diagram for sizes S-M that you can grade to fit your measurements. However, if we see that there’s a lot of interest for this particular style, we might hire a professional patternmaker to create a multi-sized printable pattern (as we did for some of our other models).
Sal
I’d LOVE an actual plus size pattern, I typically wear 18-20 and would pay for the ready made pattern.
Rima Khusainova
Dear Sal, it’s noted! We’ll see what we can do to offer a multi-size pattern for this dress.
Kathleen Cleary
I would love to have a printed pattern in the larger sizes! I’m sure it would be a popular item for you, like the Nico dress!