Drop Shoulder Top Tutorial


 It’s one of those tops that are so easy to make and such a pleasure to wear. This simple 3/4-sleeve linen top is perfect for every season – chilly summer nights, warm spring days and of course for colder months too. The best thing about this top is that you can wear it with almost everything (jeans, pants, skirts and shorts) and it will still look elegant and effortless. Its oversized fit and organic linen texture create a perfect lived-in look.
Materials
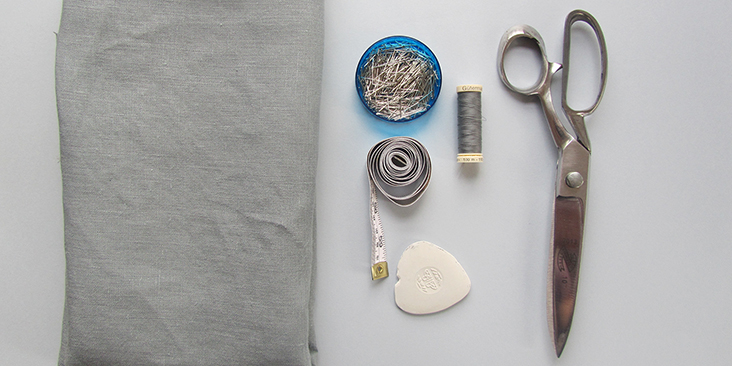
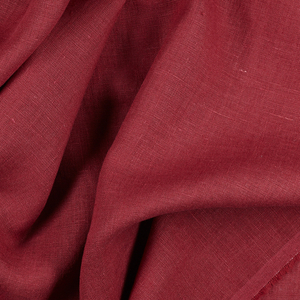
1.5 yard of IL019 MONUMENT Softened medium weight linen, matching sewing thread
Tools
Pattern paper, scissors, pins, ruler, chalk, sewing machine
Time
2-3 hours
Difficulty
Beginner
Pattern
Link to the pattern is HERE. Remember to add seam allowances as indicated in the pattern. You’ll also need to cut one 1 inch-large strip of bias tape for the neckline so make sure you have enough fabric left. For detailed instructions on how to cut your bias tape please follow this tutorial.
The diagram shows the pattern for US size 6 (UK size 10). If you need help grading your pattern, please follow this tutorial.
Steps
Note: To avoid shrinking and wrinkling, prewash your fabric and tumble dry it until it is still slightly moist, let it dry in room temperature and then iron.
1. Iron the fabric so it is easier to work with.
2. Use a serger, or choose your own method to protect the shoulder, side and sleeve seams from fraying. Make sure the method you choose does not add weight to the fabric.
3. Pin the shoulder seams right sides together and sew (remember to backstitch).
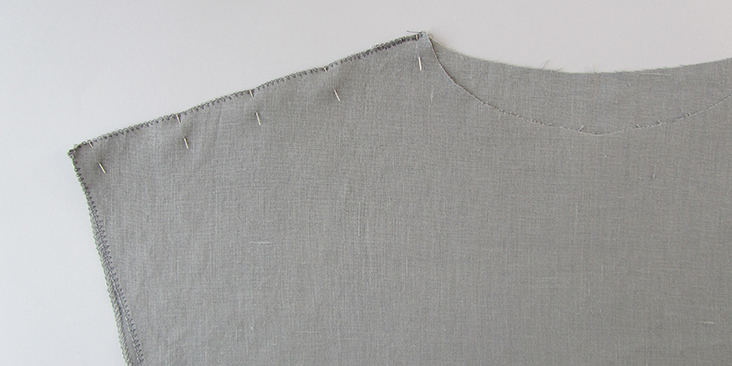
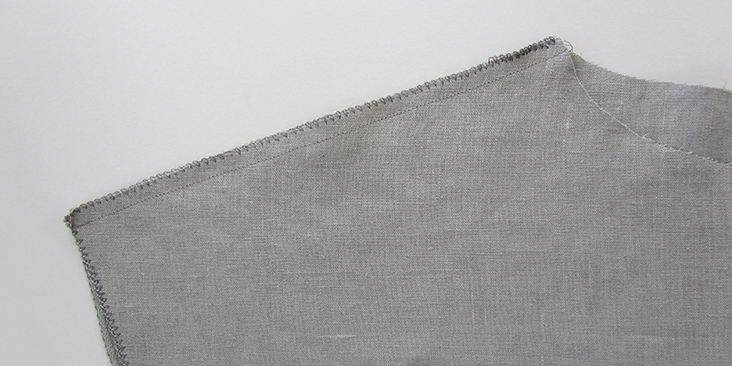
4. Press the seams open and turn your garment right side out.
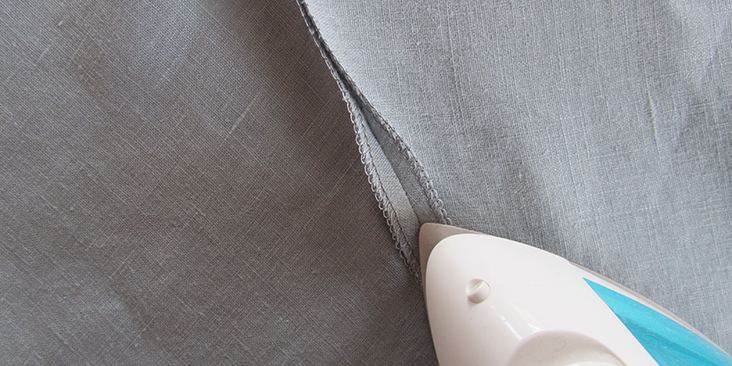
5. Measure the entire neck opening with the measuring tape and cut a strip of fabric (your measurement + 2 inches long) on bias for the neck binding. More detailed instructions can be found here.
6. Bind your neckline following the same tutorial.
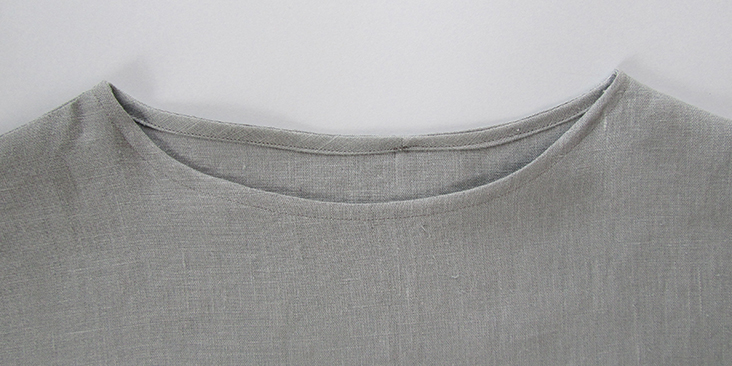
7. Match the center point of the sleeve to the sewn shoulder seam, pin along the whole width of the sleeve panel with right sides together.
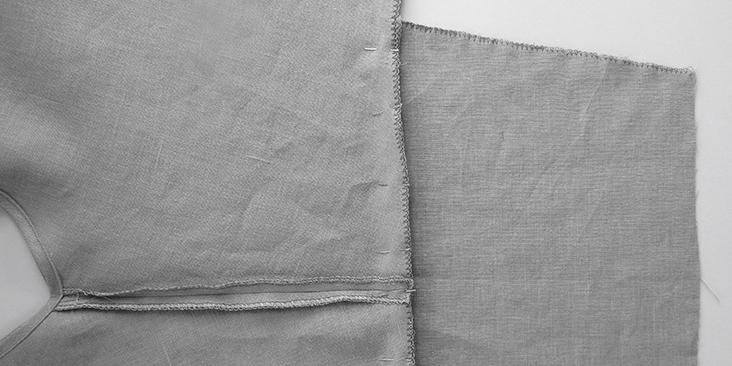
8. Stitch along the pinned edge but leave 3/8 in (1cm) of the material unsewn at both ends of the sleeve panel.
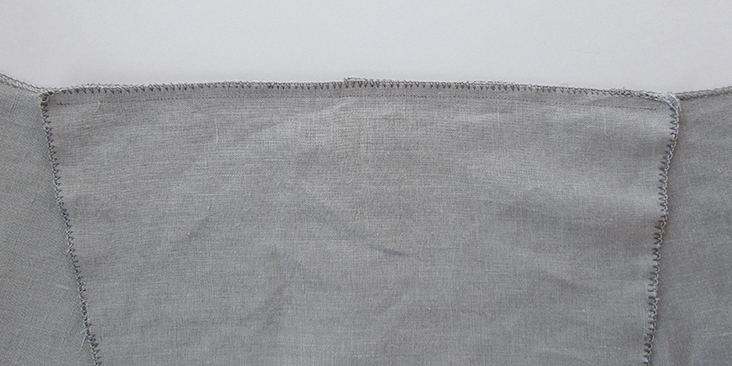
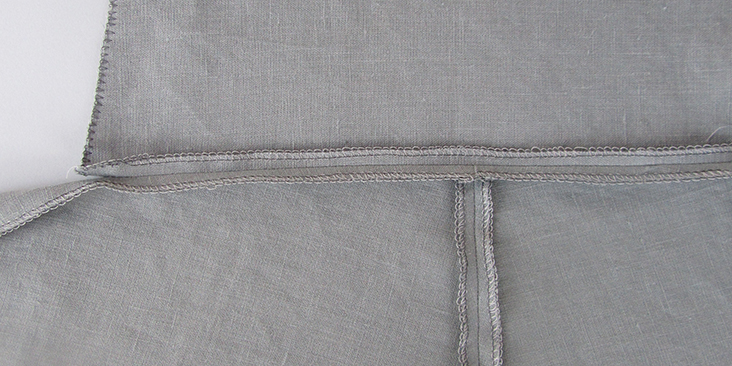
9. Press the seams open.
10. Now pin together the side seams of the sleeves and the bodice with wrong sides facing outwards.
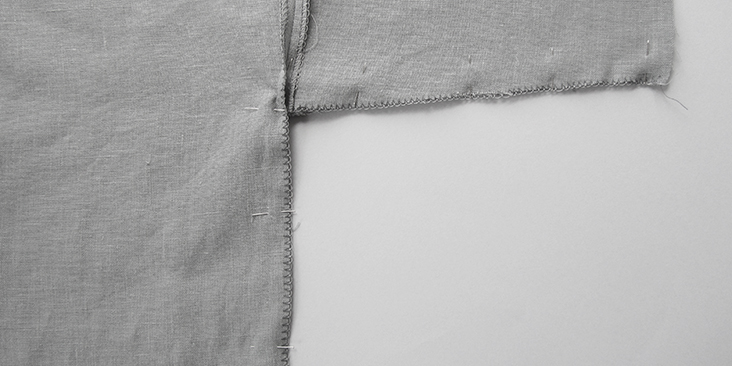
11. Sew along the pinned edges making sure to carefully stitch the armhole.
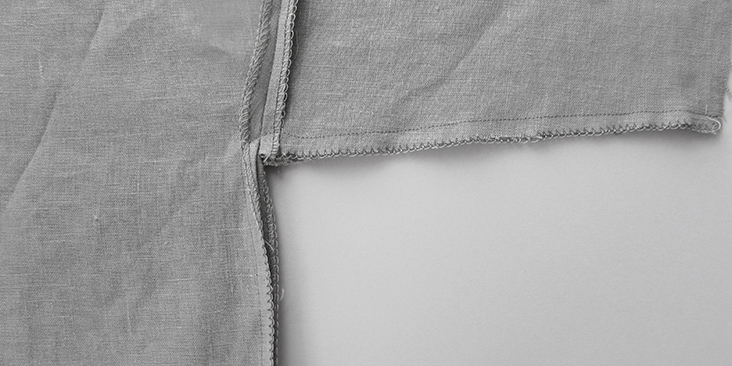
12. Press the seams open.
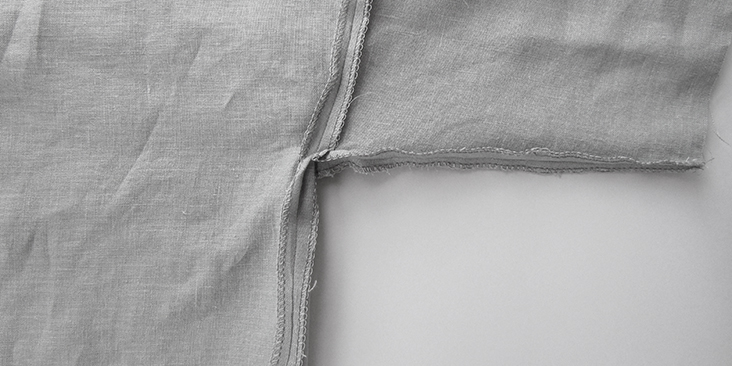
13. Now finish your bodice and sleeve hems by folding the raw edges by 1/4″ (0,6 cm). Press. Then fold again (1/2″ or 1¼ cm) and press.
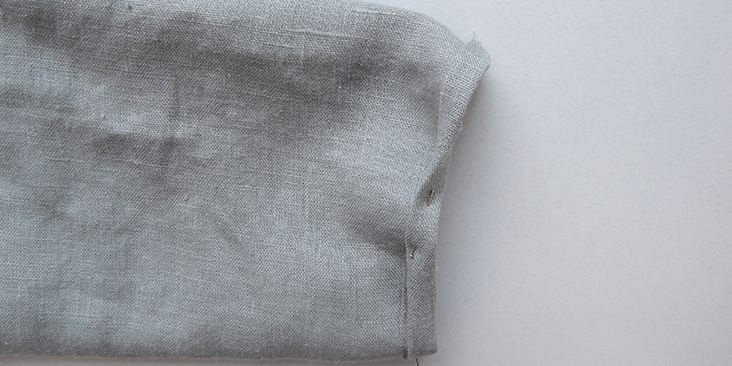
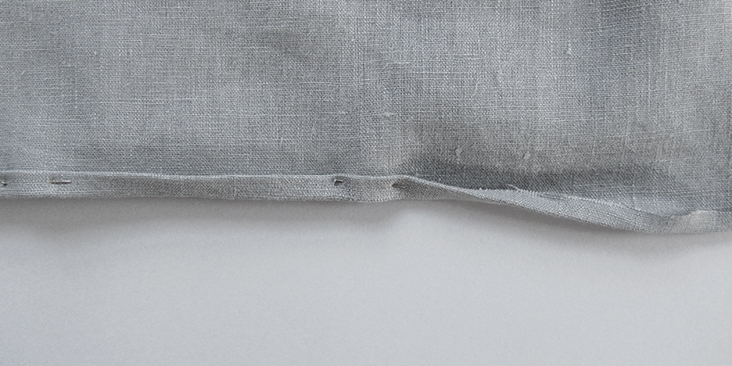
14. Top stitch over the folded edges and press again.
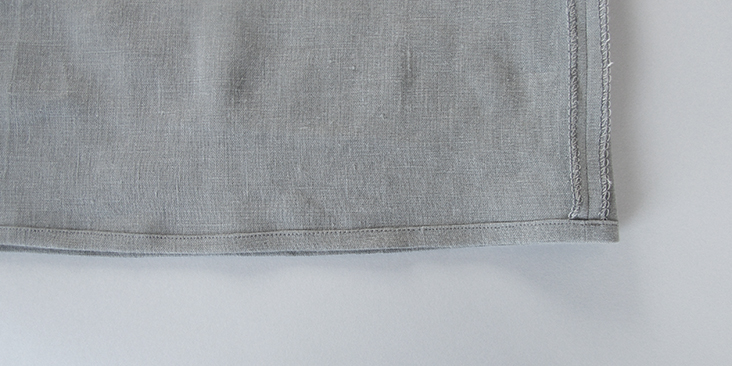
Give the whole piece a good press and enjoy your comfy top!











23 Comments
Kelly Potocki
Hi,
How to alter the pattern to be a size 4? Is it possible to provide instructions of how to draft the pattern according to body measurements?
Thank you!
Kelly
Lauren Gates
Hello Kelly, we have a tutorial on adjusting patterns, or grading them here:
https://blog.fabrics-store.com/2015/06/01/how-to-grade-a-pattern-tutorial/
Anna Masse
Hi Rima, I love all of these patterns, they are so simple and elegant! I can’t wait to make more of them.
I’m just beginning to sew and your tutorials are a big help.
I tried to draw this pattern but the numbers at the top and the bottom didn’t match up ( 21.6 cm + 14 cm ? 30.5 cm). Or is the side of the garment not supposed to be straight?
Thank you very much!
Lauren Gates
Hello Anna, the side of the garment is supposed to be straight. The line for the sleeve width (21.6cm) is the length of the full line to the edge of the sleeve, not 21.6 plus 5.1cm where the line intercepts the side seam line.
I hope this helps, If you’d like more help, please email me at ask@fabrics-store.com
Anna Masse
Oh I see, now it makes sense. Thank you for your help Lauren!
Maris Hare
Hi! Do you still have this pattern available? The link to the dropbox file isn’t working. Thanks!
Electrik Red
What’s up to every one, the contents present at this website are truly amazing for
people knowledge, well, keep up the good work fellows.
Amy Tang
The link for this pattern seems to be broken? Would love to try and make this!
Rima Khusainova
Dear Amy, I’ve just checked the link and all seams to be in order. Please try again – https://www.dropbox.com/s/0g3z23qgw5o15v9/Drop%20Shoulder%20Top.pdf?dl=0 – and let me know if it doesn’t work, I’ll find a way to send it directly to your email address. Sorry for this little technical problem!
Lisa Self
Where do I find the pattern I can print out like the other tiled together ones from this website?
Rima Khusainova
Dear Lisa, unfortunately this pattern doesn’t exist a multi-sized pdf file, only as a diagram with measurements for you to copy and grade to your size if needed.
Chelsea Lensing
Hi Amy, can you email me the link to this pattern? The link isn’t working.
Chelsea Lensing
Oops, not Amy, Rima!
Bronwyn Jackson
I used this tutorial to make a super cute linen dress! Thank you for posting!
Peggy Ware
How do you get another size pattern. I wear about a 12 – 14 size ready made shirt. Thanks
Peggy Rinehart
I was a sewer in my younger days and have wanted to get back in it…this looks like the perfect way to do that! Thanks!
Rima Khusainova
Dear Peggy! Thank you so much for your comment! This top is a perfect beginner project and a great way to practice some sewing skills 🙂 Good luck with your sewing and let us know if you have any questions about the pattern.
Pingback:
Handwovens into Garments – Contemporary Handweavers of TexasNancy Fitzpatrick
I wear jeans to work every day. Nice to have a top that looks dressy but feels oh-so-good! Thank you!
Tanya
beautiful top. thanks for tutorial.
Rima Khusainova
Thank you so much Tanya! If you ever make one, please share your pictures with us, we’d love to see your results!
Susanne T.
Thank You so Much, this is Exactly what I was Looking for a Top with a Boxy Look and Fit.
I look forward to Trying it with your Beautiful Fabric and Great Colors.
Rima Khusainova
Thank you Susanne! So happy you liked the pattern!