Sleeveless V-neck Dress Tutorial
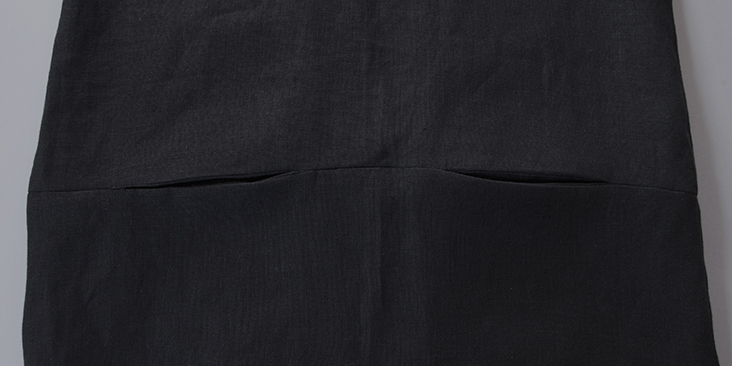
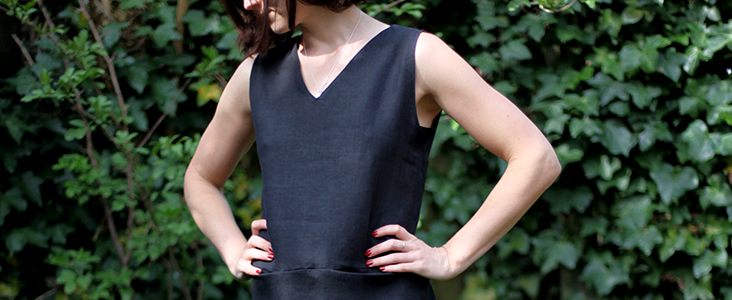
Straight sleeveless V-neck dresses are on-trend this season so we decided to make one and share this sewing tutorial with you. It’s perfect for summer when worn on bare skin or over a plain top for colder months. The simple straight look accentuates the silhouette, the front slit pockets bring an original touch and the linen fabric makes it look simple yet elegant.
Materials
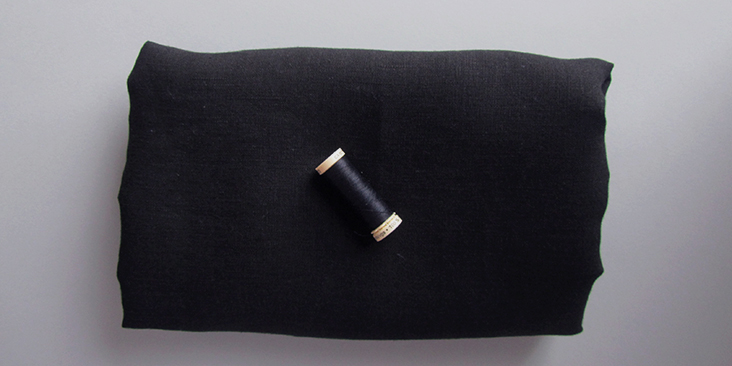
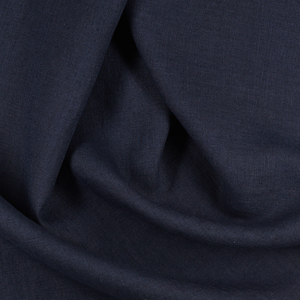
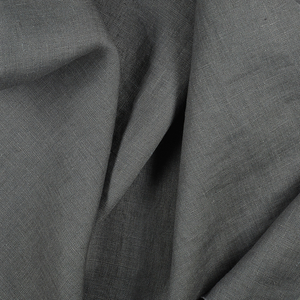
2 yards of IL019 BLACK Softened, matching sewing thread
Tools
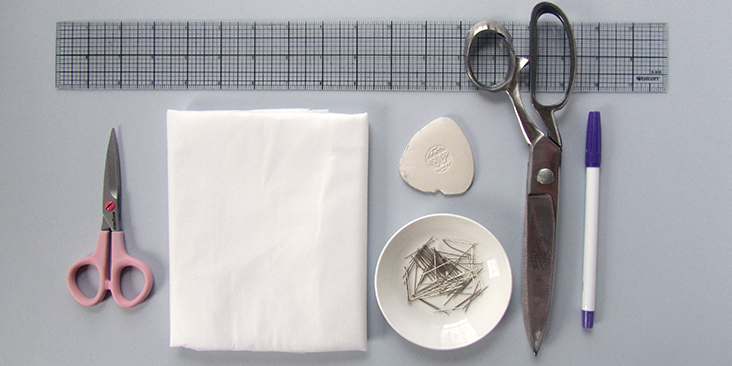
Pattern paper, scissors, fabric marker, pins, ruler, fusible interfacing, chalk, sewing machine
Time
3-4 hours
Difficulty
Beginner – Intermediate
Pattern
Link to the pattern is HERE. Both front and back pieces are combined within the same diagram. Start with the back piece (upper neckline), trace and cut the fabric. Remember to add seam allowances as indicated in the pattern. Then take your scissors and cut off the excess of pattern paper using the front neckline as your guide thus obtaining your front V-neck piece. Flip the pattern over, pin and trace.
The diagram shows the pattern for US size 6 (UK size 10).
If you need help grading your pattern, please follow this tutorial.
Steps
Note: Prewash your fabric and tumble dry it until it is still slightly moist, dry in room temperature.
1. Iron the fabric so it is easier to work with.
2. Use a serger, or choose your own method to protect the seams from fraying (on all panels except the neckline, armholes and the bottom hem). Here are some examples of the finishing techniques. Make sure the method you choose does not add weight to the fabric.
3. Prepare your garment by pinning and sewing your shoulder seams right sides together. Note that it’s best to leave the side seams open for now as it will be easier for you to attach the facing when you have an easy access to the neckline area.
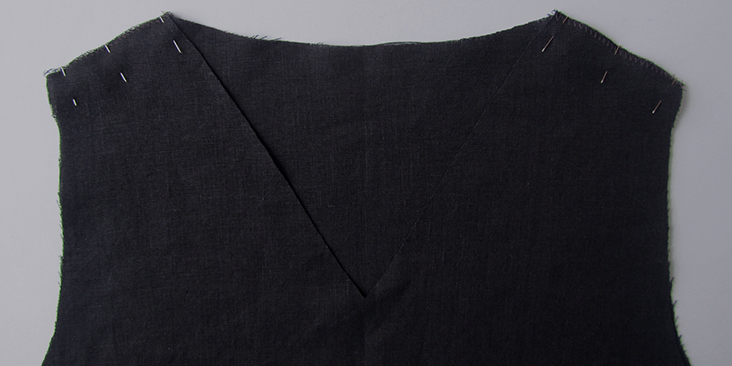
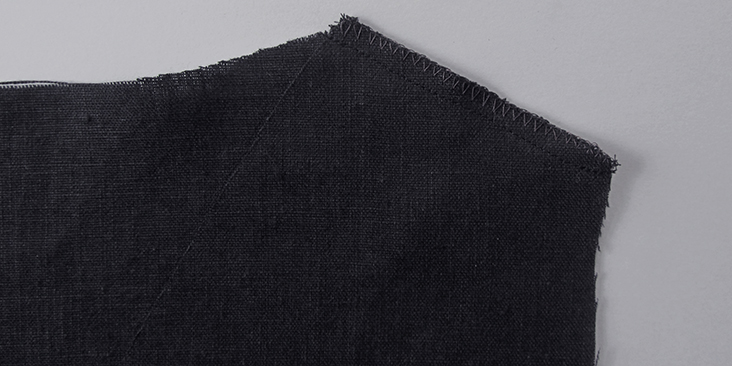
4. Press the seams open and turn your garment right side out.
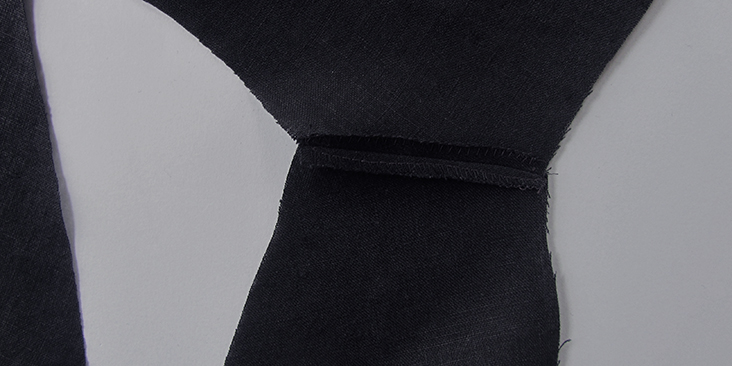
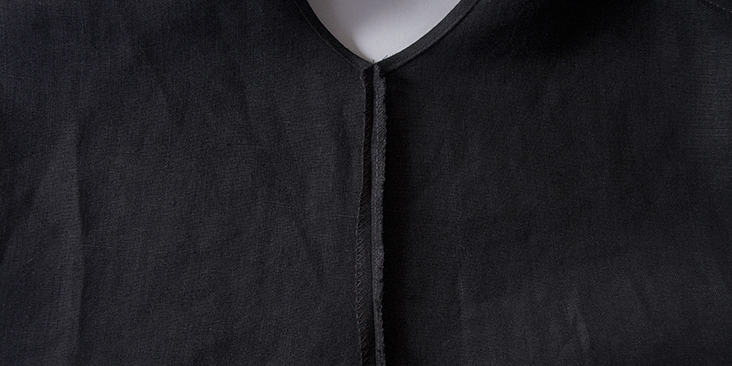
5. Following this tutorial apply the fusible interfacing to the facing pieces and finish the neckline.
Note: You can serge/zigzag the bottom edge of the facing to protect it from fraying.
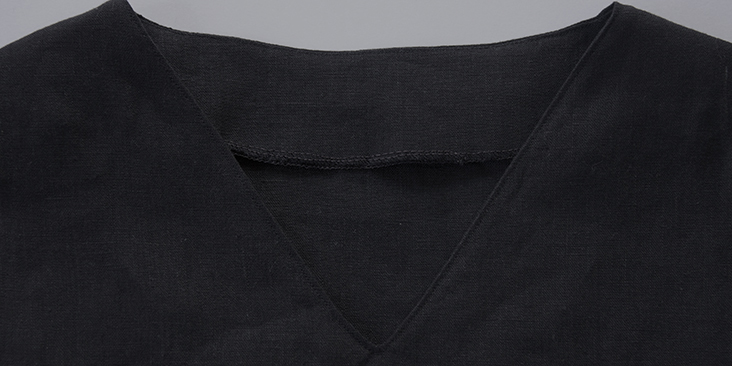
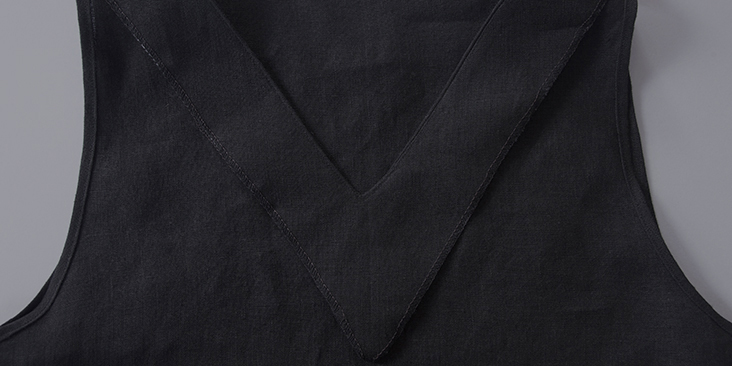
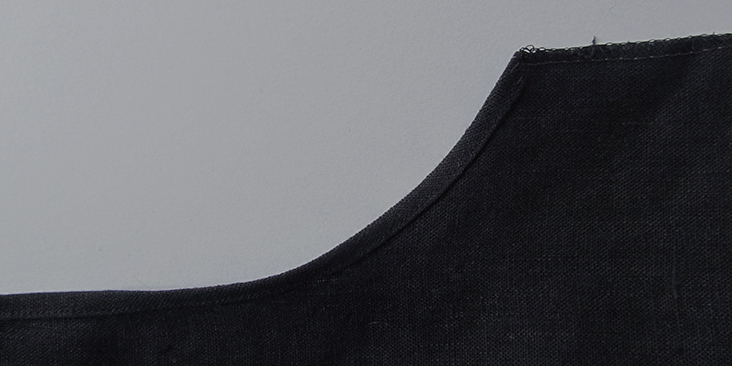
6. Finish your armholes with a rolled hem by folding and pressing the edge of the fabric 1/4” to the wrong side. Now fold again to 3/8″ enclosing the raw edge within this second fold. Pin.
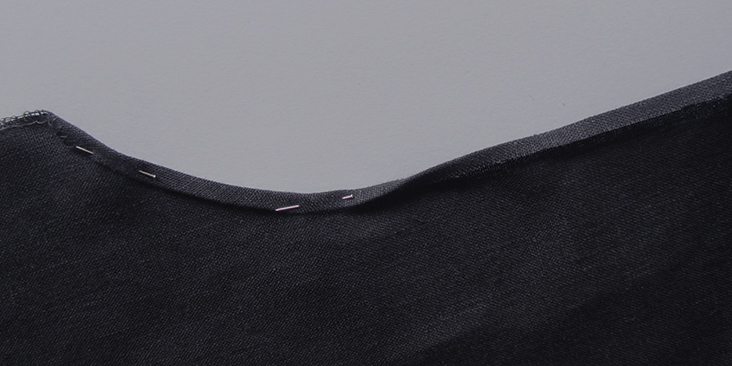
7. Place the fabric under the foot wrong side up and sew using the straight stitch (always remember to backstitch at the beginning and the end of the stitch line). Press the hem.
8. Pin the side seams of your bodice right sides together.
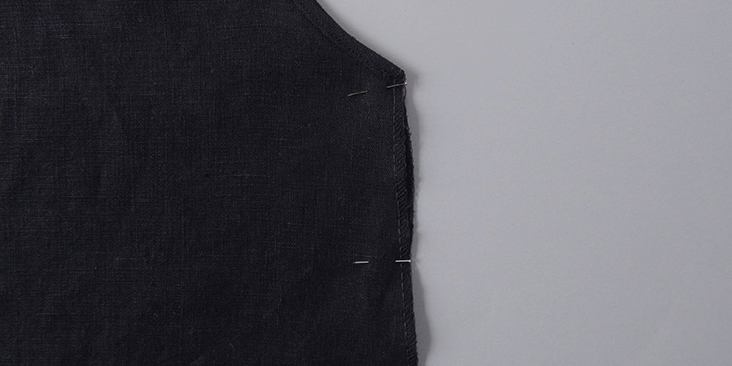
9. Sew and press. Don’t forget to backstitch! You are done with the bodice, now it’s time to move on to the skirt.
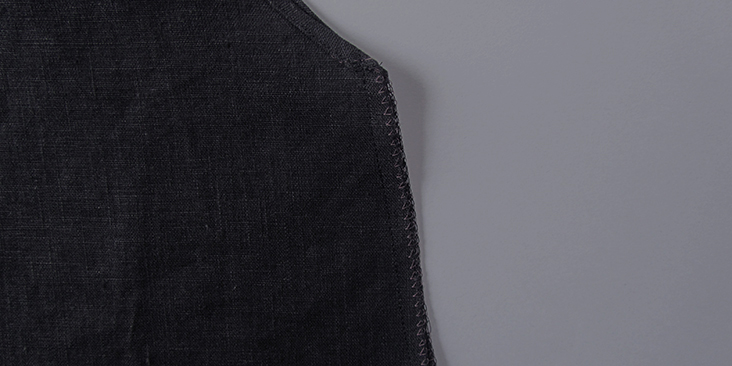
10. Pin the side seams of the skirt right sides together.
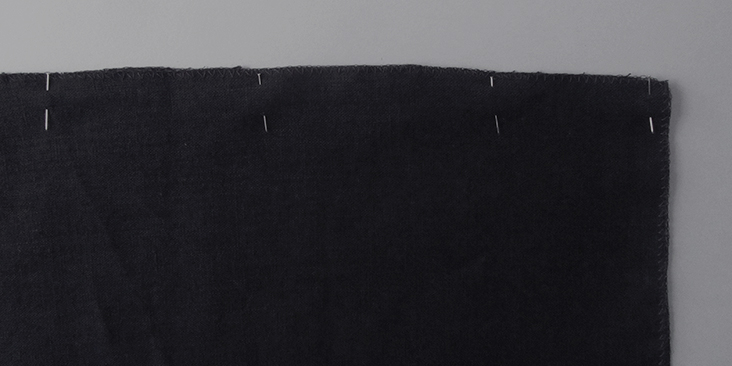
11. Stitch and press the seams open.
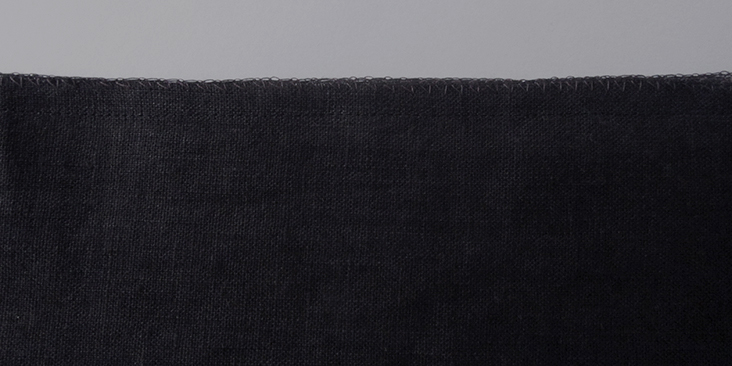
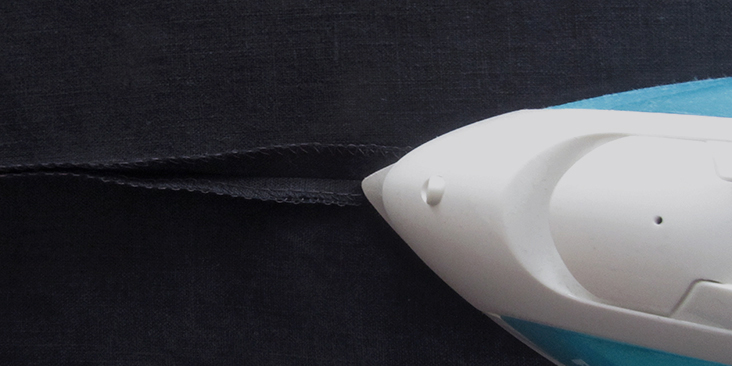
12. Finish the bottom edge of the skirt with a rolled hem by folding and pressing the edge of the fabric 3/8” to the wrong side. Now fold again to 1/2″ enclosing the raw edge within this second fold. Pin.
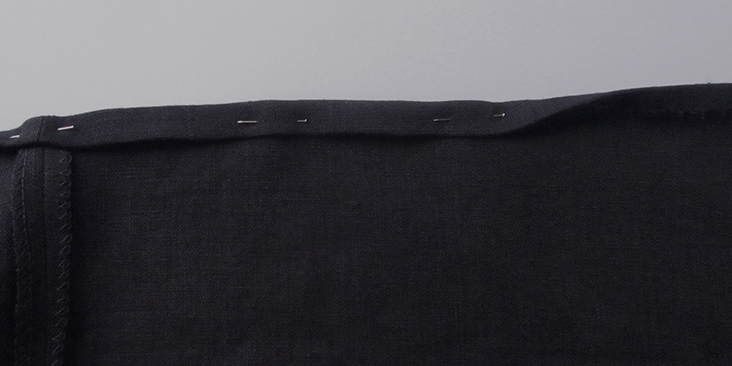
13. Place the fabric under the foot wrong side up and sew using the straight stitch (always remember to backstitch at the beginning and the end of the stitch line). Press the hem.
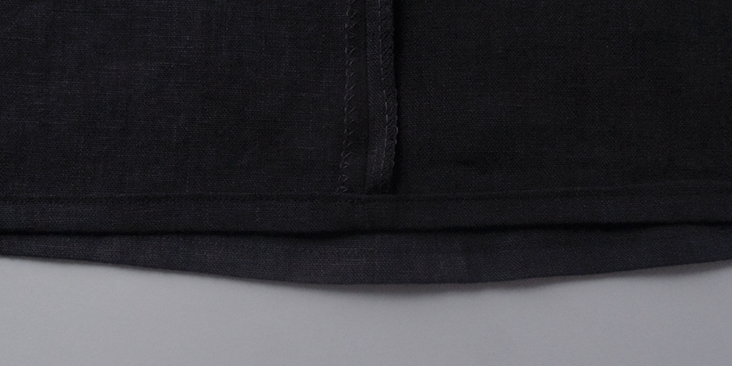
14. Let’s prepare the pockets by folding the rectangles in half and pinning the side seams together.
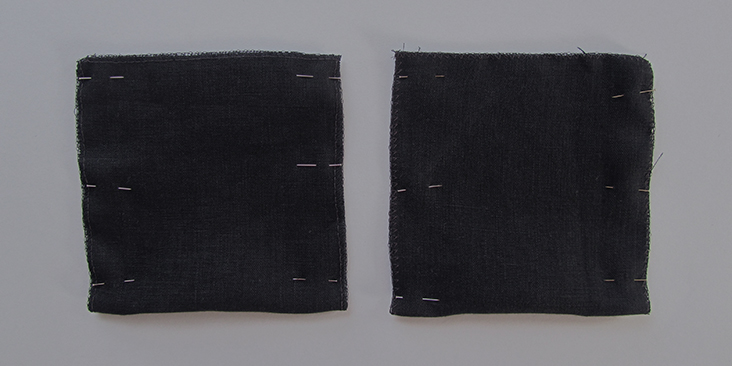
15. Stitch along the seams, but leave the top 3/8 in (1cm) seam allowance stitch free, this is to make it easier to pin onto the bodice panels.
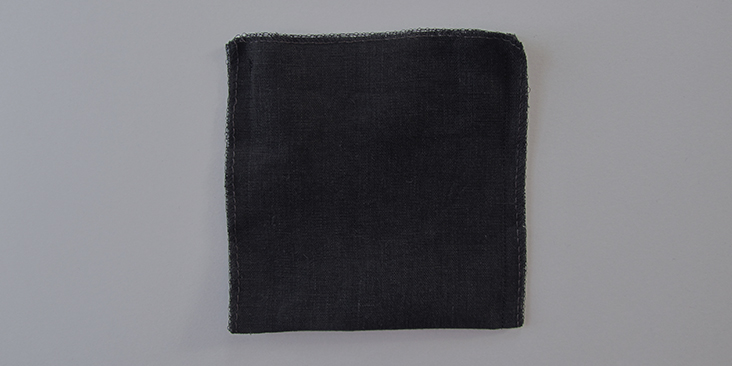
16. With the wrong side of the front upper bodice panel facing you, and the pockets’ wrong sides facing outwards, take the top pocket panels and place them symmetrically at 2.5″ from the side seams. Pin right sides of the bodice and the pockets together. Make sure the bottom panel of the pocket is not caught.
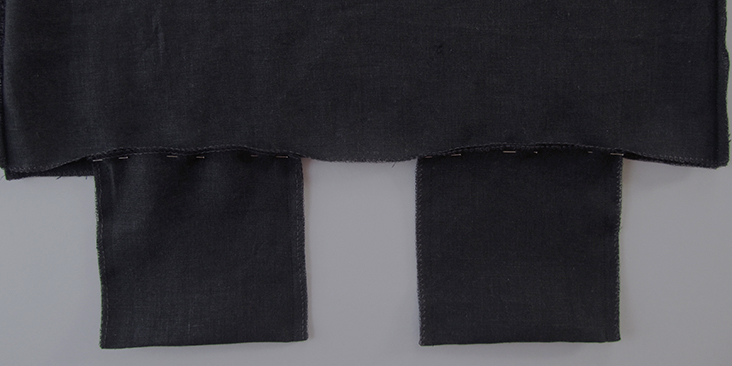
17. Sew along this seam (only the pocket) at a 3/8 in (1cm) seam allowance backstitching at both ends.
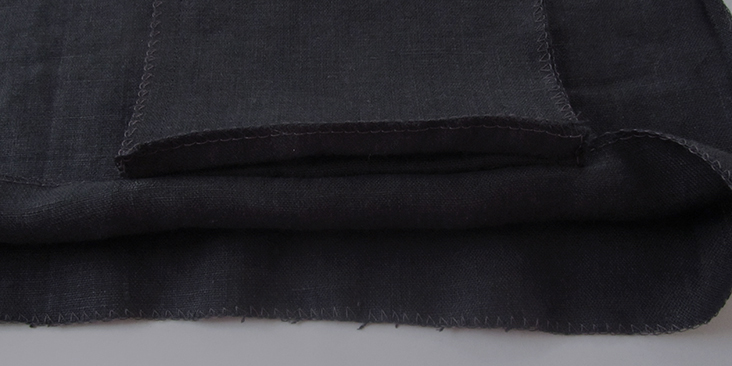
18. Now we need to attach the skirt to the bodice. Pin the skirt’s waist to the bodice’s waist right sides together (wrong sides facing outwards) matching the side seams. When you come to the pockets, you pin the bottom pocket panel to the skirt waist.
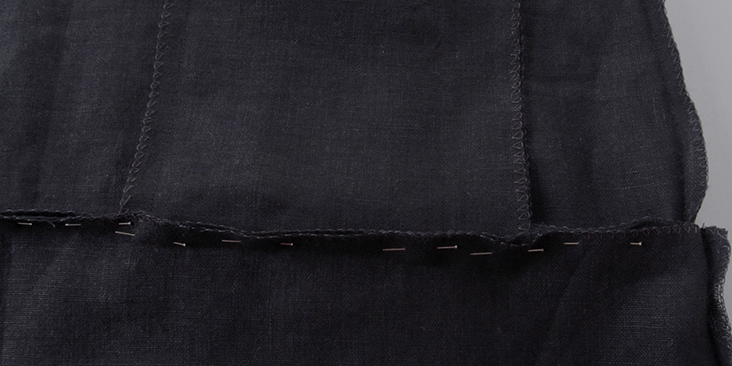
19. First stitch just the pockets at a 3/8 in (1cm) seam allowance backstitching at both ends.
20. Now stitch all around the waist (except for the pocket openings) to attach the skirt to the bodice at a 3/8 in (1cm) seam allowance.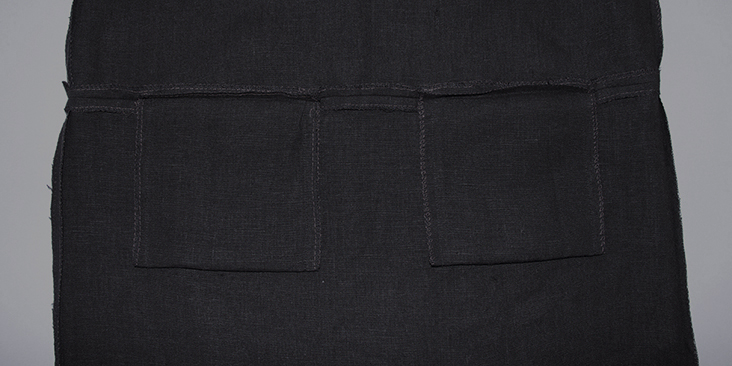
21. Press the seams open and you are all done!











15 Comments
Joy Bishop
I am new to this site and excited to purchase fabric and begin sewing, but the pattern link takes me to a one page 8.5 x 11 page printout. The “Note:” indicates that it is not to scale, however, the pattern that prints would be too small for even a Barbie doll. What am I doing wrong. Also, when reading through the comments, the dropbox link you provide is no long found. Thank you for your help.
Lauren Linen
Hi Joy, The pattern provided on this page is a drafting guide for you to use the measurements on the pattern to draft your own on larger scale paper. For tiled A4/ letter or pre-printed patterns please see the patterns on our website: https://fabrics-store.com/sewing-patterns
jglorenz
“It’s perfect for summer when worn on bare skin or over a plain top for colder months”
I disagree.
Christine Balaba-Loresco
Hi! can please help to upload the pattern file again? There’s no file when i click on the hyperlink. Thanks in advance!
Tanya
now this is a reasonable and attractive arm opening! nice dress.
Rima Khusainova
Thank you Tanya! This dress is indeed a very special one we just love how it turned out.
kate
Love it, such a flattering and easy to wear dress! How would you suggest making it without the pockets?
Rima Khusainova
Thank you so much for your comment Kate! I’d say if you want to make it without the pockets, just add the skirt length to the bodice length and make one long front and back piece and don’t cut out the pockets. What I mean is that you don’t need to cut at the waistline (as the pattern suggests) to add the pockets.
Jan
This looks so cute, I have to try it. I’ve never tried to draft a pattern, so could you give me some insight into dimensions for your size 6 (UK 10)? Most tables I can find suggest 34″ bust, but for store-bought clothes these days that doesn’t seem to be the case for a US size 6.
Rima Khusainova
Dear Jan! I’m glad you like the dress. As for the dimensions, you have some measurements indicated in the pattern but I suggest you take your body measurements and then follow our pattern grading tutorial here https://blog.fabrics-store.com/2015/06/01/how-to-grade-a-pattern-tutorial/ to create your perfect dress. I’d like to add though that this dress is supposed to be slightly oversized as the cut is straight.
Susanne T.
Love the Dress,
Lulu
Love this design – especially the pockets! For the armholes I think a bias tape finish will be easier and neater, though.
Patricia
Could not download pattern. Address invalid according to Safari.
Rima Khusainova
Dear Patricia, I’m not sure what might be the problem – I’ve tried to download it myself and asked a friend to check and it’s working just fine for us. Try to go directly to the dropbox link here: https://www.dropbox.com/s/74qn27u3g3mgzr7/V-Neck%20Dress.pdf?dl=0
Christine Balaba-Loresco
Tried but still displays an error. Please help!