Sewing Glossary: How to sew French Seams Tutorial
French seams are a great way to finish raw edges and to give your garment a clean, professional appearance. In essence, the French seam completely encloses raw edges of the seam allowance within a stitched little pocket making your seams neat and more durable. They are perfectly suited for lightweight and medium weight linen that is prone to fraying. It’s better not to use this finish on heavy linen as it may create bulky seams.
French seams are easiest to use along straight edges and are a great alternative to other popular seam finishes like zigzag and overlock stitches or a serger.
Tools
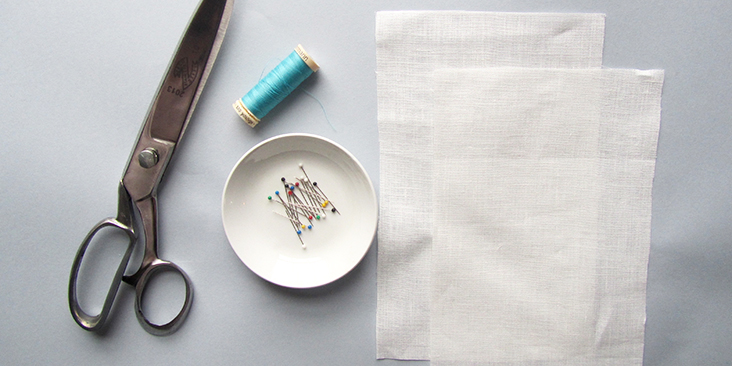
Fabric, matching thread (for the purpose of this tutorial we have used a contrasting colour thread)
Pins, scissors, sewing machine
Steps:
1. Usually you stitch fabric right sides together but with this seam you start by stitching the fabric wrong sides together (right sides facing outwards), using a 3/8” seam allowance. Remember to backstitch at the beginning and the end to secure the stitches.
Please note that the French seam requires a larger seam allowance than the standard 3/8″ (1 cm). We recommend adding 5/8″ (1.5 cm) to all the edges where you are planning to use this technique. You’ll want to account for that before cutting your fabric.
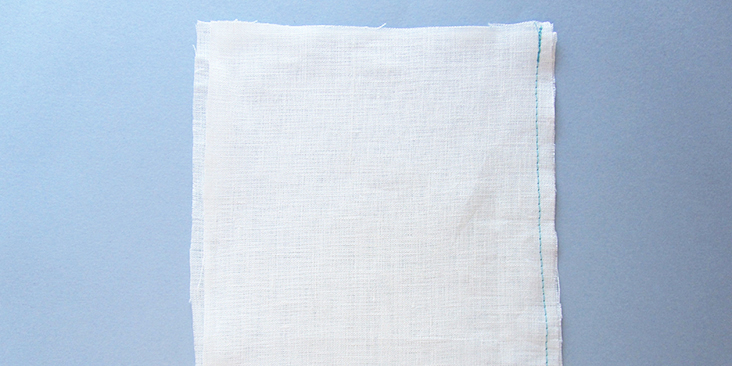
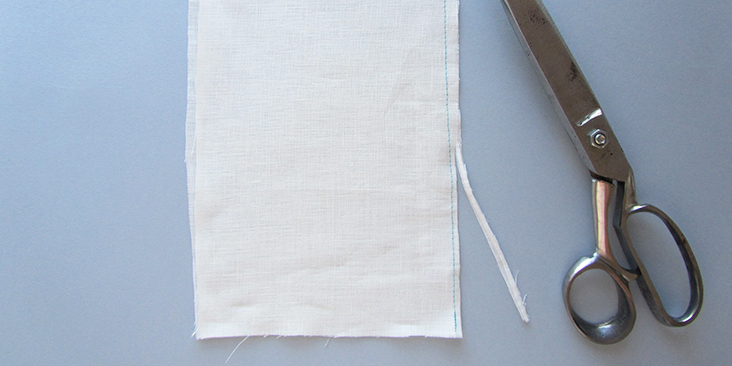
2. Trim the seam allowances to 1/8” using your scissors.
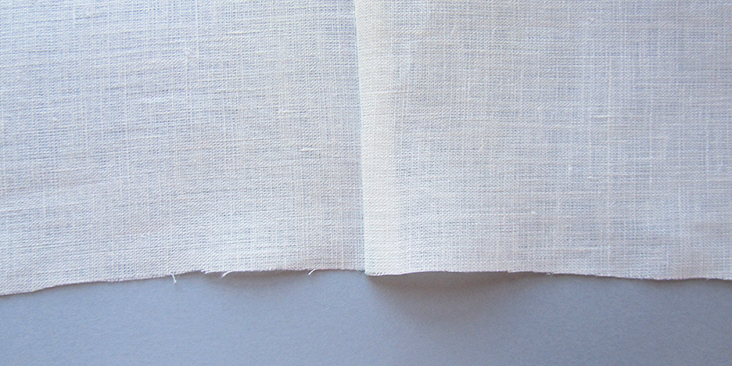
3. Press them open at the fold (with right sides facing up).
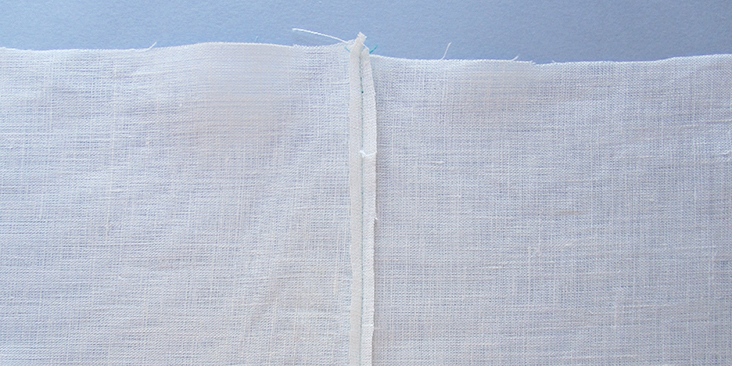
4. Now fold right sides together and press again.
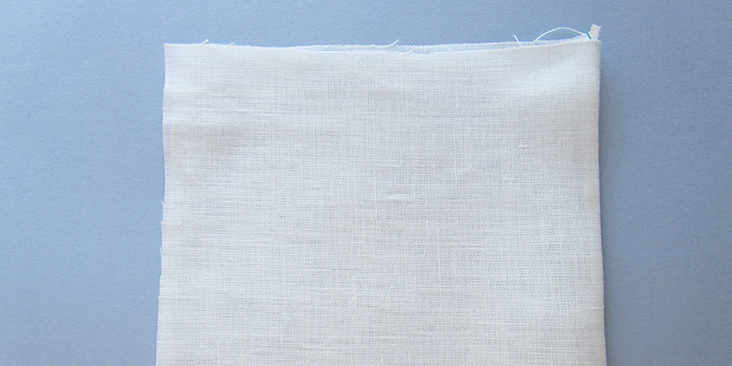
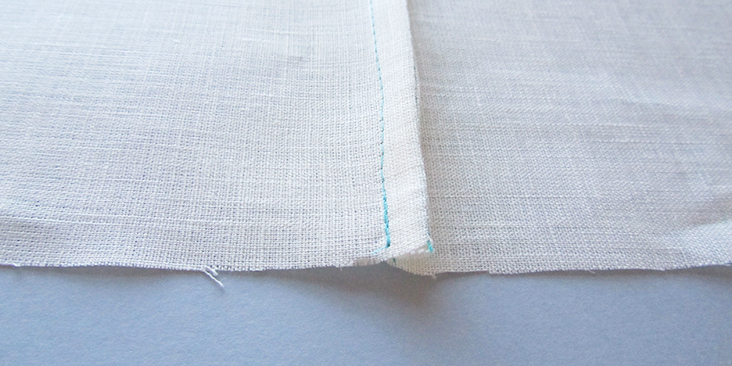
5. Pin the right sides together and sew 1/4″ from the folded edge, enclosing the raw edges and finishing your seam.
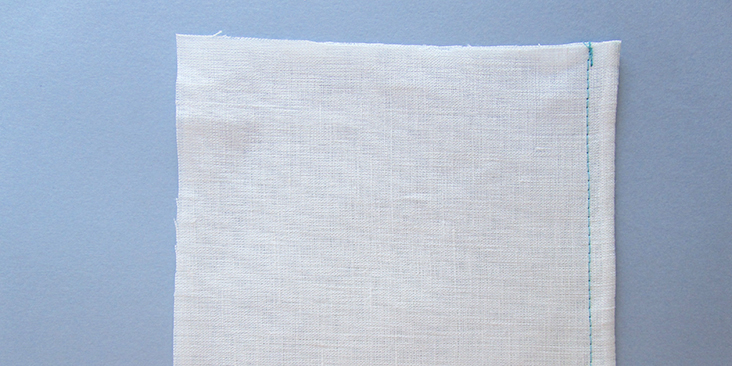
6. Press the seam flat to one side and admire your pretty seams!









11 Comments
J Bagan
MAKING THE NICO SHORT DRESS, CANNOT FIGURE OUT HOW TO FEED THE FABRIC FOR DOING THE SECOND SIDE FRENCH SEAM. NEAR 70 YRS OLD BUT DOES NOT COMPUTE, LOL
Lauren Gates
LOL I love your comment J. Look out for an email from me, and I’d be happy to reboot and compute the french dart for you 🙂
Yvonne
My favorite way of doing French seams is to do the first part with a narrow serger stitch. I don’t have to trim then, I do the second part with my sewing machine.
Rima Khusainova
Thanks for sharing your tip with us!
Molly Peters
thanks for the great tutorial! I have a couple of questions. 1) Why do you trim the seam allowance down to 1/8 inch? Couldn’t you just sew it that way to begin with? 2) Is the finished, enclosed seam not then topstitched down? For some reason, I thought it would be.
Thanks! Love everything you all do!!!
Rima Khusainova
Hi Molly! Thank you so much for your positive feedback and these useful questions. As for your first question, I’d say that for some people (especially beginner sewers) it’s hard to see so close to the edge. That’s why I’m suggesting to use a standard seam allowance and then trim. But you can of course just sew it that way from the start. Regarding the topstitching – it’s really up to you. The standard way is to just leave it like that to avoid the second stitch line on the right side of your garment.
Susanne Tartamosa
Susanne TARTAMOSA
Makes me want to do some Sewing
Need some New Tops, etc.
Chris
On some fabrics, French seams are a necessity.
Jennie Alice
Thank you,
I love receiving these tutorials in my inbox. I’m not sure which project to try this on, but I’m inspired to try something!
Jennie
Rima Khusainova
Hi Jennie, thank you so much for your feedback. You can do French seams on almost any project whenever you are sewing in straight lines (like side or shoulder seams of a garment, tote bags, skirts etc.). You can browse our tutorials section for more ideas.
Shelley Houser
That looks so easy. I’m going to try it. Thanks!