Linen Short Culottes Tutorial

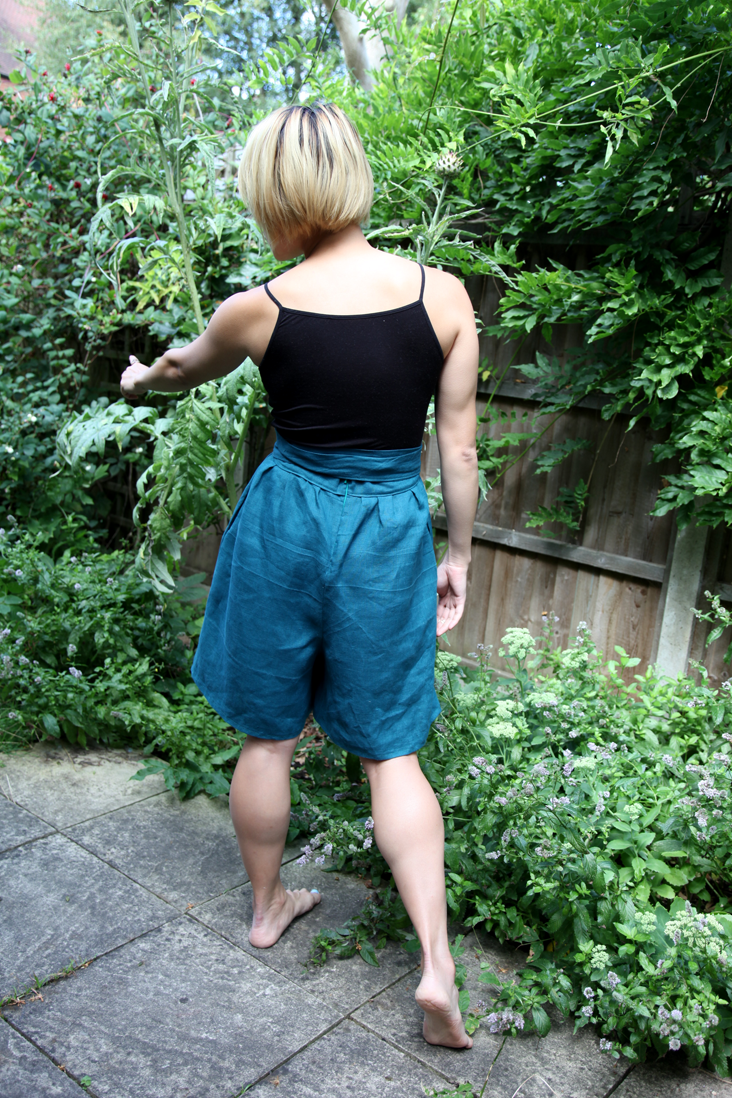 After our popular’ black linen culottes‘ tutorial’ from’ a little while back, we have added a new design into our library our tutorials, this time a pair of short culottes which come with a waist tie that you can arrange’ into a pretty little bow. ‘ If you are unsure about the length of the culottes and would rather make them longer/ shorter, you can easily adjust the length when you are measuring out the pattern. We hope you enjoy and as always, if you have any questions, suggestions or concerns, please don’t hesitate to leave a comment below.
Material
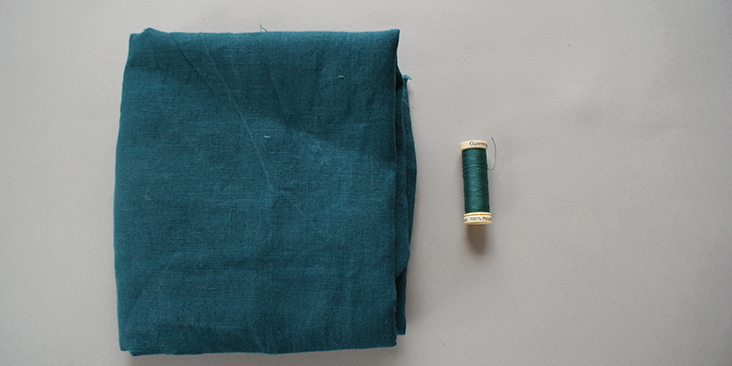
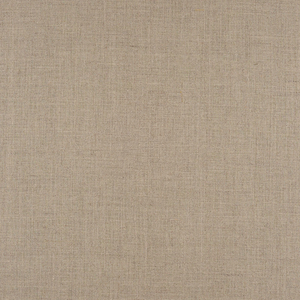
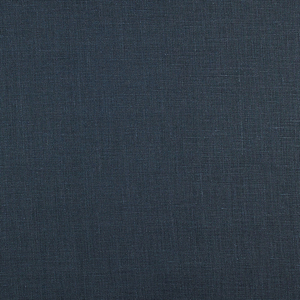
1.5 yards of IL019 Sphinx Softened
Matching sewing thread
Tools
Pattern master, pattern paper
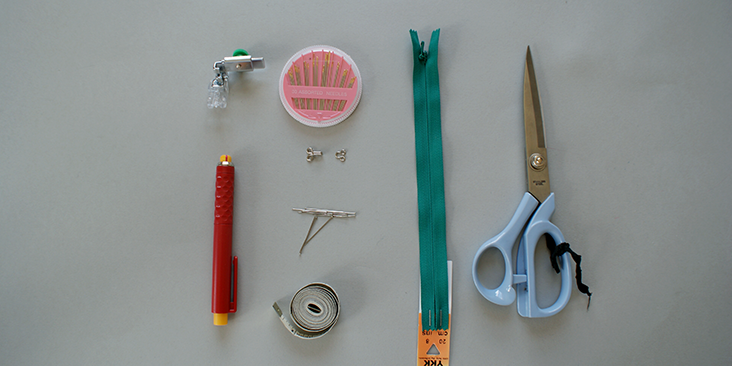
Paper scissors, fabric scissors
Fabric marker, pins, tape measure
1 x invisible zip
Invisible zip sewing foot
Hand sewing needle, 1 set of hook and eye
Time
2-3 hours
Difficulty
Intermediate
Step
Note: Prewash your fabric and tumble dry it until it is still slightly moist, let this dry in room temperature.
1. Iron the fabric so it is easier to work with
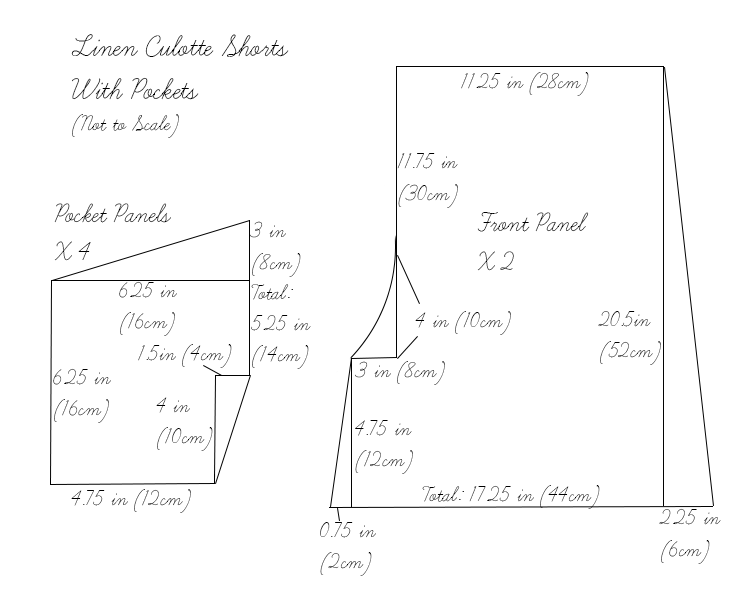
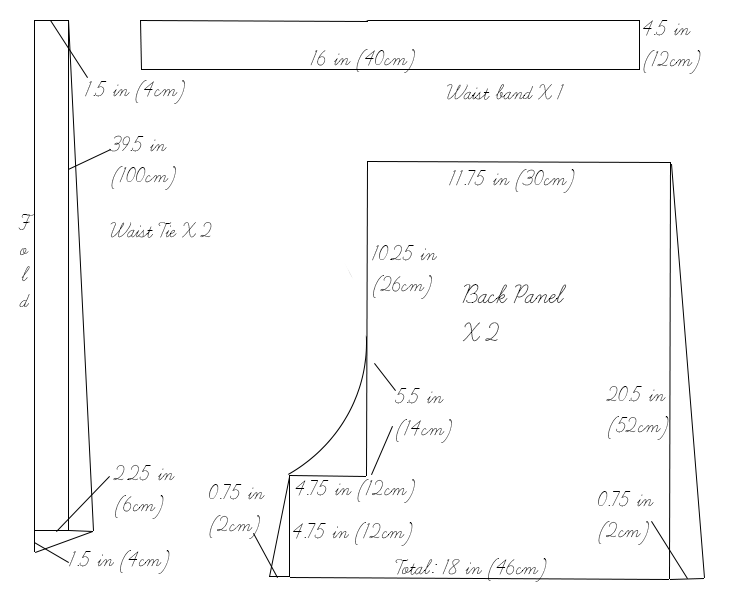
2. The diagram shows the pattern for a size US6-8 (UK10-12). Remember to add 3/8in (1cm) seam allowance around all panels. If you need help to grade your pattern, please follow this tutorial.
3. Use a serger, or choose your own method to protect the seams from fraying. Make sure the method you choose does not add weight to the fabric.
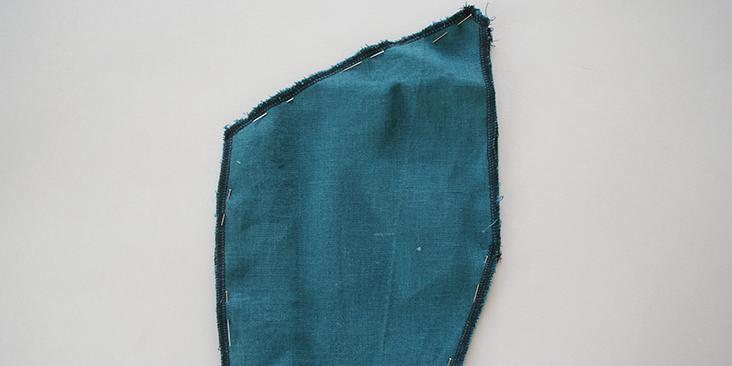
4. Pin the pockets into pairs and stitch along the seam allowance, remember leaving the opening unstitched.
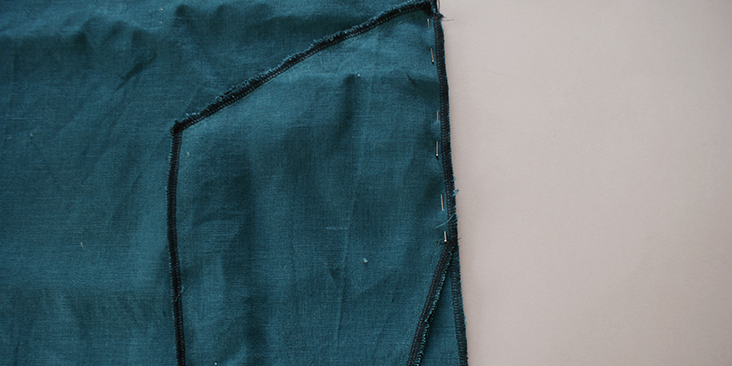
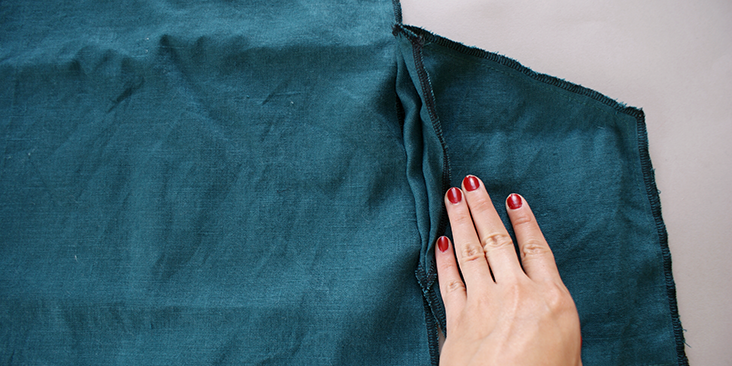
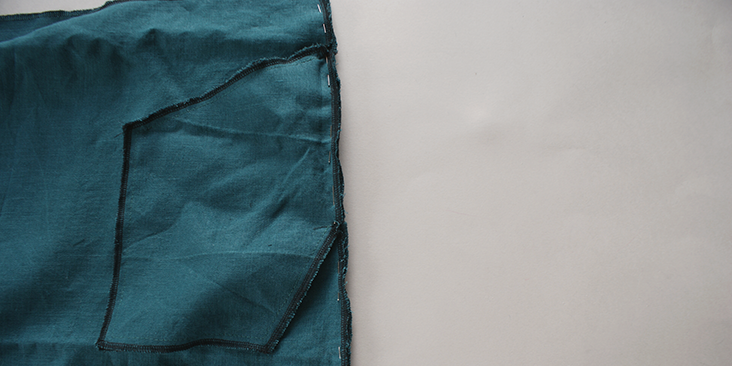
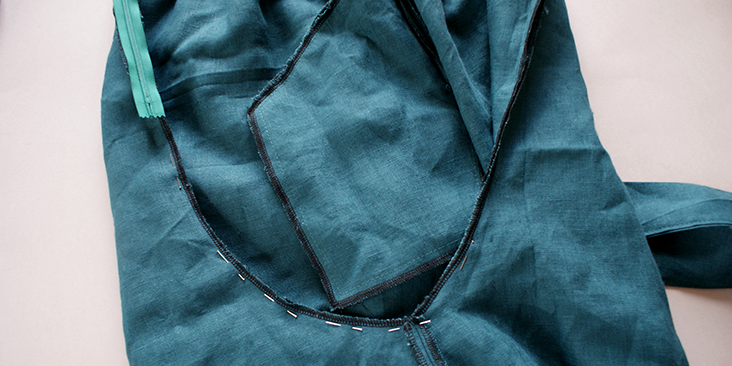
5. This step which involves’ attaching the pocket to the front shorts panel can be a little tricky, so really pay attention. Place the stitched pocket panels facing you on top of the shorts’ front panel. Pin ONLY the top pocket panel (as shown) along the indicated (snipped) part of the shorts panel seam. This means you will have an unstitched pocket opening’ sandwiched between the top pocket panel and the front shorts panel (see second photo below, once stitched). Stitch along that short seam and give it a gentle press.
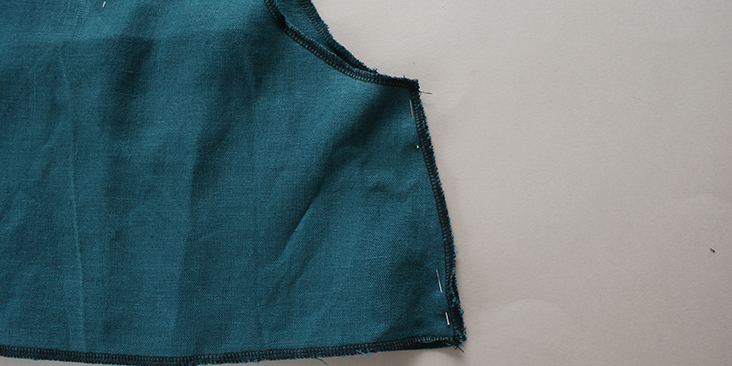
6. Next, with front shorts panel facing you, place the shorts’ back panel on top of the front panel right side up and pin their side seams together. With’ the pocket, pin the unstitched opening along the snipped part. Stitch very carefully along this seam allowance and press the seams.
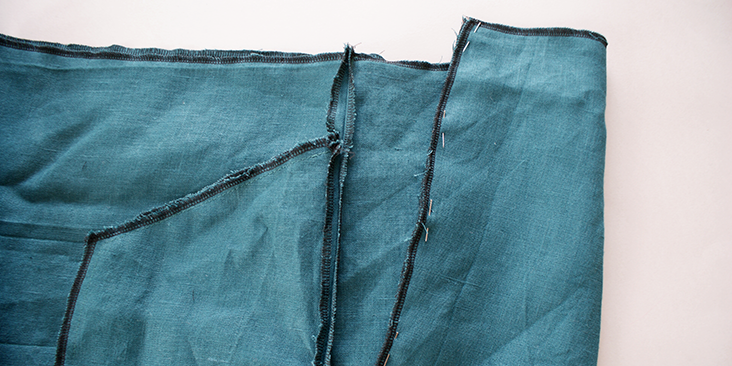
7. Pin together the inner seam of the shorts and stitch them together and press.
8. Next, pin together only the beginning of the front seams of the shorts panels. Stitch to just before the inner seam, this is to allow for a smoother transition between stitched seams once the zip is added on at the back.
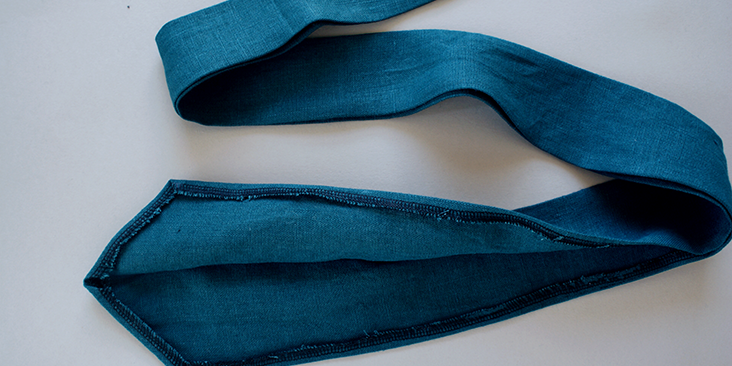
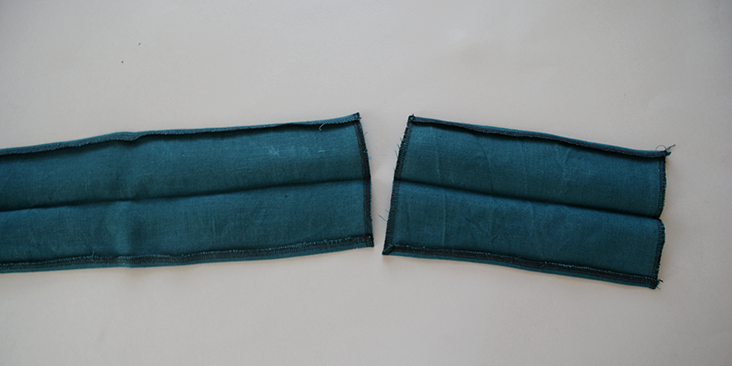
9. Take the waist ties and press it in half. Then, press the seam allowance onto the wrong side of the panels along the whole length, leaving a’ 3 inch (8cm) seam gap at the beginning.
10. Top stitch over the pressed seam for both waist ties.
11. Press the waistbands into half for both front and back panels. Also’ press the seam allowance onto the wrong side of the panels.
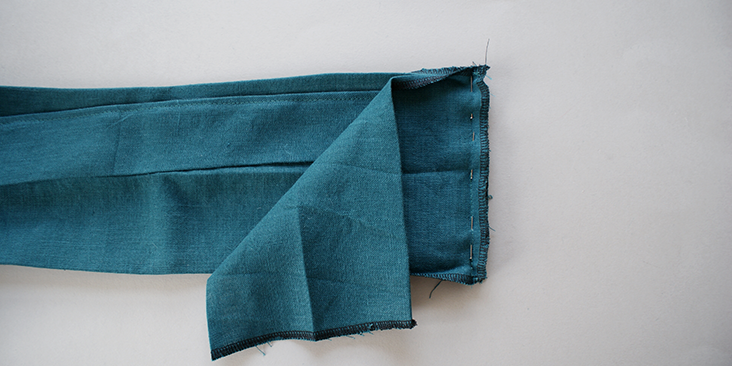
12. When pinning the back and front panels of the waistbands together, also include the waist ties at the seam. Stitch at the seam allowance and press.
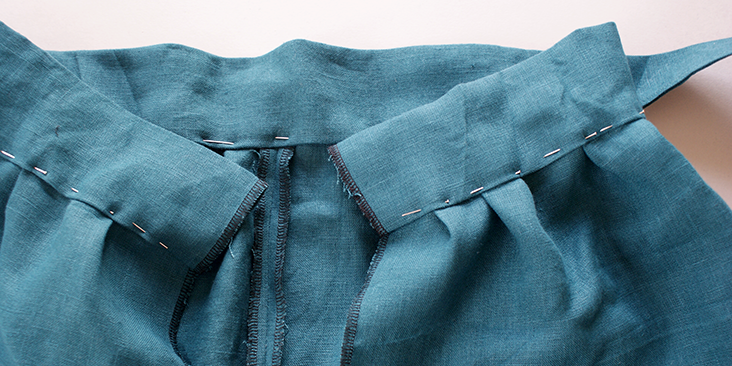
13. Pin the waistband onto the shorts, matching the side seams and centre back and centre front. The shorts panels are wider so you would need to do some impromptu gathering as you pin them together.
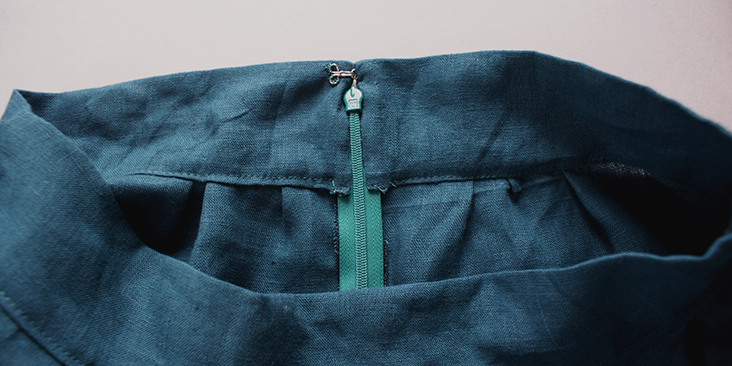
14. Top stitch along the pinned edge, remember to leave at least 3/8 inch (1cm) at the opening of the back panels unstitched, this is to help for when you need to attach the zip.
15. Follow this tutorial and sew the invisible zip onto the back of the shorts; starting at the top of the waistband.
16. After sewing in the zip, pin the rest of the curved seam from back to front, making sure the stitching will be nicely transitioned from where the zip ends to when you sew the top of the front seam at step 8.
17. Then follow this tutorial and sew on the pair of hook and eye at the top of the zip. You might want to stitch the eye in before you hand stitch the inside waistband onto the zip, this is so the eye could be hidden.
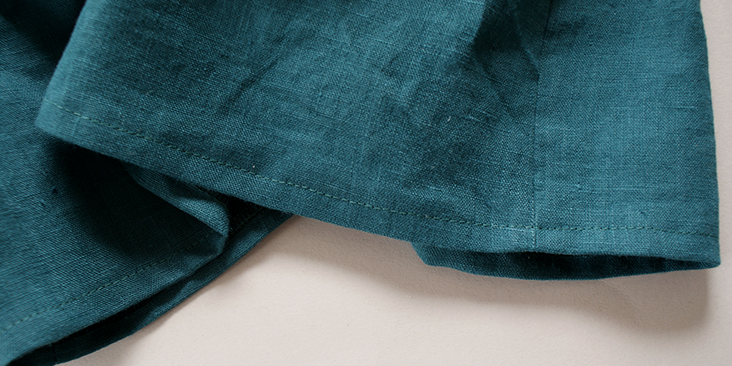
18. Lastly, fold the seam allowance of the hem onto its wrong side and top stitch over the seam. Give it a press so it sits nice and flat.













7 Comments
Pingback:
Luxe Linen Love: Dive into Sewing with Linen with These 30 Patterns to Try for Timeless Style and Comfort – SewingPingback:
13 Things to Sew from Mini Charm Packs – Sewing – cybercraftworks – Cyber CraftsPingback:
Dive into Sewing with Linen with These 30 Patterns to Try for Timeless Style and Comfort – Sewing – cybercraftworks – Cyber CraftsDianne Masson
Very pleased with these and will make again ? Only comment is that the pattern diagram shows waistband x 1, I assumed x 2 and split the 2nd one for the back panel.
So generous of you to give your talent so freely, thank you.
Sam Rowe
Great looking culottes. Would there be enough room / fabric to NOT gather/pleat the fabric and turn the waistband into an elastic one?
Anna
SO beautiful and classy. Yet practical…. you could ride a bike in these! Also I love the Sphinx color. Computer screens can’t do it justice.
Bonnie
Thank you very much for your lovely, clear, and classy tutorials 🙂 I’ve saved them all.
Please consider using a clear san serif font for the information on the pattern pieces.
The script font is often difficult for me to read – especially the numbers in measurements.