A-Line Skirt with Front Pockets
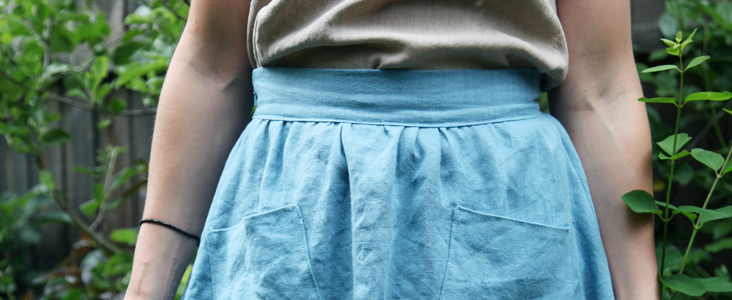
Often instead of making’ intricate garments, what we really need is something simple, easy to make and great to add to our wardrobe. This tutorial shows a typical A Line skirt, finished with a zip and two pockets in the front.
Material
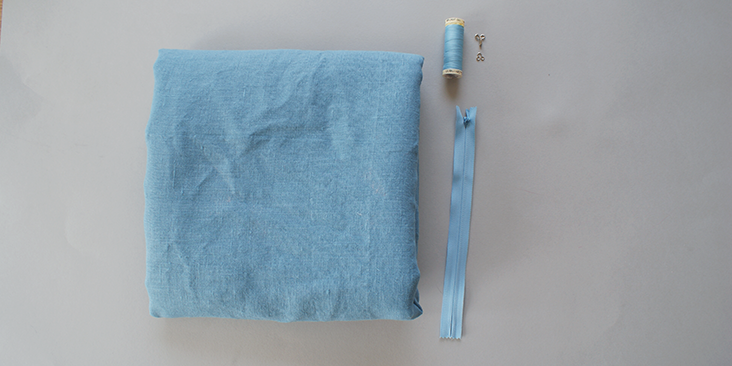
2 yards of IL019 Blue Heaven Softened
Matching sewing thread
An invisible zip
A pair of hook and eye
Tools
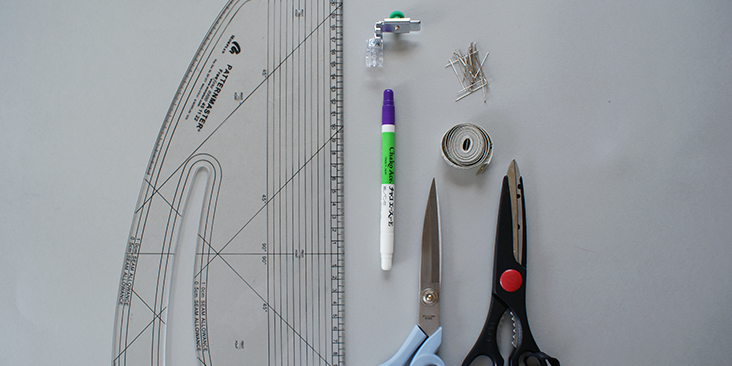
Pattern master, pattern paper
Paper scissors, fabric scissors
Fabric marker, pins, tape measure
Invisible zip sewing foot
Time
2-3 hours
Difficulty
Beginner
Step
Note: Prewash your fabric and tumble dry it until it is still slightly moist, let this dry in room temperature
1. Iron the fabric so it is easier to work with
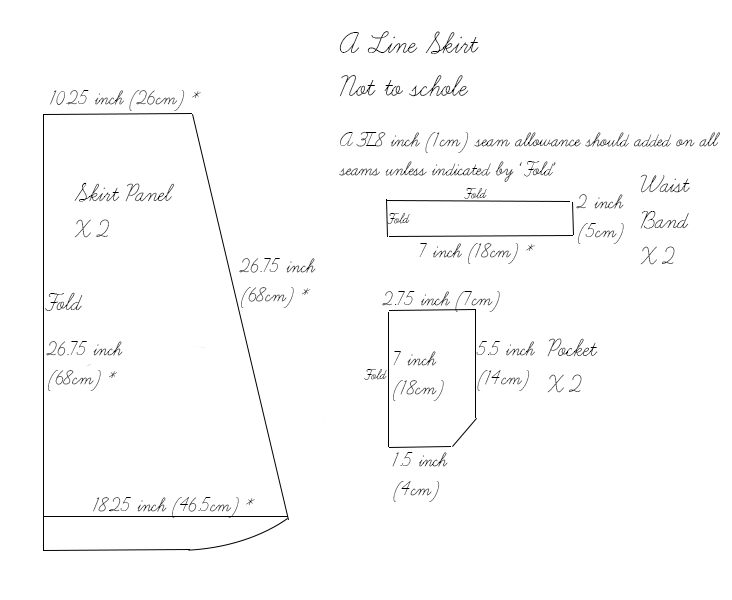
2. The diagram shows the pattern for a size US6-8 (UK10-12).’ If you need to adjust the size, please follow this tutorial for grading pattern.
Feel free to experiment with the shape of your pockets, you could make them smaller, or try rounded corners.
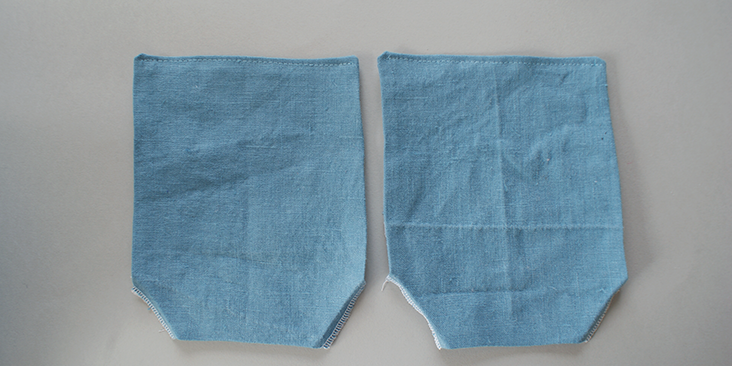
3. Use a serger, or choose your own method to protect the seams from fraying. Make sure the method you choose does not add weight to the fabric.
4. Press all the edges of the pockets towards its wrong side.
5. Top stitch the top seam.
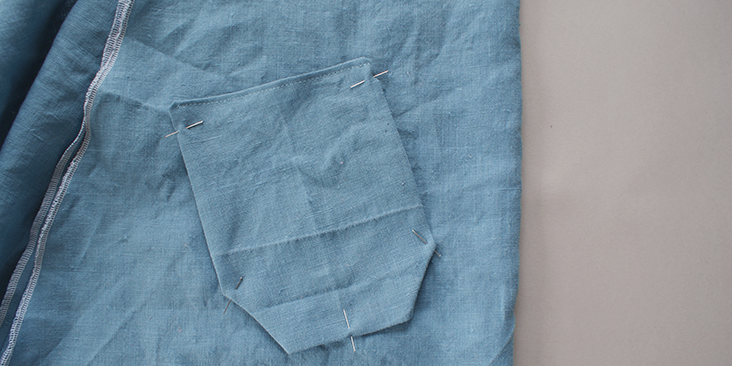
6. Place them evenly on one of the skirt panels near the top. It’s placement can be arranged as you feel comfortable.
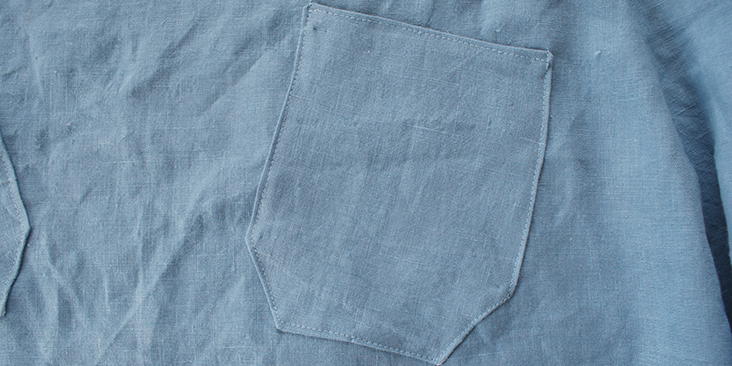
7. Pin the pockets down to secure its placement and top stitch over the remaining seam.
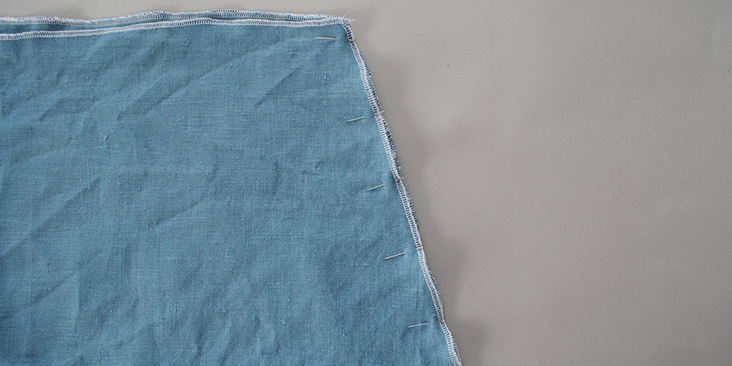
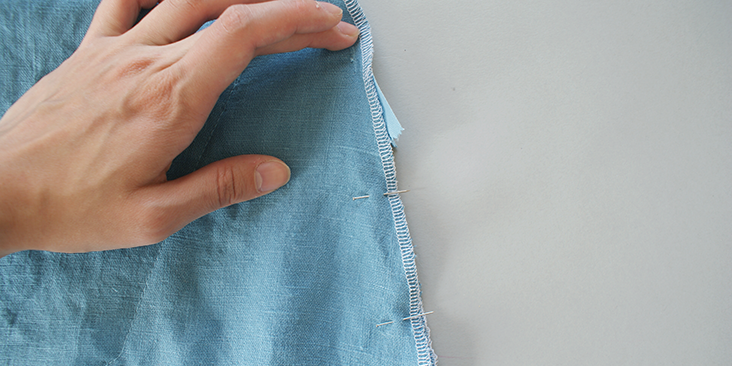
8. Pin together one side seam of the skirt panel.
9. Stitch along the seam allowance and press the seam open
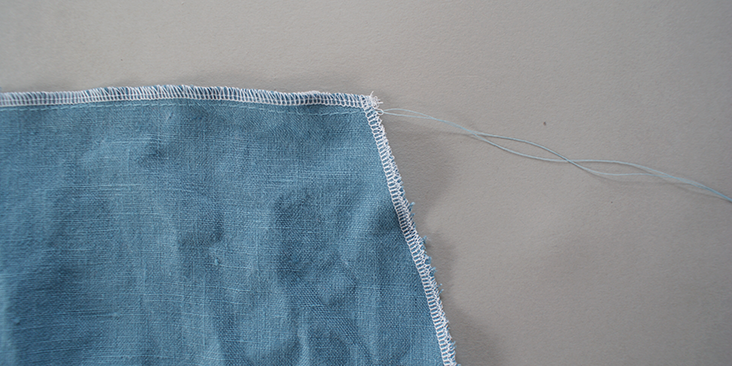
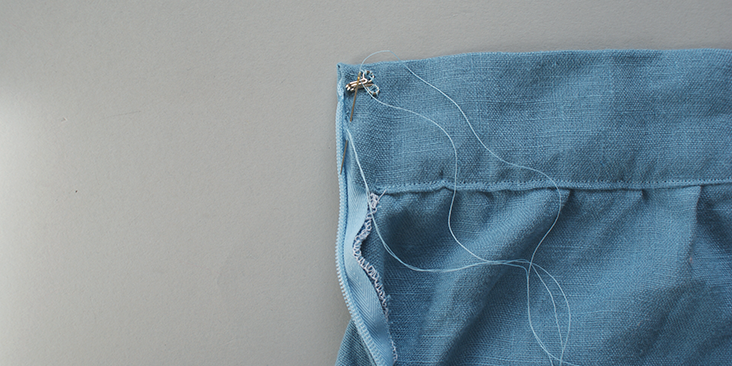
10. Change the stitching length to highest (widest option). Stitch it around 1/8 inch (0.5cm) seam from the top seam on the skirt. Do not reverse or go over the beginning or the end of the stitching.
11. Leave a long tail for the thread at the end of the stitching.
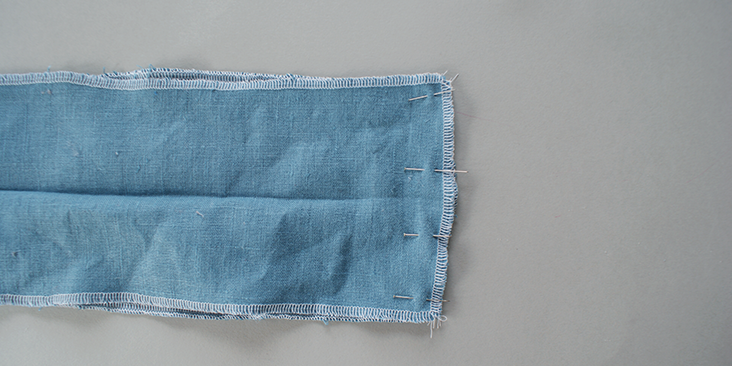
12. Pin the side seam of the two panels of waist band together. Stitch along and press open.
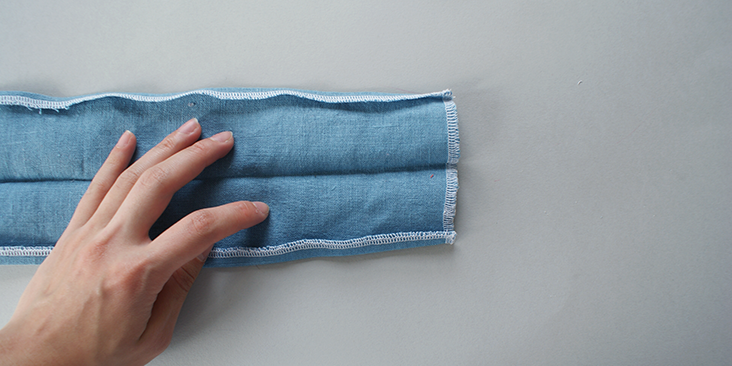
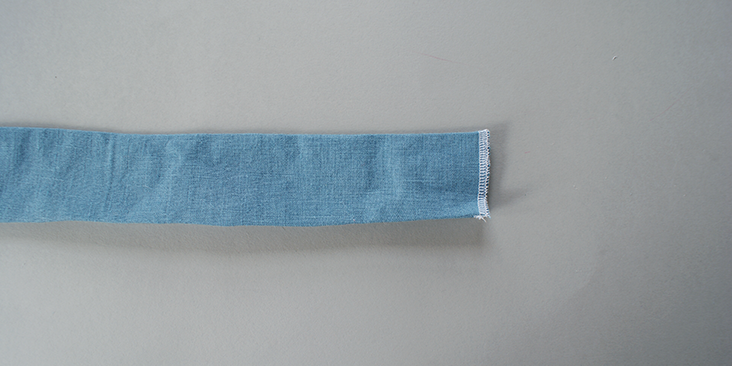
13. Fold the waist band in half and press on the folded line.
14. Press 3/8 inch (1cm) on both side towards the wrong side of the band. You will be gathering your skirt panels to the length of the waist band. Press the seam allowance of the open side seam towards its wrong side.
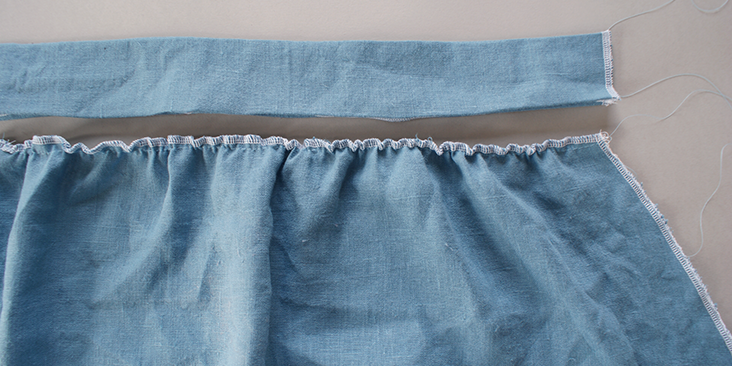
15. To evenly gather the skirt panel, pull gently at the thread you have left long and move the fabric along the stitching.
16. Lie the gathered skirt panel flat along the waist band, with the folded side seam of the waist band meeting the 3/8 inch (1cm) seam allowance of the skirt panels.
17. Pin the panels to the waist band to secure it and top stitch over. Do not stitch over the folded seam of the waist band.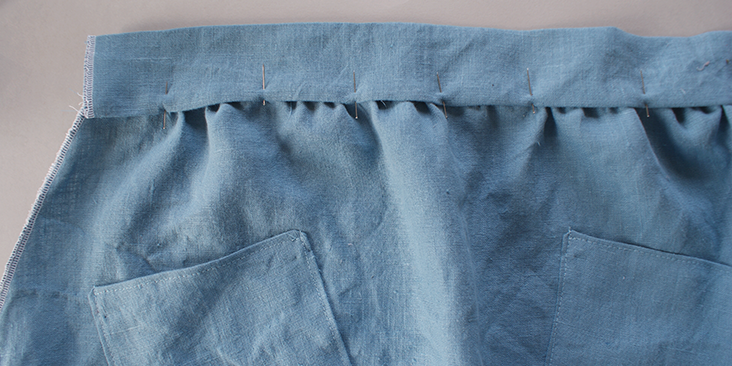
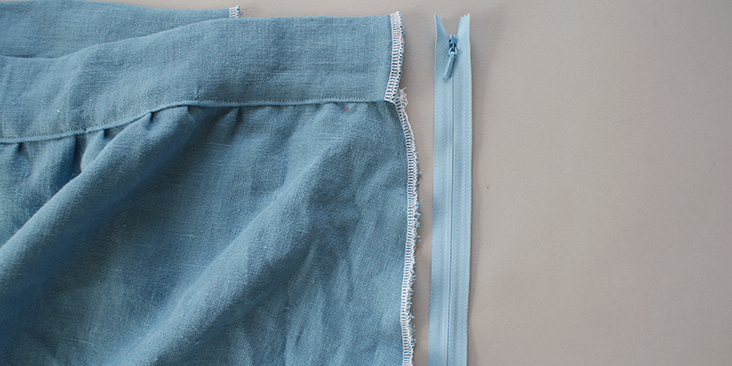
18. Following this tutorial, sew the invisible zip from the top of the waist band to the skirt panels.
19. When stitching the zip onto the invisible zip, make sure only the right side of the waist band is machine stitched on.
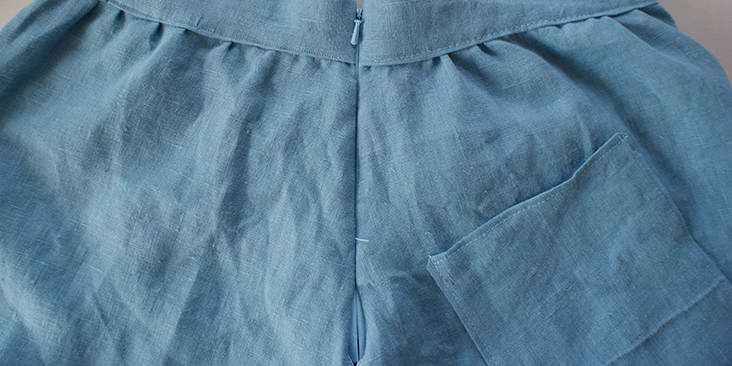
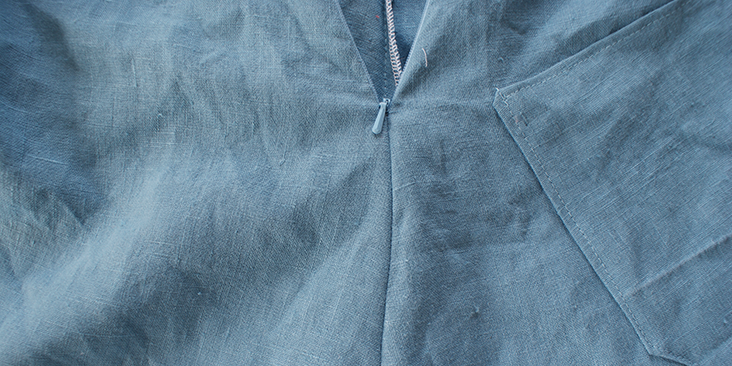
20. Pin together the remaining side seam of the skirt panels not yet attached. To create a smooth transition from the seam to the zip, sew the seam slightly above the end of the zip.
21. Stitch along that seam allowance and press open.
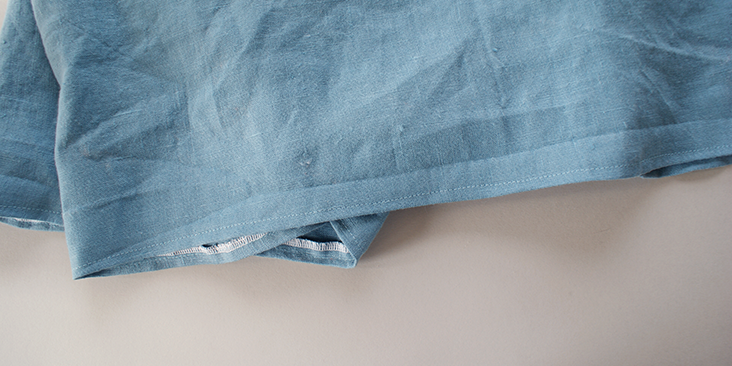
22. Press the seam allowance of the bottom seam towards its wrong side and top stitch over it.
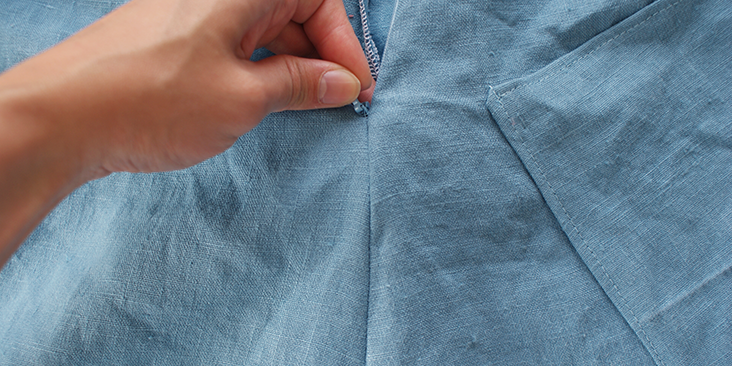
23. Turn the skirt over and hand stitch the inside part of the waist band onto the zip.
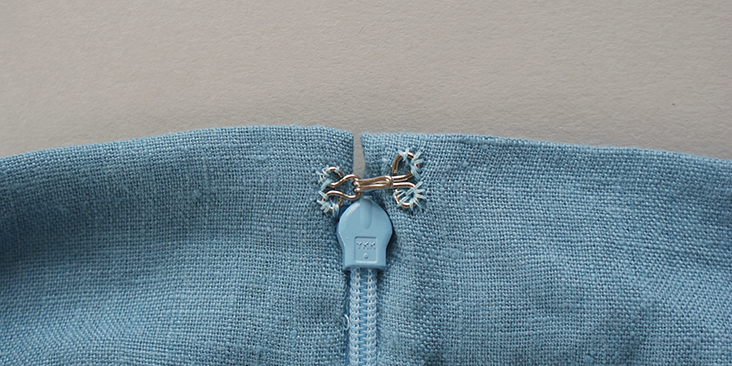
24. Following this tutorial, place the hook and eye at the opening of the waist band, just slightly above where the start of the zip is and stitch it on.
Take a look at the plethora of our linen selection and let your creativity take you on to creating something truly unique and beautiful.













11 Comments
john95
“Lie the gathered skirt panel flat along the waist band, with the folded side seam of the waist band meeting the 3/8 inch (1cm) seam allowance of the skirt panels”
I don’t agree, read
http://sewthispattern.com/2016/06/13/adding-pockets-annie-line-skirt/
patricia
I made two pairs of elastic waist pants just above ankle length, with pockets. They are loose and look almost like culottes. I love them for hot weather in a beach town.
Cynthia Fong
Thank you for your comment. What a wonderful idea. Thank you.
Lynette
Maybe it’s just me, but I would never use this type of fabric, especially in a tutorial. It looks like it has been slept in. I don’t care for the “slept in” look. It is a very nice tutorial though.
Cynthia Fong
Thank you for your comment. We primarily only use linen for our tutorials, however, most importantly we hope our tutorials can inspire you.
Sheryl
I agree…make cute culottes!
Cynthia Fong
Thank you for your suggestion! We will take this on board.
JANET
Nice basic pattern that lends itself to many variations of pocket style, mixed fabric colors/prints, etc.
I would like to suggest that if you want smoother gathers, sew two rows of basting stitches 1/4″ apart. Pin the waist band to the skirt in the center, on the ends, and pin the waist band halfway between the center and end pins to the side seam of the skirt. Use your fingers or a straight pin to move the fabric between the two rows of basting stitches to gently smooth and even out the gathers. Pin in place. You will trade a little extra effort for smooth, even gathers that hang straight.
Cynthia Fong
Thank you very much for your feedback.
Sophie
This would be really cute as culottes!
Cynthia Fong
Thank you for your feedback. We will take this suggestion on board.