Linen Overalls Tutorial
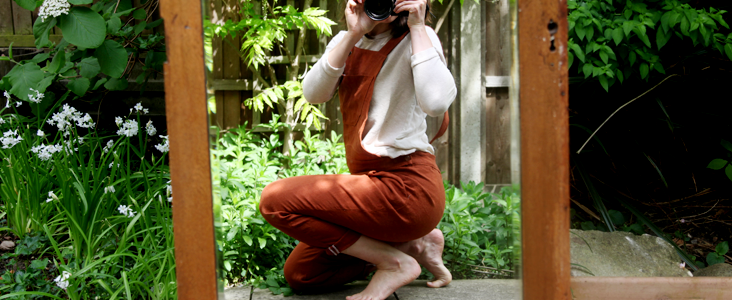
Overalls have been an absolute must for the past two years again and since we love linen, it only made sense to make overalls out of linen. They sit and feel amazing, so we are super super happy to have a chance to show you how you can make yourselves a pair. They are perfect for summer, made out of our Mid Weight IL019 Kenya, or easily worn’ for Spring and Autumn with a lovely thick woollen jumper. We have had a lot of comments on how to size up’ any of the tutorials we make, if you take a look at the diagram- you need to at 3/8 of an inch (1cm) to each seam for each size up. We make all our garments for roughly size 4-8 (UK 8 to 12). Linen is rarely meant to be worn tightly fitted, and most of the models of clothes we make would sit well in that range of sizes. However, if you need to make a larger size, follow instructions above. All the tutorials we make are meant as an inspiration,’ so bear with us, hopefully we will be able to get you proper multi size patterns in future, but for now we hope you will look at this, feel that creative rush, (possibly google a more suitable pattern) and get sewing.
Be sure to add your personal touch with perhaps a mix of fabric, and a variation on patterns.
Material
3 yard of IL019 Kenya Softened
Matching sewing thread
Buttons
Tools
Pattern paper, Pattern master
Paper and fabric scissors
Erasable fabric marker
Measuring tape, Pin
Buttonhole sewing feet
Sewing machine, Iron
Time
4-5 hours
Difficulty
Intermediate
Step
Note: Prewash your fabric and tumble dry it until it is still slightly moist, let this dry in room temperature.
1. Iron the fabric so it is easier to work with.
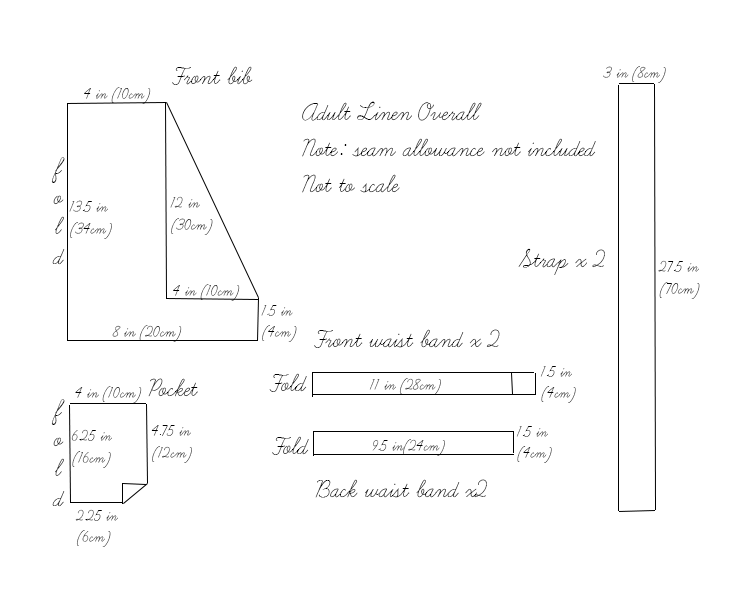
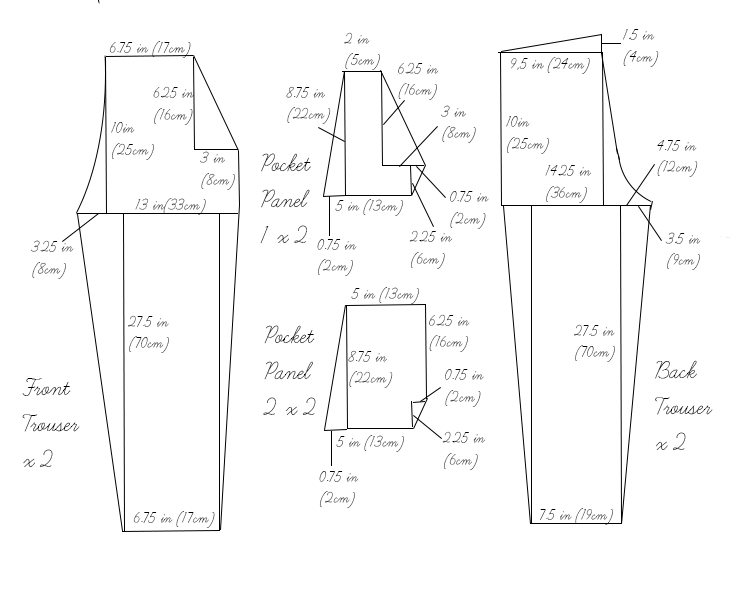
2. Follow the diagram and cut out the pieces. Seam allowance not included in the diagram. Add 3/8 of an inch to each seam. Note:’ Notching the centre of the bib panels, the waist bands (front and back) will prove useful.
The diagram shows the pattern for a size US6-8 (UK10-12). Adjust by adding 3/8 inch (1cm) to each seam for each’ size up, or take away 3/8 inch (1cm) for each size downwards. So if you are size US10 you will add 0.75 of an inch to all seams shown in diagram (this will include your seam allowance of 3/8 of inch and the sizing up value of 3/8 of an inch for 1 size up)
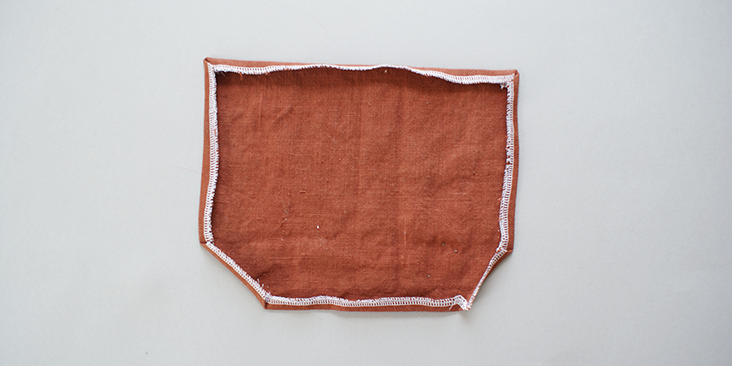
3. Use a serger, or choose your own method to protect the seams from fraying. Make sure the method you choose does not add weight to the fabric.
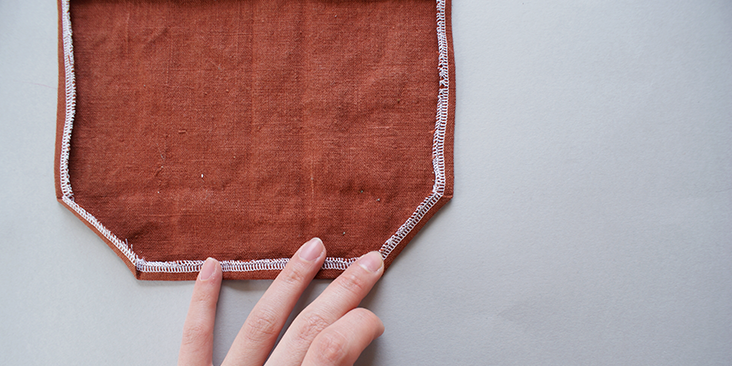
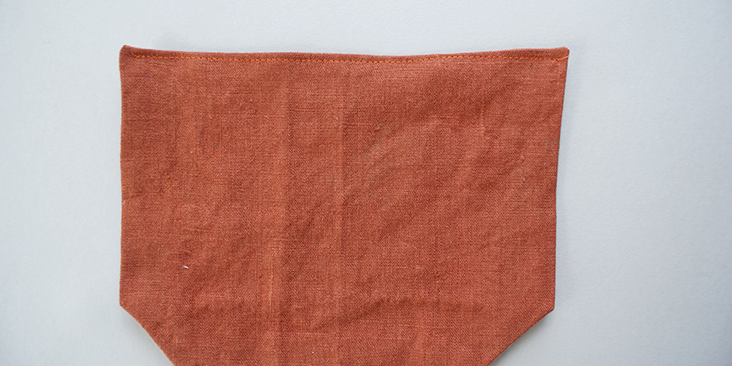
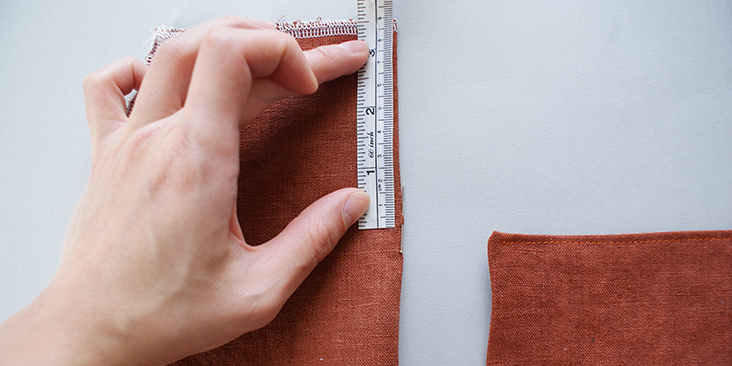
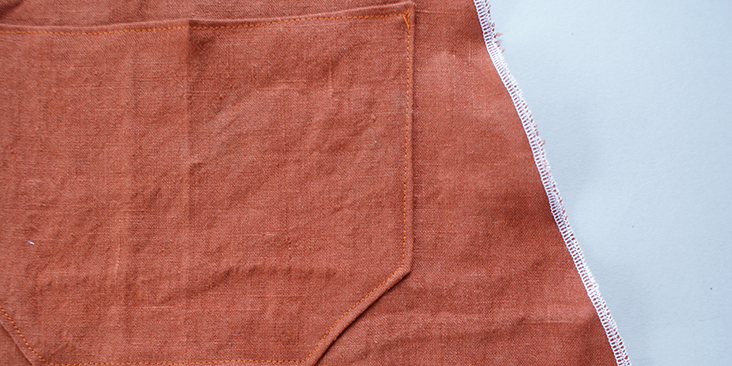
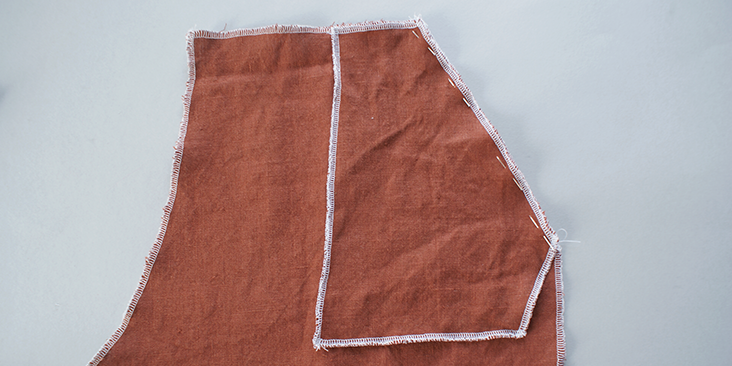
4. Press the 3/8 in (1cm) seam allowance all along the edge of the pocket, towards it’s wrong side. Top stitch only over the opening of the pocket.
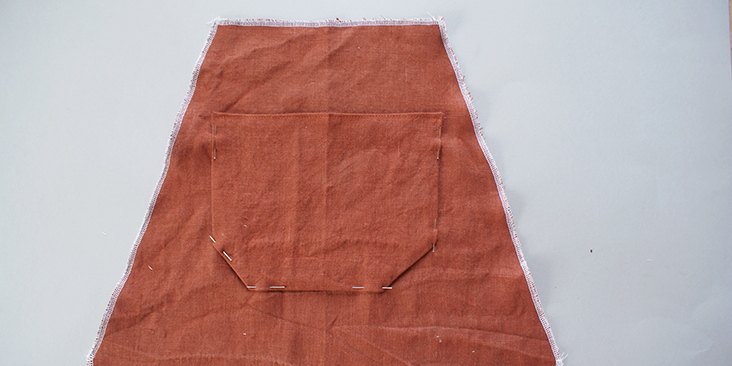
5. Place it in the centre of one of the bib’ panels, and pin it down, along the side edge and bottom edge.
6. Top stitch over these three edges.
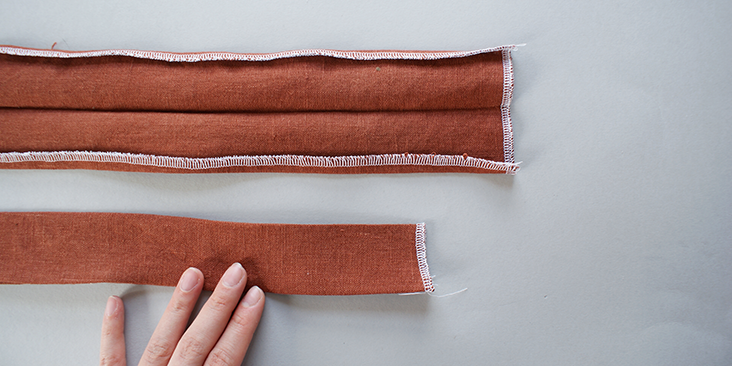
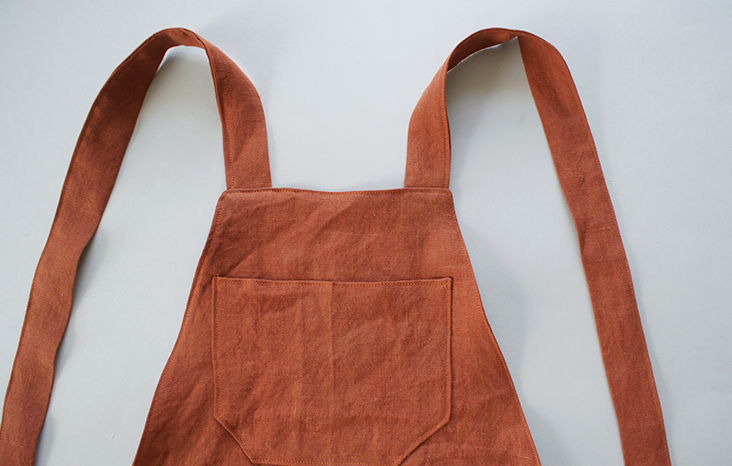
7. Fold the long straps into half, press the seams and fold 3/8 in (1cm) of the seam allowance towards it’s wrong side, on both edges and press it again.
8. Top stitch over the edge.
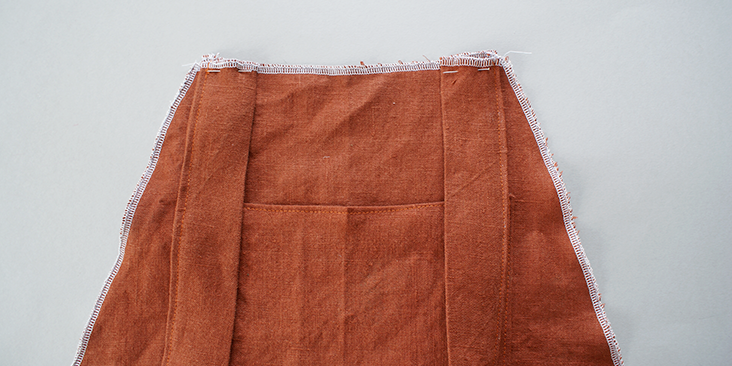
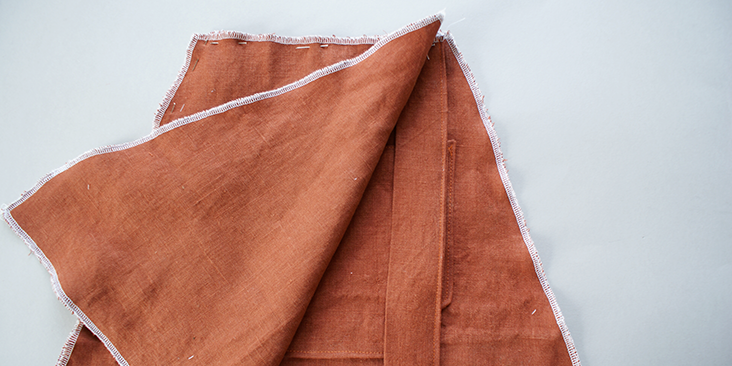
9. With the right side of both bib’ panels facing each other, pin along the diagonal side seams and top seam, with the straps (edge facing outwards) placed on the corner of the top seam.
10. Stitch along these three edges, turn the material back onto its right side and top stitch over these three edges again.
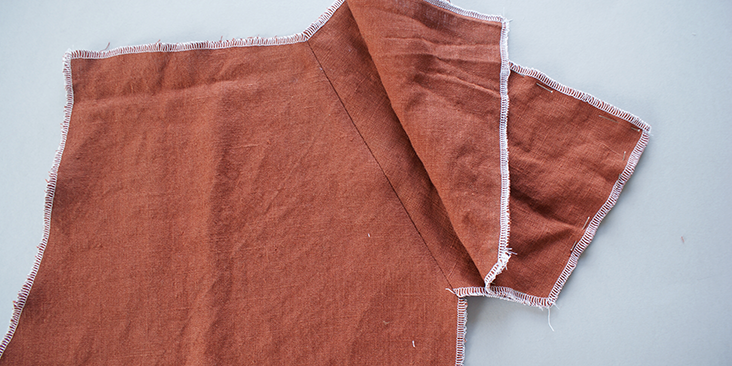
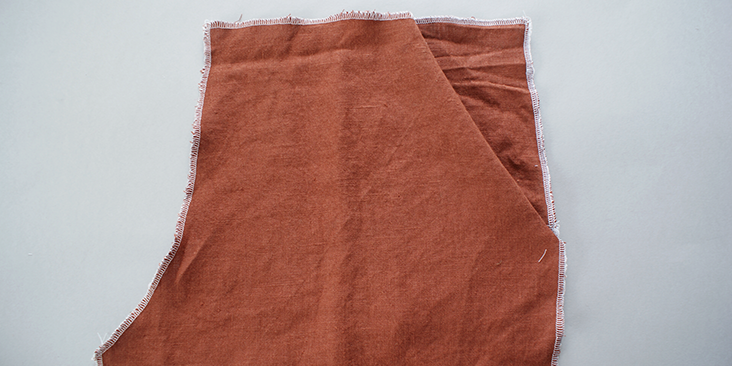
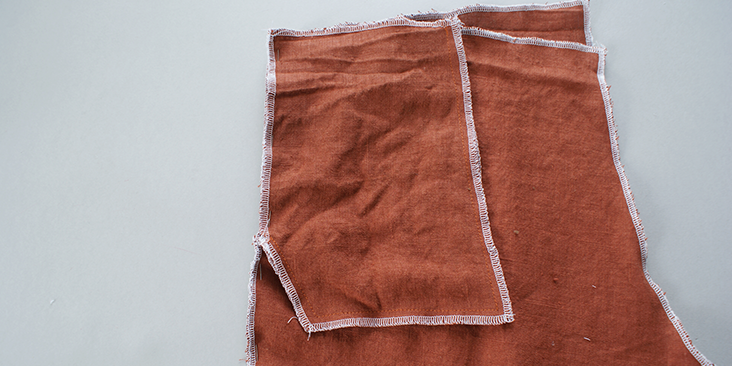
11. Now, moving on to the construction of the trousers, first, pin together the slanted seam of the pocket 1 panel with the front trouser panel. Stitch over and press the seam open.
12. Take the pocket 2 panel and pin it along all the edges with the pocket 1 panel, except the top seam. Making sure once these panels are sewn together, the right side of the pocket will be facing inwards, where you hands will be.
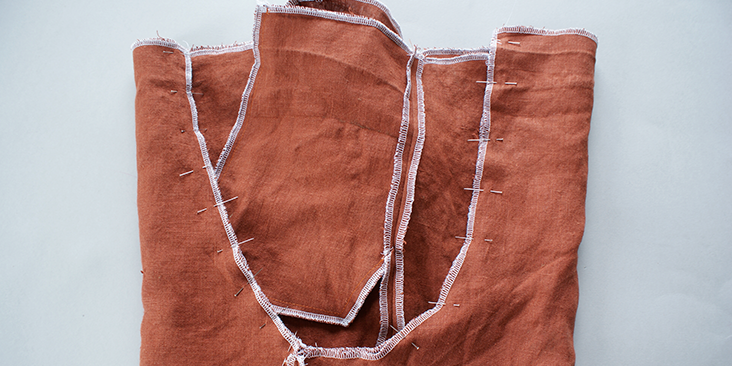
13. Now, carefully pin together the side seams of front and back trouser panels together, remember part of the front panel is the pocket 2 panel.
14. Stitch the seams together and press.
15. Also pin together the inner trouser seams. Stitch and press.
16. Then, with one of the trouser leg’s right side facing outwards, place this leg inside the other leg and pin together the crotch area. The seams should be facing outwards.
17. Stitch together and press the seam open.
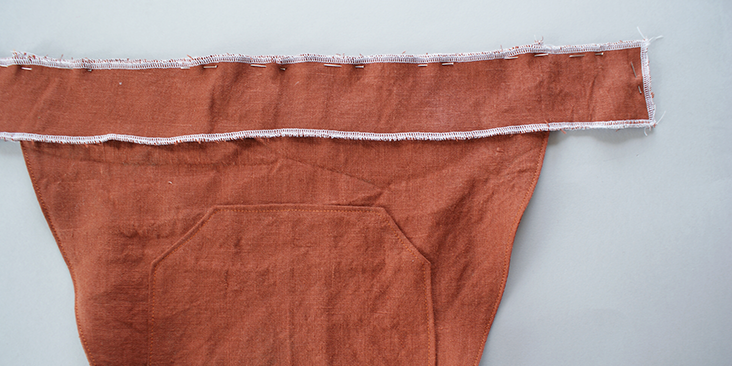
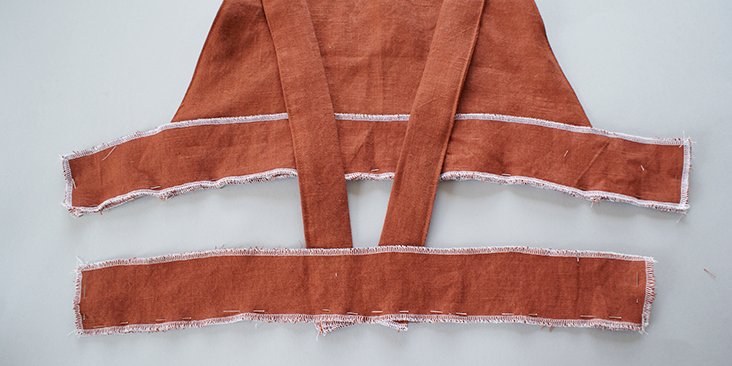
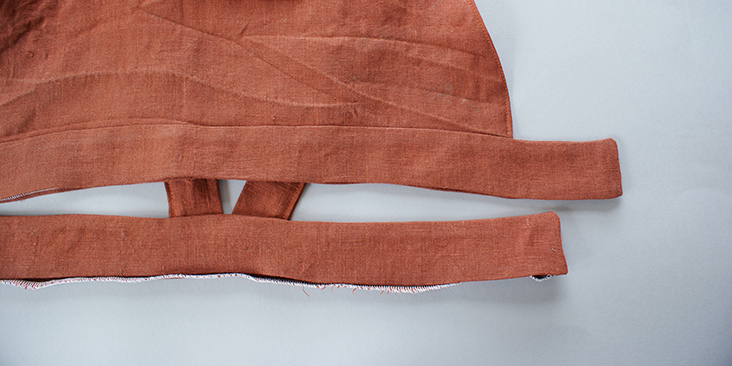
18. Now to join the body and leg parts together, first pin the waist bands onto the bib’ panel (for the front waist bands) and onto the straps (for the back waist bands). This would have been made easier if you notched the centre point of the waist bands, so you could match up where the panels and straps should meet.
19. Stitch over the side seams of the waist bands as well as the long seams, securing all the panels and straps.
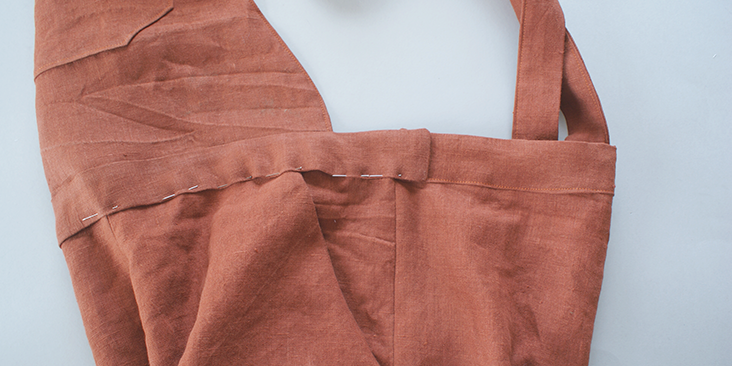
20. Next, press 3/8 in (1cm) seam allowance of the open edge of the waist bands onto its wrong side.
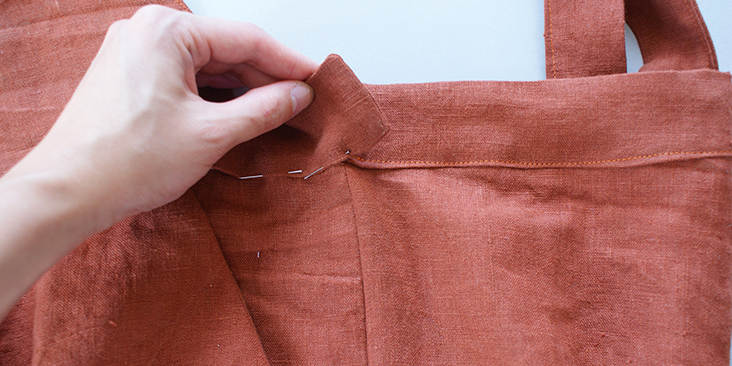
21. Place and pin this side of the waist band onto the trousers. Once again this would be easier if you have made the centre point notches, ensuring it is easy for you to match the centre seams. The front waist band will have 1 1/8 in (3cm) extra on both side, and this will be the button opening for the waistband.
22. Stitch along the pinned edge.
23. Following this tutorial, create two button holes on the extra material of the waist band.
24. Then following this tutorial, sew the buttons onto the back waist band accordingly.
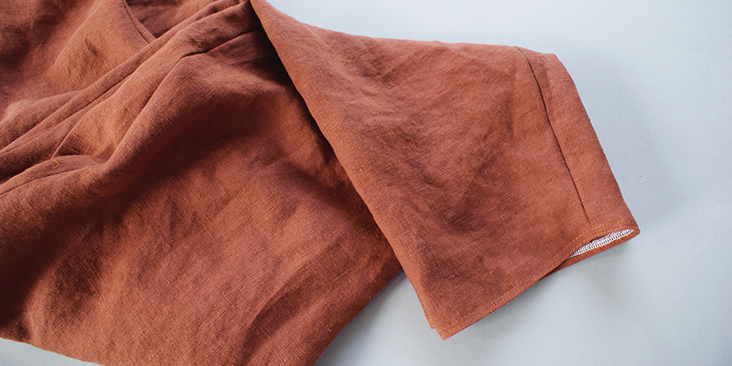
25. Fold 3/8 in (1cm) seam allowance at’ the bottom of each trouser leg onto its wrong side. Give it a press and top stitch over this.
A practical piece of clothing to add to your collection. Why not take a look at our whole range of linen and see which colour inspires you the most?
















30 Comments
Mary Reigel
Where can I download this pattern? I’m going crazy trying to find it on your site!!! :'(
Lauren Linen
This pattern is only available here on the blog as a ‘draft your own’ pattern. you can use the diagram listed on this page to draw up the pattern. There is no download.
lisa sweet
I just finished sewing these and love the pattern and finished results. I’m hoping to help folks who aren’t sure about the sizing. I am 5′ 7″, 133lbs, athletic build. 32B / 30″ waist / 39″ hips. I cut the pattern with about 3/4 inch seam allowance according to directions; I often wear a US size 8. I found the trousers nicely baggy in the hip and thigh. The waist band was a little tight on me and makes it a little tricky pulling the overalls on and off. The bib was very long on me, and created a large bulge at the abdomen that seemed like excess fabric, so I resized the bib to be about 3 inches shorter. I used a heavy-weight linen and would try this pattern with twill or a lightweight canvas in the future. The recommendation to serger or overcast the edges cannot be overstated; doing so made the project a lot cleaner and more finished appearing. It took me about 14 hours to complete the project from sizing the pattern pieces to sewing the last button.
Robyn Thorson
Any chance a printable pattern will be made of these?
Karin E.
Thank you for this, I made mine yesterday. There are a few tips I would suggest though.
-The front bib has to be cut 2 times as one gathers from the sewing instructions, but is not marked down in the diagram.
– When resizing there are some parts that do not need to be changed: the width of straps and waist bands for example. In my case not even the bib panel, it was to wide and large when adding cms to the pattern as were needed for the trouser part.
-It is a good idea also when resizing, to square the pocket patterns with the front side pattern so that they match as in the sewing instructions, since some diagonal measurements do not increase in a proportional way.
I diagrammed a new pattern today taking the above points into account, to make a second one.
leonie beckett
Hi Karin E. I hope you can help me. I have got as far as attaching the body to the waist band. The instructions don’t really show you very well. From the picture I am assuming after you have turned the hem in 3/8 of an inch on the waistband, you sandwich the pants in between those folded edges?? Also my waist bank appears much thinner than the one in the photos. I’m hoping you can help me as I see you have sewn them already. thanks Leonie
Malini Espeland
I am 152cm tall. How would u recommend i adjust for my height?
Also, would it work to put an elasticated band around the ankles do u think?
Sarah Azam
Hi, I’m slightly confused over the sizing. I am a UK 8, so how much should add or take away from the pattern shown in the diagram?
Pingback:
DIY Overalls: Old-Fashioned Trend Makes a Comeback - crazyforusKelsey
Do you think cotton would also work well for this pattern?
Vicki
I love this overall design. Looks so comfy. Is there anyway you could make it original size for download? I would be willing to purchase it. If it has larger sizes added to it. So cute have been looking everywhere for something with a loose fit to ma
Hedy
Is there any chance you can give finished dimensions? Sizing varies wildly and am unsure what US6-8 really means. Thank you!
Hauke Ziessler
Do you think this pattern will only work with linen? We have a stiffer material we would like to use for overalls but are unsure if it will work.
Pingback:
Weekend Chills - Creamy Turmeric Milkshake - Wholehearted EatsAndrea
On the Front Trouser, at the mid-left of the diagram, there is one number [3.25in (8cm)]. What does this number refer to? The depth of the top curve? If so, then what is the depth of the bottom angle of the pant leg? Thanks!
Michelle Rossi
I’m wondering the same thing! Did you happen to figure it out?
Michelle Rossi
Anybody figure this out?
Catina
That second number just means you go “back” 3.25″ from the crotch point so you can square off and go back down to the hem line.
Michelle Rossi
Awesome! Thanks 🙂
Andrea
On the Front Trouser, at the mid-left of the diagram, there is one number [3.25in (8cm)]. What does this number refer to? The depth of the top curve? If so, then what is the depth of the bottom angle of the pant leg? Thanks! Having fun and learning lots from your tutorials.
Leanne
How tall a woman is this pattern designed for? I’m almost six feet and will need to adjust the torso and/or straps.
Cynthia Fong
Thank you for your comment. This pattern is designed for woman between 160cm – 175cm in height. Hope this helps.
megan
front bib panel – pattern does not indicate two are needed but steps does. might want to update pattern.
Cynthia Fong
Thank you for your comment and for pointing this out. We will adjust accordingly.
Corkie
These will be great for gardening! Now to decide on a color!
Cynthia Fong
Thank you for your comment. Keep us updated of your choice of colour and how you get on with the overalls!
LeAnn Runge
Adorable! Pictures look very nice..? Thank you
Cynthia Fong
Thank you for your comment. We are glad you enjoy this tutorial.
pam
Just fabulous. Thank you.
Cynthia Fong
Thank you for your response.