Casual Olive Dress Tutorial
You can never have too many simple dresses, especially for summer. Wear this dress on its own, or with a simple belt around your waist.’ This tutorial’ covers some of the simple techniques we have looked at in the past and best thing about it is that it won’t take too much of your time. Enjoy!
Material
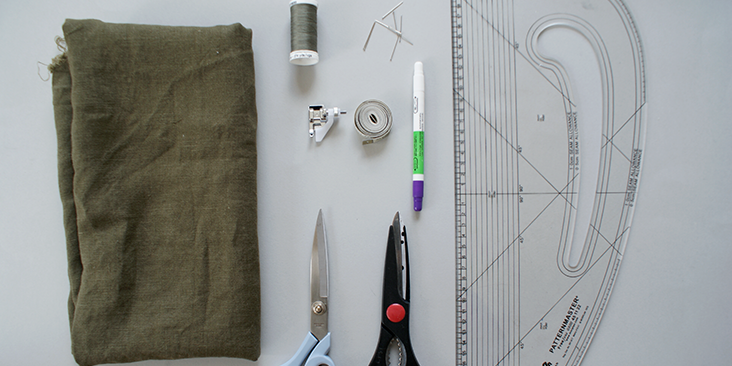
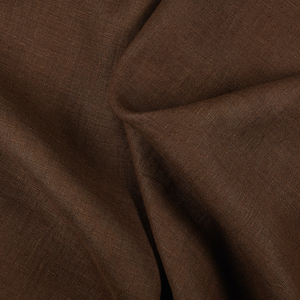
1.5 yards of IL019 Olive Softened
Matching sewing thread
Tools
Pattern paper, Pattern master
Paper and fabric scissors
Erasable fabric marker
Measuring tape, Pin
Blind Hem stitching foot
Sewing machine, Iron
Time
2-3 hours
Difficulty
Intermediate
Step
Note: Prewash your fabric and tumble dry it until it is still slightly moist, let this dry in room temperature.
1. Iron the fabric so it is easier to work with
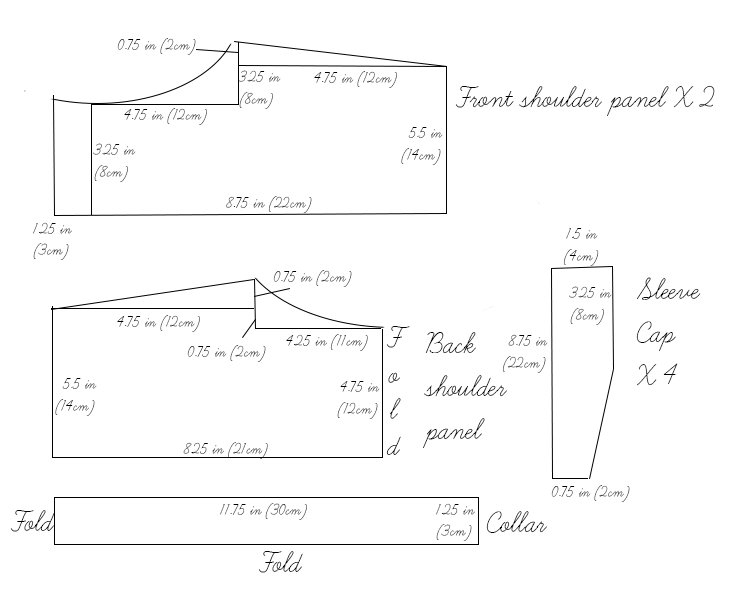
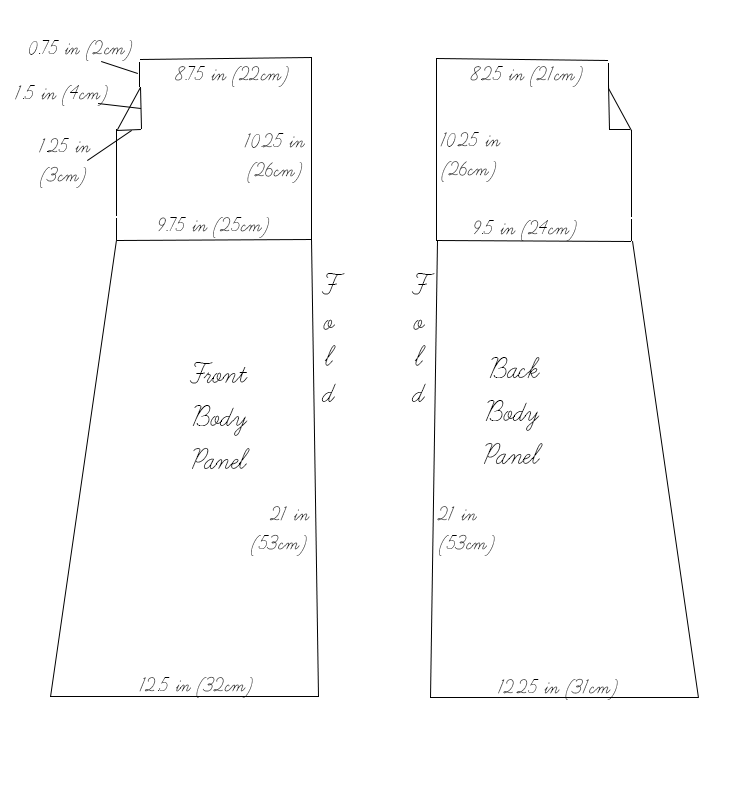
2. Follow the diagram and cut out the pieces, including seam allowance 3/8 inch (1cm) and the notch marks. Note: Marking the centre point of the main body panel will be very useful too.
3. The diagram shows the pattern for a size 4-6 (UK size 8-10). Adjust by adding 1 inch (2.5cm) to each seams for each size up, or take away an inch (2.5cm) for each size downwards.
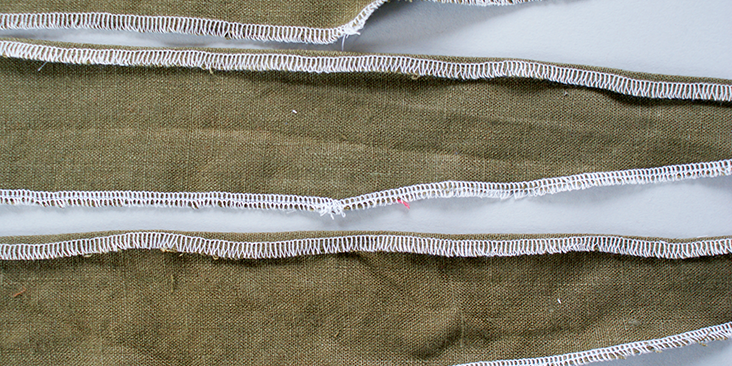
4. Use a serger, or choose your own method to protect the seams from fraying. Make sure the method you choose does not add weight to the fabric.
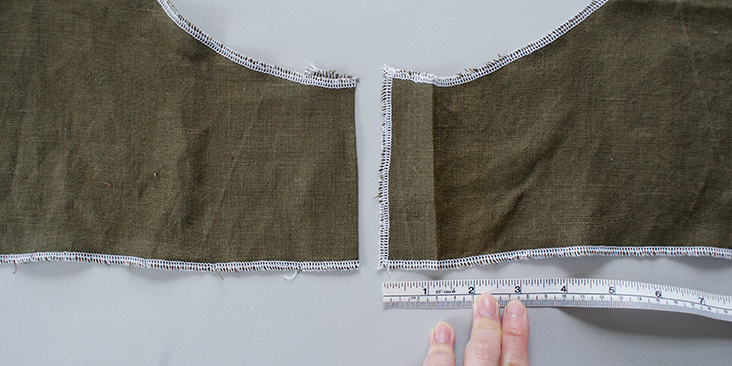
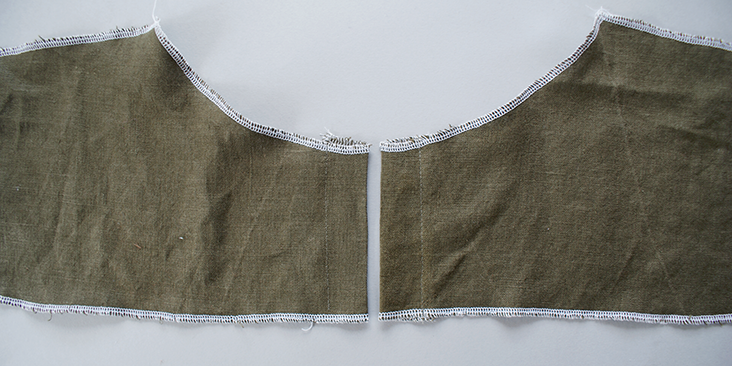
5. Press 1 1/4 inches (3cm) from the centre seam on the smaller panels toward its wrong side.
6. Top stitch along the seam.
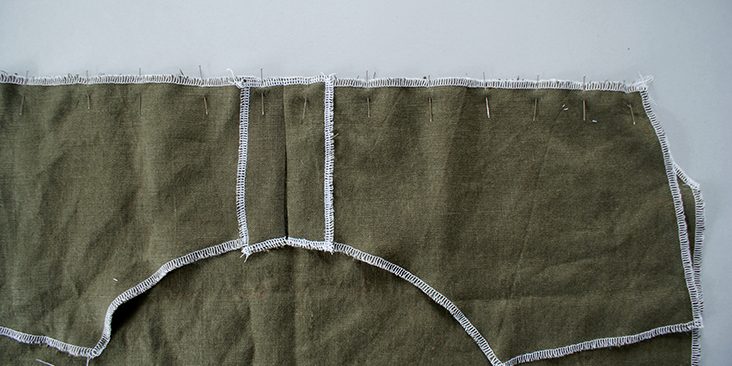
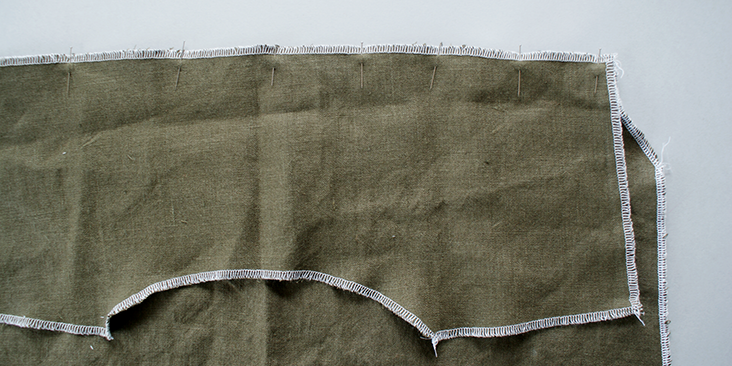
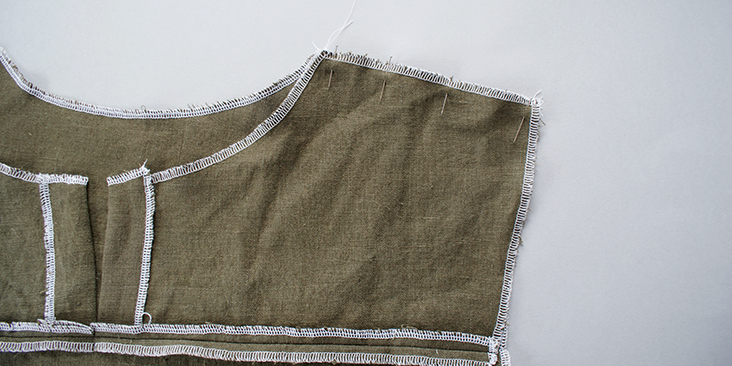
7. Pin the top panels onto the bottom panel. Stitch and press the seams open.
8. Pin the shoulder seam of the front and back top panels together. Stitch and press open.
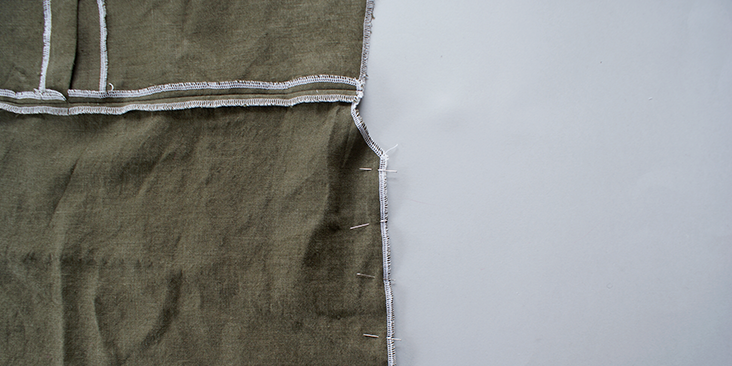
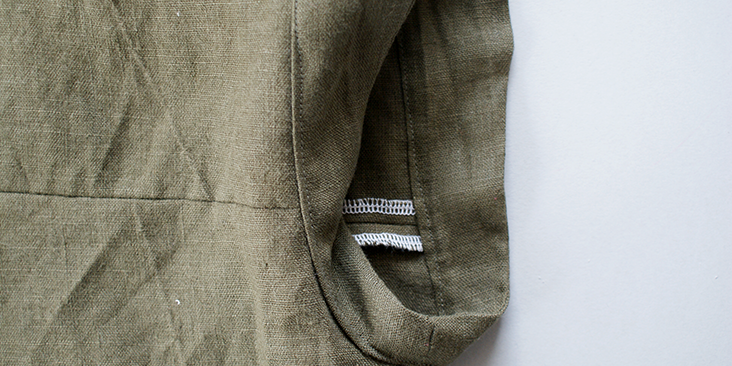
9. Pin along the side seam up to where the armhole begins. Stitch and press open.
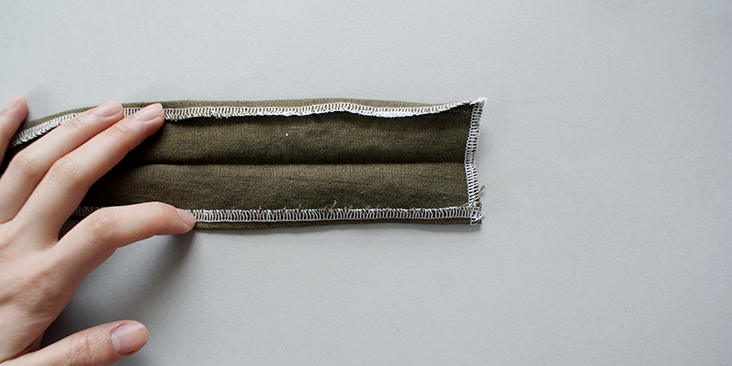
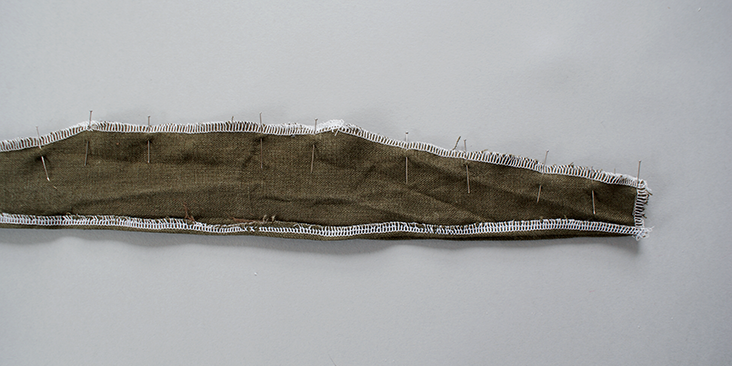
10. Fold 3/8 inch (1cm) of the collar stand onto its wrong side on both long edges. Press.
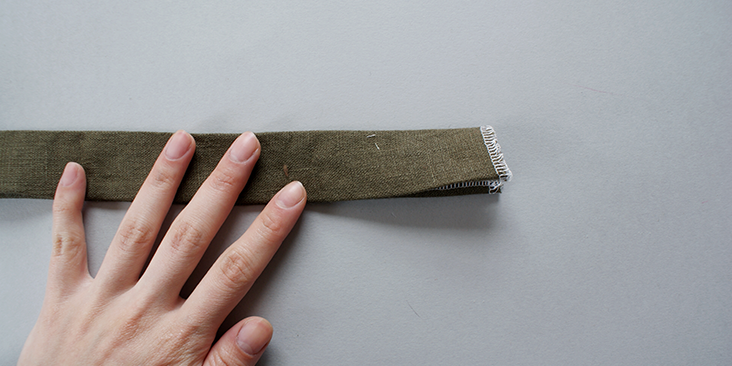
11. Then, press the folded collar stand in half, with the pressed edge inside the fold.
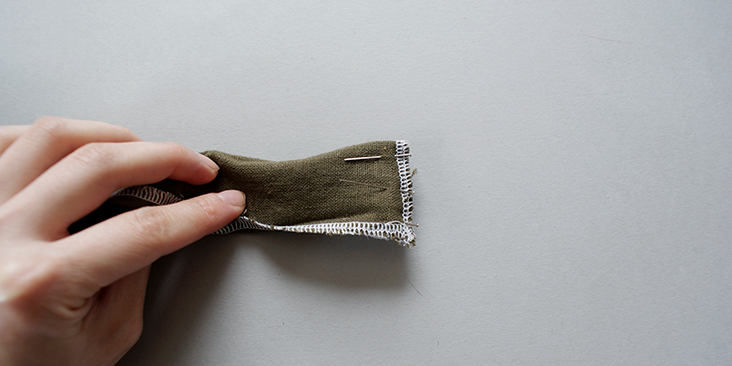
12. With the wrong side facing you, stitch along the 3/8 inch (1cm) seam allowance on the shorted edge of the collar stand.
13. Trim the triangle off the inner corner of the stand, this is to reduce excessive fabric.
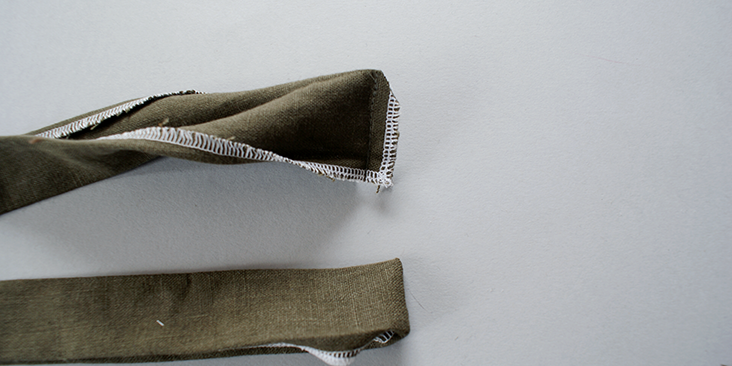
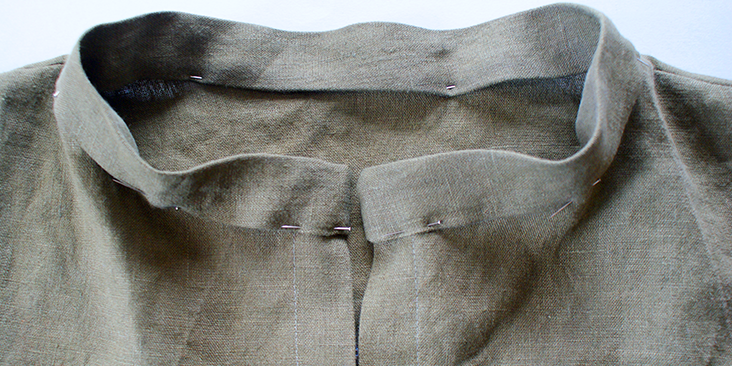
14. Reverse the collar stand back onto its right side, and pin it carefully around the collar of the main bodice.
15. Stitch and press to set it.
16. Press 3/8 inch (1cm) seam allowance on all the long straight edges of all 4 sleeve panels onto its wrong side.
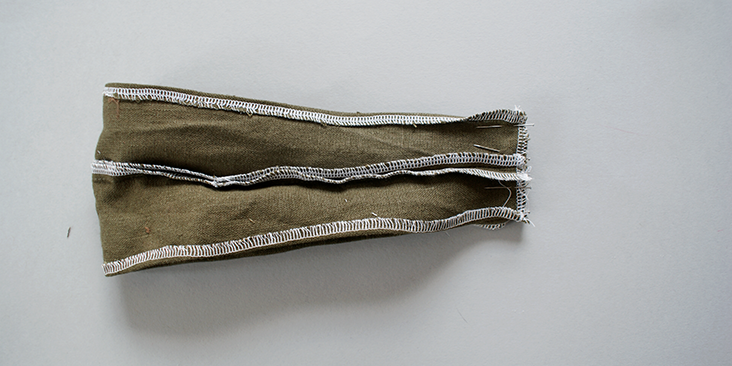
17. Match up the pair of sleeve panels and pin along the raw edge, with the wrong side facing you. Stitch and press.
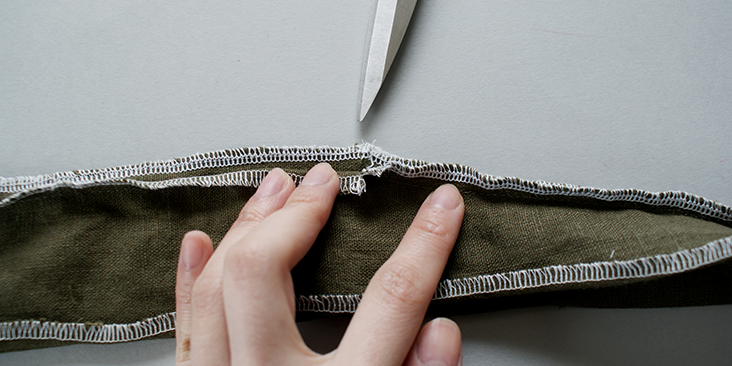
18. Notch along the stitched edge to allow fabric to be reversed.
19. Still with the wrong side facing you, join the sleeve panel into a loop by stitching together the shorter edge together. Press.
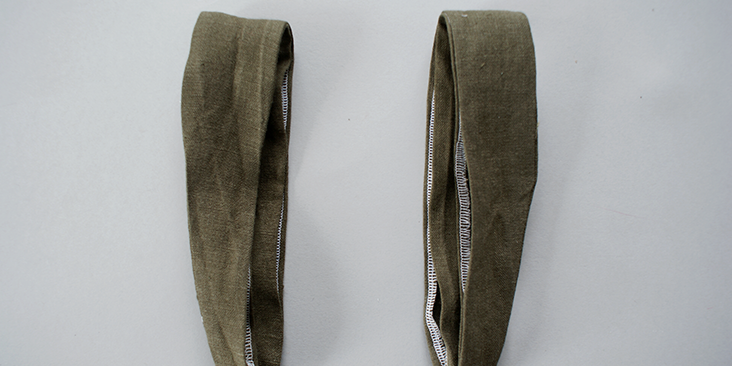
20. With the edge stitched, reverse the sleeve panels onto its right side.
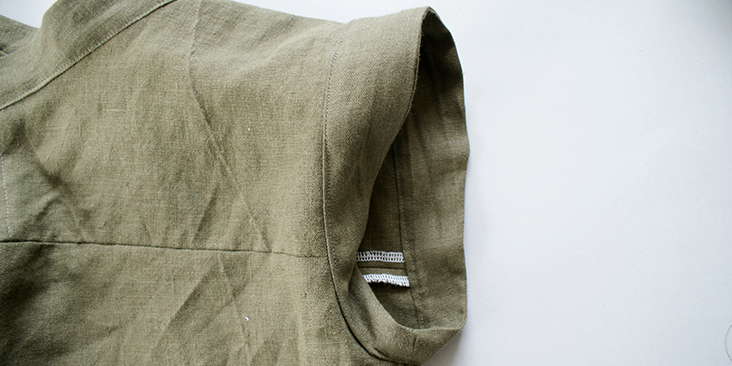
21. Pin the panels along the arm holes, making sure both side of the folded edges are caught by the needle. Stitch and press to set.
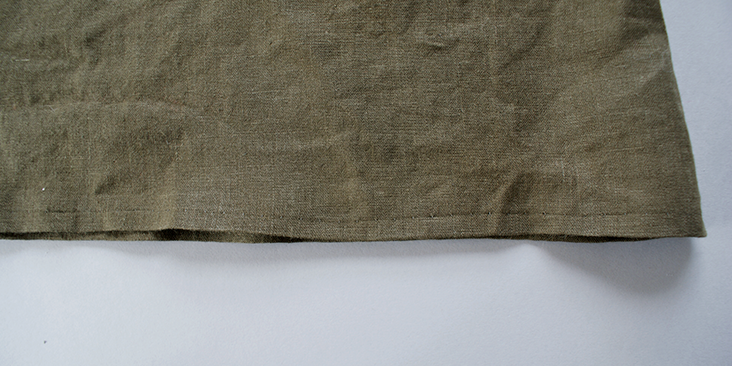
22. Following this tutorial, and with the help of the blind hem stitching foot, you will create an invisible machine stitched hem for the bottom of your skirt.
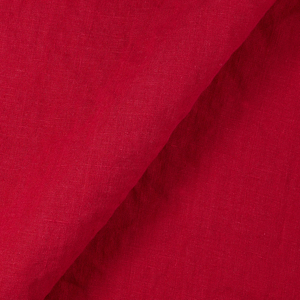
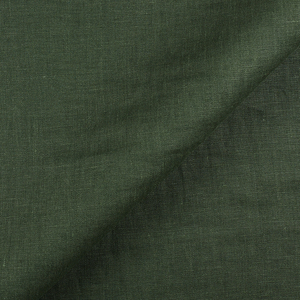
A’ great item’ to add to your summer wardrobe. Why not take a look at our plethora of fabric and choose the one that inspire you the most today?’










15 Comments
Jessica
I’m to positive about what adding 1 inch to each sean actually means. Do I add 1 inch to each edge of each pattern piece? Or do I just add one inch to the side seams of the dress. Or should I add width near the front/ back folds? I can’t imagine adding 1 inch to every edge, the dress would be huge. I’m a US 8.
Athena PN
I keep coming back to this simple yet versatile pattern: a summer classic with brilliant, novel touches reminiscent of details seen on blouse patterns from the 1940s, particularly the yoke & sleeve caps. I haven’t shortened it into a blouse (yet) but plan to do so. It’s easy to see that shortening alone will result in a lovely blouse but one could also add waist darting & play around with the neckband & sleeve caps for several different summery looks . Thank you Ms. Fong for your interesting take on the simple summer chemise that presents so much potential in one tutorial!
Cynthia Fong
Thank you so much for your comment. We are so glad that this tutorial is able to inspire you with all its details. We hope to see what project you have next! Please share photos of your results.
Sarah Helene
Lovely simple & classic dress with detailed steps in your tutorial. Love the olive fabric! THANKS for sharing! Sarah in Minneapolis
Cynthia Fong
Thank you for your comment. We are glad you enjoy this tutorial. Let us know how you get on!
Pat Dawson
The sides of these pattern pieces don’t add up if the angles are indeed right angles. Do I just follow the measurements and disregard the angles?
barbara kenyon-rudolph
Enlarging the pattern sizes beyond size 4-6…many are not in that size range and still would like to make this dress. Are there plans to offer other sizes in this pattern that goes to an greater range of audience sizes ?
pam
Barbara if you read through again, you need to add an inch for each size.
Phyllis
If you have to enlarge the pattern more than one or maybe two sizes, adding an inch to just the side seams as instructed in the tutorial may not work. It will only give you very large armscye. Additional inches may need to be added throughout the pattern -distributing additional inches between side, center front and back (keeping in mind these will also affect the neckline). Do you need a longer shoulder seam or armscye? Although alterations to this simple dress need not be complicated, they may not be as simple as adding inches to the side seam.
Cynthia Fong
Thank you for your comment and feedback. The reason we have decided to use this method for size grading is because not everyone who read this blog might be as competent a sewer as others, so we try to simplify the pattern so the seams are all mostly very straight and easy to follow, and suggesting this method for grading, so no difficult instructions might deter any new sewers away. However you are correct as referring to not all the seams can be enlarged simply by just adding an inch.
Cynthia Fong
Thank you for your comment. We will definitely take your feedback on board and see what we can do with future tutorials. But as Pam mentioned, there is instruction regarding how to enlarge the pattern for each sizes up.
Diane C
What a beautiful and elegantly simple design!
While this doesn’t fit my body shape in this current configuration – I can surely build on your idea! Thank you.
I do think that it will workfor my mother who loves simple summer frocks!Thank you so much for sharing this design with us!
Cynthia Fong
Thank you for your comment. That is so great that you enjoy this design. We hope it inspires you for more future projects, building from this pattern!
Trish
This looks like a fun tutorial. I think I’ll check and see if I have a piece of fabric to make this dress.
Cynthia Fong
Thank you for your comment. Be sure to share with us your project!