Named Vanamo Top and Lumme Skirt Tutorial
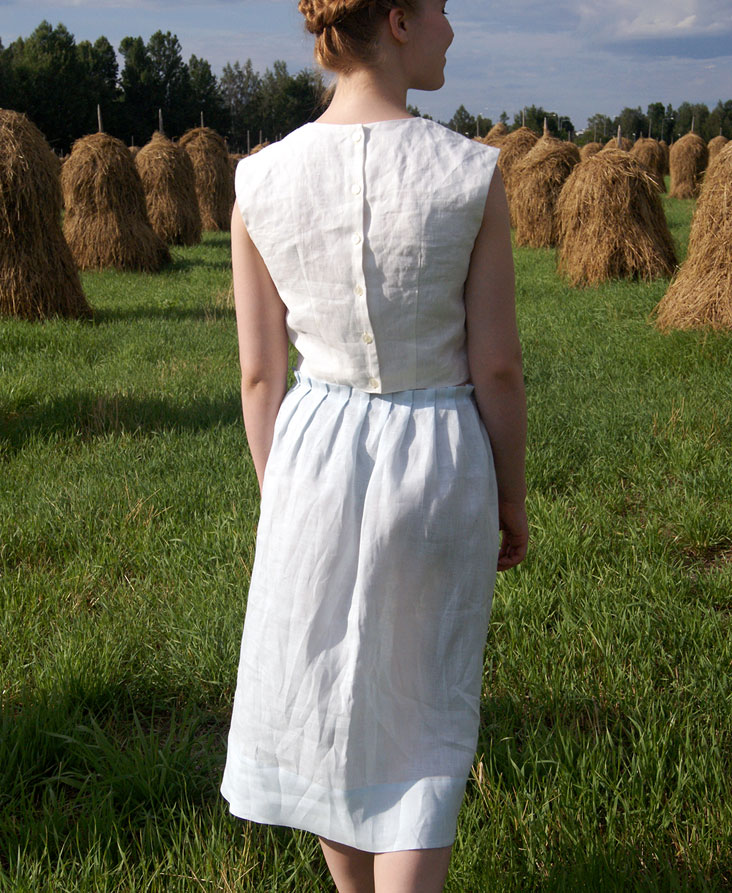
The Vanamo Top and Lumme Skirt combination is a beautiful and romantic summer ensemble that is perfect to be made of linen! The top part of this outfit is actually a top from two-piece dress, but it works wonderfully on its own as well, combined with a voluminous skirt like Lumme.
For the Lumme Skirt we chose the softened light weight linen in pastel blue. The light linen is an ideal fabric for this style, as it gives volume to the skirt, and a beautiful structure for the pleats at the waist line. We didn’t make any changes to the pattern itself, as this skirt will look gorgeous in linen as it is.
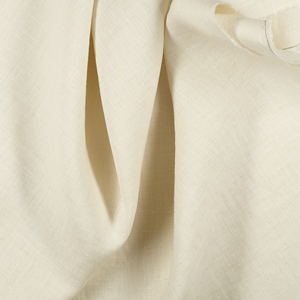
The Vanamo top was made of the medium weight, bleached white linen. The original Vanamo top has a zipper closure at back, but we decided to change that for a button closure, for a more relaxed and casual summer look that complements the linen. The original top is unlined, and it has a vertical seam at the center front. However, we decided to eliminate all extra seams to make this top as simple as possible. We also added a lining for comfort, and to prevent the top from being too sheer.
Let’s start with the top:
Difficulty: Intermediate
Time: 4 – 5 hours
Materials:
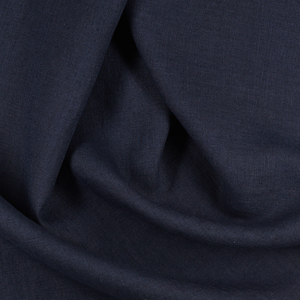
Fabric: ‘½’ yd of 4C22, Bleached (57″³ wide)
Also: ‘½ yd of Lining (for example light weight linen or cotton), 6″ of interfacing and’ 5 – 6 small or medium sized buttons.
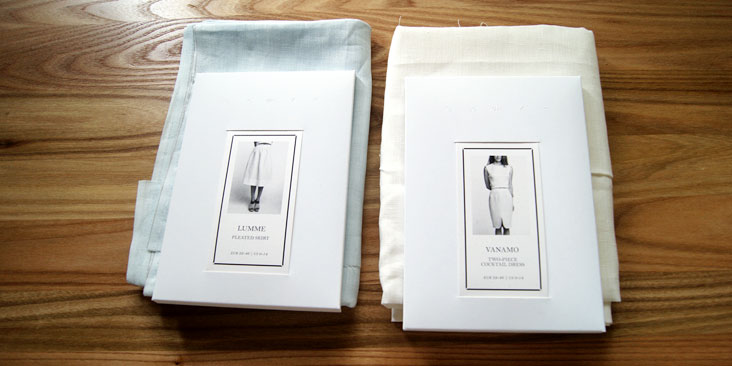
Pattern: Named Vanamo Two-Piece Cocktail Dress
Notions:‘ tracing paper, pencil, ruler, scissors, pins, needle, sewing machine, (overlocker).
- First, prepare the patterns: The PDF version of the pattern has all seam allowances included, the paper version does not. In any case, we would suggest tracing the patterns without seam allowances altogether, as we are going to make some changes to them.
As the original pattern does not have lining or a button stand, we will need to draft these patterns. But don’t worry, this couldn’t be any simpler! Here’s how to do it:
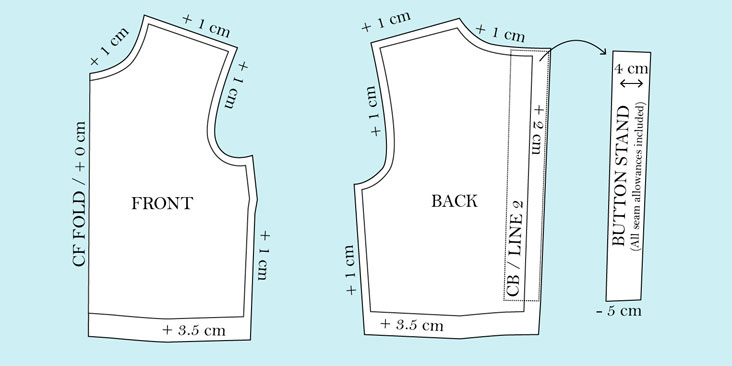
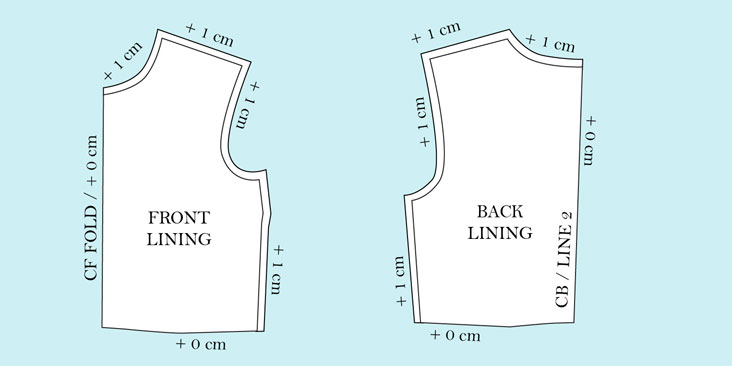
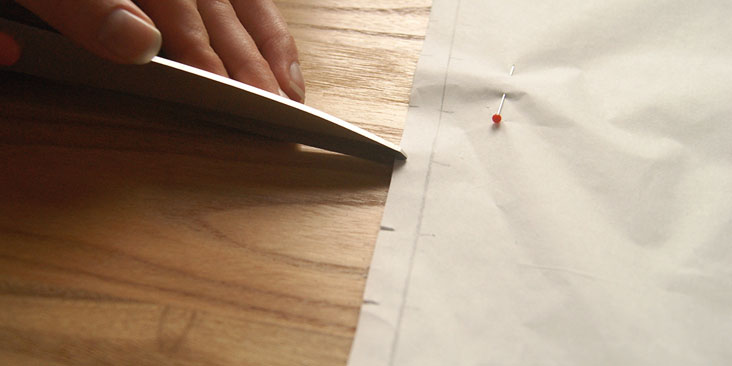
- First, trace two of both of the top patterns (without seam allowances); two front pieces and two backs, these will create the shell and lining patterns. Make sure to trace all the darts and notches as well. Trace the back pieces along the center back line, which is labeled CB in the pattern. It’s also called the ‘Line 2’.
- Add seam allowances to the shell pieces: Add 3,5 cm / 1 3/8″ to the bottom edge. Add 2 cm / ‘¾” to the center back. Don’t add any seam allowance to the center front – you will cut this piece on fold. Add 1 cm / 3/8″ to all other seams.
- Draft the button stand: Trace the button stand using the back piece of the shell (the one that has all seam allowances added already). Make a 4 cm / 1 ‘½ wide strip along the top, back and bottom edges of the back piece. Then, deduct 5 cm / 2″ off the bottom edge of the piece (so the button stand is 5 cm / 2″ shorter than the bodice).
- Add seam allowances to the lining pieces: Don’t add any seam allowances to the bottom edge, center front and center back. Add 1 cm / 3/8″ to all other seams.
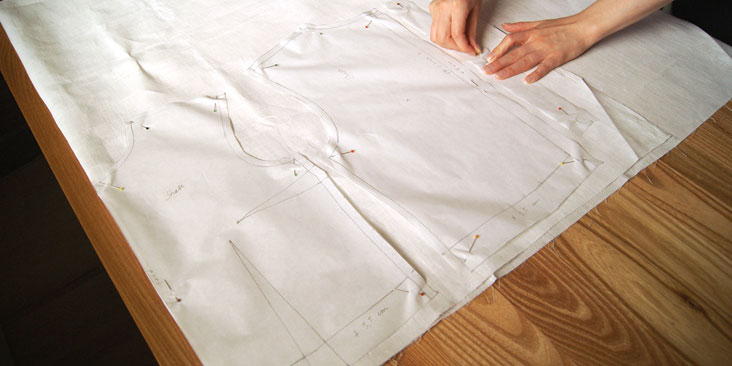
- Now that we have all the pattern pieces prepared, we can start sewing! Cut the pattern pieces:
- Shell: Cut 1 Front piece on fold, 2 back pieces and 2 button stands
- Lining: Cut 1 Front piece on fold and 2 back pieces
- Interface the button stands completely.
- Sew all bust and waist darts of the shell and the lining.
- Sew the shoulder seams of the shell and the lining.
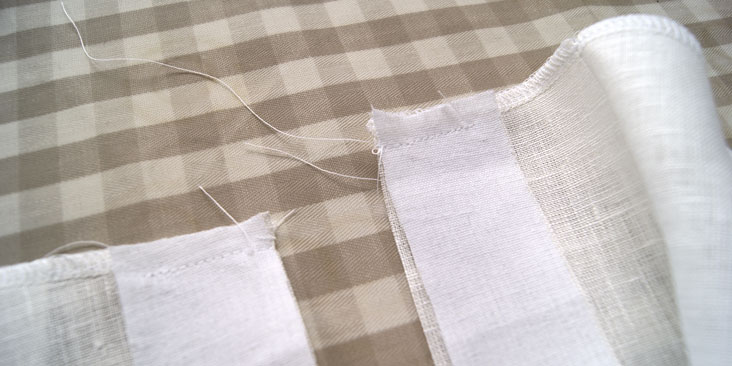
- Sew the button stands to the bottom edge of the shell, leaving 1 cm / 3/8″ unsewn at the inner edge.
- Fold the turn-up at the bottom edge of the shell right sides together and sew the button stands to the center back edges.
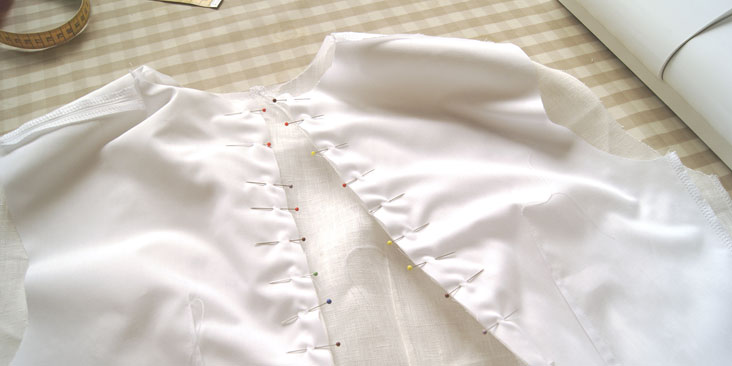
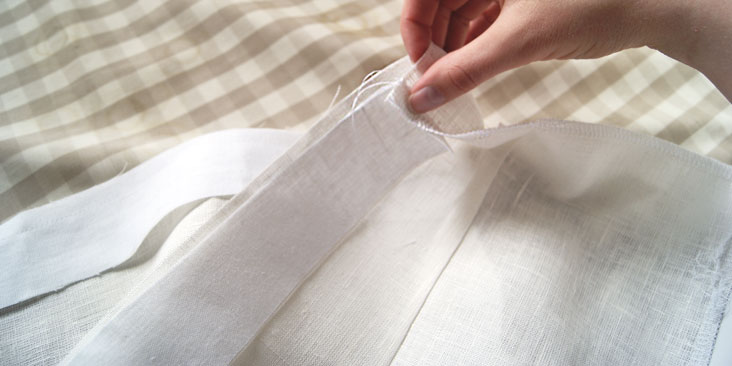 8. Sew the lining’s center back edges to the button stand. The lining is a bit’ longer than the shell, so you will need to ease it slightly.
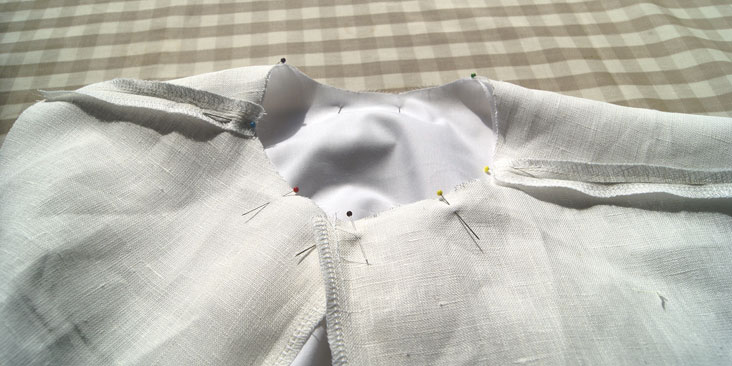
- Sew the lining and the shell together at the neckline…
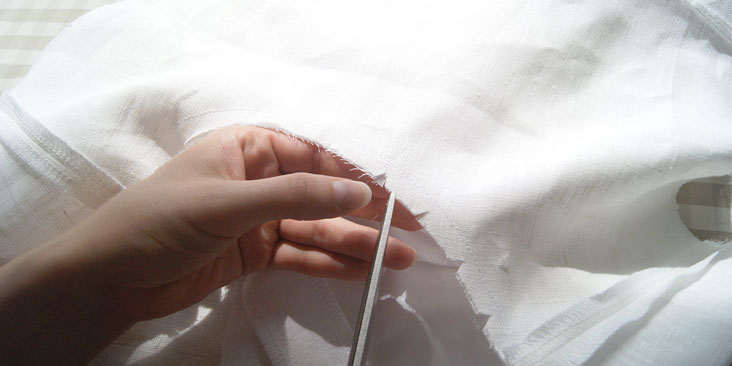
… Clip the seam allowances, turn the neckline right side out and press carefully. Understitch the seam allowances to the lining.
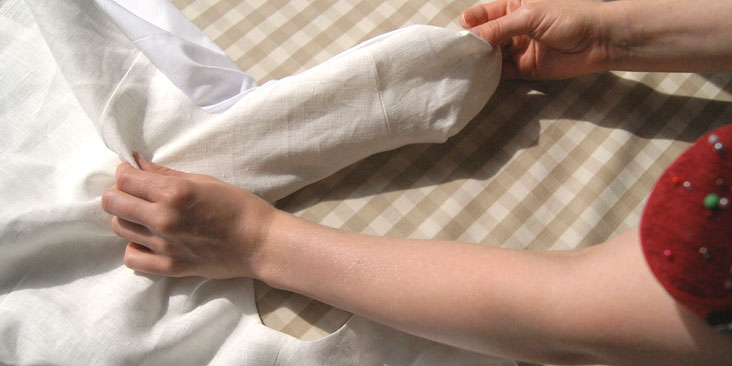
- Turn the top wrong side out again and sew the lining and the shell together at the armholes. Clip seam allowances. Turn the garment right side out by pulling the back pieces through the shoulders…
… Press and understitch the front and back armholes in two parts: first the front armholes from side seam to shoulder, then the back armholes in the same manner.
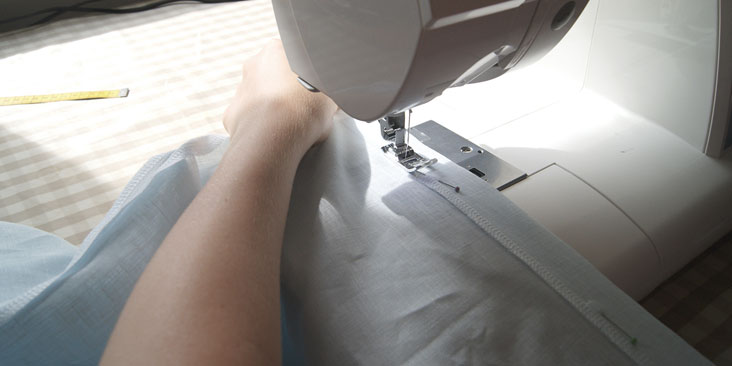
- Sew the side seams of the shell and lining in one continuous seam; Pin the lining edges right sides together, and the shell edges similarly right sides together. Sew and press.
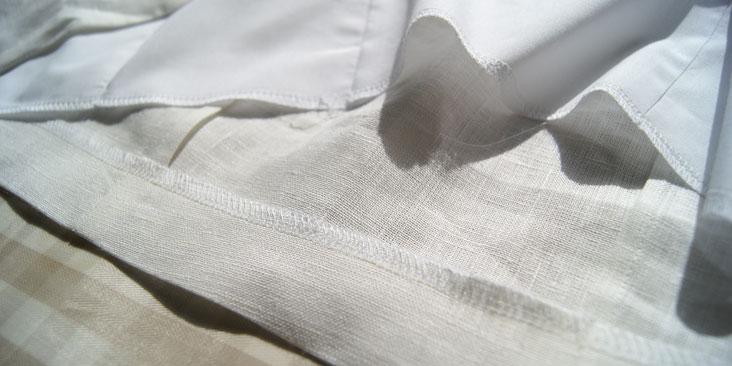
- Press the turn-up at the bottom edge to the wrong side…
… Pin the lining’s bottom edge to the turn-up, right sides together and sew, leaving a short opening for turning the garment.
- Fasten the turn-up to the shell by sewing its seam allowances together with the shell’s seam allowances at the side seams.
- Turn the garment right side out and sew the opening closed by hand.
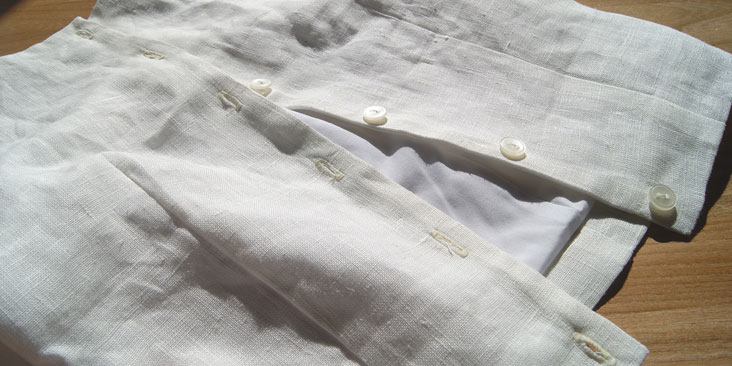
- Make 5 or 6 vertical buttonholes to the right-hand edge of the center back. Attach the buttons to the left-hand edge.
- That’s it, you have a Vanamo top!
Let’s move to the skirt – we didn’t make any changes to the pattern, so you can trace the pattern pieces normally and follow the seam allowances given in the instructions.
Difficulty: Intermediate
Time: 3 – 4 hours
Materials:
Fabric: 1 – 2 yd (depending on the size of the skirt) of IL020, Light Blue Softened (57″³ wide)
Also: 15 cm / 6″ zipper
Pattern: Named Lumme Pleated Skirt
Notions:‘ tracing paper, pencil, ruler, scissors, pins, needle, sewing machine, (overlocker).
- Firstly, when cutting the garment pieces, remember that you will need two of the exact same piece, so don’t fold the fabric right sides together as usually. You will need to place the fabric right side against wrong. You can either place two separate ‘ pieces of fabric on top of each other, or, cut the fabric in half first and then lay the two pieces on top of each other, wrong against right.
- Be sure to clip all the notches to the waistline very carefully – these will mark the pleats so you will need them to be accurate, to keep the waist measurement right.
- Sew the side seams, right sides together, the left side seam only up to the zipper slit notch. Press seam allowances open, press also the slit’s seam allowances to the wrong side.
- Press the 3 cm / 1 ‘¼” fold to the wrong side at the waist and sew.
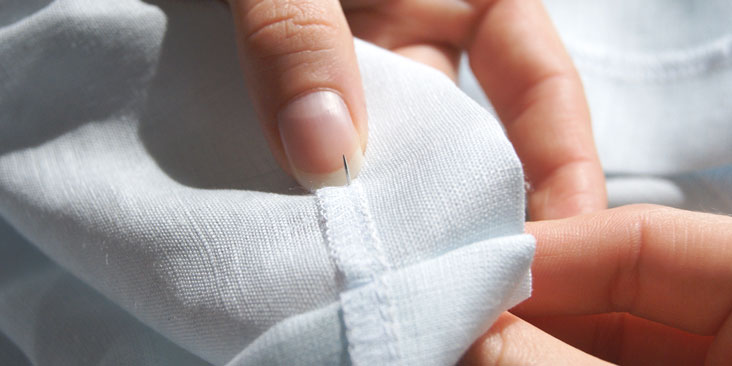
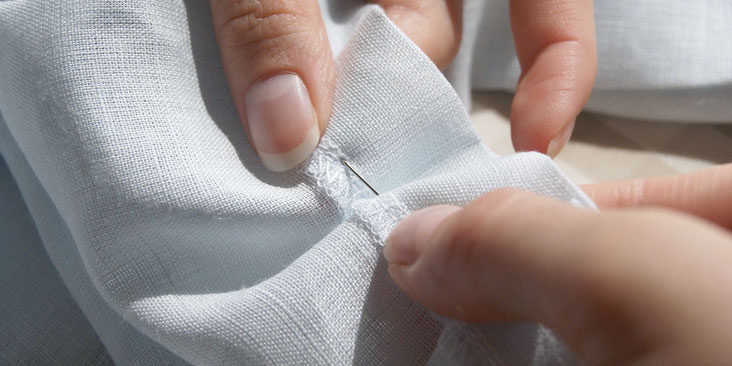
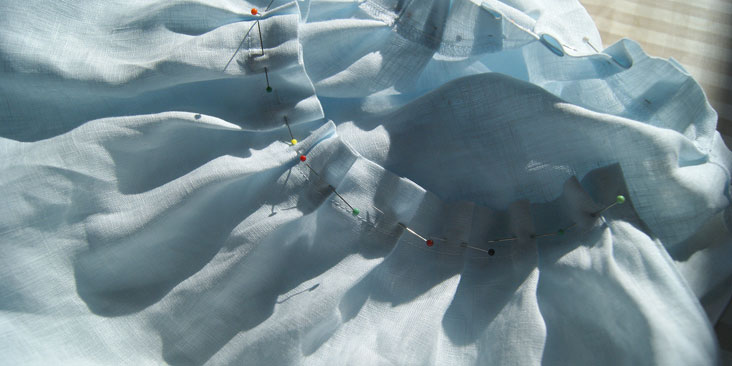
- Form and pin the pleats carefully by matching the notches: Use a pin to find the notches, first put the pin through the first notch (you can’t see it in the image, but there is a notch right at the spot where the needle comes out)…
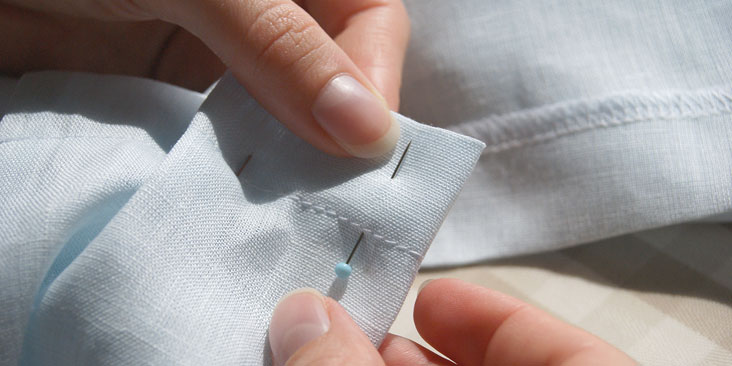
… Find the corresponding notch with the same pin…
…and pin the pleat closed at that exact spot.
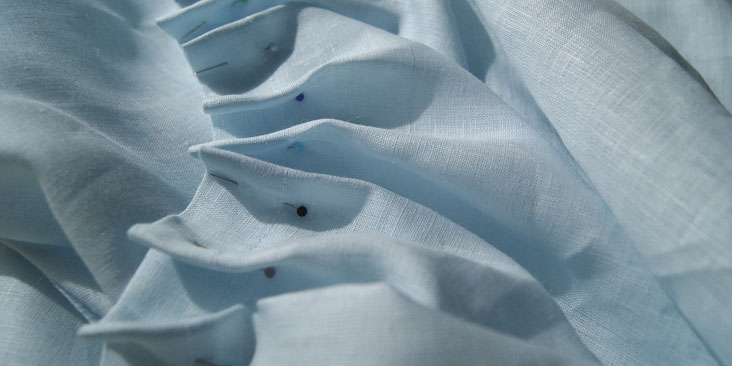
Pin all the pleats at the waist line in the same manner, and check that the waist measurement is correct before sewing!
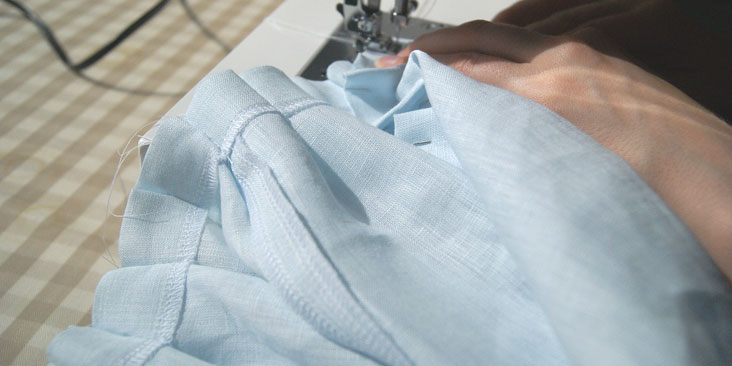
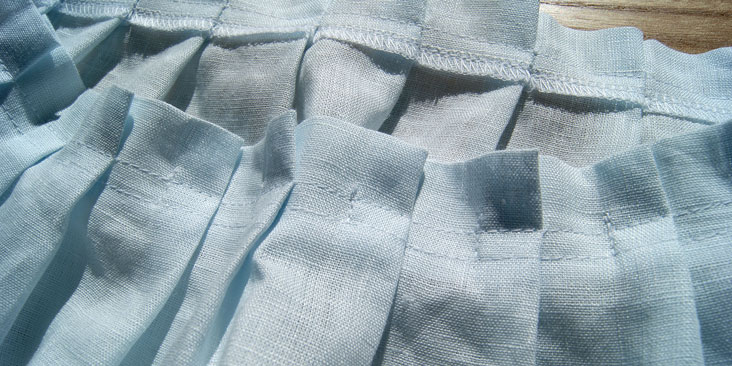
- Sew the pleats closed one by one. Make sure to sew them at the point where the pin is. This way you will sew them closed exactly at the notches and the pleats will be even and the waist measurement will stay correct. Leave the top of the pleat open to create that frilled effect to the waist line.
- Fold and pin the pleats to the left…
… and fasten by sewing over them, around the waist, a bit above the previous seam line.
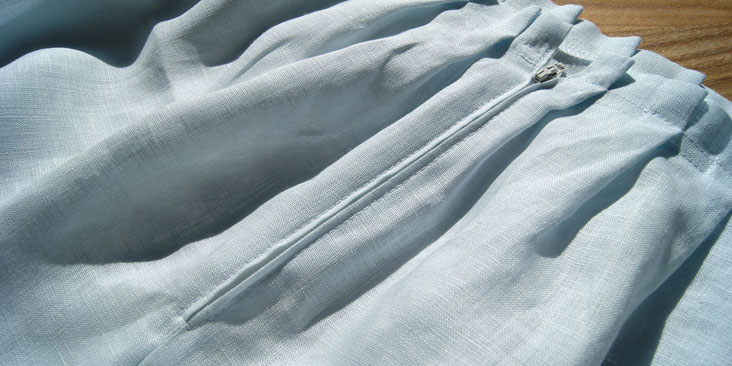
- Next, insert the zipper; Close the slit and place the zipper in the slit. Fasten with pins, baste stitches or – our personal favorite – glue (the kind that’s used for sewing, not just any glue). Stitch the zipper on from the right side. If you want, you can hand-stitch the zipper’s top ends to the waist to keep them set at their place.
- Finally, turn the bottom edge: First fold the 1 cm / 3/8″ seam allowances to the wrong side, then the 10 cm/ 4″ fold marked with the notches, and stitch.
- All done!
Perfect, now you’ve got yourself a fantastic summer outfit! Style with cute shoes and braided hair, and enjoy the summer for as long as it lasts!












3 Comments
sally goldberg
I am unable to locate the pattern for the two piece vanamo top/cocktail dress. Please advise.
Sandra Garratt
Your fabrics are so wonderful and your tutorials & ideas/tips are outstanding! Thank you for being there and providing great products, service and ideas! Keep up the great work!
Sandra Garratt
Masha Karpushina
Thank you very much Sandra, its very kind of you! We are very happy that this is inspiring to you. And sorry for such a slow reply. Hope you are well. Masha.