A Simple Dress for the Spring!
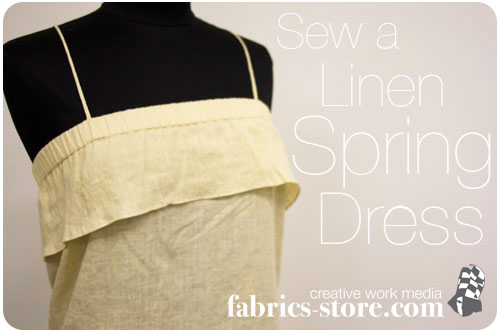
Today’s tutorial is my favorite type of project. I love making simple clothing with linen that only require just a few steps. All it takes are some quick measurements to get started making a lovely dress for the Spring. I am in love with lightweight IL020 linen and get inspired to make clothing with it all the time.
I’ll show you how I made this simple dress with linen and how you can make yours just in time for the approaching sunny days!It’s the perfect time to start thinking about Spring clothing and crafts that use linen. All pastel shades of linen are on sale until this Sunday, February 19th, 2012. Pick out your favorite pastel shades of linen while they are at a great, low price. Stock up now so you will be ready for whatever sewing projects you think up for the Springtime!
The thing I love about this dress design is that you don’t even need a pattern to make it. This tutorial will show you just how easy it is to make a simple dress. Get started now so you’ll be ready for the Spring!
Materials:
- Linen. Two yards is plenty for this dress.
- Sewing machine
- Large needle
- Safety pin
- 1" wide elastic
I choose IL020 linen in Seed Pearl for my dress. I love this creamy shade. It has just the slightest hint of yellow tones and a softest that is ideal for Spring clothing. It is rather sheer in this shade, so that is something to keep in mind. This is perfect for a beach or pool cover-up if you wear it without a slip. IL020 our lightest weight linen and picks up an even more gorgeous texture once it has been washed. If you want something that isn’t so sheer, try IL019 linen. It is easy to work with and is another great choice for breezy looking dresses.
I said earlier that you won’t even need a pattern for this dress design. I wasn’t joking about that! To begin, you just need to take some quick measurements.Measure your chest first. The measuring tape should go all the around your chest, so above your bust-line and just under you arms. Add 5 inches to that measurement to account for the elastic we will be adding to the top. Just make a note of how many inches you got on a piece of paper so you remember it when it is time to start cutting the linen.
The length of the dress is your decision entirely. I made mine fairly short, but a mid-length or full length dress would look great too.When you have the measurement ready for the length, you will need to add a few inches to this number for the ruffle and hems. Just add 5 inches to your length and you are good to go!
Before any measuring and cutting begins, you must launder your linen! This is really important because you need to preshrink the linen before sewing with it. I recommend using fabric softener to eliminate lint and give it an overall wonderful wrinkly texture.
Finally- we can start cutting! Fold your linen in half once. The fold along the side will be for one of your length measurements, so there will only be one piece of fabric for this dress. A single seam will go down the back (center) of the dress. Once you have marked your measurements, cut out the folded rectangular shape of linen.
For reference, I measured my linen to be 20 x 31 inches, with the single folded edge measuring 31 inches. When I unfolded my linen, I had a 40 x 31 inch piece to work with.
Unfold the cut piece of linen to prepare for the first stitch.The first stitch will be the seam that goes down the back of the dress and will make a "tube" shape.
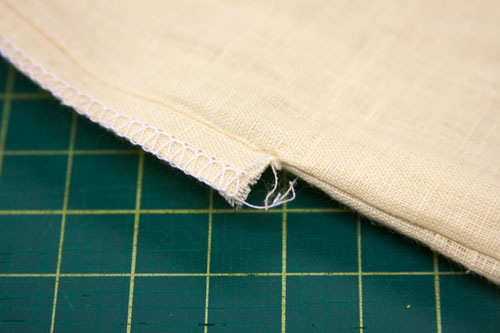
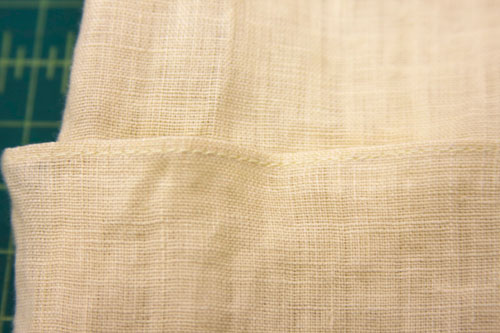
Sew a 1/2 inch seam from the bottom to connect the two longer edges. STOP sewing 6 inches from the top. With your scissors, snip just a 1/2 of the fabric and then turn everything inside out so you can sew the remaining 6 inches. This part is sewn from the outside because it will eventually be folded over and concealed under the ruffle. The image above shows your where these two seams meet and how it should look. I finished both seams with an outerlock stitch.
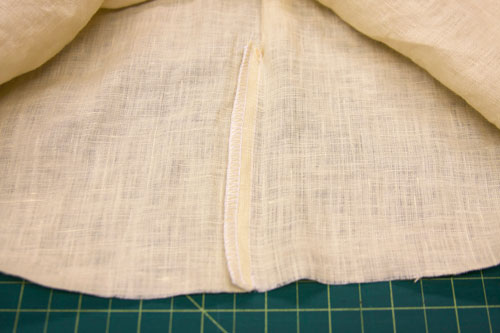
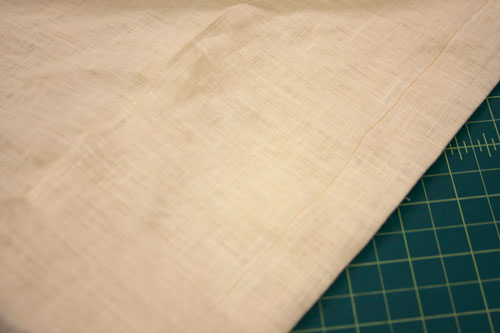
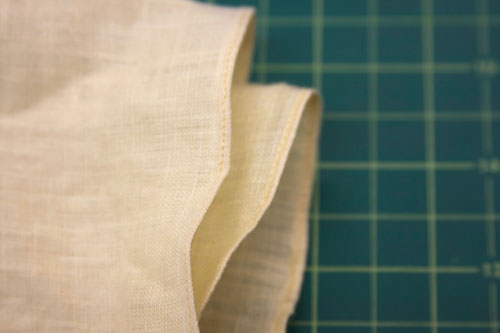
This is a picture of the same stitches but might give you a better idea of what I mean. The exposed stitches will be concealed when the dress is turned right-side out and the ruffle is in place.
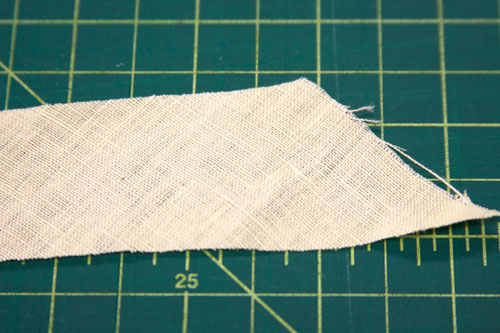
Let’s take a break to work on the straps. This super thin "spaghetti" straps are really easy to make once you learn this helpful tip.Cut your fabric on a bias (so the grain or fibers of the linen are going diagonally). Measure this to be 1 inch wide.
Just cut as many long pieces as you can from your scraps and sew them together to make one long ribbon. This way you don’t have to cut into any big pieces of remaining linen you may have. Save that for future projects!
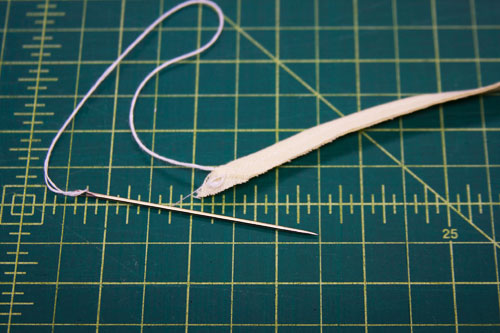
Okay. Now that you have sewn the whole length, find an extra large needle, such as a quilter’s needle. Slip some thread through the eye of the needle and sew the end onto the end of the linen. Make sure its attached securely!
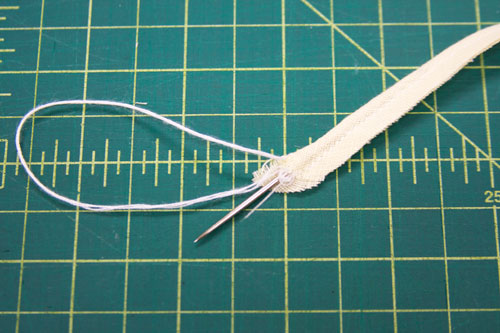
Slip that needle into the space left by the seam. Keep working the needle and thread all the way through the gap until the needle comes out the other end. The purpose of this is to turn the entire piece right-side out and create a beautifully thin strap.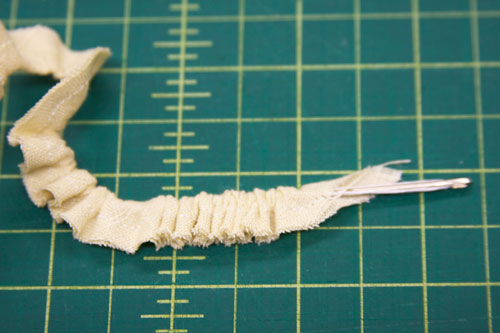
Hooray! The needle has gone all the way through. Hopefully you didn’t prick any fingers along the way. Just work slowly and carefully.
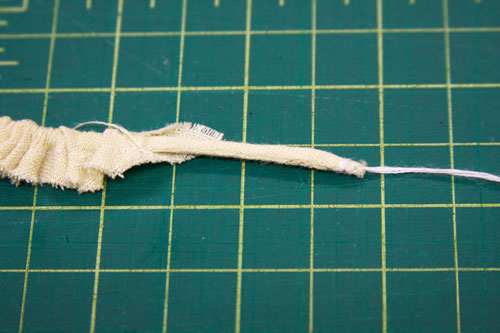
Carefully work the thread through by scrunching up the linen and pushing it down.
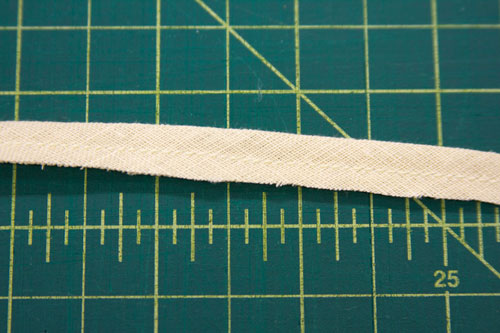
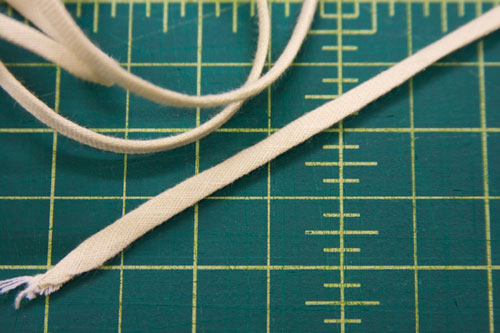
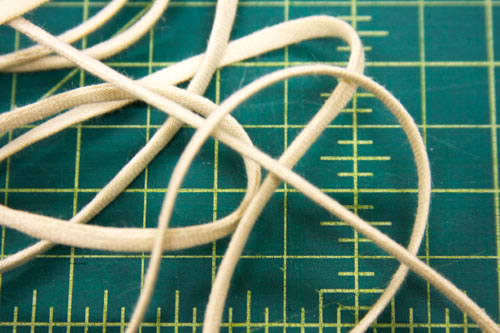
It’ll take a little bit of patience but this is what you will have in the end.
Making an incredibly thin strap couldn’t be easier with this trick! Cool, so now that the straps are all ready, we can put those aside to go back to the rest of the dress.
Fold the top of your dress down 6 inches and make a tiny hem along the edge of what will soon be your ruffle.
Sew a 1 inch wide side along the entire top fold and leave a 1 inch opening rather than finishing off the seam. The opening is where the elastic will slip through in just a couple of steps.
I wanted to finish the bottom hem on my dress before starting with the elastic. Just create a tiny hem all the way around to finish the bottom of your dress.
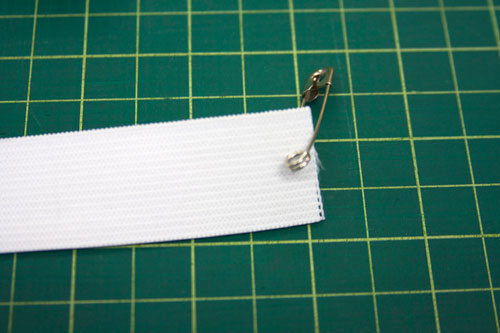
Slipping the elastic through the one inch gap you sewed around the top is much easier than the super thin straps we made earlier. First, secure a safety pin to one end of your elastic.
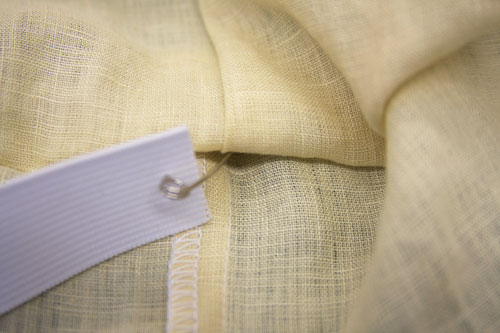
Lead with the safety pin to work your elastic through the opening and throughout the entire space.
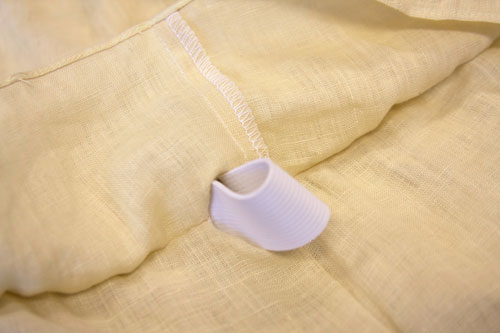
Once the safety pin has come out all the way through the other side, stitch the two ends of the elastic together. Now pull at the connected piece of elastic to get it evenly placed within the linen. Stitch the opening shut once the elastic is completely concealed.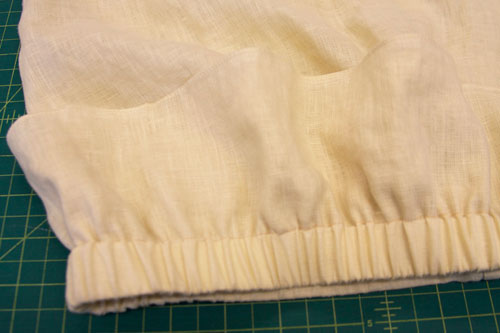
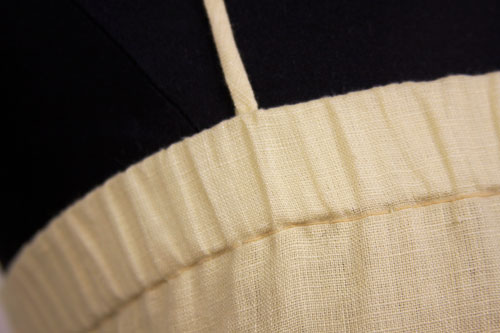
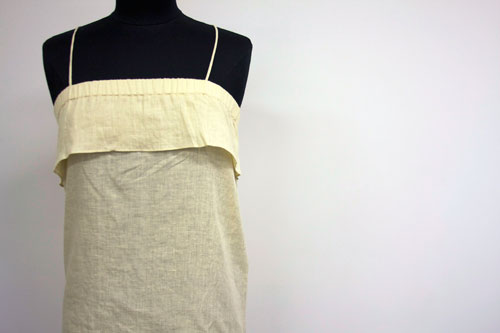
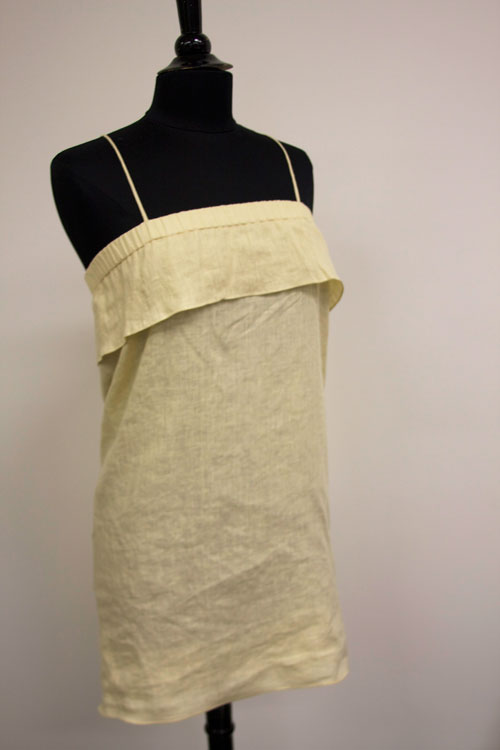
And now the ruffle is complete!
Attach your straps to your design in whatever style you like. The only thing to remember is to measure them carefully before you cut them! Fixing uneven straps is easy, but totally unnecessary if you are just careful with your measurements. 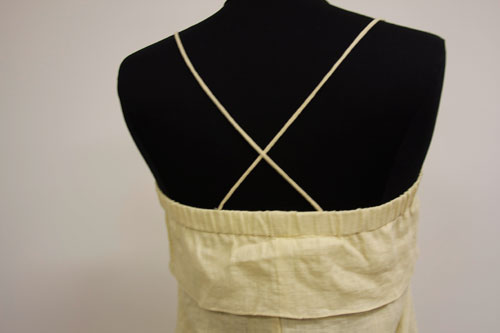
I chose a criss-cross pattern for my straps. This is the back of my dress. You can make out the seam that goes down the back in this picture too.
I put my dress on a sewing mannequin for these pictures, but it is a bit more flowy looking when I wear it. It’s so light and comfortable that I can’t wait for the weather to warm up! Luckily, Spring is just around the corner!
I hope you liked this tutorial that shows you how easy it is to make a dress without a pattern! Remember that spaghetti strap trick for future crafts and clothing projects! I hope it comes in handy.
* Just another reminder that all our pastel linen colors will be on sale until this Sunday, February 19. This is the perfect time to grab all the best shades for Springtime!
Let us know what you think about our sales, blog posts, or just say "hi!" by leaving a comment or visiting our Facebook page. I’d love to hear about what kinds of project are preparing to sew this Spring!
View all entire SALE section for linen here >>>> SPECIALS.




13 Comments
Hilary
Does using fabric cut on the bias make the pulling through of the straps somehow easier? I loved the idea of this so tried it on a relatively short piece not cut on the bias and it was not successful 🙁 Any further advice/tips on this?
Monie
Thank you for this dress without a pattern. I’m looking forward to pants without a pattern tutorial. Keep them coming.
Willow Styczinski
A simple trick for the ladies with curves might be to take the spaghetti strap trick and make it an inch or two wider and make a belt. Tie the belt around the waist or just under the bust. You can decorate the belt using embroidery, or simply pulling a couple inches of threads off of the ends and tying each end in a knot. Similar to one of the scarf ideas a couple blogs ago. Sewing elastic into the waist would also work but requires more planning and I like the simple nature of these blogs.
Karen Alexander
Have to agree with AmyCat… this is a very straight, boxy look – great for “square, straight” figures. Not so great for those with curves, who need curves in their clothing to “honor” their shape… you can’t hide ’em, you ought to give ’em a little respect. A simple elastic waistband might do the trick for many…
– Karen
AmyCat =^.^=
Re. the “What about the hip measurements?” question: I’ve noticed that most of the patterns here aren’t for REAL womens’ figures; most are styles that’ll look best on very slender “model-type” shapes. If you’ve got full hips, or are a bit overweight, you’ll look like a sack of potatoes in this. 🙁
Lois Gaylord
I have a roll of 36″ wide tracing paper purchased at an art supply store. You can also get non-woven ‘interfacing’ with a square grid printed on it. This is great for patterns you want to keep. To get started designing, one way is to use a commercial pattern that is close to what you want in the right size, trace it and then alter it.
Janet Thomas
For pattern paper, I particularly like using the rolls of paper doctors use on the top of their examination tables. It’s quite sturdy.
I’ve also used newspaper, tissue paper, and sew-in interfacing.
Debbie Rak
I would love to design more creations I have in my headsuch as a litle bolero (sp?) jacket with a small ruffle along the whole edge with the back the longest point, just at the top of my butt! I have been thinking and thing about using paper of some kind to actually draw out the design. Can U buy such paper or do you have an alternative. I can’t afford to buy a dresss dummie so I would need to piece everything to myself! What do you think?
Judith
Love this sweet dress. Even though I am a well ‘seasoned’ seamstress,I’ve found it’s the simple and quick projects that put the fun in sewing. I will be making this dress for the coming summer.
Shirley
show simple dresses for fall
Diane
Like Audrey, my hips are wider than my chest. To solve this, just use your largest measurement and add the 5″. That should give enough room for the dress to slide over the hips.
Audrey
I like this, but where’s where you measure your hips? Is it supposed to fall in a straight line from your chest? My body isn’t like that, my hips are wider than that. It’s like you’re missing the part that explains that.
leanne t
this has given me the impetus to get into my sewing room. i have a dress for my 5 yr old daughter in mind…. have tried this kind of dress before but mother nature gave me too big a chest – i might be able to add darts… thanks so much for the info and inspiration.