Linen Double Button Front Shirt Tutorial
With autumn in full swing, we are all looking to update our wardrobe for the colder weather. Instead of going to a shop, why not sew something yourself that will keep you warm and be totally unique?
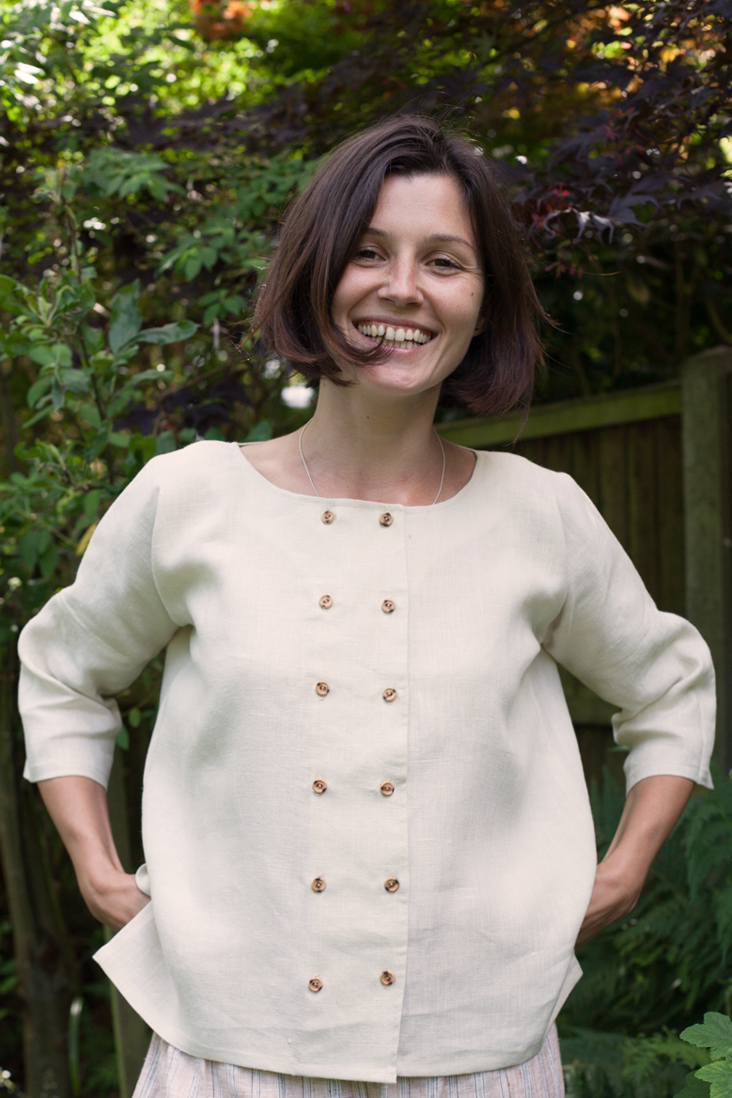
We are offering you to kick off this fall season with our boxy ¾-sleeve round neck linen shirt that is finished with a double row of wooden buttons for a touch of originality. We just love how beautiful and feminine it looks in our Antique White linen and the rich, natural texture this quality fabric brings to the whole look! This being said, feel free to experiment with colors, patterns and contrasting buttons. Such a classic design with endless possibilities!
Materials
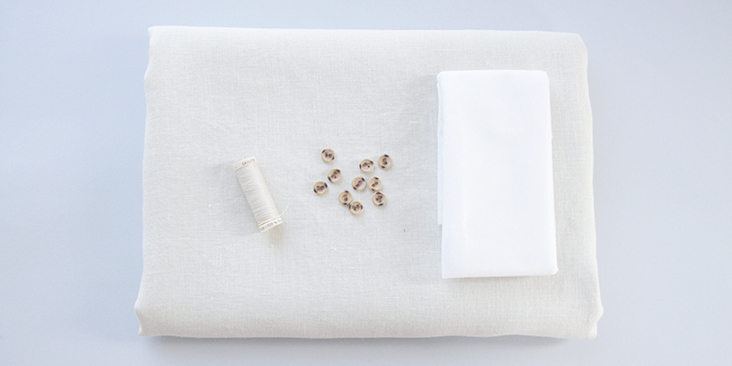
2 yards of IL019 ANTIQUE WHITE Softened 100% Linen
Matching sewing thread, fusible interfacing (medium weight), 12 small buttons
Tools
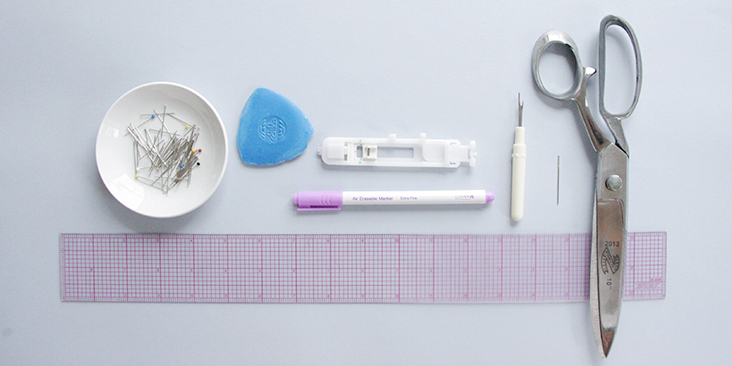
Scissors, pins, ruler, chalk, fabric marker, buttonhole foot, seam ripper, needle, sewing machine
Time
4-5 hours
Difficulty
Advanced Beginner
Pattern
You can access the dress pattern by following this link HERE. Remember to add seam allowances as indicated in the pattern.
The diagram shows the pattern for US size 6-8 (UK size 10-12). If you need help grading your pattern, please follow this tutorial. Please note that this shirt has an intentionally roomy fit.
Steps
Note: Prewash your fabric and tumble dry it until it is still slightly moist, dry in room temperature. Iron the fabric so it is easier to work with.
Let’s start with the facing.
1. Apply fusible interfacing to the wrong sides of your facing pieces using your iron. Make sure you turn the steam off first.
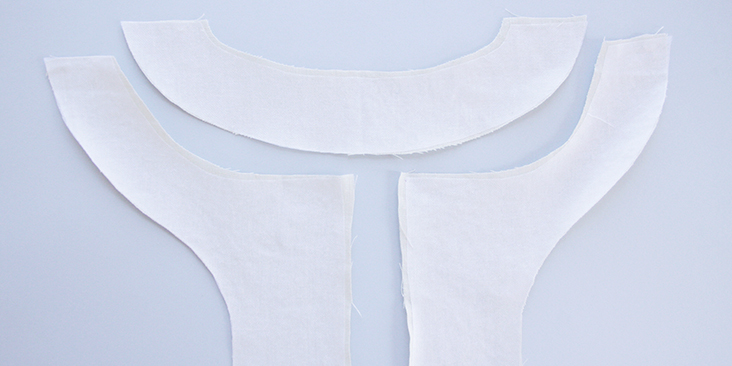
2. Pin the facing pieces right sides together at the shoulders.
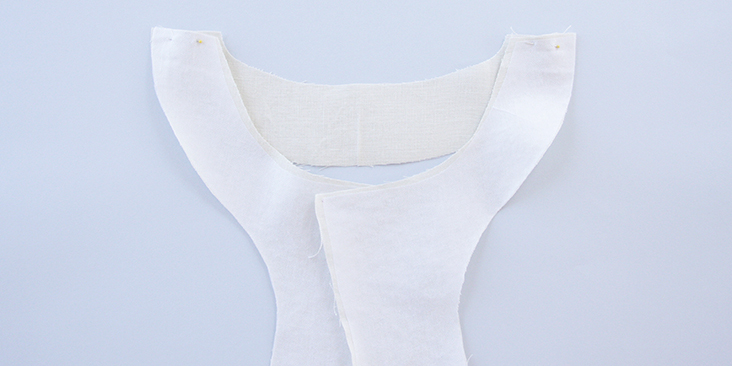
3. Sew at a 3/8” (1 cm) seam allowance and press the seams open.
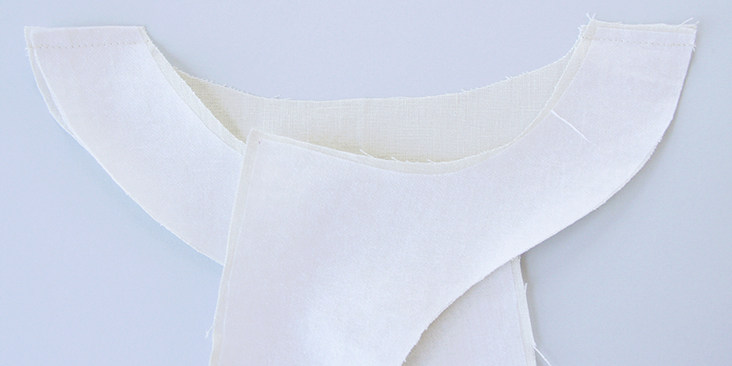
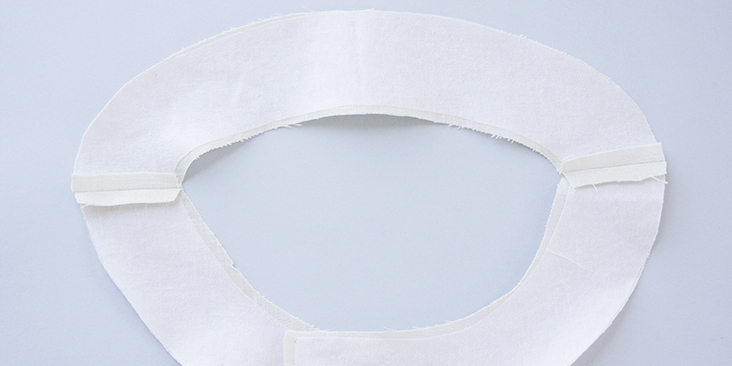
4. Serge or zigzag the outer raw edges to prevent the fabric from fraying.
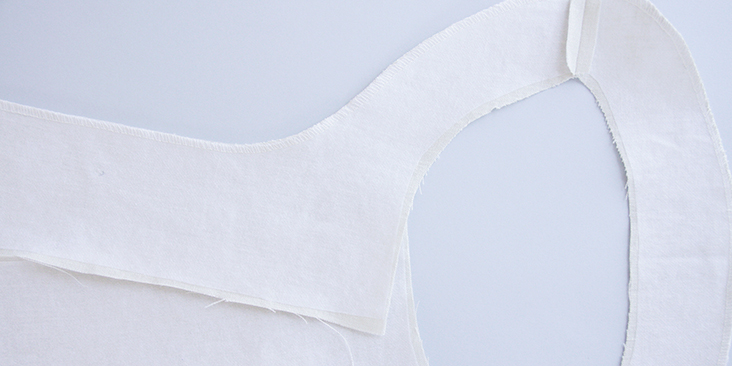
5. Put your facing aside for now and take your front and back pieces. Before assembling them, you need to serge or zigzag the shoulder, armhole and side seams of the back and front pattern pieces so that the fabric doesn’t fray after the first wash. The bottom hems and the front button band and neckline seams are left unfinished.
6. Pin and sew the shoulder seams right sides together at a 3/8″ (1 cm) seam allowance and press them open.
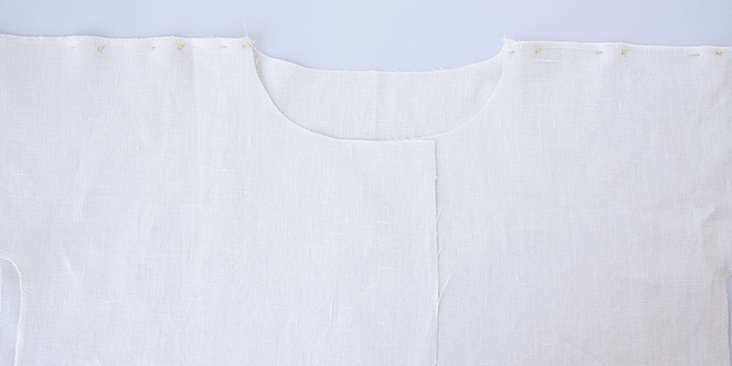
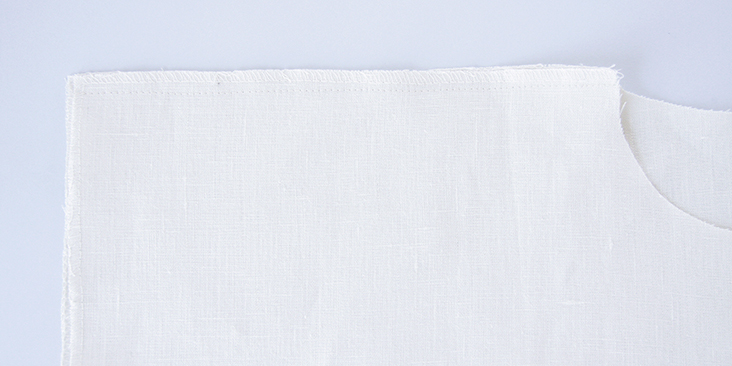
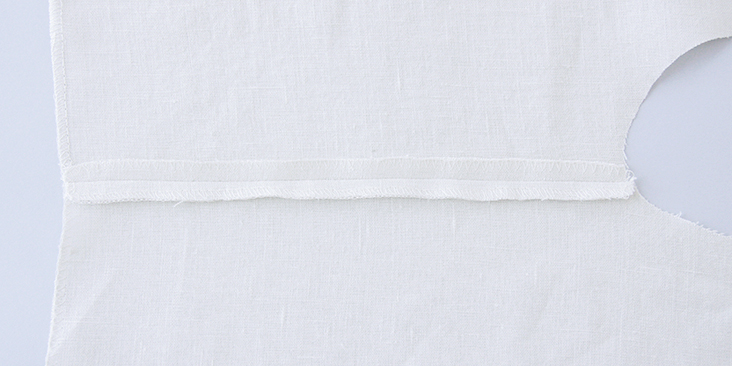
7. Before attaching the sleeves, you need to serge/zigzag the sleeve rectangles to prevent the edges from fraying. Serge/zigzag the three sides of the rectangle leaving one of the longer edges unfinished. It’ll be later finished with a rolled hem and the raw edge will be hidden under the fold.
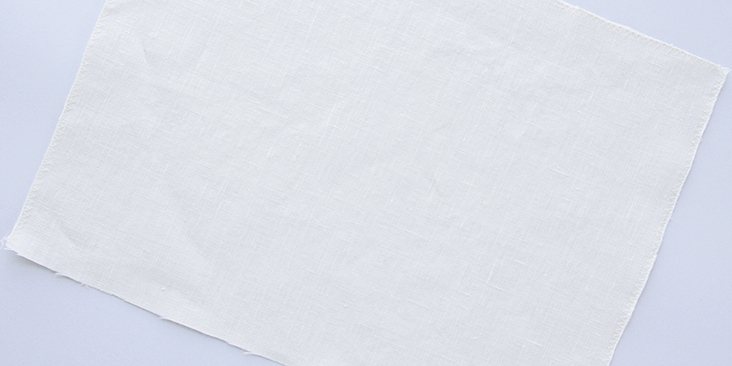
8. Pin the sleeves to the bodice right sides together.
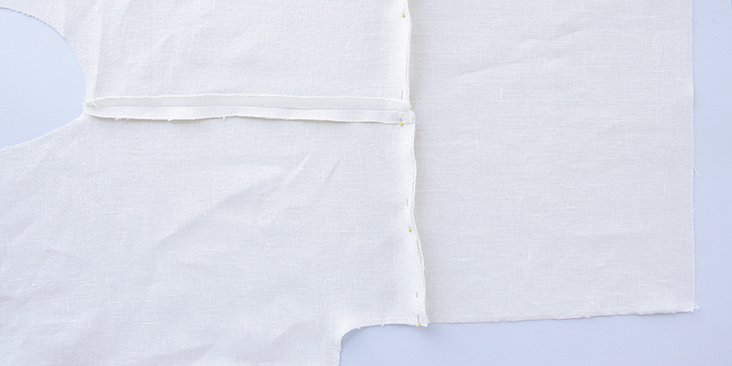
9. Sew at a 3/8” (1 cm) seam allowance and press the seams open.
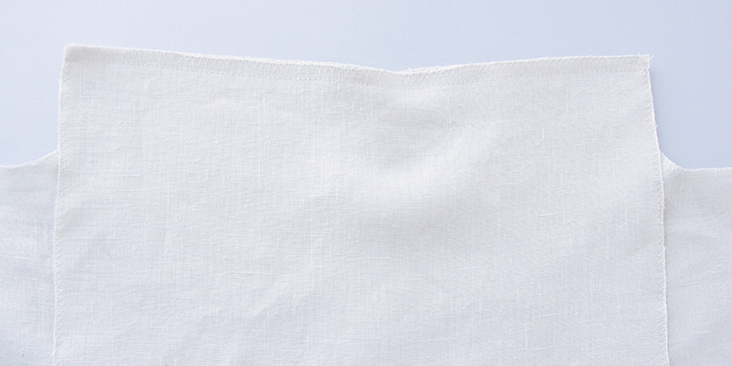
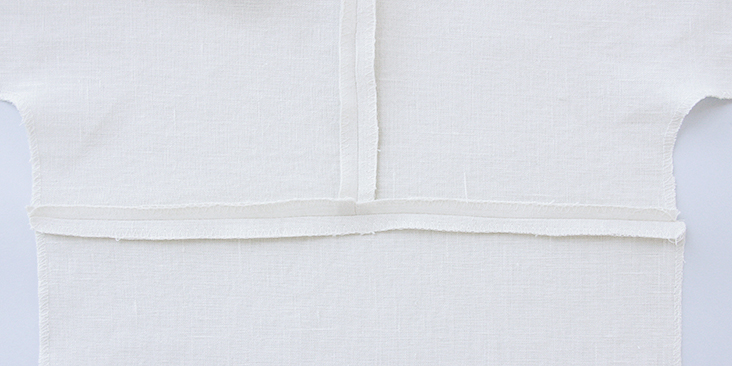
10. Pin the side seams right sides together.
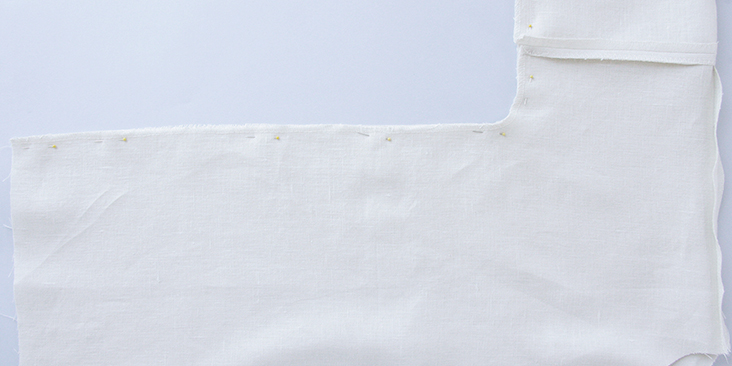
11. This shirt features side seam splits. In order to create them, measure a 5” (13 cm) distance from the bottom hem and make a mark (place a pin or use a marker).
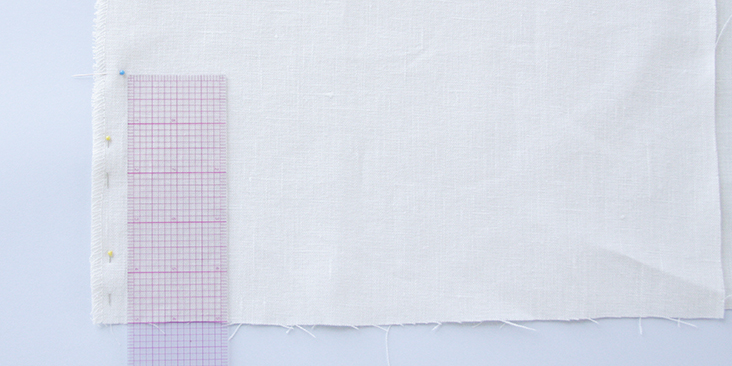
12. Sew the arms and side seams together at a 3/8” (1 cm) seam allowance down to the mark indicating the beginning of a side slit.
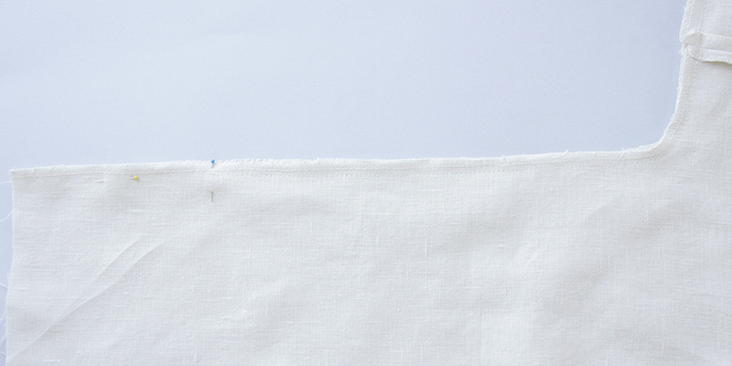
13. Press the seams open, including the side splits’ seam allowances.
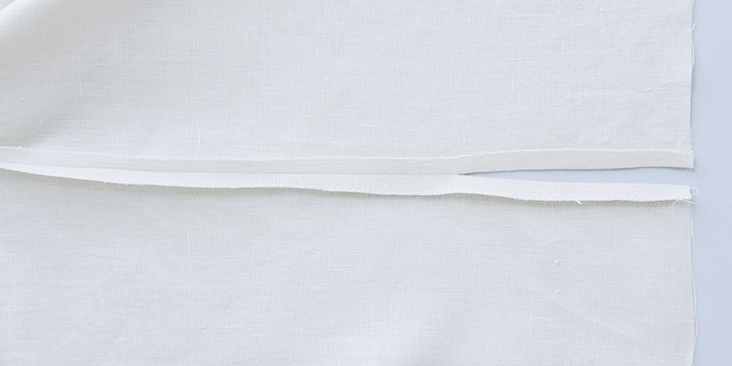
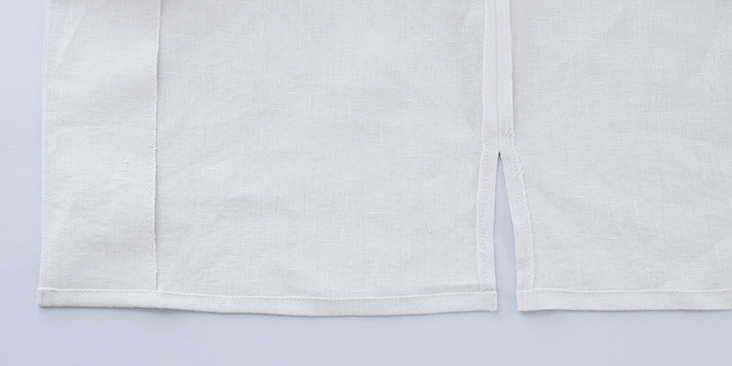
14. Stitch the edges of the side slits in place as close to the outer edge as possible.
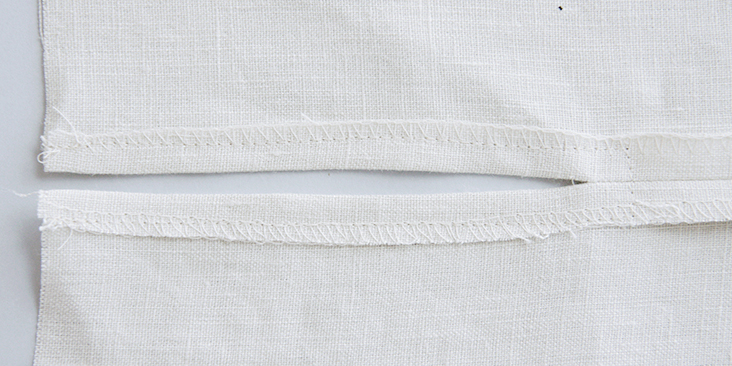
Here’s what your side slits look like from the right side:
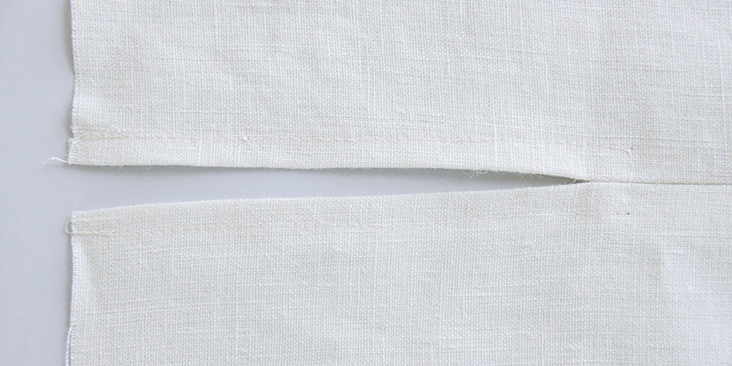
15. The time has come to attach the facing to the neckline and the shirt opening. Place the right side of the facing on top of the right side of your garment matching up the shoulder seams and pin. Use plenty of pins to get the facing seated in the neckline as much as possible.
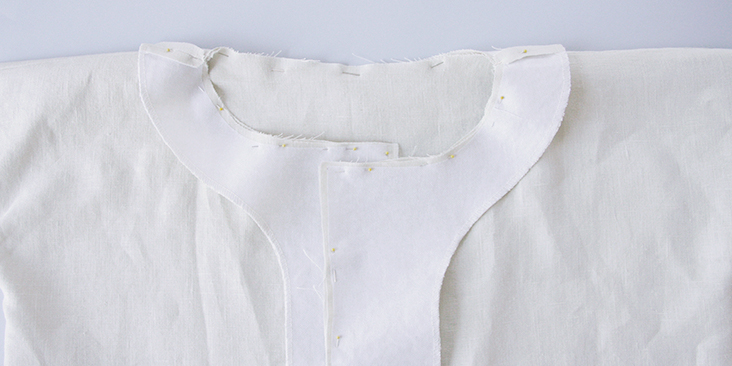
16. Stitch the facing onto the neckline and the front opening at a 3/8in (1cm) seam allowance. Trim the seams to 1/4″, then clip to, but not through, the seam line all the way around the neckline. This will help us avoid excessive bulk and release the tension at the curves.
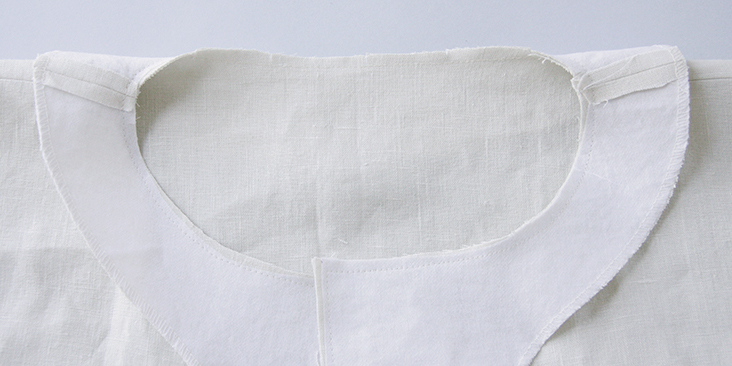
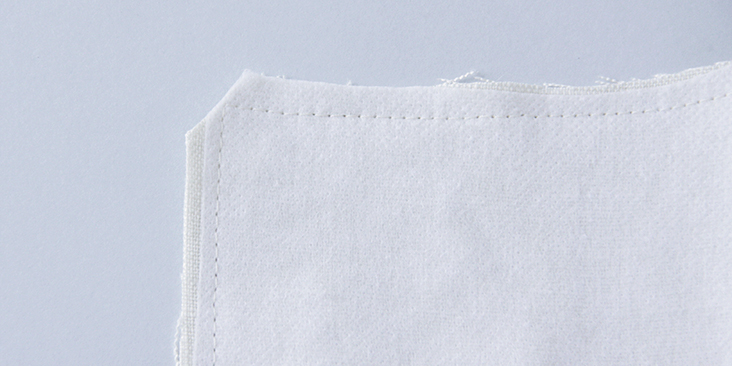
Trim the corners.
17. Pull the facing to the wrong side of the garment, press the fold making sure that the seam isn’t showing on the right side and pin. Use a dull pointed object like a chopstick to turn the corners.
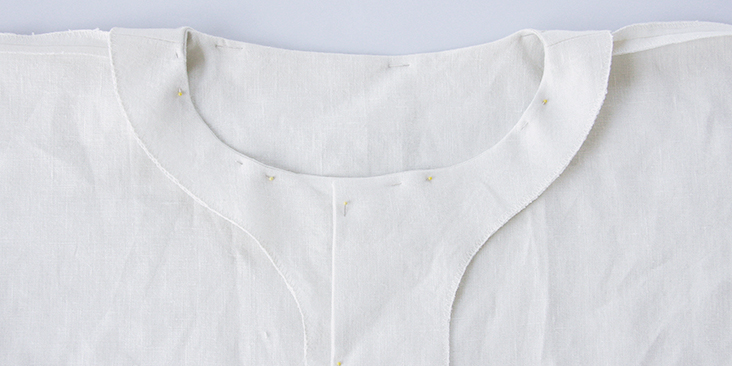
18. From the right side of the garment, topstitch the entire neckline as close to the seam as possible. It will help to prevent the facing from popping back out and lay flat on the inside. Press.
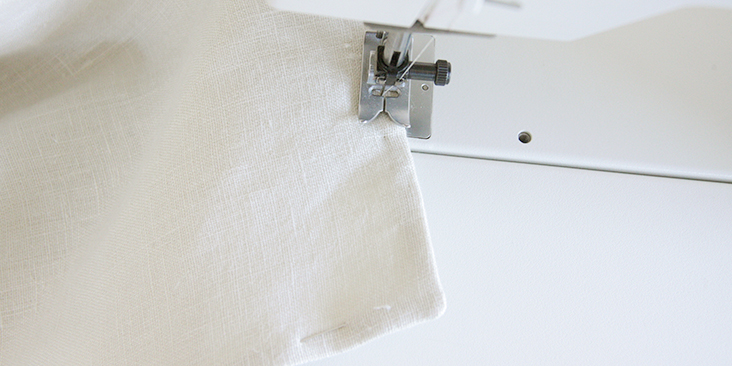
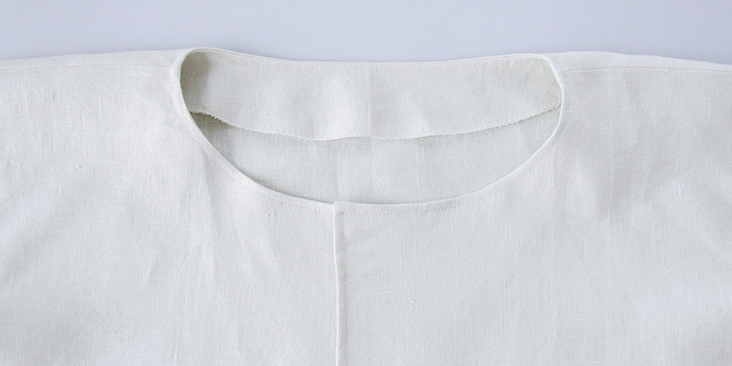
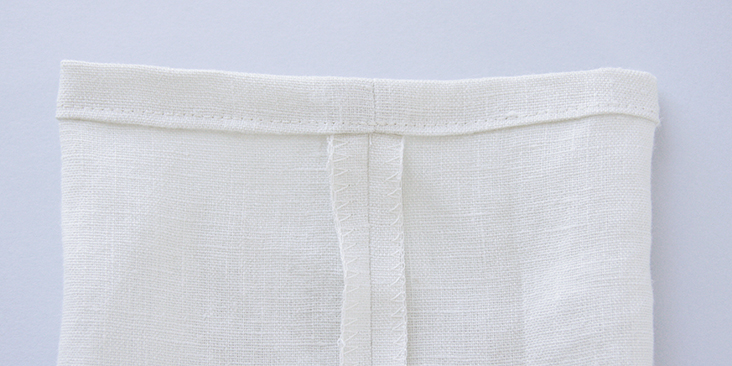
19. Finish the bottom hems of the sleeves and the shirt by folding the raw edges twice to the wrong side – 3/8″ (1 cm) to 1/2″ (1,25 cm) – press and pin.
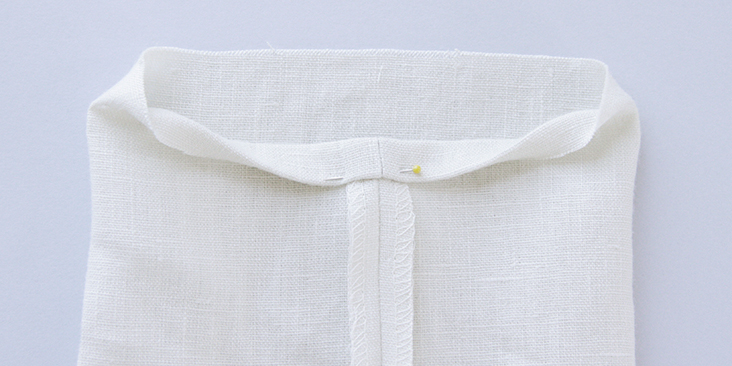
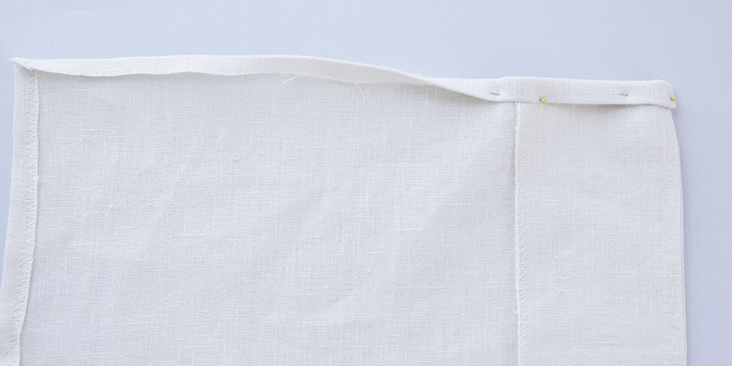
20. Edgestitch the pinned edges and press.
21. Overlap the two front pieces (the overlap corresponds to the width of the interfacing), left on top of the right. Make sure the top and bottom edges are aligned. You can even place a few pins to keep the fabric in place.
22. Following this tutorial make the buttonholes and attach the buttons. Ours are spaced 1.5″ (4 cm) apart horizontally and 2.5” (6,5 cm) vertically. However, the number and the spacing are really up to you. If you want your buttons closer, just leave smaller gaps between them. When you stitch the buttonholes and attach the buttons, sew through all the layers of fabric – this will help to keep the facing in place and make the button bands more sturdy.
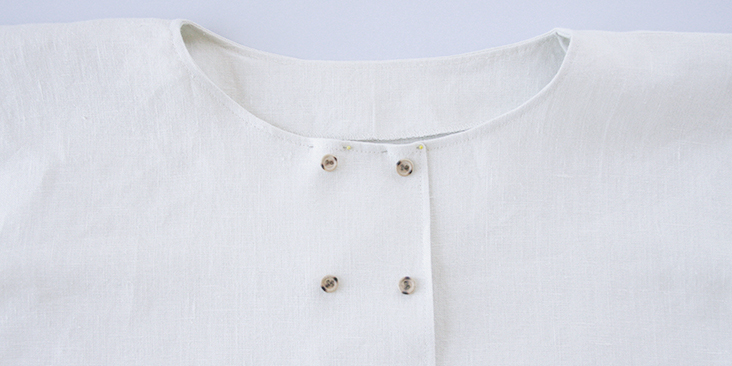
23. Give the shirt a good press and you’re all done!
Wear it with roomy pants or skinny jeans, skirts or shorts and even as a lightweight jacket! You’ll love it whichever way you wear it!




















9 Comments
Heather Irwin
When I try to access the pattern I get a Dropbox 404 error. It the pattern still available?
Lauren Gates
Thanks for letting us know. I’ve passed this onto our web team who will get this fixed up shortly.
Lauren Gates
This has now been fixed Heather 🙂
Rachel
I really love the double button front on this top. Do you think it could work for a maternity top? Maybe needing to lengthen it a little? Any other suggestions to make it a success? Thank you for sharing this tutorial!
Rima Khusainova
Hi Rachel! I think it would look great as a maternity top. It is already pretty loose fit, but I would recommend changing its straight, boxy shape to the a-line (triangular) silhouette. So just re-draw the side seams and make them slightly diagonal. This way you’ll get more space to accommodate the belly + the side slits will give some extra ease. Hope this helps!
Heather Irwin
I am also having trouble accessing the pattern, it is giving a 404 error
Lauren Gates
The link has now been fixed 🙂
Susan
I love this linen shirt- jacket!! I’d love to try it, but the link to the pattern doesn’t seem to be working. Maybe it’s me !?!?
Rima Khusainova
Dear Susan, so sorry to hear you are having troubles with the pattern. I’ve just double checked and the link seems to be working. Can you please try again and let me know if your are still not able to open the link.