How to Add a Cuff to a Short Sleeve Tutorial
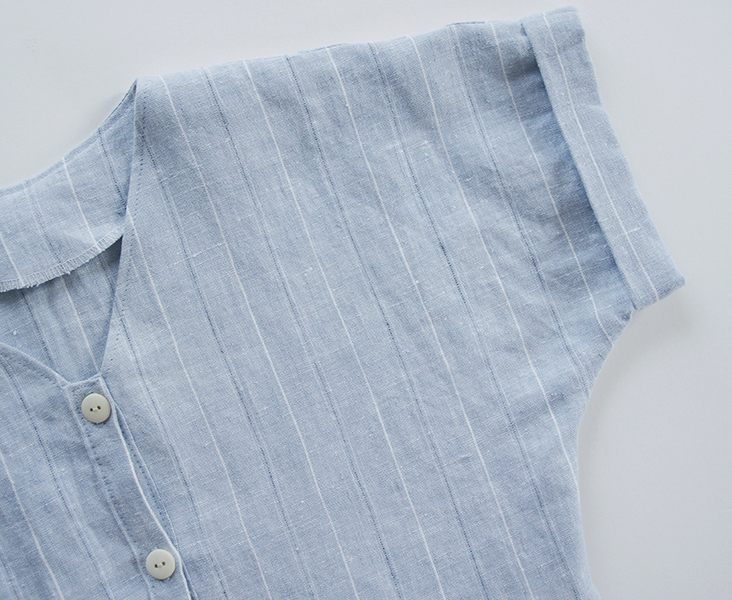
This week we’re back with a little tutorial on how to alter your pattern sleeves to create natural looking cuffs.
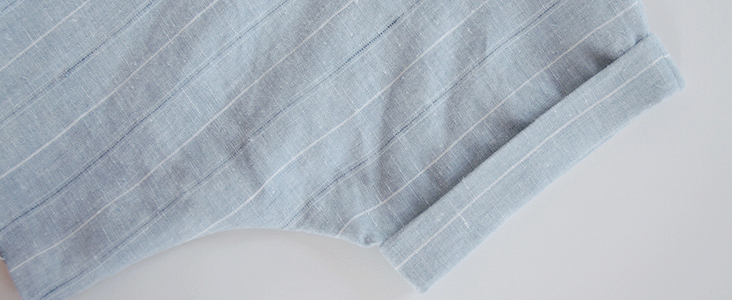
A cuff can add a lot of character to a simple short sleeve and spice up the whole look of a finished garment. However, sewing a cuff doesn’t necessarily mean attaching a folded cuff band. In this tutorial we are going to show you how to create a cuff-looking sleeve in a just a few easy folds.
Materials
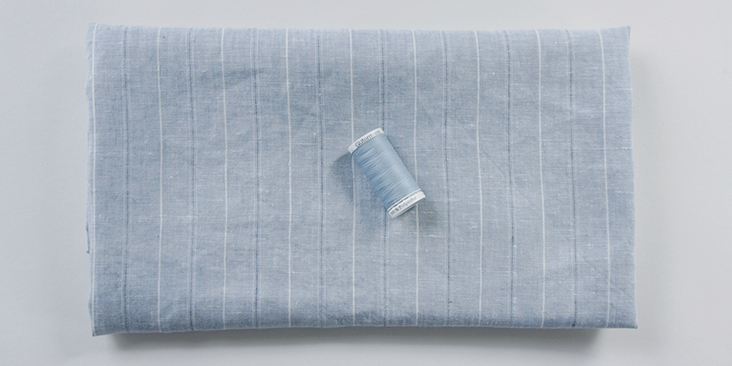
Fabric of your choice (we are using our beautiful IL042 904 FS Premier Finish 100% linen)
Matching sewing thread
Tools
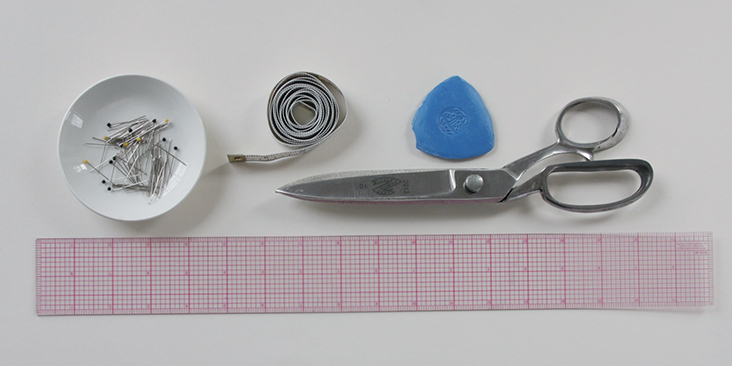
Ruler, scissors, pins, fabric marker, chalk, sewing machine
Time
1 hour
Difficulty
Beginner
Pattern
When cutting your pattern pieces, add some additional length to the length of your sleeves. For example, for a finished cuff of 1” wide (2.5 cm), add 3″ (7.5 cm) to the sleeve: two 1″ folds to create the cuff and 1″ to account for all the seam allowances.
Steps
Note: Prewash your fabric and tumble dry it until it is still slightly moist, dry in room temperature. Iron the fabric so it is easier to work with.
1. Once you have assembled your pattern (shoulder/side seams), turn the bottom raw edge of your sleeves 3/8″ towards the wrong side and press.
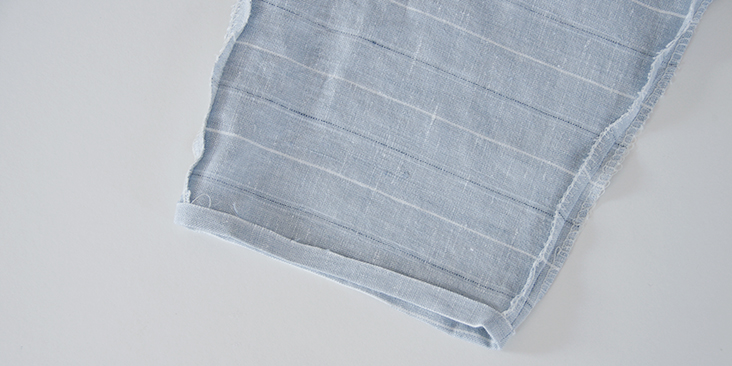
2. Fold the remaining 2.5″ of fabric towards the wrong side (the missing 1/8″ is to account for the fold) and press.
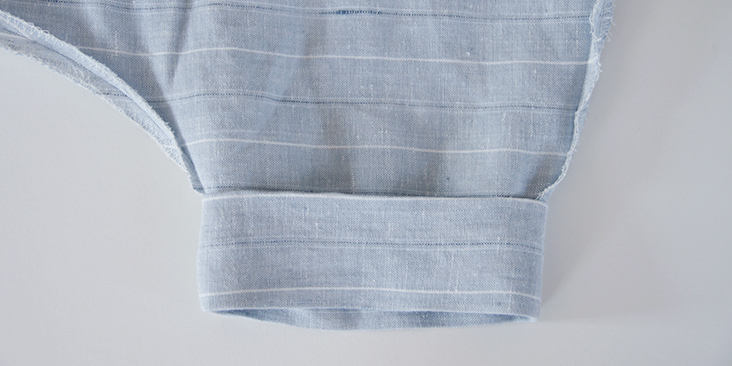
3. Starting at the underarm, stitch the first folded 3/8″ to the sleeve 1/8″ from the fold and remember to backstitch. Press again.
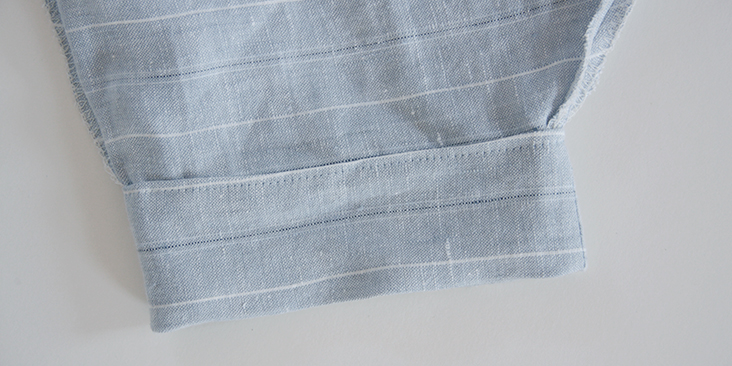
4. Fold the 2.5″ in half toward the right side, just a little over the stitch line to hide it under the cuff and press.
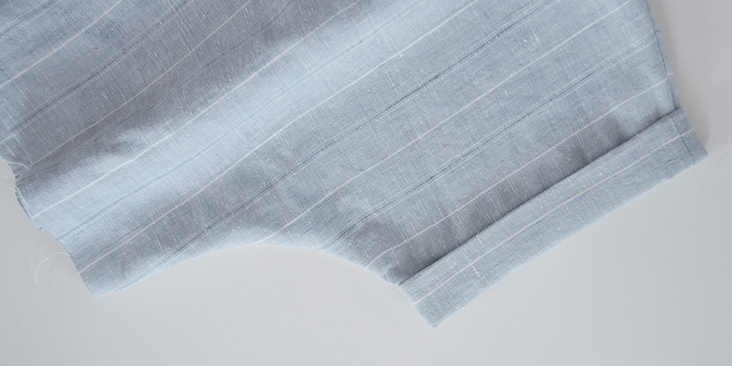
5. In order to keep the cuff in place, stitch the cuff to the sleeve in the shoulder and underarm crease. Remember to backstitch.
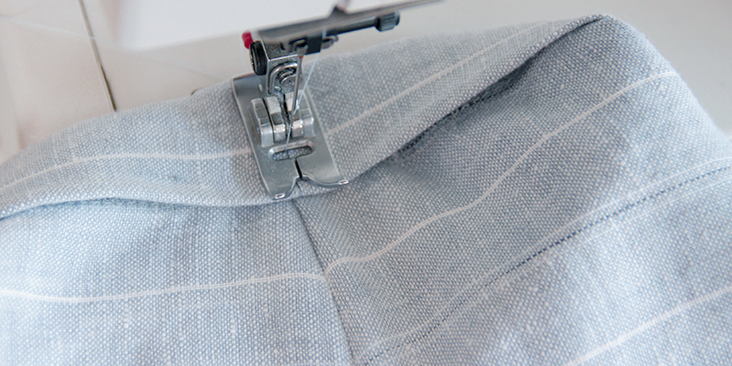
Et voila! A super easy sleeve cuff that looks great and adds that little bit of extra style to give your handmade garments a more finished look!










12 Comments
Kelly Potocki
Hi,
In step #2 if you fold all of the the remaining 2.5” to the wrong side of the sleeve, it would not lay flat. I ended up folding 1.25” to the wrong side, which was the only way for the cuff to lay flat. Did I do something wrong?
Thank you!
Lauren Gates
Hello Kelly, I can’t be sure without seeing your top. if you’d like feel free to send us an email and I would be happy to take a look.
Pat Tan
I was having the same problem folding the whole 2.5” as the sleeve was much wide than the folded section. I think the pattern probably needs to be adjusted.
April Fleck
Just finished it with some spare fabric. I did end up cut the neckline a little lower just because I like a lower neckline.
cindy
Pattern number please? Love this fabric. Your linen is the best!
Rima Khusainova
This tutorial doesn’t have a pattern per se, it’s just a tip on how to alter your existing patterns in order to add a cuff sleeve. And thanks for the comment, glad you like working with our linen!
AmyCat =^.^=
You may want to note that the entire length of added fabric (for your cuff) PLUS the inch or so at the end of the sleeve (over which the new cuff will sit) should all be STRAIGHT: do NOT “taper” your sleeve pattern! There seems to be a *very* slight tapering of the pattern in your example…
This would work better to finish a 3/4-length sleeve, where it would be less likely to bind when one’s moving, lifting things, etc. It’d be great on a “peasant blouse” pattern instead of elastic.
Rima Khusainova
Dear Amy, thanks very much for your advise. It would indeed work great on a 3/4-sleeve as well!
Judy McGough
I would like to make this top. Do you have the pattern for this one?
Rima Khusainova
Dear Judy! This is actually a dress and the pattern will be available on our website in a couple of weeks. But I love the idea of a cuff-sleeve top so I’ll try to make one and share it here some time soon.
mary
Is there a pattern for this shirt?
Rima Khusainova
Hi Mary! This is actually a dress and the pattern will be available on our website in a couple of weeks.