Embellished Summer Dress Tutorial
The summer is officially here and this means that it’s time to sew a new dress! We decided to keep the design simple but embellish the neckline with a woven ribbon to add some color and originality. Our version turned out pretty eclectic: the V-neck has something of a Japanese kimono, whereas the ribbon is totally Aztec. This dress would also look fabulous with floral or pompom ribbons, there are a huge plethora of embellishments nowadays and the possibilities are endless!
Materials
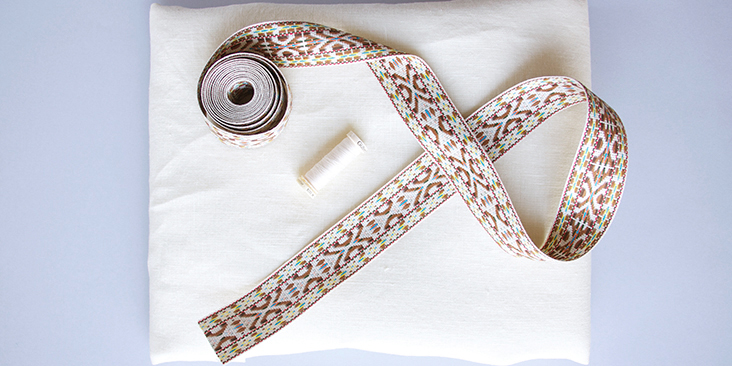
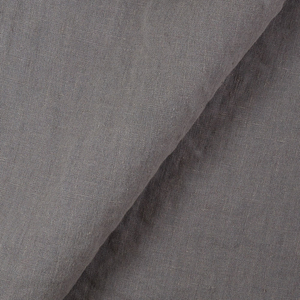
1.5 yard of IL019 KRISTA NATURAL Softened
Matching sewing thread, 2 yards of ribbon of your choice
Tools
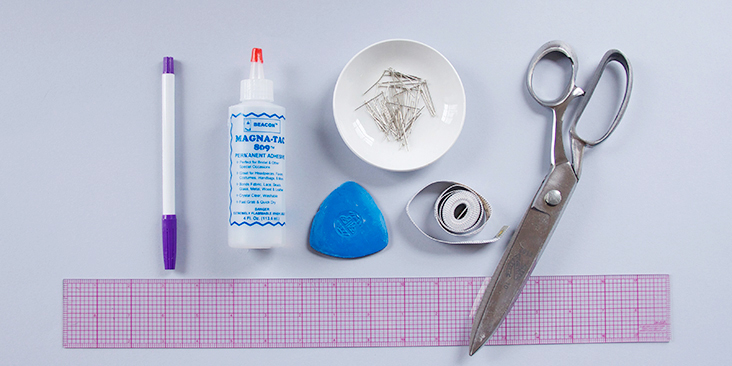
Pattern paper, scissors, fabric marker, pins, ruler, chalk, measuring tape, fabric glue (optional), sewing machine
Time
2-3 hours
Difficulty
Beginner
Pattern
You can find the pattern by following this link HERE. The diagram shows the pattern for US size 6 (UK size 10). Remember to add seam allowances as indicated in the pattern.
If you need help grading your pattern, please follow this tutorial.
Steps
Note: Prewash your fabric and tumble dry it until it is still slightly moist, dry in room temperature. Iron the fabric so it is easier to work with.
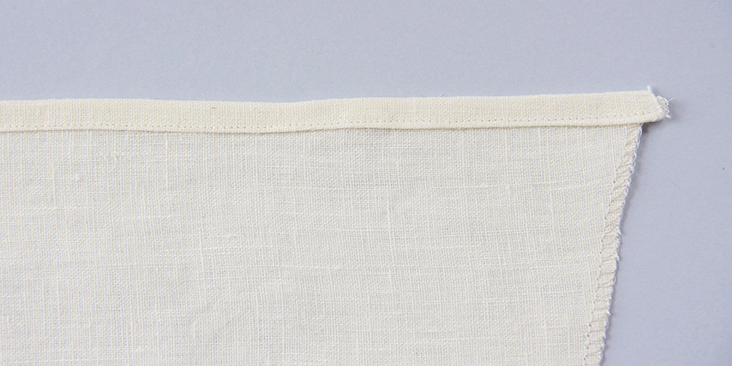
1. Let’s start by attaching the ribbon to the neckline. Place your two bodice pieces right sides up and with the shorter edges facing each other. Fold the raw edges 3/8” (1 cm) toward you and press. Carefully pin the ribbon to the folded edge. Make sure that it doesn’t go past the folded edge.
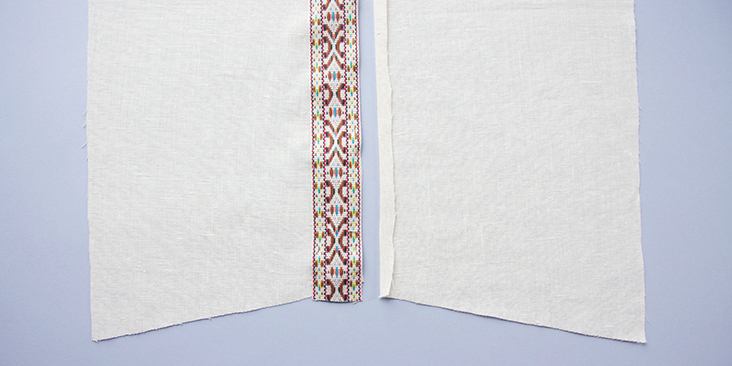
2. If you are using a large ribbon like the one we have here, you’d want to make sure that it lays flat on the fold and doesn’t pop up. To avoid any wrinkles, you can apply a little fabric glue in the middle.
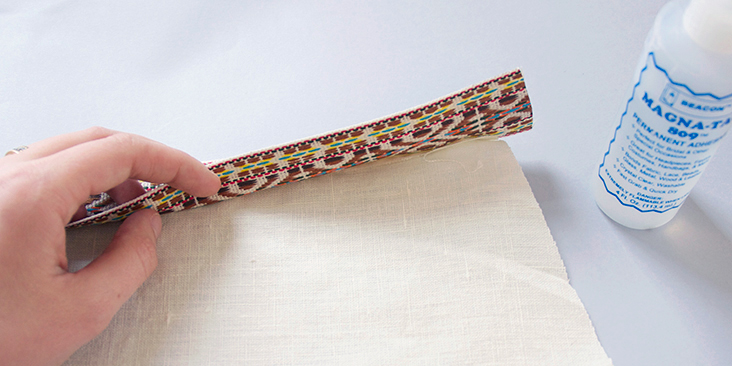
3. Cut the excess ribbon.
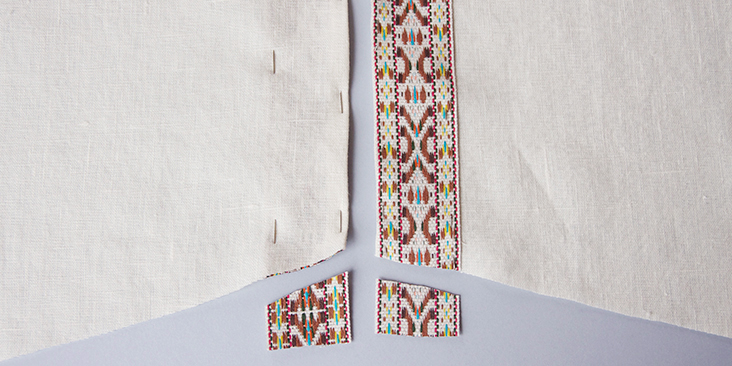
4. Topstitch the ribbon into place as close to the edges as possible.
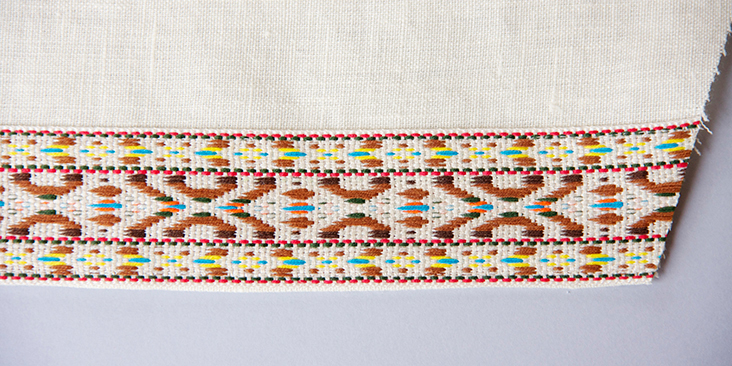
5. Use a serger, or choose your own method to protect the raw edges on both ends from fraying.
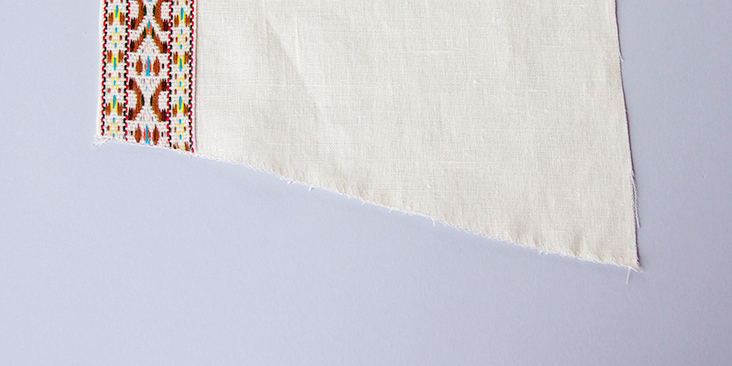
6. Finish the sleeve openings and the side seams by folding twice the fabric to the wrong side. Pin.
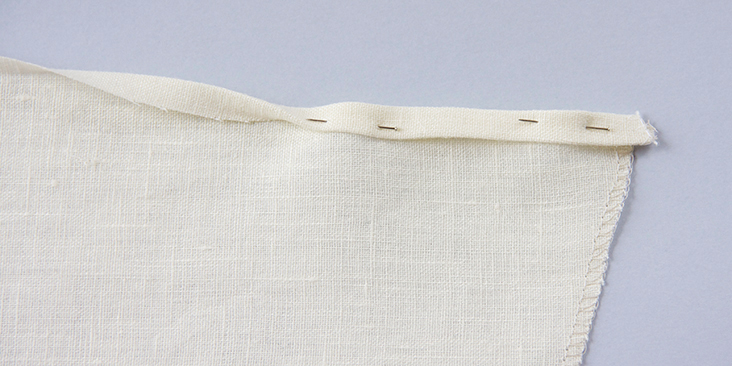
7. Stitch the fold from the wrong side as close to the inner edge as possible. Remember to backstitch.
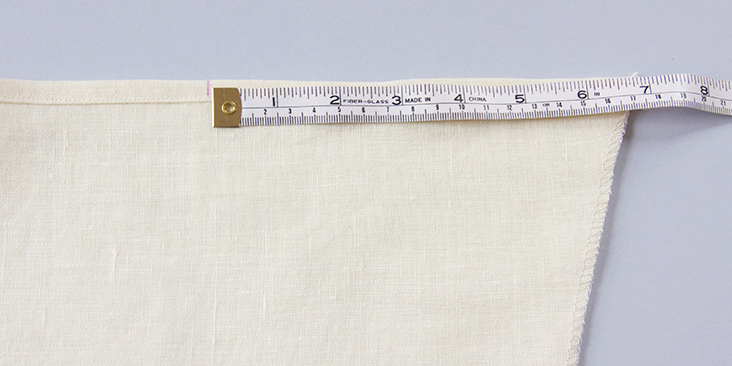
8. Fold your bodice pieces in two right sides together and match the corners. Measure 7” (18cm) from the bottom end and make a mark using your pen or a piece of chalk. This mark will determine the size of your sleeve openings and the side seams.
9. Pin the two sides together and stitch just outside the rolled hem starting at the bottom end and up to the 7” mark. Make a little curve when you come to the mark. Press the rolled hems open.
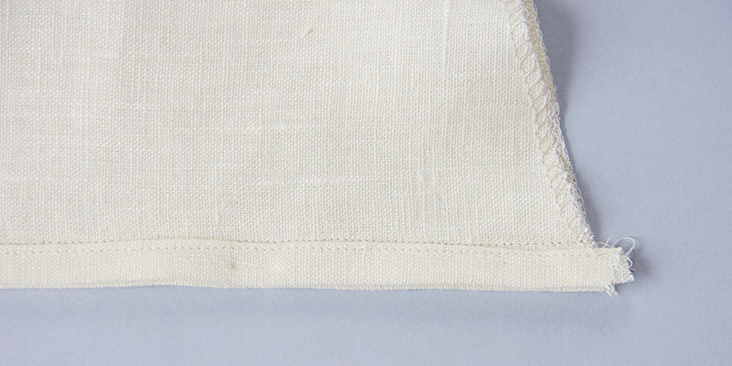
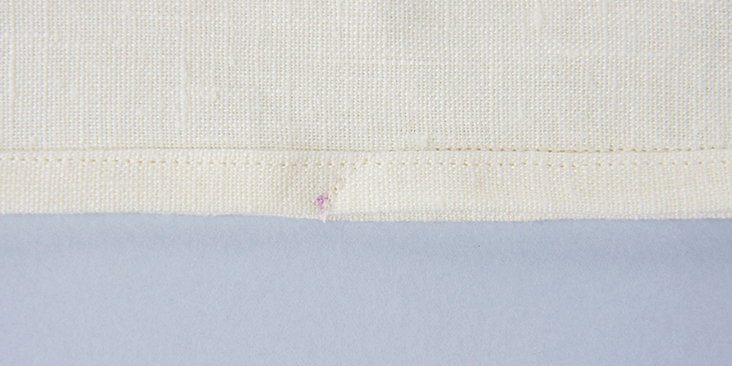
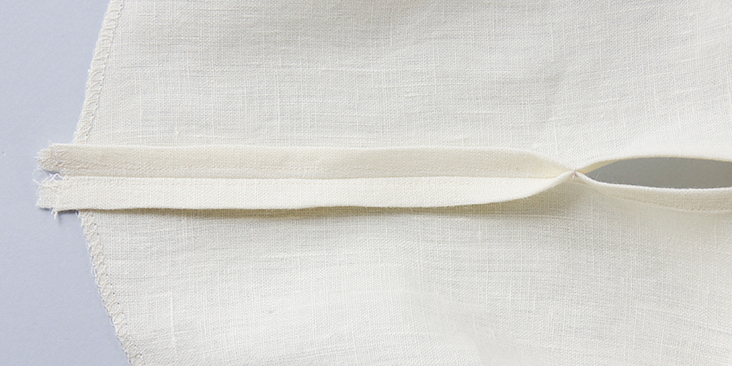
This is what it looks like from the right side:
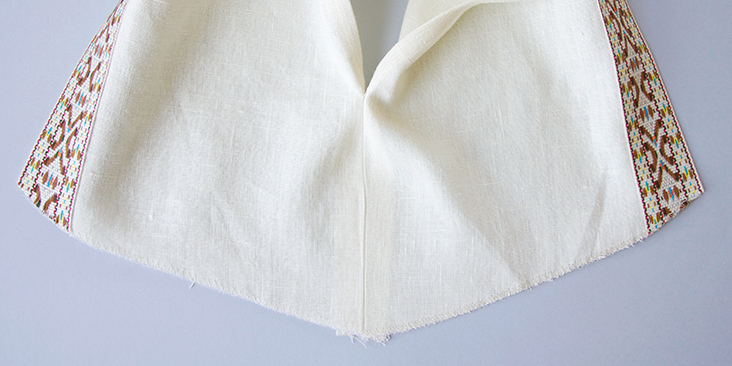
10. Now it’s time to sew the skirt. But before we start, you need to serge or zigzag the raw edges of the skirt (all sides except the bottom hem) to prevent them from fraying. Once you have done that, you can pin the side seams of the skirt right sides together.
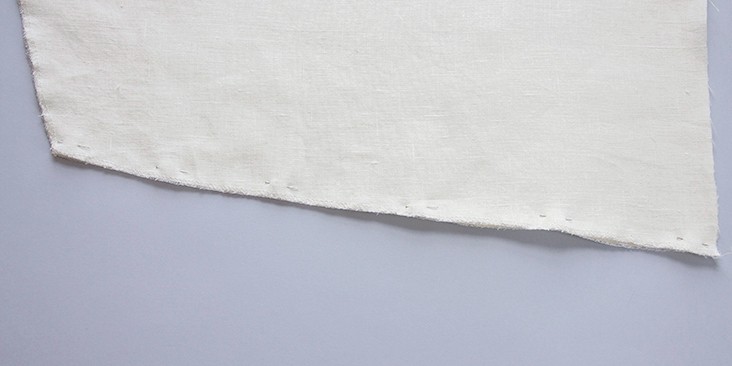
11. Stitch at a 3/8” (1 cm) seam allowance and press the seams open.
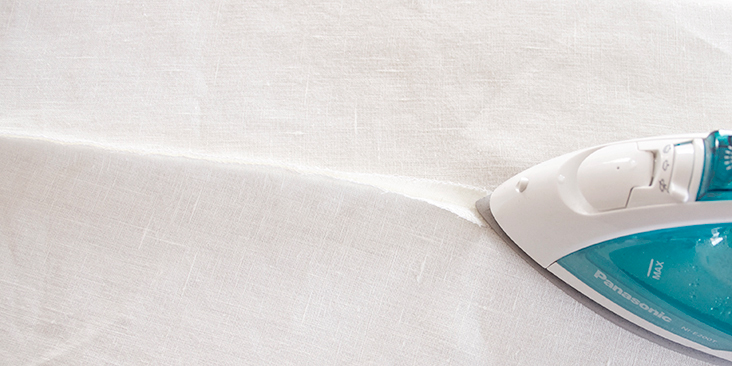
12. Finish the bottom edge of the skirt with a rolled hem by folding and pressing the edge of the fabric 3/8” to the wrong side. Now fold again to 1/2″ enclosing the raw edge within this second fold. Pin.
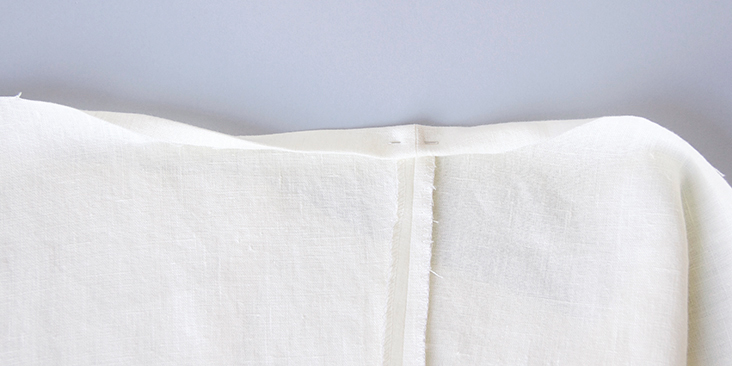
13. Place the fabric under the foot wrong side up and sew using the straight stitch (always remember to backstitch at the beginning and the end of the stitch line). Press the hem.
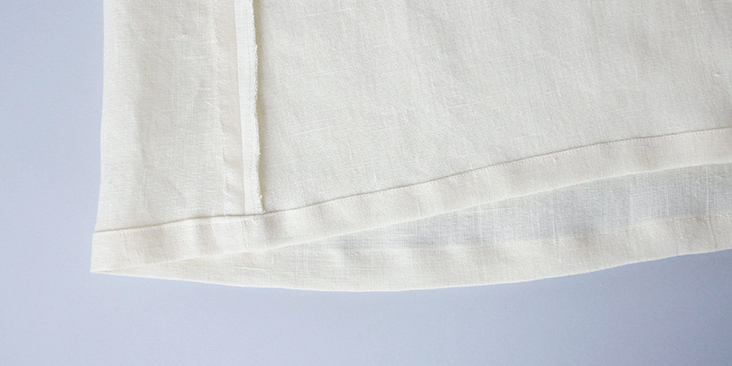
14. Now we need to attach the two bodice pieces to the skirt. Pin the two bodice rectangles to the skirt’s waist right sides together (wrong sides facing outwards) matching the side seams. If you want a less plunging neckline you can slightly overlap the two embellished edges.
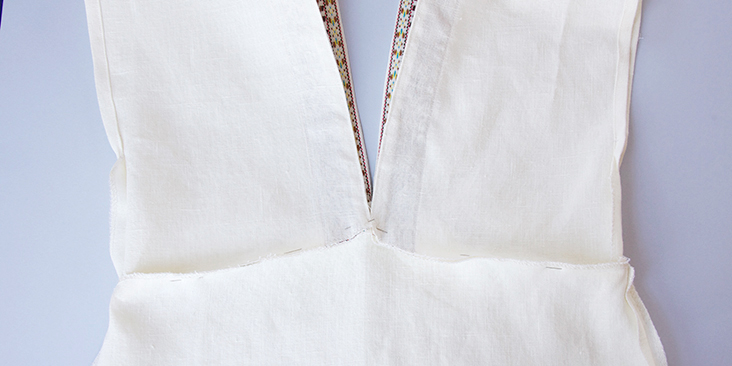
15. Now stitch all around the pinned edge to attach the skirt to the bodice at a 3/8 in (1cm) seam allowance. Press the seams open.
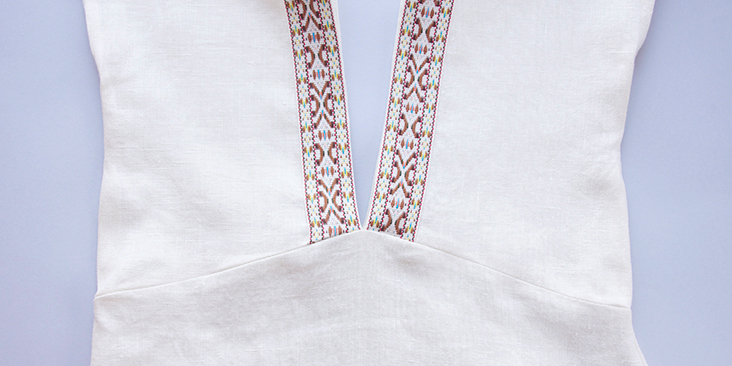
That’s it, your pretty dress is all done and ready for the summer!












18 Comments
Es Be
Hi! Would it be possible to restore the link for the download? It looks like such a cute project! Thank you and merry Christmas ?
Lauren Gates
Hello, Thanks for letting us know about this broken link. I’m working with our blog team to restore these files 🙂
Lauren Gates
Hello! The link to this pattern diagram has been repaired! Happy Sewing <3
martha
i was very pleased with your very polite and instructive feedback to questions asked.
Beth C
I’m not familiar with Dropbox. Will you tell me how to find and use it? The tutorials to the side and this dress look so interesting.
Rima Khusainova
Dear Beth, sure, let’s see if I can help. When you click on the link, the Dropbox will probably ask you to sign in or create an account. You skip all that and click on “No, thanks” at the bottom corner. You’ll be redirected to the page containing the pattern. You can download it by clicking on the “Download” button at the upper right corner. It’ll be automatically saved to your computer. Let me know if this works, the process might be slightly different depending on which OS you use (Mac or PC).
tanya
This dress does not fit the model gracefully under the arms. It may be fitted too closely to her body, a mistake sometimes made by very slender women. More likely, the problem is with the method used in steps 6 thru 9 to enclose the raw edges of the side seams/sleeve openings. Doing it that way puts tension on the area and most likely isn’t very comfortable as well. How about sewing a side seam of 1 1/4″, ironing it open and carrying the opened seam allowances around the armhole as the hem? After sewing as a regular seam, the seam allowance edge would be turned under 1/4″ , and sewn down from hem, over shoulder, and back to hem, which also encloses the raw edge. (the seam allowance would be sewn to the body of the garment around the arm opening, forming a horizontal seam under the arm opening.)
Another, kinda nitpicky thing: ironing during construction is so important to the quality of the finished garment. Showing the ironed areas in the tutorials would be a help to beginners. Otherwise, an attractive dress and a very good tutorial. Thanks.
Rima Khusainova
Dear Tanya, thank you very much for your insight, it’s very helpful! The bulk that you see around the underarms area is due to the pattern design (two bodice straps sewn like a kimono with no particular shaping for the armholes) and not to the steps 6-9. You method would be a great alternative though! As for the pressing, it’s true that it’s not shown in pictures but I do mention in almost every step to press the seams or to give a good press to the pieces you are working with. But it’s always good to remind how important the pressing is during the sewn process, so thank you for that!
Sophie
I also am unable to access the pattern on Dropbox. It doesn’t appear to be available.
Rima Khusainova
Dear Sophie, I’m so sorry you are having trouble opening the link. I’ve checked and re-checked the link, asked some friends too, and it seams to be working just fine… I’m sending you the link via email.
Katrina Tyler
Hi! I’m also having problems getting the pattern in drop box. Please advise!
I can’t wait to try this! Thanks!
Rima Khusainova
Dear Katrina, sorry to hear that! Can you please try now? I’ve updated the link, it should be working now.
Toni
I love that you made a simple dress for beginners, but it’s way too low-cut, and I don’t think I know enough yet to alter it.
Rima Khusainova
Dear Toni, we thought we’d make a very summerish mini dress that could also be worn as a tunic. But it’s very easy to lengthen it – just add some length to the skirt. For example, the pattern indicates that the distance from the waist to the bottom hem of the skirt is 19 inches. Make it 30-31 inches and you’ll get closer to a knee-length.
Monica
I believe Toni meant that the v-neck is too revealing, not that the skirt isn’t long enough.
Overall a lovely beginner pattern. I’m going to give it a shot!
Rima Khusainova
Oh I’m sorry for misunderstanding… As I mention in the instructions, if you want a less plunging neckline, you can slightly overlap the two bodice straps and layer on ribbon edge onto the over. However, in this case, you’ll need to add some extra fabric to account for that overlap – I’d recommend increasing the overall width of the bodice pieces by 1″ (so not 8.5″ but 9.5″) and add the seam allowances as indicated in the pattern. Hope this helps!
Pam
Please could you check that the pattern is in Dropbox – it wasn’t available when I logged in.
Thank you
Rima Khusainova
Dear Pam, sorry to hear you’re having troubles with the link. I’ve checked and it seems to be working just fine. I’ve just sent the Dropbox link to your email address.