How To Sew and Attach a Back Tie Tutorial
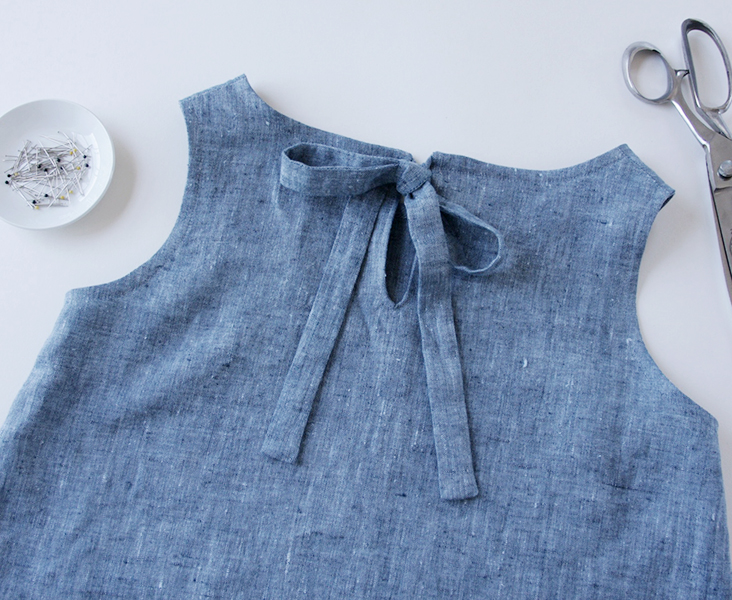
There are many ways to embellish a simple garment and a back tie is one of them. It gives a touch of originality and femininity to any top or dress and is very easy to make in just a few simple steps.
In this tutorial we are going to show you how to sew a back opening, make and attach fabric straps for a beautiful tie neckline.
Materials
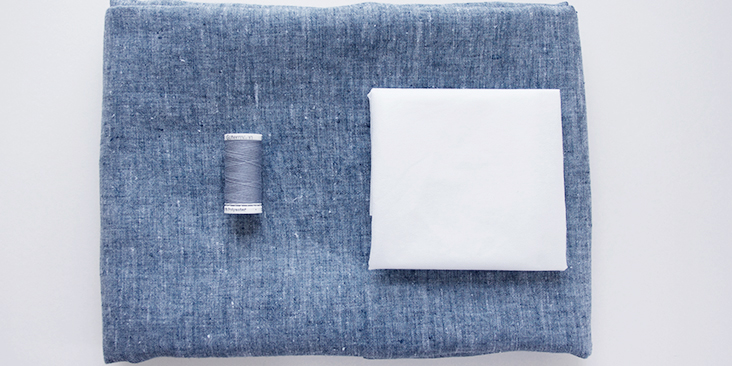
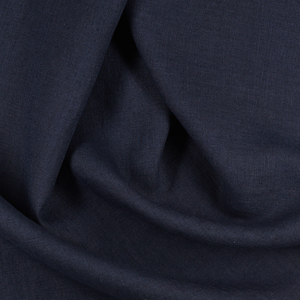
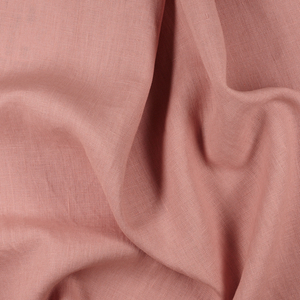
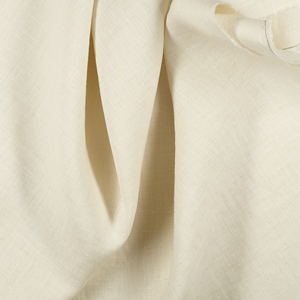
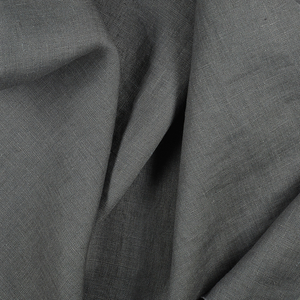
Fabric of your choice. We are using our beautiful yarn dyed IL042 909 FS Premier Finish 100% linen
Fusible interfacing, matching sewing thread
Tools
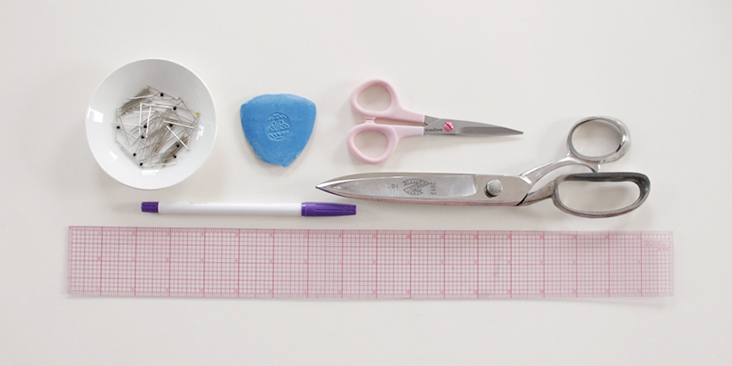
Pattern paper, ruler, fabric marker, pins, scissors, pointed object for turning corners (a point turner or a simple chopstick), sewing machine
Time
1-2 hours
Difficulty
Beginner
Pattern
Cut 2 pieces of facing (one in fabric and one in fusible interfacing) for the back opening and 2 straps of fabric 20”x 5”for the ties (seam allowances included)
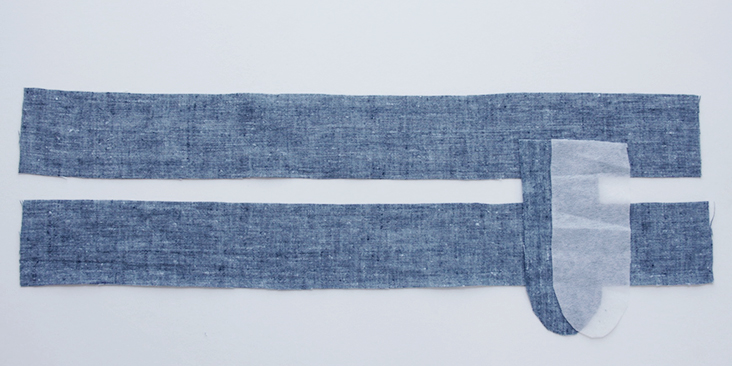
Draw your own pattern for the facing in a few easy steps:
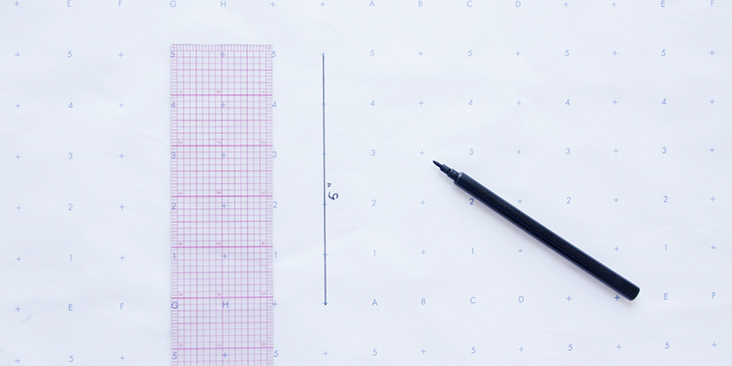
1. First you need to decide how long you want your back opening to be. Let’s say we go for 5 inches. Draw a straight 5” line.
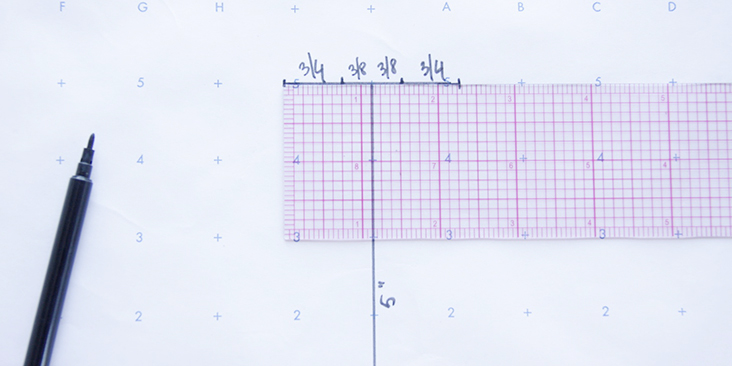
2. Add 3/8” on each side for the seam allowance and then another 3/4”.
3. Create a rounded shape respecting your measurements.
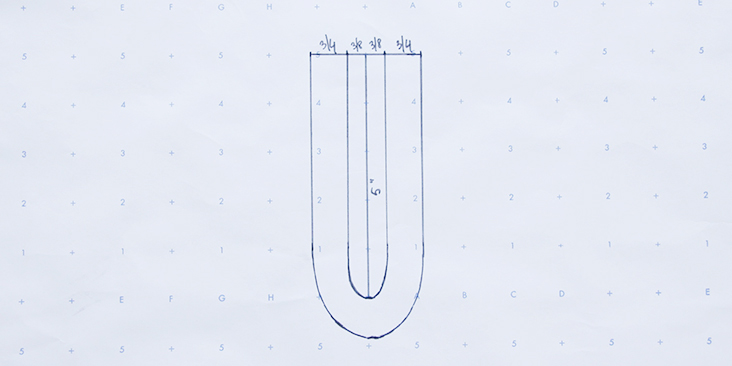
4. Using this pattern, cut one piece in fabric and one in fusible interfacing adding 3/8” (1 cm) seam allowance to the upper edge (so the final length of the middle vertical line would be 5 3/8”. Fuse both pieces together with your iron.
Steps
1. Iron the fabric so it is easier to work with.
2. Serge or zigzag the outer edge of your facing to prevent it from fraying.
3. Make your ties by folding and pressing your two straps of fabric in half lengthwise.
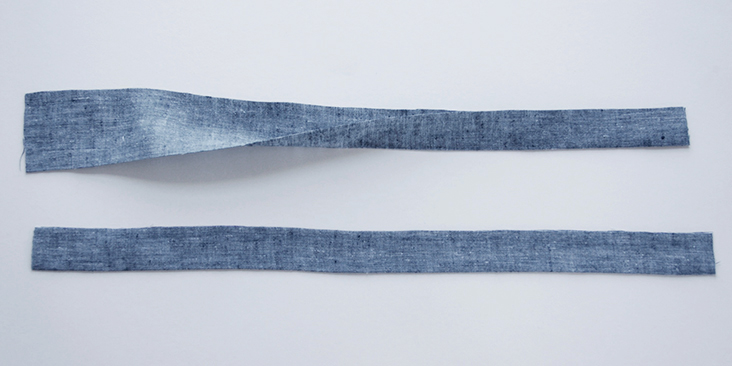
4. Pin the sides of your ties right sides together but leave one end unstitched.
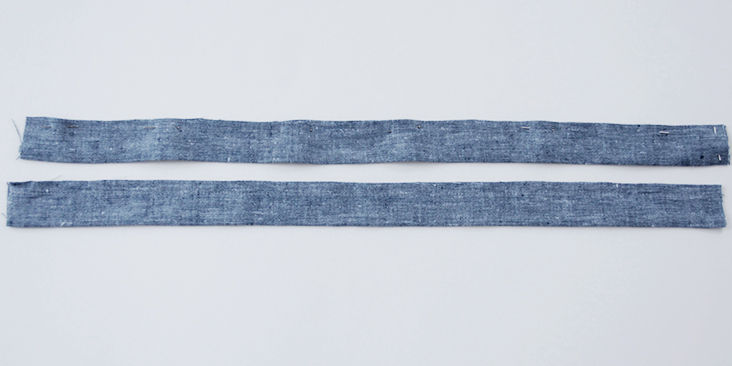
5. Stitch the pinned edges together (and leave one end unstitched). Trim the corner to avoid bulk.
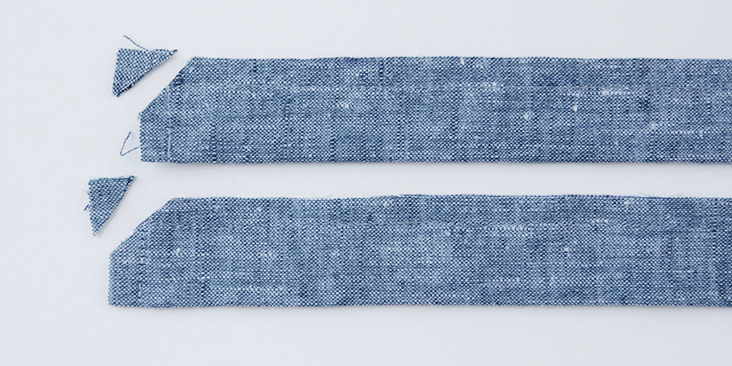
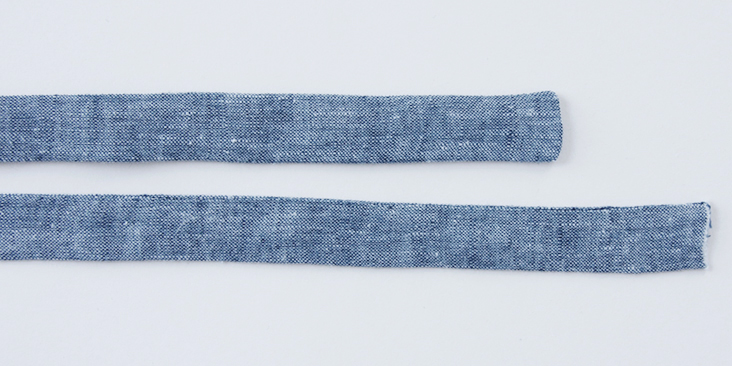
6. Turn your ties inside out and use a pointed object to get to the corners.
7. Carefully press the ties to create a flat fold on the edge.
8. Find the center line of the back of your garment by folding it in half and make a mark.
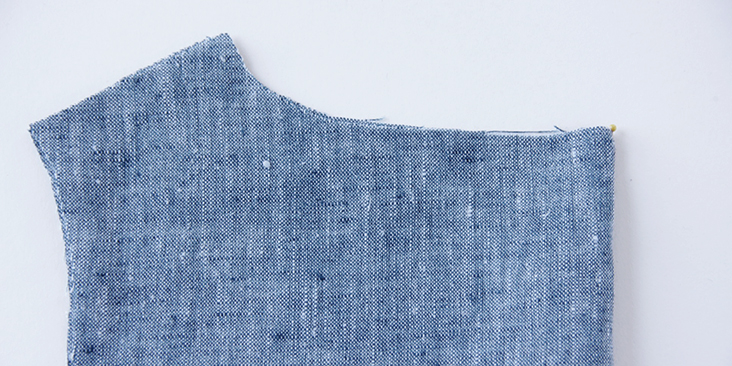
9. Pin the raw edges of your ties (the seam facing down) to the right side of the back of your garment so that the ends meet at the center mark. It’s important that you place them 3/8” (neckline seam allowance) from the neckline edge (otherwise your ties will be caught in the neckline binding). Stitch the ties in place 1/4″ from the mark.
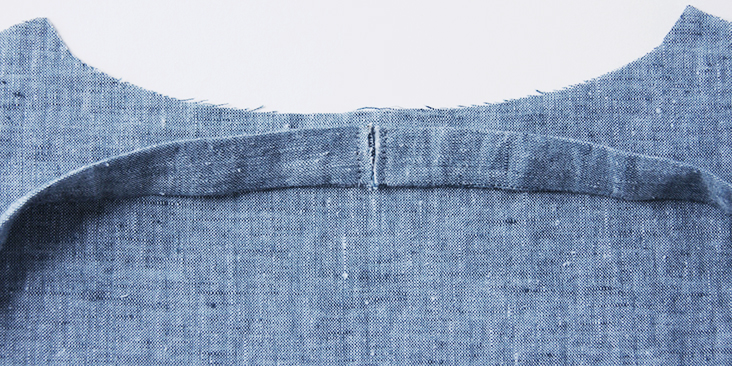
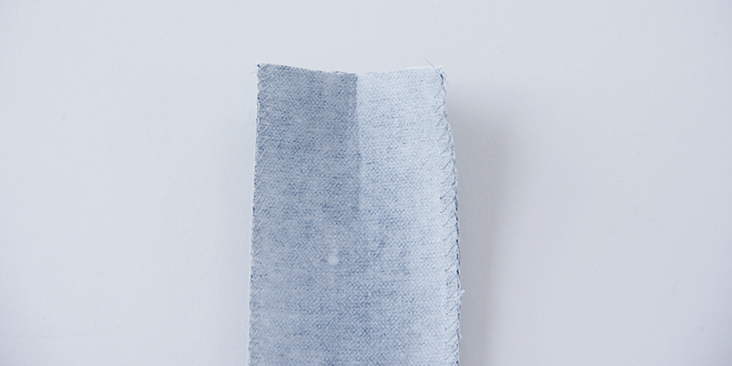
10. Fold your facing in half to mark the center.
11. With the right side of your garment and the interfaced (wrong) side of the facing facing you, pin the facing to the back panel aligning the center marks.
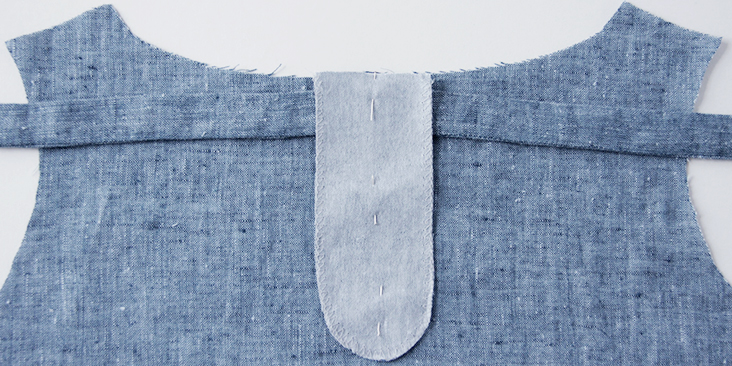
12. Topstitch the facing following the curved shape of your pattern.
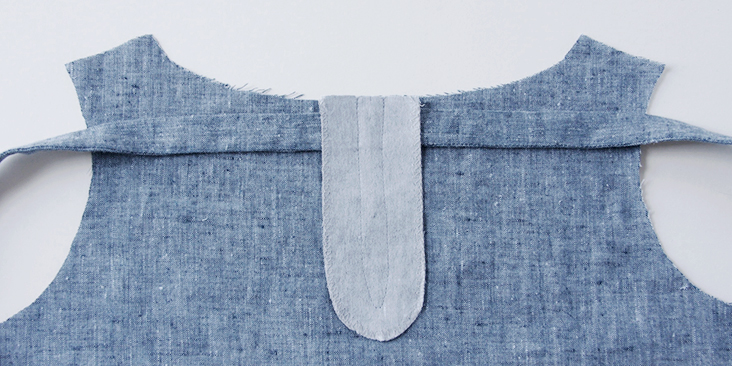
13. Make a cut in the middle down to the curve.
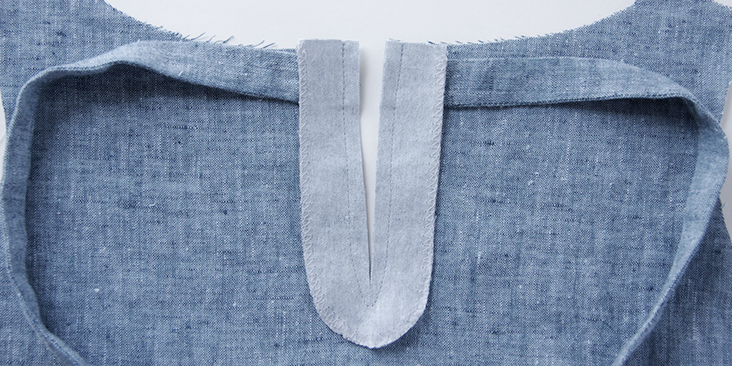
14. Clip to (but not through) the stitched line in the curve to release the tension.
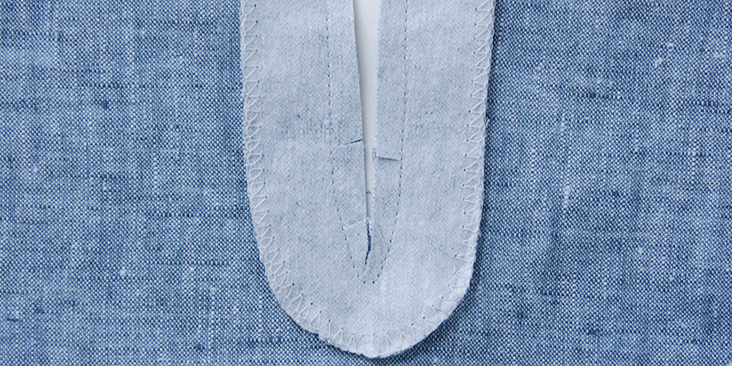
15. Press the facing away from the garment to open the seam.
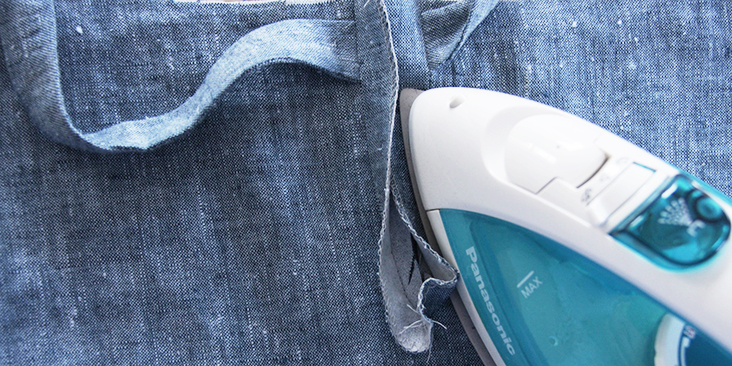
16. Turn the facing to the wrong side and press to create a flat fold. Pin in place.
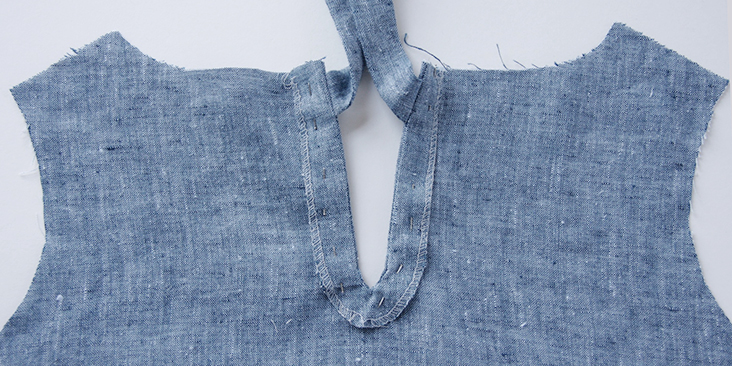
17. Edgestitch 1/4” from the fold. Give your neckline a good press and you’re done!
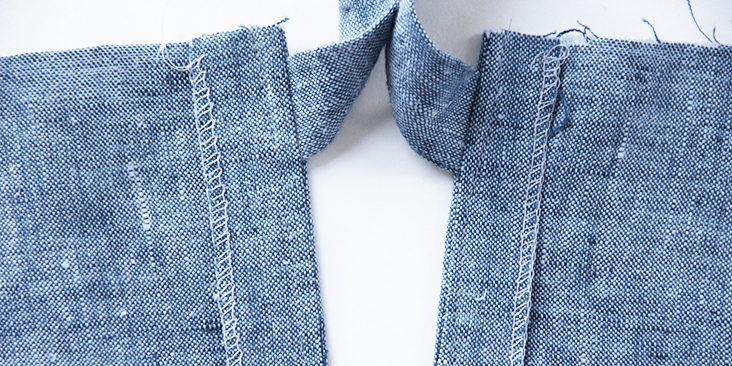
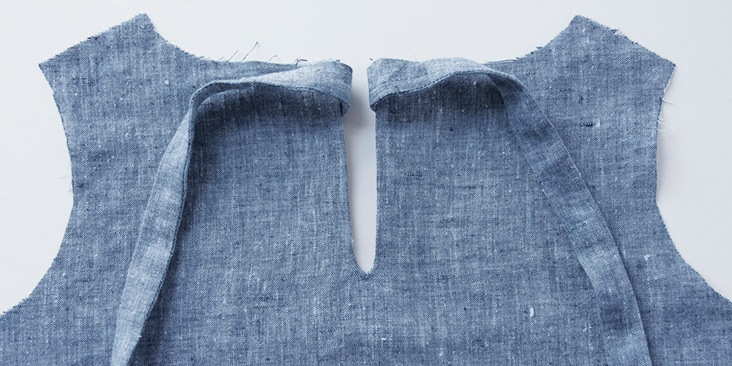
Now all that you need to do is to sew shoulder and side seams of your garment together and finish the neckline and the armholes. You can either follow your pattern instructions, use a bias tape or check our tutorials here and here about different band binding techniques.
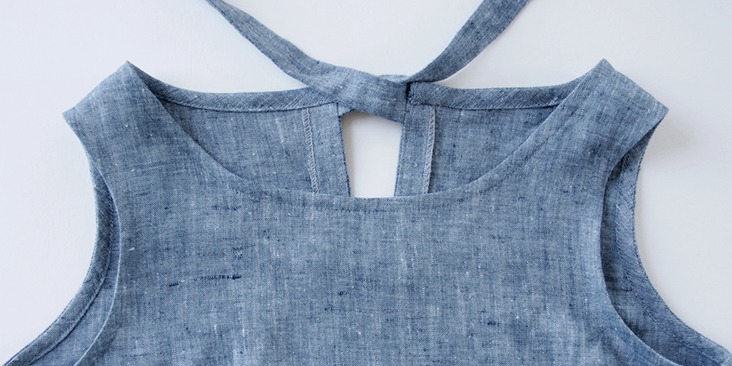
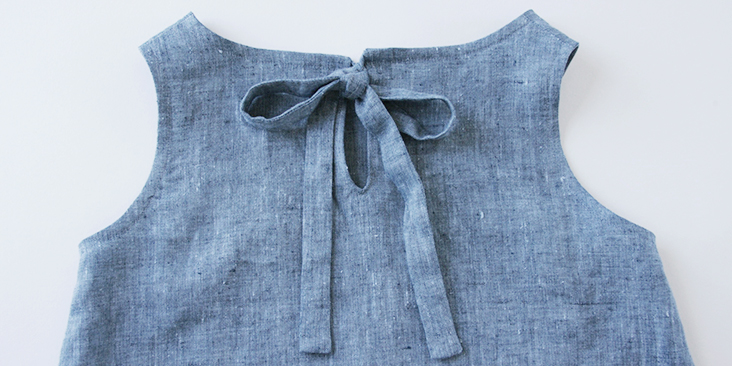
Have a browse through our selection of linen and see which of our fabrics inspire you to use your new skill!








4 Comments
Benjawan Atatakkapan
Beutiful, love it. Thanks for the idea.
Aishwarya
Yeah… M gonna make this r8 now… Muuah thank you lady…
Jaimn
I love what you ladies do – thank you for sharing!!
Masha Karpushina
Thank you Jaimn!