Sewing Essentials: How to create Belt Loops Tutorial
Belt loops are one of the essential elements when learning how to sew. Most tutorials might not suggest belt loops, but nothing is stopping you from adding them on, to allow versatility for your garment. Here we will teach you how to do two types of belt loops, fabric and thread.
Tools
Fabric, Matching sewing thread
Bias tape maker, pins, tape measure
Hand sewing needles
Steps
Here are the steps to create your own fabric belt loops.
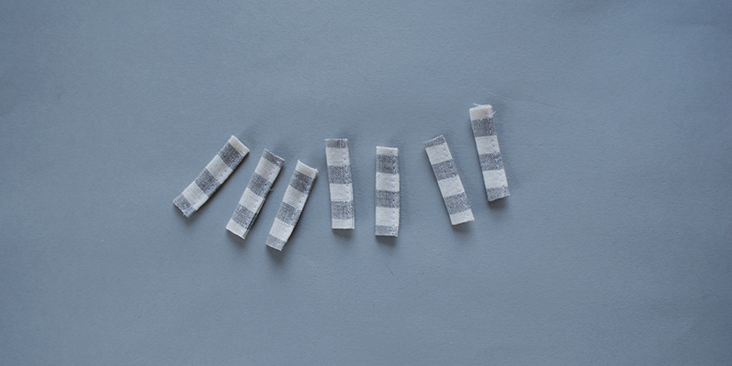
1. When measuring your loops, take the width of your belt, and add 0.5 inch (1.2cm) of ease, as well as 0.35 in (1cm) seam allowance on both sides.
2. One of the easiest way to do this, is to combine the total length needed and cut a piece of fabric matching that length. Eg: if I need 7 belt loops, and my belt is 1.5 in (4cm) thick, here is how I work out the total length of fabric needed: 7 X (1.5 in + 0.5 in + 0.7 in) = 18.9 in length needed.
3. Follow this tutorial, either use the bias tape maker, or just an iron, press the fabric into the form of the tape.
4. Top stitch over the tape, that has been pressed in half, and cut out the desired amount of belt loops.
We are going to show you how to attach the loops onto a’ waistband of a skirt/trousers/shorts, as well as how to do it on a piece of garment without a waistband; i.e. a dress.
5. For garments with waistband, we will divide’ the front and back of the waist band into two separate pieces for easier sewing.
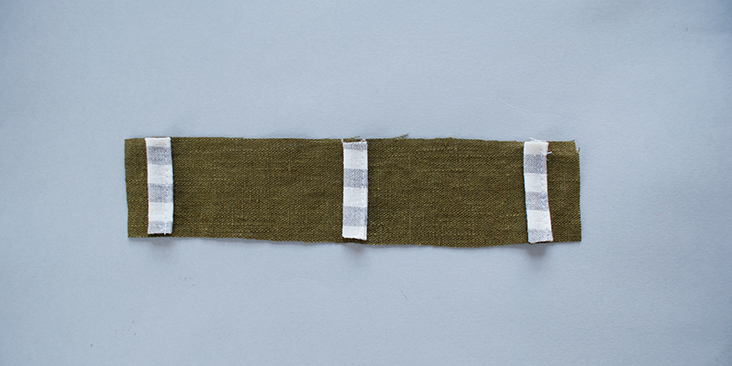
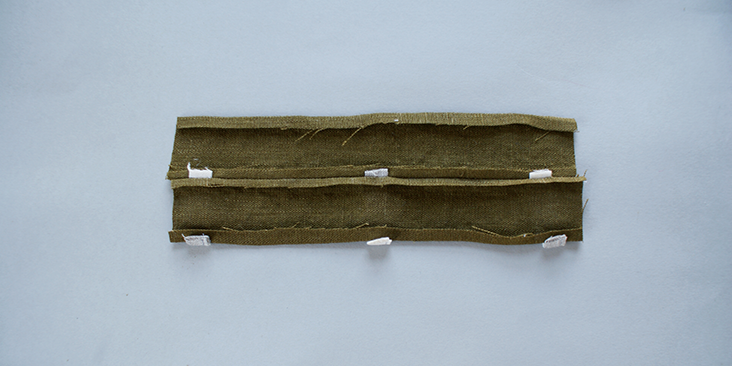
6.’ Place and layout the belt loops evenly onto one panel of the waist band. You can top stitch over these stripes to secure its placement, however you can also carefully lay it out and pin them in place.
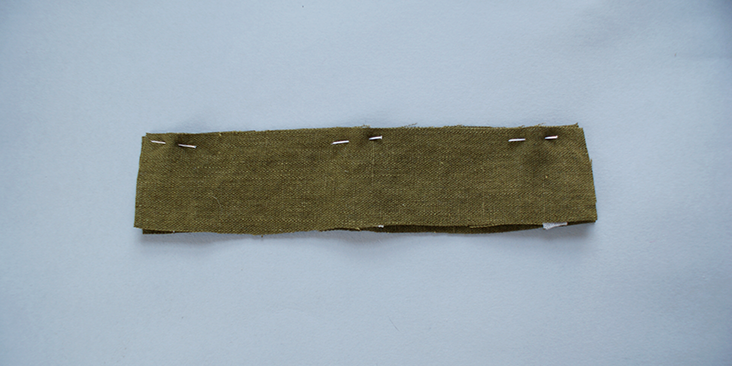
7. With the right sides together, place the other waistband panel on top and pin the top edge.
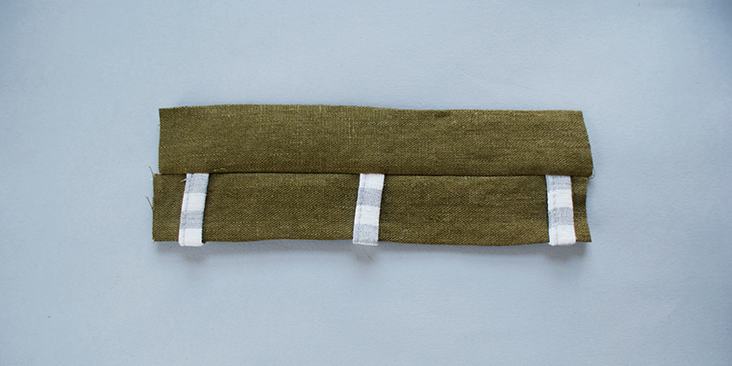
8. Stitch over the top edge and press that seam open. Then also press the seam allowance of the unstitched edges of both panels inwards to the wrong side.
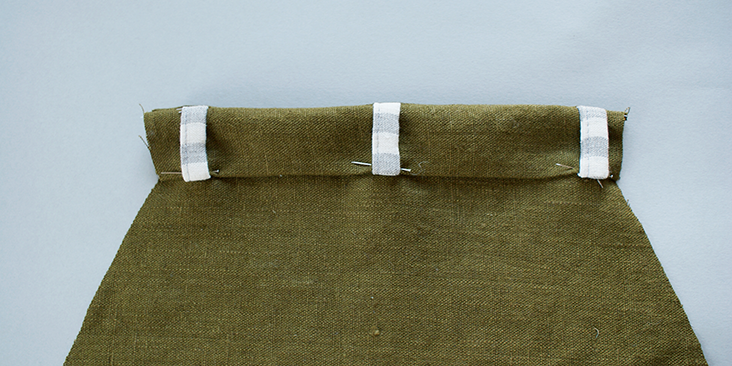
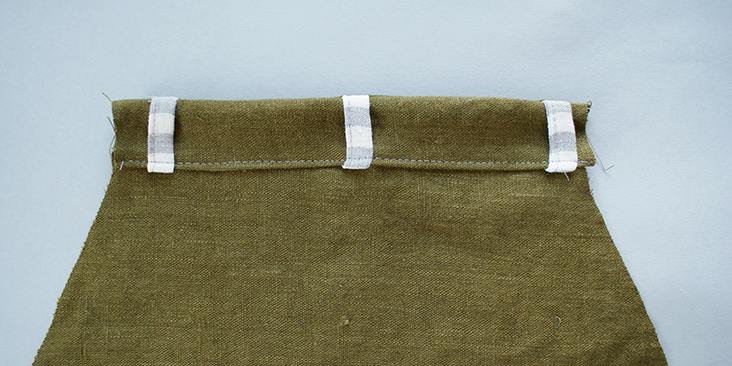
9. Sandwich this waistband onto the bottom panel of your garment, following this tutorial in regards to matching up notch marks and side seams, pin along the edge and top stitch over. Be aware when going over the belt loops that you slow down the sewing to ensure you don’t break any needles (due to its thickness).
10. Next for the garment without a waistband, i.e. a dress or a piece of garment that has already been made.
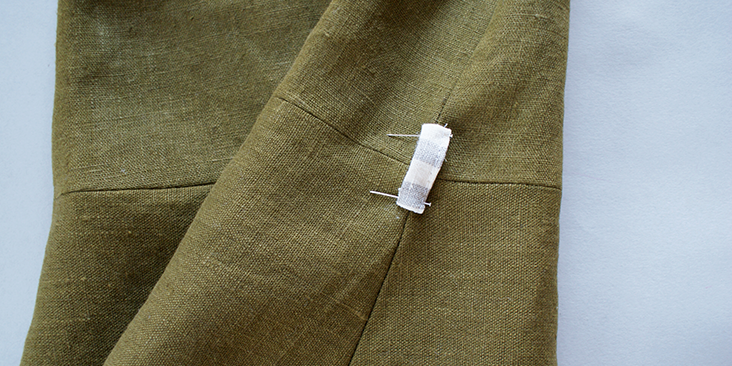
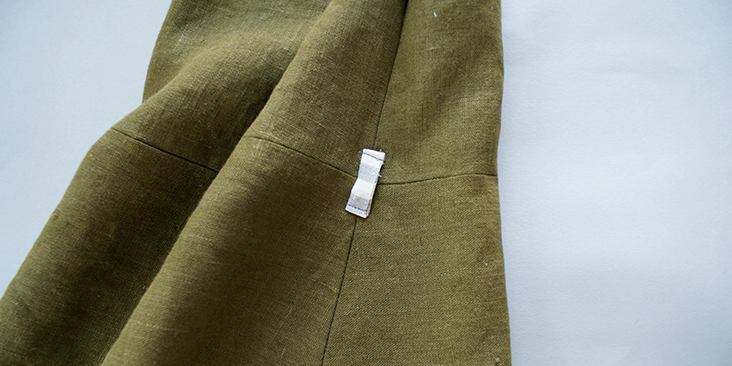
11. Fold the seam allowance edge of the belt loops onto its wrong side.
12. Pin the loops onto the desired location on the garment. On a dress normally this would be placed’ on the side seams.
13. Top stitch back and forth just over the belt loop, both on top and bottom edges.
Here are the steps to create a threaded belt loop
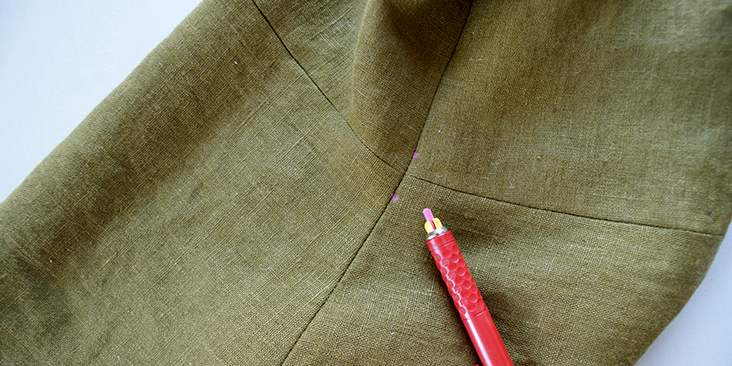
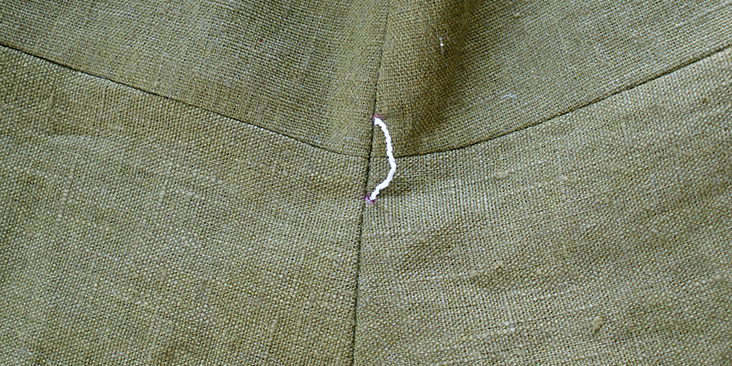
14. Mark two points, indicating the beginning and the end of the belt loop on the garment. The length of this would be the width of the belt plus 0.5 in (1.2cm) for ease.
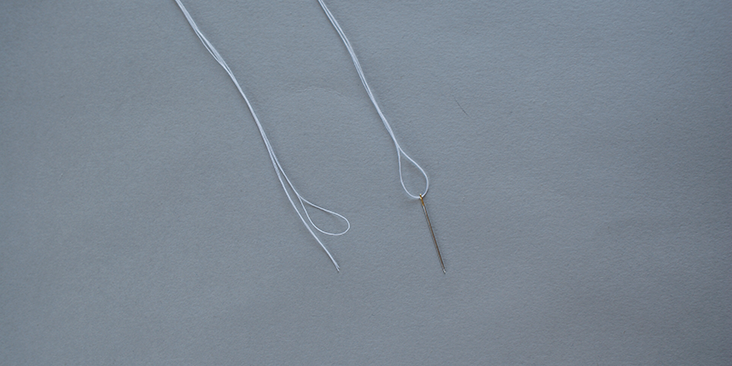
15. Thread two pieces of floss through the hand sewing needle. This is to add thickness to the end product. you can also use yarn, or other types of thread for this. Knot this thread.
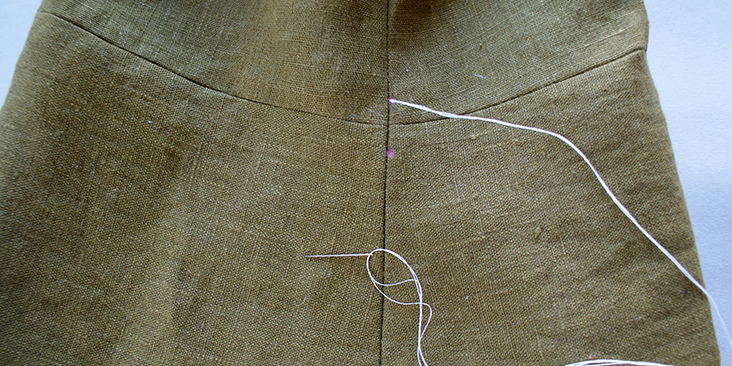
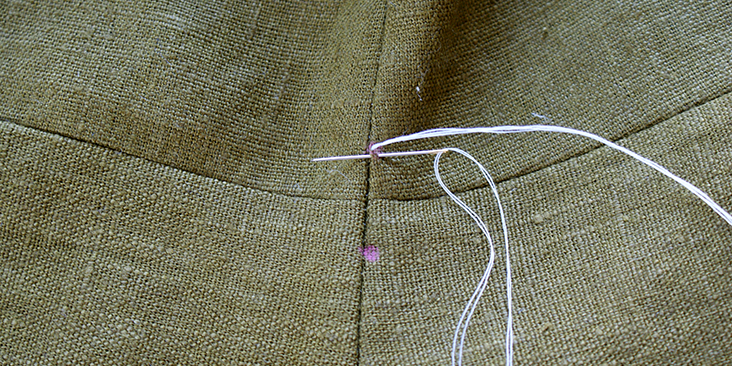
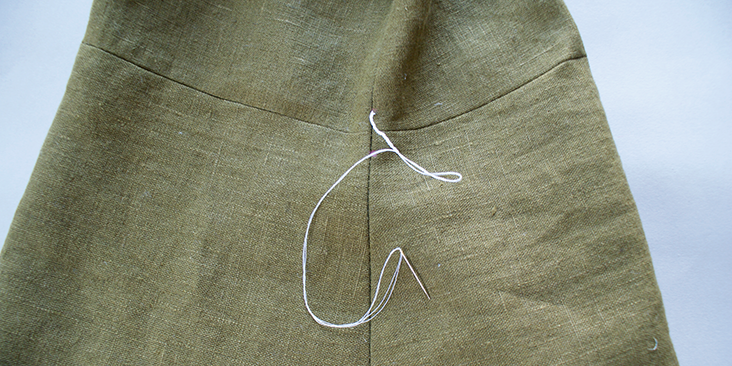
16. From the back of your garment, pierce the needle through at the beginning mark point of the loop.
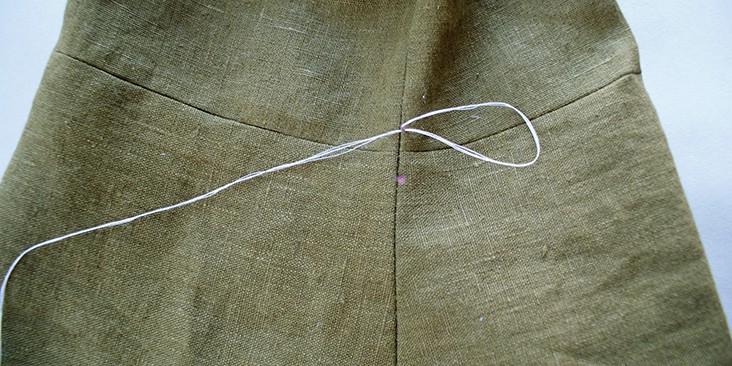
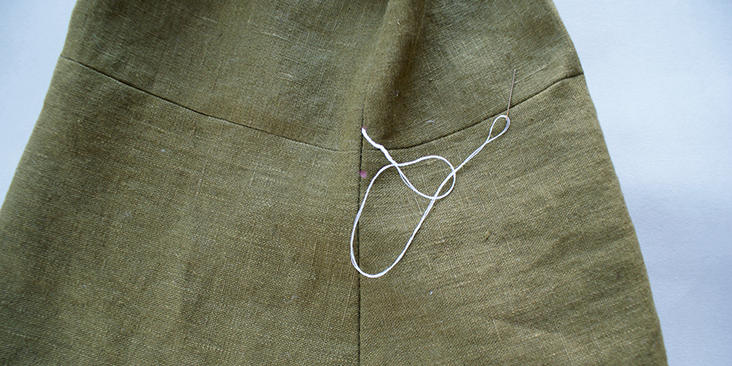
17. Just slightly below the start point, create a small stitch by sewing the needle into the fabric, without pulling the thread through completely.
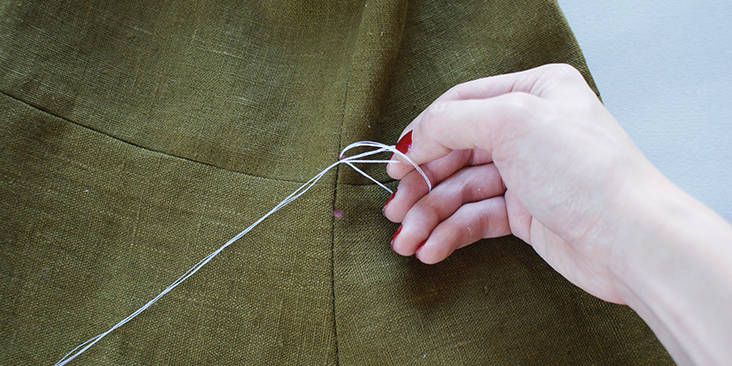
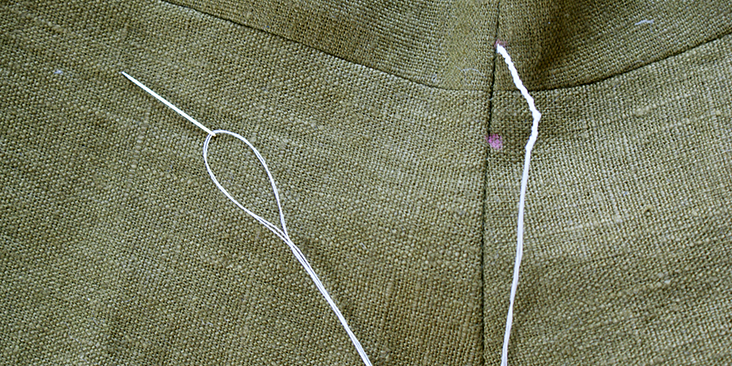
18. At the remaining loop of the thread, pull through the longer end of the thread, whilst creating a new loop by holding onto the thread that is being pulled through.
19. Give the new loop a tuck and the previous loop will’ have been made into a knot.
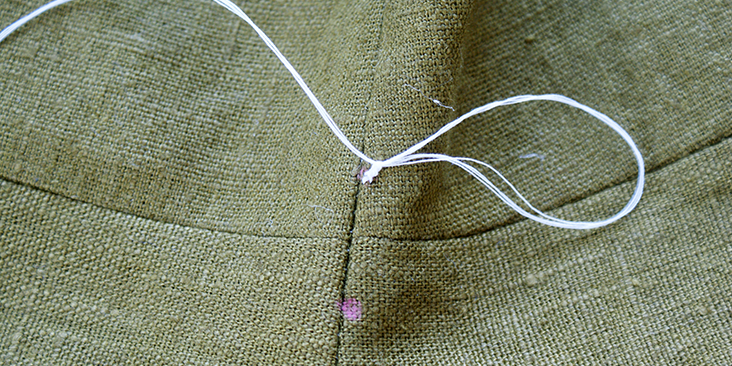
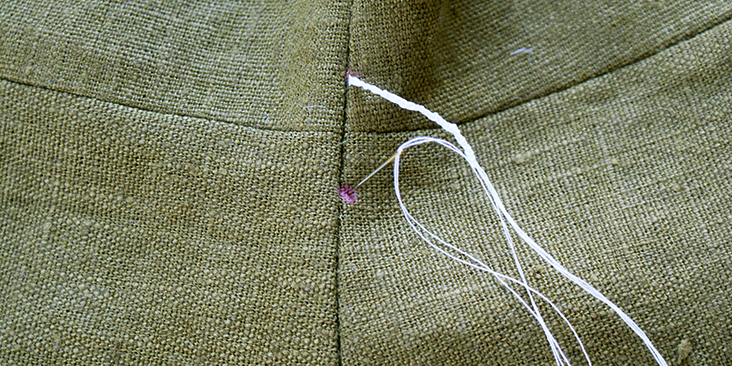
20. Repeat from step 18, until you have created the desired length of the belt loop.
21. For the final knot, simply pull the whole thread through, without creating anymore loops or knots.
22. Bring the needle back through to the wrong side of the garment at the marked end point of the belt loop, and knot the thread, trim access thread.












2 Comments
new craft works
Great project. I am goіng to takе a lοok ⅼater because i am consіdering maкing
one Ñ–n dooing my Ñ•elf. Crafts can Æ…e a nice tactic tÖ… kill sparetime
ѕo, I sew οr crochet ѕince і have leisure tіme.
Joan Dreyer
At step 9, I like to use a “hump jumper” that I made from extra fabric. I make an extra sandwich of fabric the same thickness as the new belt loop. I sew my seam up to the edge of loop. Then Lifting the pressed foot, I tuck the extra fabric loop behind the needle and underneath the back of the presserfoot and set the presser foot down. Now you will have a level seam instead of forcing the stitching to go uphill and onto the belt loop. It helps keep the stitches even and doesn’t bend the needle which could result in breakage. After you finish the first belt loop, the hump jumper is free to be moved to the next belt loop.
Cynthia Fong
Thanks for your comment and suggestion Joan, this is a great tip!