Hand Embroidery I Tutorial
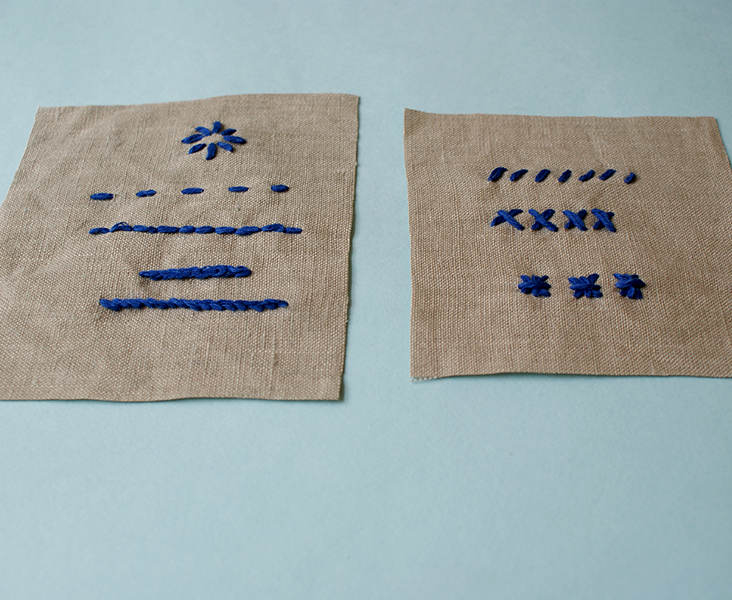
Embroidery is a skill, a craft, an art in its own right. As we have previously explored in our’ Artisan Embroidery series, modern artists, designers, crafters have really pushed the boundaries of’ uses’ as well as possibilities of this ancient craft. Over the next two weeks we will introduce you, (or perhaps refreshen your memory) on 16 most common stitches. This will give you a head start and a basic set of skills to open your wings and really own this craft to propel your own projects to a new level.
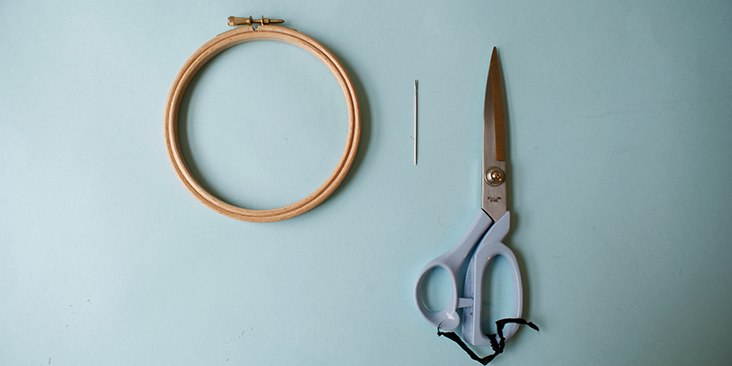
Tools
Fabric
Darning/embroidery needle
Embroidery thread
Embroidery hoop
Scissors
Soluble fabric marker
Steps
1. Iron the fabric.
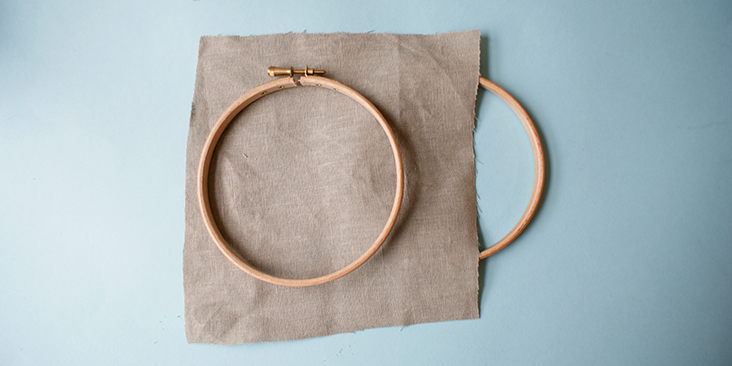
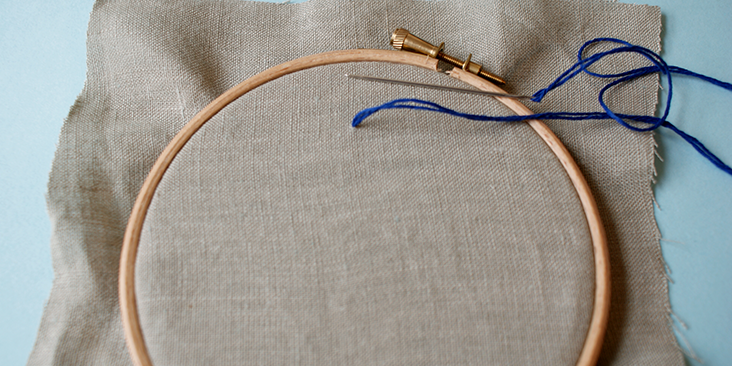
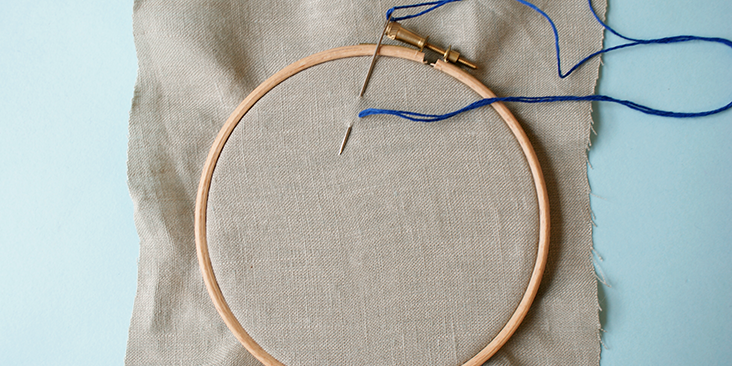
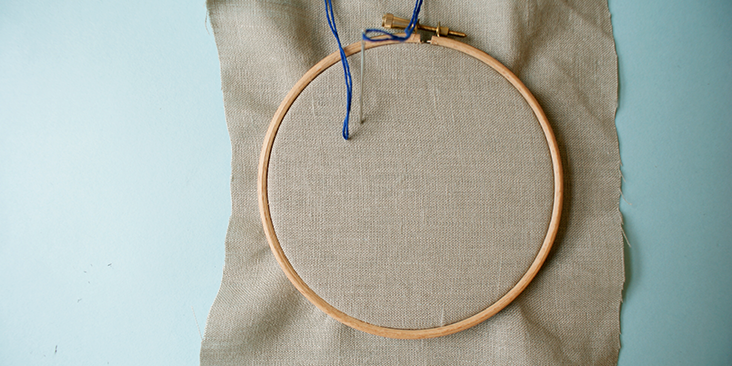
2. Separate the hoop into two parts. Place the fabric on top of the smaller hoop, then fit the’ outer hoop over both fabric and the smaller hoop’ and tighten the screw.
Straight Stitch
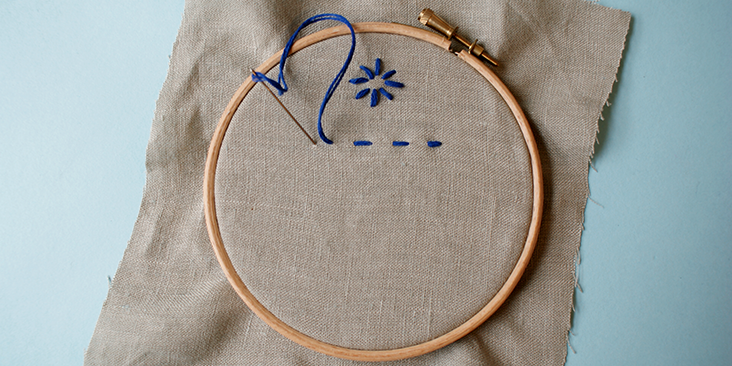
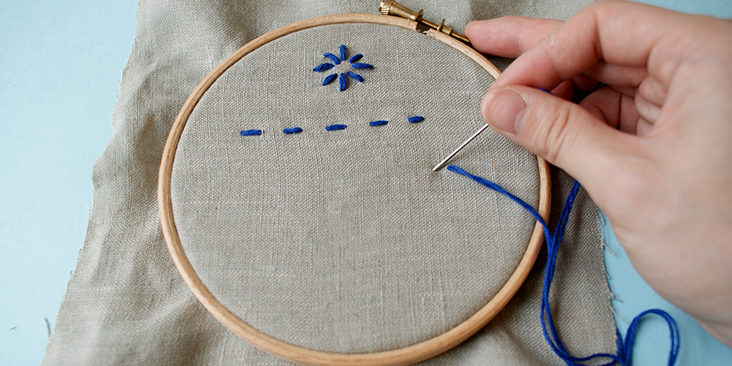
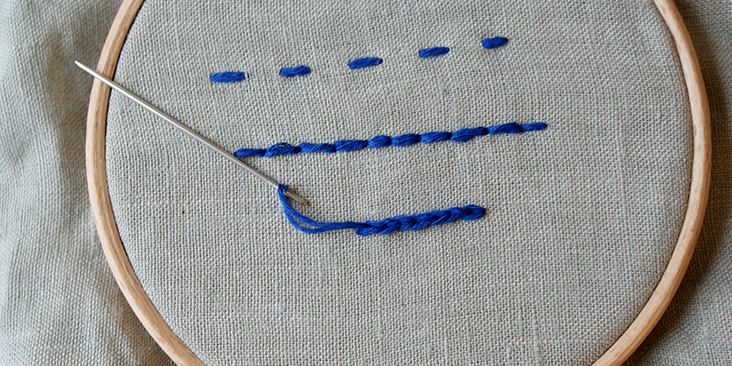
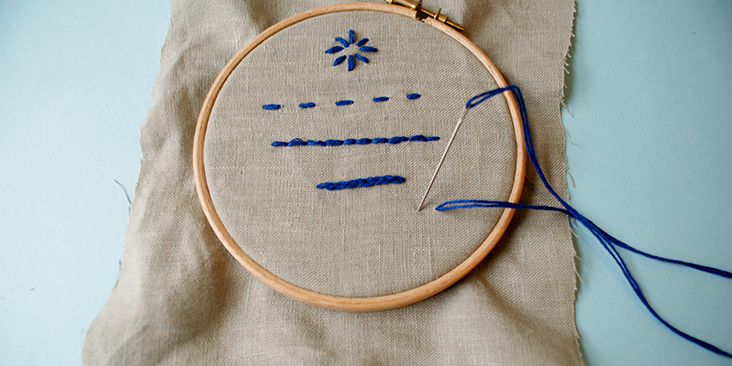
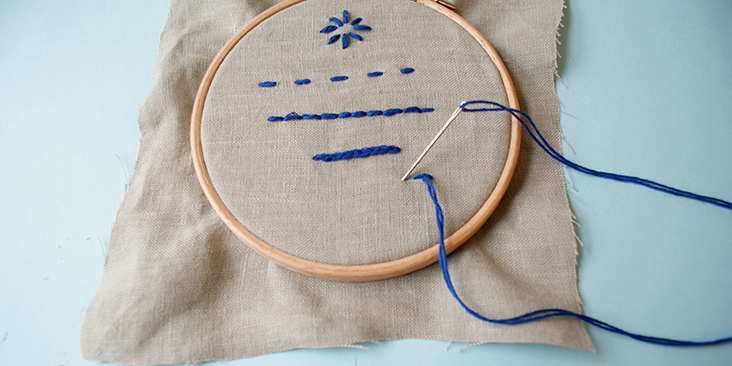
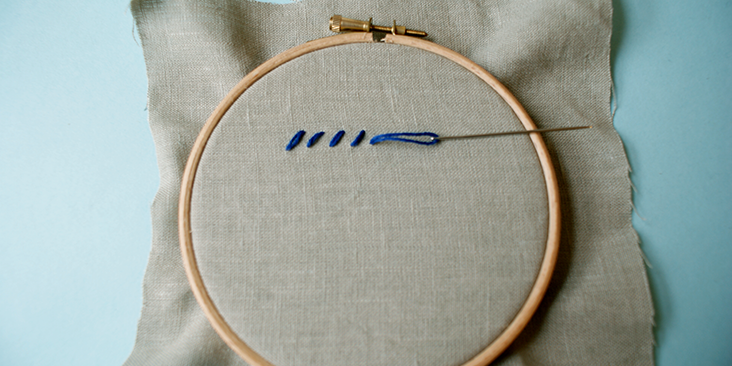
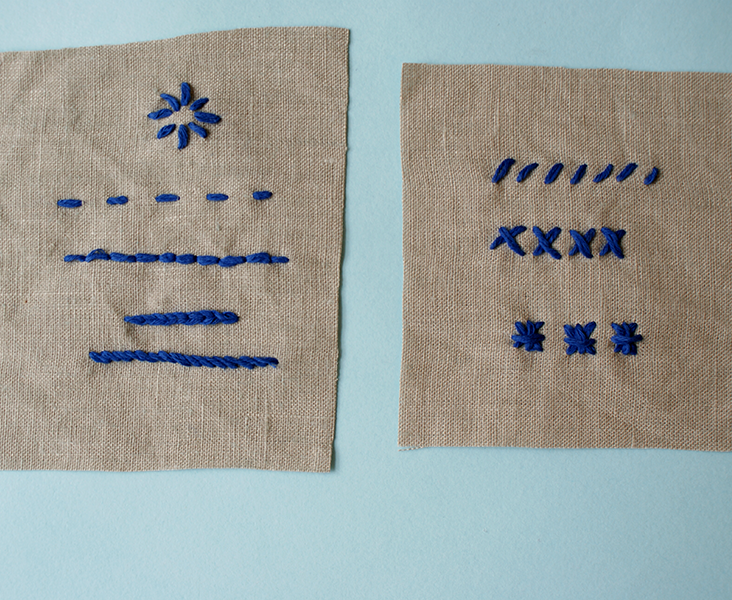
Straight stitch (flat stitch) is the most basic stitch in hand embroidery in which individual stitches are made without looping or crossing the thread.’ These stitches are used to form broken or unbroken lines, fill shapes, and create geometric designs.
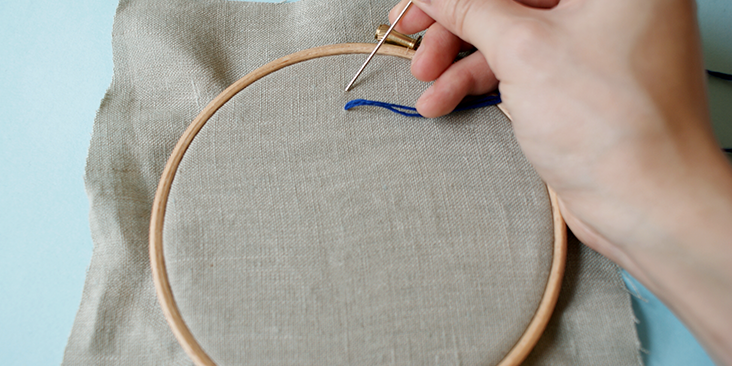
1. Bring the threaded needle out from the fabric at point A.
2. Punch and poke/stab the needle back into the fabric at point B.
3. This can then be repeated to form a pattern (as shown in the photo) or a broken or unbroken stitched line.
Running Stitch
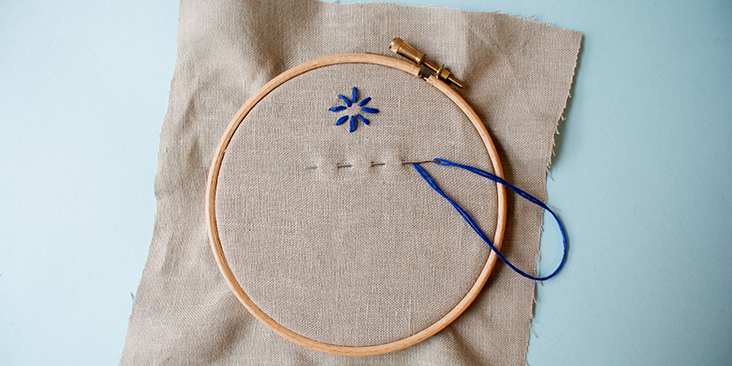
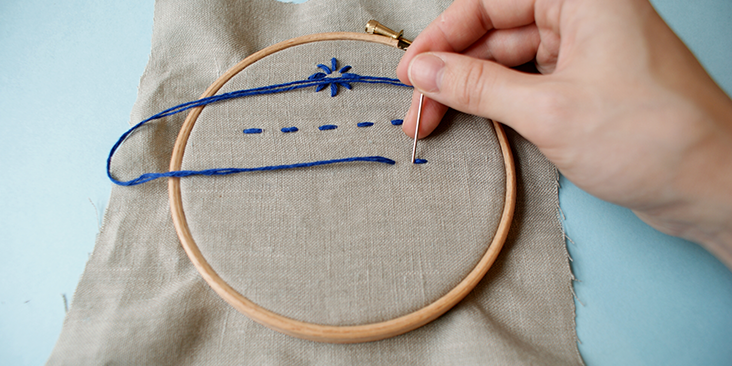
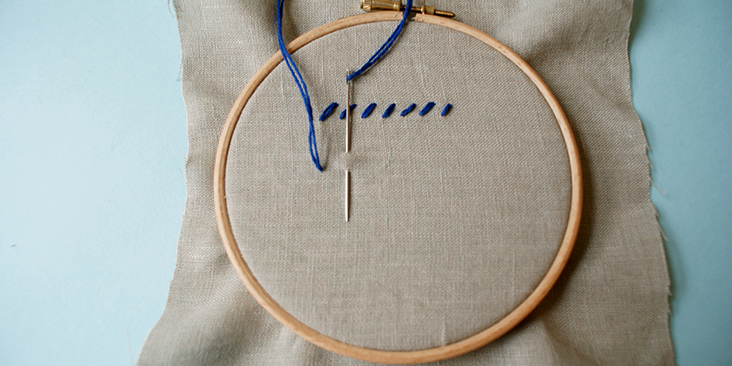
Running stitch is a stitched line made up by a series of broken straight stitches.’ Running stitches are used in hand-sewing and tailoring to sew basic seams,’ in quilting to hold the fabric layers and batting or wadding in place. Kantha stitch is a type of running stitch.
1.’ Bring the needle out from fabric at point A.
2.’ You can either push the threaded needle in and out of the fabric in a continuous motion.
3. Or you can push and needle to the back of the fabric and bring it forth again. This is known as punch and poke, or stabbing technique.
Back Stitch
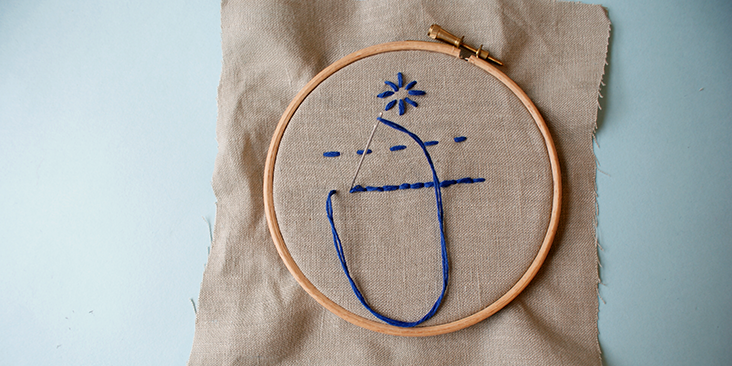
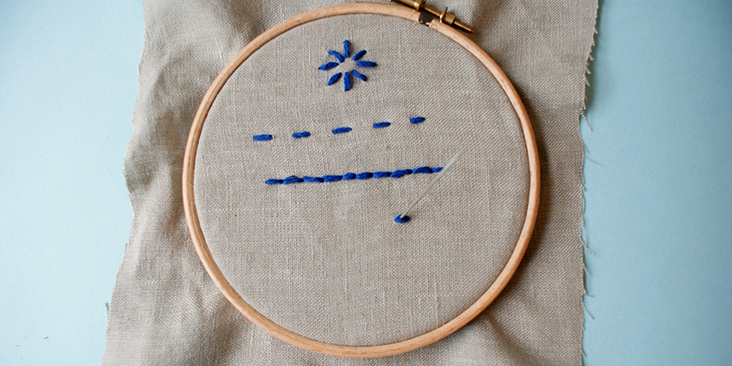
Back stitch is great if you want to create a continuous line of unbroken stitching. Individual stitches are made backward to the general direction of embroidery. Backstitch is ideal for following both smooth and complicated outlines. This stitch can also be used for writing.
1. Begin by pulling the needle up through the fabric and do one stitch forward.
2. From underneath, space the needle out the length of your desired stitch, sew through’ the fabric, and bring the needle back down through the end of the previous stitch.
Split Stitch
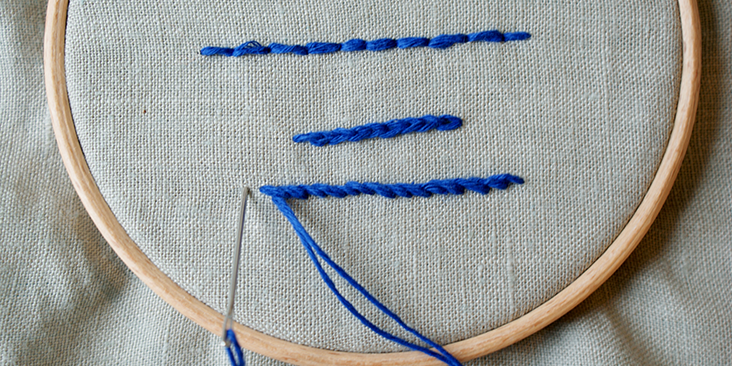
Split stitch is very similar to back stitch, only with some added texture and variation to a line stitching. It is another stitch that is useful for outlining. This stitch was used extensively in the Middle Ages in England for embroidering faces because it lends itself to subtle shading when it’s worked in rows as a filling stitch.
1. Bring the needle to the front of the fabric and create one straight stitch forward.
2. With the needle at the back of your fabric, bring it through the middle of the stitch you just created to split the thread in half.
3. Create another stitch forward and repeat.
Outline Stitch
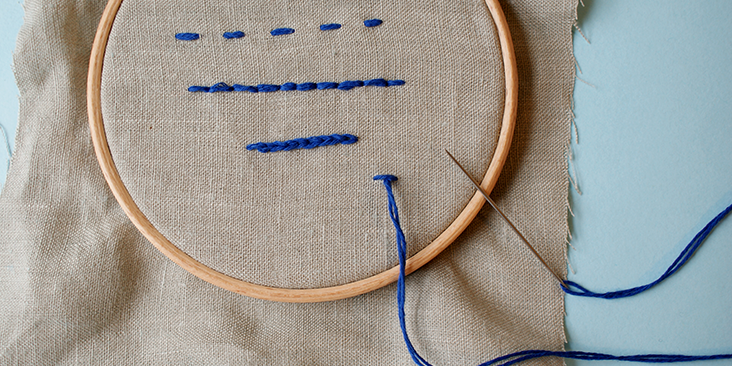
Outline, or stem stitch is great to be used for stems of flowers or vines. It also curves nicely so can be used for particularly swirly patterns.
1.’ Similar to the split stitch, you create one straight stitch forward.
2. Create one straight stitch forward and bring the needle and thread’ up underneath the fabric, but instead of going through the center of this initial stitch, you will bring the needle up just to the side of the stitch.
Half Cross Stitch
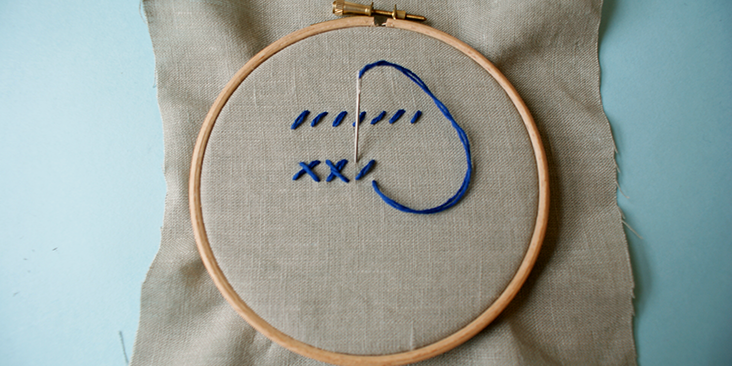
Half cross stitch is normally worked in the horizontal and is a series of diagonal lines.
1. Bring the needle up through the fabric. This is your point A
2. Insert the needle diagonally above point A. This is your point B
3. To continue with the stitch, simply bring the needle back up through the fabric directly below point B, and repeat from step 2.
Cross Stitch
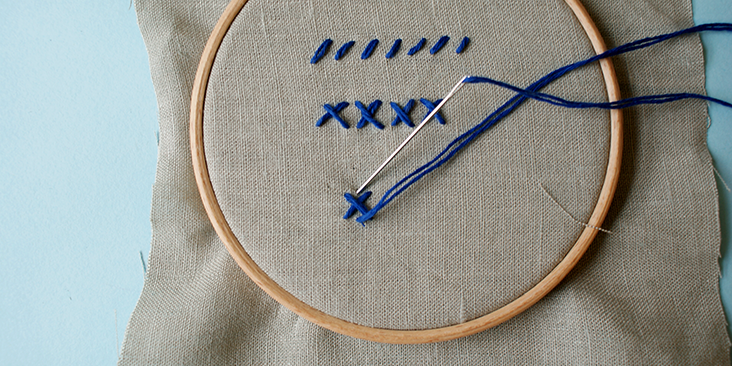
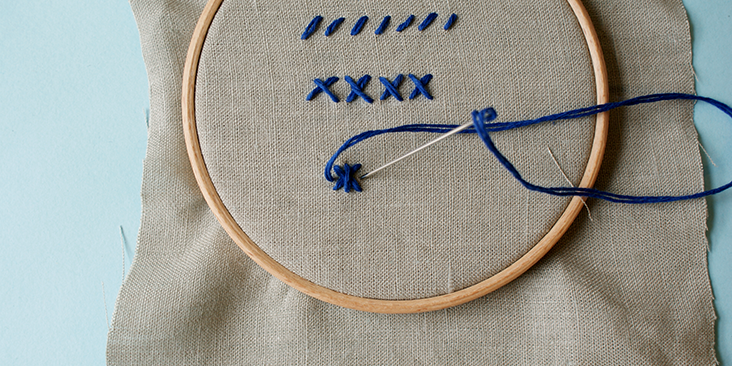
Cross stitch is made up of 2 half stitches and is one of the basic stitches to be used in’ an embroidery project.
1.’ Complete the first 2 steps of half cross stitch.
2. With the needle at the back of the fabric, bring the needle up through the fabric directly below point B. This is your point C.
3. Insert the needle diagonally across, vertically above’ point A. This is your point D.
4. Bring the needle back through point C and repeat from step 1 to create a horizontal line of cross stitches.
Double Cross Stitch
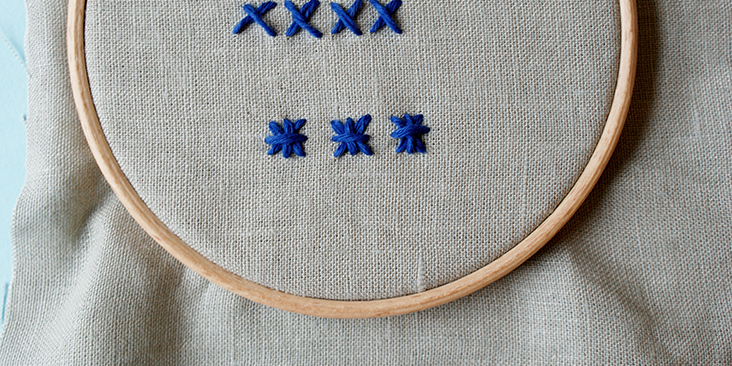
Double cross stitch, also known as leviathan stitch, or the smyrna cross stitch is a great stitch to use as a filler. The make up of a double cross stitch is two cross stitches lying diagonally on top of each other.
1. Complete the first 3 steps of cross stitch.
2. Bring the needle back through the fabric in between point A and C. This is point E.
3. Insert the needle vertically above point E through the fabric. This is point F and lies in between point B and D.
4. Bring the needle up through point G which is in between A and D.
5. Finally, insert the needle horizontally through point H, and it is in between point B and C.
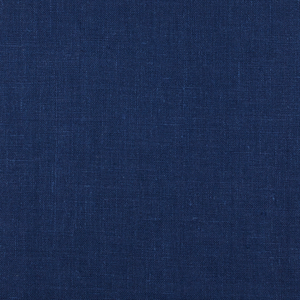
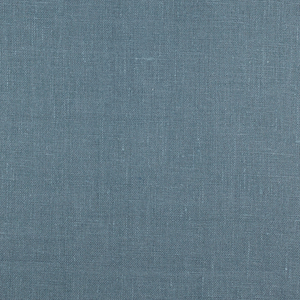
And now you can browse our Gallery of Fabrics‘ to inspire’ a new project to trial your new’ embroidery skills with, and be sure to come back next week for other stitch variations.













7 Comments
Yvonne
I’ve been dying to make an embroidered black skirt with brightly colored embroidery floss.
Dorothy
I can’t wait to get started on the project. A sampler would be the perfect thing to do! I would like to practice on my stitches. Looking forward to seeing the French Knot. I don’t remember how to do it.
Thank you for bringing back some great memories! Here are two the next generation that will have the pleasure of learning how to do these stitches.
Dorothy
Cynthia Fong
That is great to hear Dorothy. We also hope the next generation will pick up this crafts skills and enjoy the process of it.
Chemistmom
Nice! I had done cross-stiching embroidery as a young girl, and was just getting into some of the other stiches when I quit. This makes me feel like getting a small project to do! Who knows, maybe even a big one? Thanks.
Cynthia Fong
That is great to hear! Definitely both small and big project with the holiday season upon us! So lots of time (hopefully). We look forward to seeing what you create!
Deborah
Thank you so much for starting to do this. I have been researching hand embroidery for months to expand my skills and I love that you are doing the beginning stitches. There are so many to learn and they are so beautiful I love this. I hope you will continue to expand by adding stitches and maybe even small projects to do on your beautiful linen fabrics. A very good website for learning is Mary Corbet’s Needle and Thread she does videos which I love. Just a suggestion.
Cynthia Fong
Dear Deborah, we are so glad that you find this useful! And thank you for a website suggestion. We hope to see your future creation!