Causal Linen Cropped Top and Skirt Set Tutorial
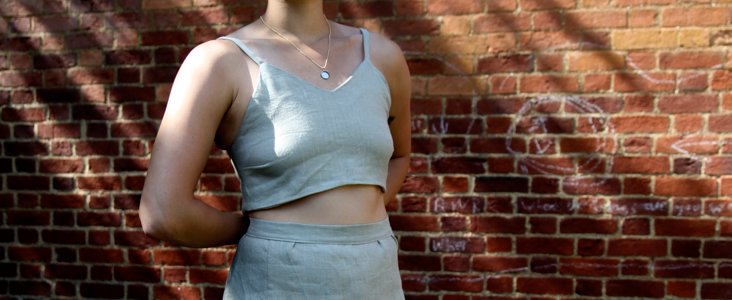
Matching top and bottom combinations’ have been a very popular fashion statement in recent years. I personally love wearing a crop top with a high waisted skirt, as to my mind, this is a very’ elegant look for the younger generations, who don’t fear to show off their bodies, including a bit of waist skin. Instead of creating something super formal, making it out of linen will allow this set of garments to be wearable for a lot more occasions. For those ladies less likely keen to show this much skin, you can definitely try your hand at making the high waist skirt or make this outfit for your daughters and grand daughters who will be very impressed with your fashion forward taste.
Material
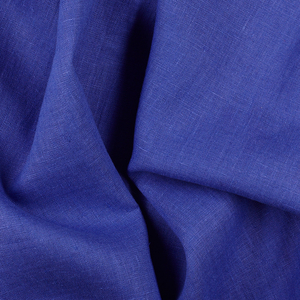
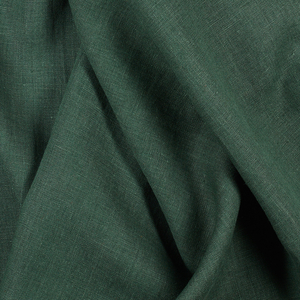
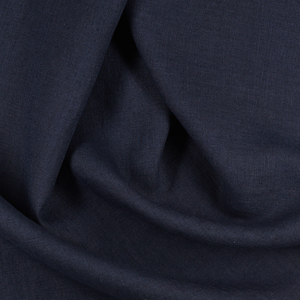
2 yards of IL019 Aluminium Softened
Matching sewing thread
Tools
Pattern master, pattern paper
Paper scissors, fabric scissors
Fabric marker, pins, tape measure, bias binding tape maker
1 x invisible zip, 1 x’ open end zip
Invisible zip sewing foot, normal zip sewing foot
Hand sewing needle, 1 set of hook and eye
Time
5-6′ hours
Difficulty
Intermediate
Step
Note: Prewash your fabric and tumble dry it until it is still slightly moist, let this dry in room temperature.
1. Iron the fabric so it is easier to work with
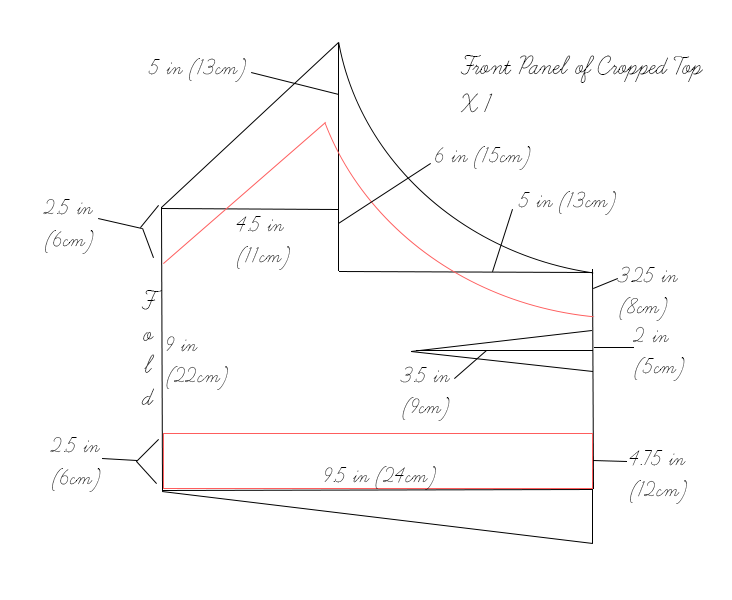
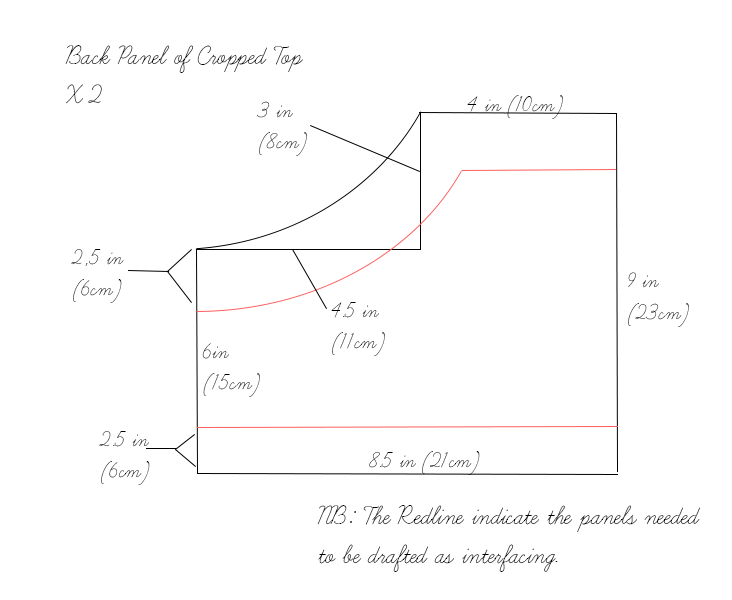
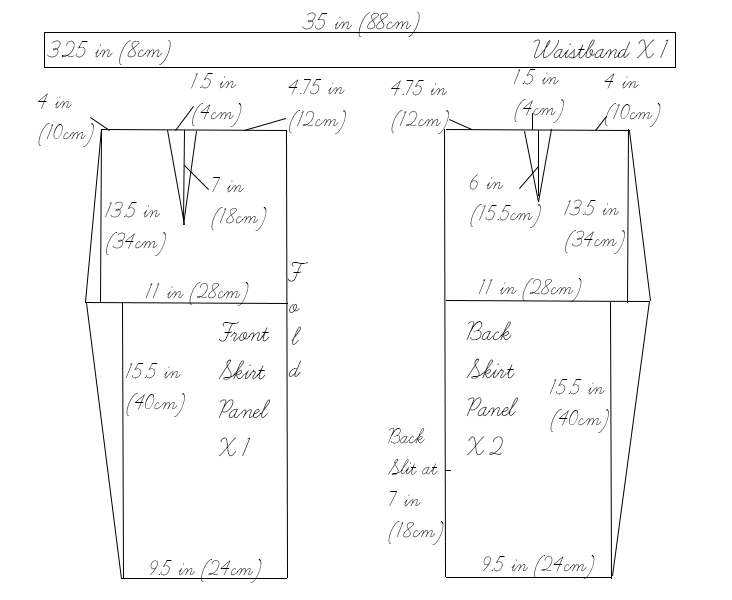
2. The diagram shows the pattern for a size US10-12 (UK14-16). Remember to add 3/8in (1cm) seam allowance around all panels. If you need help to grade your pattern, please follow this tutorial. The interfacing for the cropped top are indicated by the redlines on the pattern.
3. Use a serger, or choose your own method to protect the seams from fraying. Make sure the method you choose does not add weight to the fabric.
Now we will break the tutorial up into two parts:
Cropped strappy top:
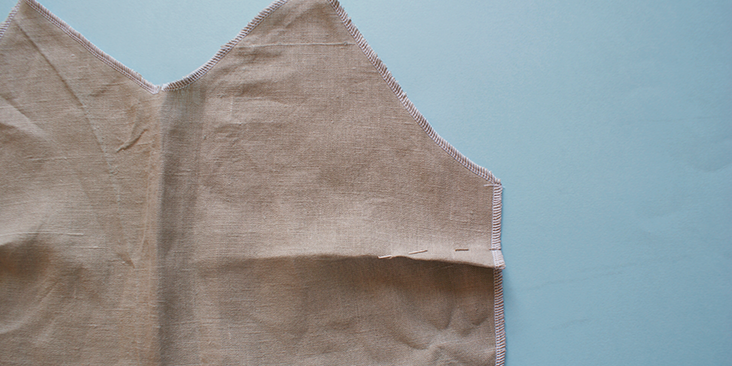
1. Mark where the darts are indicated on’ the pattern, pin it on the wrong side and stitch it closed.
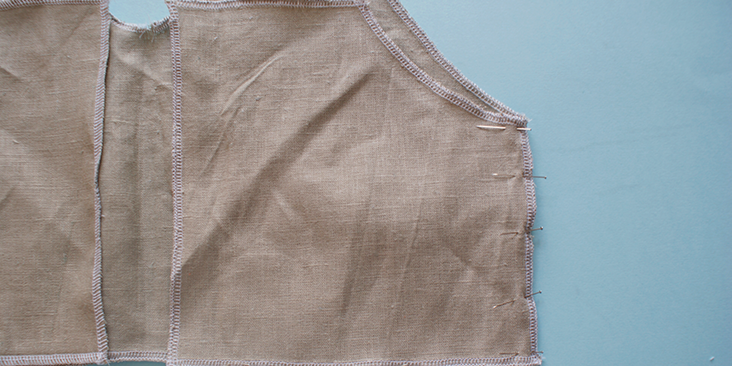
2. Pin together the side seams of the back and front panels. Stitch and press the seams open.
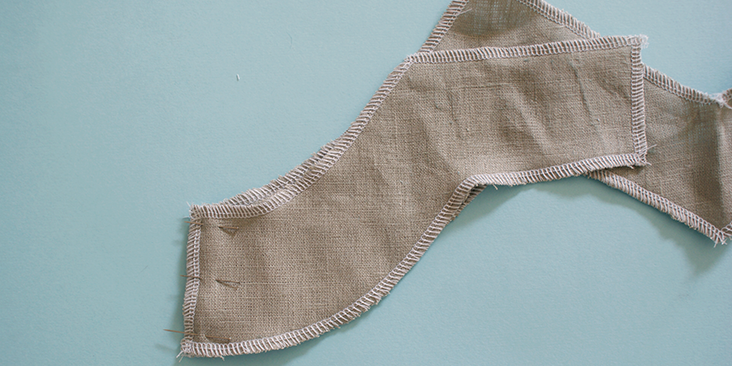
3. Pin together the side seams of the interfacings, stitch and press open.
4. Follow this tutorial and make 2 pieces of 14 1/8′ inch (36cm) of 1 cm wide bias binding (once folded and pressed). This length includes 3/8 inch of seam allowance at the beginning and end of the strap. (NB: this measurement will vary depending on your size, take away or add on 3/8 inch (1cm) for each size smaller or bigger respectively).
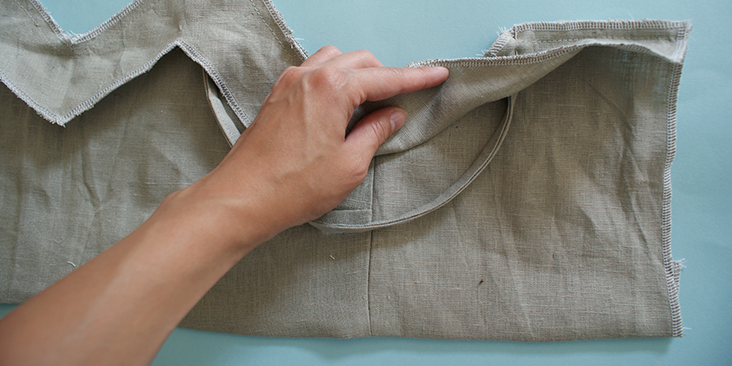
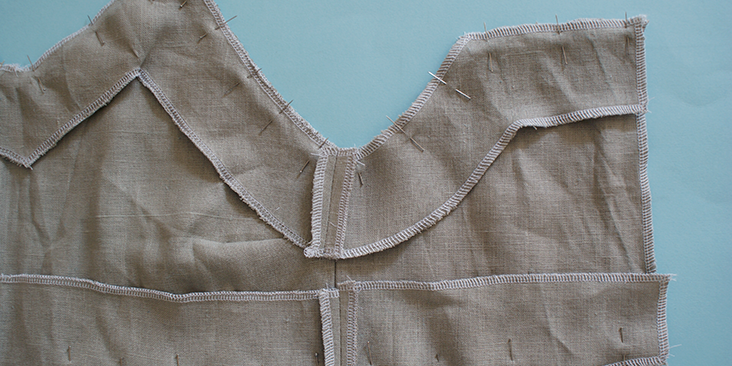
5. With the right side of the top facing you, place the strap at the point on the front and back panels before the arm hole dips.
6. Next, place the interfacing (with its wrong side towards you) along the seam of the top.
7. Stitch along the edge, repeat the same for the bottom seam.
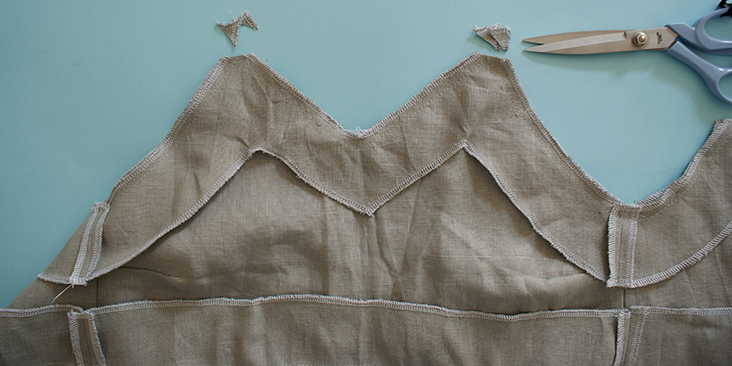
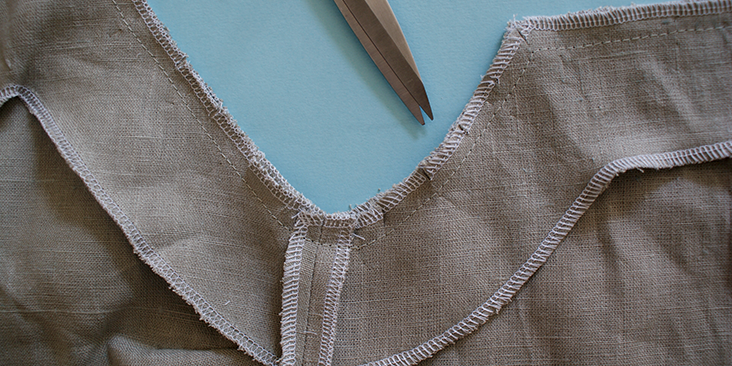
8. Trim the top pointy corner of the top, as well as creating small snippets around any curved edge that would need to be turned inside out.
9. Turn the top onto its right side and press along the stitched seam.
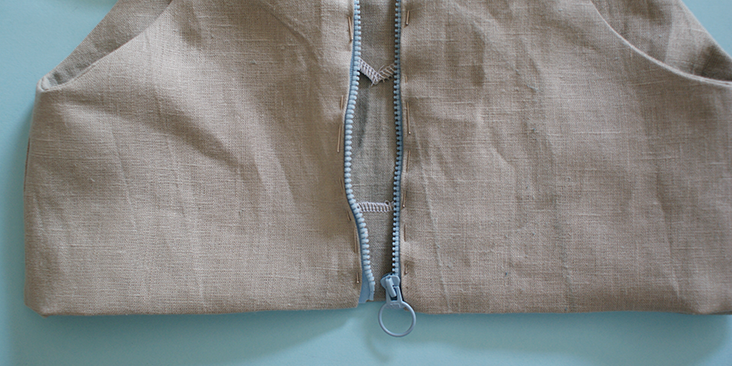
10. Following this tutorial‘ sew the open ended zip onto the back panel’s centre seam. Make sure the interfacing is also pinned along with the top’s back panel’s seam.
Skirt:
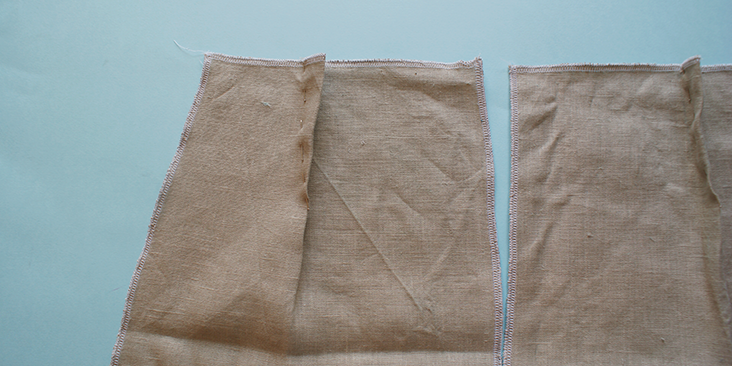
1.’ Mark where the darts are on’ the pattern, pin it on the wrong side and stitch it closed.
2. Pin together the side seams of the back and front panels. Stitch and press the seams open.
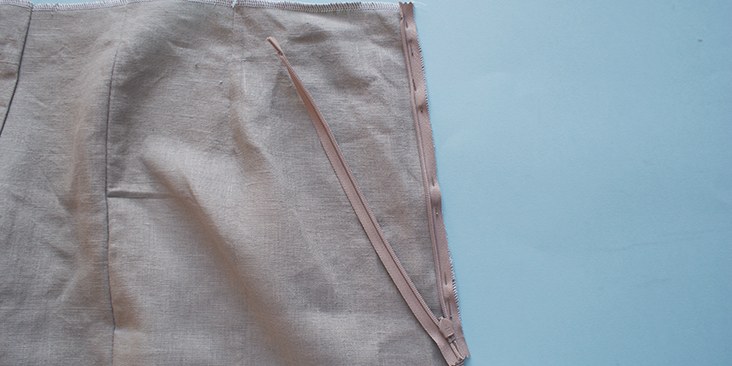
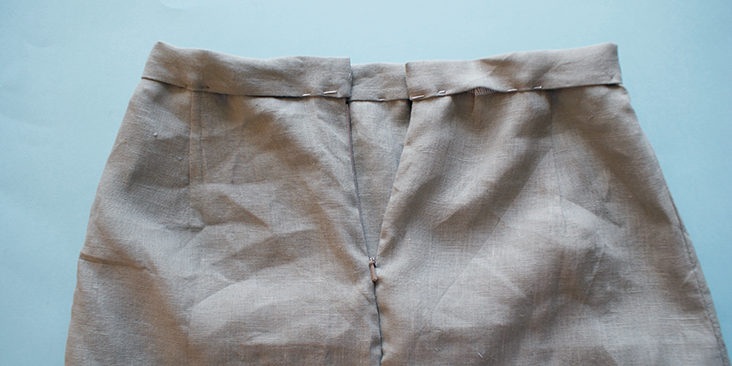
3. Following this tutorial, sew on the invisible zip at the back centre seam of the skirt.
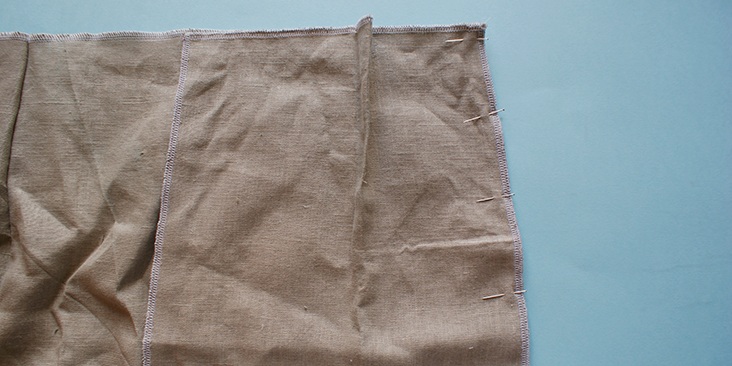
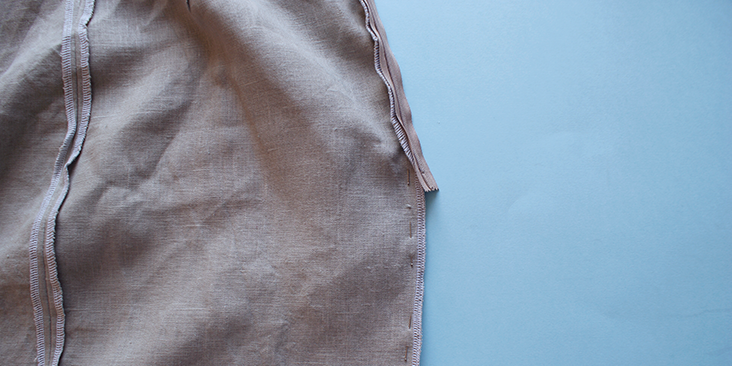
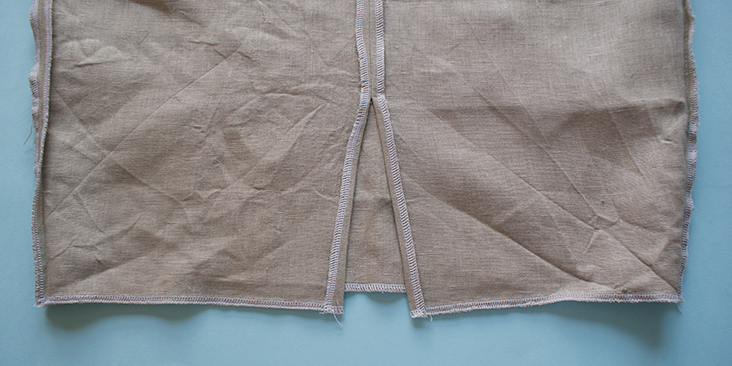
4. When pinning and preparing the final seam of the skirt to be sewn, mark where the slit will start and end, at the bottom of the skirt, and only pin to that point. Stitch as usual and press open.
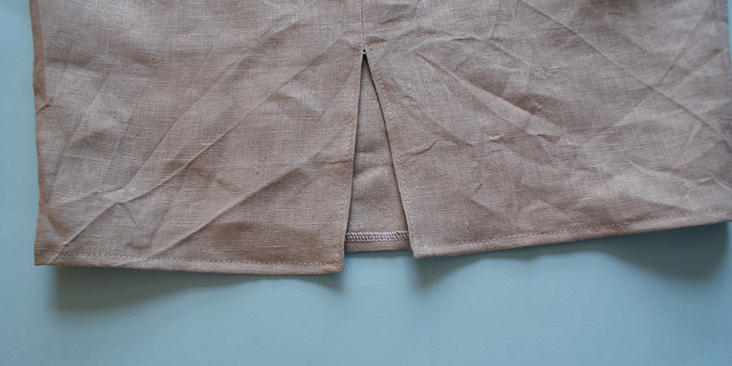
5. Next, press the seam allowance along the hem, as well as the slit towards the wrong side of the skirt.
6. Top stitch over the pressed hem.
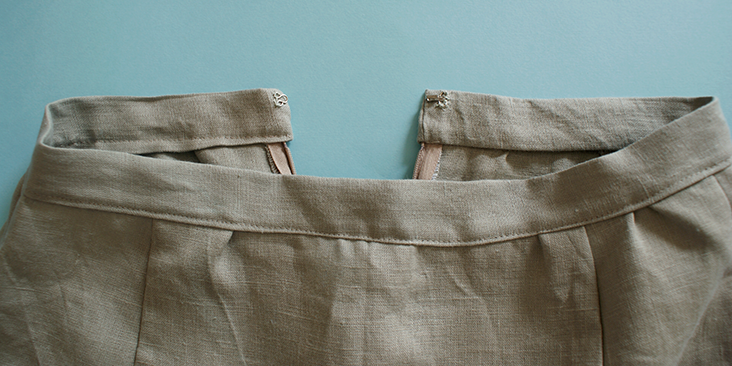
7. Fold the waist band in half and press along the folded line. Then press the seam allowance along the long edge onto the wrong side of the material.
8. With the wrong side of the waistband facing you, stitch together the folded shorter seam of the band. Turn it to the right way round.
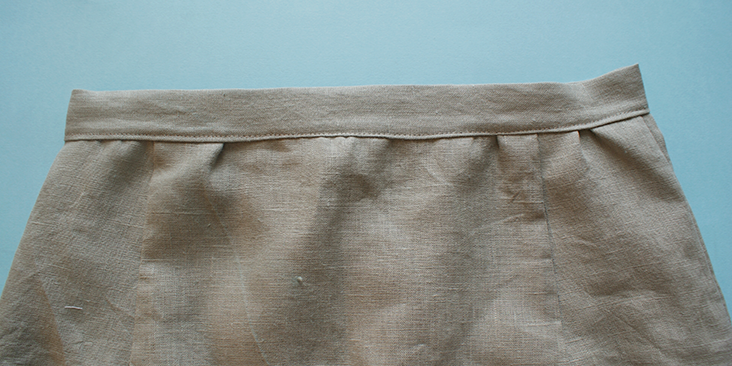
9. Pin the waistband onto the skirt.
10. Top stitch along the pinned edge.
11. Following this tutorial and sew a pair of hook and eye onto the inside of the waistband.
We have used the same colour for both the top and the bottom for this tutorial, but you can always’ browse around our website‘ and create your own combination of fabric!














4 Comments
Edda
Hi, I love this look. However, I have a niggling question. In all your tutorials I have noticed that you finish the seams before actually sewing the garment together. When I learned to sew way back then, I was taught to finish after. What is your take on this? Is both ways acceptable? What makes a neater seam.
I really enjoy your fabric and tutorials.
Edda
Cynthia Fong
Both ways are definitely acceptable. There is no right or wrong way. The only reason we treat all the seams before sewing is because by overlocking all the panels first, this makes it easier, rather than overlocking sewed seams. But it also depends how you want to finish the seams too.
Stephanie Quick
What a fresh, modern take on hot weather dressing. I love it! You are inspiring me to try my hand at this even though i am 53 🙂
I have a nicely fitting princess-seamed shell which i am thinking would provide a bit more coverage and be easier to fit as i have a full bust (E cup). Another option for ladies wanting more coverage would be to simply line the top instead of using facings.
The pegged high-waisted skirt is perfect with this – i may even go longer and do a midi! Thank you for these tutorials, linen is my favorite fibre to wear and sew and you show very practical, very stylish looks.
Cynthia Fong
We are so glad you enjoy this tutorial and it inspires you. A midi high waisted skirt would be such a fashionable and beautiful piece to have! Please share photos of your sewing results!