Linen Sleeveless Dress Tutorial
Even as fall starts drawing near, a nice’ dress can be part of an classy’ ensemble by being worn in layers with a light scarf, long sleeved shirt and your favorite pair of boots… Okay, maybe that’s just my favorite way to wear a dress! All the same, this simple, pleated dress can be made very easily using our pattern.
Materials:
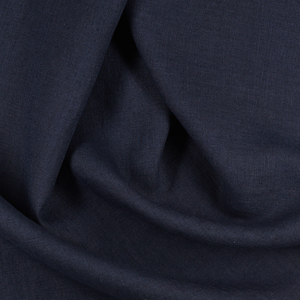
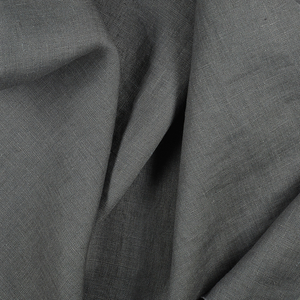
3 yards of IL019 Insignia Blue
Bias tape in a matching or contrasting color (or make your own from our linens)
Thread
Ruler
Sewing Machine
Pins
Hand sewing needle
1 1/2″ button
Pattern: CLICK HERE TO DOWNLOAD PATTERN
Print out the pattern at 100% scale (or use the setting “Do not scale”). Cut out the pattern pieces and match the sides that are labelled the same to each other, taping them together. For example, match side A to side A.
You will end up with a front piece and a back piece for the body of the dress.
Cut out two pieces of fabric that are 28″ (length) x 57″ (width). This is for the skirt. Please note that this may be too wide for the skirt of the dress, depending on how good you are at creating perfect 1″ pleats. It’s okay if your pleats are a little off, you’ll either just need to adjust the pleat positioning, or you’ll sew the seam a little smaller than expected.
Cut out the front and back pieces. This is the body of the dress.
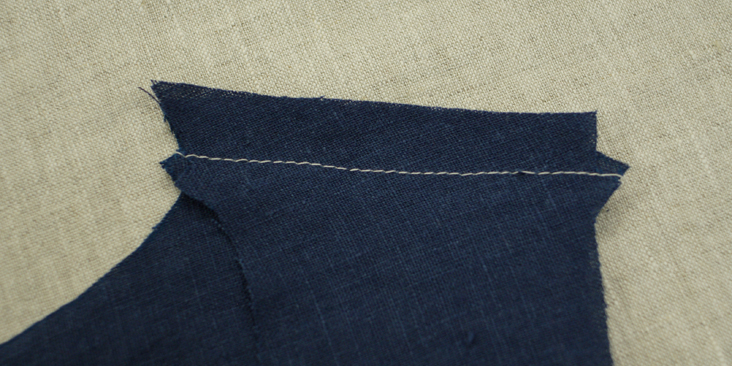
1. Match the shoulders of the patterns together by lining up the notches, and pin. Sew the shoulder seams using a 1/2″ seam allowance.
2. Iron the seams open.
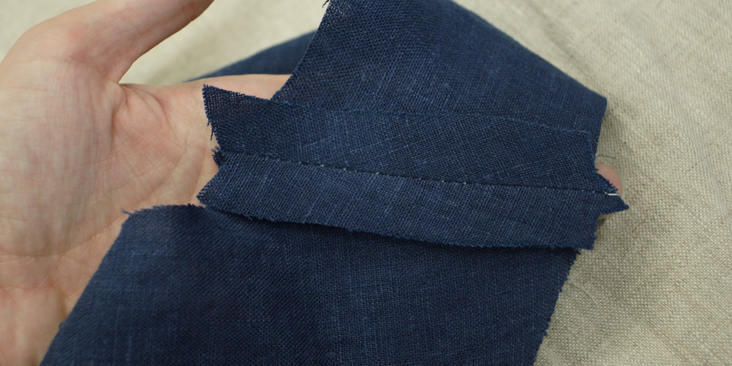
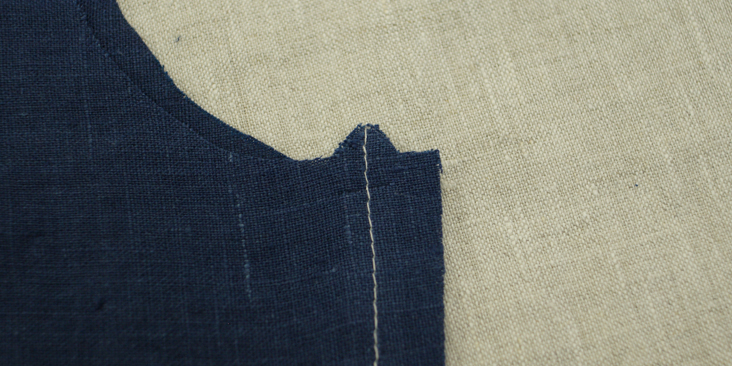
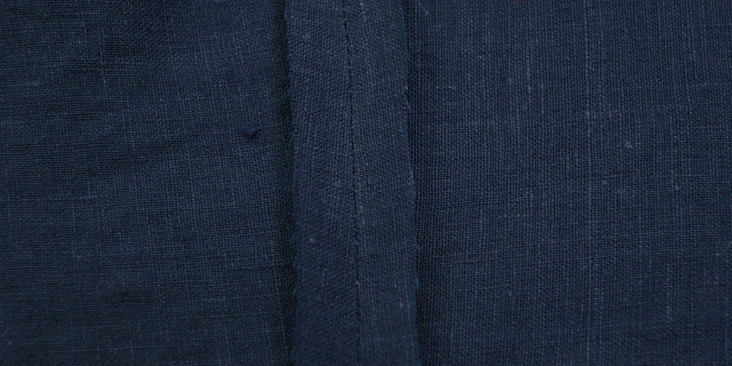
3. Match the side seams together at the top and the bottom notches, and pin. Sew using a 1/2″ seam allowance.
4. Iron the seams open.
5. Sew one side of the two skirt pieces together and iron the seam open.
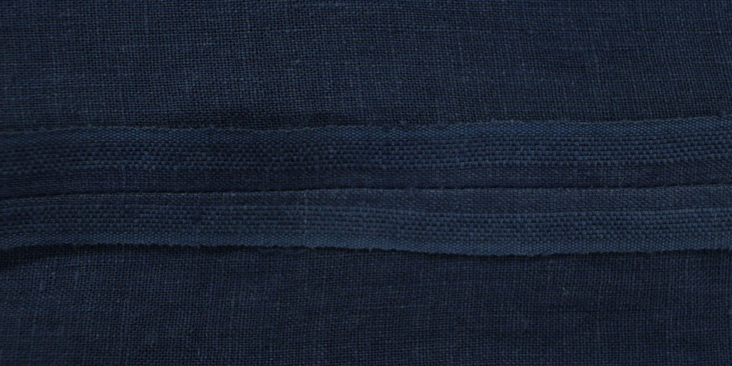
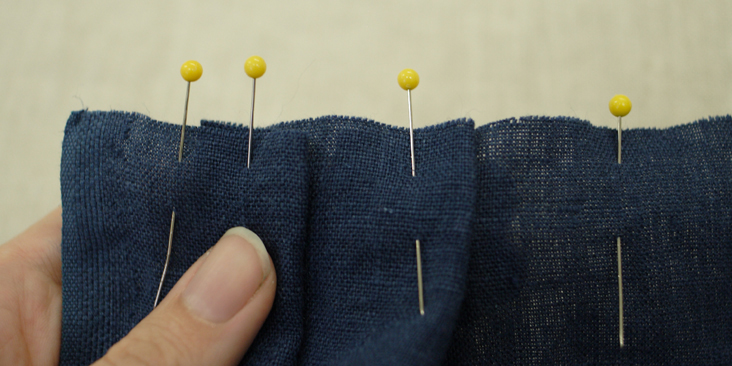
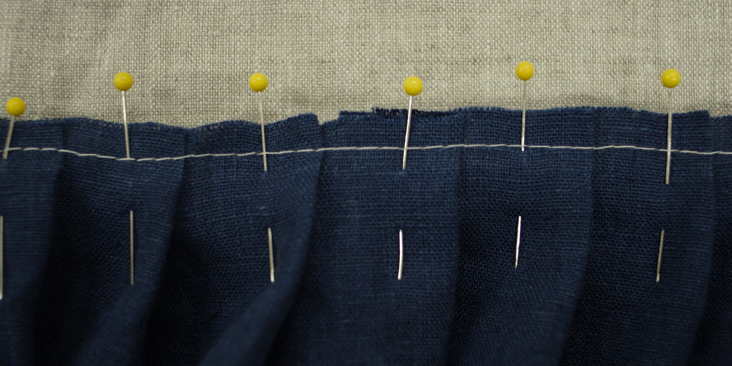
6. Starting on one end, begin pleating just the top edge where the skirt will attach to the body of the dress. No need to iron the pleats, this is just for gathering where the skirt attaches to the body. To create the pleat, measure every 1 inch and mark or pin. Then match the first mark to the 3rd mark, and fold over. This will create a 1″ pleat.
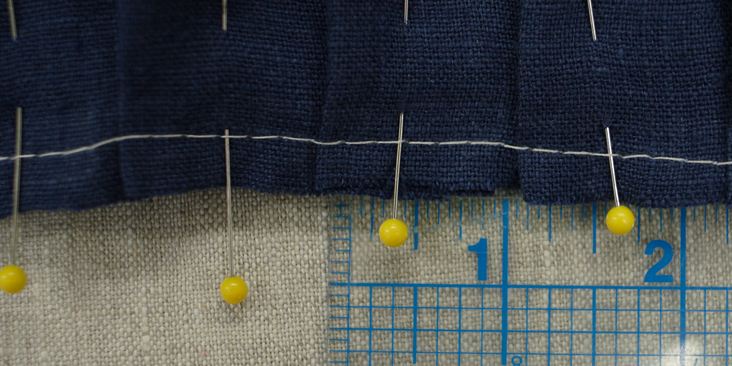
7. Continue pleating across the width of the skirt. If you’d like, you can do a wide baste stitch with a 1/4″ allowance in order to keep the pleats in place.
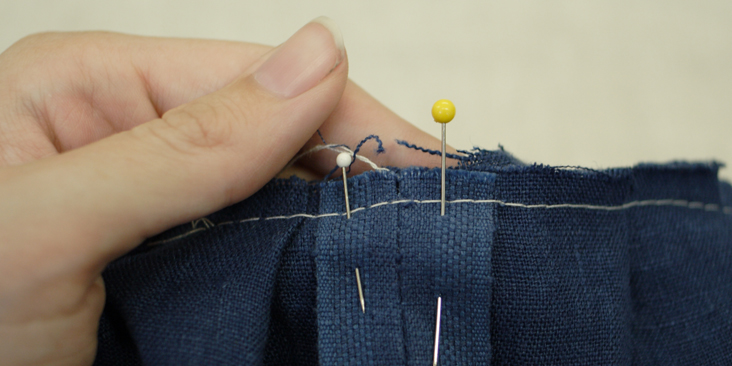
8. Once the entire width is pleated, find the seam and line it up with one of the side seams on the body of the skirt. I find it’s easiest if you have the body turned right-side out, holding it upside down, and pinning the pleats to the outside of the body with the right-side of the skirt against the right-side of the body of the dress.
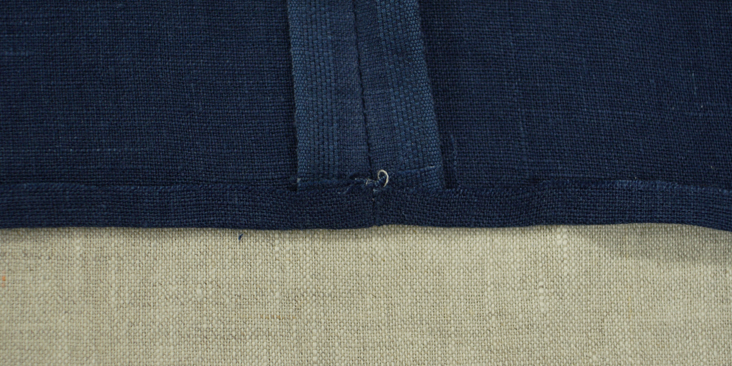
9. Begin pinning the pleats to the body of the dress, working from the side seam outwards on either side, towards the other side-seam. Once you reach the other side, pin the side of the skirt together, positioning the seam in a way that it can be hidden within or beside a pleat. The seam doesn’t have to match perfectly with the body pieces’ side seam.
You may need to adjust the pleats in order to match the other side nicely, which is why I only sew the side seam of the skirt once it’s been pinned to the dress. This allows you the option of adjusting the folds in order to hide the side seam more easily.
10. Sew using a 1/2″ seam allowance.
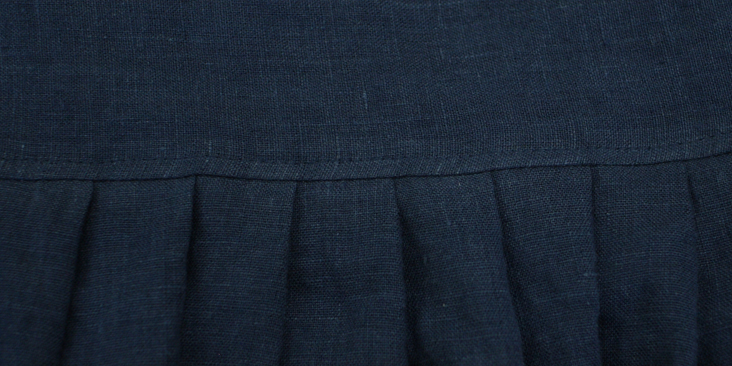
11. Iron the seam where the body and skirt of the dress meet towards the top of the dress, and sew in place using a 1/4″ seam allowance.
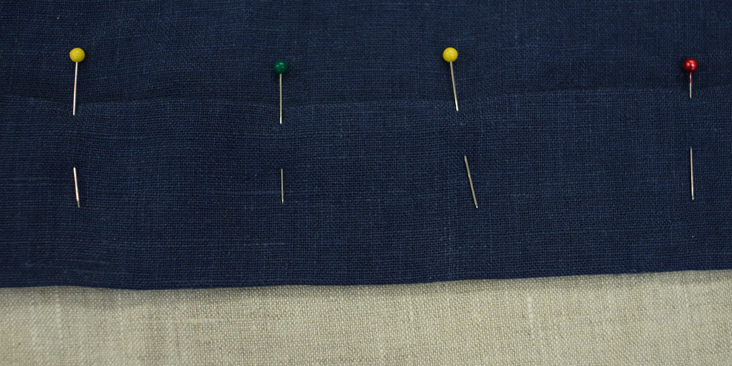
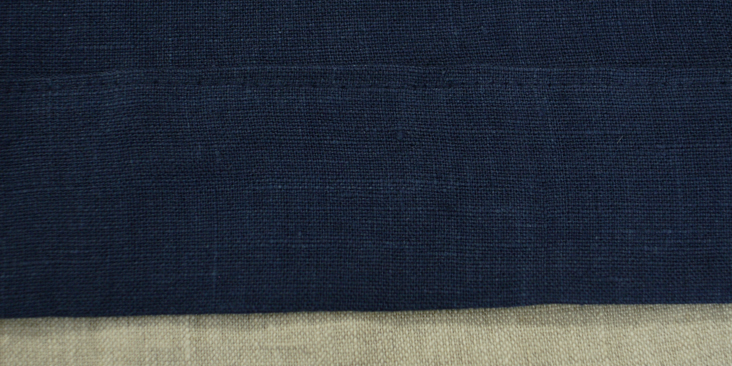
12. Now for the skirt’s hem! Fold the raw edge under (towards the wrong-side of the fabric) by 1/4″ and iron.
13. Fold this edge under by 2″ and iron.
14. Sew the edge into place to create the dress’ hem.
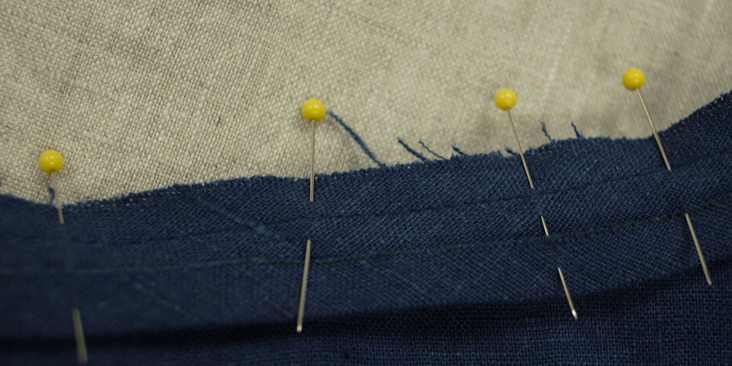
15. Now add the bias tape to the armholes, using a 1/4″ seam allowance.
16. Fold the bias tape to the wrong-side of the dress, enclosing the raw edges of the fabric under the tape, and iron. Clip the curves on the seams.
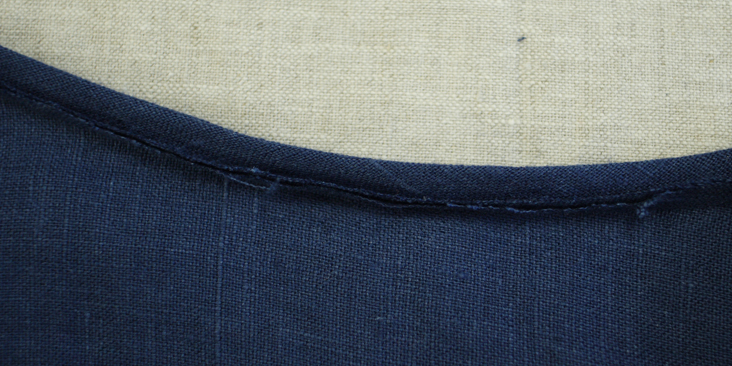
17. Sew close to the folded edge of the tape. This will trap the raw edges under the bias tape and help to keep it from unraveling.
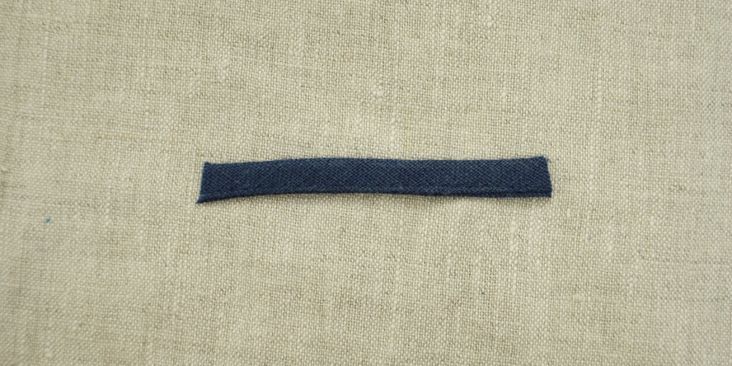
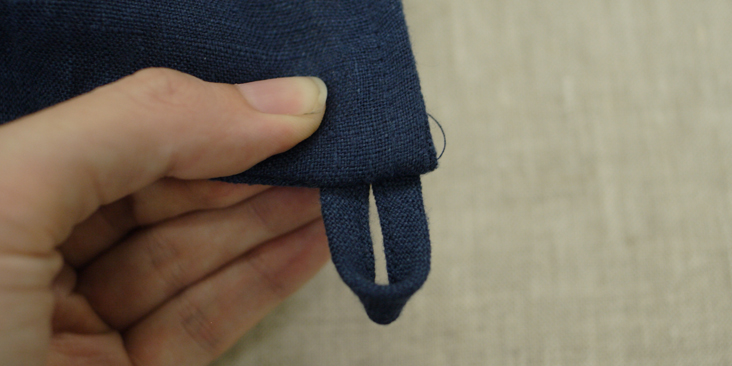
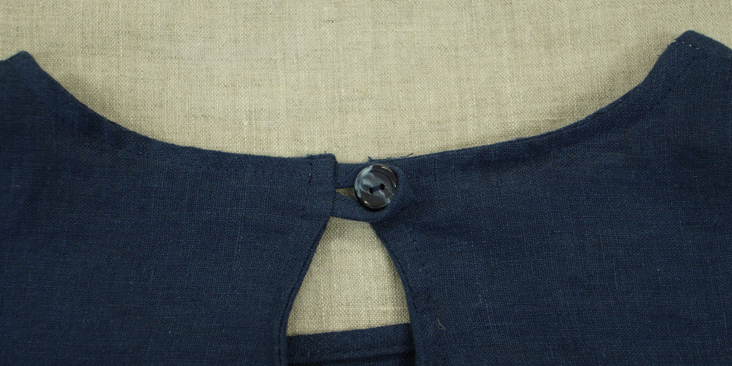
18. Sew approx. 2″ of bias tape to itself. This will be used for the back closure on the dress.
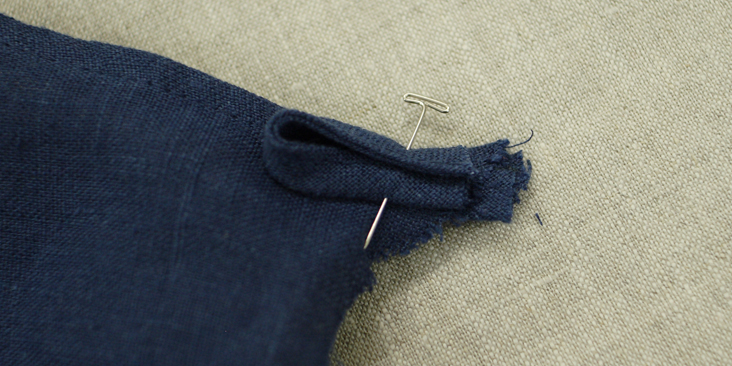
19. Fold the 2″ of bias tape in half to create the loop, and pin to the back of the dress, above the keyhole.
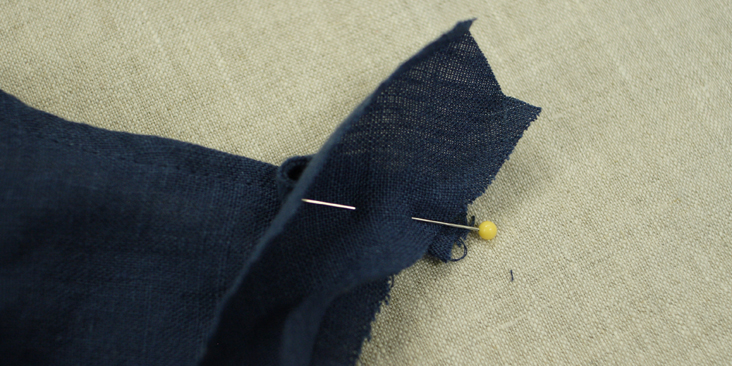
20. Guide the bias tape around the neckline and keyhole, and pin, sandwiching the loop between the bias tape and the dress.
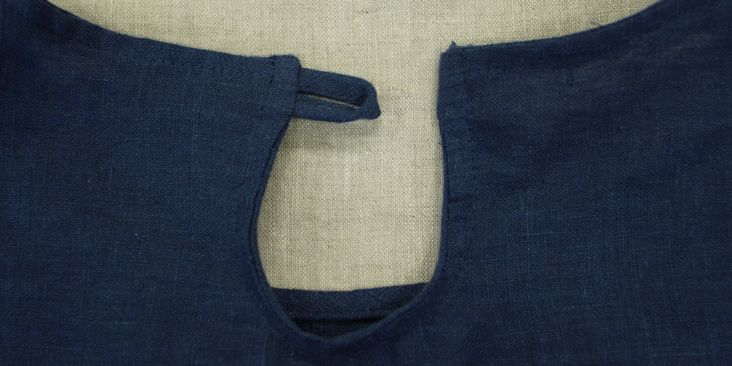
21. Sew using a 1/4″ seam allowance around the neckline, sewing the bias tape over the loop closure that you created.
22. Clip all of the curves, fold the bias tape towards the wrong-side of the dress, and iron.
23. Pin the tape in place, and sew down as close to the fold as possible to trap all the raw edges.
24. Now sew the button onto the back of the dress on the opposite side of the keyhole from the loop, creating a cute little loop and button closure.
Done! Your adorable sleeveless dress is complete. Don’t forget to show off your creation in the comments below, and check out IL019 Insignia Blue on our website!
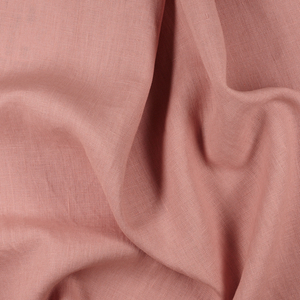
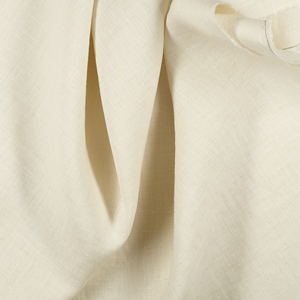
Don’t like the Insignia Blue? Not a problem! We have a ton of other amazing colors of linen on our site, in stock and ready to be shipped to your door. Click right here to check them out!













16 Comments
Tiffany Shipp
This pattern has a mistake (a huge sloppy one) the center piece of the front bodice is flipped so that if you tape it together as-is the armhole comes out of the neckline.
Karen
Hi, I’m new here. Can you tell me how you go about sizing this pattern for someone a little bigger? I have only used store-bought patterns and don’t know about resizing a pattern. Do I take my measurements and add a couple of inches to make it slightly baggy? Help! Thank you.
Lisa Arjes
Lovely pattern. I made a few modifications to the construction.
(1) I made the bodice more fitted so I placed an invisible zip in left side of bodice. I also eliminated the keyhole in the back.
(2) I used the same fabric and lined the bodice. This gave the bodice more support and also allowed me to hide the raw edges where the bodice pieces (outer fabric and inner self lining fabric) meet the skirt. I also rather than using bias tape around neck and arm scythes, blind stitched the openings, again eliminating raw edges.
Tiffany Horton
I made this dress. It is pretty, comfortable and easy to construct. I will be making more of them.
Rachel W
Lovely dress and pattern! I do wonder if the tutorial’s missing a step, though? I’ve gone through a couple bolts of the IL019, and, like any linen with a similar threadcount, its raw edges always fray in the wash if the seams aren’t finished. Might want to pink/serge/French seam those raw edges in the bodice to keep the dress looking nice!
Lauren
Thank you for the free pattern. Before I print I want to make sure it fits. What are the final measurements for the bodice? Thanks again.
Michaela Smith
It’s made to be a little baggy on a model who is 34x27x37 inches (bust x waist x hips). Unfortunately I don’t have the finished garment in hand in order to give the finished measurements.
Dianne
The little keyhole opening at the back neck is nice, but since, per the photo, it’s a fitted waist, how do you get into it? Ah, You’re like me, you avoid the zipper. Also, from my experience I find it’s better to do the fitting and finishing (bias tape for the neck and arm holes, etc) of the bodice before attaching the skirt because: 1( it’s easier to manage the detail work with less fabric in your lap, and 2) it prevents the neck, armholes, and other curved edges from getting pulled out of shape while you do the pleating.
Michaela Smith
It’s made to be a little baggy on a model who is 34x27x37 inches (bust x waist x hips), who should be able to slide into it thanks to the keyhole (arms first, then head usually works – might need help getting out though).
Susana
Another query. The first few photos show only the insignia blue fabric. Later photos show bias tape being applied against a beige linen. Is the dress lined, or is this strictly for demonstration?
Michaela Smith
If you’re talking about the linen in the background, that’s just for photo purposes. The dress is not lined.
Susana
I love the idea. The keyhole neckline in back is very attractive. The back waist looks a little as though it curves along the waistline—which could suggest an adjustment to the hem. The curve, however, is attractive enough to warrant the effort. And the color shown is perfect for me!
What I really would have liked, though, is a full-length picture—or even a sketch—of the front instead of that photo that just barely suggests the front neckline.
Rebecca H.
What are the measurements of the finished dress from this pattern?
Michaela Smith
It’s made to be a little baggy on a model who is 34x27x37 inches (bust x waist x hips). Unfortunately I no longer have the finished dress in hand, so I can’t take measurements for you. Sorry!
LeAnn Runge
What a pretty dress, love the pattern, one question? Is this only one size, or am I missing something?
Michaela Smith
It’s made to be a little baggy on a model who is 34x27x37 inches (bust x waist x hips).